Hello friends, this is Jennifer Long from, Sew A Story, fabric designer with Riley Blake Designs and a doll and quilt pattern designer
Pear Stuffie Tutorial
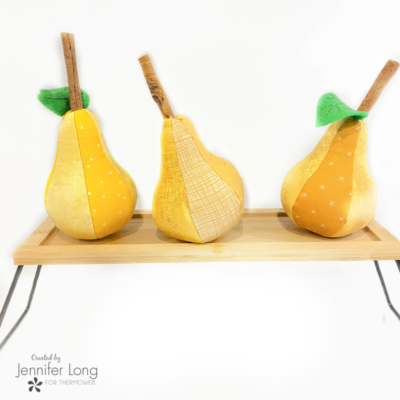
As the 12 Days of Christmas are fast approaching, we thought we should make some adorable stuffed Cinnamon Pears for the Partridge in the Pear Tree!!!!

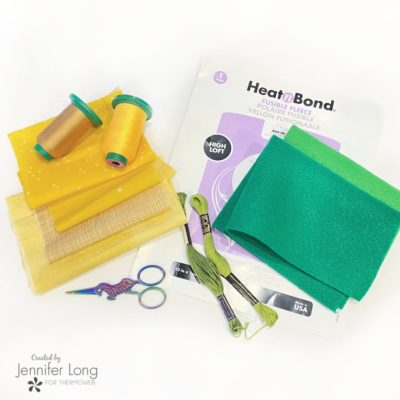
What You Need:
Tools
- Download the Pear Stuffie Pattern at http://www.sewastory.com/download-codes and use the code “PEARPDF”
-
Sewing Machine or Embroidery Machine
-
Iron and Wool Mat
-
Scissors
-
Hand sewing needle
-
Hemostat or stuffing tool
- Leaf Fabric: (1) 3″ x 3″ Felt fabric in green
- Pear Fabric: (6) 7 1/4″ x 3 1/4″ Cotton fabric scraps in oranges, or any other colors that suit your style
- 1/4 Yard HeatnBond Fusible Fleece
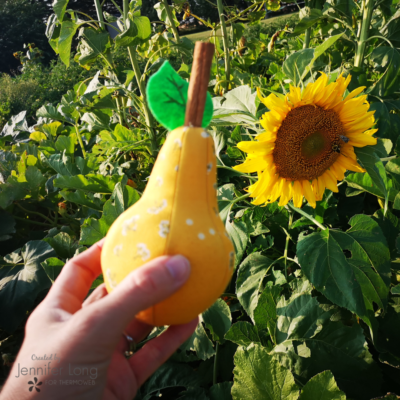
- Cinnamon stick or small twig for pear stem
- Optional Embroidery Floss for accenting leaf veins
- Stuffing (polyfill)
Instructions:
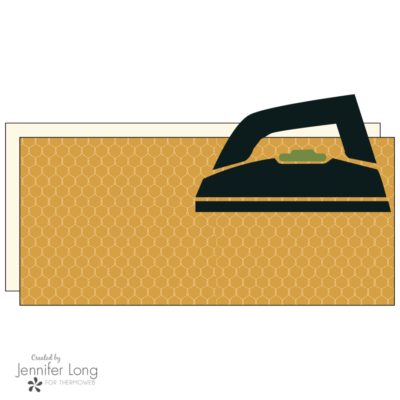
1. Fuse the wrong side of the Main Pear Fabric with the Fusible Fleece. Take care to follow manufacturer’s directions for fusing correctly to the fabric.
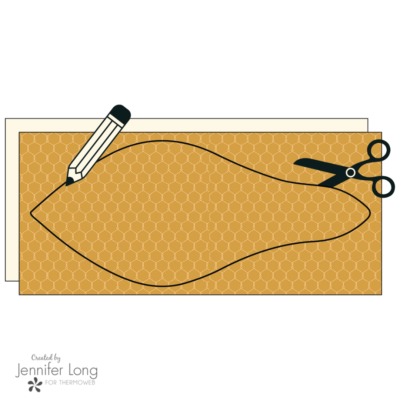
2. Use the Pear pattern template, trace and cut (6) total Main Pear pieces from the prepared Pear Fabric. Note: (6) total Pear pattern pieces are needed for each finished pear. You can make these pear stuffies as scrappy as you like, or all in one color.
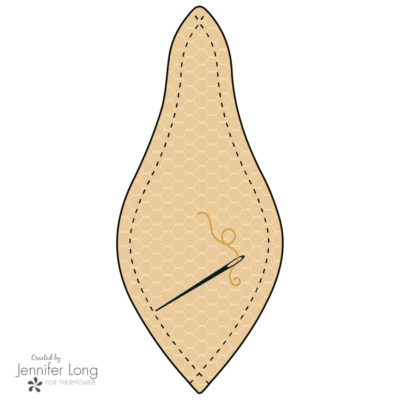
3. Place (2) Pear pieces RST, pin and sew along one side as shown.
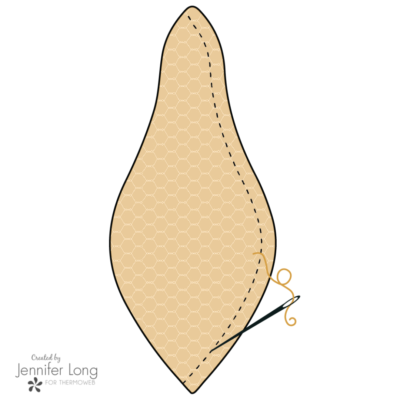
4. Take (1) more Pear piece. Pin to the previously sew piece and sew along one side as shown to create half of the pear shape. Make another unit with (3) total pieces. You should have(2) total pear halves.
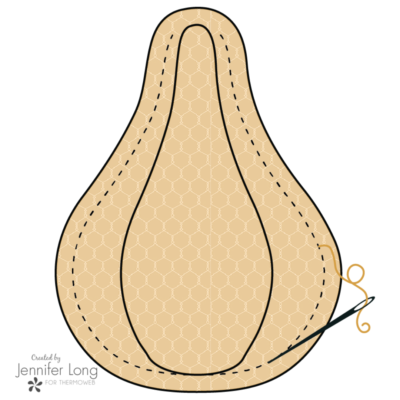
5. Place (2) pear halves RST, aligning the bottom of the pear units where all the pear pieces intersect, pin and sew leaving about 1 to 1 1/2” opening at the top for turning and stuffing.
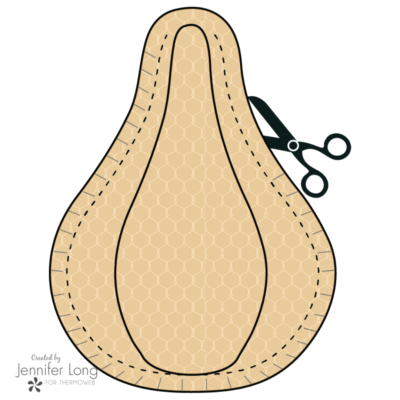
6. Using a small pair of scissors, carefully clip around the perimeter of the entire seam allowances and notch out all the inside corners. Be careful not to cut into the stitch lines.
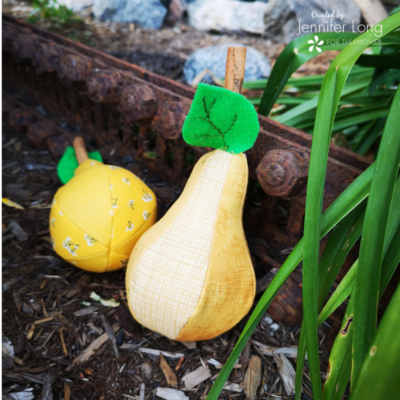
7. Gather the 3” x 3” piece of Felt for the Pear Leaf. Lay out and trace the(1) Pear Leaf piece. Cut out each leaf shape along the drawn outline.
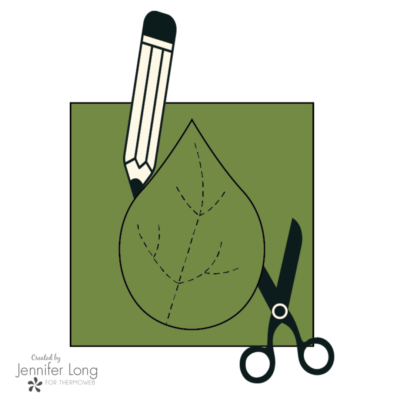
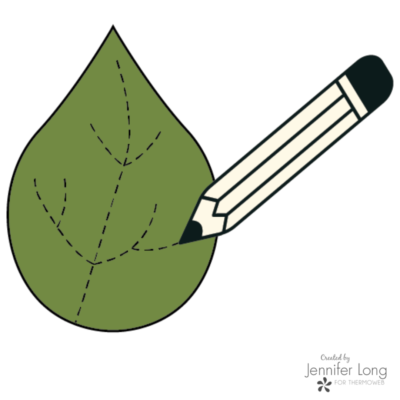
8. Transfer the vein lines from the Pear Leaf pattern template (shown as dashed marks) onto one side of the prepared leaf. For best results, use an invisible or wash-away embroidery marker.
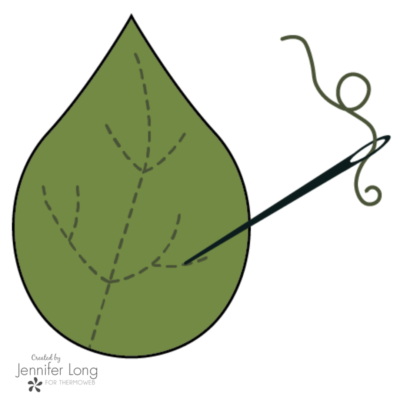
9. Using an accent embroidery thread color, hand or machine sew the Pear Leaf veins with a running stitch or chain stitch.
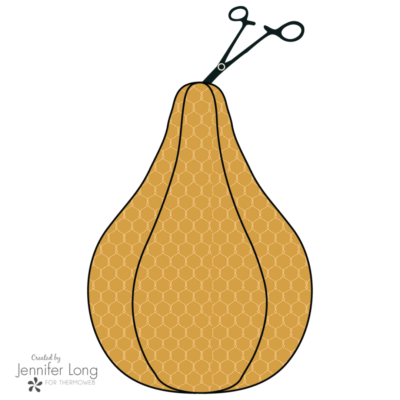
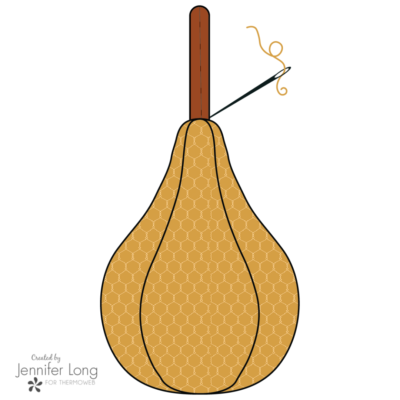
10. Turn the Main Pear right side out. Use the turning tool or chopsticks to fully push out the top and bottom tip of the pear.
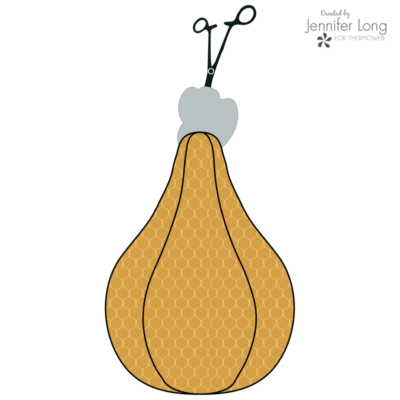
11. Using the stuffing tool or chopsticks, stuff the Pear shape with polyfill to the desired firmness.
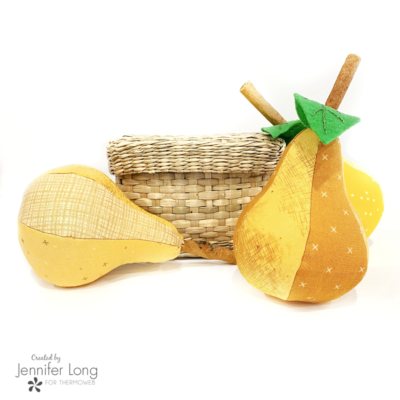
12. Insert the Cinnamon Stick into the Main Pear opening. You may need to add a little more polyfill to keep the cinnamon stick into place. Hand stitch the top opening close using a tight Ladder Stitch. Smaller stitches keep your work tidy and more secure.
13. Attach the Pear Leaf with a few smaller stitches close to the base of the cinnamon stick.
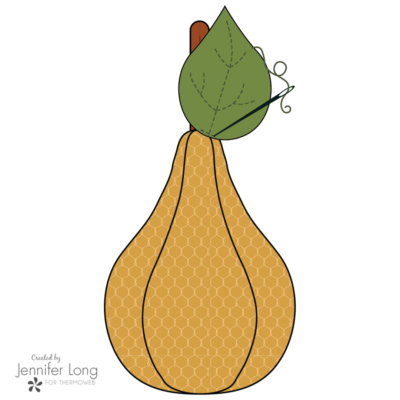
14. Embellish your Pear with decorative stitching, ribbons or more!
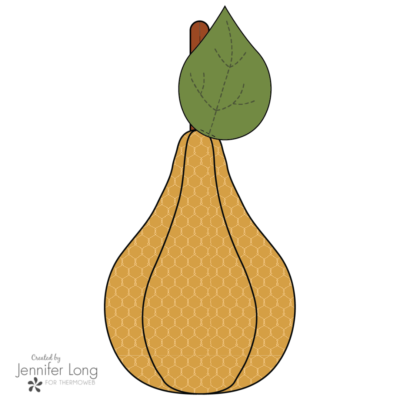
Use the same steps to create a few more pears, and encourage the child in your life to help select fabrics! You’ll be amazed at what they choose!