


 Hello and welcome!
It’s Julia from Inflorescence Designs! This week we are going GREEN for the first week of March.
I love using reusable items. I am a big supporter of reducing, reusing, and recycling. In fact, I use reusable snack bags on a weekly basis, as well as washable feminine hygiene products, and in years past, I used cloth diapers and reusable wipes when my girls were little.
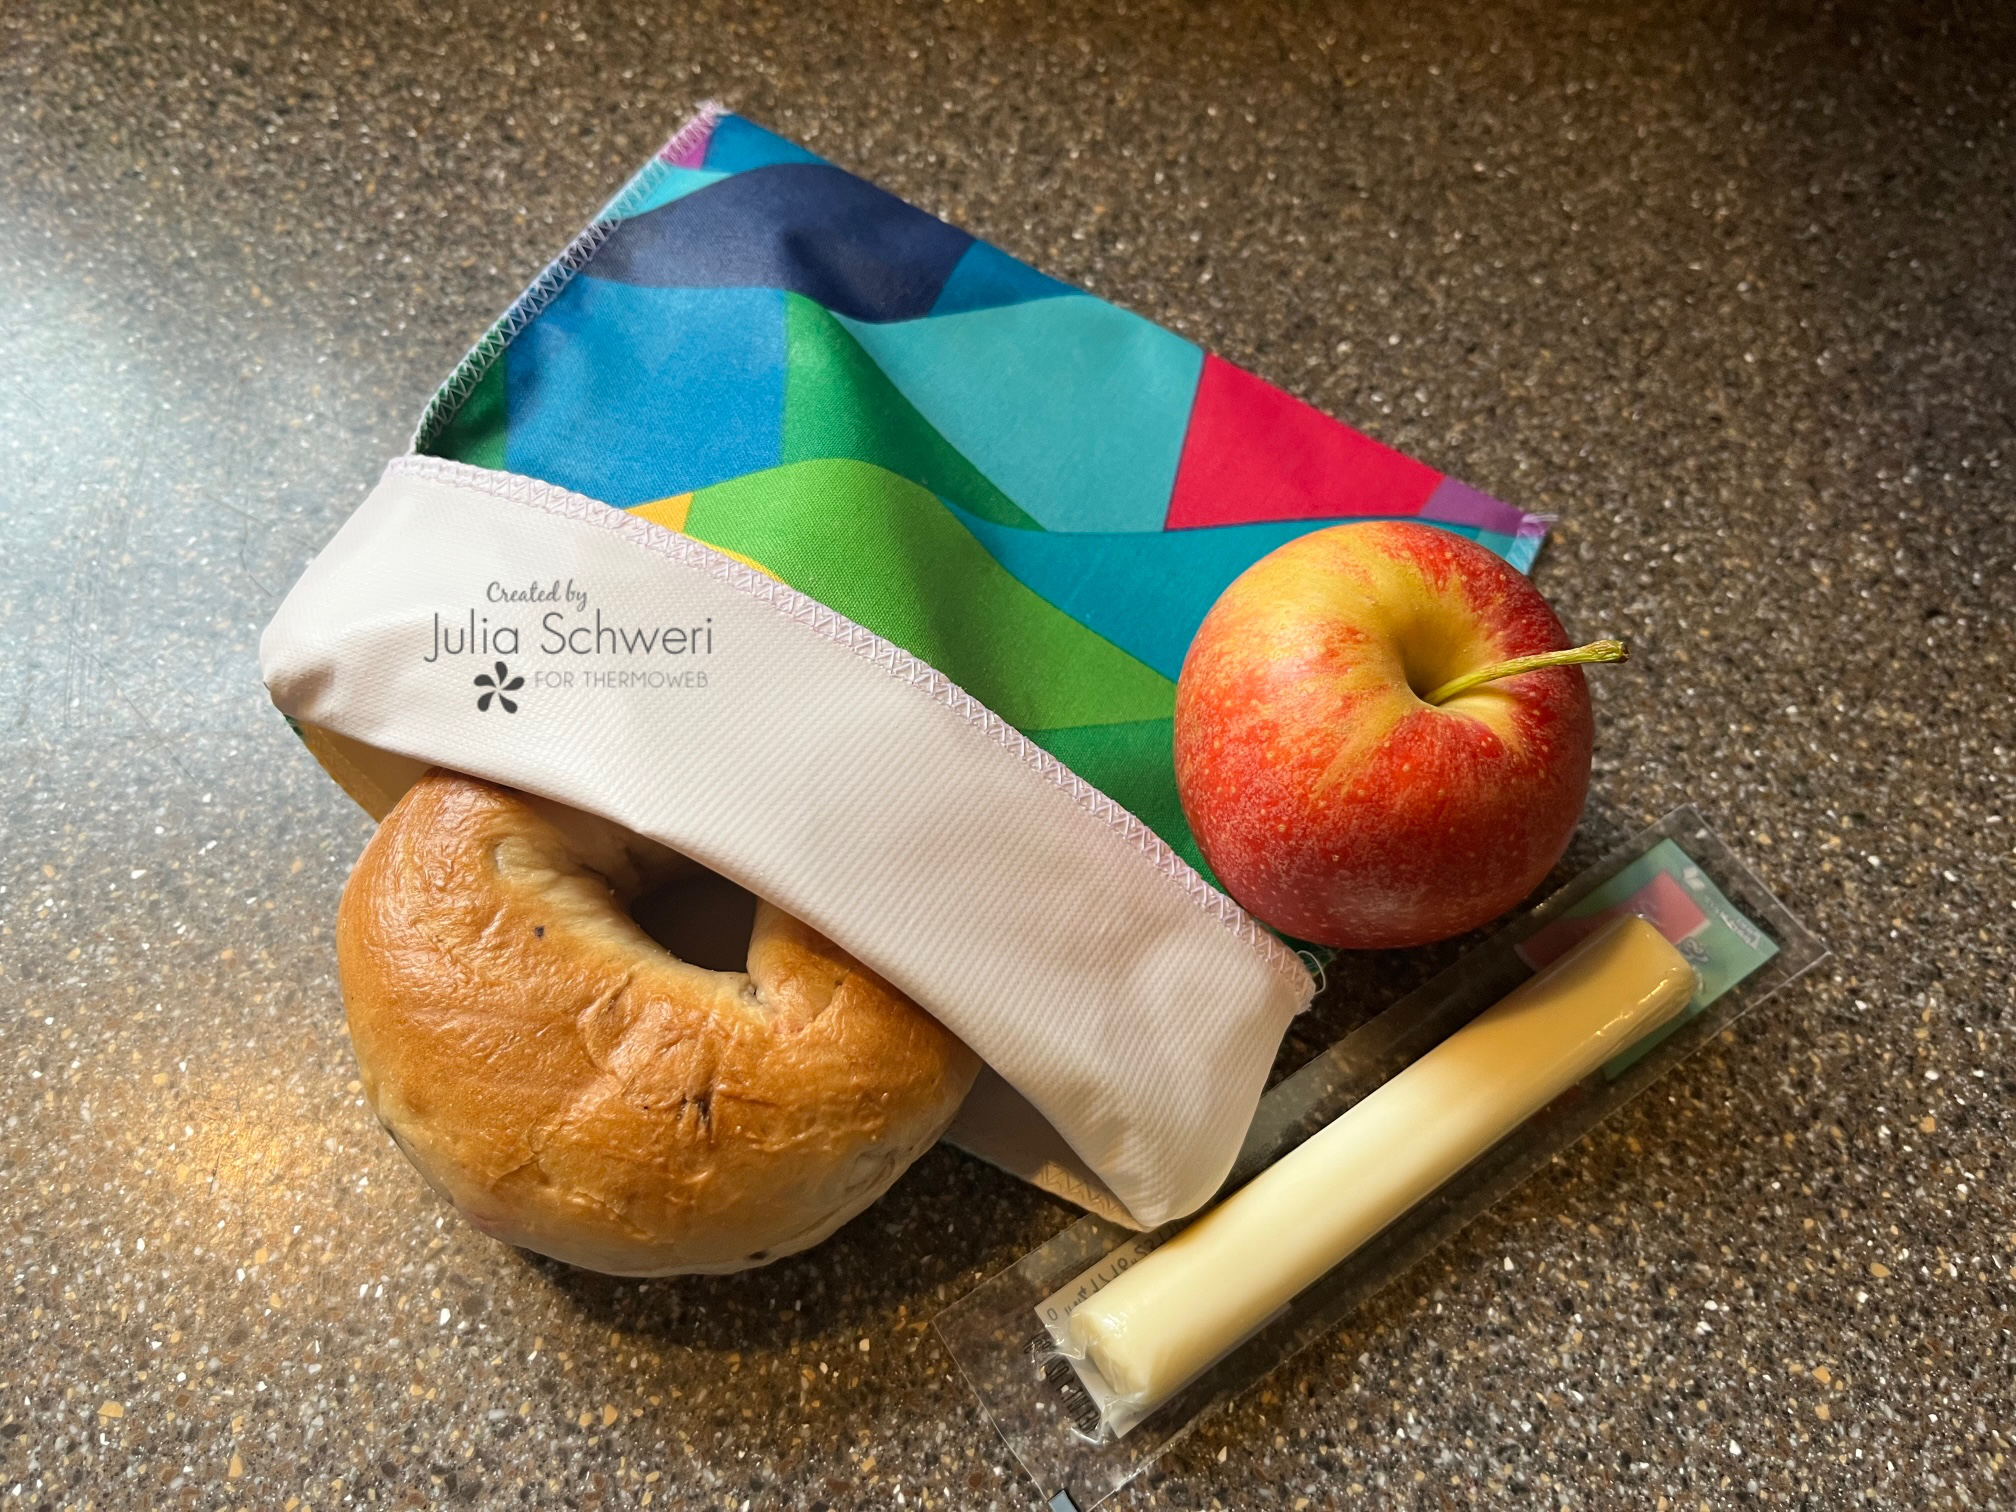
The snack bags I currently have are the kind that uses a zipper enclosure. I love them but I remembered the old fold-over baggies I used as a kid for my sandwiches before zip enclosures became popular. So, for today’s tutorial, I am going to show you how to easily make them.
For this project, while the liquid vinyl is non-toxic and phthalate-free, I still used a food-safe vinyl on the inside. For the outside, though, I was able to use whatever cute fabric design I wanted as well as make it water and stain resistant with Thermoweb’s Liquid Vinyl.
Reusable Fold Over Sandwich/Snack Bags with Liquid Vinyl
Beginner Sewing Pattern!
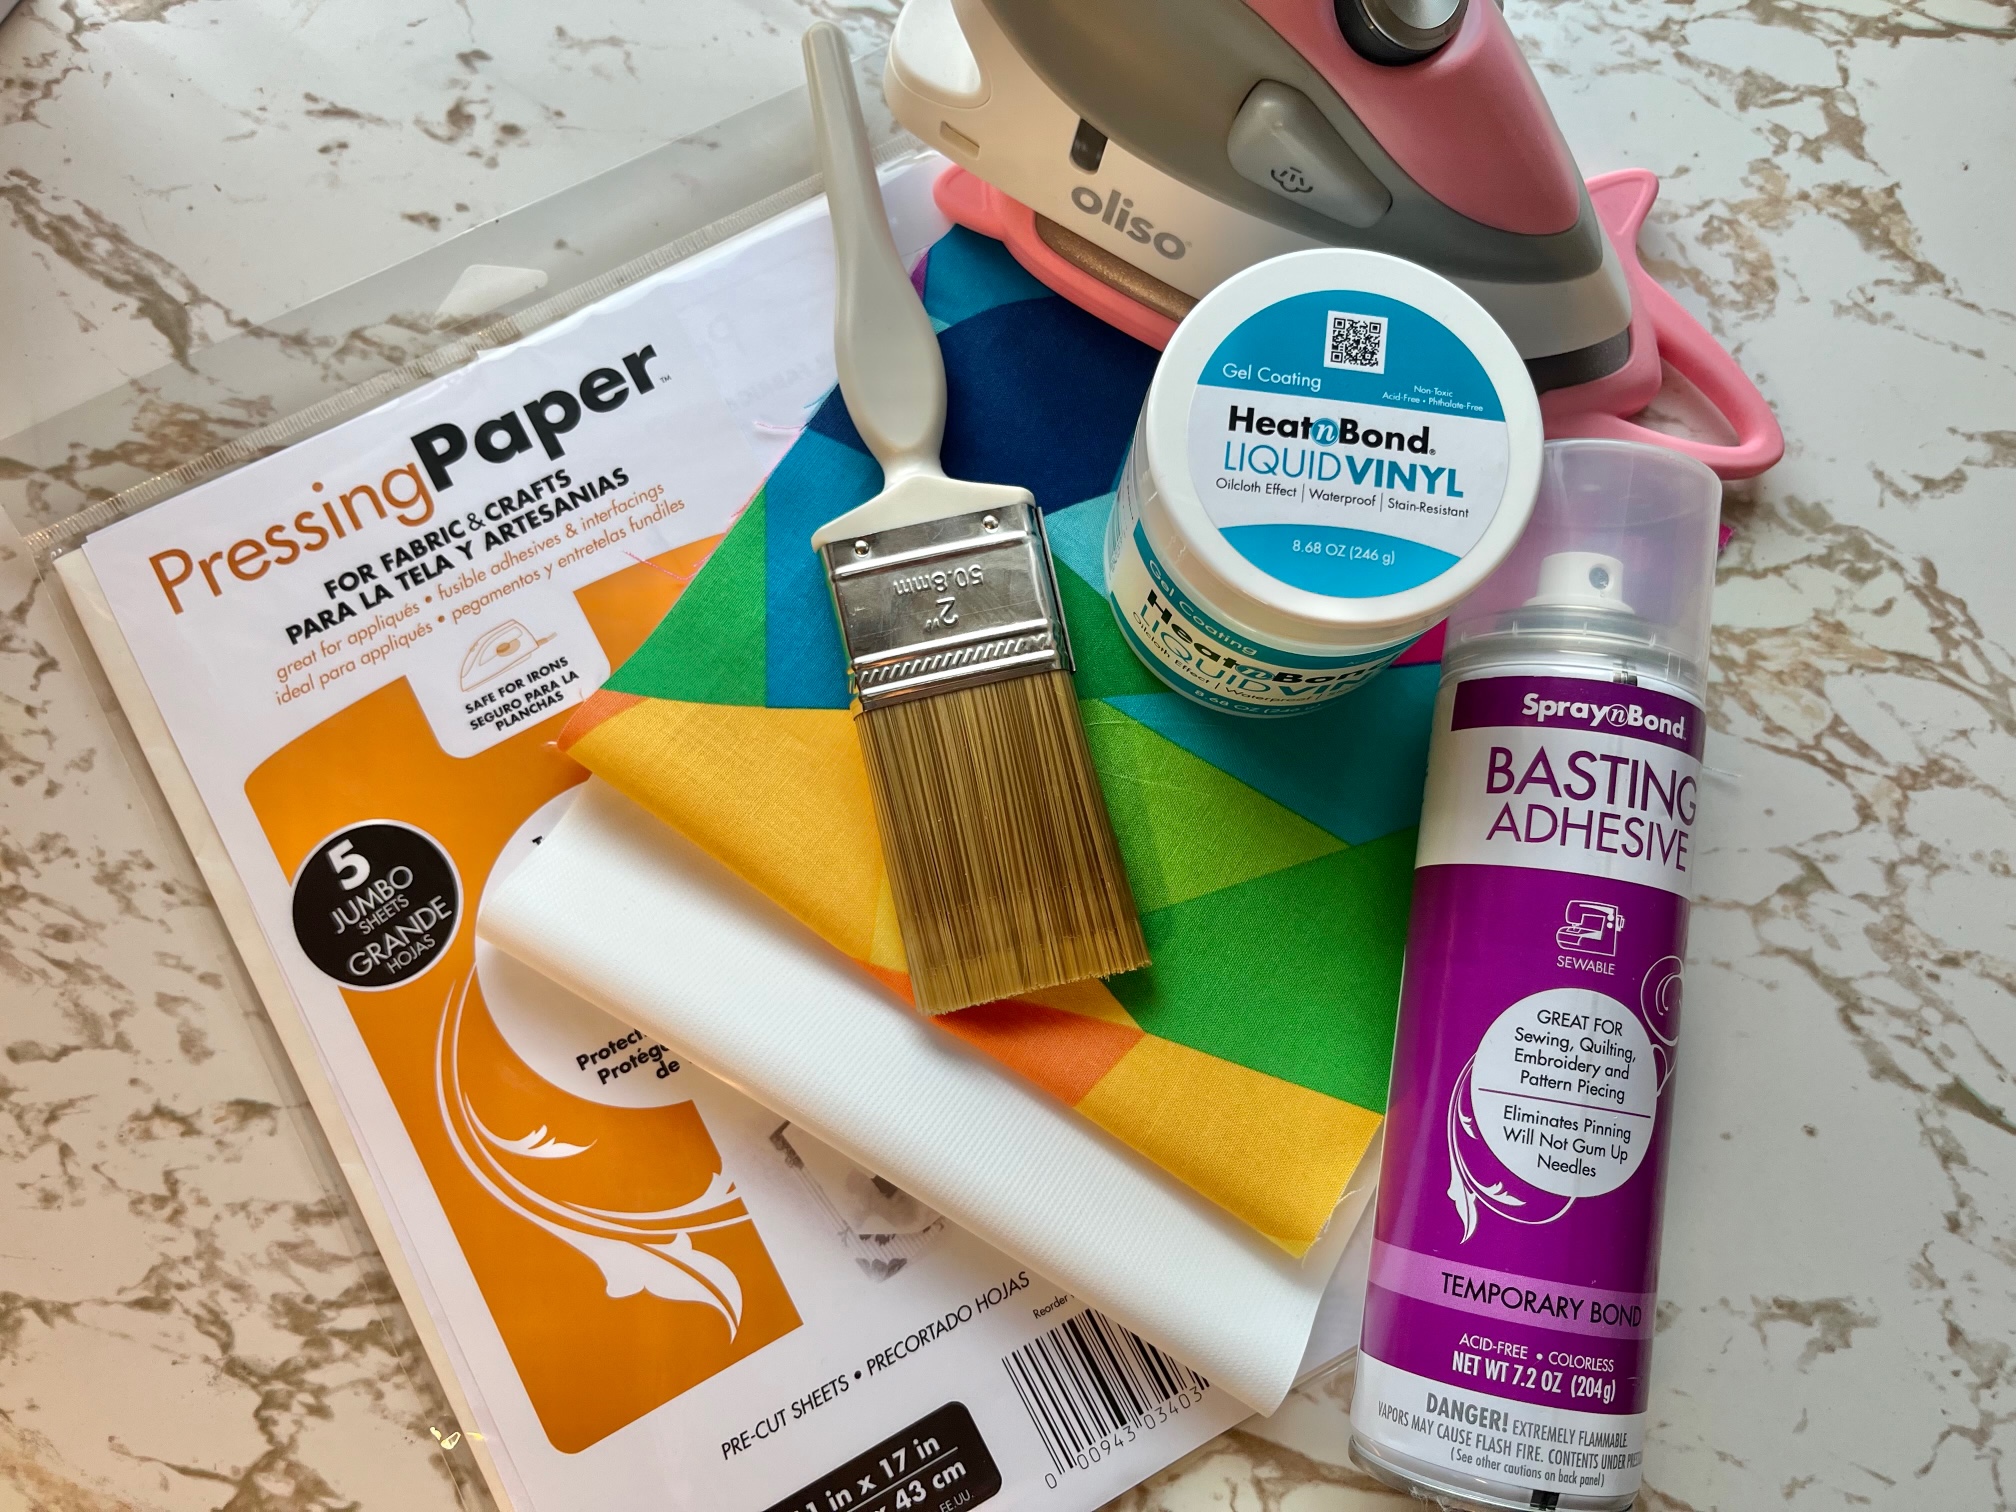
Supplies:
- HeatnBond Liquid Vinyl
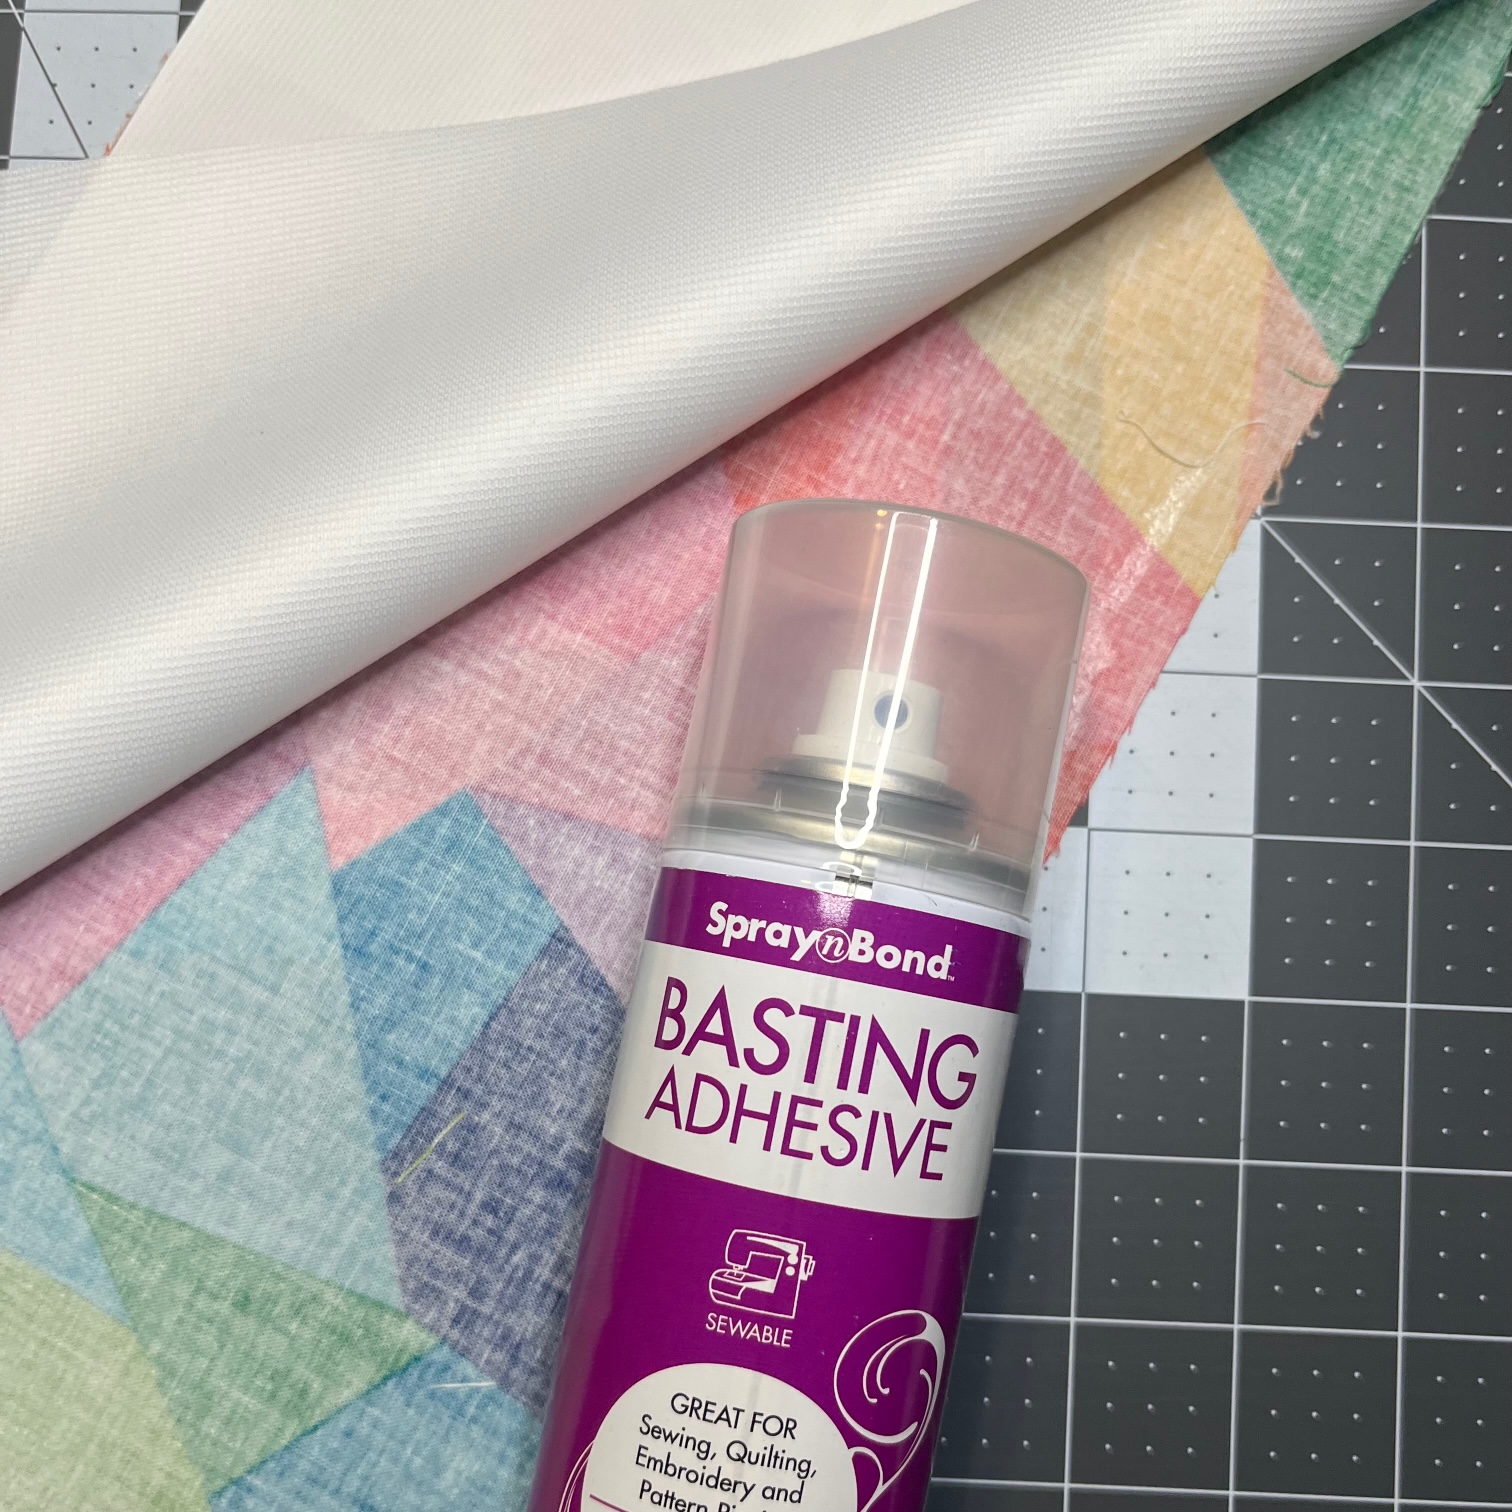
- SpraynBond Basting Spray
- Pressing Paper
- 2″ soft paint brush
- ProSoft FoodSAFE® Waterproof PUL Fabric – 15″ x 7 1/2″
- Quilting Cotton – 16″ x 8 1/2″ (fabric pictured is “Multi-Coloured Geometric” designed by Kristy Lea for Riley Blake Designs.)
- Iron
- Basic sewing notions
- Sewing Machine or Serger
- Thermoweb’s StitchnSew Wash Away Water-Soluble Stabilizer (optional- to help guide material overfeed dogs.)
 Sewing Instructions:
Begin by…
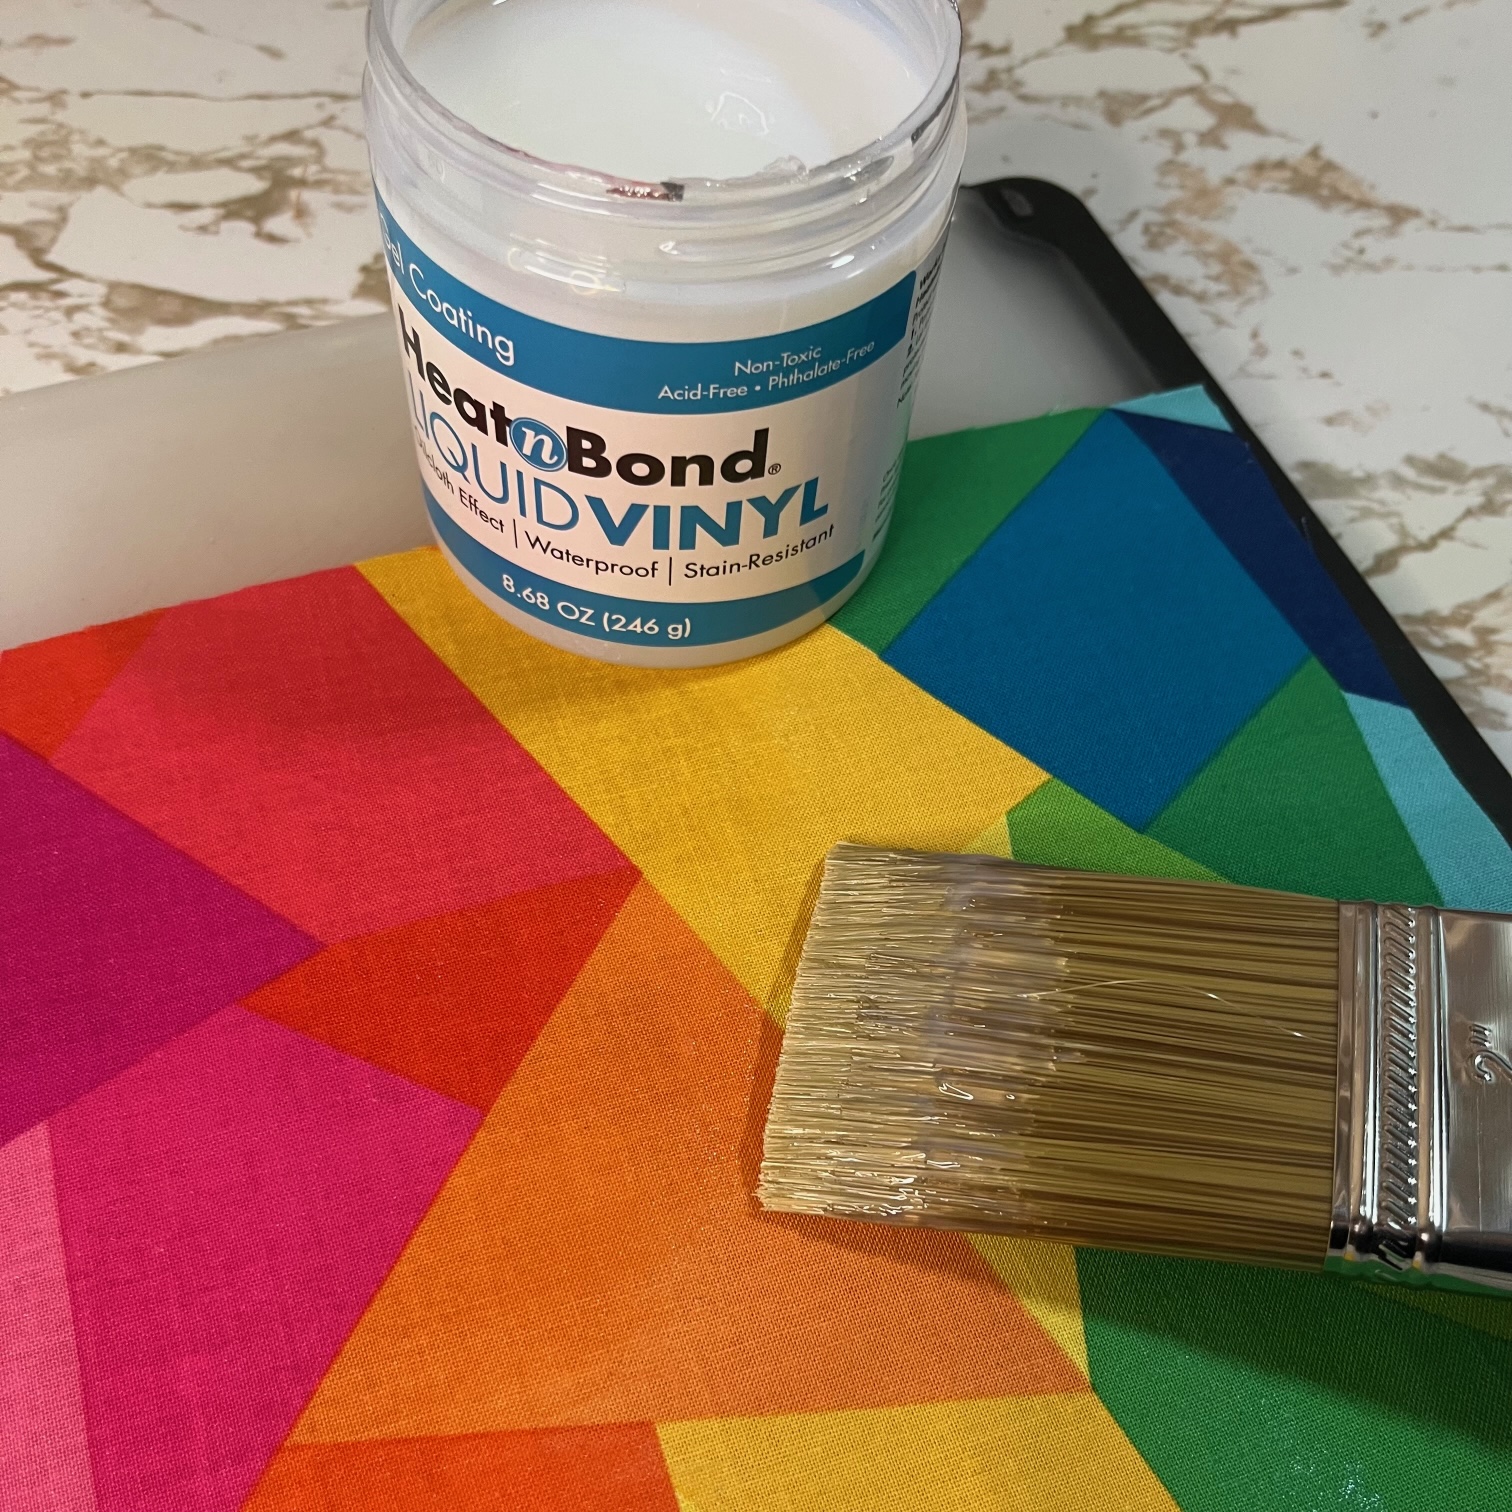
Cutting your quilting cotton to 16″ x 8 1/2″. Next, prepare your workspace before you begin to use the liquid vinyl. You will want to paint your fabric on either a piece of pressing paper, parchment paper or silicone craft mat. I used an old plastic cutting board.

There are three ways to use the HeatnBond Liquid Vinyl gel coating:
- One coat: Fabric is water and stain-resistant
- Two coats: Fabric is waterproof and stain-resistant
- Three coats: Waterproof and stain-resistant with a semi-gloss oilcloth finish.
For this project I used one coat, making my outside water and stain resistant.
Continue by…
Following the instructions on the liquid vinyl for application.
- Use the paintbrush to apply a light coat of HeatnBond Liquid Vinyl on the front of the cotton.
- Let dry for 30-45 minutes.
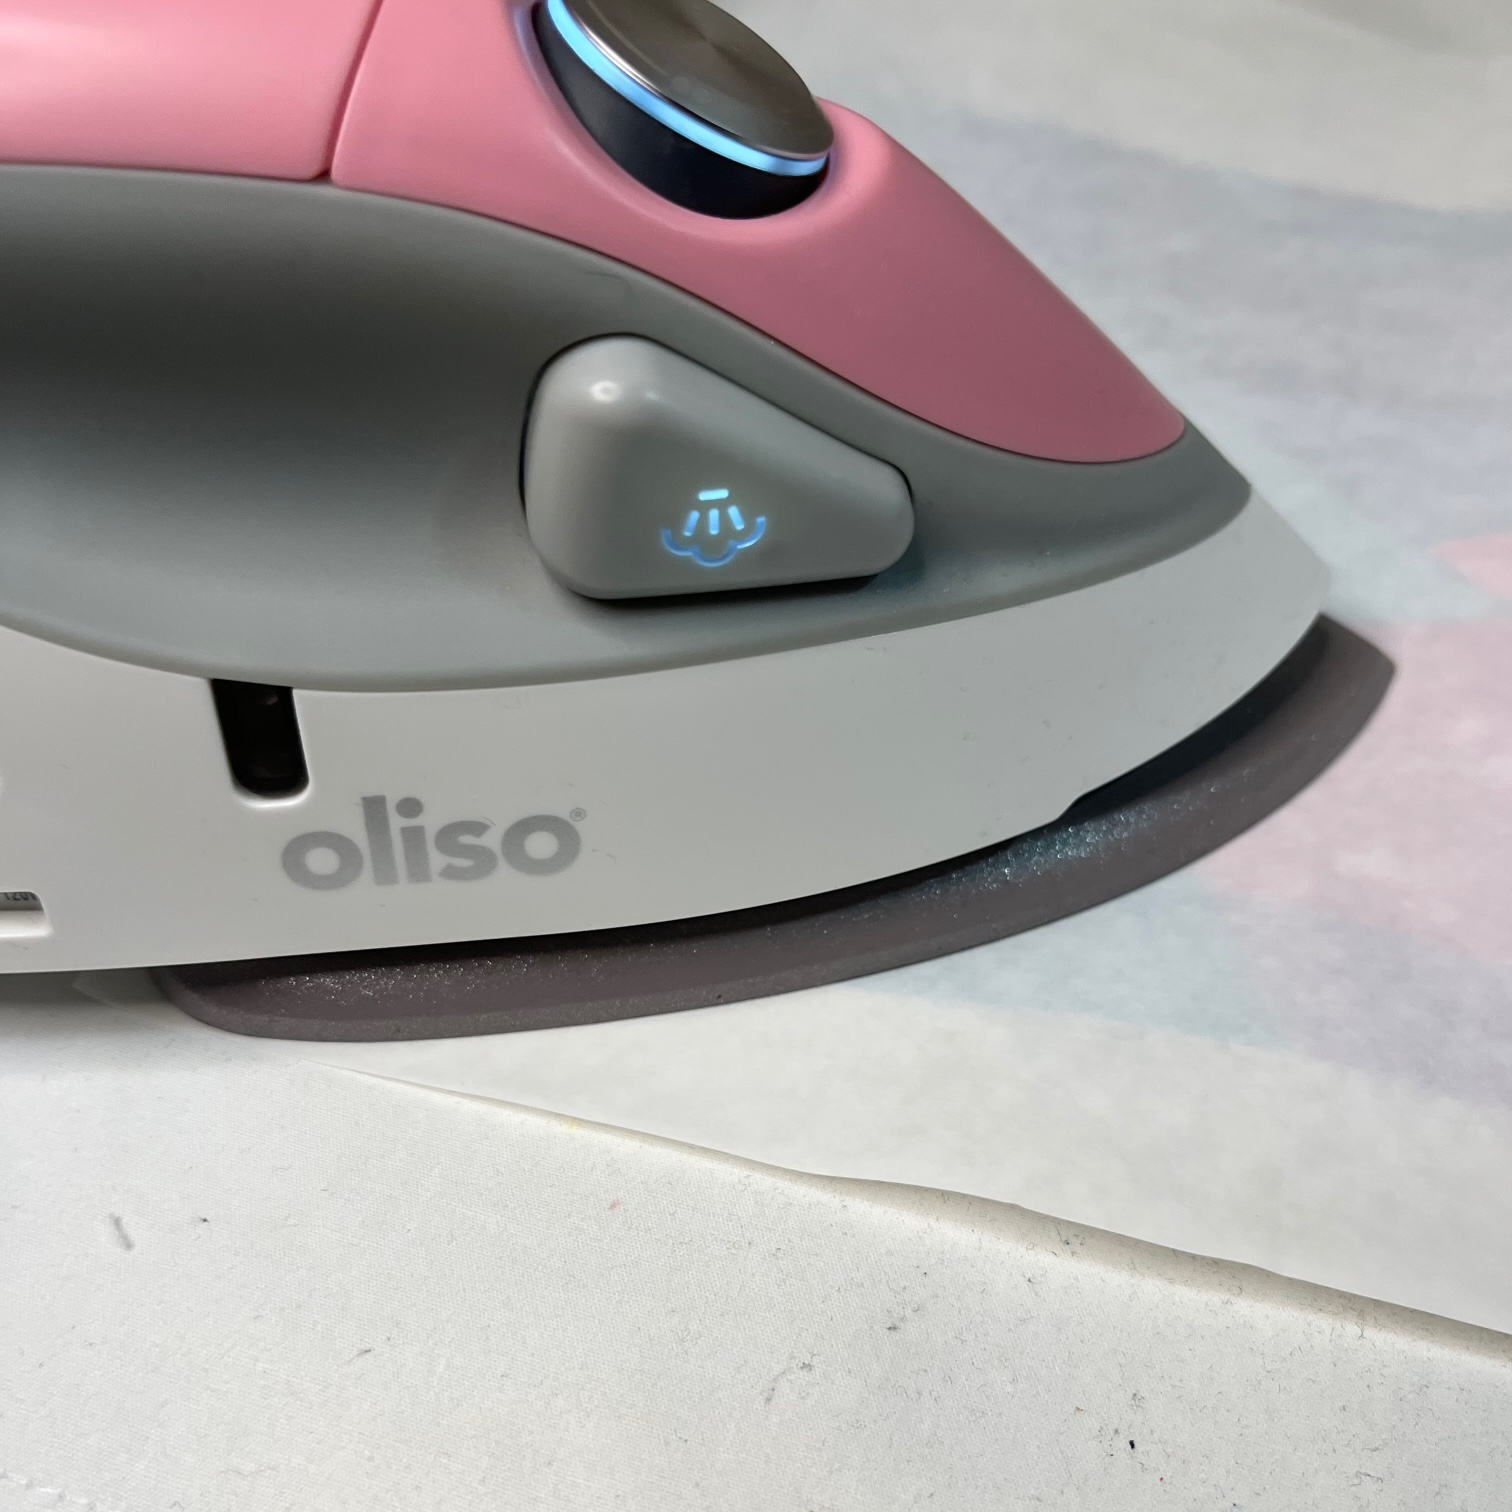
- Preheat iron to medium heat, no steam.
- Place fabric on top of parchment paper on a firm, protected surface (not an ironing board) and cover with HeatnBond Pressing Paper or non-stick pressing sheet. Press for 45 seconds, moving iron slightly. Let cool.
- Repeat Steps 1-4 to apply additional coats of Liquid Vinyl, pressing after each coat.
Important Tip: The more coats of liquid vinyl the stiffer the fabric becomes. I did one coat because the fabric is for the outside of the snack/sandwich bag and the inner food safe PUL is thick.
Next…
Trim your cotton front fabric to 15″ x 7 1/2″.
Important Tip: You may notice that the liquid vinyl will shrink your fabric slightly. This is why we started with a larger size front and are trimming to the correct size.
Continue by spray basting your front fabric and food-safe PUL fabric together. Follow the manufactures instructions on the PUL to know what side of the fabric is food safe. For the fabric linked above, the smooth side is the food-safe side.
Now it’s time to sew your project.
Begin by…
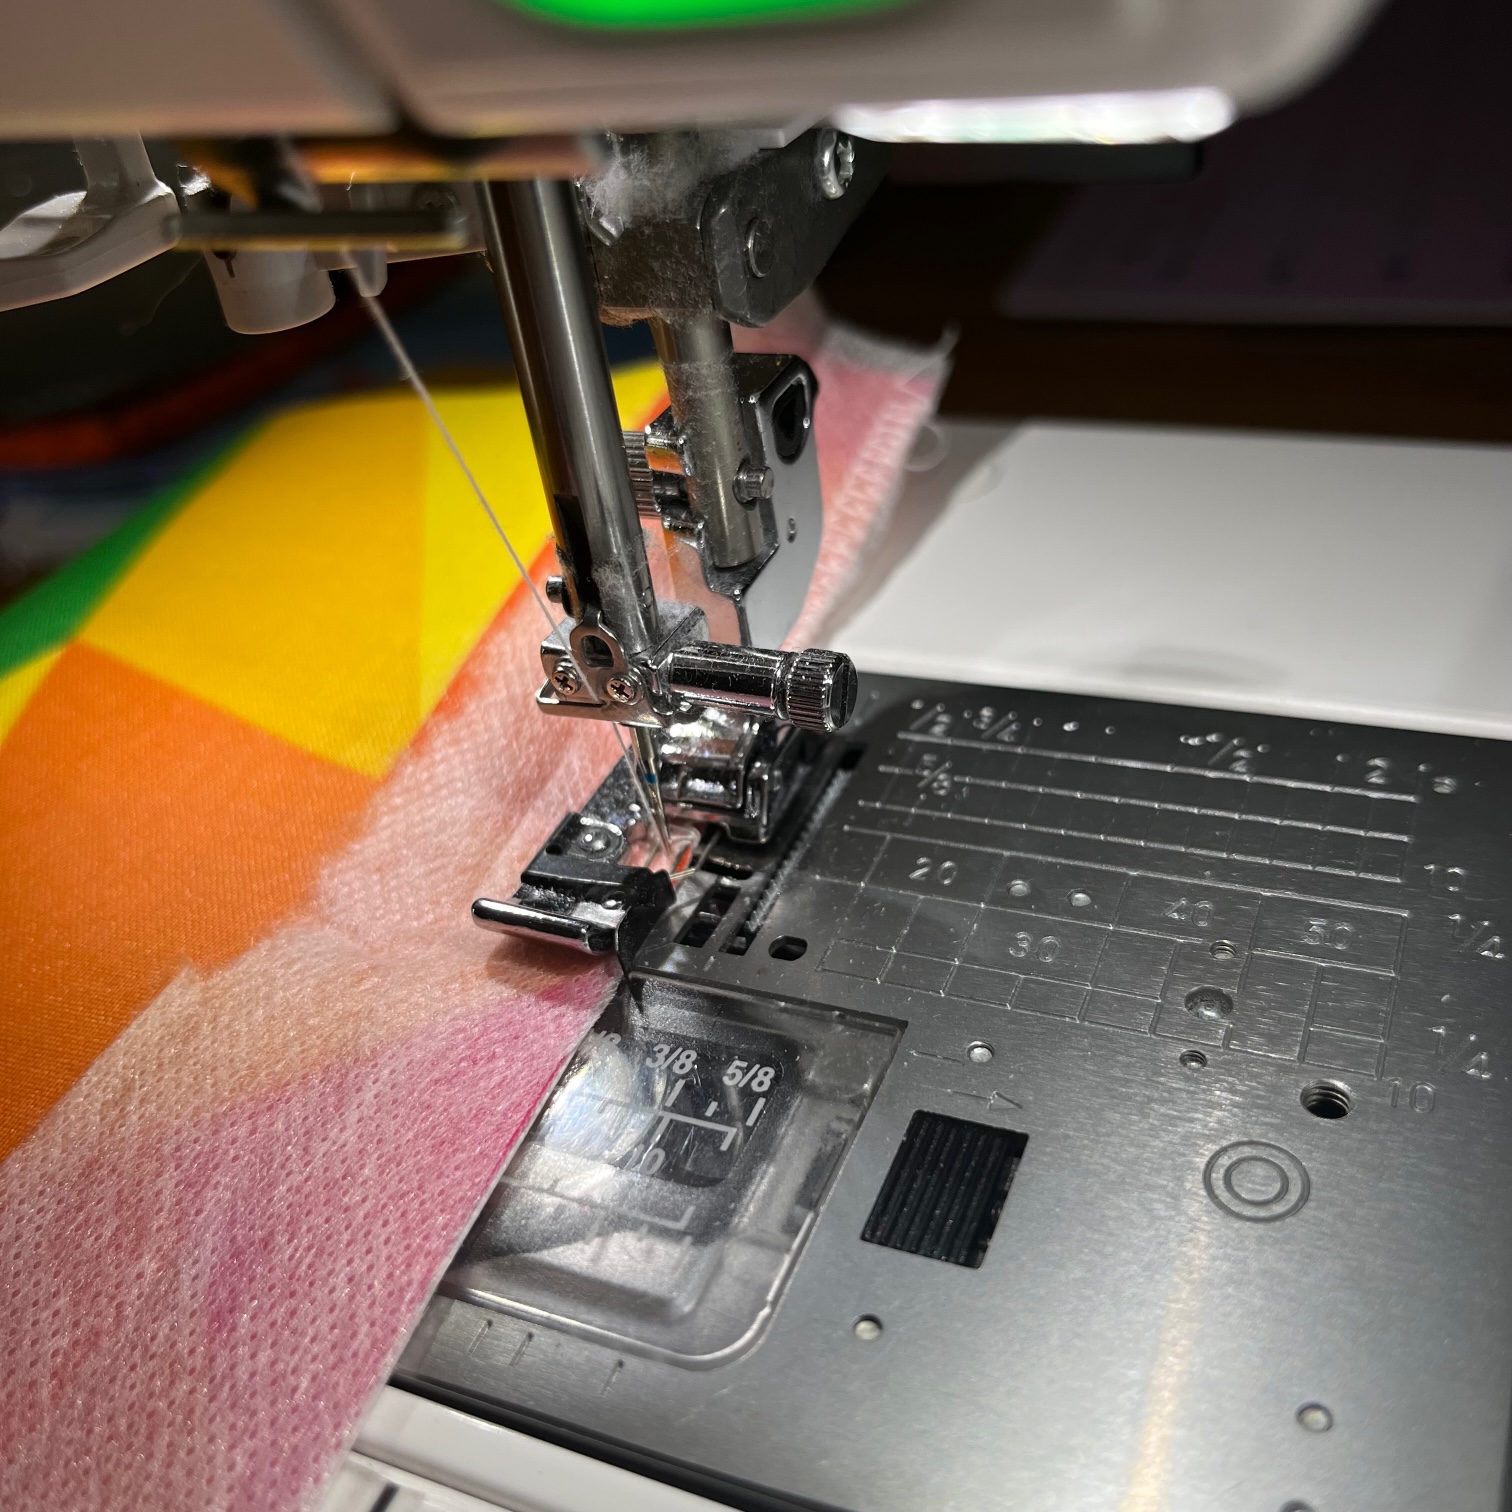
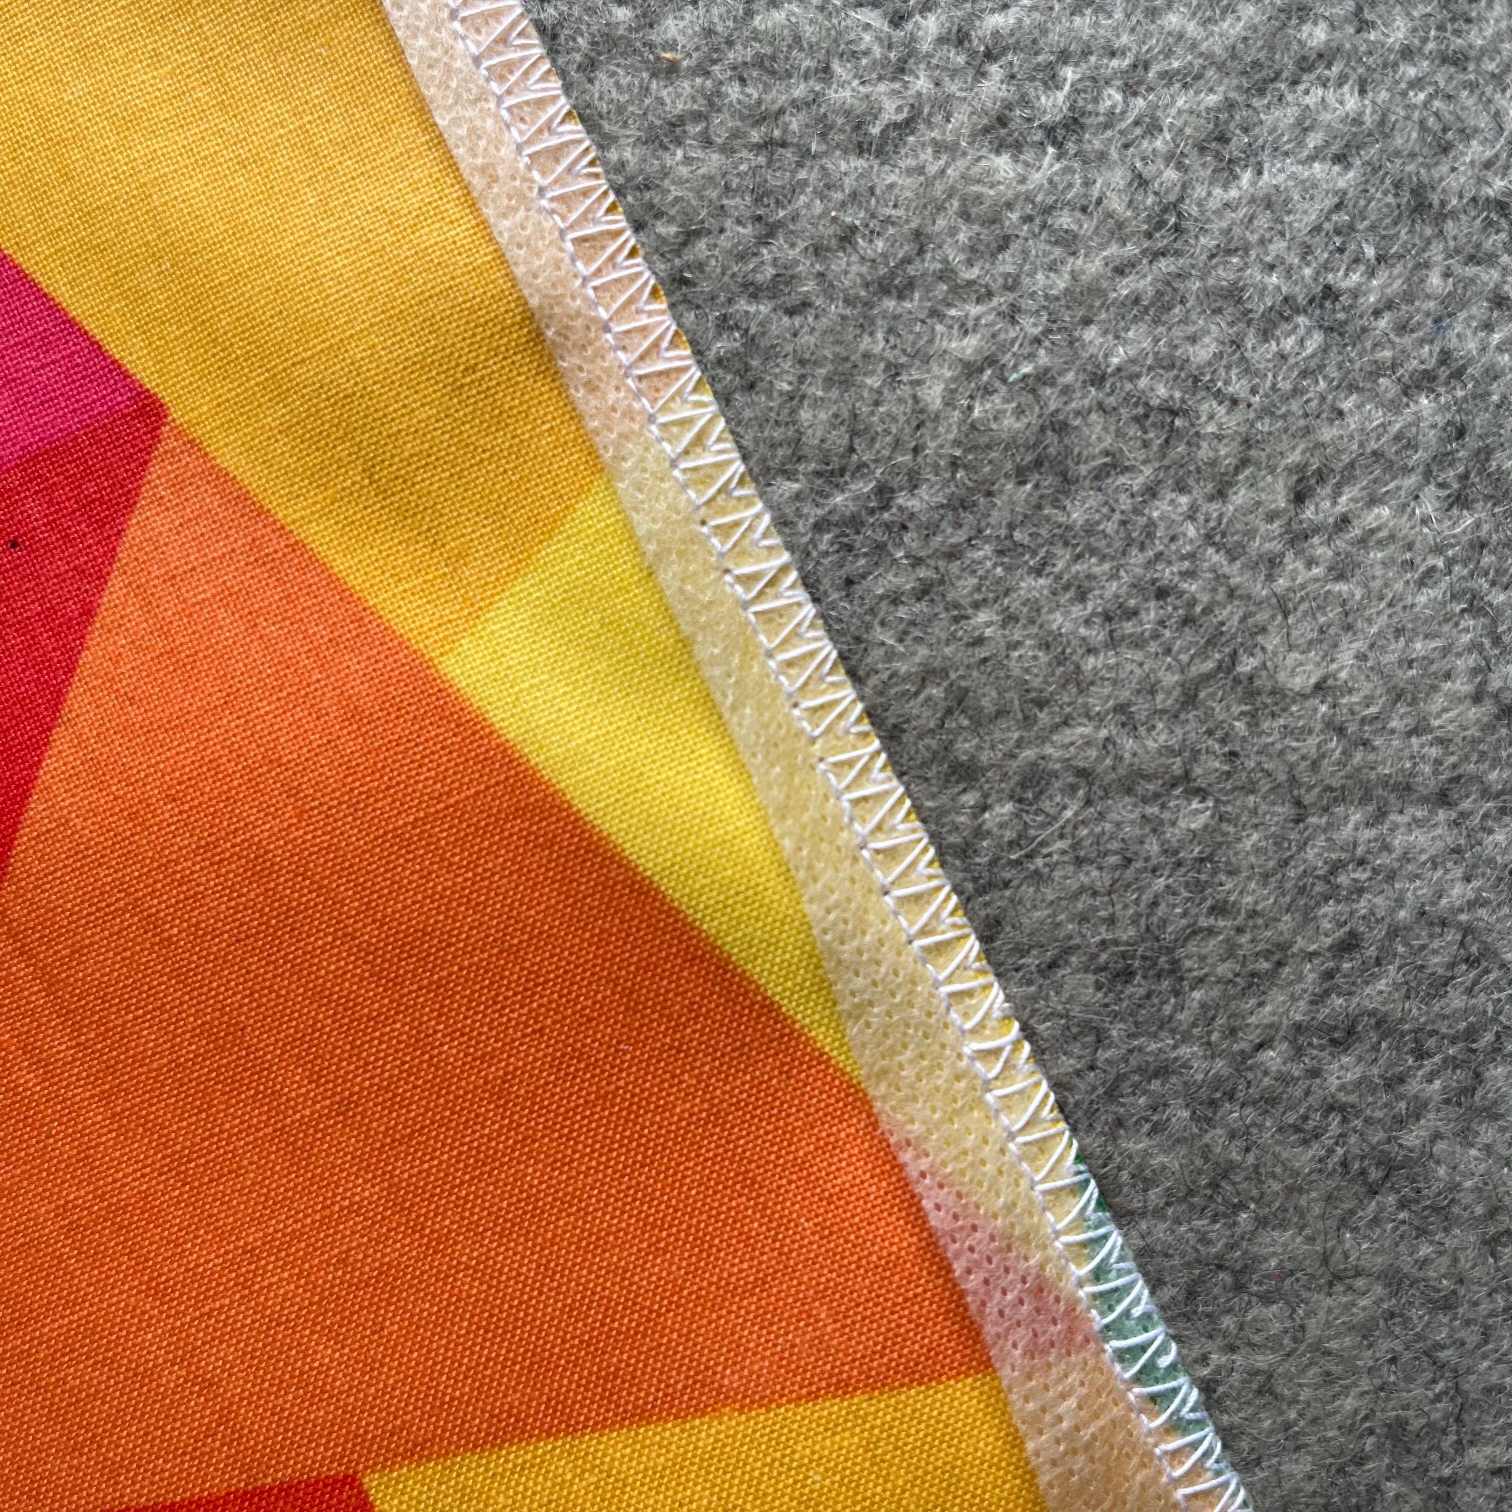
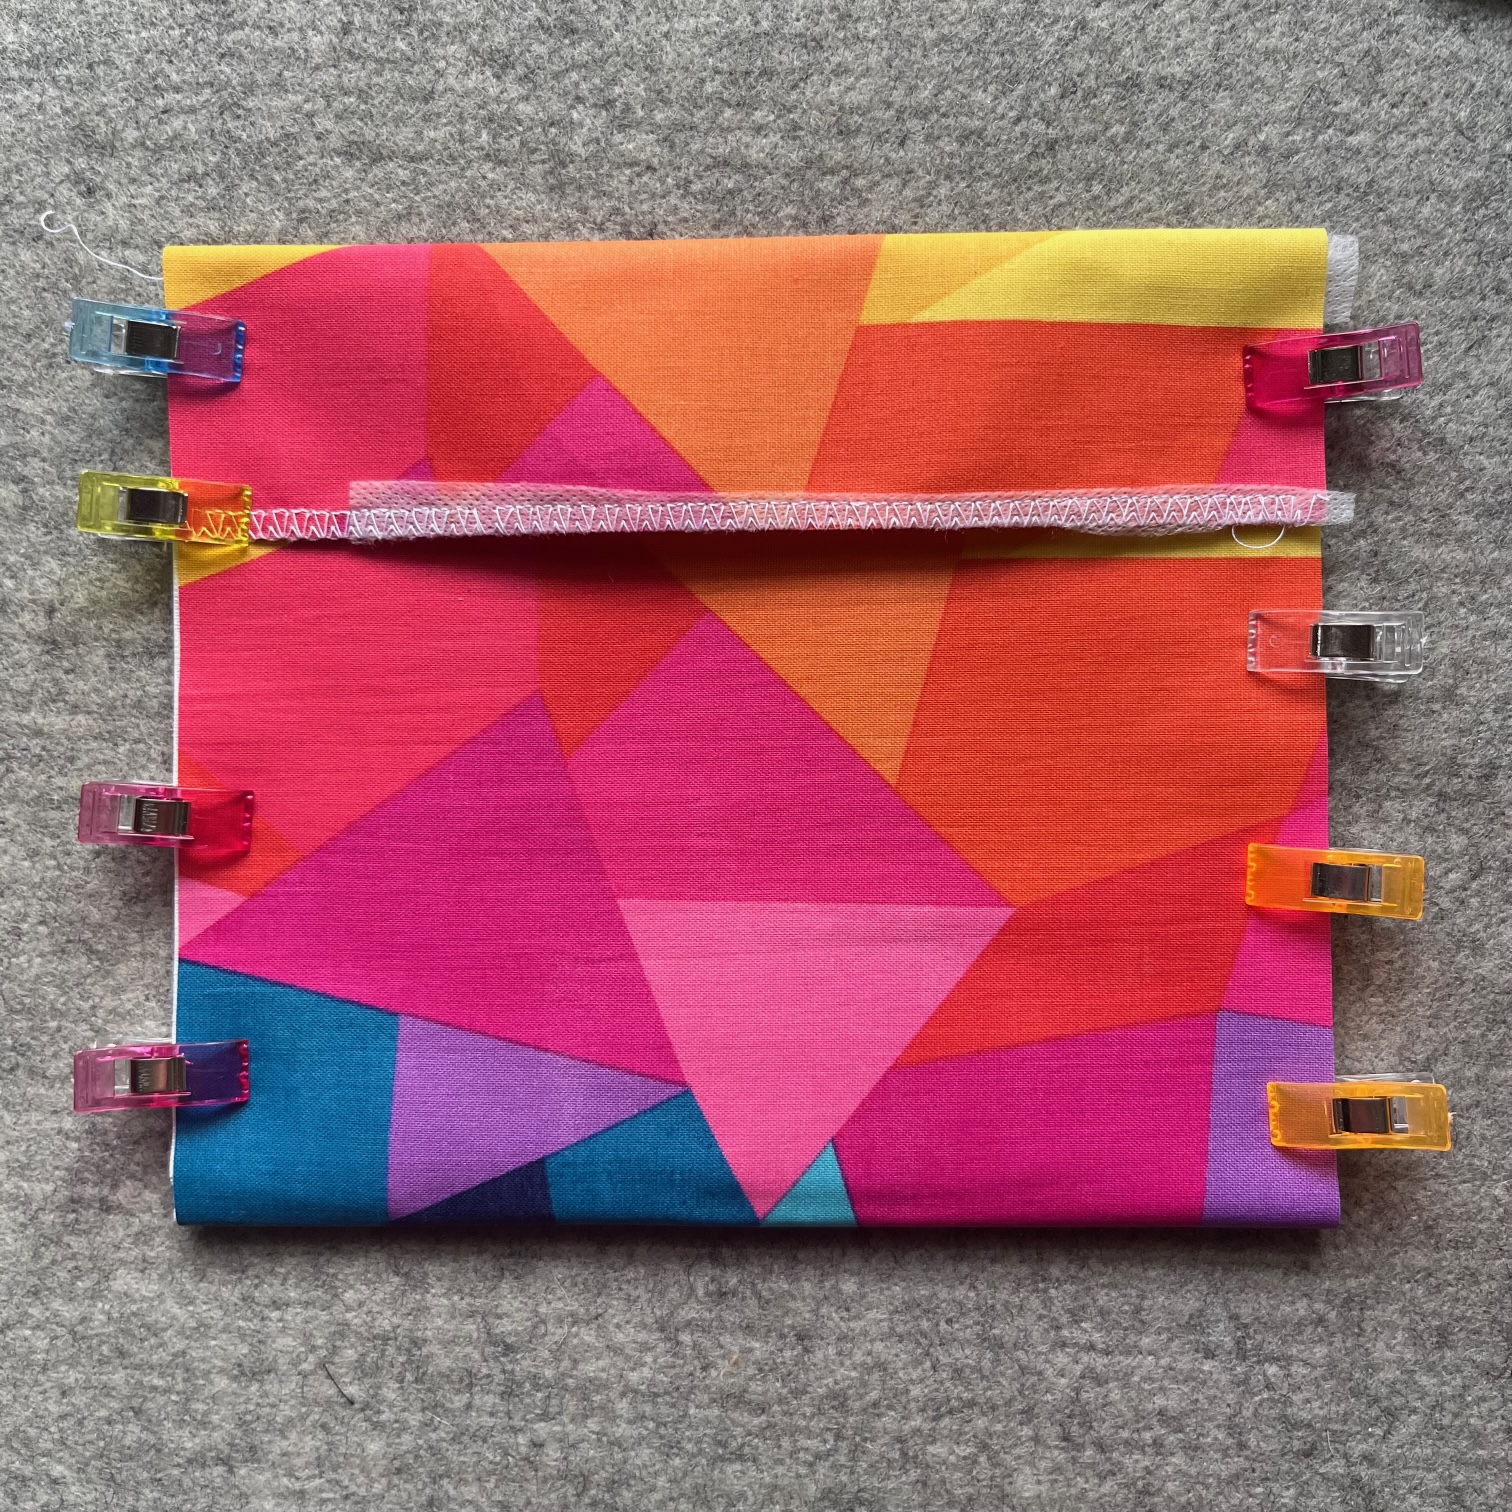
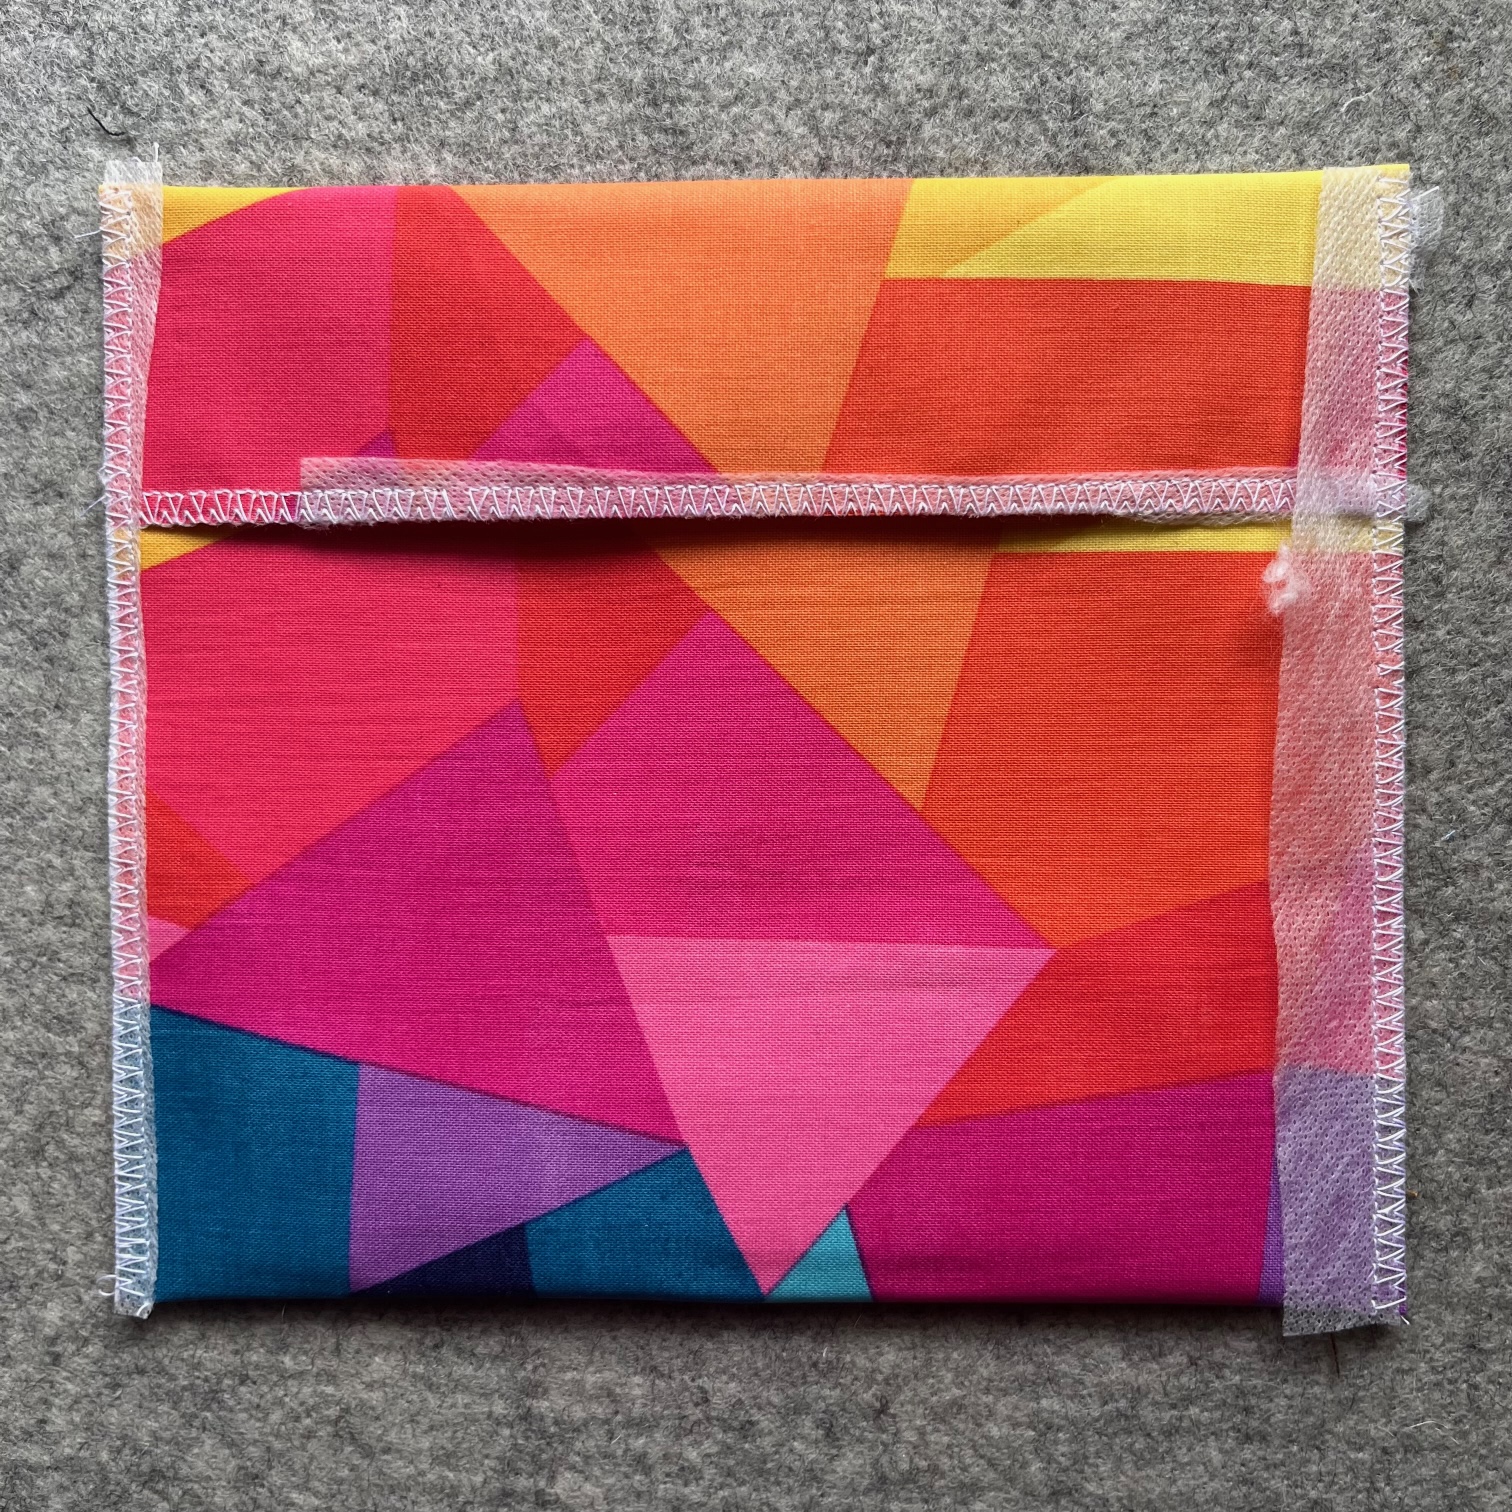
Serging or sewing a straight line and a tight zigzag to the top and bottom (short ends) of your snack bag. Sewing these fabrics can be a little tricky. You can use a special foot for your machine, or I used Thermoweb’s StitchnSew Wash Away Water-Soluble Stabilizer to help glide my project over the feed dogs. When you have finished sewing the top and bottom edges, fold up the bottom of your bag to about 2″ shy of the top edge. Then, fold the top edge down over the bottom edge. Clip the sides in place.
Finally…
Sew using the same method you used earlier (either serging or zigzag). If you used the wash away stabilizer, wash it off and let air dry.
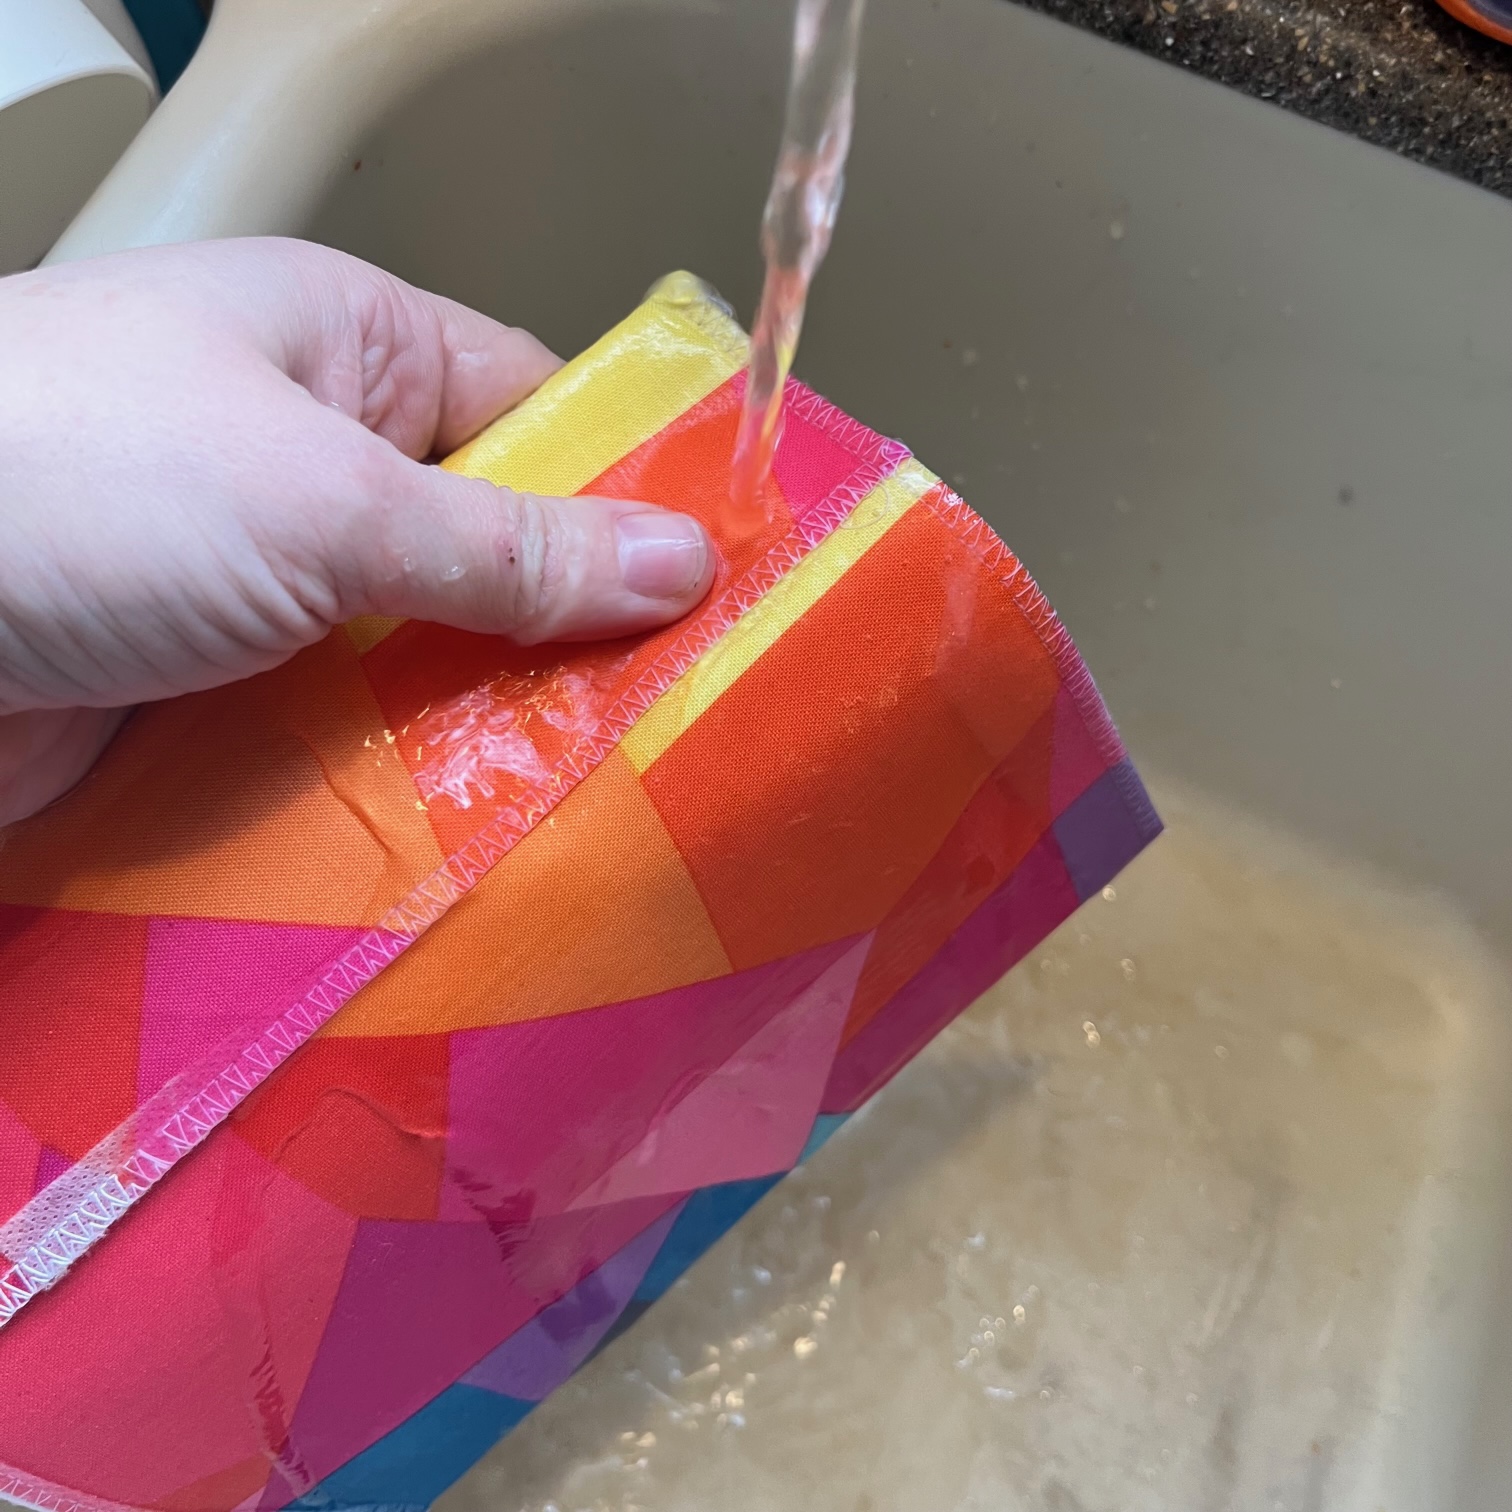
Important Tip: To wash your new sandwich/snack bag, wipe it down inside and outside. To machine wash, wash on cold and let line dry.
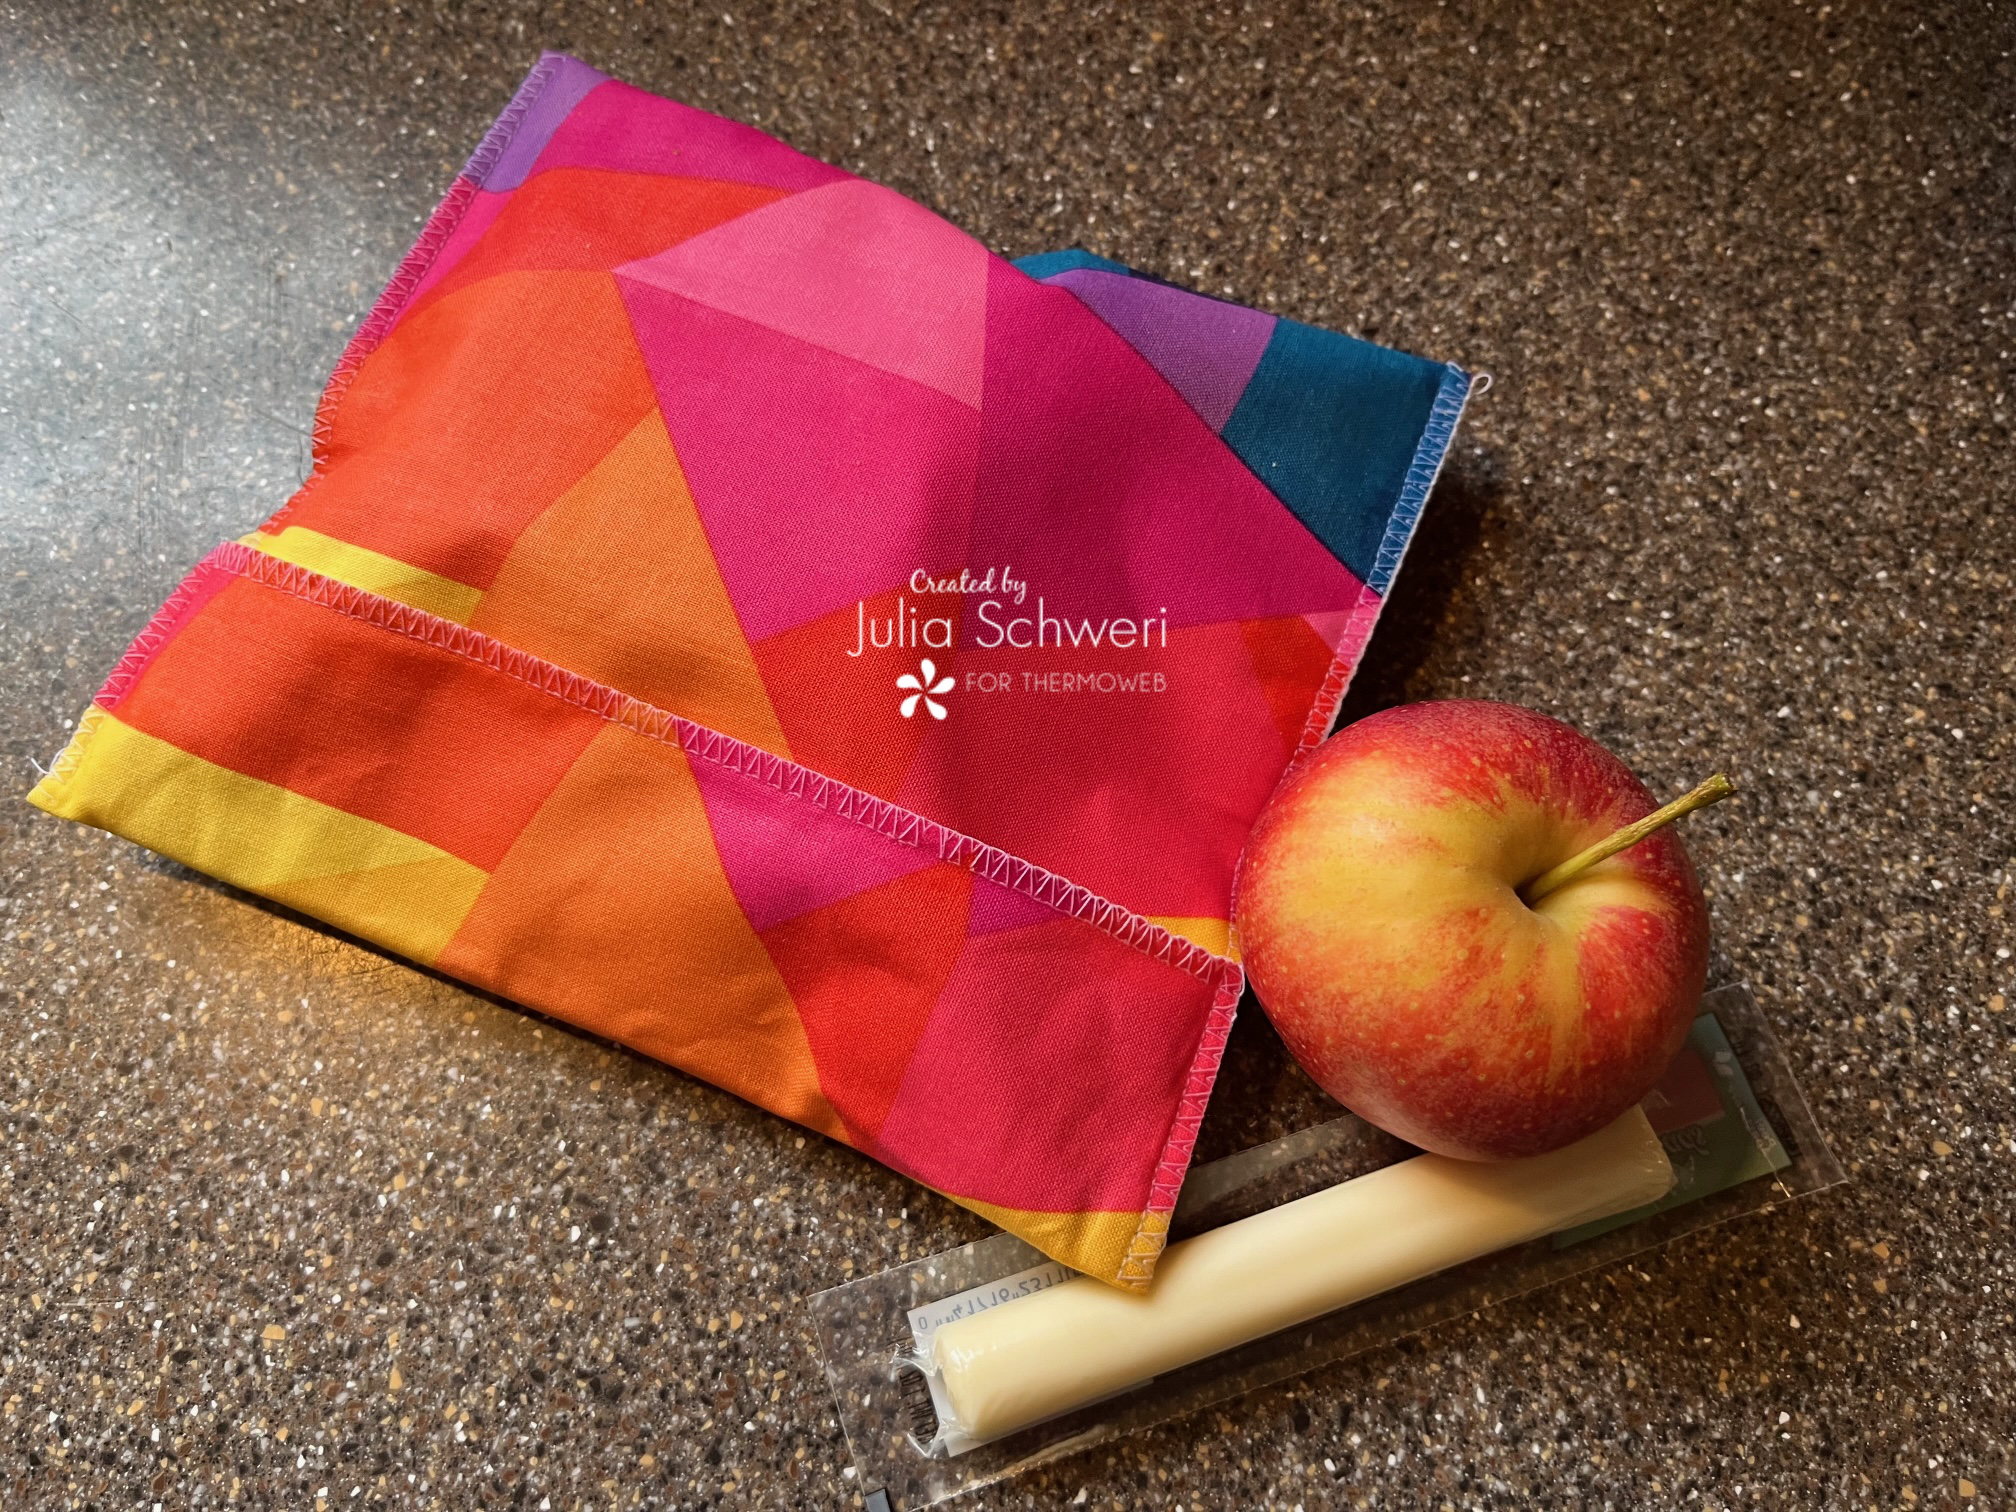
FINISHED!
Thank you for following along with me today! I hope you enjoyed my “Fold Over Sandwich/Snack Bag” tutorial. Come back soon to see what else will be starting to bloom with Inflorescence Designs!
Starting to bloom by choosing JOY ~ Julia