
Hello, it’s Stephanie from Sissy Belle Sews! I’m so excited to be sharing a Christmas project with you today. To say that I’m excited about Christmas is an understatement. With two little boys at home, the holidays are always so much fun.
Fabric Angel Ornaments with Fleece Wings
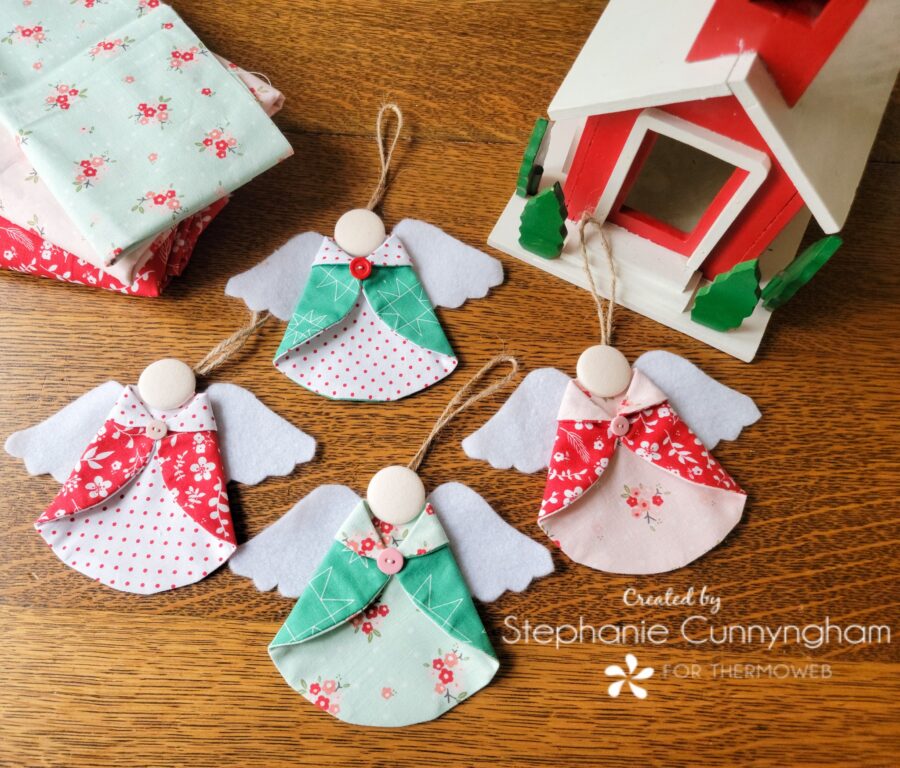
The past few years I have focused my holiday sewing on things for my home: quilts, pillows, table toppers, etc. But this year I am focusing on hand-made gifts. One of my favorite things to make and give are these sweet little angel ornaments. Featuring fabric, fleece, and covered buttons, these go together quickly and are so fun to make. I’ll bet you can’t make just one…
Supplies Needed
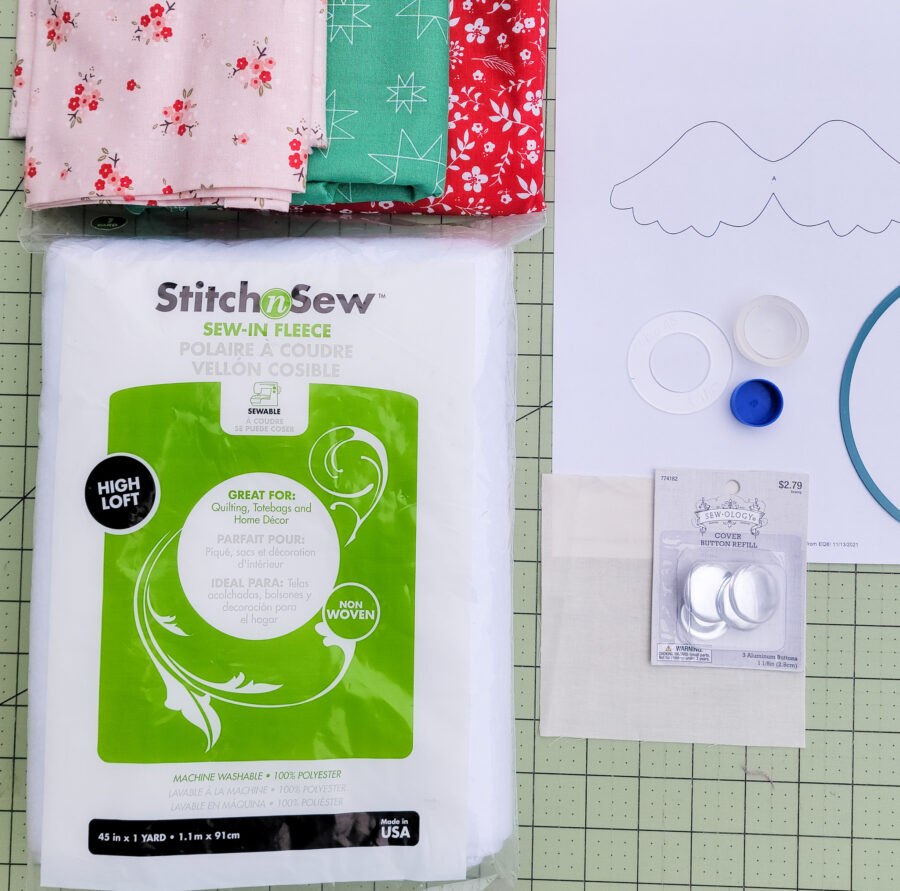
- For each angel, you will need two different fabrics for the dress and one fabric for the head/face.
- 1 1/8″ Cover button kit
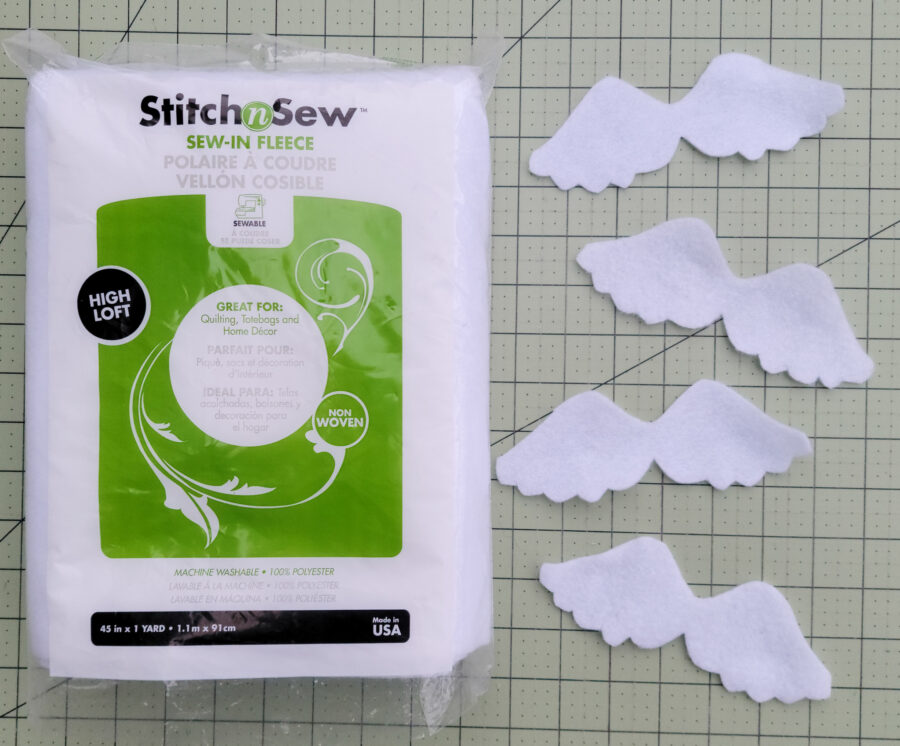
- One package of Stitch n Sew Sew-In Fleece for the wings
- Ribbon or cord to hand the ornaments with
- Pattern for the angel wings
Sewing Instructions
- Cover the button with the fabric for the angel head/face according to package instructions.
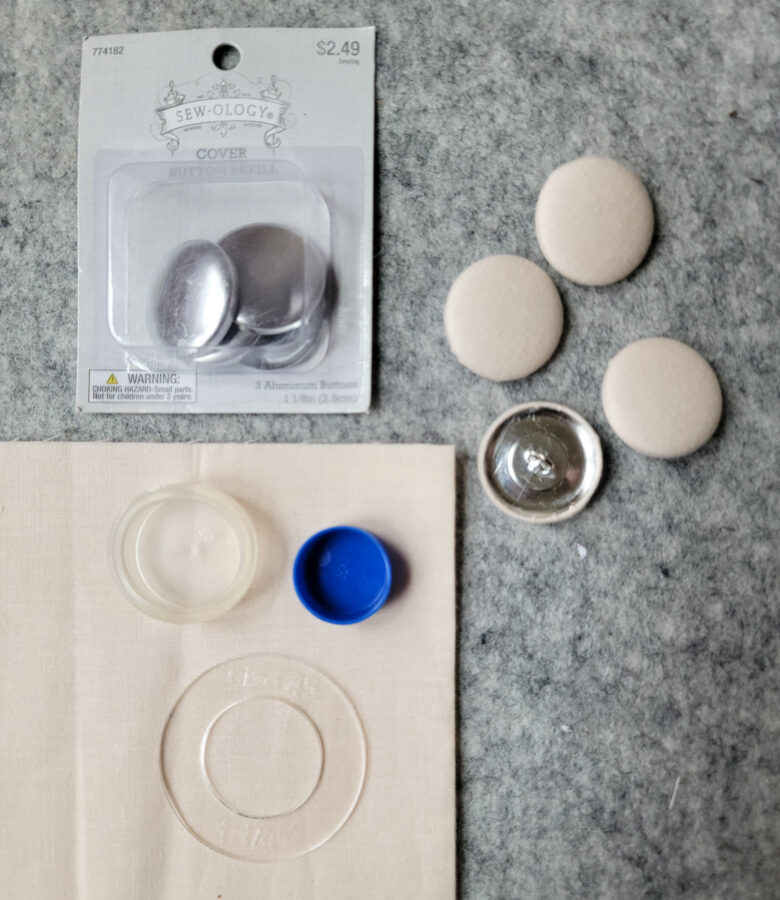
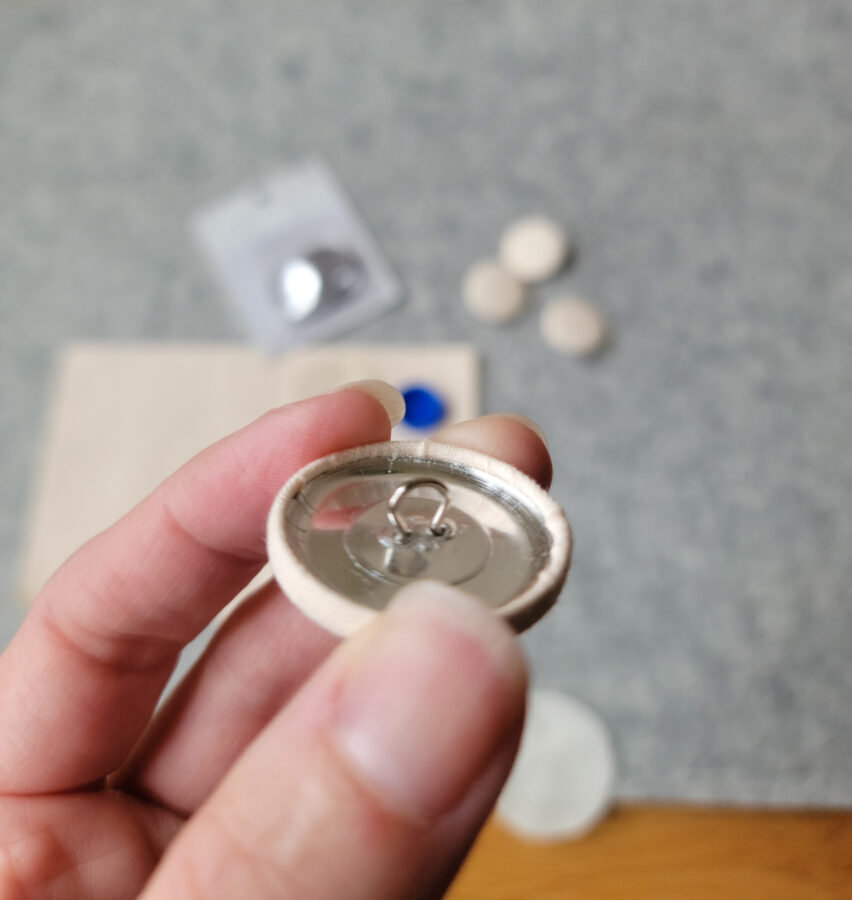
- Make sure you use the back with the loop. You will tie your ribbon for hanging to this loop after you finish your ornament.
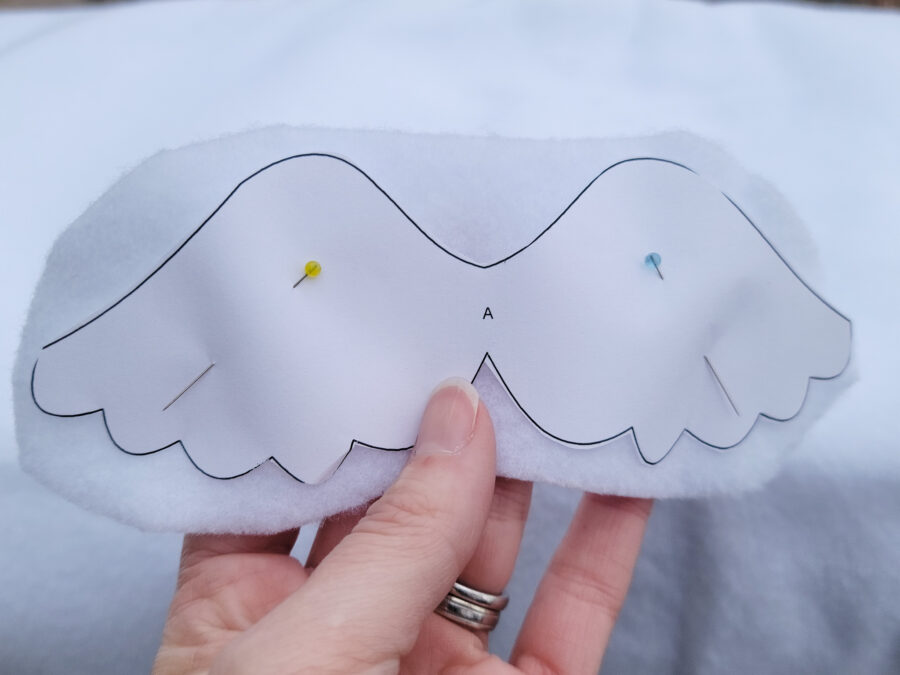
- To make the wings, cut out the angel wings pattern piece. Pin it to the fleece and cut along the line.
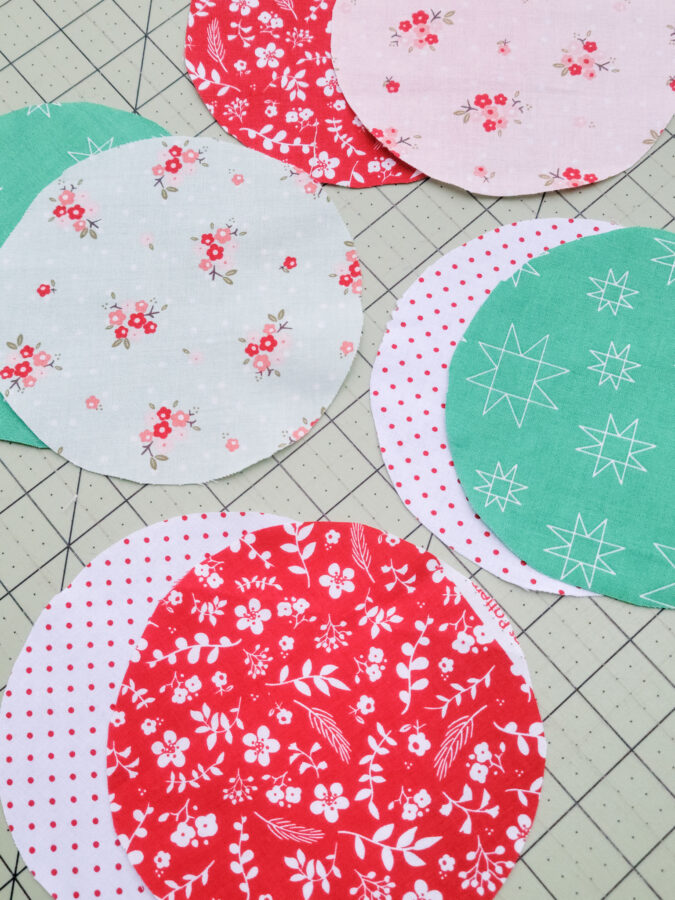
- To make the angel bodies, cut a 6″ circle from two different fabrics. The circle size doesn’t have to be exact. Trace a bowl or a plate or whatever else you have that is approximately that size. I decided to make four ornaments at once, so I cut 8 circles.
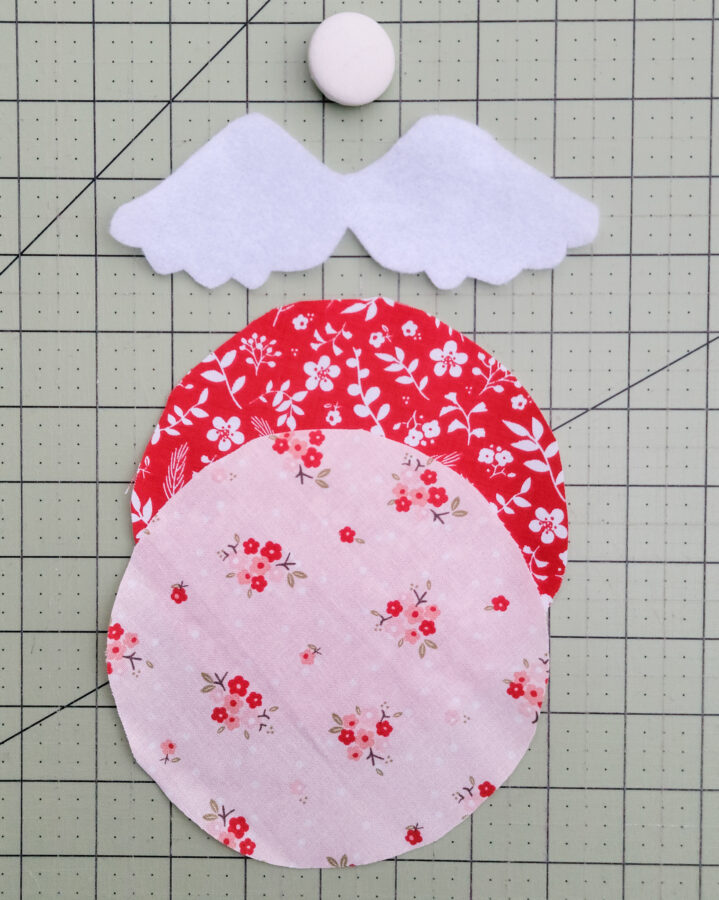
- For each angel, you will need two circles for the body, one covered button, and one set of wings.
- Sew two circles together, right sides facing, and leave an opening for turning. Turn right side out and stitch the opening closed.
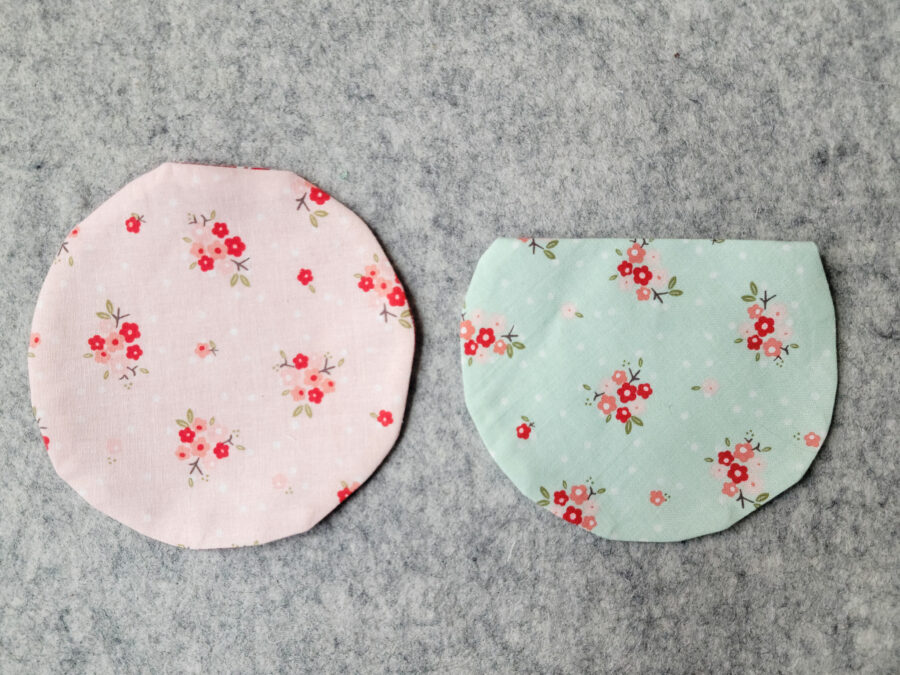
- Fold the top of your circle down about 1″ or so and press. The picture below shows a circle freshly pressed, and one with the top folded down.
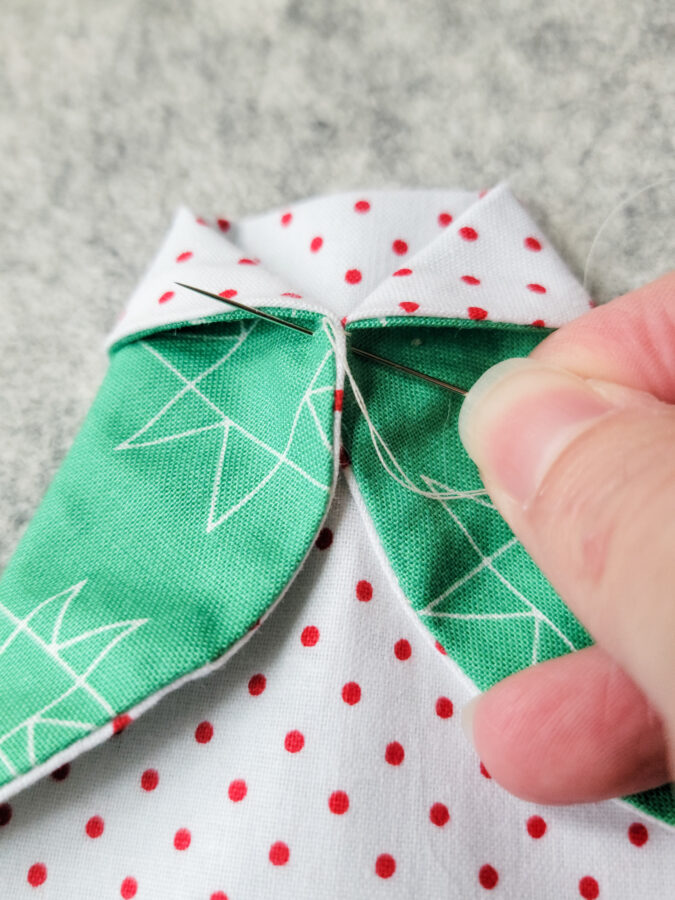
- Fold the corners of the circle together and stitch in place. Add a button here if desired.
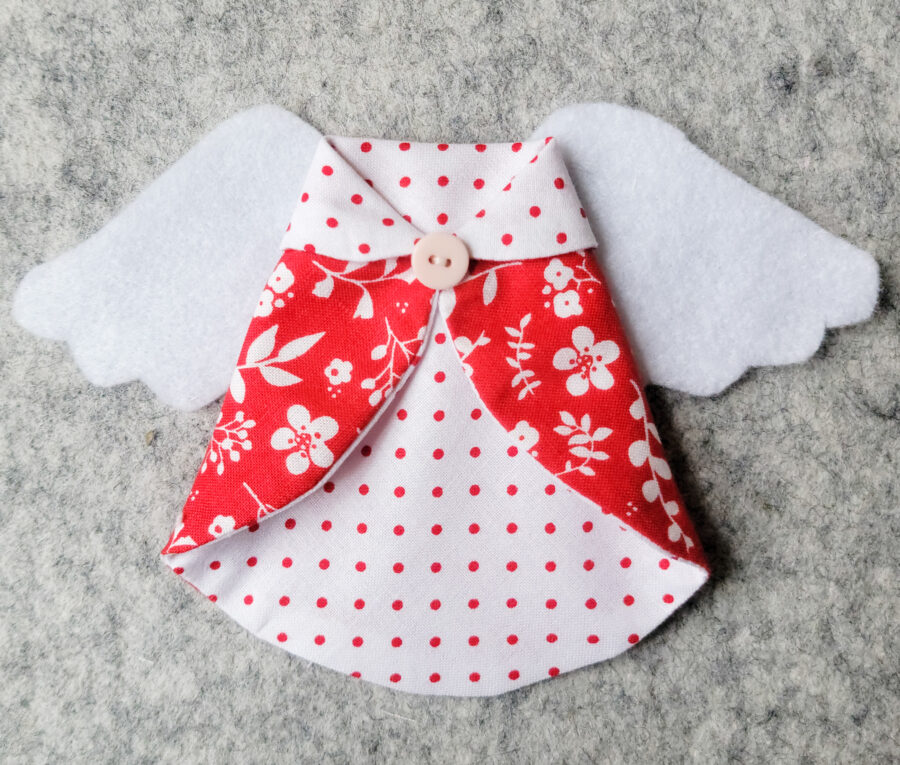
- Stitch some wings to the back of your angel, tacking them in place in the center of the wings. Try not to sew through the front layer of your angel’s dress.
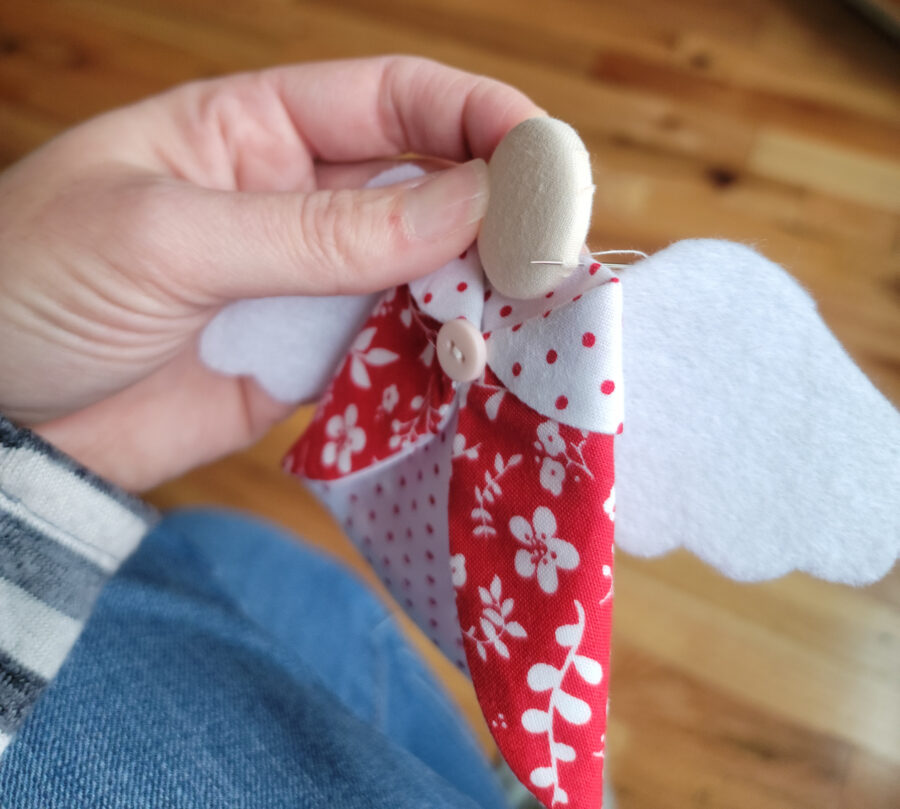
- Stitch the covered button to the top of the angel’s dress. Make sure the loop on the back of the button is horizontal. I like to rest the loop on the back of the button on the top of the dress. I then sew the button to the dress to secure it by tacking the fabric covering the button to the dress fabric with tiny little stitches just on the sides of the button.
- Add your strings for hanging.
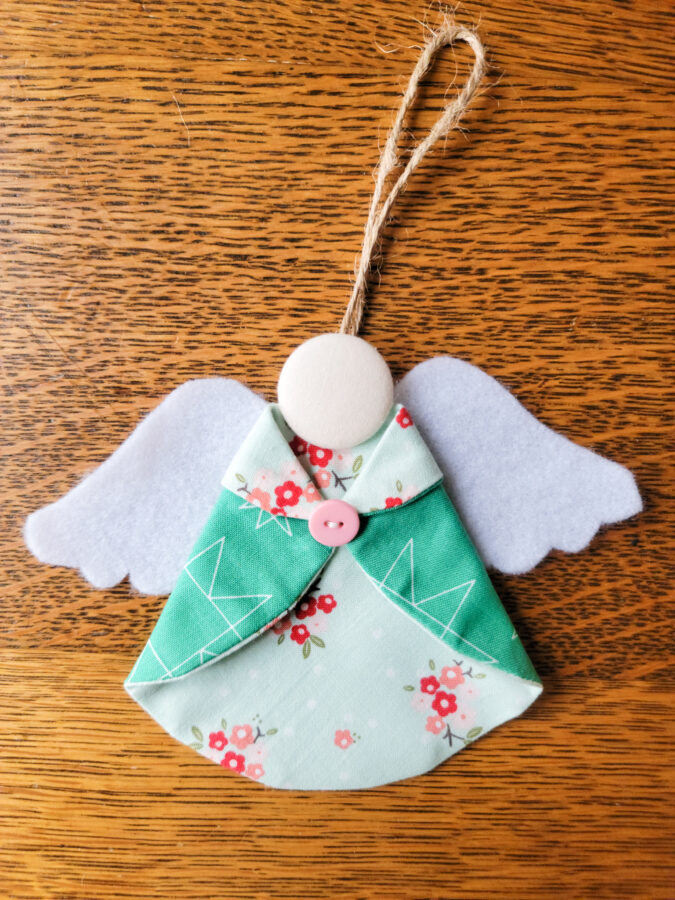
- Make several and give them away!
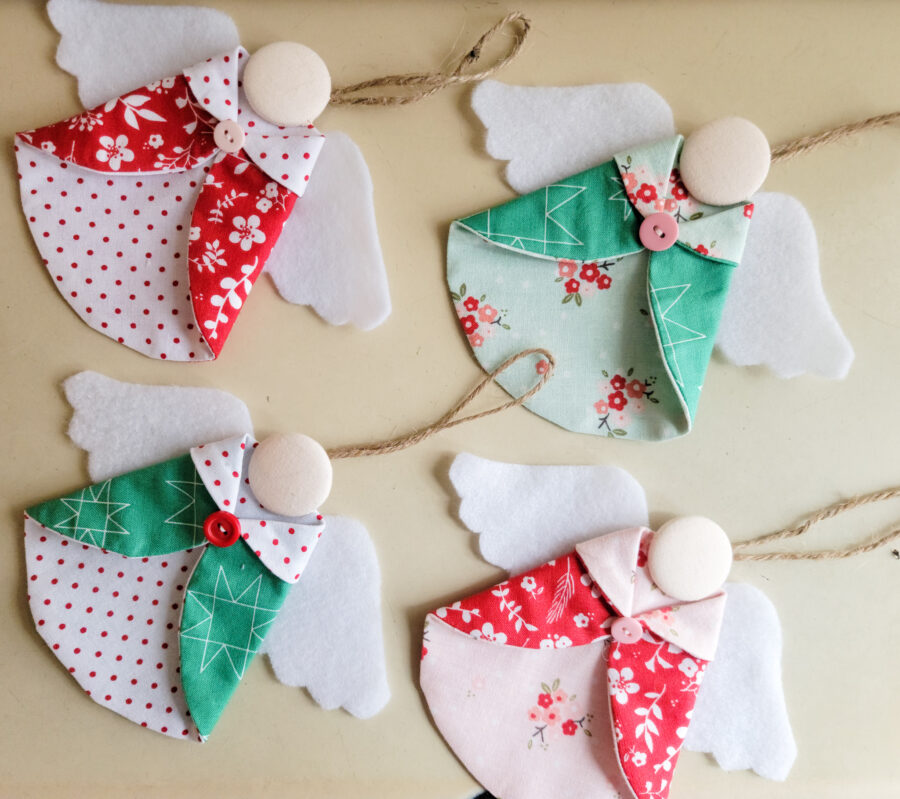
I hope you enjoyed this fun and easy project. If you make some too, be sure to tag me on Instagram so I can see!
@sissybellesews
-Stephanie-
Yesterday we officially kicked-off our BIGGEST SALE OF THE YEAR! Starting yesterday through next Monday save 30% off our entire store* (*NEW Deco Foil HOT Foils are excluded from this sale) And spend $50 after discounts and receive FREE SHIPPING in the contiguous US. The best thing… no code is needed…just shop and save BIG on our website!


[…] Fabric Angel Ornament […]