


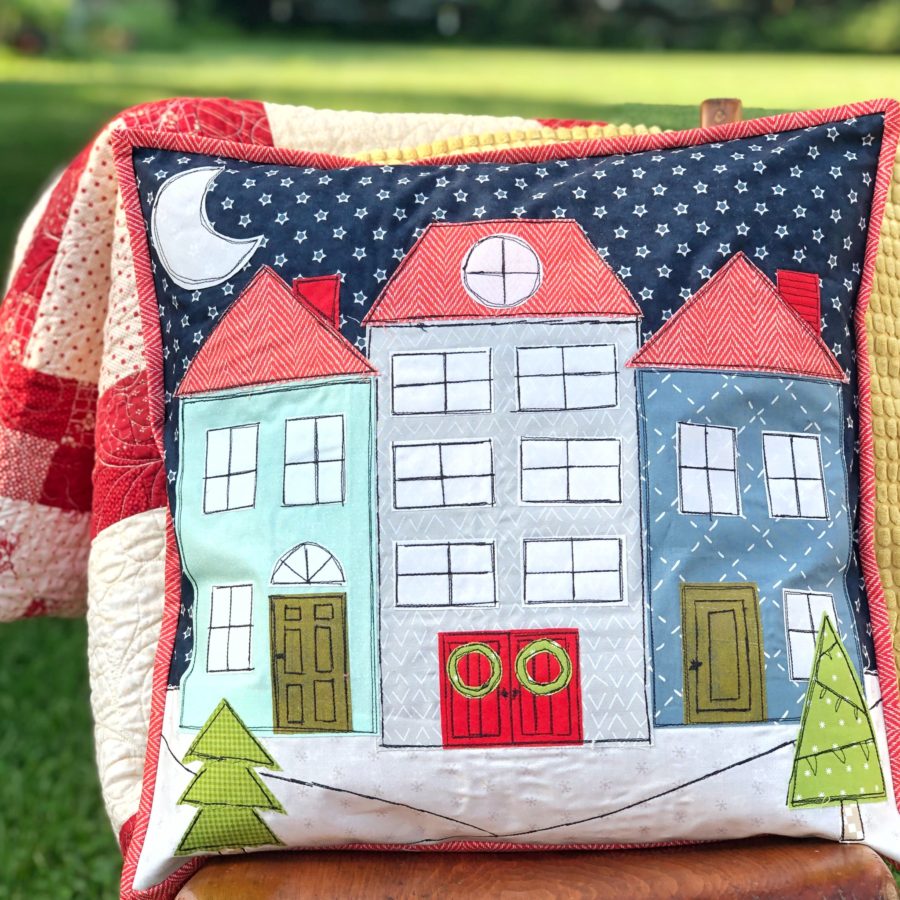
Merry Christmas in August! My name is Jessica Dayon and today I am going to share a tutorial for my Winter Village pillow. I love decorating for the holidays and throw pillows are a really easy way to make a room look festive. Let’s begin!
WINTER VILLAGE PILLOW
This pillow finishes at 18 1/2″ x 18 1/2″
MATERIALS
1 navy fat quarter for the pillow front
1 white print fat eighth for the snow
1 solid white fat eighth
Fabric scraps in assorted colors for the houses, roofs, doors, trees, and other details
1/3 yard for the back
1 red fat quarter for the binding
Heat n Bond Lite Fusible Adhesive
Heat n Bond Lite Hem tape, 3/8″
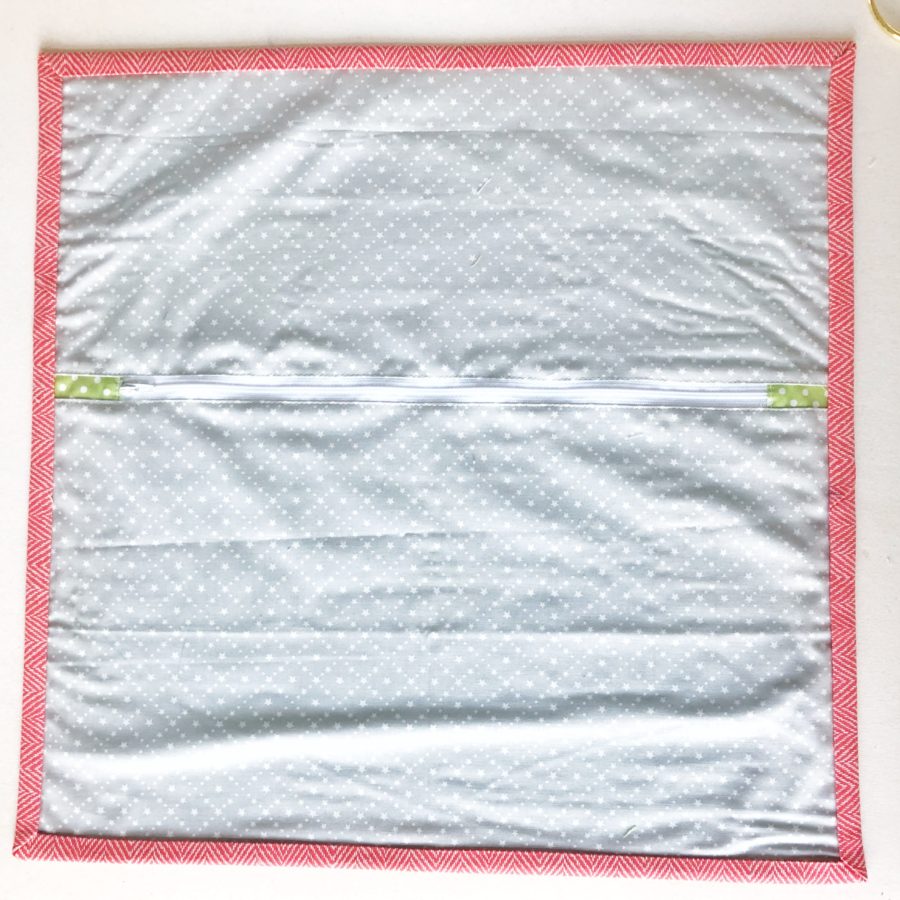
21.5″ zipper
18″ pillow form
WINTER VILLAGE TEMPLATES- HERE
Winter Village Pillow Instructions
BASIC INSTRUCTIONS
Read through the instructions before beginning
All seams are sewn with ¼” seam allowance unless noted
RST means right sides together
WOF means Width of Fabric
CUTTING
From the navy fabric for the pillow front, cut 1- 18.5″ x 18.5″ square
From the white snow fabric, cut 1- 5″ x 18.5″ rectangle
For House 1 (left) and House 3 (right), cut 1- 5″ x 8″ rectangle for each
For House 2 (middle), cut 1- 6″ x 9 1/2″ rectangles
From the solid white, cut the windows for the houses. For House 1 (left), cut 3- 1 1/2″ x 2″ rectangles. For House 2 (middle), cut 6- 1 1/2″ x 2 1/4″ rectangles. For House 3 (right), cut 3- 1 1/2″ x 2″ rectangles.
For the doors (from whatever fabric you’d like), cut 1- 1 1/2″ x 3″ rectangle (House 1), cut 1- 3 1/2″ x 2 1/2″ rectangle (House 2), and cut 1- 1 3/4″ x 3″ rectangle (House 3).
Cut the shapes out from the winter village template, then trace them onto the Heat n Bond Lite. Roughly cut them out. Fuse them to the back of the fabric that they will be used for,following the directions on the Heat n Bond Lite.
From the fabric for the pillow back, cut 2- 10″ x 18.5″ rectangles
From the binding fabric, cut 4- 2.5″ x 21″ strips
Pillow Top Assembly
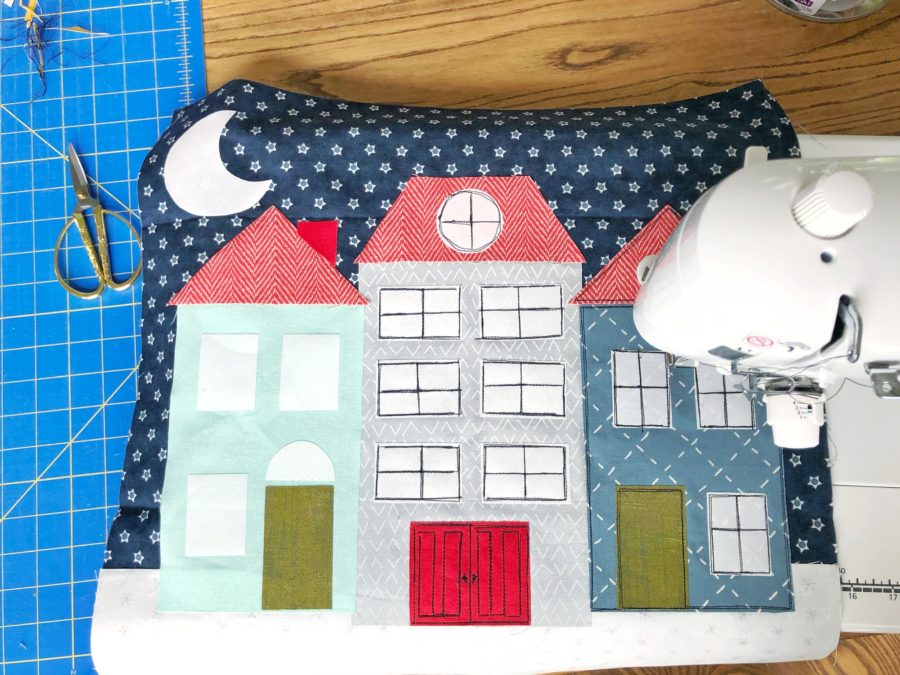
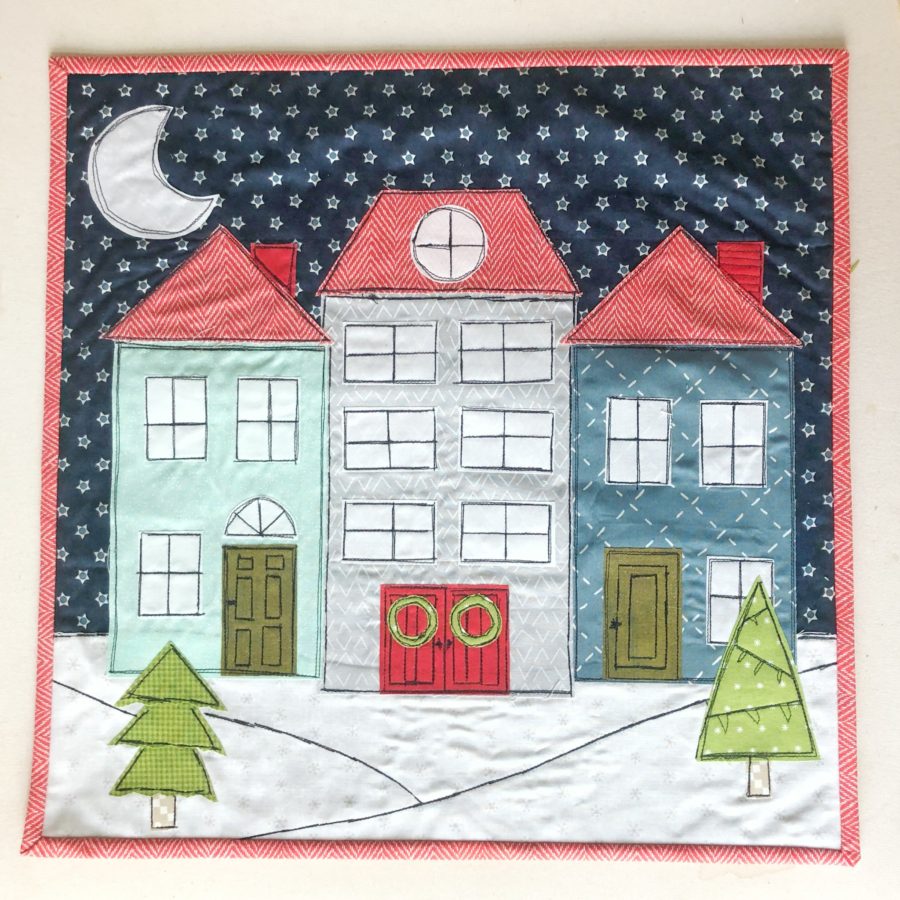
Once you have all of the fabrics fused with Heat n Bond Lite and cut out into usable shapes, start arranging them onto the navy square. You can make them look any way you’d like, so feel free to put your own spin on the layout.
Here is how I arranged mine-

Once you like the layout, fuse the shapes to the pillow. Then sew them down with the thread and stitch of your choice. I chose to use black thread to really accent each piece and I used a straight stitch very close to the edge of each shape.
At this point, you can decide if you’d like to add some more details or embellishments. I chose to add 2 trees, 2 wreaths, and some lines in the snow to look like accumulation. You could add embroidery, buttons, more appliqué, anything you’d like…
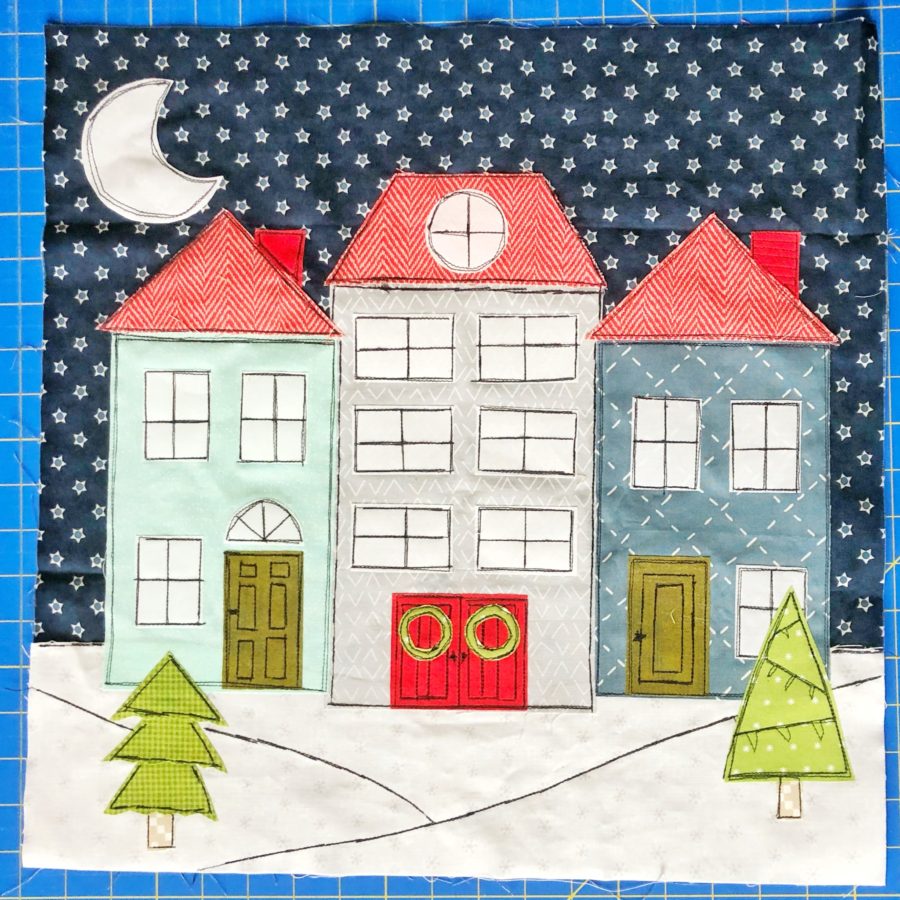
Continue adding until you feel your pillow top is complete and then move onto Pillow Assembly.
PILLOW ASSEMBLY
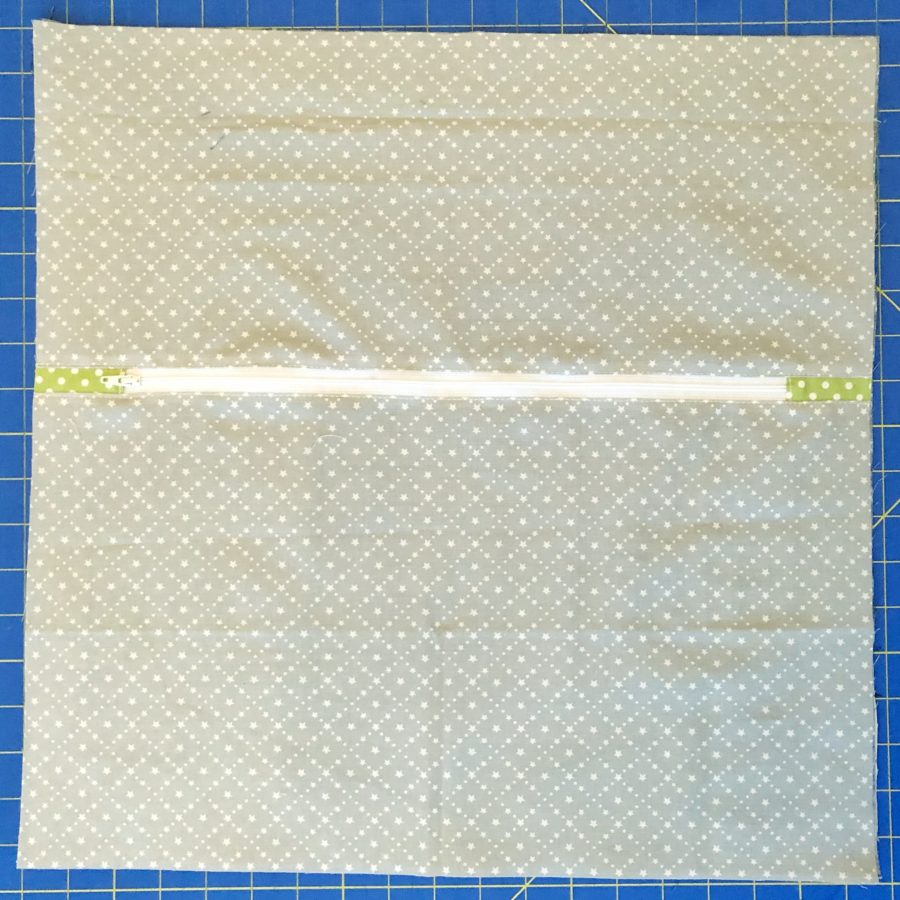
Make the zippered pillow back.
Join the 4 strips of binding together to make one continuous strip. Press in half widthwise. Place the pillow back with the wrong side up then put the pillow top on top of it with the wrong side down (and right side facing up). Pin them together. Sew the binding on to the front of the pillow. When you are attaching your binding, you are also sewing the pillow layers together. Remove the pins.
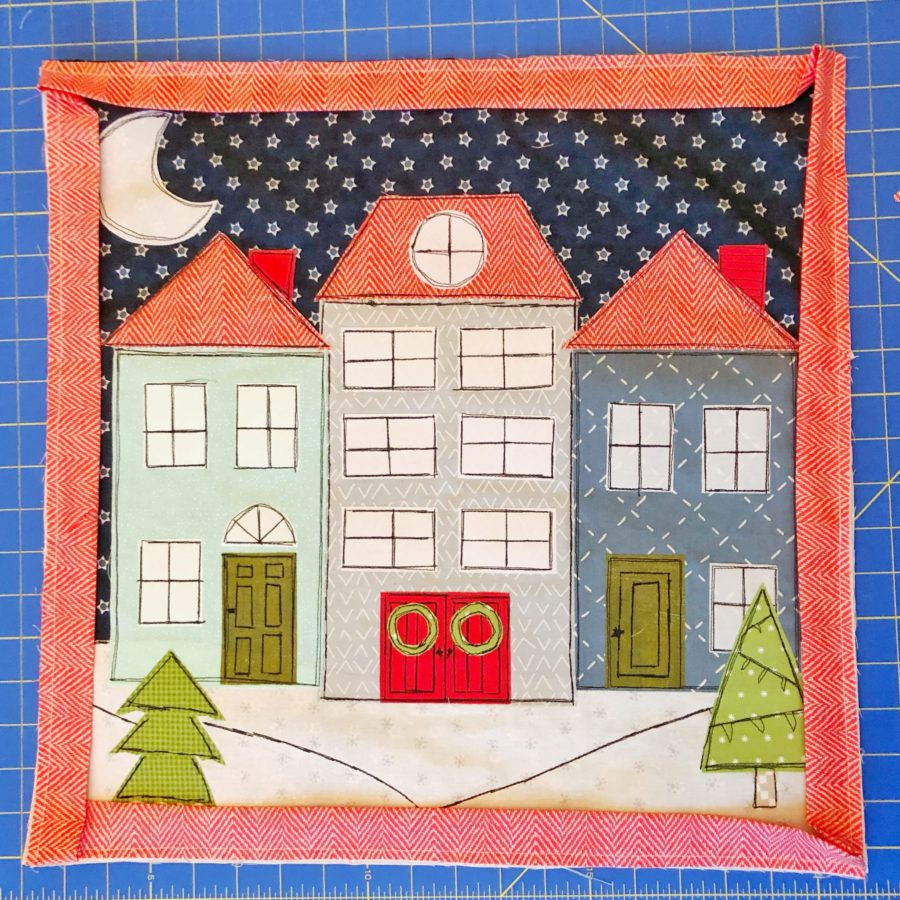
Flip the pillow over. To secure the binding down, use the hem tape. Measure a length of hem tape and adhere it to one side.
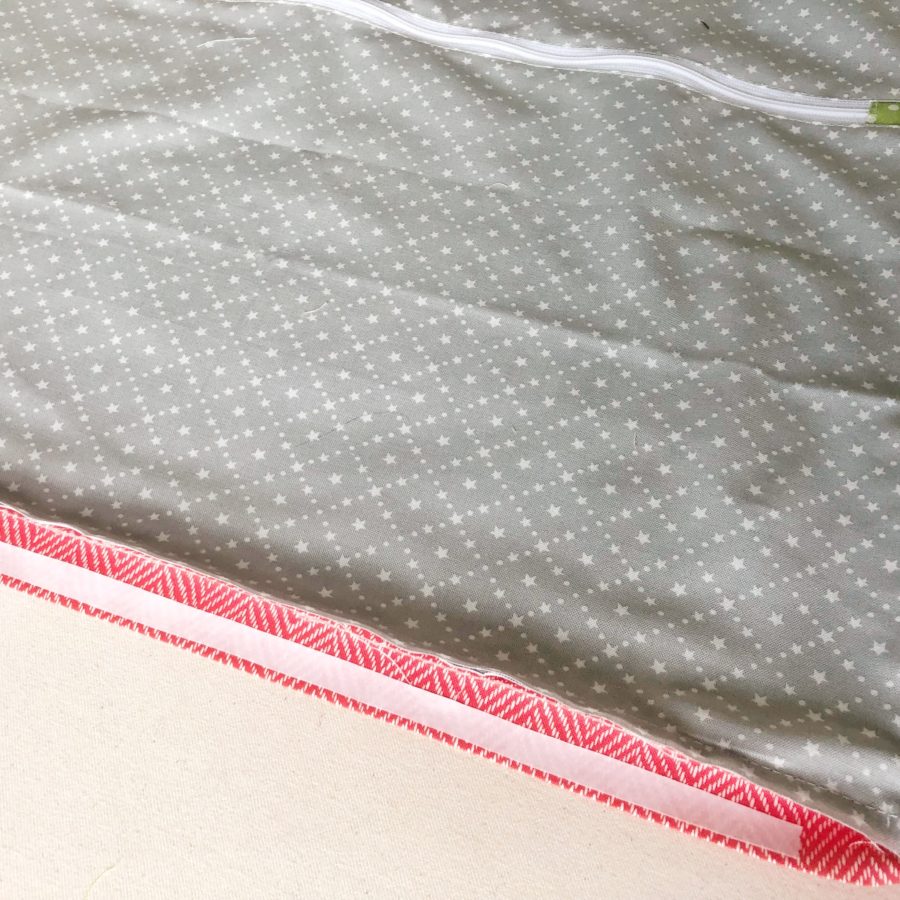
Remove the paper, pull the binding around, and adhere the binding down to the pillow back with your iron, as specified in the directions on the package. Repeat all the way around.
Insert the 18″ pillow form and you are all finished!
Thank you so much for following along with me today! I hope you enjoyed this tutorial!
You can find my blog HERE. On it, I share free quilt patterns and tutorials so go check it out! You can also find me on Instagram @jessicadayon where you can connect with me and see my daily work, current projects, inspiration, giveaways, quilt alongs, and all of my patterns.
If you have any questions, please let me know! Don’t forget to follow me on Instagram so you can stay up to date with my latest free projects- @jessicadayon. Share what you made! I’d love to see your progress photos and finished mini quilt! Use the hashtags #wintervillagepillow #jessicadayonpatterns #thermoweb #heatnbond and tag me so I can see your version @jessicadayon
Rachel
August 14, 2019 at 9:50 pm (5 years ago)Your pillow is so sweet! I could live in this village year round!
Sandra Nixon
November 20, 2020 at 10:49 am (3 years ago)When you send out a free pattern why are half the words missing?
admin
November 20, 2020 at 3:42 pm (3 years ago)Hi Sandra…we’re not sure what you’re referring to. Could you perhaps email me at [email protected] so I can assist? Julia
Rosalyn
November 20, 2020 at 3:26 pm (3 years ago)Would love to see directions in a PDF download Thanks
admin
November 20, 2020 at 3:41 pm (3 years ago)Thank you! We’ll keep that request in mind for future projects.
Ann
November 21, 2020 at 7:43 am (3 years ago)Great idea, I think the same. Thank you for suggesting.