Hi Everyone! Jacquelynne here. Valentine’s Day will be here before we know it! This Valentine Pillow is a very quick project that you can make in an afternoon with fabrics and materials which are probably already in your sewing room. It’s also a very good beginner project- so get the kids and grandkids involved!

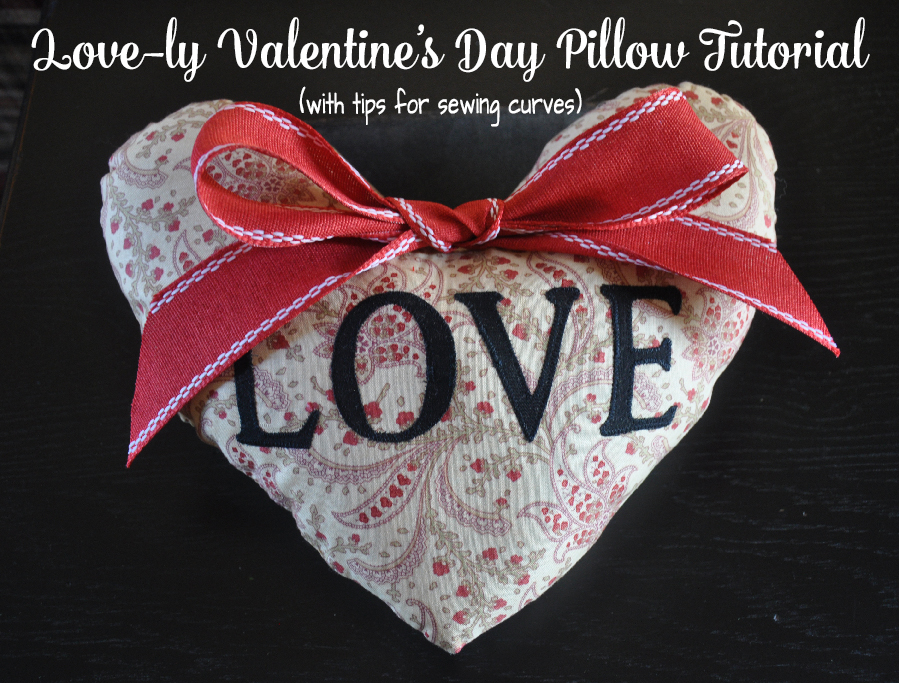
Love-ly Valentine’s Day Pillow Tutorial
I will also give you some tips for sewing and working with curves- it’s easy peasy and you’ll get great results with just a couple of simple tricks.
Finished size of Valentine Pillow is about 10 x 12″
To make this pillow, you will need:
- -Scraps of cotton fabric (2 pieces about 11 x 13″ for the front and back of the pillow, and a small scrap of black for letters)
- –Heat n Bond® Light Fusible Web
- –Heat n Bond® Lightweight Fusible Interfacing
- -Poly-fill to stuff the pillow
- -1 yard of ribbon (about 1 – 1 1/2″ wide)
- -Basic sewing supplies
- -Patterns which can be found here (downloadable PDF)

To make the Valentine Pillow:
Print out the heart pattern and cut it out on the line. Fold your fabrics for the front and back of the pillow in half. Place the pattern on the fabric with the dotted line on the fabric fold and pin in place. Cut a heart shape from each piece of fabric.
Use the same method to cut out a heart from the fusible interfacing.
Trace the letter shapes onto the paper side of the fusible web and cut out, leaving about 1/8″ around each shape. Following manufacturer’s instructions, fuse shapes to WRONG side of black fabric. Cut out letters on line; peel off paper backing.
Arrange the shapes on the pillow front and fuse in place according to manufacturer instructions.
Fuse the interfacing heart to the WRONG side of the pillow front, following manufacturer instructions. I find that using interfacing in this step gives you a smoother finish to the pillow front after you’ve stuffed it.
Use black thread to machine applique around the letters.

Place the pillow front and pillow back right sides together and pin together. Sew them together, leaving about a 4″ opening on the side for turning and stuffing; backstitch at the beginning and ending of your sewing.

SOME TIPS:
When sewing around curves, use a smaller stitch size. This will give you a smoother curve- the smaller your stitches, the smoother it will be (and the smaller the stitches, the harder it is to pick them out if you make a mistake! There’s always a caveat, LOL.)
When you get to that pointy part on the heart, instead of doing a pivot with your stitching, try taking a few stitches across the point- this can help it to lay flatter once you’ve turned it.
Clip the concave curve where that point is- snip almost to the stitching, but don’t cut through the stitches!
Cut some notches on the convex curves at the top of the heart- again, cut almost but not through the stitches.
TooltipText

Turn the pillow right side out through the opening. Press the edges (seam) flat, using a wooden skewer to gently push out the edges so you get a nice smooth finish. Turn those edges at the opening in and press.

Stuff the pillow firmly with poly-fill- the firmer you stuff it, the nicer shape you will get.
Hand stitch the opening closed.
Tie a large bow with the ribbon. Trim the ends as necessary. Hand stitch to pillow. And there you have a Lovely Valentine’s Day Pillow!