Need a gift idea? Try this technique using HEATnBOND® Interfacing and satin ribbons to stitch some drawstring bags, pillows, or anything that needs some shine. It’s like making your own shiny fabric. Carla from Creatin’ in the Sticks visits the blog today to give a few ideas to get a head start on holiday gift stitching.
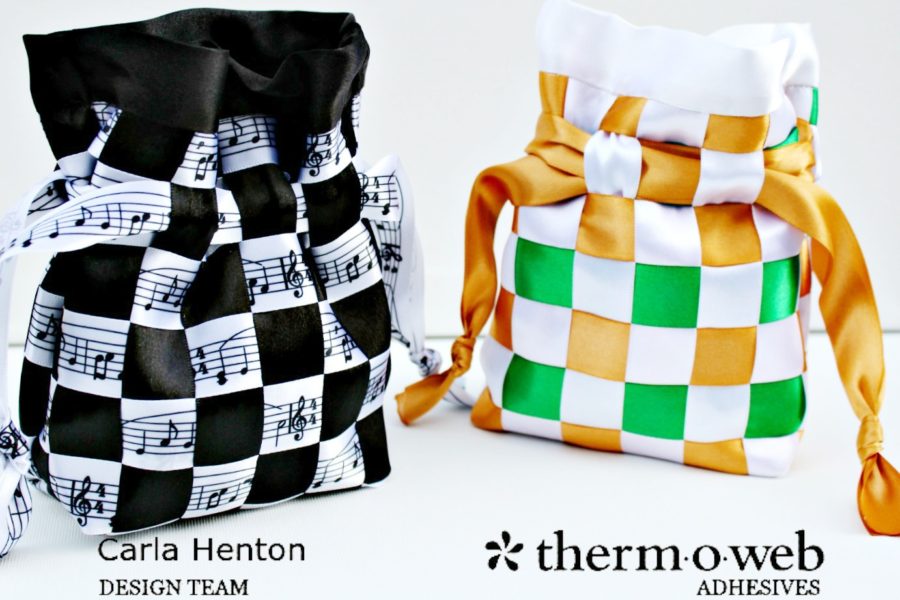
Drawstring bags are always handy for a quick gift and they are the perfect reusable gift wrapping. With these bags you don’t have to worry about casing for the drawstring because the ribbon weave leaves space for the drawstring and HEATnBOND® Woven Fusible Interfacing provides the perfect amount of stability and strength. Here’s how to create some shiny weaved drawstring bags:
Ribbon Draw String Bag
Finished size: 6 1/2″ tall x 4 1/2″ wide
Supplies:
7″ x 14″ – HEATnBOND® WOVEN SOFT FUSIBLE INTERFACING
7/8″ wide satin ribbon:
White 8 – 14″ strips
Gold 8 – 7″ strips
2 – 20″ strips for drawstring
Green 8 – 7″ strips
White satin fabric:
2 pieces 7″ x 9″
General sewing supplies:
iron, sewing machine, scissors, thread, pins, etc.
Project Instructions:
Place interfacing bumpy (fusible side) up and pin one gold satin ribbon 7″ strip at the top then pin long white satin ribbon strips to the top of interfacing by putting one strip on top of the gold and the next underneath the gold.
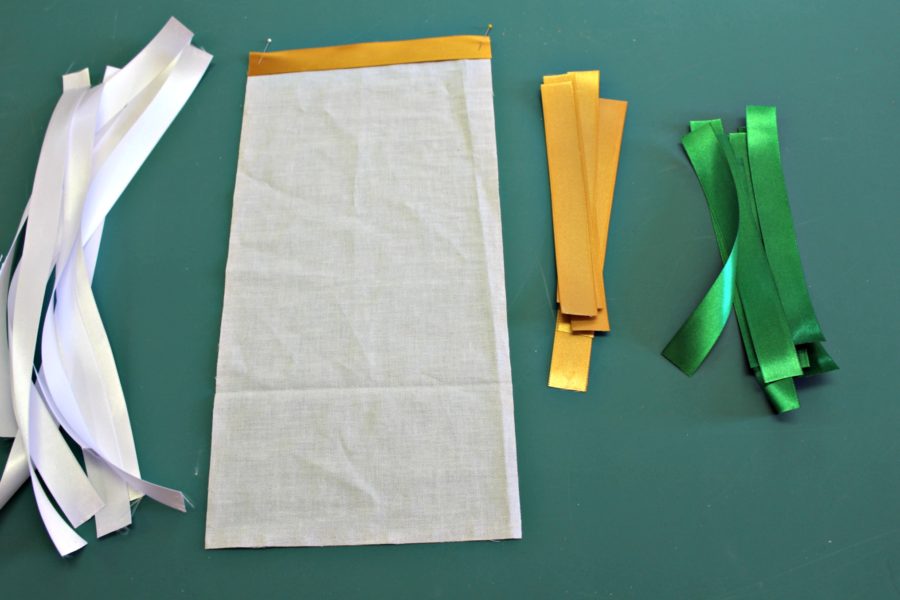
Repeat across the top then pin white strips to the bottom of the interfacing side by side with no space between them.
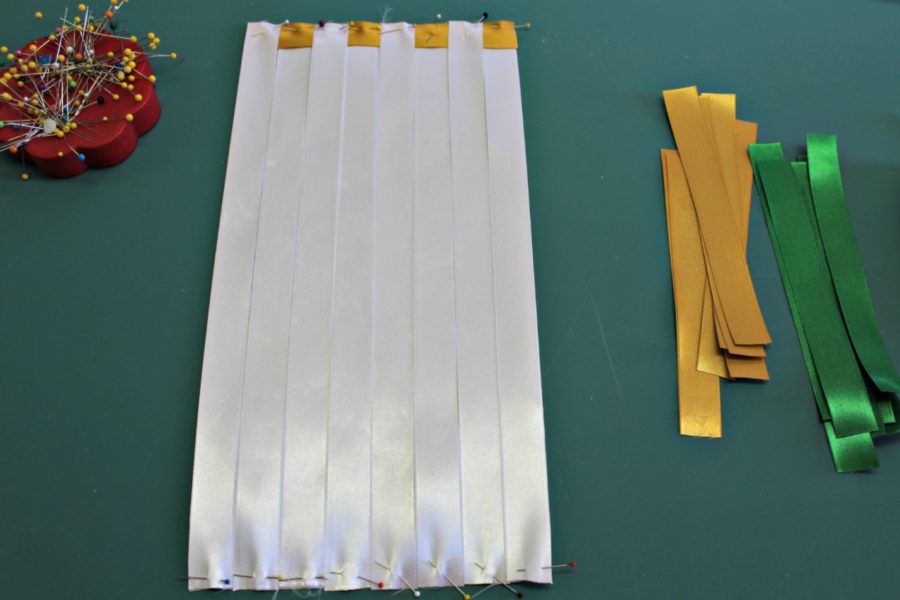
Next pin a green strip on top of the white strip on the left under the gold strip. Now pin a gold strip under the green, sliding it under the white strip. Repeat down the length of the interfacing. Now weave the green and gold strips under and over the white strips until the entire interfacing is covered.
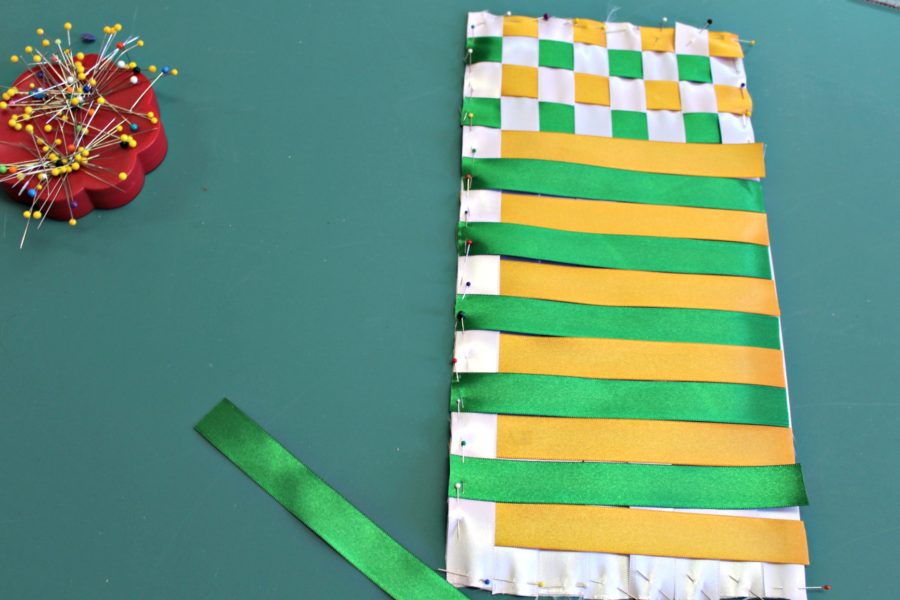
For the last strip of green, the pins holding the white strips will have to be removed and re pinned as you weave it.
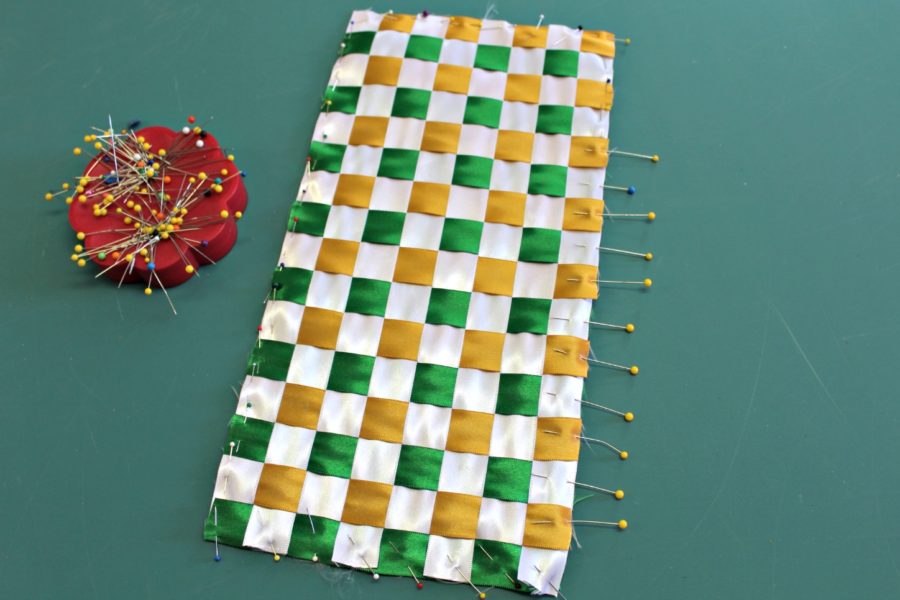
Turn the interfacing over on ironing surface, carefully remove pins, and bond the interfacing to the ribbon.
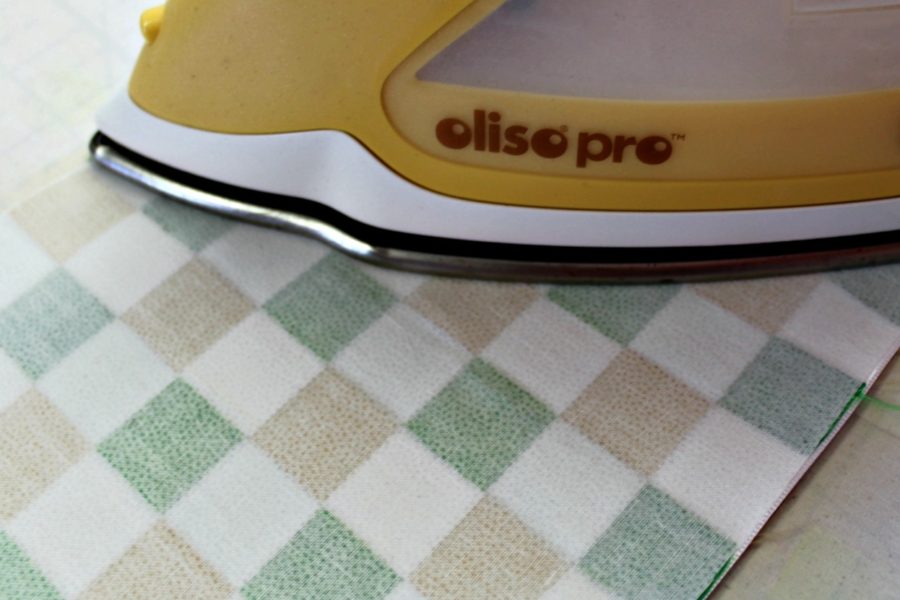
Stitch a basting stitch 1/8″ from edge all around the interfacing to hold the loose layers that aren’t bonded to the interfacing.
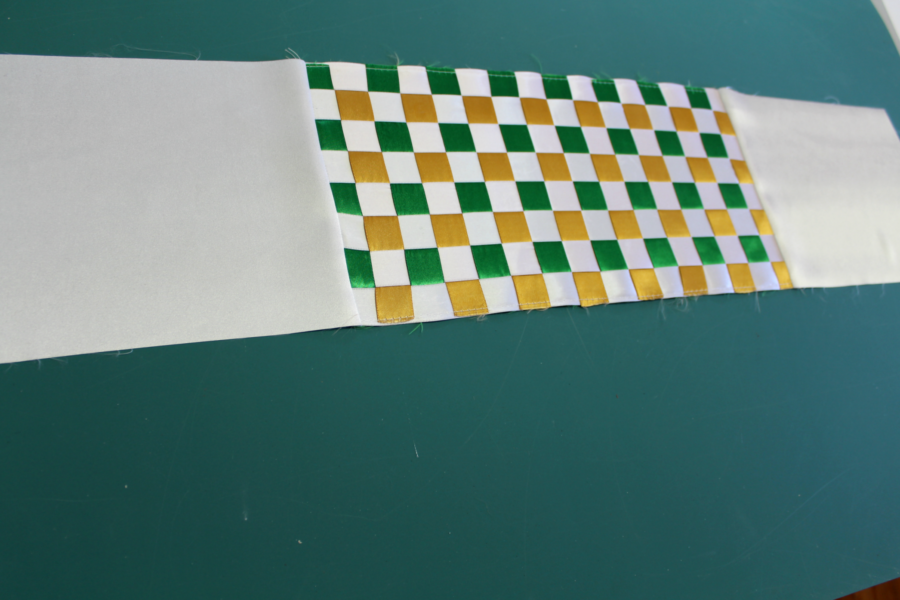
Sew the 2 pieces of satin, 7″ x 9″ to each end of the ribbon covered interfacing and press.
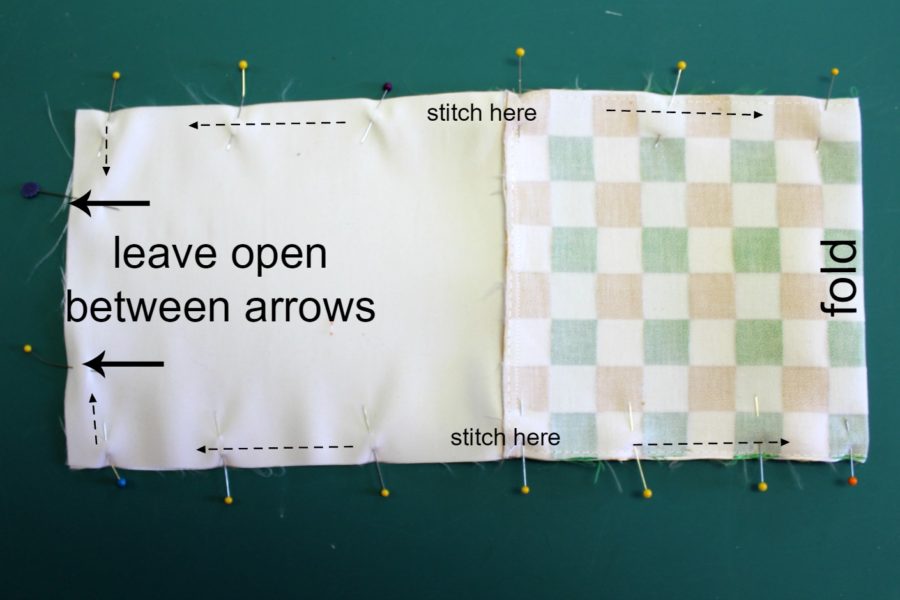
Fold this in half right sides together with 2 satin pieces on one end, matching seams, then pin. Stitch leaving an opening on the satin side of the unit.
Square the corners of the bag by opening a corner and flattening into a triangle and marking 1″ from the corner. Do this to ALL 4 corners. Stitch on the marked lines of all four corners.
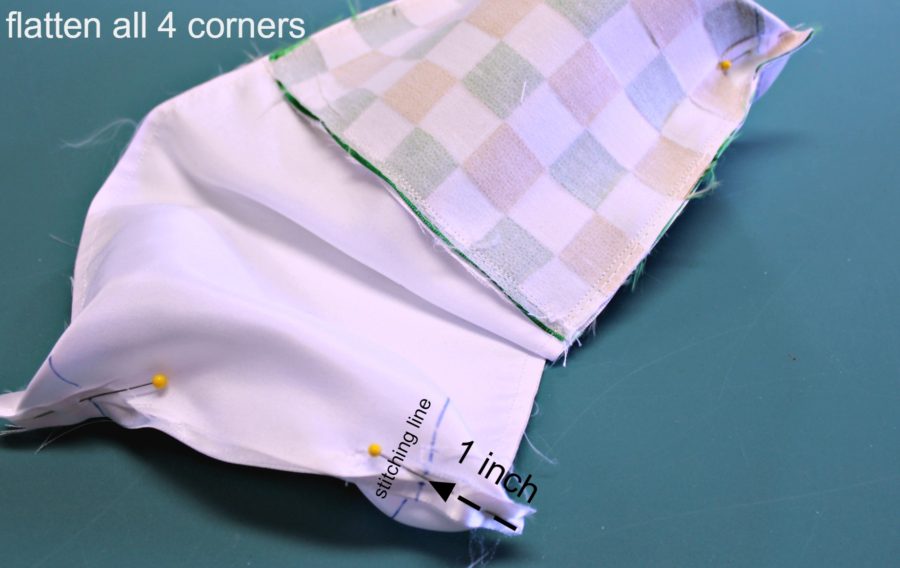
Turn the bag right side out through the opening you left and gently push out the corners. Close the opening by slip stitching or with a narrow seam with a sewing machine.
Tuck the lining into the bag with the satin extending above the ribbon on the outside about 1″. Press and pin in place. Carefully top stitch around the outside of the bag at the bottom of the satin. Weave 2 20″ ribbons under the white strips of the second row of weaved ribbon to form drawstrings.
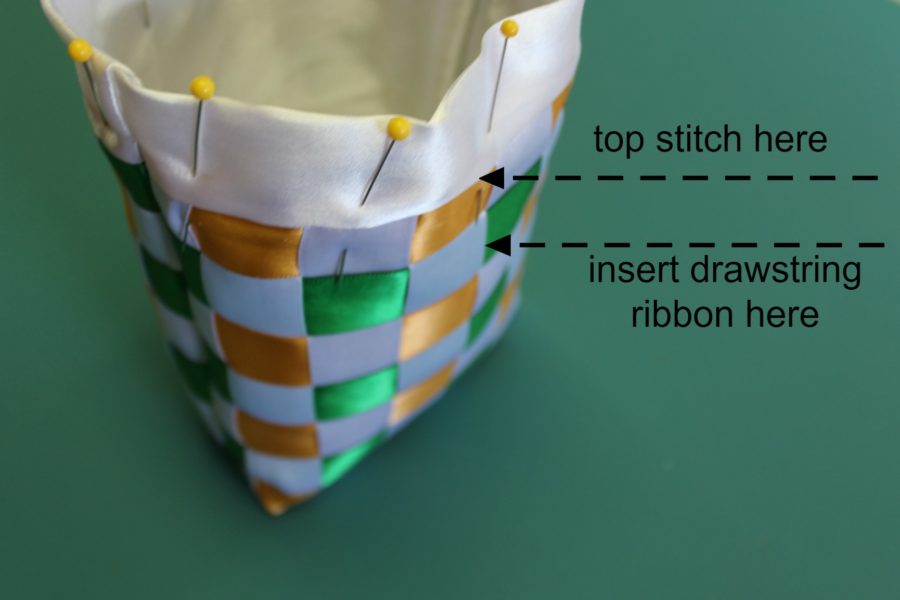
The ends of the ribbon can be finished by melting slightly.
Warning: this technique is addicting. There are so many possibilities.

Change the size and colors of the ribbon, the size of the interfacing, or use a different weaving pattern (there are so many pattern possibilities!).
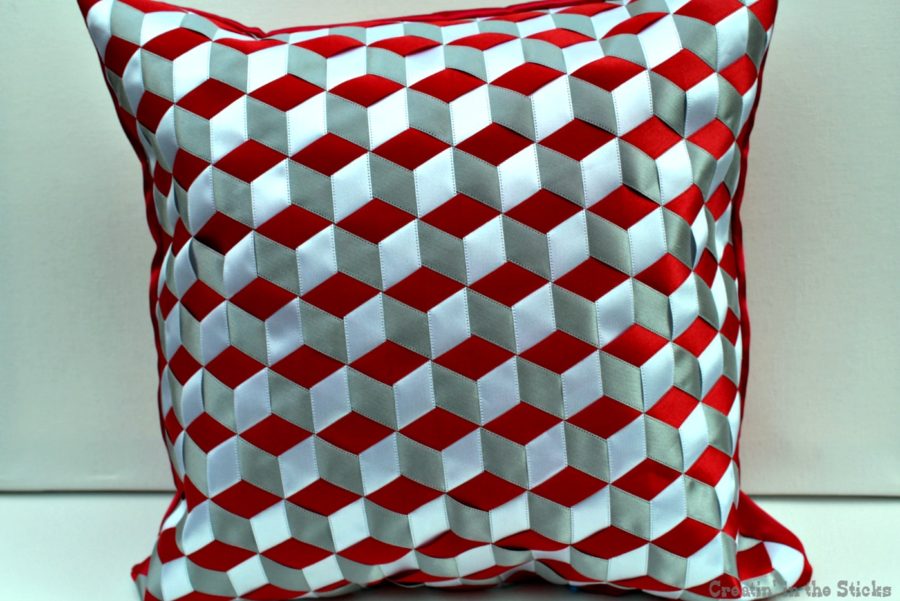
Make a pillow cover.
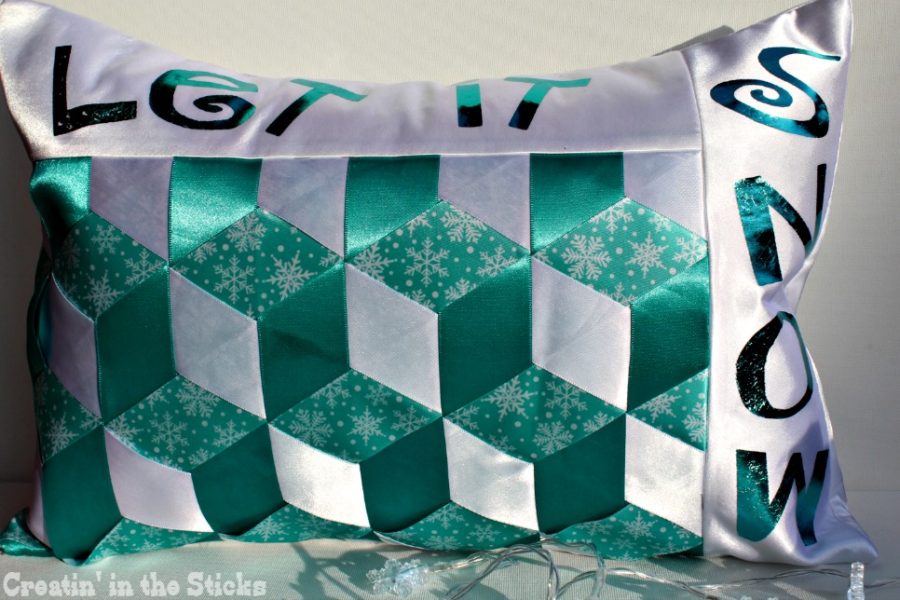
Or with a little deco foil…
Have a great time with this technique and share your creations with us by hash tagging. #thermoweb
