


Hello! It’s Stephanie from Sissy Belle Sews here with a special kind of post! In the past, I have posted start-to-finish projects and patterns for you. But today I wanted to share a special project I just finished and tell you how I used my favorite ThermOWeb products to do it!
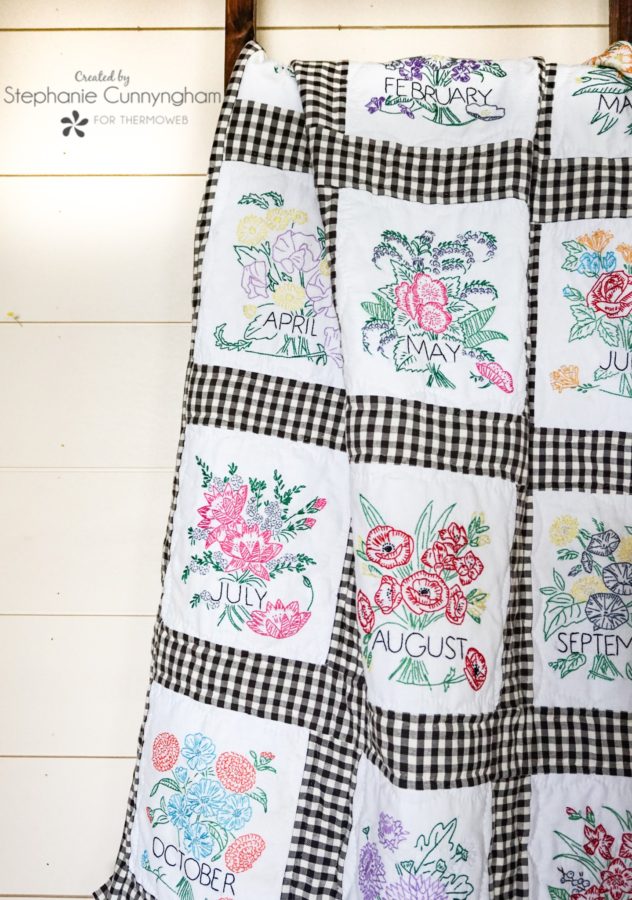
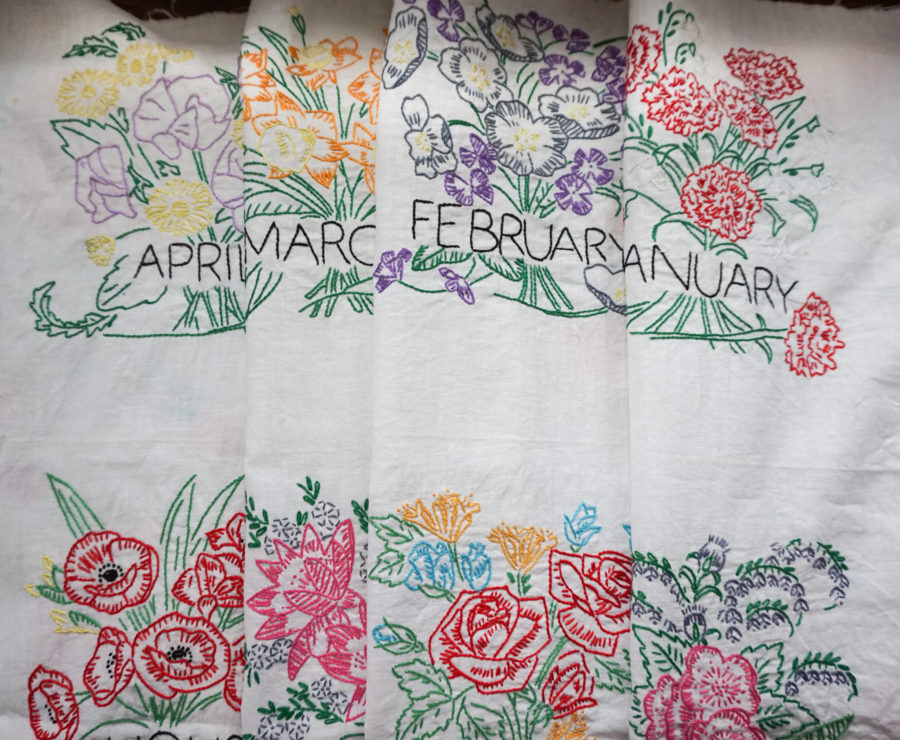
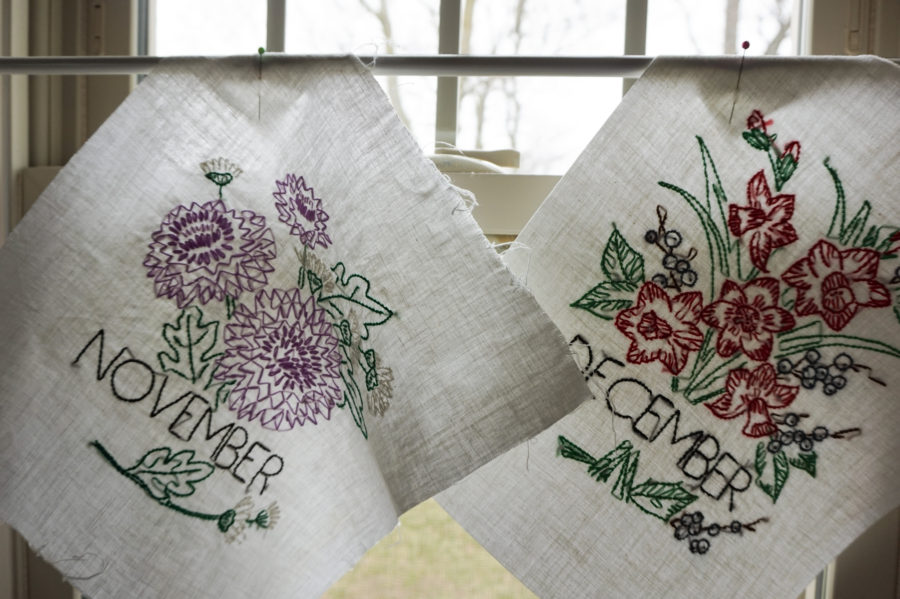
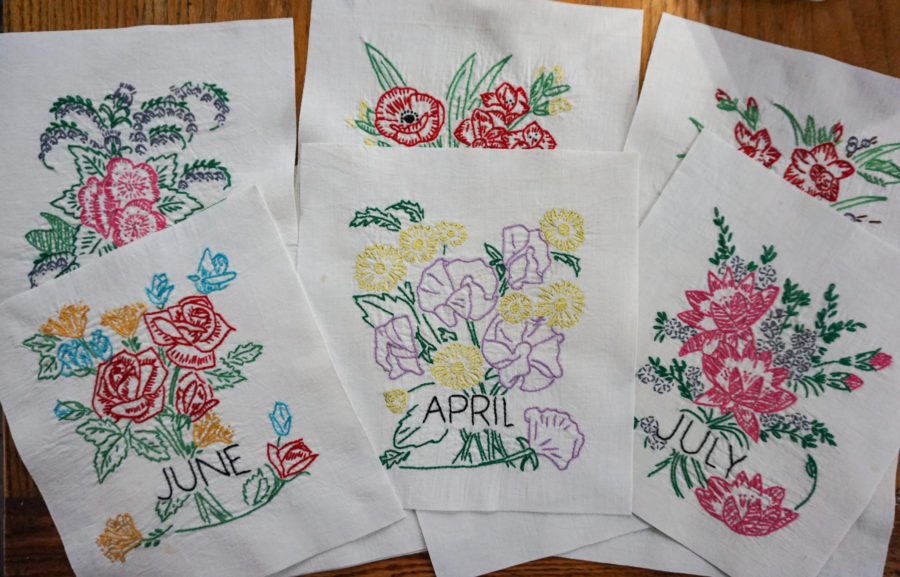
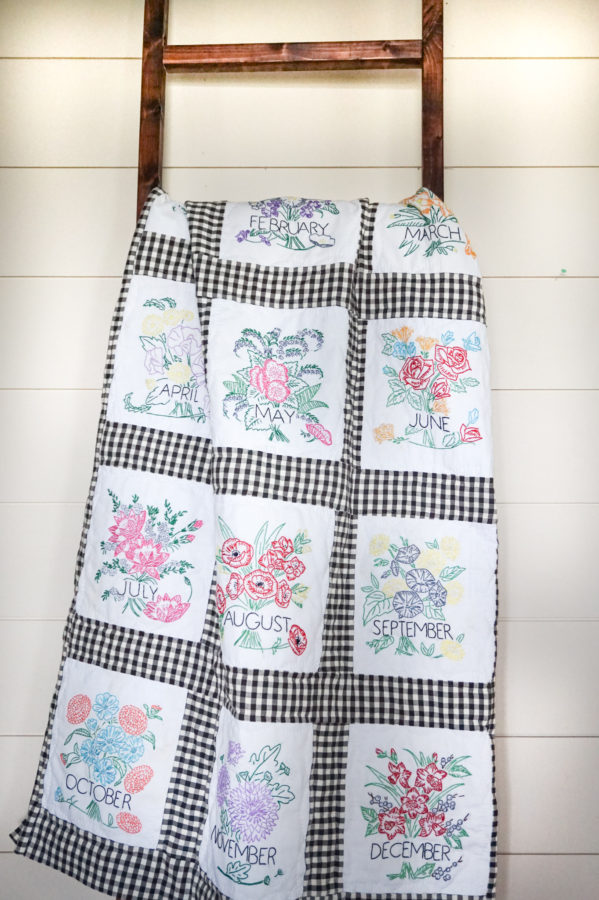
As a quilter, I am lucky to have friends that gift me quilty things that they find. Some of my favorite items to be gifted are vintage fabrics, trims, and quilt blocks. A few months ago a friend gifted me these beautiful hand-embroidered quilt blocks featuring flowers for each month of the year.
Vintage Quilt Blocks
They were so beautiful, I knew that I wanted to make them into something that did them justice. However, like many vintage quilt blocks, they were stained and the fabric was thin and unraveling around the edges. I was afraid to sew them into a quilt like I normally would because I worried that they might just fall apart when I quilted them or washed them. Fast forward a few months to a day when I received a surprise shipment from ThermOWeb containing some of their new HeatnBond EZ TEE Stabilizer. I read the directions and thought there was no reason I couldn’t use the stabilizer on the back of these quilt blocks, so I decided to gather some of my other favorite ThermOWeb products and get to work!
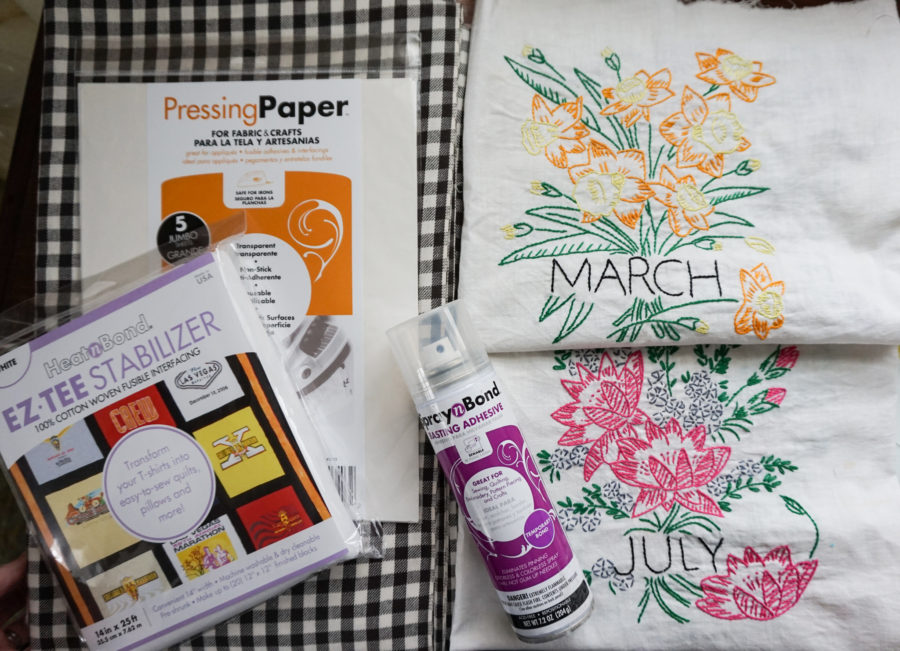
Supplies Needed
- HeatnBond EZ TEE Stabilizer
- SpraynBond Basting Adhesive
- ThermOWeb Pressing Paper
- A favorite product of mine!!
The instructions on the stabilizer say to prewash your fabrics, but you can’t throw unquilted vintage blocks in the washing machine. So, after doing a little research, I followed some of the suggestions from Martha Stewart, including hydrating, stain-treating, and air drying. A lot of the stains came out after soaking the blocks in just plain water for several hours. It’s important to not put detergent in the water because you are trying to remove old detergents and starches by soaking them. When I was finally happy with how they turned out, I got to work on my quilt!
HeatnBond EZ TEE Stabilizer
Tee shirt stabilizer is meant for knit fabrics. Its purpose is to keep them from stretching so they can be pieced and quilted more accurately. In this case, my fabric was then and stretchy, so I was hopeful the stabilizer would make it easier to work with.
The instructions say to cut the stabilizer larger than the quilt block, then fuse it on to the wrong side. To protect my ironing surface and my iron, I used ThermOWeb pressing paper when fusing the stabilizer to my quilt block. In the image below, you can see how I positioned the pressing paper, the quilt block, and the stabilizer to prepare for ironing.
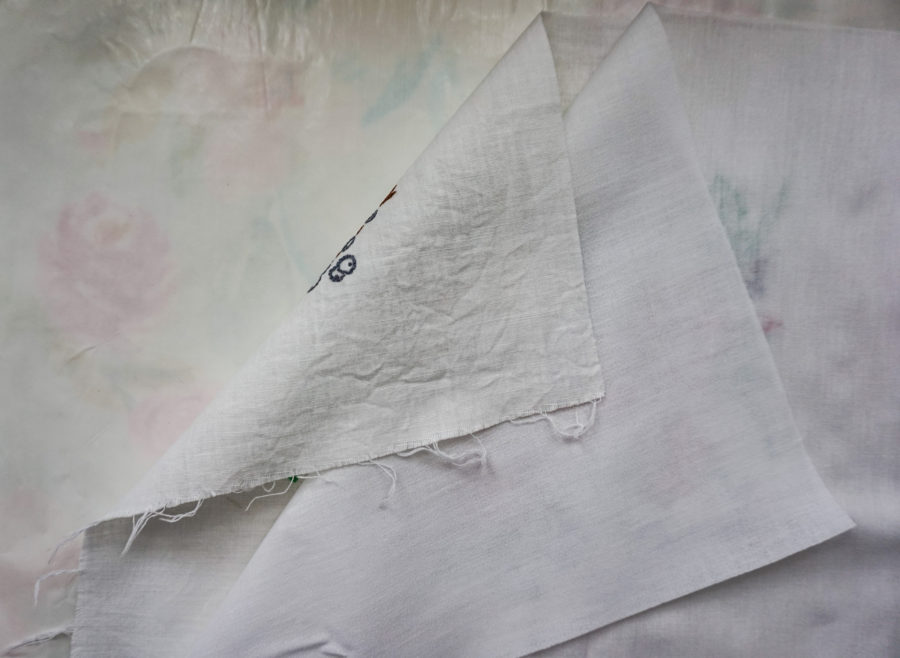
After all the blocks had the stabilizer on the back, I cut them down to size. I was pleasantly surprised with how the blocks felt. Unlike interfacing, the EZ TEE stabilizer gave each block a very lush, soft, cuddly feel to it. I was beyond pleased with how they turned out! In the image below, I hung a block before applying the stabilizer (left) beside one with the stabilizer (right) to show you the difference in weight. You can see the light shining through the fabric on the left block because it was so thin!
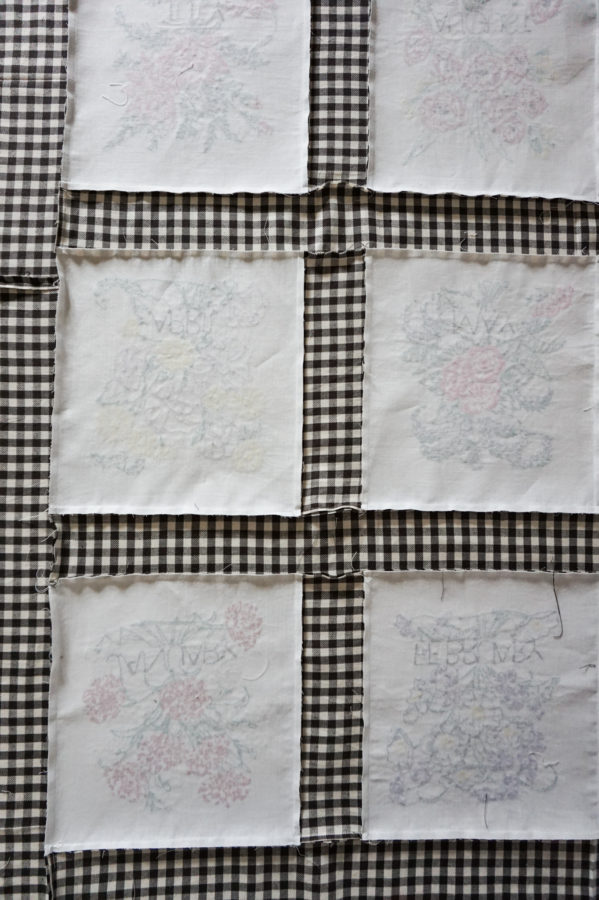
And here is a picture of all the blocks with the stabilizer applied.
Adding Stabilizer
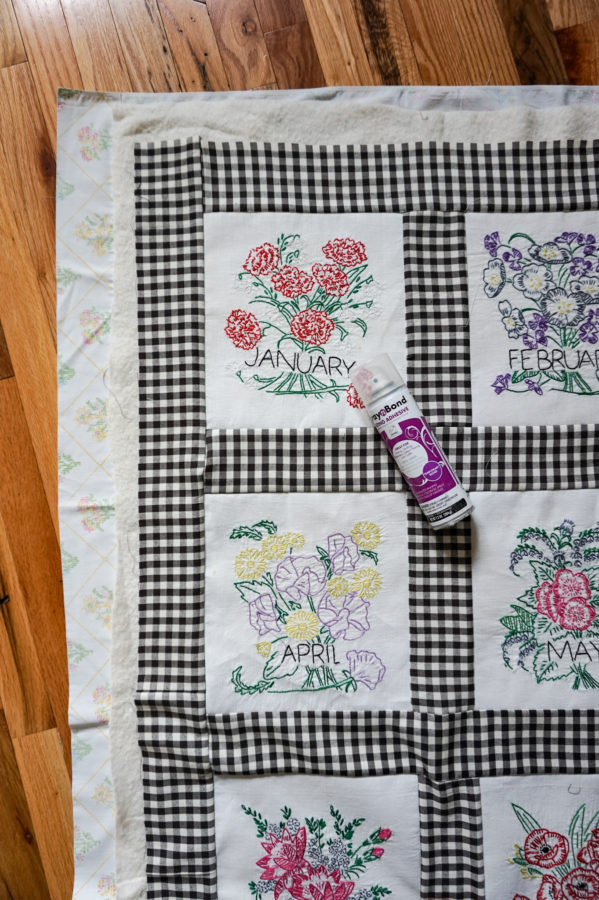
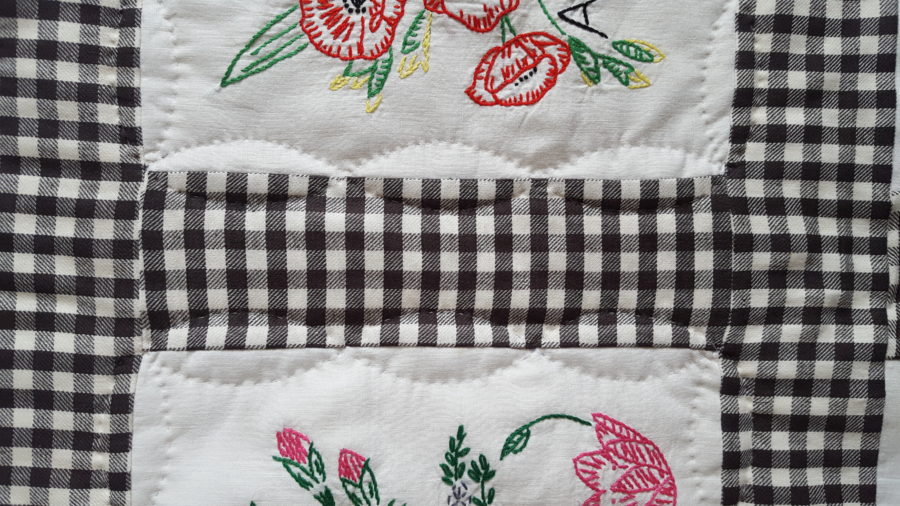
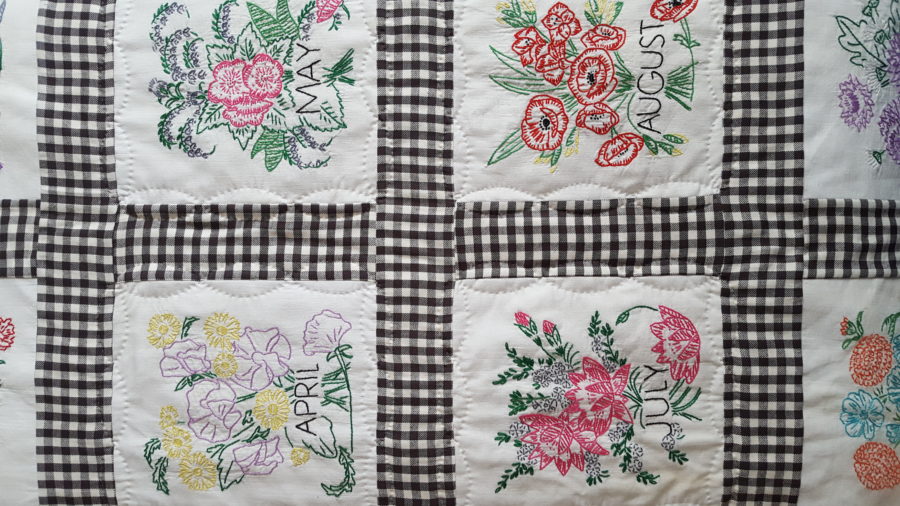
I added sashing between the blocks, and I was pleasantly surprised that the stabilizer had a little stretch to it, making it easier to ease when needed. Regular interfacing does not allow for stretching and easing. You can see how nice and need the quilt looks from the backside after all the top was completed.
I have lots more vintage quilt blocks, I would definitely use the EZ TEE stabilizer again!
Basting Spray
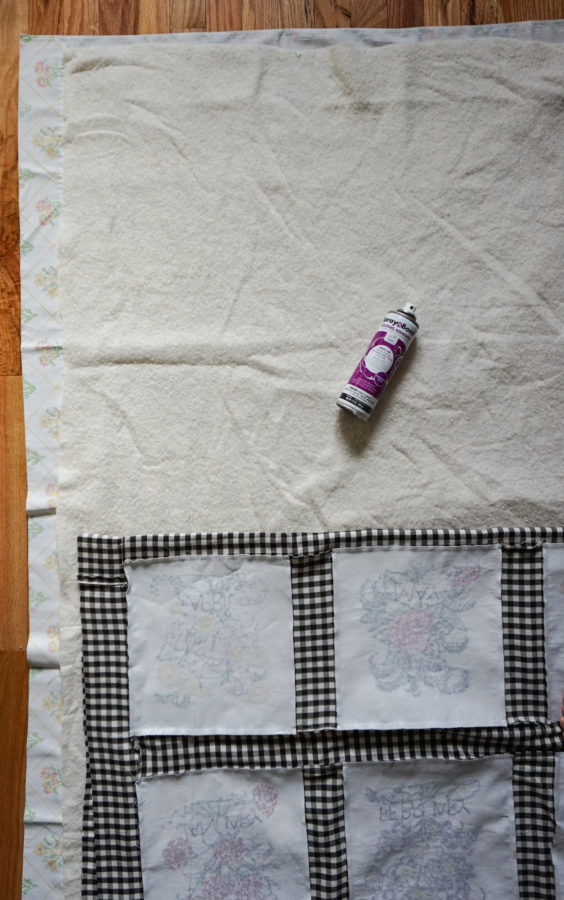
The next step was to baste and quilt my top. I cut batting slightly larger than the quilt top and backing slightly larger than the batting. I placed my backing wrong side up, then layered the batting and the quilt top.
When I spray baste, I fold the quilt top in half. Then I spray a small section of the batting, approximately one row of blocks worth, then fold the quilt top back down and smooth in place.
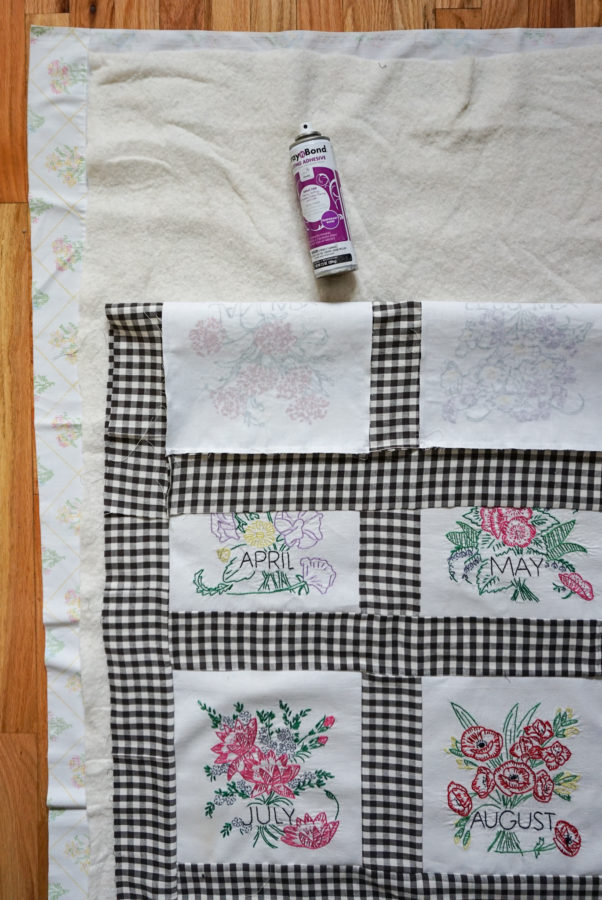
I repeat this process for the other half of the quilt, and for the backing fabric as well. To tell you the truth, I had never used basting spray until I started working with ThermOWeb, but now that I have, I will never go back to pins! There is no odor with this spray, and it’s easy to control and doesn’t get all over your floor or surface. I love it, and it holds up really well while quilting, even if you are using a hoop!
Quilting Vintage Quilt Blocks
And speaking of quilting, if you are wondering how to quilt your blocks with the EZ TEE stabilizer, you can hand quilt through it if you want to! I used a slightly thicker needle than I usually do when hand quilting, but it was not impossible to do! And I love how it turned out!
I hope you enjoyed this post and that you, too, might consider thinking of new and creative ways to use some of the wonderful products that are out there and available to us quilters!
Happy sewing!
-Stephanie-
Brenda @ Songbird Designs
April 14, 2020 at 9:06 am (4 years ago)Love how your quilt turned out, Stephanie! Glad to hear about this new EZ TEE stabilizer! Sounds like a great product and seems to have a good drape and not stiff! Thanks for sharing.
Mary Anne Drury
April 15, 2020 at 10:33 am (4 years ago)Love this !!! I have a stack of vintage hankies from my mother and grandmother that I want to make into a quilt. This product looks like it would be perfect to use for that !!
Marvel
June 24, 2020 at 1:27 pm (4 years ago)That is the same idea I had with the beautiful hankies from days of your. I think that this product would be a great way to do this. They are so beautiful and dainty.
Jill Davies
January 18, 2021 at 3:16 am (4 years ago)I really loved the idea of using this product on vintage linen. I have a lot of my mothers, grandmothers and g-grandmothers linen and would like a different way of preserving them in quilt form. I live in Australia and have looked online to see if I can purchase this product but it is either not available in stores that I purchase from or very costly but I will definitely keep looking. Thank you for an informative tutorial.