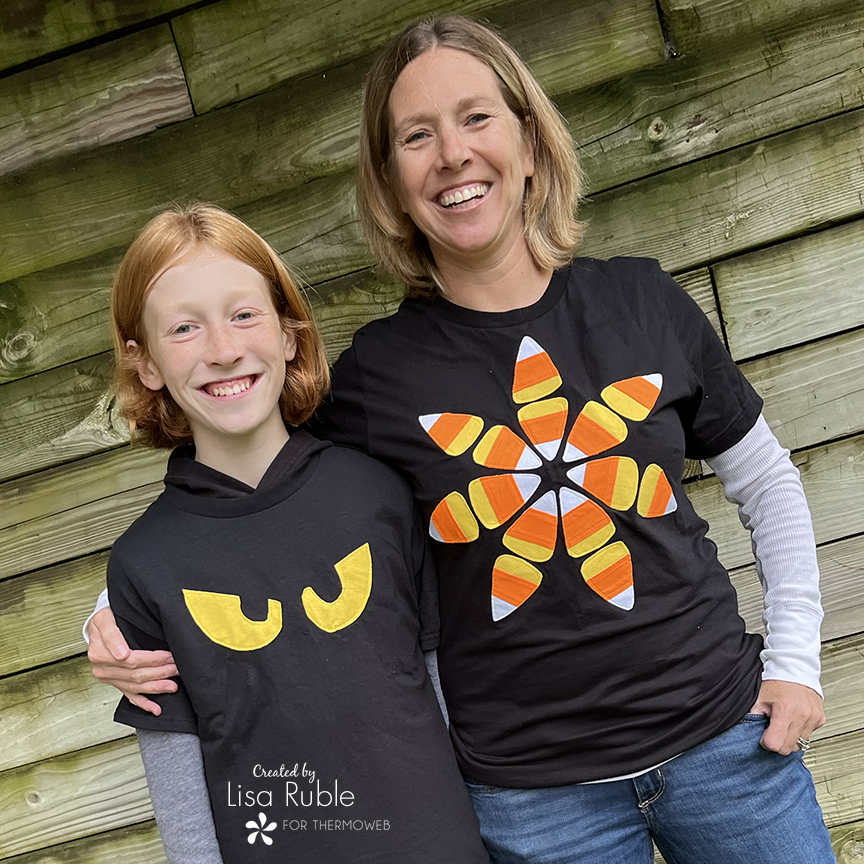
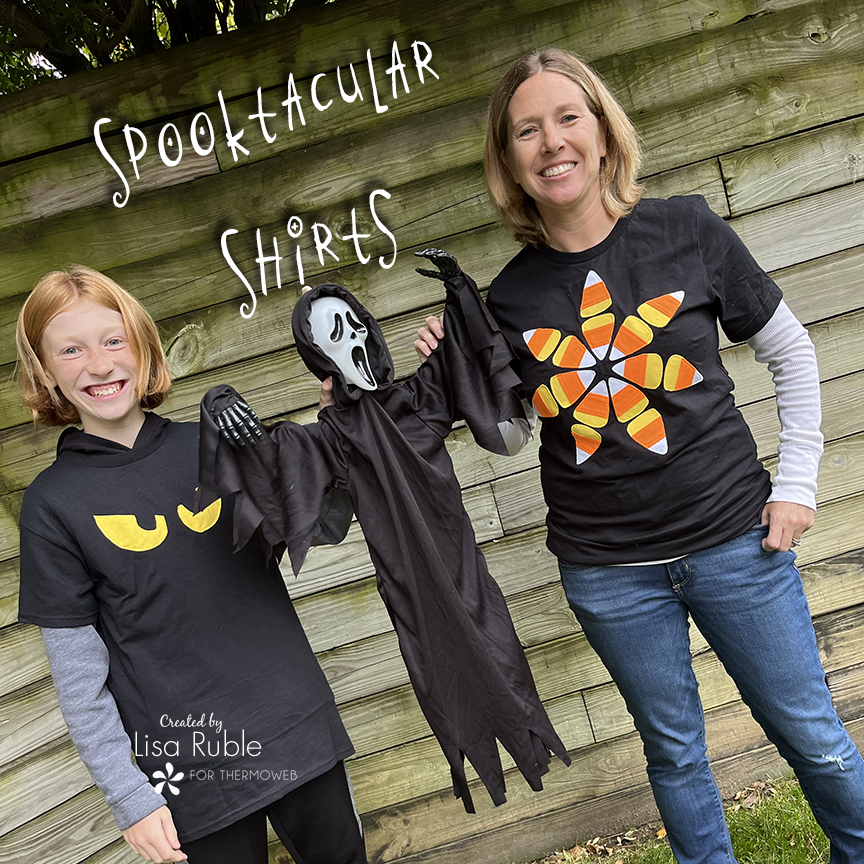
Hi! It’s Lisa Ruble from Quilty Zest, and I’m here today with Jojo, sharing our Spooktacular Shirts for Halloween. It all started because I wanted to make a Halloween shirt, and when Jojo (who shared a t-shirt tutorial earlier this year) saw my plans, he had an idea of his own. So you get two! Both of these shirts are easy to make – all you need are t-shirts, thread, and a few Thermoweb supplies!
*I prefer to use t-shirt material for t-shirt appliques because they have the same amount of stretch as the actual t-shirt. And you can absolutely purchase cotton jersey fabric from a bolt, but I find that there’s a better color selection to be found in t-shirts, and then we just cut them up. (Plus, thanks to a sale, we got 5 t-shirts for $10!)
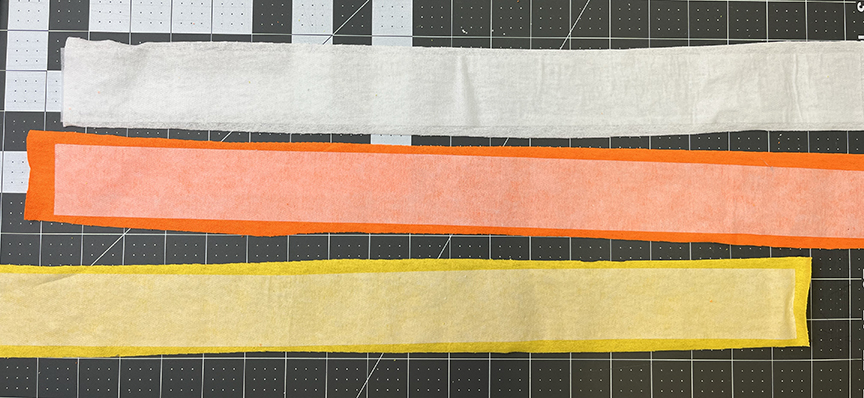
Making the Candy Corn T-Shirt Candy Corn T-Shirt Cutting: From each of the yellow, orange and white jersey:
(2) 2″ x 20″ strips (I lay the t-shirt flat and cut a loop from the bottom)
From the Lightweight Fusible Interfacing:
(4) 1-3/4″ x 20″ strips
(2) 1-1/4″ x 20″ strips
(1) 13″ square (needed size may vary – this should be slightly larger than the measurements of the candy corn design on your t-shirt)
Making the Candy Corn T-Shirt Step 1 Using Pressing Paper to protect your iron and ironing board, fuse 1-3/4” x 20” interfacing strips to each 2” x 20” white and yellow strip. Fuse 1-1/4” interfacing strips to each 2” x 20” orange strip. Note: T-shirt fabric is super stretchy and likes to curl. Watch the video below for tips on how to press these strips more easily.
Step 2 Trim the white and yellow strips to 1-3/4” wide. Trim the orange strips to 1-1/4” wide.
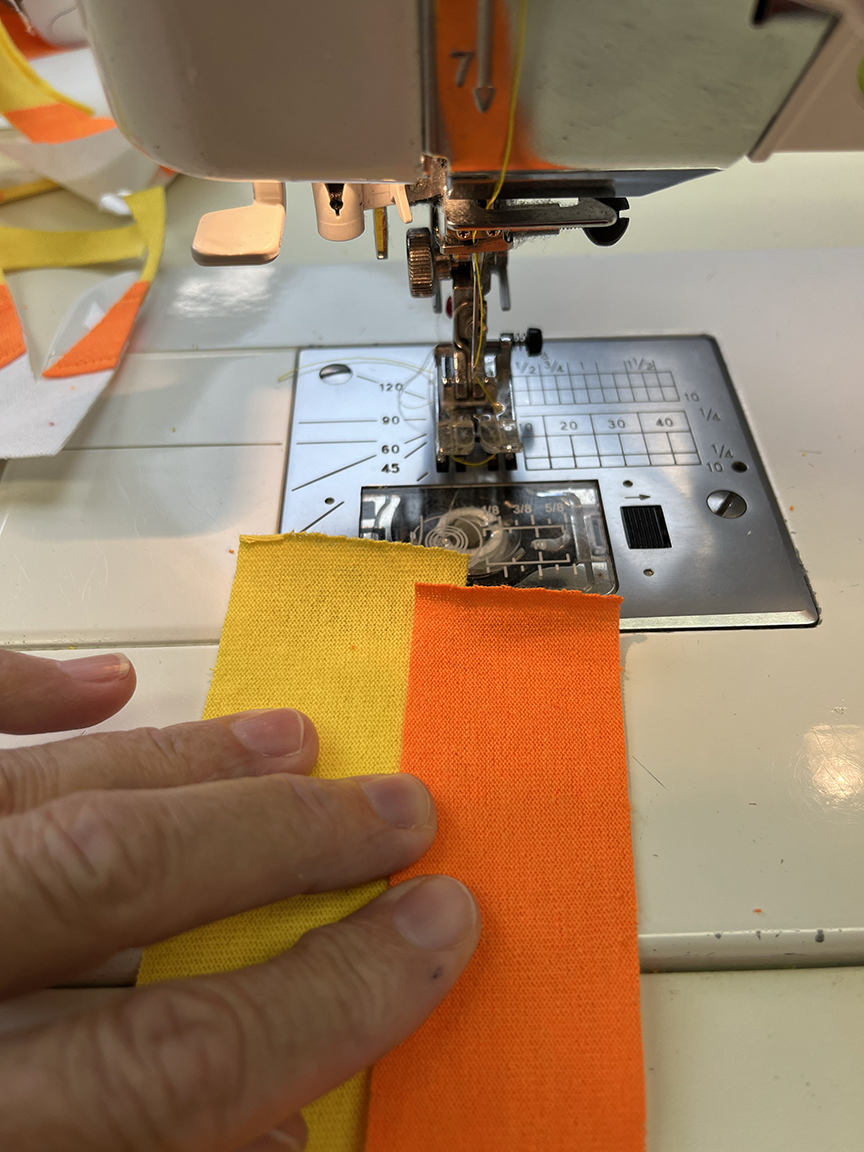
Step 3 Layer (1) 1-1/4″ x 20” orange strip on (1) 1-3/4” x 20” yellow strip, with both strips right side up and overlapping 1/4” Stitch using a 1/8” seam allowance and coordinating thread (I used yellow for everything). Scroll down to see the video below for a little more detail on joining the strips.
Step 4 Tuck (1) 1-3/4” x 20” white strip under the opposite orange long edge 1/4” and stitch using a 1/8” seam allowance. Make (2) yellow/orange/white strips.
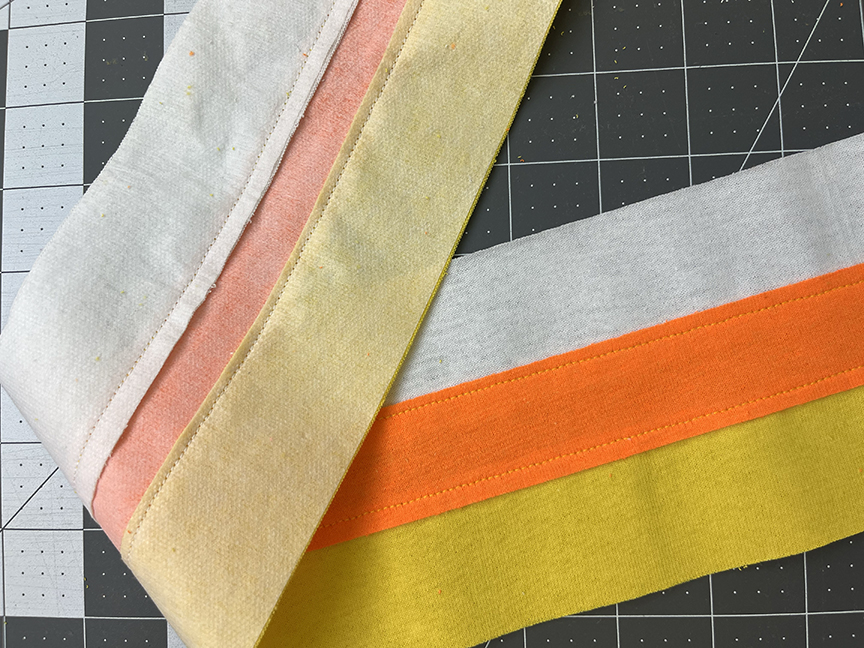
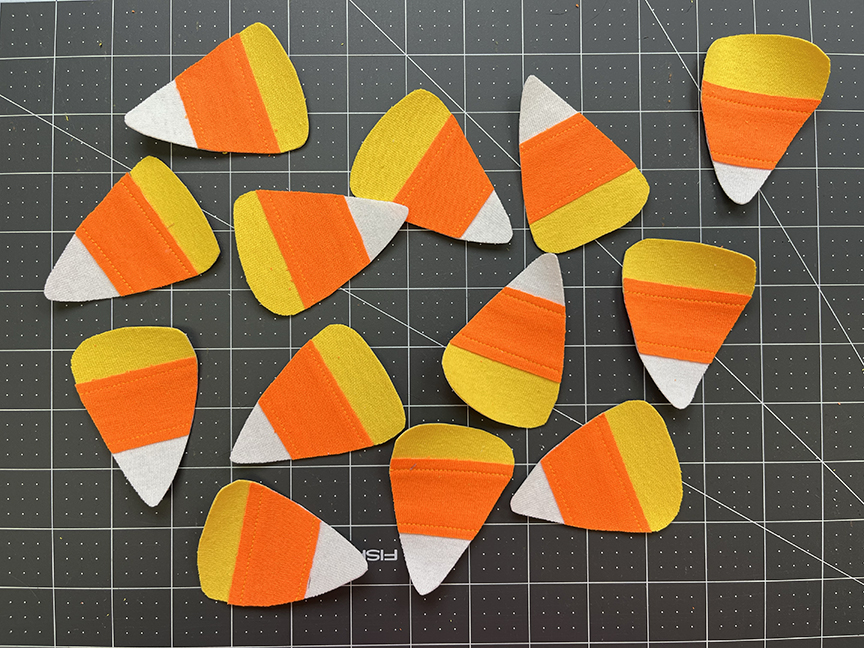
We’re leaving raw edges exposed on our candy corn – you can easily do this with t-shirt material because it won’t fray (especially with interfacing on the back), and it adds a little extra zing to your applique. Here’s what your finished strip should look like:
Step 5 Trace your desired number of candy corns onto the paper side of Soft Stretch Fusible Adhesive (my layout used 14). Cut out each shape 1/4” past the shape.
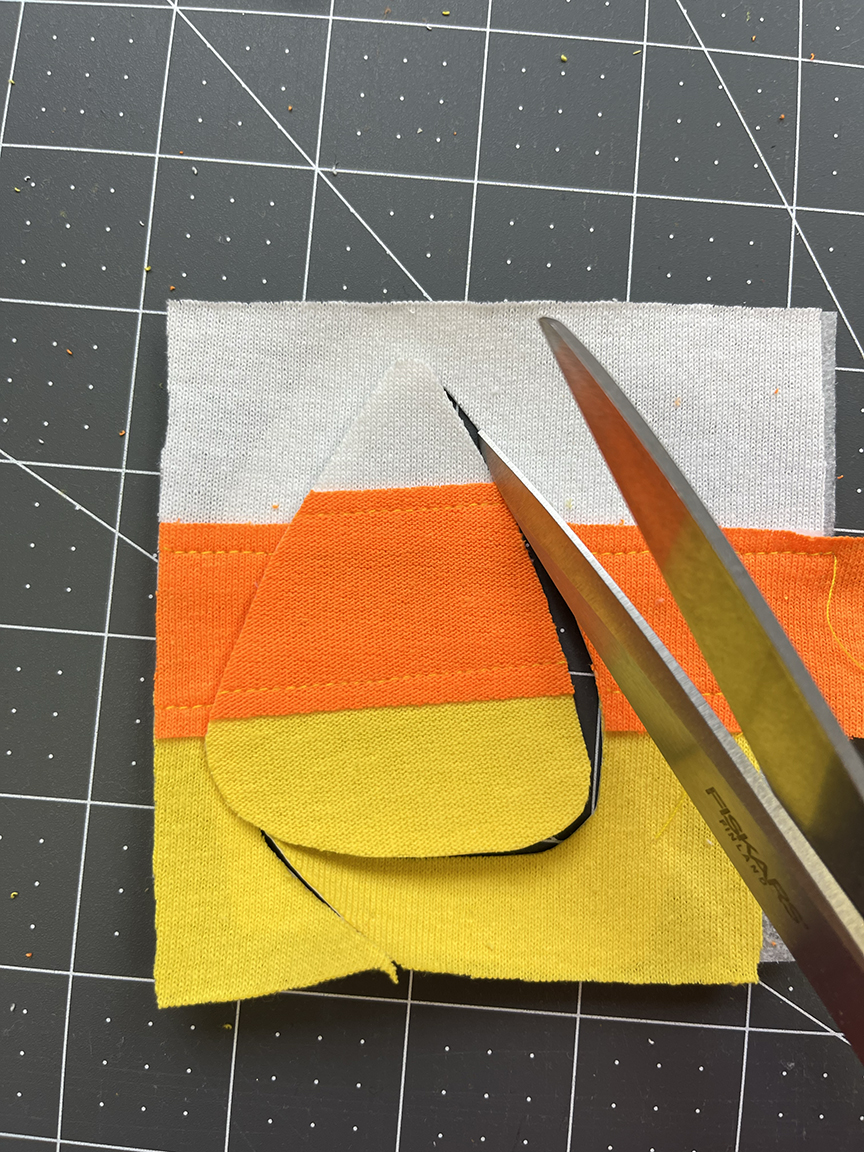
Step 6 Position each traced candy corn on the yellow/orange/white strips, making sure they’re oriented with white toward the tip. You can adjust slightly so some have more yellow showing and some more white (just like actual candy corns!). Using Pressing Paper, fuse in place.
Step 7 Cut out each candy corn shape.
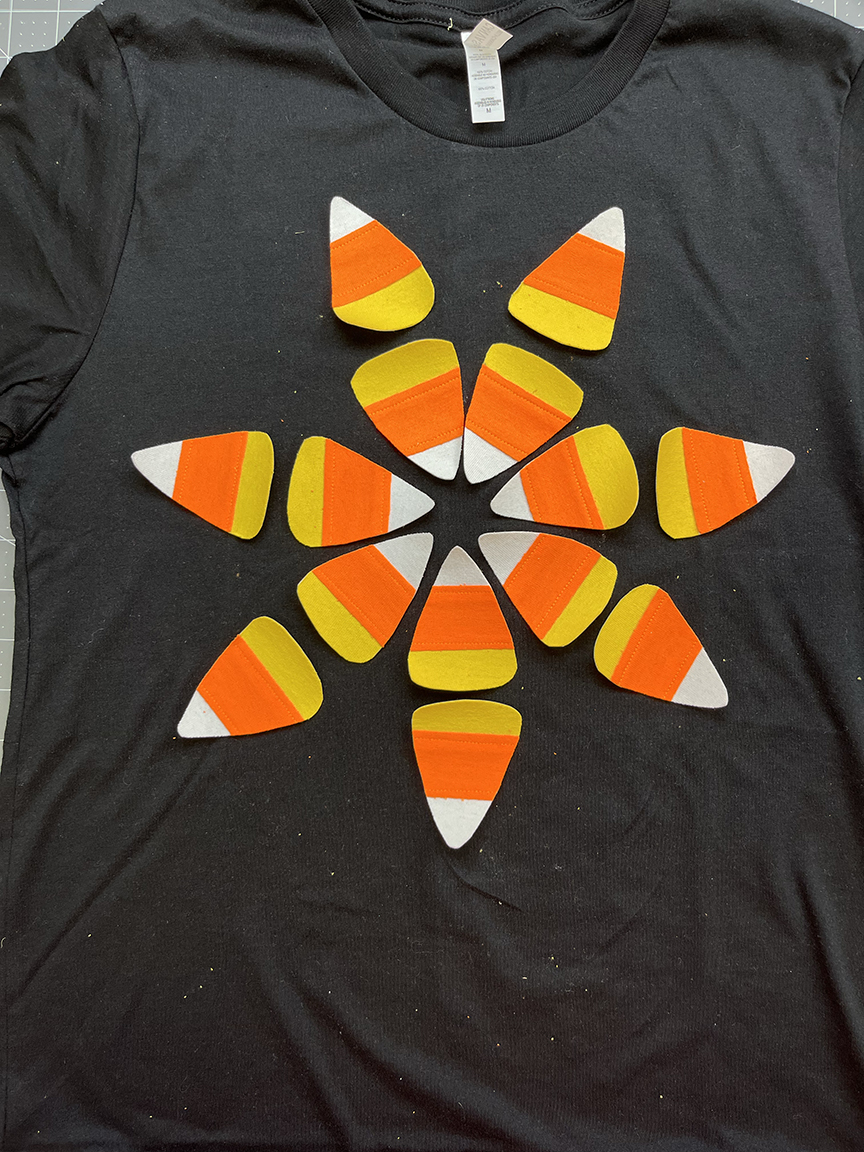
Step 8 Decide on your design – head to my blog to see the various options I experimented with. Fuse candy corns in place.
Step 9 Turn t-shirt inside out and fuse a 13” square of Lightweight Fusible Interfacing to the shirt, covering the area where candy corns are positioned.
Step 10 Turn t-shirt right side out and straight stitch near the edge of each candy corn. Make sure to only stitch through one layer of the shirt!
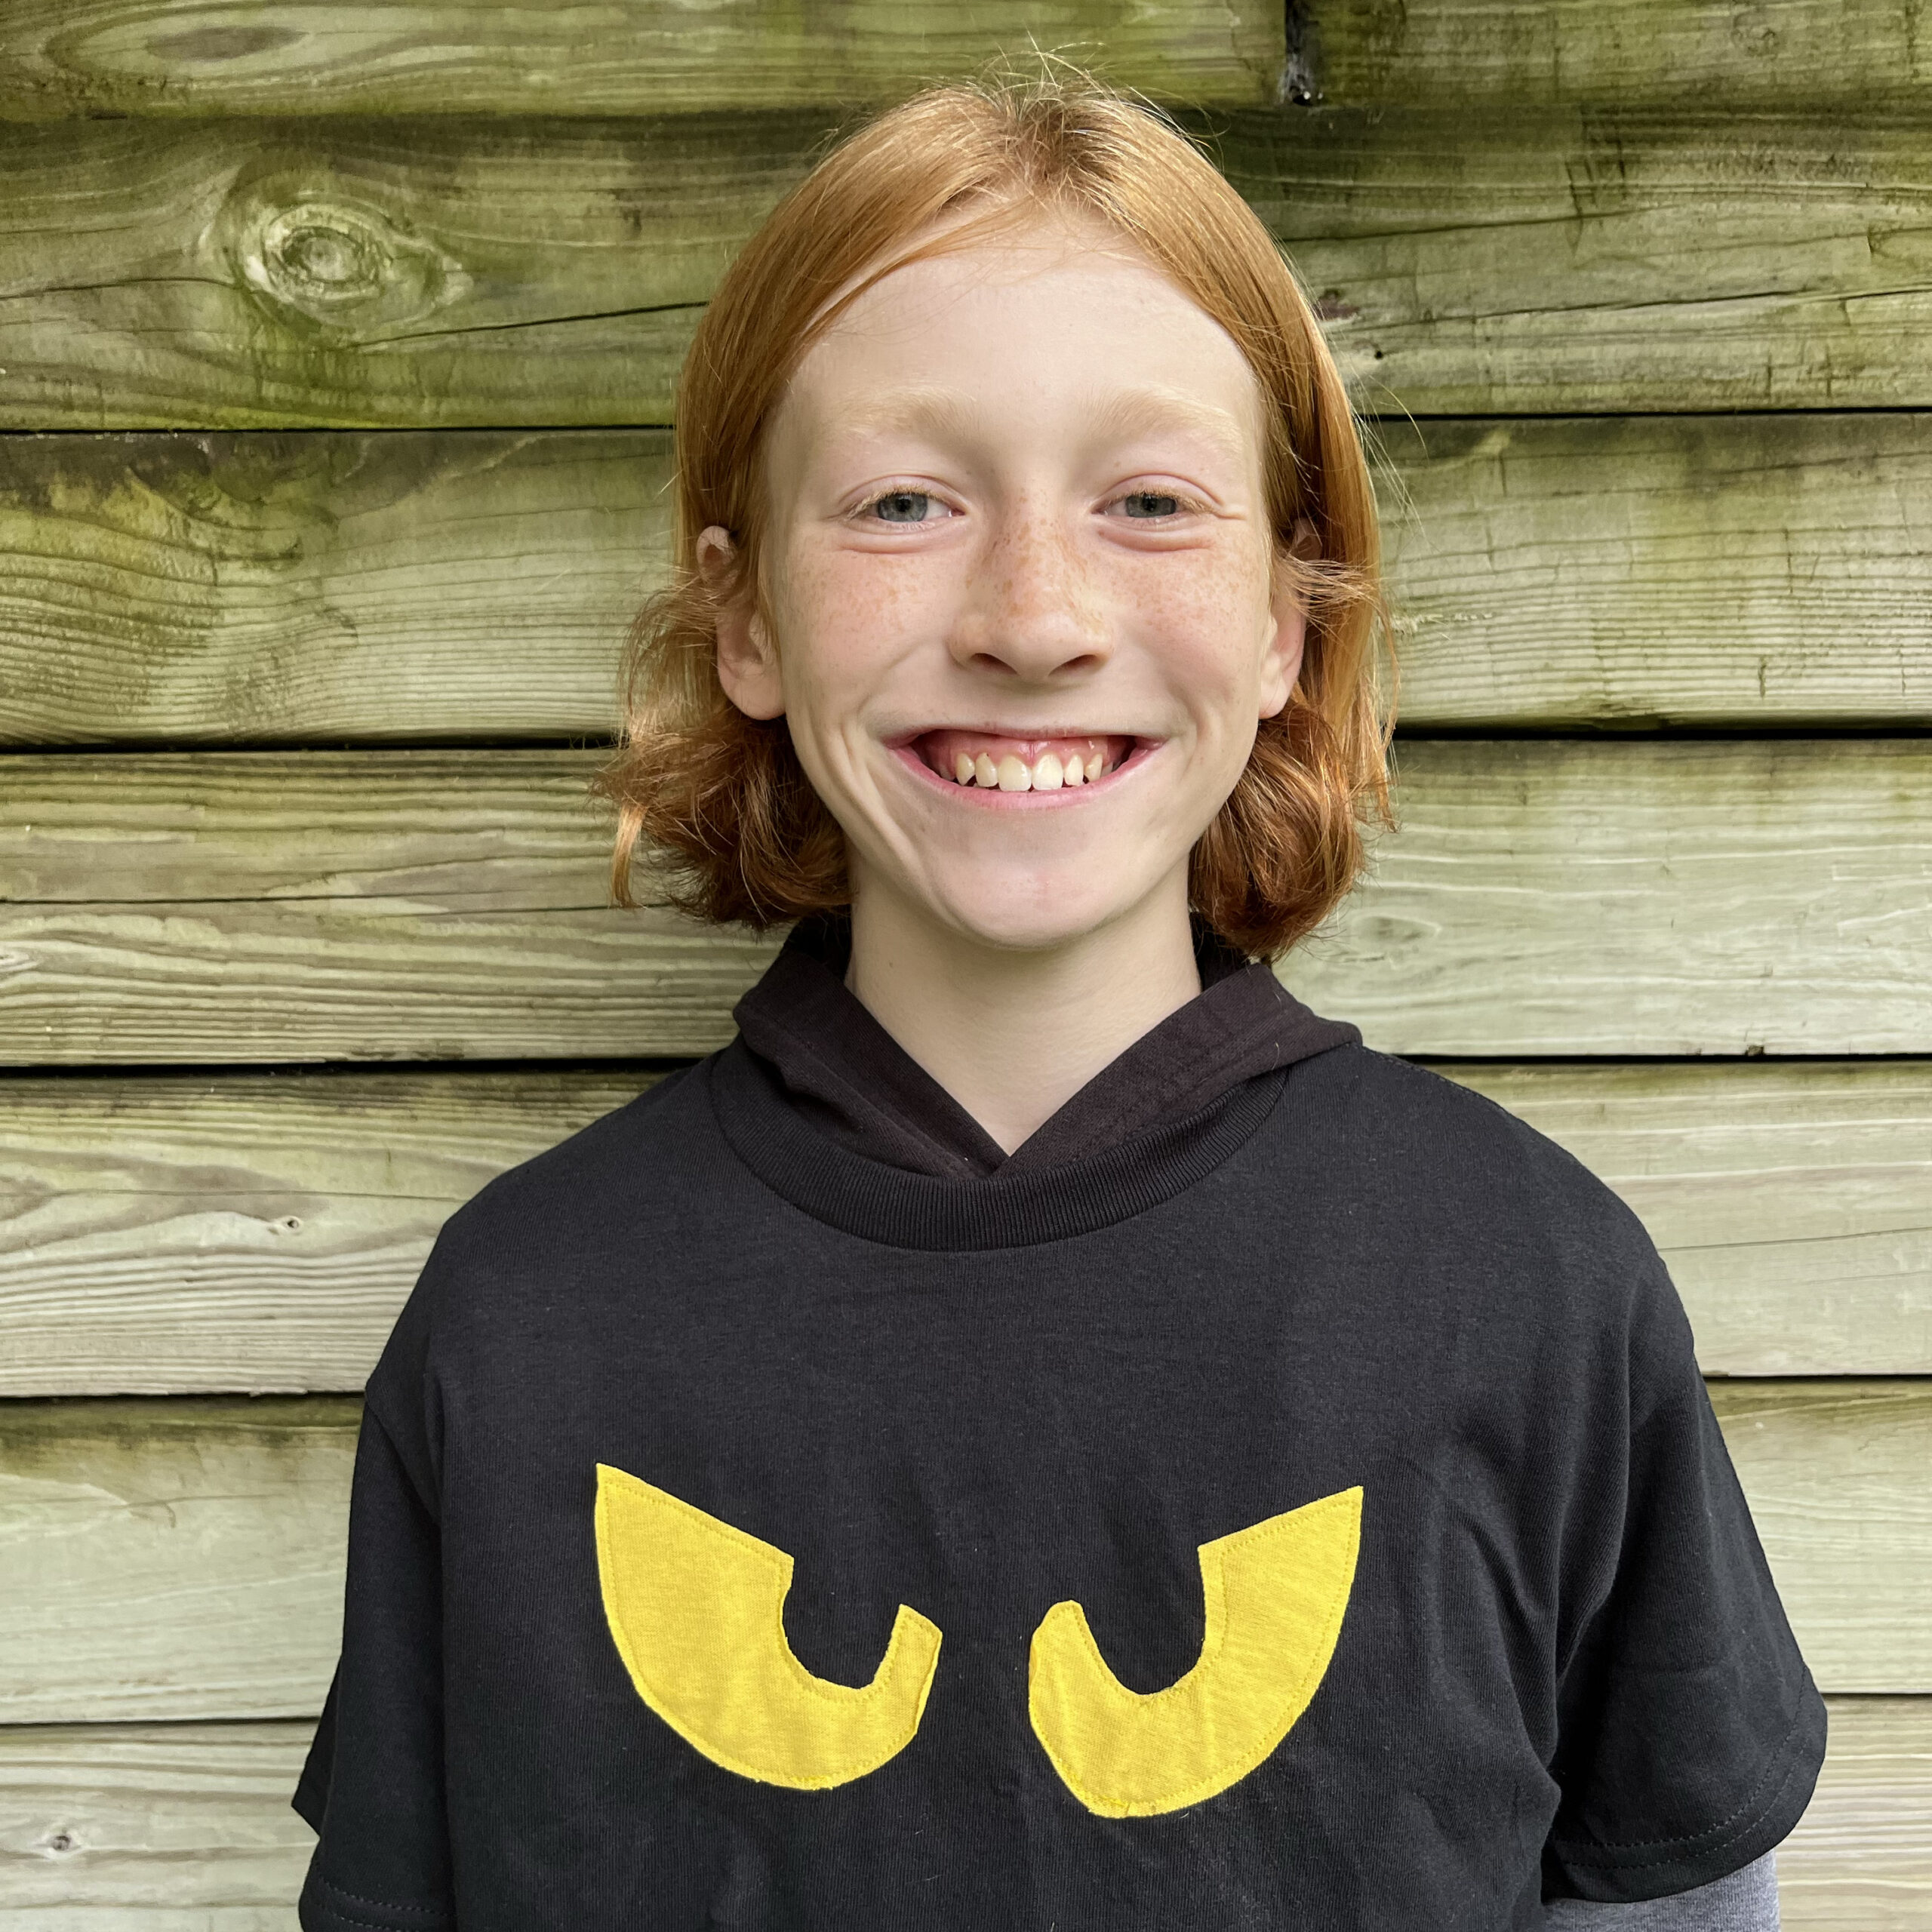
Making the Spooky Eyes Shirt
Spooky Eyes T-Shirt Cutting From the Lightweight Fusible Interfacing: (1) 6″ x 10″ piece
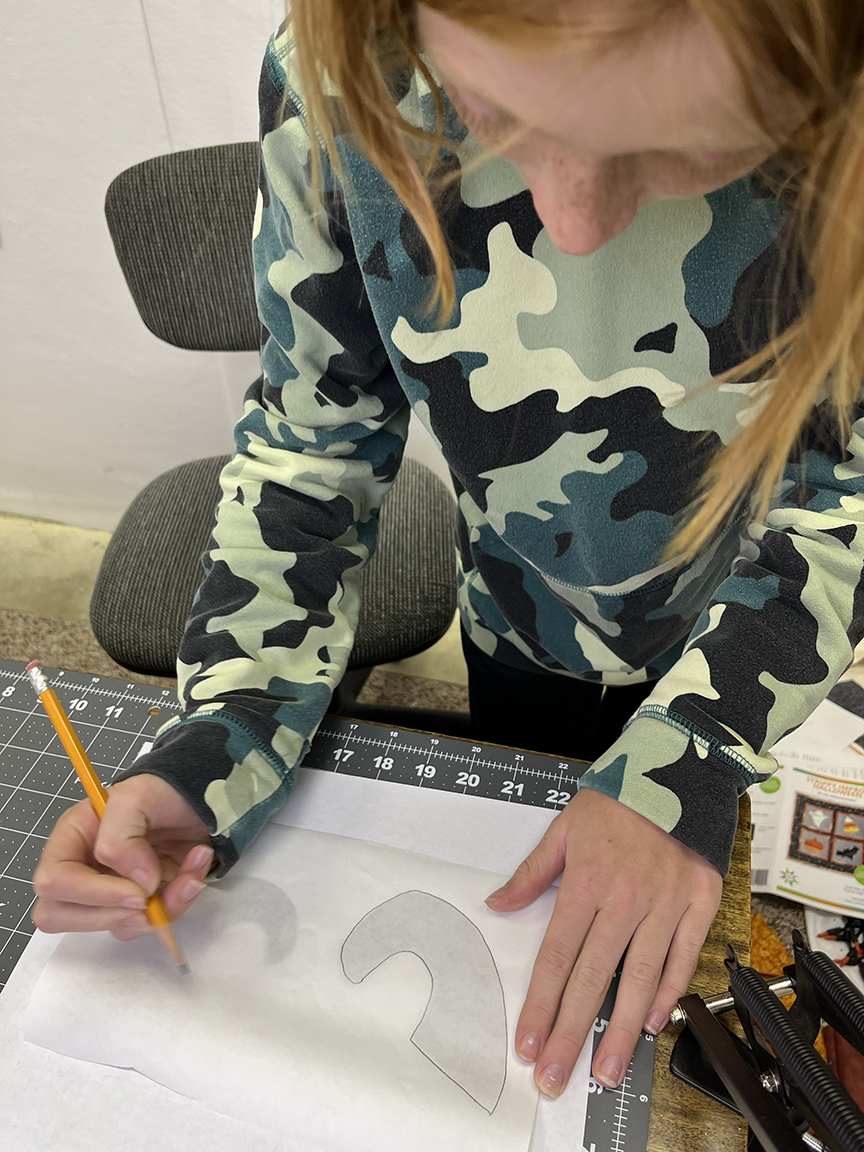
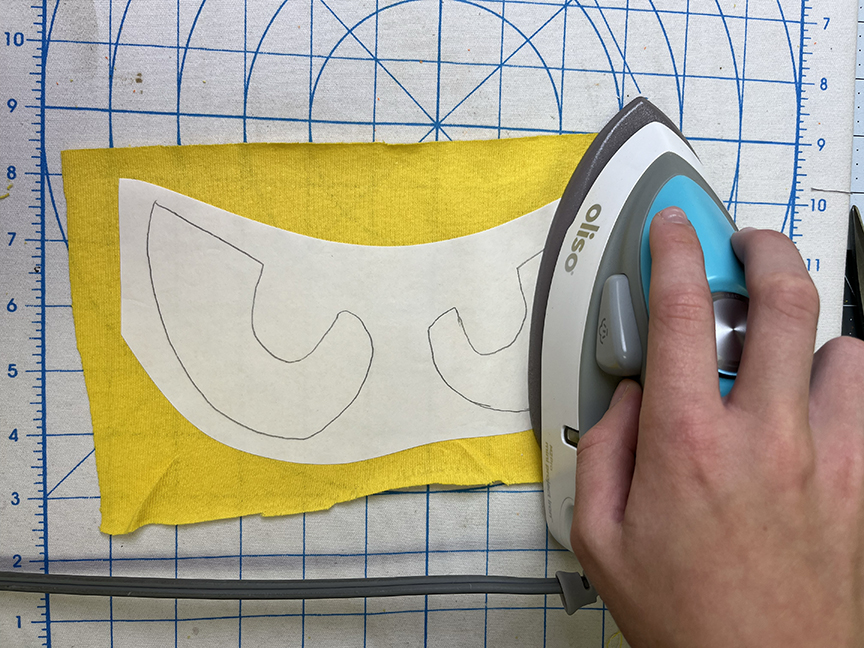
Making the Spooky Eyes T-Shirt Step 1 Trace the spooky eyes template onto the paper side of fusible adhesive.
Step 2 Cut out the eyes approximately 1/2” past the eyes. Fuse onto a piece of yellow jersey.
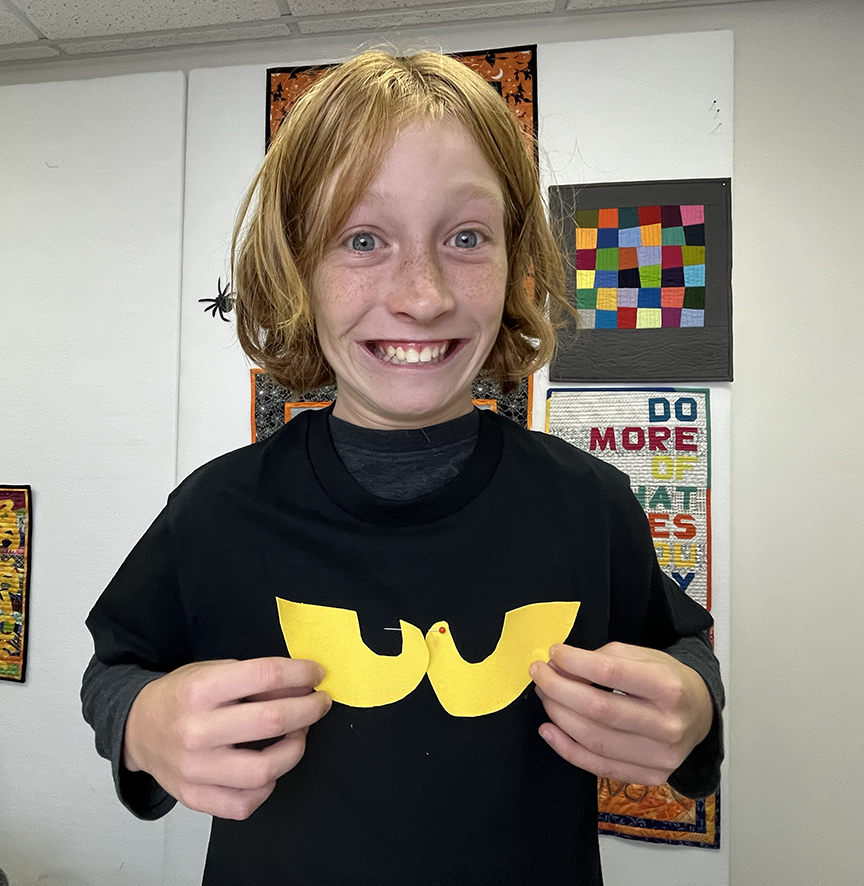
Step 3 Cut out the eyes. Put on the shirt and decide on placement of the eyes on the shirt. Mark the height with a pin. This ensures that your eyes won’t be right by the neck hole or down by your belly.
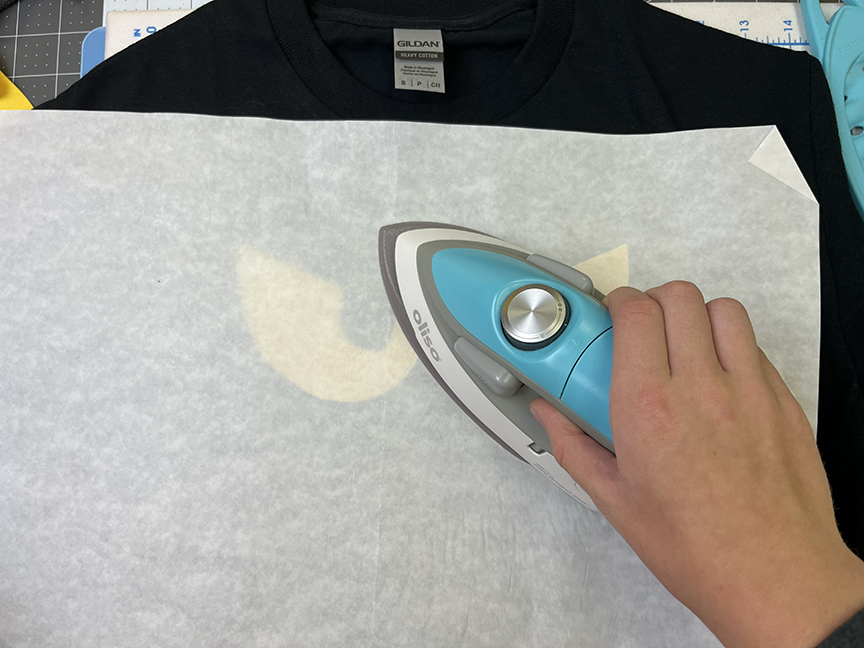
Step 4 Fuse the eyes in place, using Pressing Paper.
Step 5 Turn the t-shirt inside out and fuse the interfacing piece in place so it extends beyond the eyes.
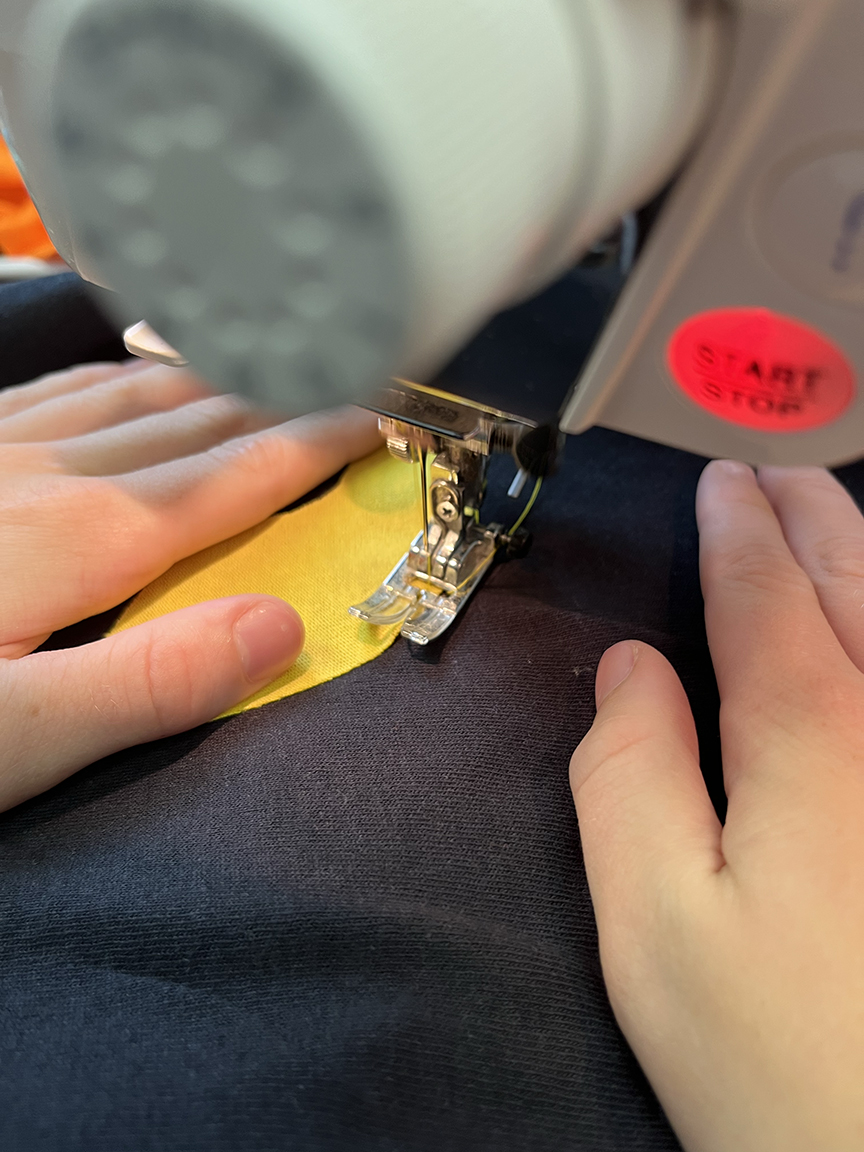
Step 6 Turn the t-shirt right side out and straight stitch near the edge of each eye. Make sure to only stitch through one layer of shirt!
And that’s it! Two easy t-shirt designs – perfect for Halloween parties or maybe even trick or treating if you don’t have time to sew that complicated costume your kid wants! 🙂 Happy Halloween!
by Lisa Ruble | Comments Off on Spooktacular Shirts


 Both of these shirts are easy to make – all you need are t-shirts, thread, and a few Thermoweb supplies!
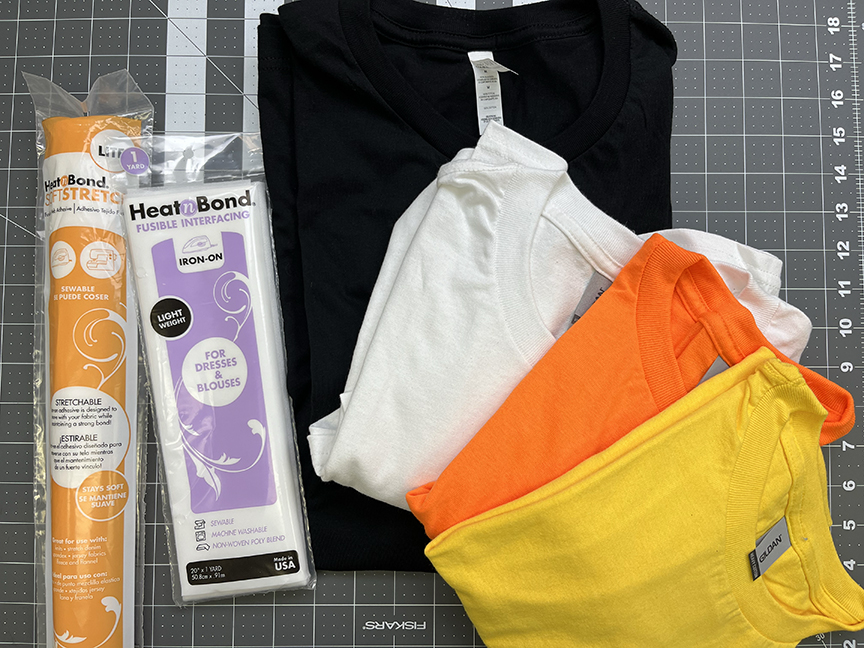
 Candy Corn T-Shirt Cutting: