


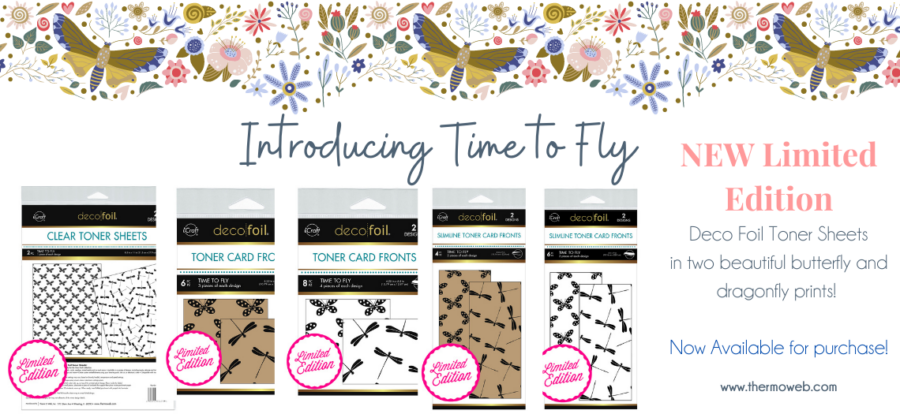
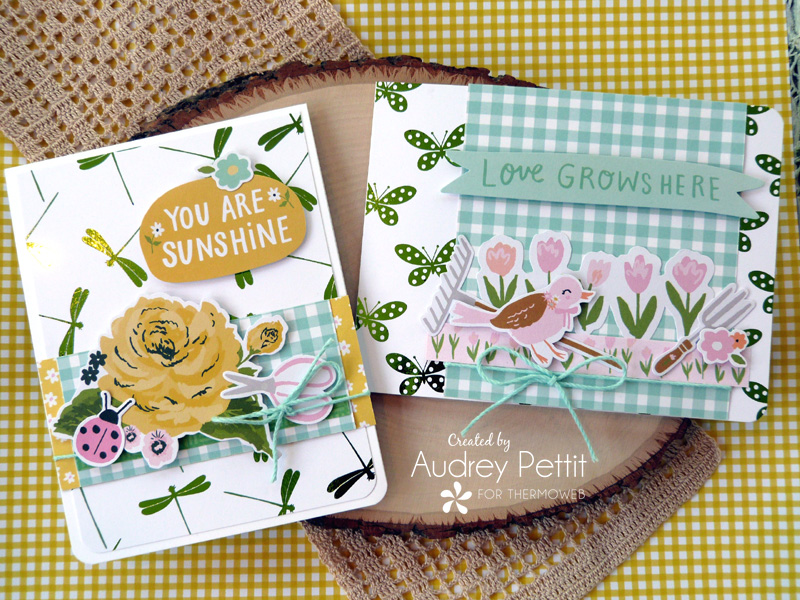
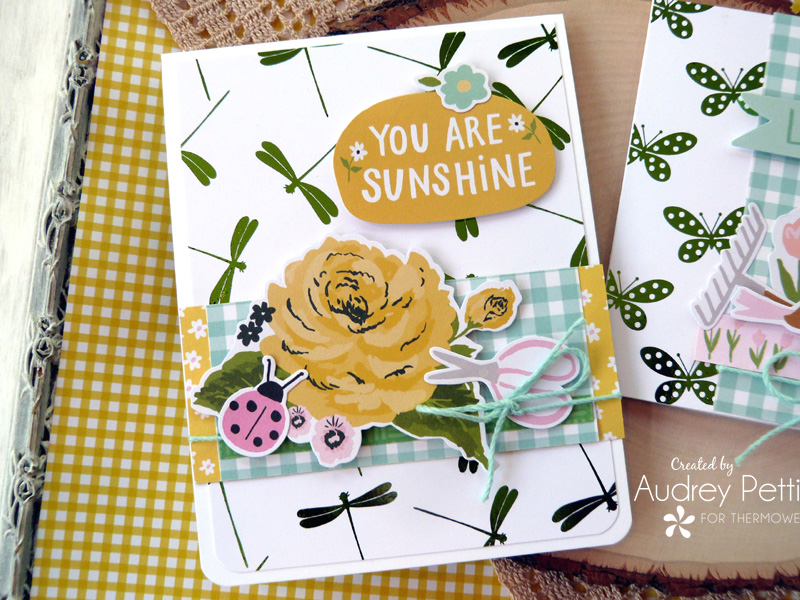
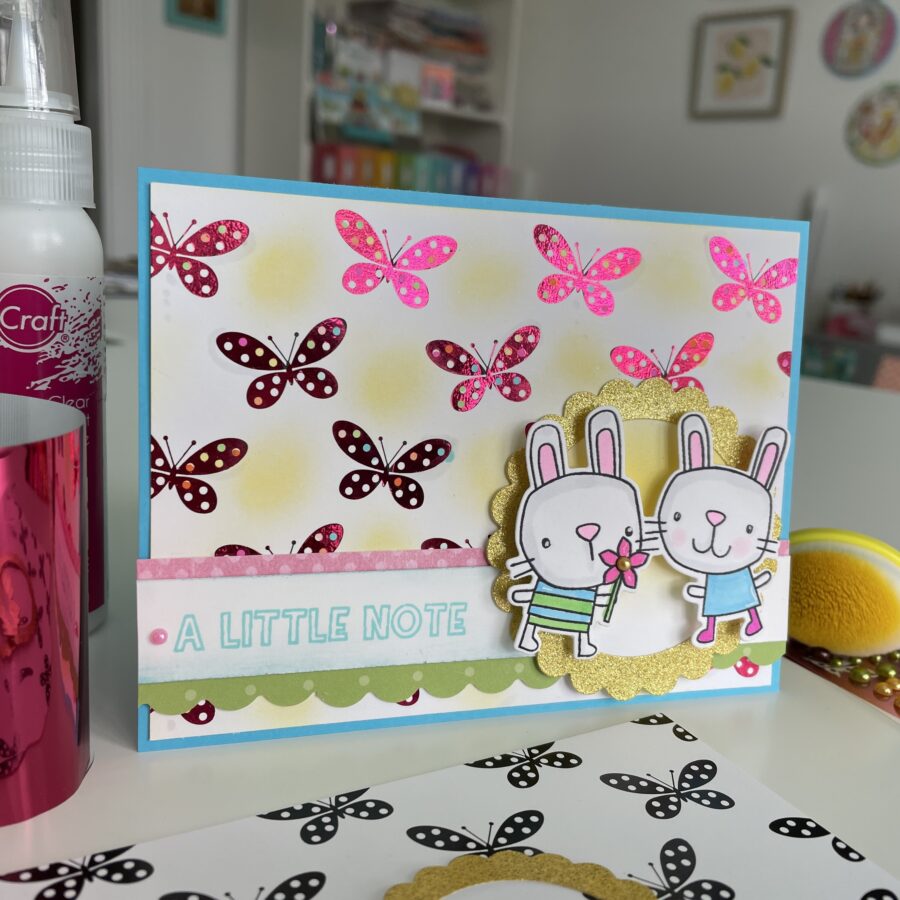
This week we are celebrating the release of a brand new, limited edition Toner Sheet set! This new set features two fabulous toner patterns that are perfect for all your spring crafting needs. The sheets are available printed on white cardstock, kraft cardstock, and clear acetate, and come in A2 and Slimline card sizes, giving you tons of creative possibilities. Today I have a pair of cards to share using the white printed sheets.
Time to Fly Spring Card Set
by Designer Audrey Pettit
Therm O Web Supplies:
iCraft Deco Foil Toner Sheets: Time to Fly
Gina K Designs Fancy Foils: Grass Green
Gina K Designs Foam Tape
iCraft Mixed Media Adhesive
Memory Tape Runner XL
Other Supplies:
PhotoPlay Paper White Cardstock
Simple Stories Bunnies & Blooms Collection: 6×8 Pad, Die Cuts
Stampin’Up Pool Party Solid Twine
EK Success Corner Rounder Punch
Royal Sovereign Laminator
Let’s Make Deco Foil Spring Toner Front Cards
This week we are celebrating the release of a brand new, limited edition Toner Sheet set! This new set features two fabulous toner patterns that are perfect for all your spring crafting needs. The sheets are available printed on white cardstock, kraft cardstock, and clear acetate, and come in A2 and Slimline card sizes, giving you tons of creative possibilities. Today I have a pair of cards to share using the white printed sheets.
Let’s take a closer look.
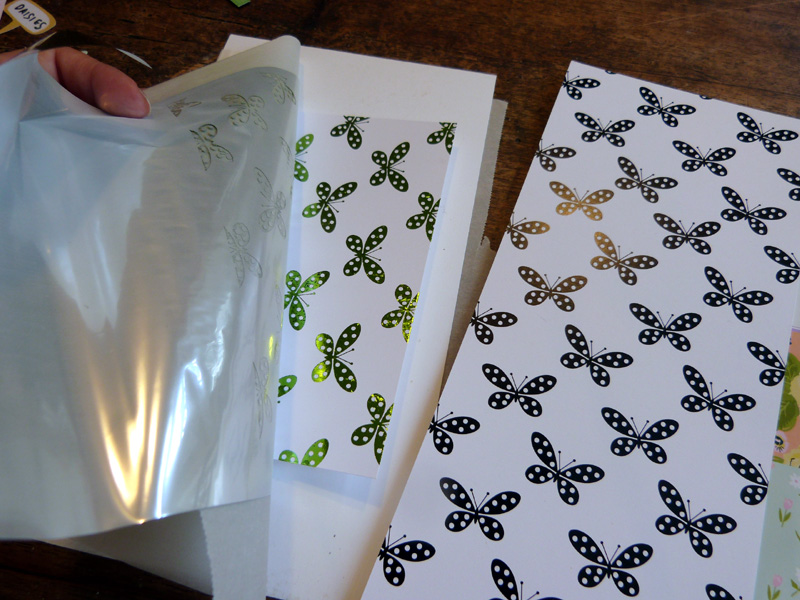
To begin, turn on your laminator set to the 3mm setting, and allow it to heat up. Place the toner sheet (toner printing side up) between the sheets of a folded piece of parchment paper. Place the foil transfer sheet onto the toner sheet (colored side up and shiny silver side down). Run this sandwich through your laminator. Peel up the foil sheets to reveal your beautifully foiled panel.
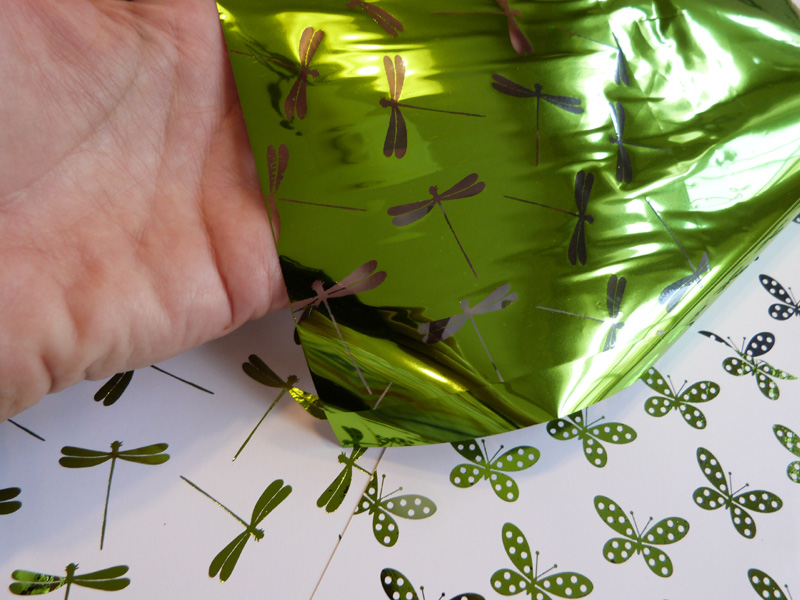
I used the GinaK Designs Grass Green Fancy Foils for my projects today. And here are both toner sheets once they’ve been foiled. Be sure to check out our website for a whole rainbow of foil color options.
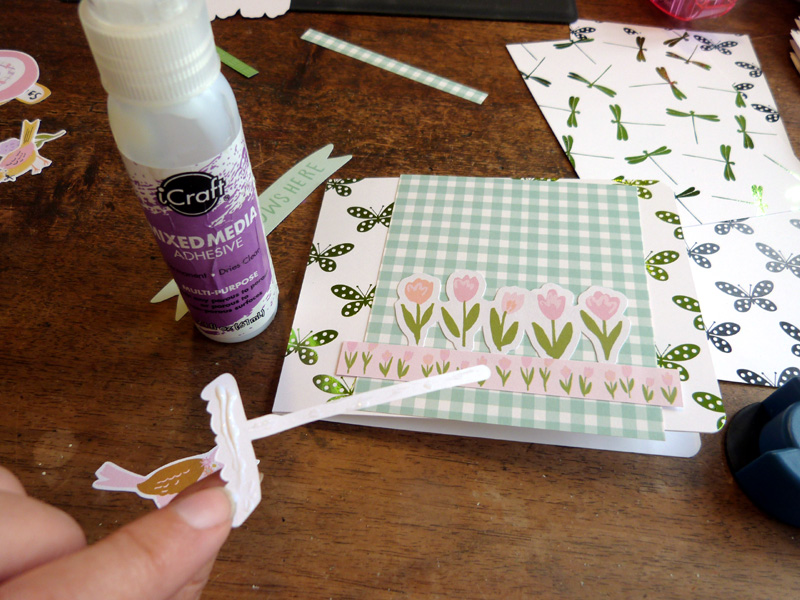
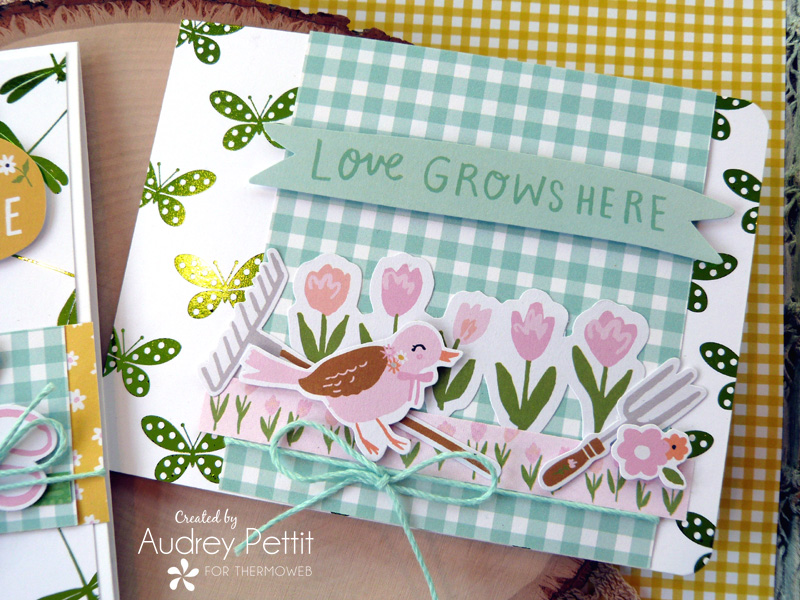
Adhere the foiled toner sheets to A2 card bases. I made one horizontal and one vertical design. Round the corners of each using a corner rounder punch. Add snippets of patterned paper and die-cut embellishments to the cards. I like to use a strong liquid glue, like our iCraft Mixed Media Adhesive to attach delicate, heavy, or thin pieces that are difficult to adhere to with a tape runner.
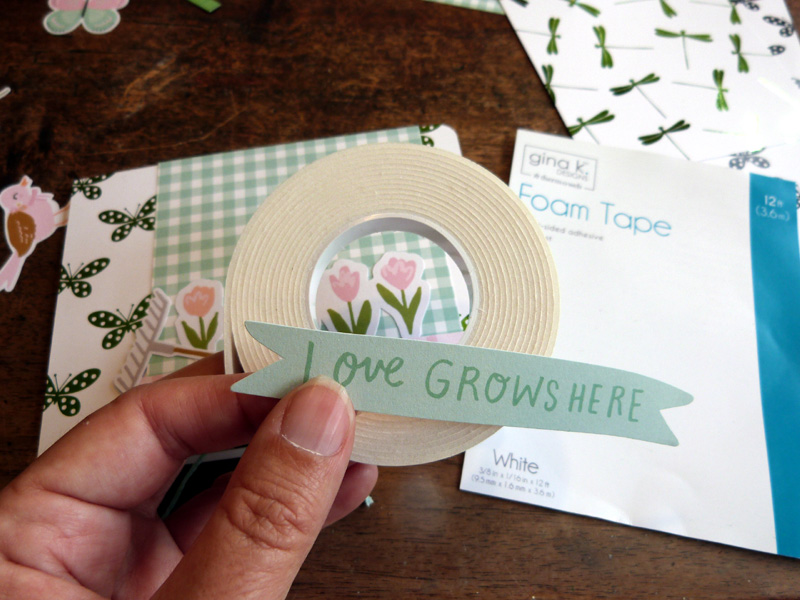
Add dimension to your card by popping some of the embellishments up with Foam Tape. Wrap each card with twine.
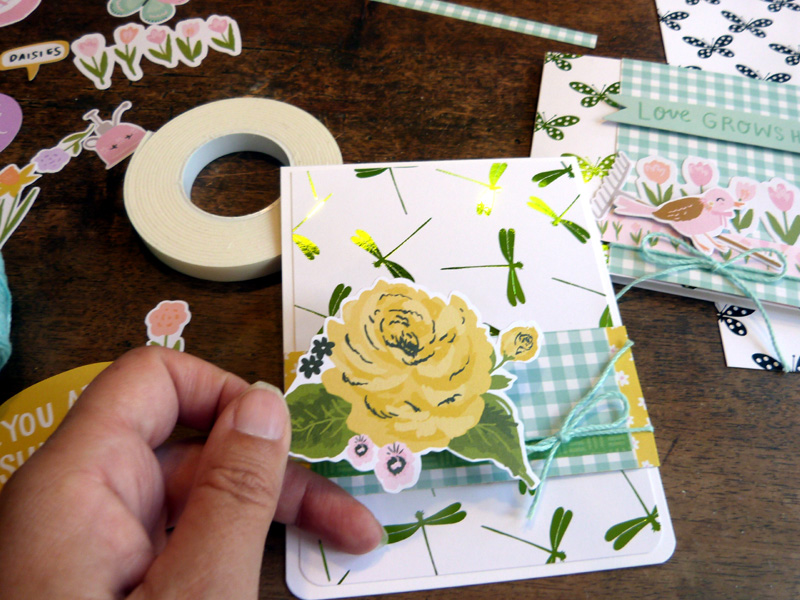
Change up your design by adding different snippets of patterned paper and die cuts. For the second card, I trimmed down the toner sheet by 1/4″ to leave a white cardstock border all the way around.
Enjoy! Be sure to use hashtags #decofoil and #thermoweb so we can find your projects!
Save on Our Five Featured Foils
With our new release comes new Featured Foils that you’ll find at special savings for a limited time! Look for 15% off some of our most popular colors this time… Gold and Silver Deco Foil, Passionate Pink and Grass Green Fancy Foils, and our NEW Rainglow from Brutus Monroe! Shop NOW for these savings PLUS our NEW Time to Fly Toner Card Fronts!


Now don’t miss a chance to enter to win a $25 Gift Card to shop with us! You can pick up more of our Toner Sheets, some of our Deco Foil, Tape Runners, Foam Squares, Liquid Adhesive and much more. But you’ve got to enter to win! Join us each day this week as we celebrate our Time to Fly Release with more ideas and inspiration!