Hello, it’s Lisa Ruble from Quilty Zest!
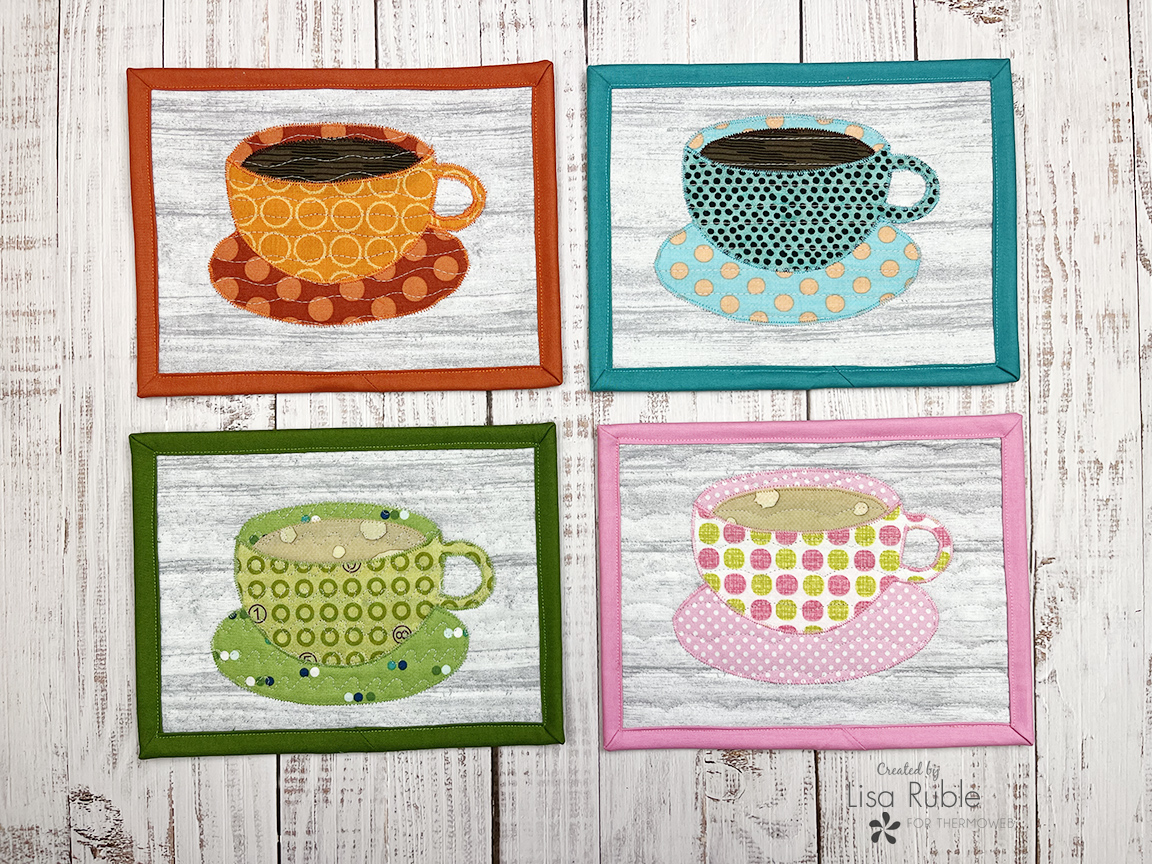
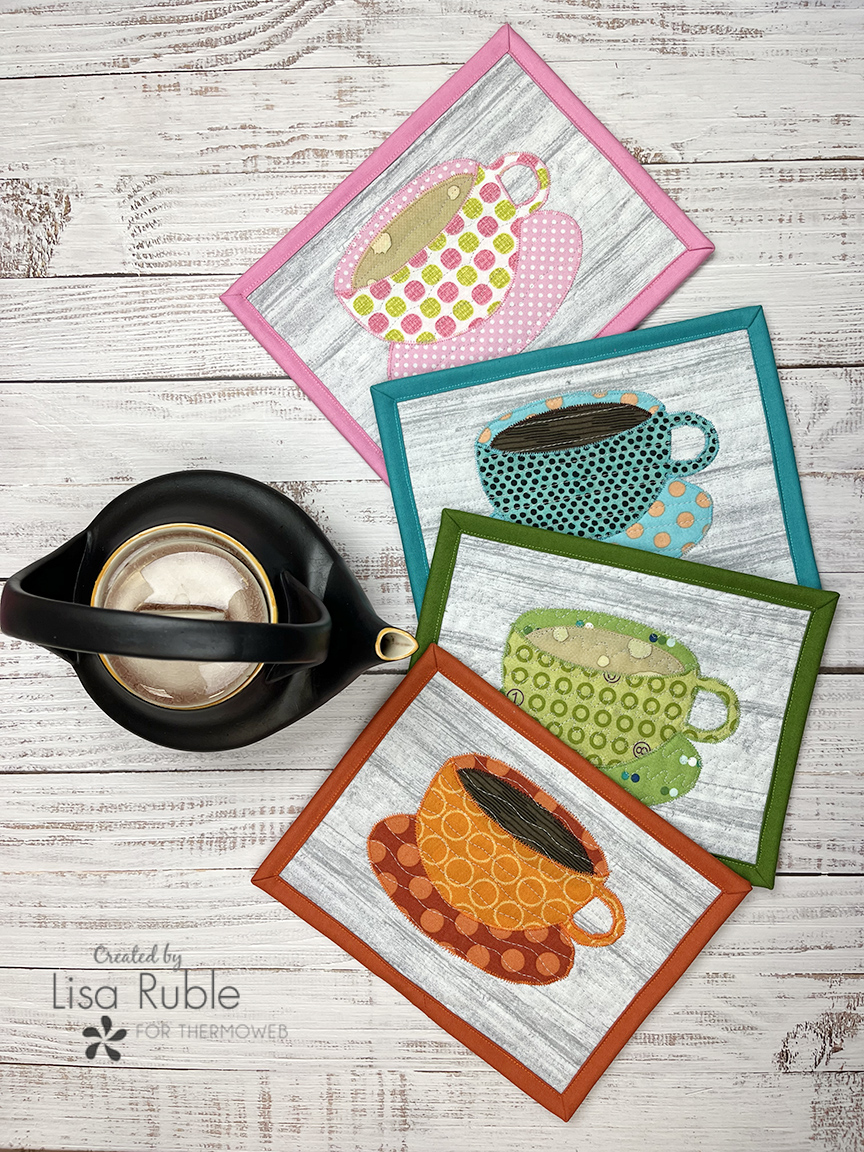
It’s “Down the Rabbit Hole” week on the Thermoweb blog, and when I think of Alice in Wonderland, I immediately think of tea parties. So I decided to dig through my stash and find some fun polka dot prints to make tea cup mug rugs. These mini quilts are quick and easy to make, and the best part is each one will look different based on your fabric choices.
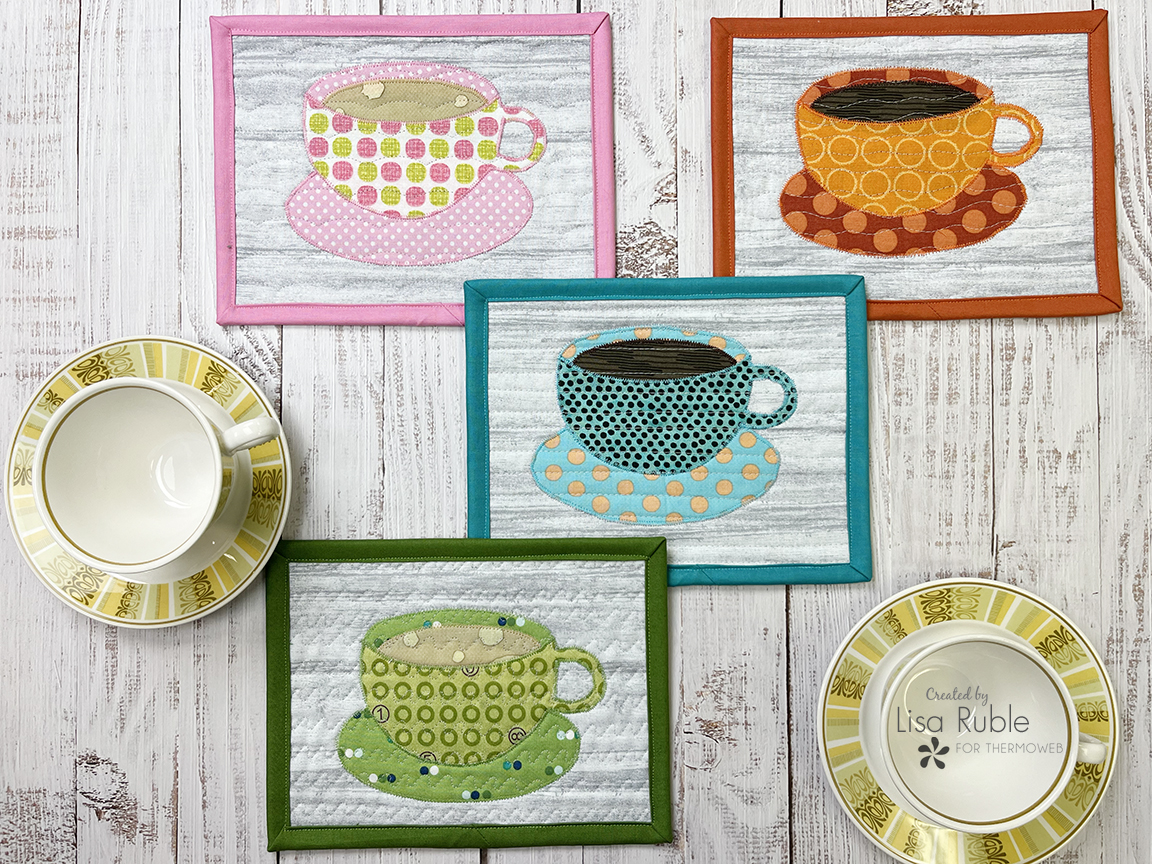
Wouldn’t it be fun to host a tea party and use these both as table decor and as party favors?!
You’ll Need (for 1 mug rug):
(2) 7-1/2″ x 9-1/2″ fabric pieces (for background and backing)
(1) 6-1/2″ fabric square (for saucer and back cup lip)
(1) 4″ x 6-1/2″ fabric piece (for tea cup)
(1) 2-1/2″ x 5-1/2″ fabric piece (for tea)
(1) 2-1/4″ x WOF fabric strip for binding
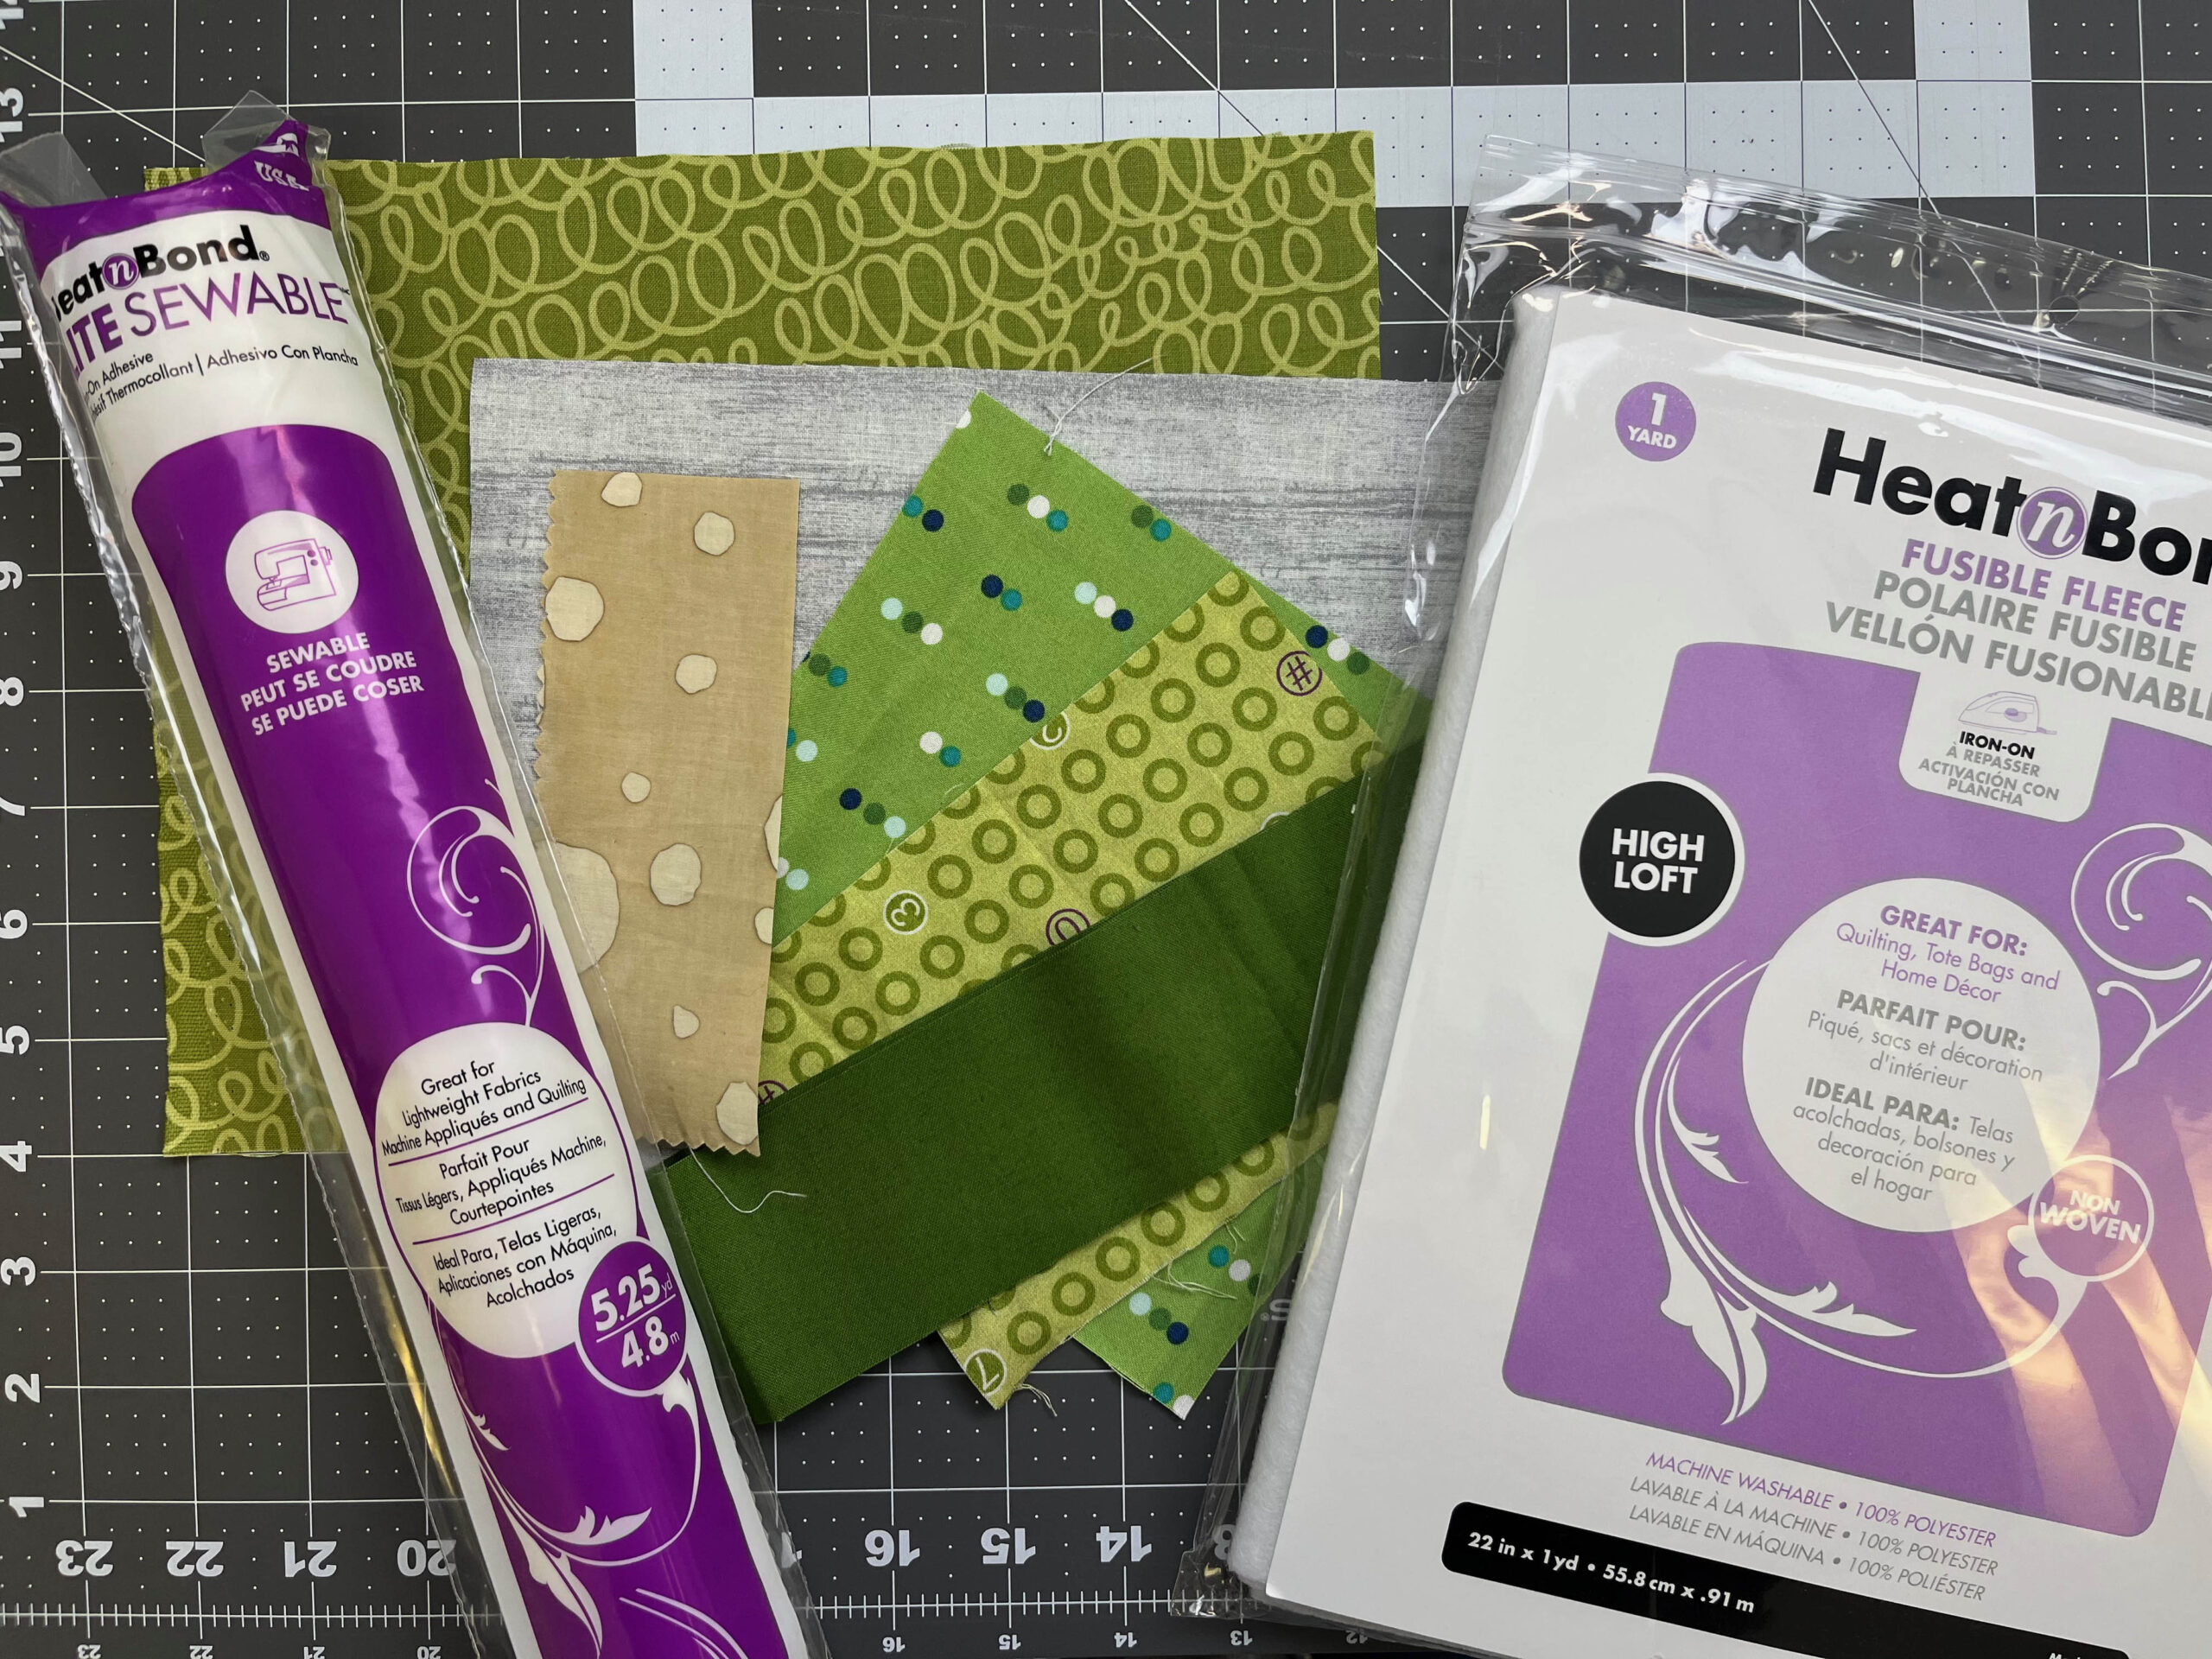
(1) 7-1/2″ x 9-1/2″ piece of HeatnBond Fusible Fleece
HeatnBond Lite Iron-on Adhesive
Thread in coordinating colors
Basic sewing supplies
Download the project templates here.
Make the Mug Rug
Step 1 Trace one of each template onto the paper side of fusible web, leaving 1″ between shapes. Cut out each shape 1/2″ beyond the drawn lines. Follow the notes on the template to leave a little excess for overlap.
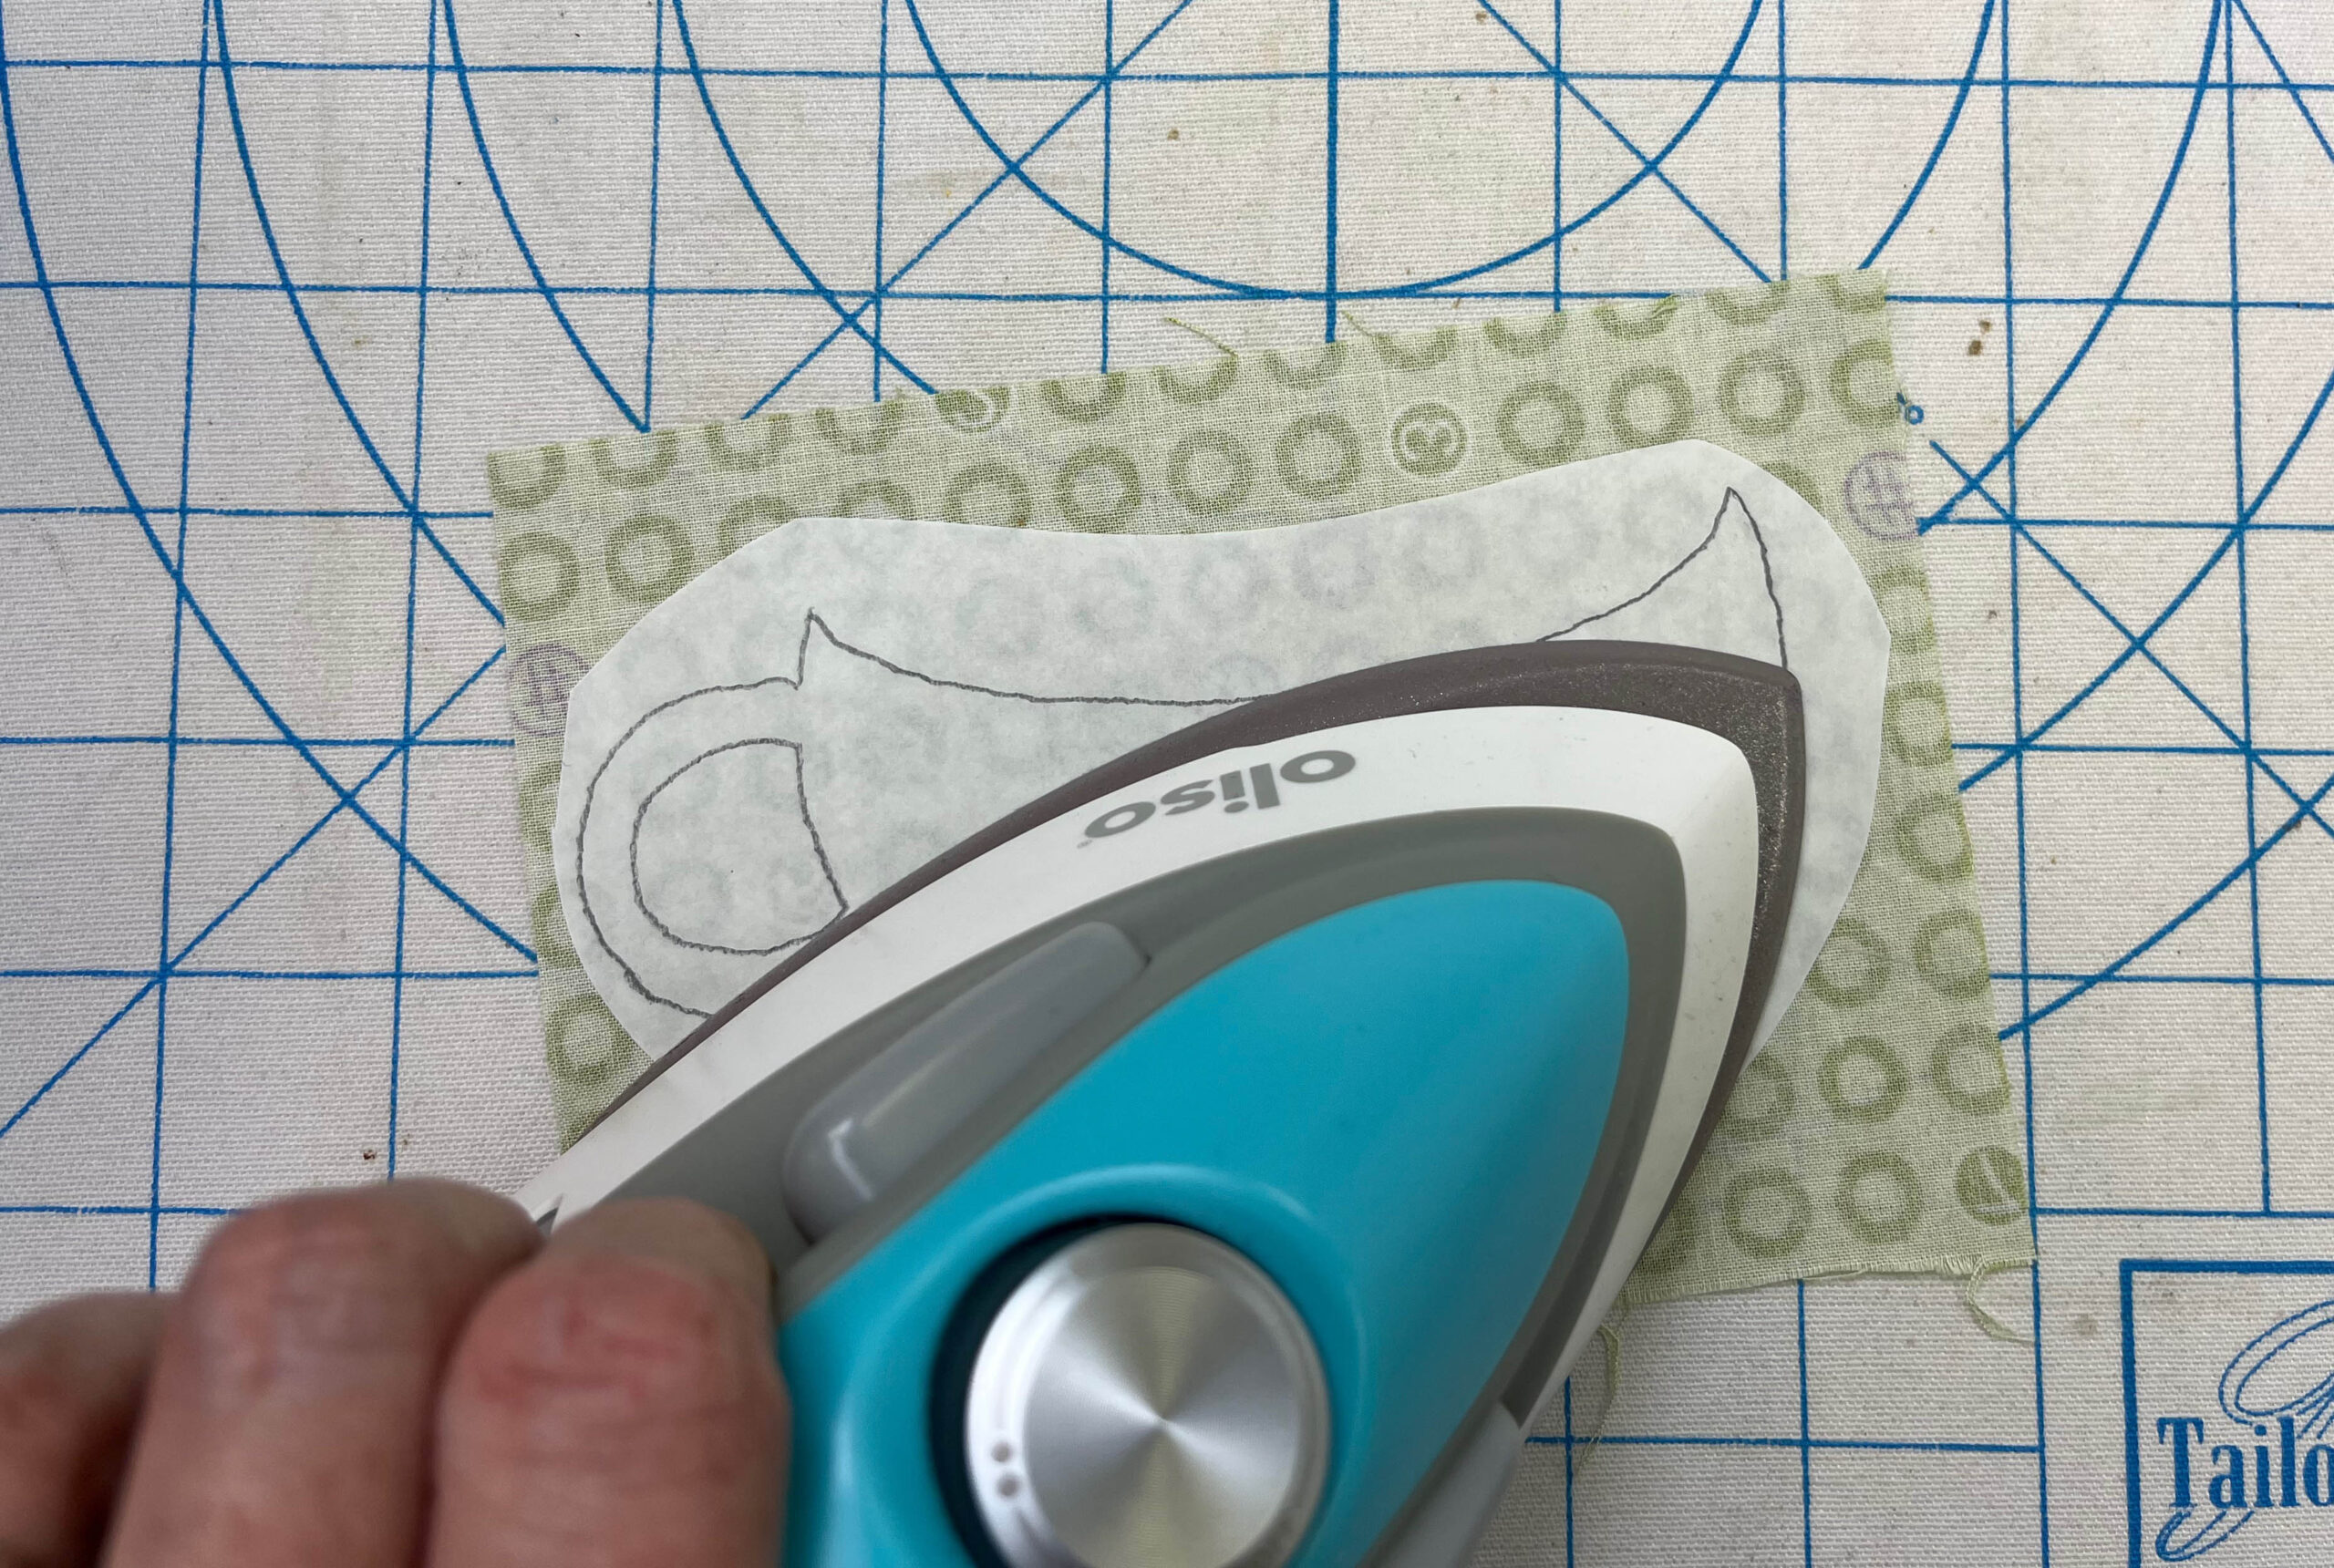
Step 2 Fuse the traced shapes onto the wrong side of each fabric.
Step 3 Cut out each shape on the drawn lines as indicated.
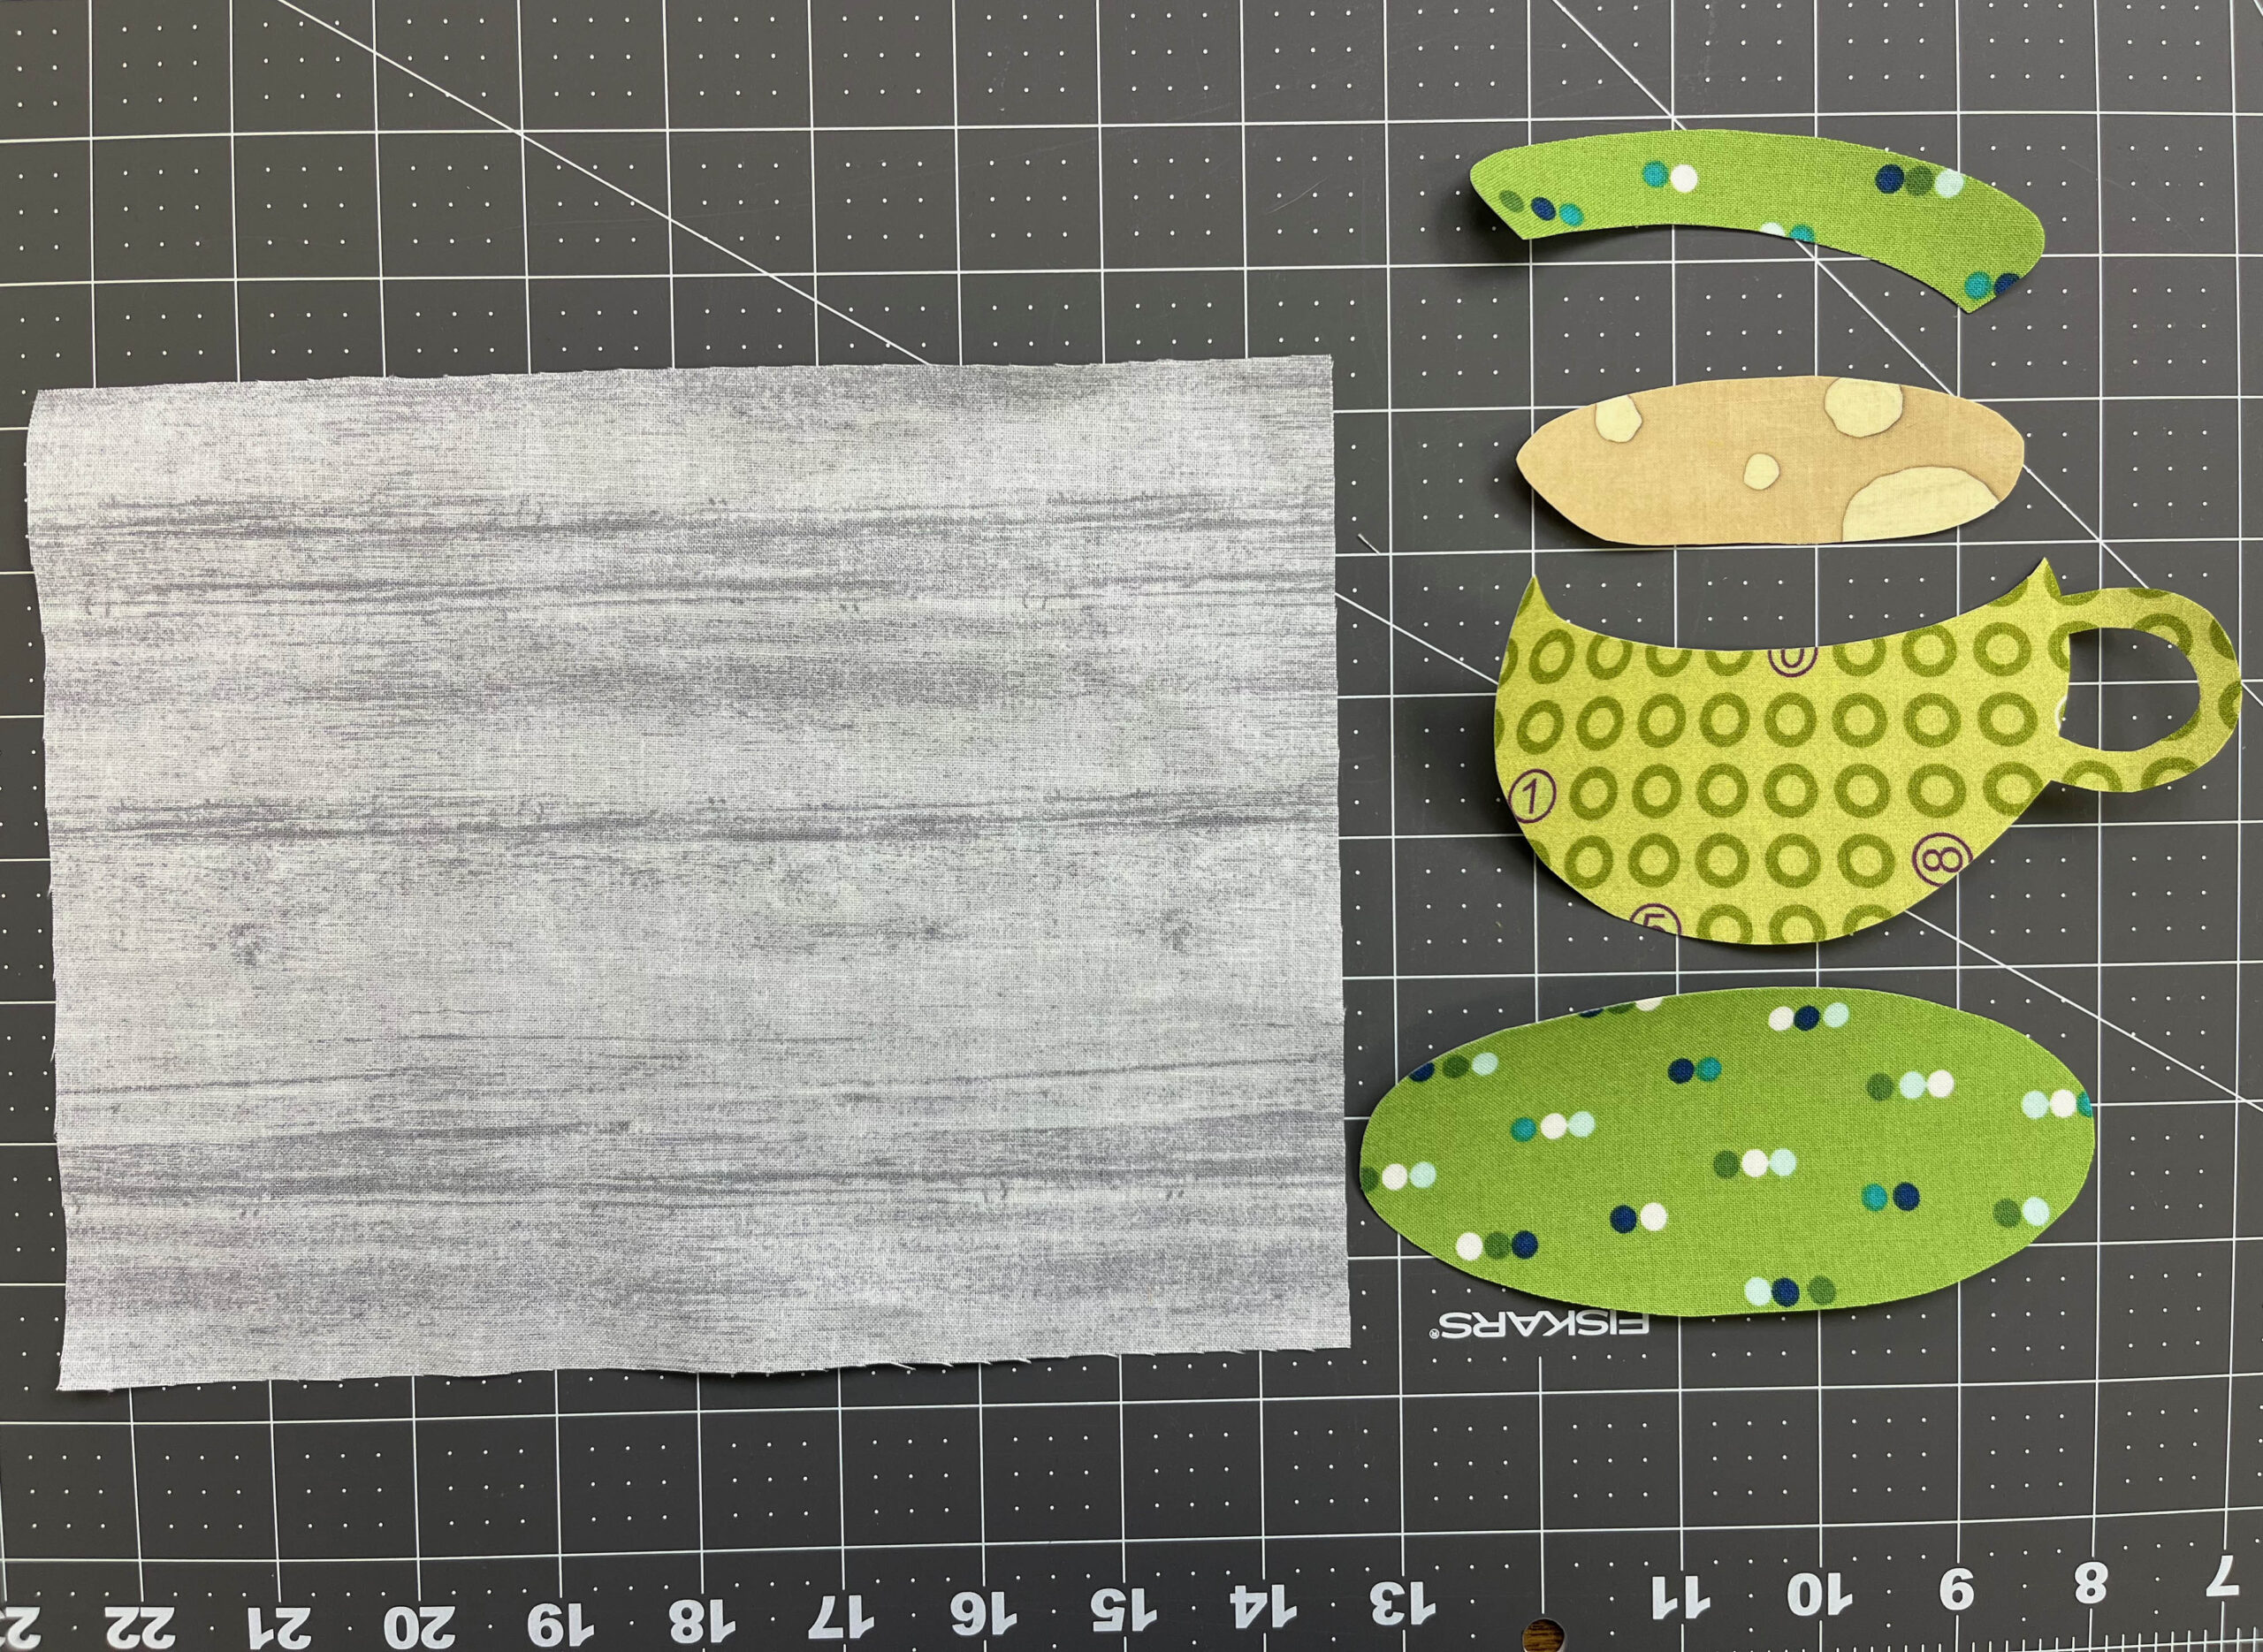
Step 4 Position the shapes on top the 7-1/2″ x 9-1/2″ background piece, centering from left to right and top to bottom. Start with the saucer, then add the teacup. Position the back cup lip under the edge of the tea cup so edges align. Remove the teacup and fuse the saucer and back cup lid in place. Add the coffee and teacup, position as desired, and then fuse in place.
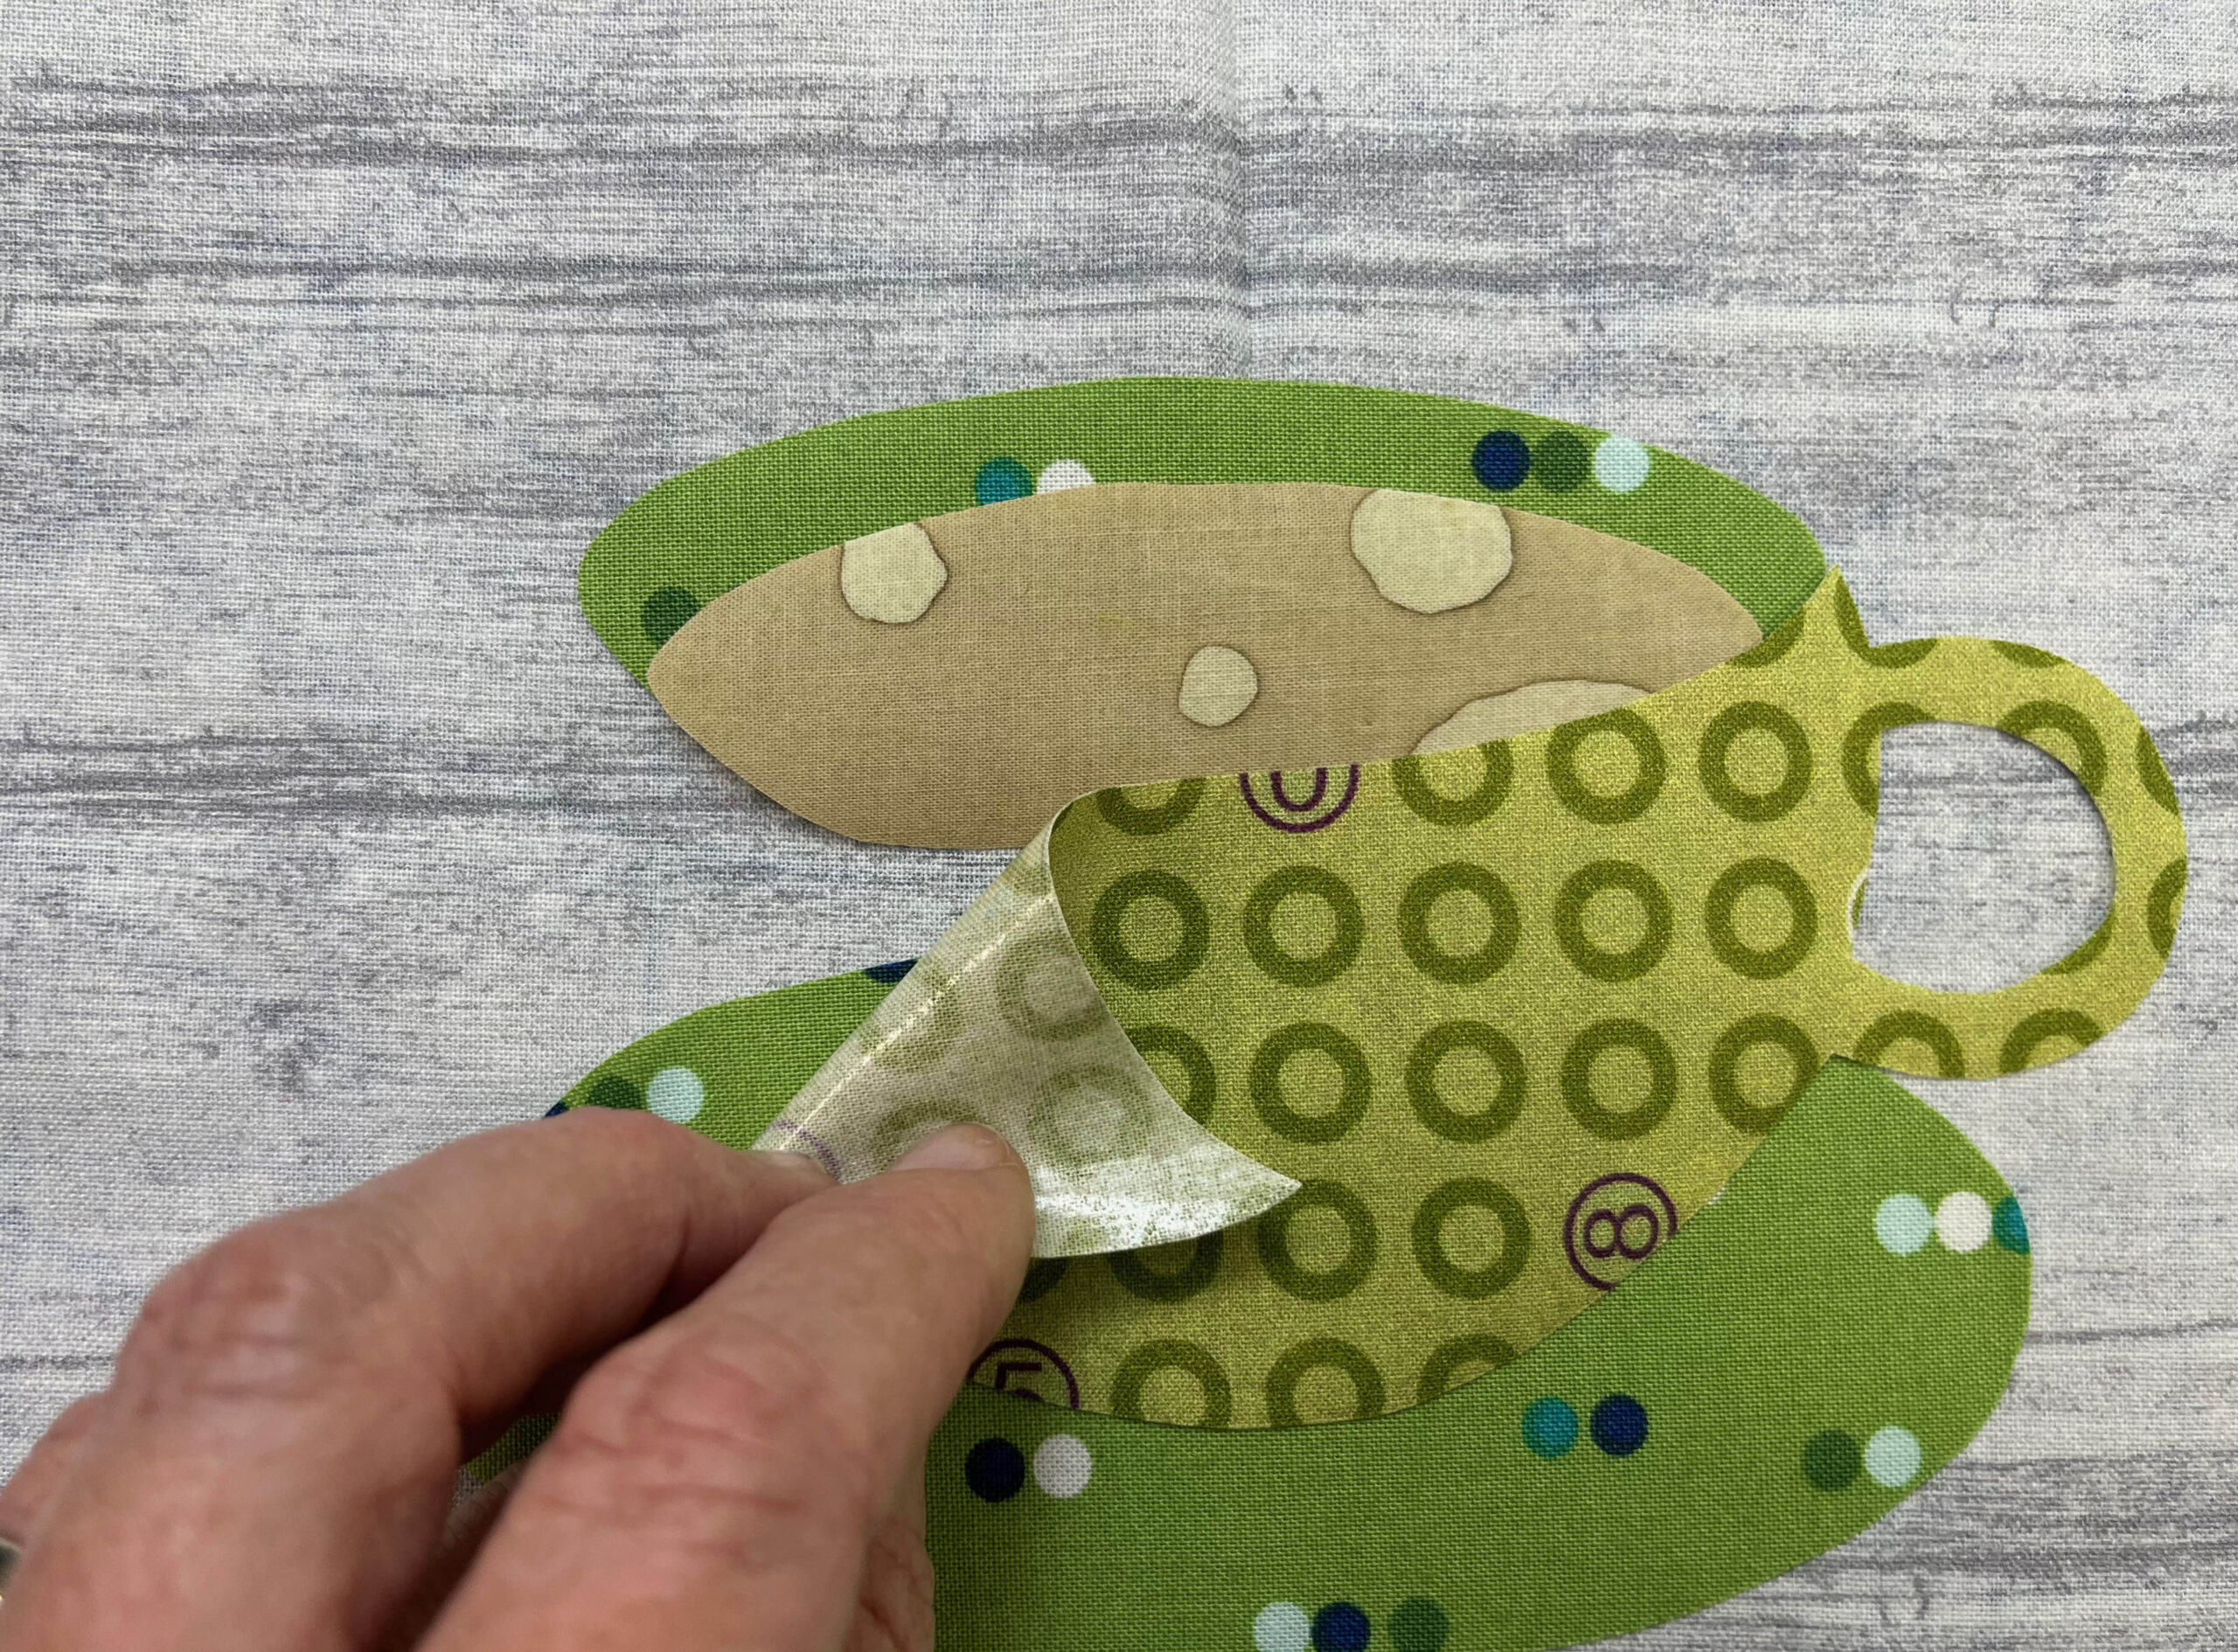
Step 5 Fuse the 7-1/2″ x 9-1/2″ fusible fleece piece to the wrong side of the tea cup applique piece. Using coordinating thread and a zigzag stitch, secure all appliques in place.
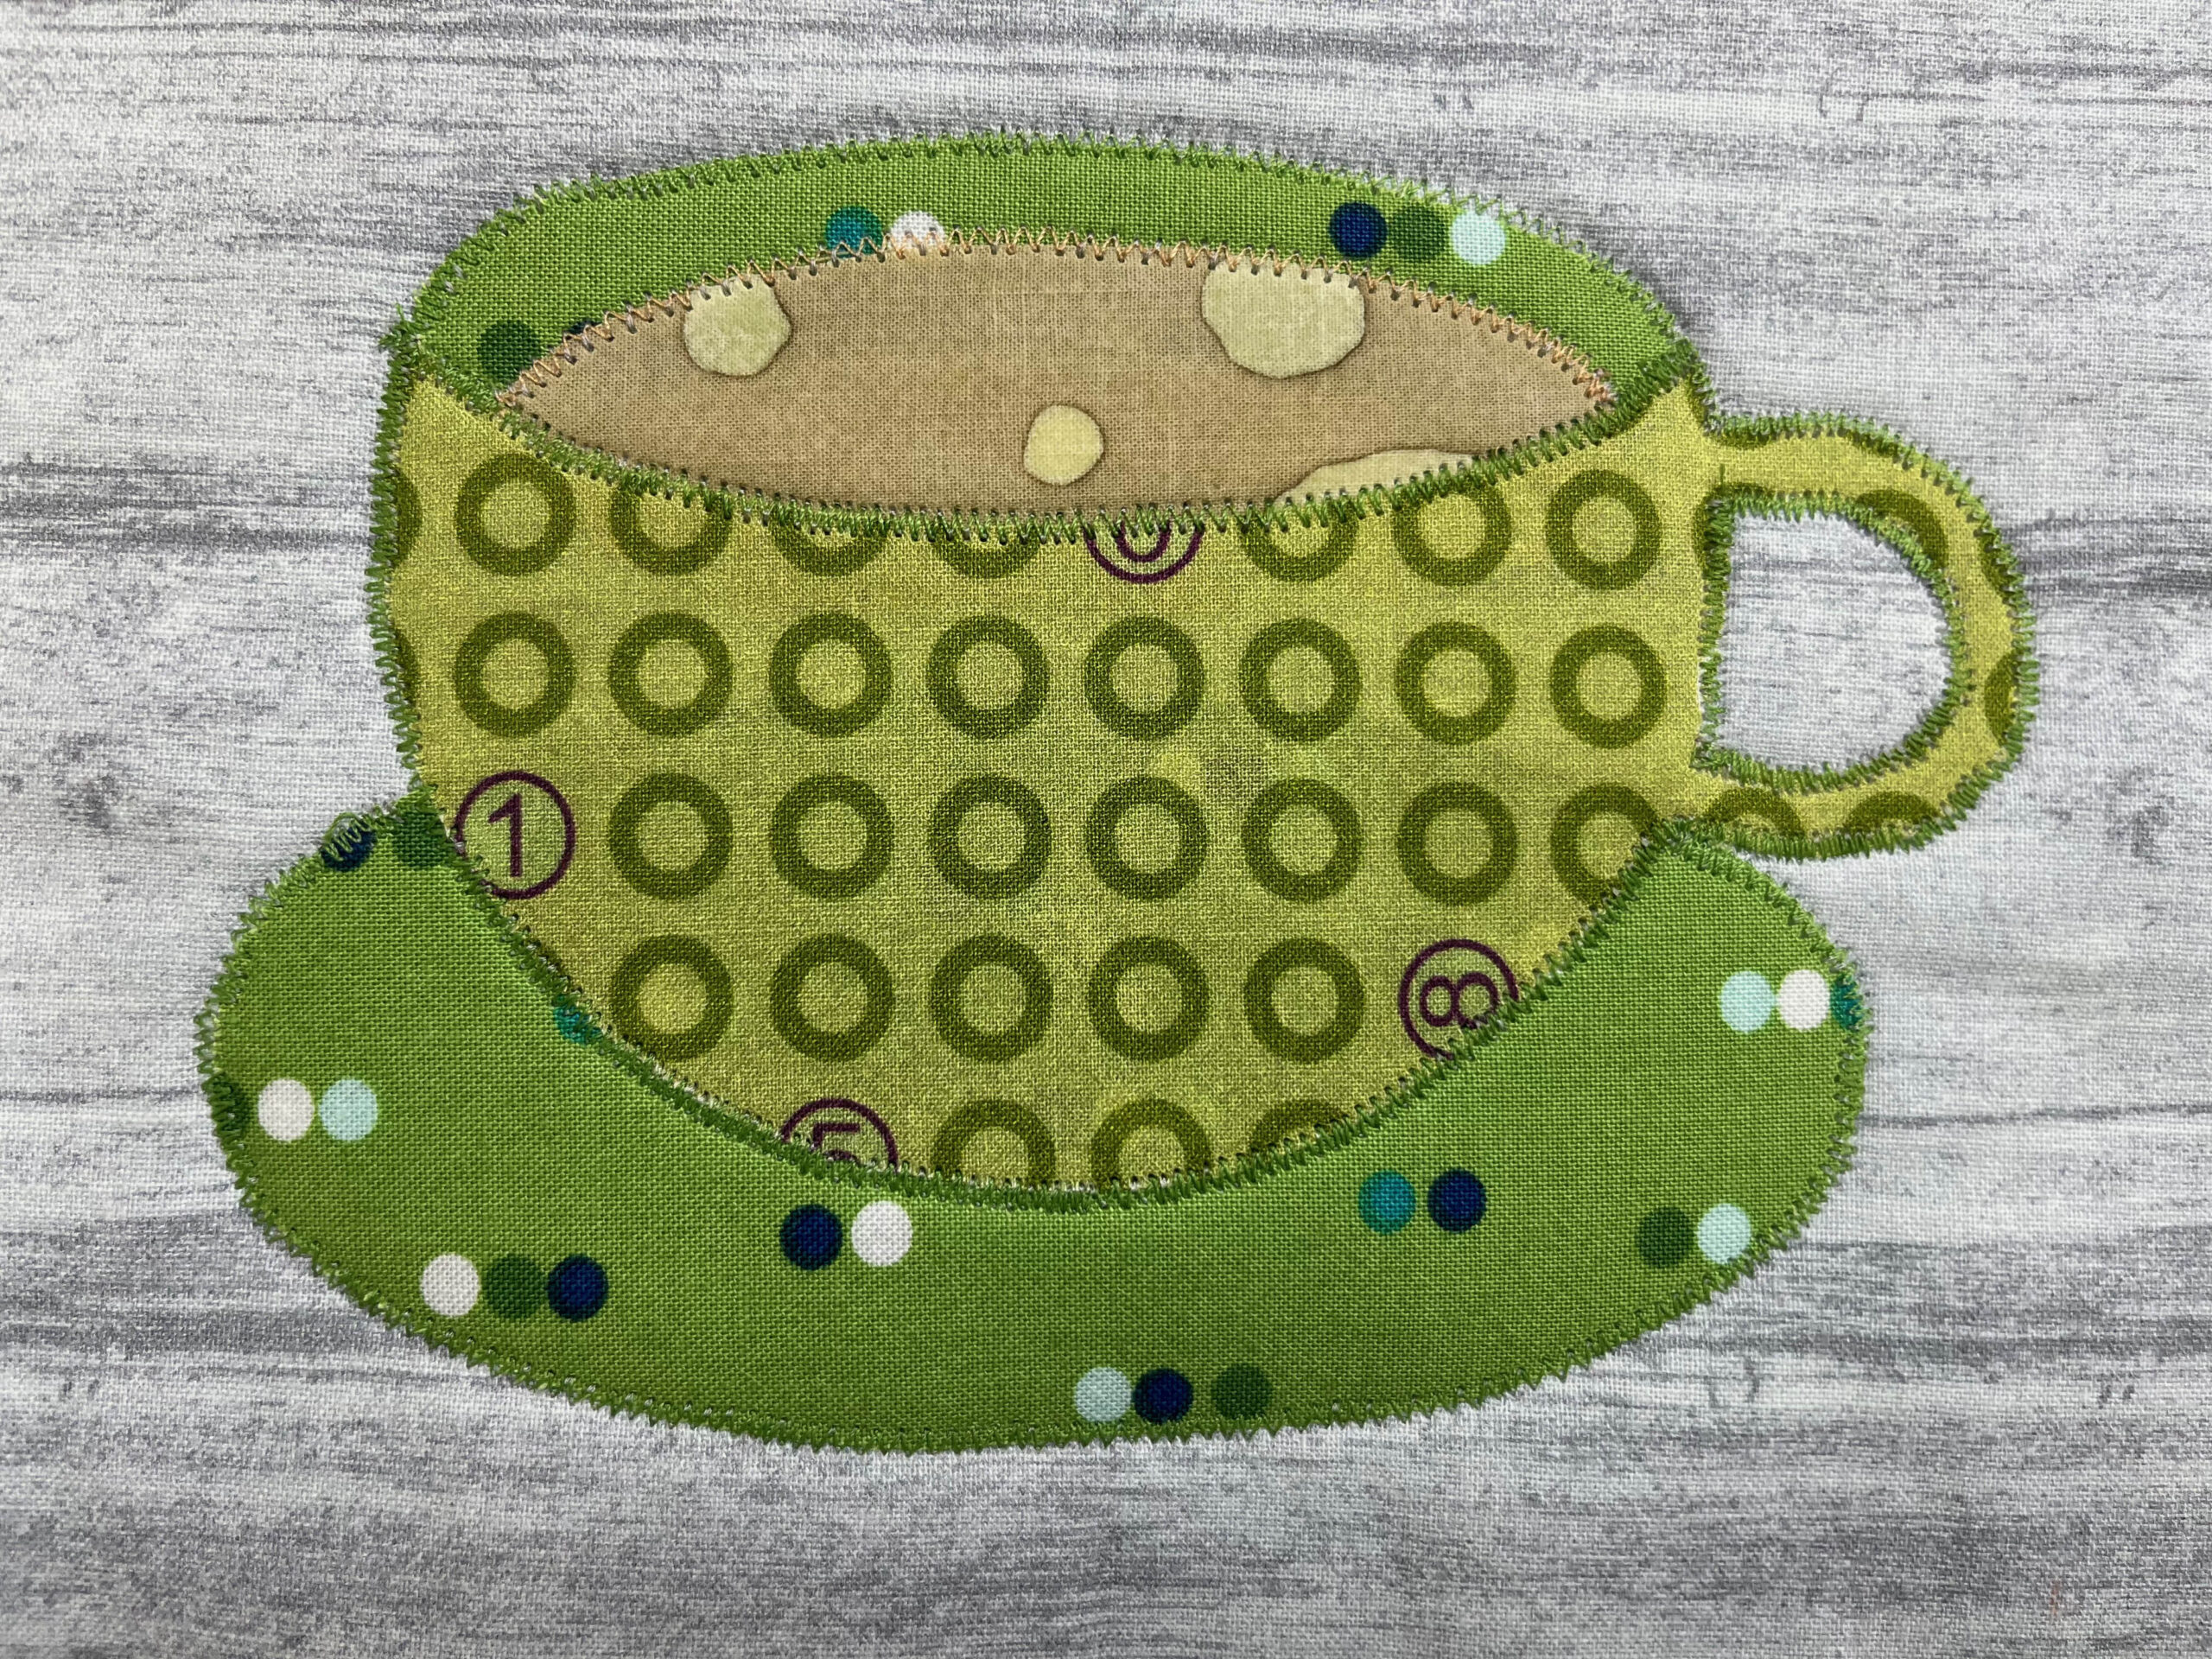
Step 6 Layer mug rug front and batting with the 7-1/2″ x 9-1/2″ backing piece and baste. Quilt as desired.
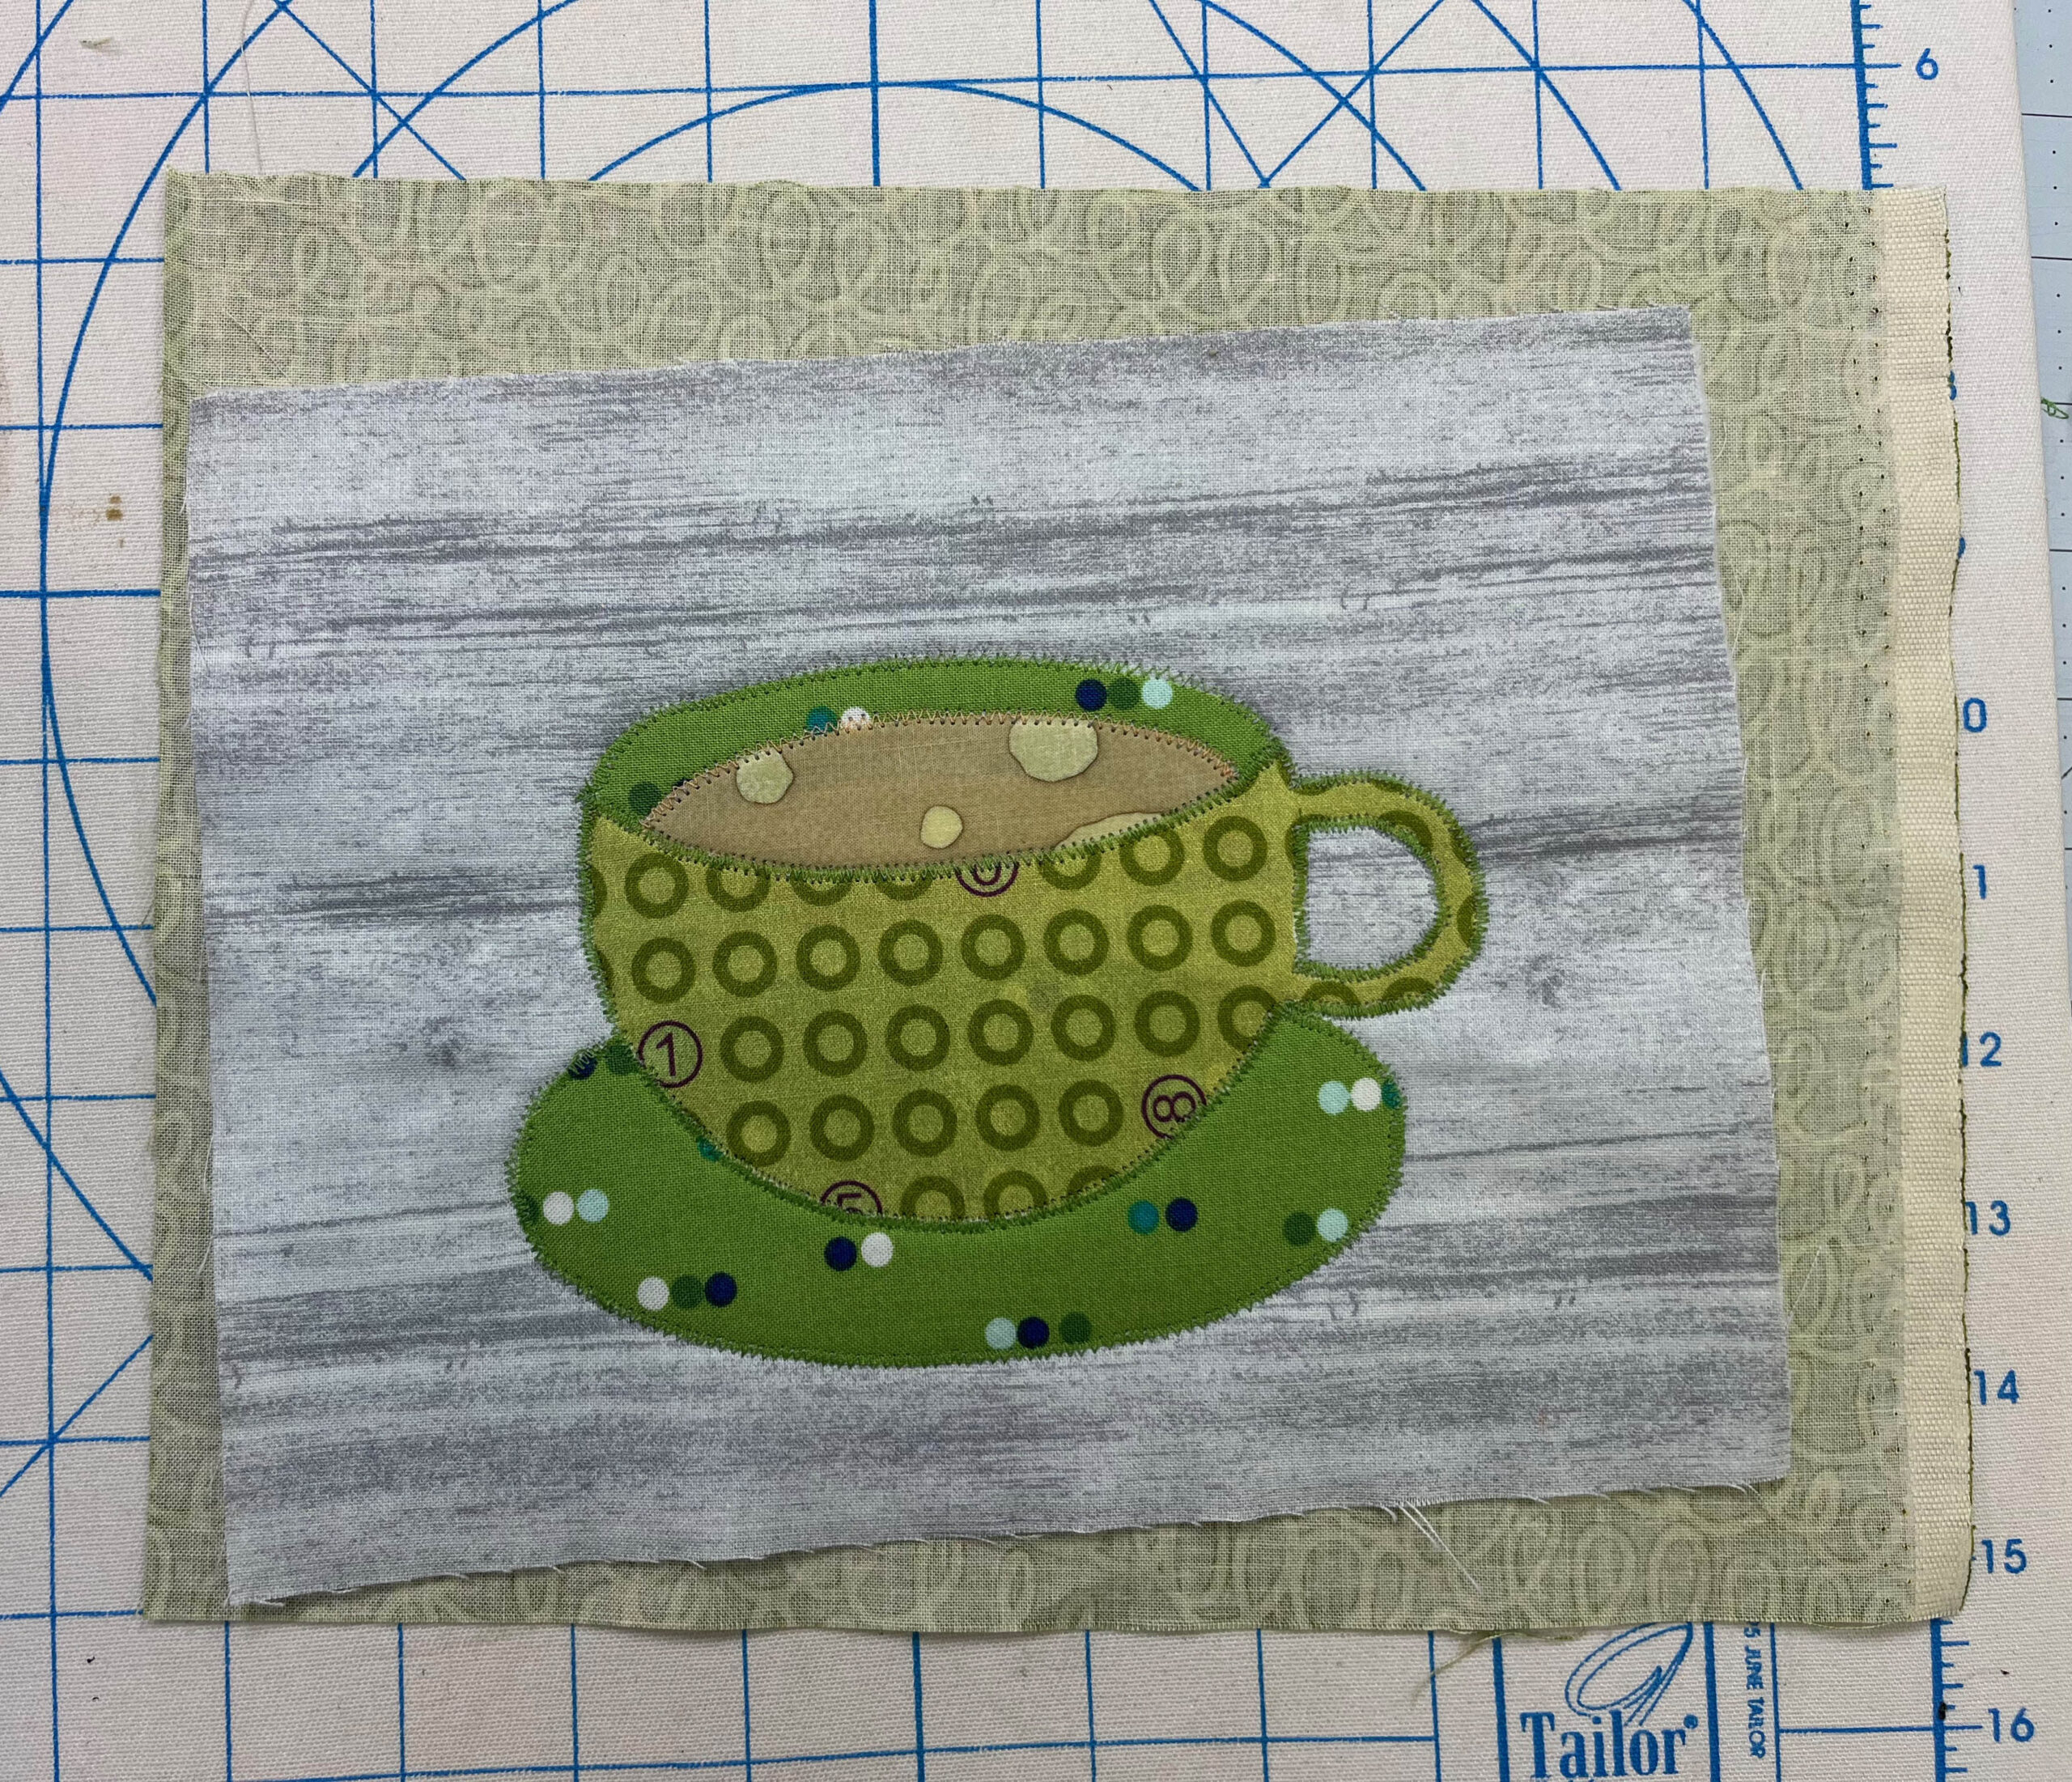
Step 7 After quilting, trim to measure 6-1/2″ x 8-1/2″. Use the 2-1/4″ x WOF binding strip to bind the mug rug.
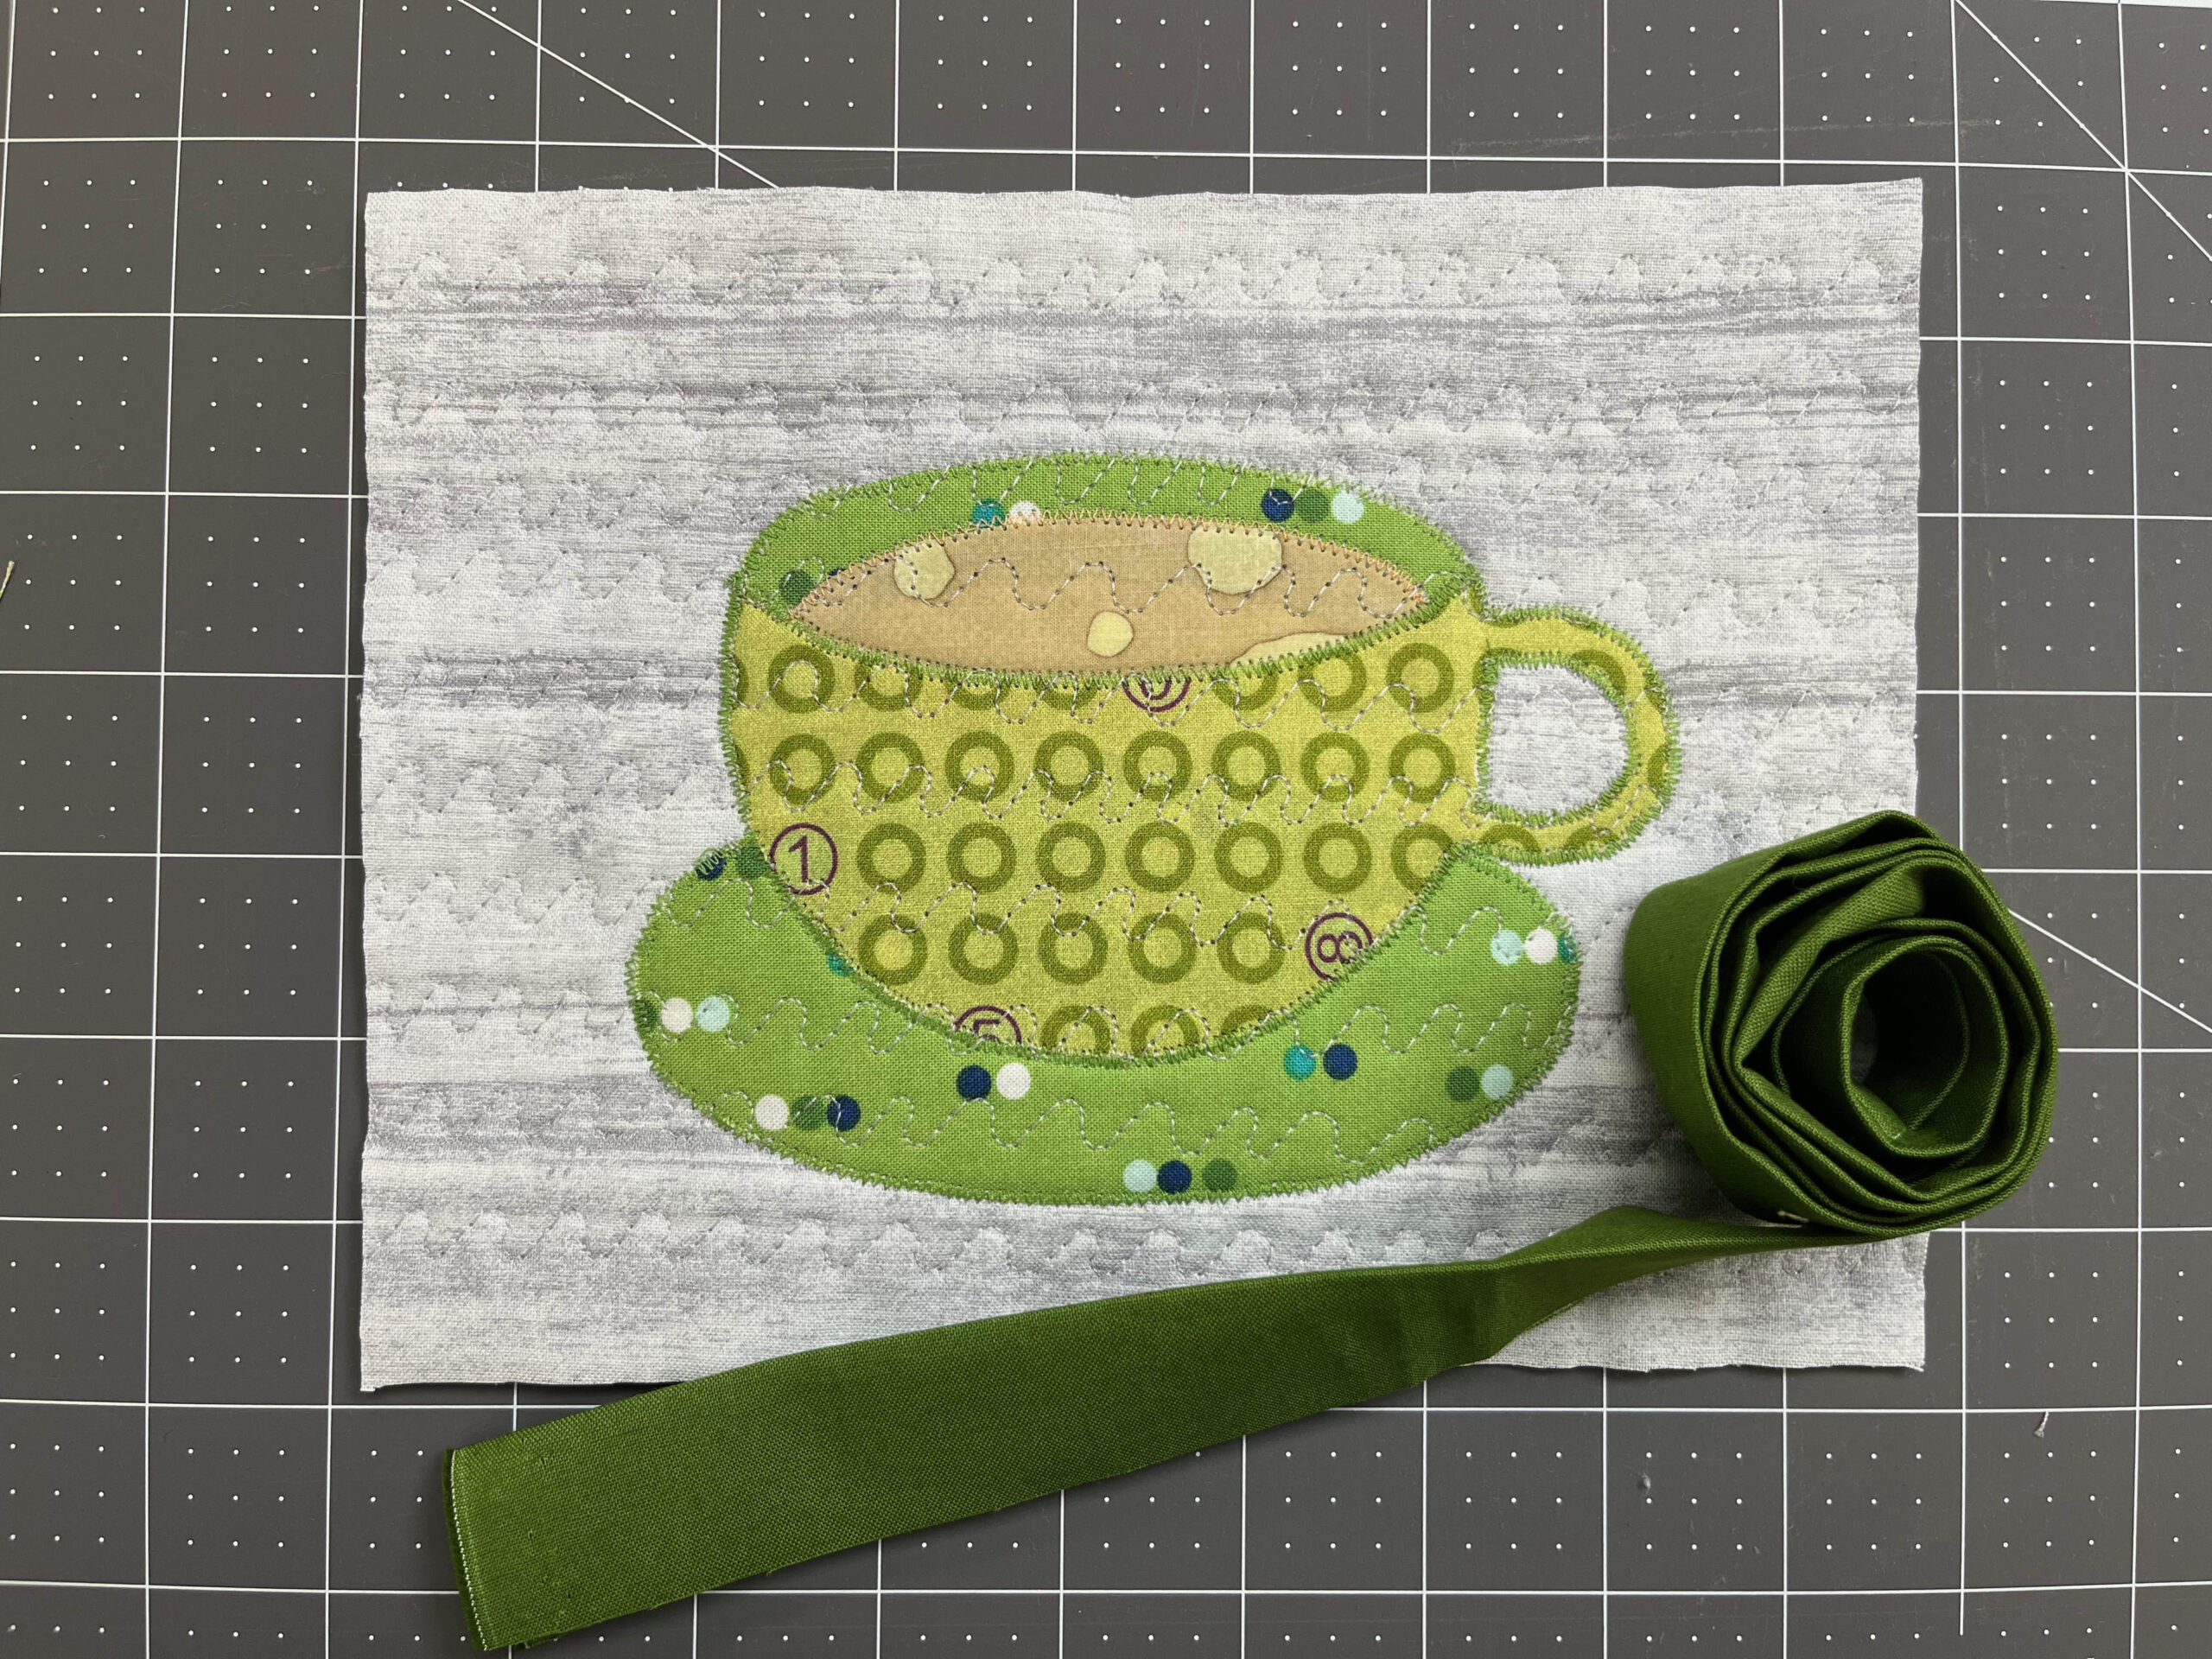
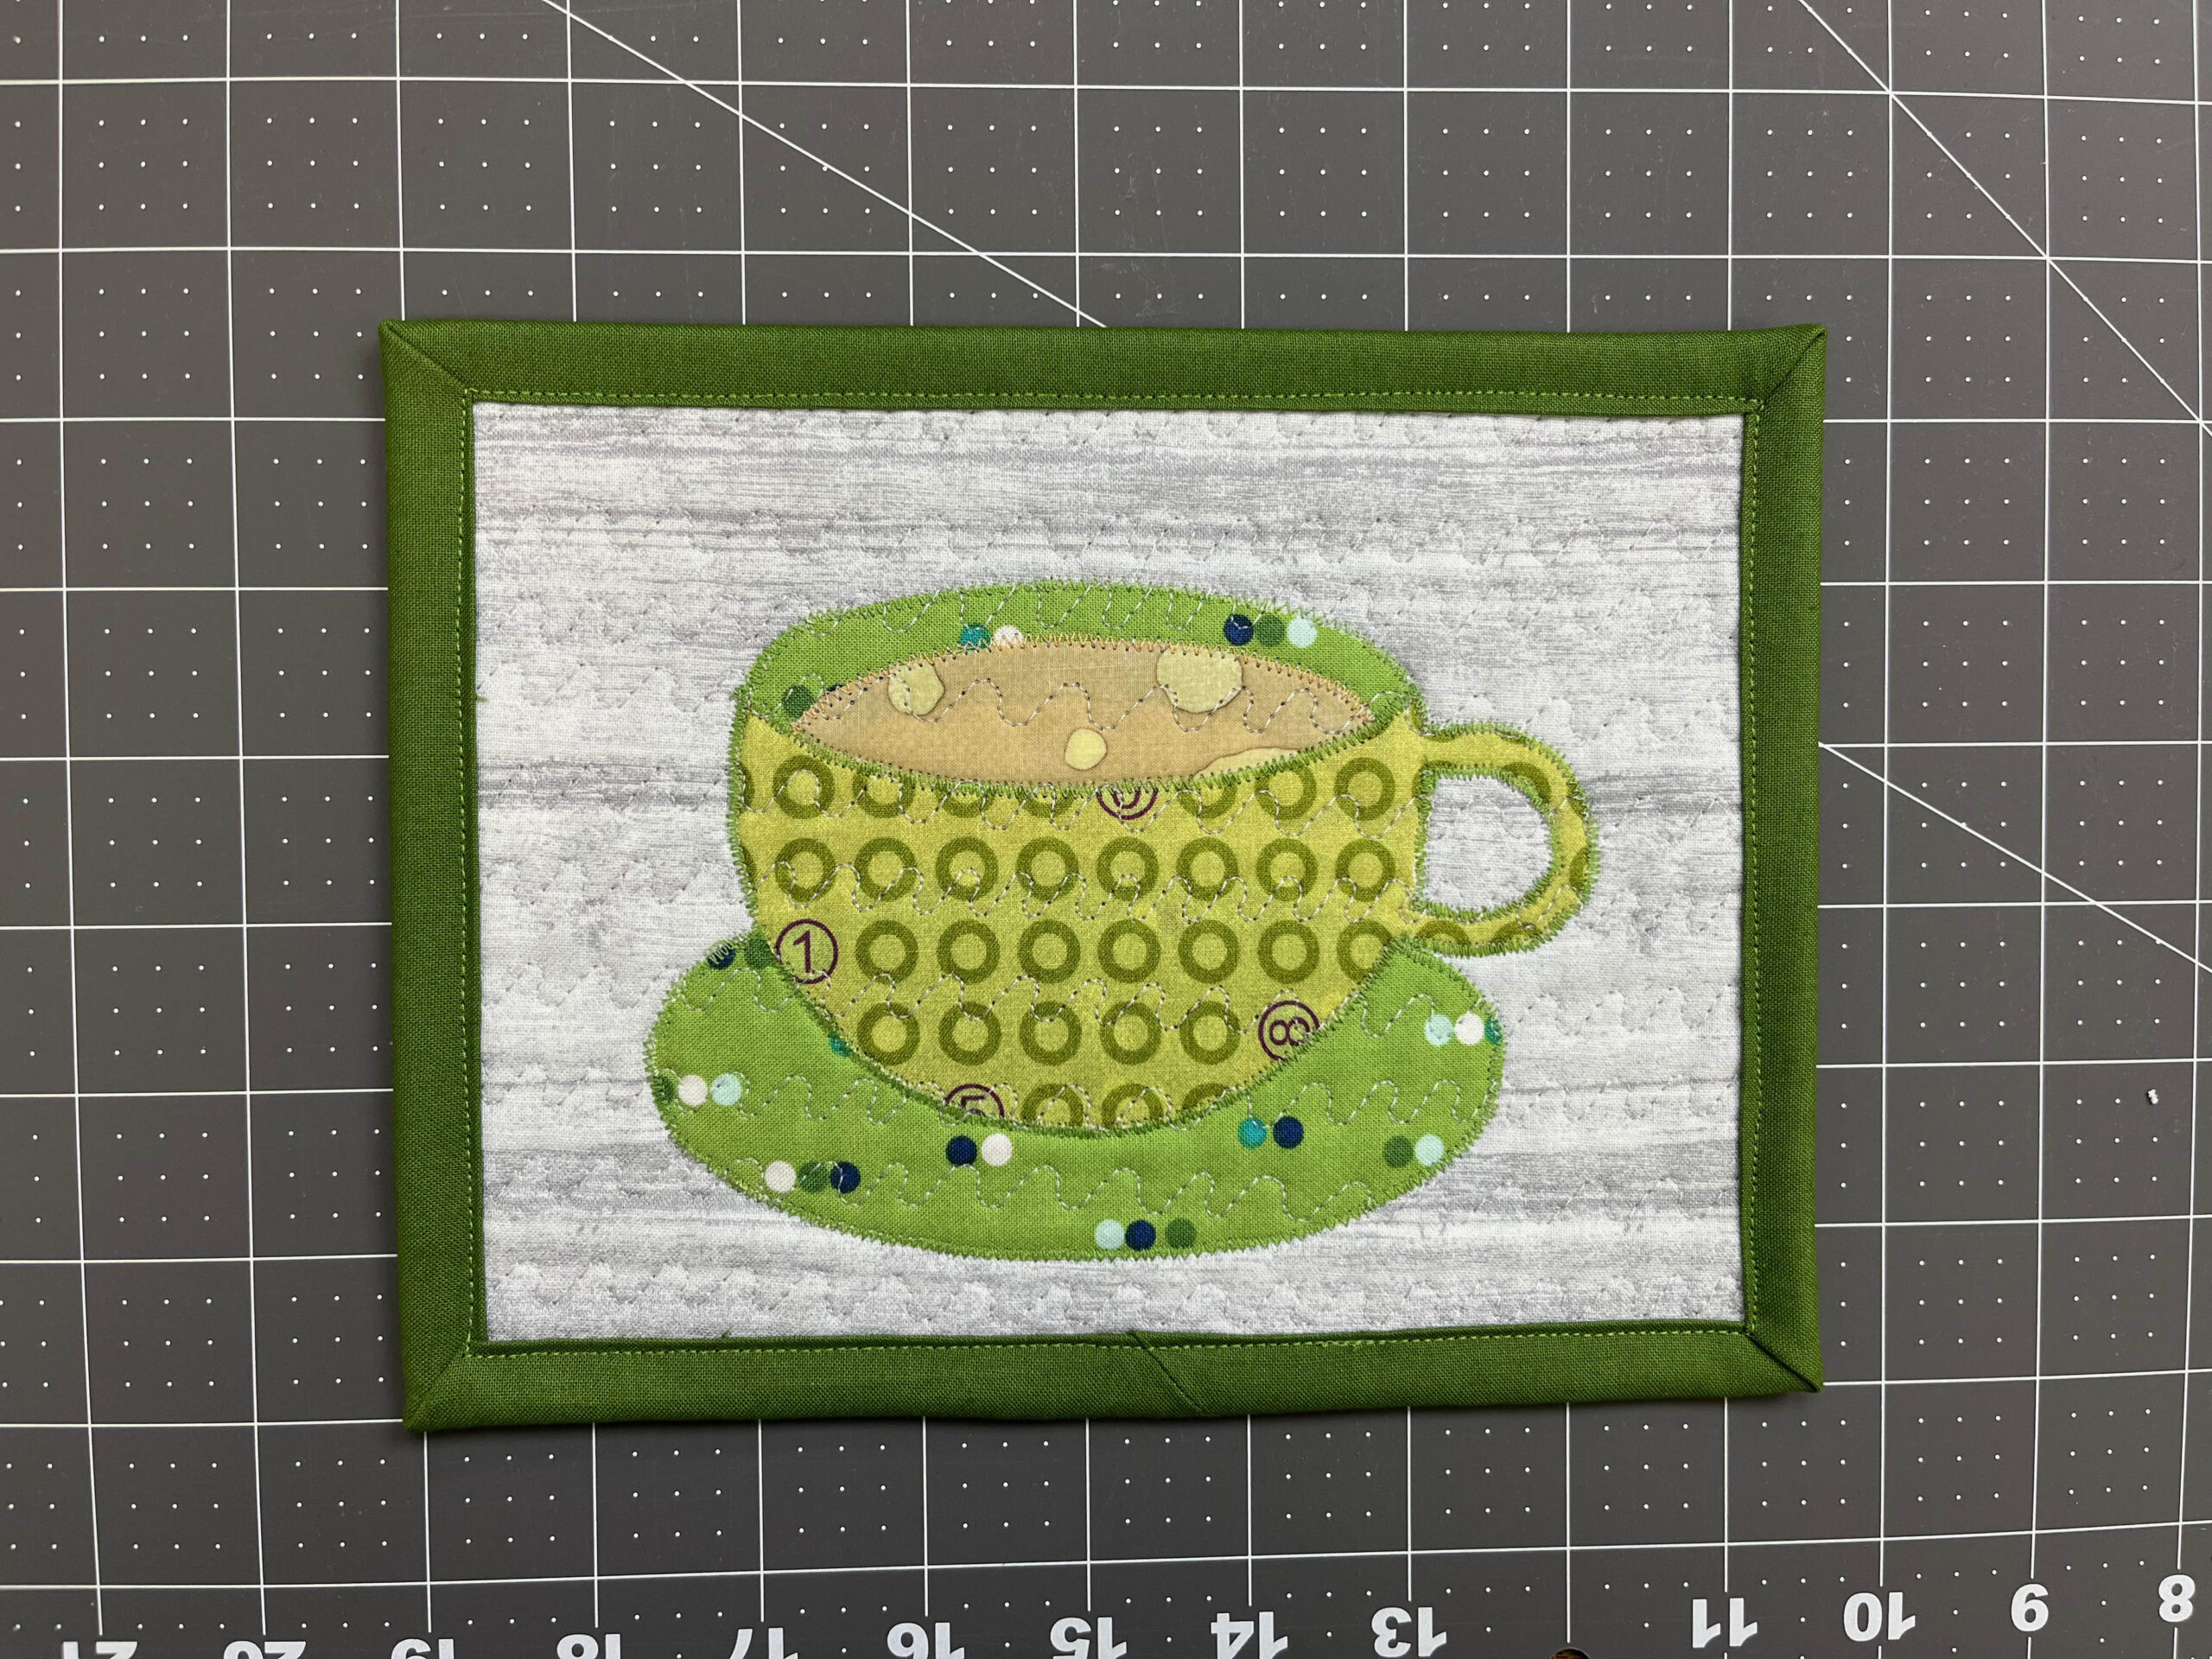
That’s it! So quick and easy! Have fun playing with your fabric choices to make your own customized set of tea cup mug rugs!


Helen Bowie
April 30, 2023 at 1:03 pm (1 year ago)Thank you, they are sweet!