Hello friends, this is Jennifer Long from, Bee Sew Inspired, fabric designer with Riley Blake Designs and a doll and quilt pattern designer.
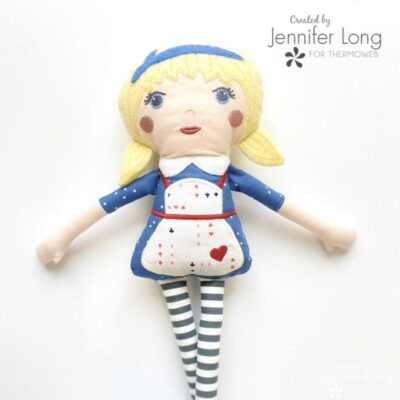
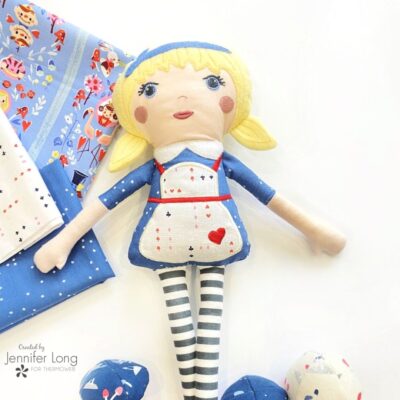
Do you share our love for Fairytales and magical, whimsical stories to encourage little ones to be creative and challenge their imaginations?! Who is more imaginative with her dreams than Alice? In her dreams she created the most magical place of all! Here is our take on Alice. We hope you love her as much as we do!
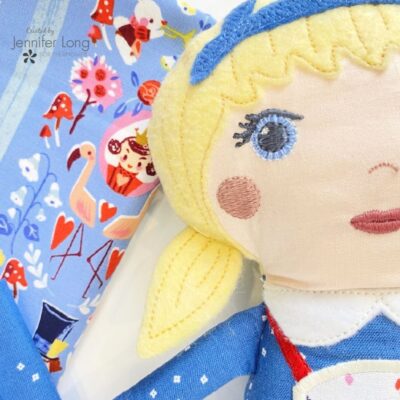
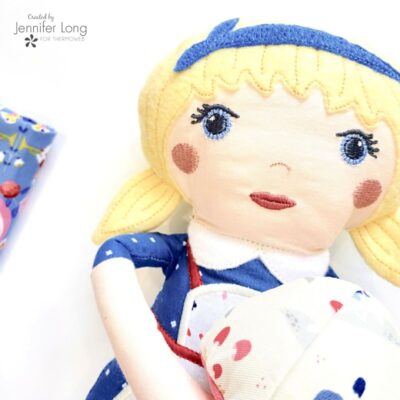
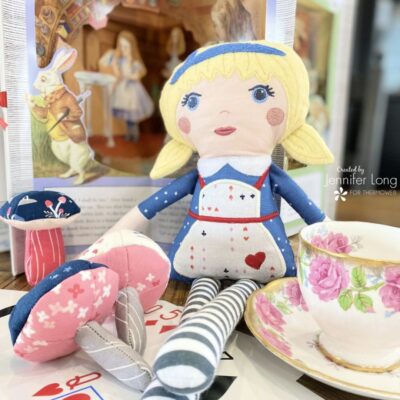
Her hair style is full of embroidery detail with a headband applique and pigtails. Isn’t she just so sweet?!
The Alice Doll Pattern is available in both in both the Sewing pattern version and the Machine Embroidery pattern versions. Patterns include PDF templates for (3) sizes of doll in the sewing pattern and machine embroidery files for (3) hoopings in (3) sizes for the machine embroidery pattern.
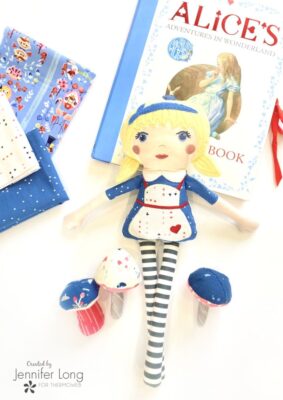
Alice Doll has a sweet apron, you can choose to make it with a plain print and add hand or machine embroidery or you can use a printed fabric and fussy cut to make your Alice doll unique.
There are so many details to discover as you sew up this Alice doll like the collar on her dress and the 3/4 length sleeves. We can’t wait to see your take on this new Bee Sew Inspired Doll pattern!
Let’s get creative! Just gather the supplies below, then purchase or download the Maker’s Club pattern and PDF templates or machine embroidery files. Don’t forget to share your Ballerina Alice Doll on social media using the hashtag #BSImakersclub and tag @beesewinspired.
What You Need:
Tools
- Download the Alice Doll Sewing Pattern at http://www.beesewinspired.com/download-codes and use the code “ALICESEWING”
- Download the Alice Doll Machine Embroidery Pattern at http://www.beesewinspired.com/download-codes and use the code “ALICEITH”
- Sewing or Embroidery Machine
- Sharp scissors and curved applique scissors
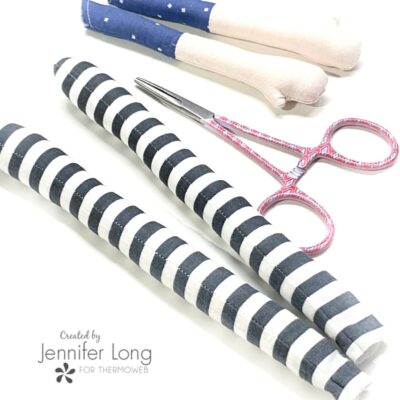
- Hemostats or stuffing tool
- Hand sewing needle and thread
Materials
- Variety of colors of embroidery thread
- Bobbin thread
- Applique scissors
- 1/4 yard of each of the following fabrics: Skin tone, Alice Dress, Alice Apron. We used Riley Blake Designs Basic Blossom and Down the Rabbit Hole Fabric.
- 1/4 yard of non-fraying hair fabric such as wool, wool-felt, fleece, minky etc
- Scraps of accent fabric
- Polyester fiber fill
- Optional light-weight fabric interfacing for backing stretchy fabrics

Instructions:
- Gather all your tools and supplies
- Download and print the pattern / templates and or load the embroidery files/sizes to your machine.
- Cut and label all your fabrics according to the directions. Back and stretch fabric with optional light-weight fabric interfacing.
- Follow the fully-illustrated, step-by-step instructions.
- Be creative! Use your imagination to add embellishments, embroidery details and texture!
- Display and play with your finished Alice Doll!