A few months ago, I was prepping for a local boutique. I love making banners and wanted to sew up a few sunflowers I could string together. The boutique was fastly approaching and I didn’t have the time to make my own pattern, so I searched online for a pattern I could purchase or for a free tutorial I could follow. I found lots of cute crocheted sunflower patterns but not a single pattern for a sewn sunflower.
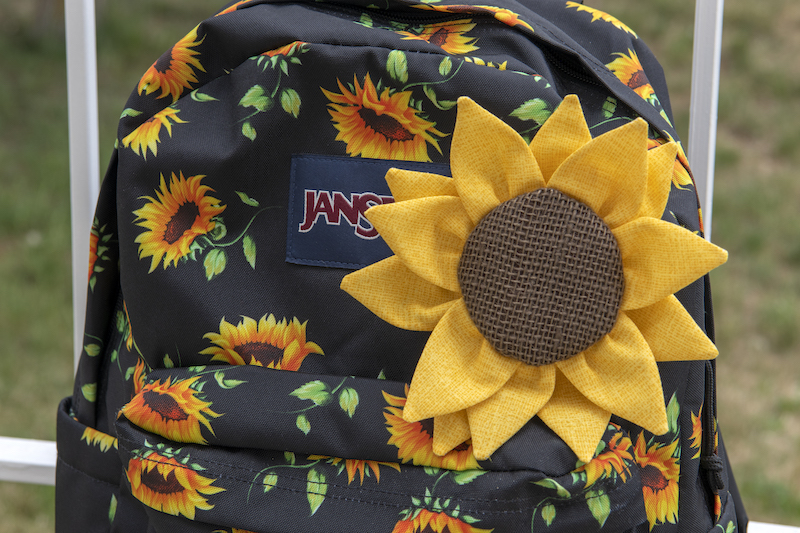
So for today’s tutorial I had the time to finally make a pattern for a sunflower. It’s a simple little project you can string into a banner or add a pin in the back and pin it to your favorite summer hat, a purse, or a backpack like my sunflower-loving daughter’s above. If you made a plethora of them, they’d make an awfully cute wreath as well. Easily print the pattern at a smaller or larger size to scale your sunflower up or down. Let’s get started!
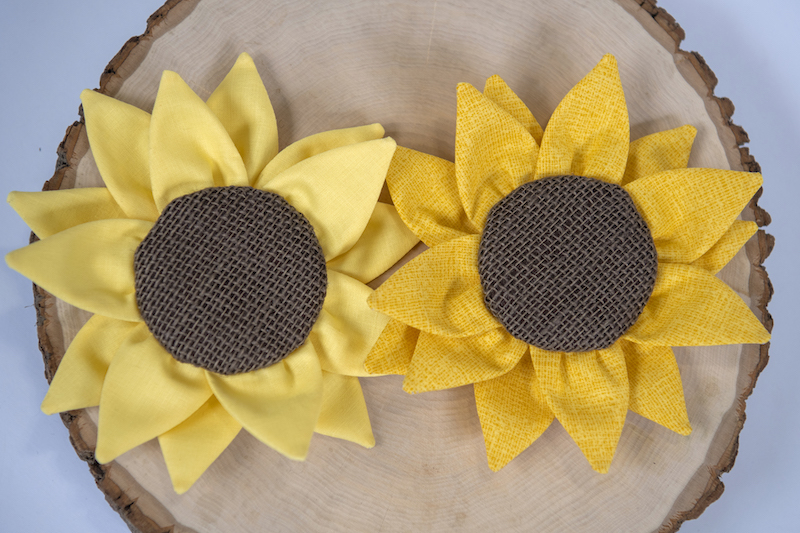
**Finished sunflowers are approximately 7 inches in diameter.
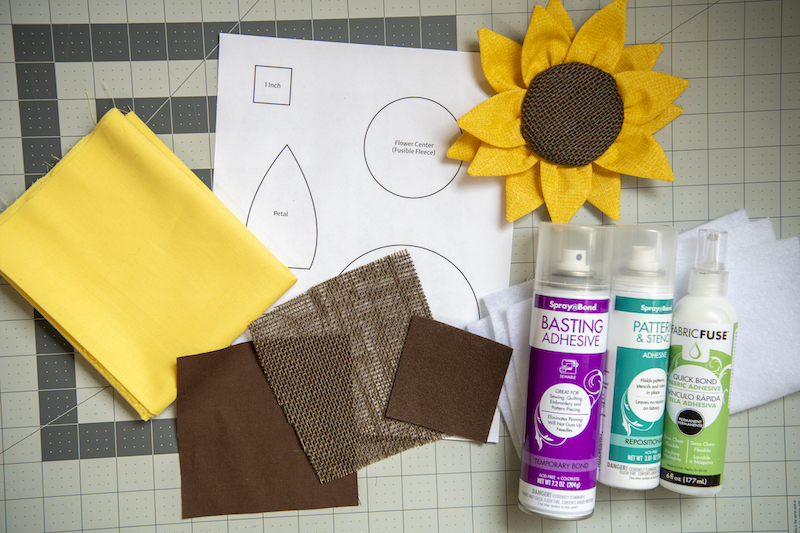
Supplies:
- Sunflower pattern pieces (download/print here)
- ¼ yard yellow 100% cotton fabric
- 5” square of Brown 100% cotton fabric
- 5” square of Burlap fabric
- 3” square of brown or yellow felt
- 3”X6” scrap of HeatnBond Fusible Fleece
- SpraynBond Pattern & Stencil Spray
- SpraynBond Basting Adhesive
- HeatnBond Fabric Fuse Liquid Adhesive
- Straight pins, marking pen, scissors, thread, hand sewing needle, sewing machine, etc.
Alright, let’s get to it.
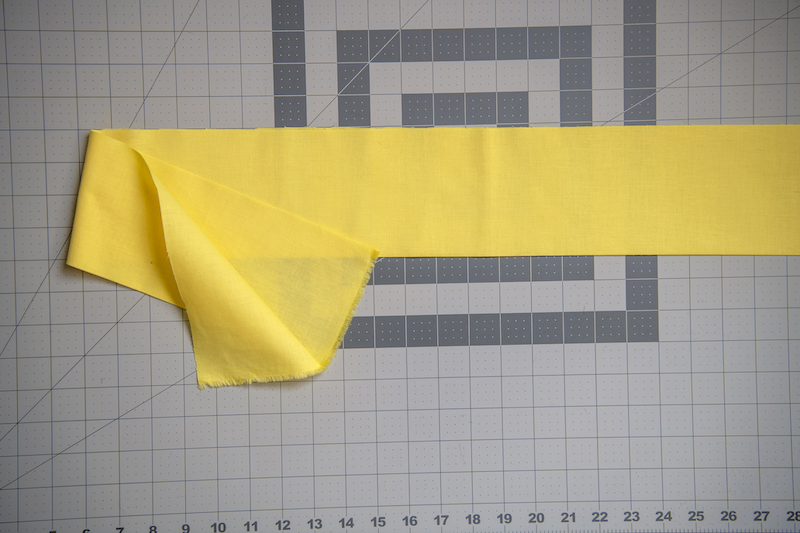
First, cut out your paper pattern pieces. Then grab your yellow fabric. You’ll need 8-inches by the width of your fabric. Take your fabric and iron it in half lengthwise (so now it’s 4-inches by the width of the fabric).
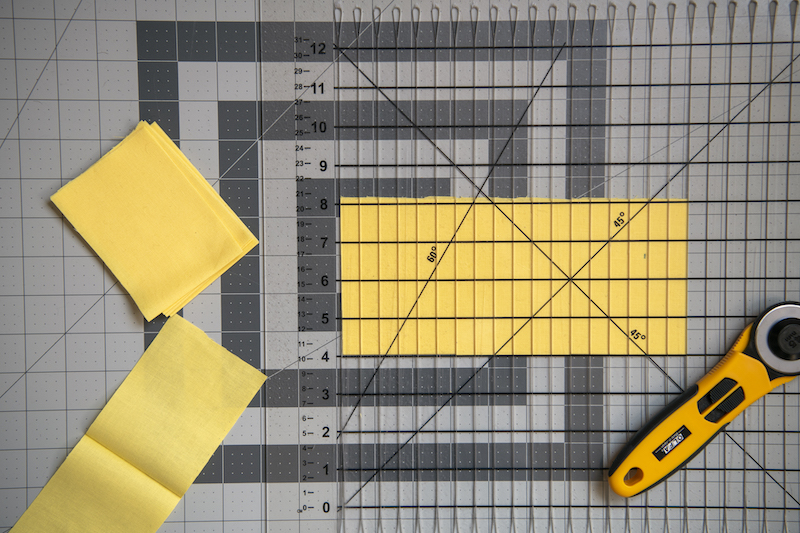
Next, cut your fabric (still folded) every 3” across the entire length of your fabric. So now you’ll have approximately fourteen to sixteen (depending on the width of your particular fabric) 3”x4” (3”x8” when unfolded) rectangles.
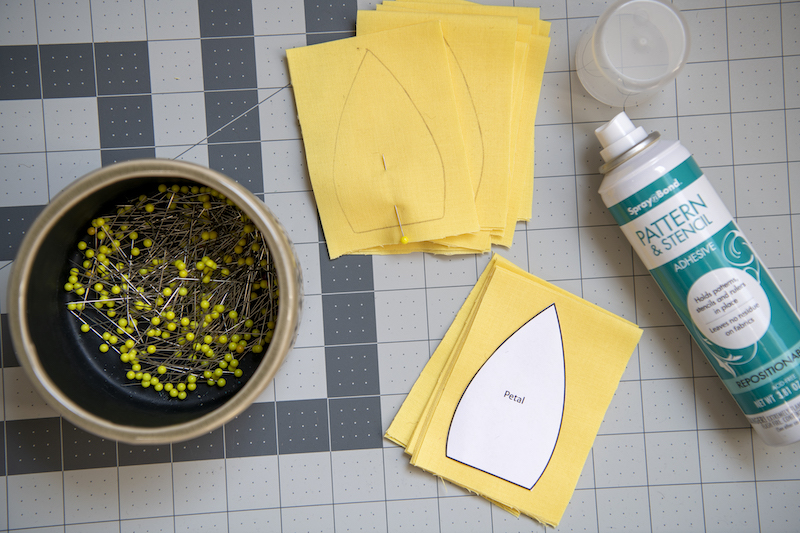
Ok, now trace your flower petal shape on each of your yellow fabric rectangles. You want to leave some negative space around the entire petal with the point up by the folded edge and the straight line at the bottom by your raw edge. Use the SpraynBond Pattern and Stencil Spray to help hold the pattern in place as you trace. Use a straight pin along the bottom straight edge to hold the fabric together when we sew.
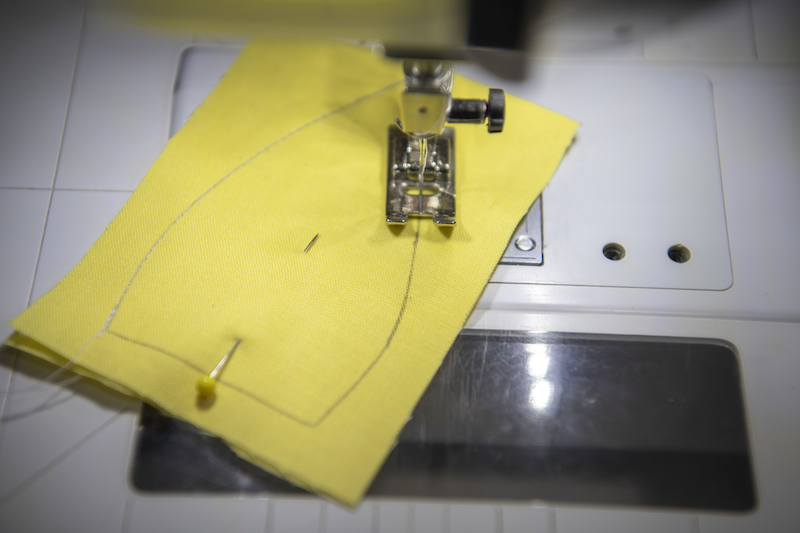
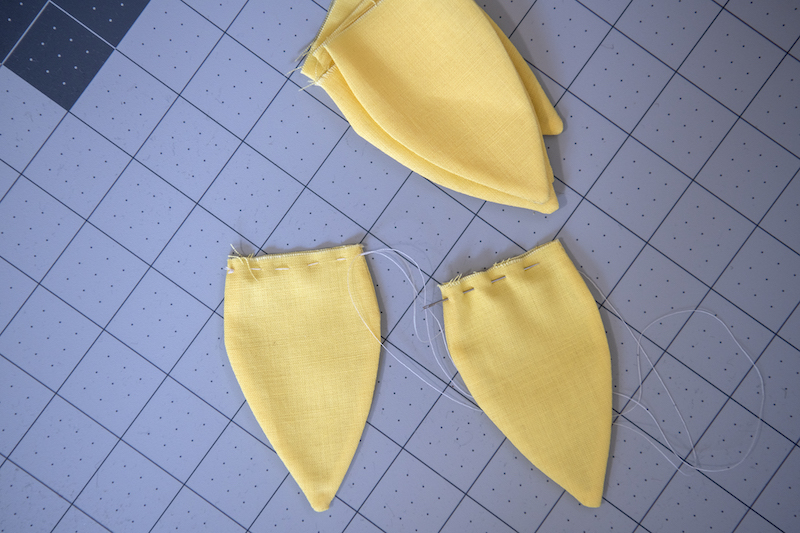
Sew around each petal by sewing on the line from one side to the other leaving the straight edge on the bottom unsewn. Remember to back stitch at the beginning and end.
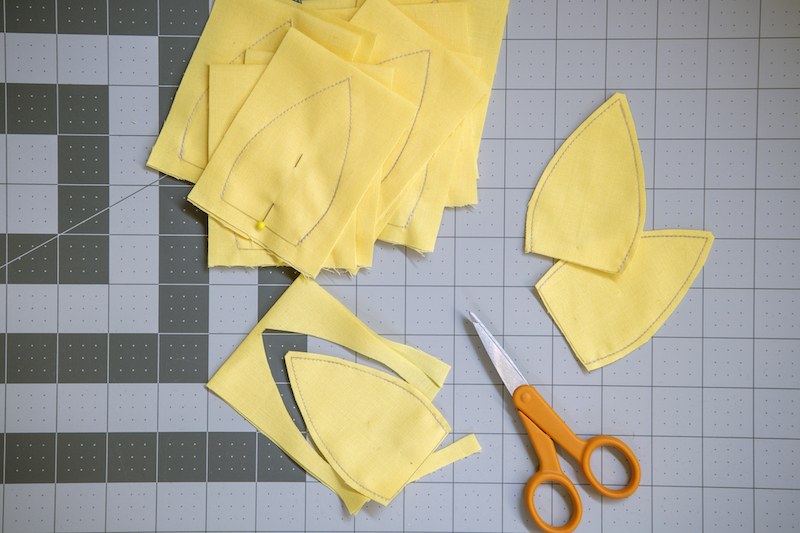
Once you’ve sewn all of your petals trim around each petal leaving a ⅛” seam allowance around your sew line and trim right on the drawn straight line at the bottom we did not sew.
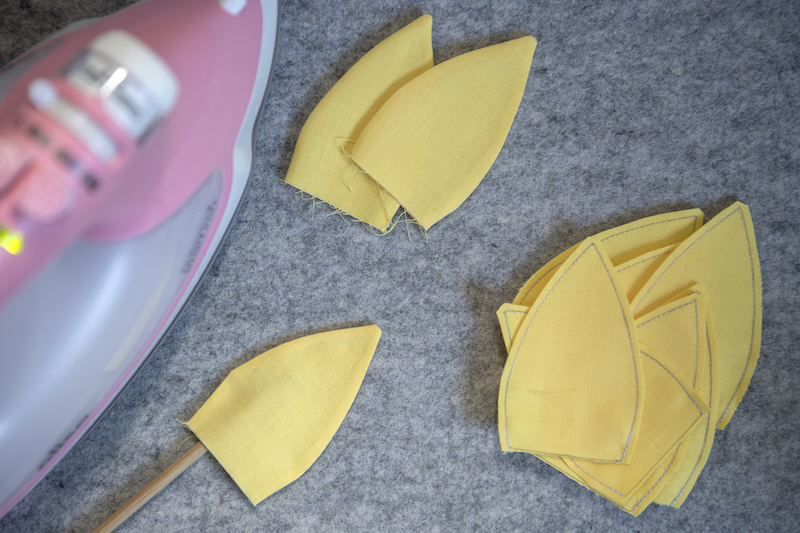
Take the petals to your ironing board. Flip the petals right side out using a turning tool to help and press them flat.

Next let’s cut out our circles. Before cutting take your brown cotton square and your burlap. Spray one side of your burlap with the HeatnBond Basting Spray. Lay the burlap on top of your
brown cotton fabric square and adhere the burlap onto the brown fabric. Trace the circles onto the fabrics stated on each pattern piece. You’ll want two of the fusible fleece. Cut the burlap and brown cotton fabric that has been fused together as one.
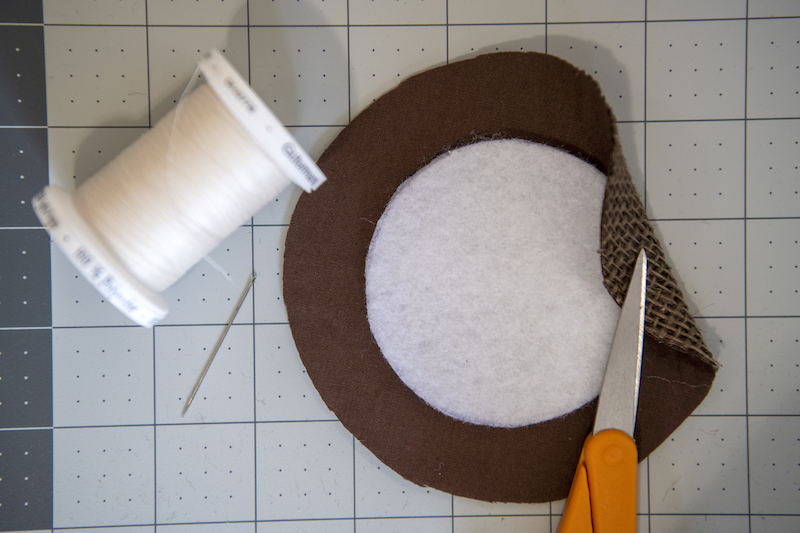
Next adhere both fusible fleece circles to the burlap/cotton fabric in the center of the back of the cotton fabric with the burlap on the outside.
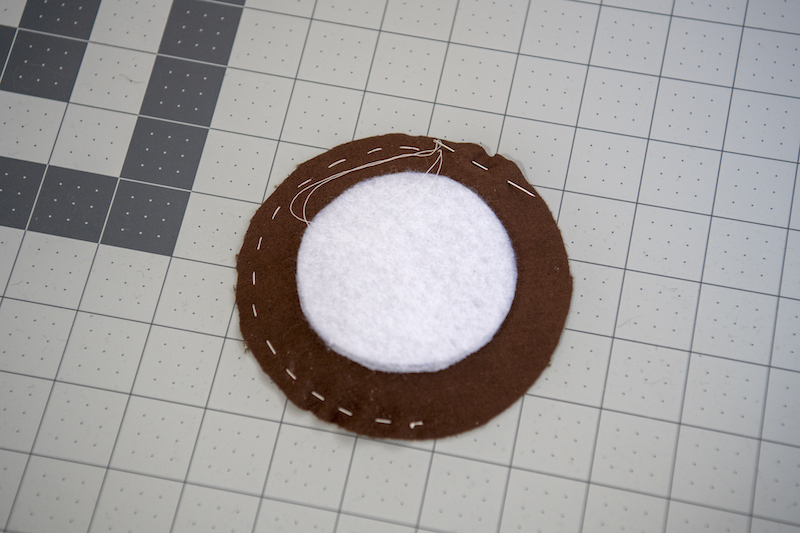
With your hand sewing needle and thread sew a running stitch around the outer edge of your burlap/cotton fabric circle and pull the end until the edges turn in locking the fusible fleece inside.
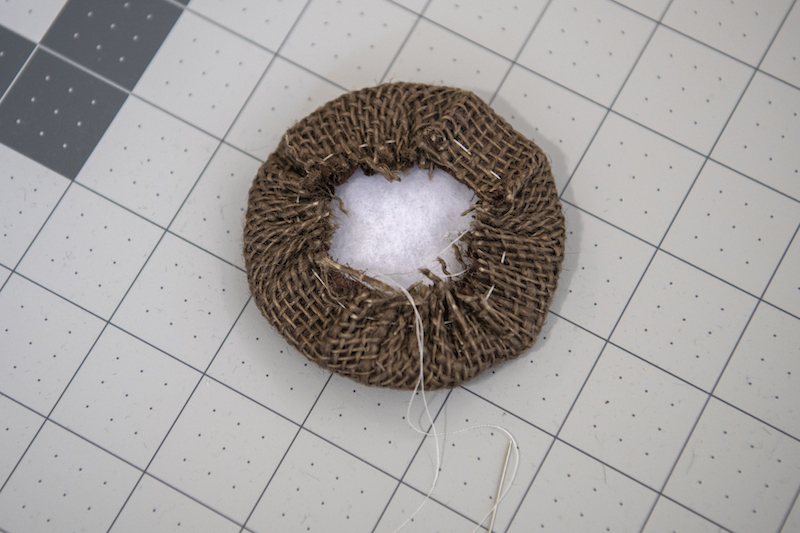
Try to keep the circle as round as possible as you gather the edges of the fabric in. Tie the thread off to keep the running stitch from coming undone.
Ok, now all we have to do is assemble. Grab your pedals and split them in two piles. Our flower will have two layers of petals. For the front my flower is six petals and the back is eight. You just want to make sure the back layer has at least one more petal than the front. Thread your hand sewing needle with some thread and tie a knot in the end. Sew a running stitch (large stitches) through the open straight edge of each petal of the first layer, approximately ⅛” from the edge.
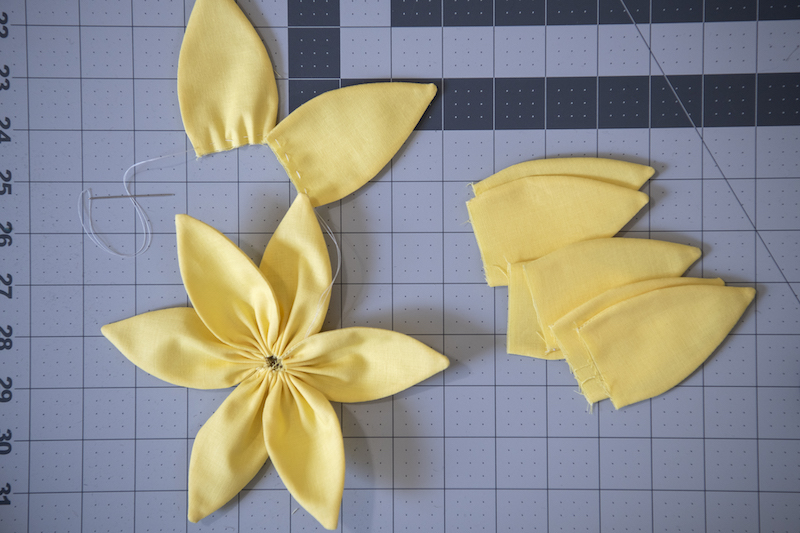
Pull the thread so the petal ends get squished together and form a circle. Connect the first petal and the last with a small knot to hold the first circle of pedals together. Do not cut the thread off. Next add the rest of the petals continuing to sew a running stitch with the same thread to make your second round of petals in the back of your first.
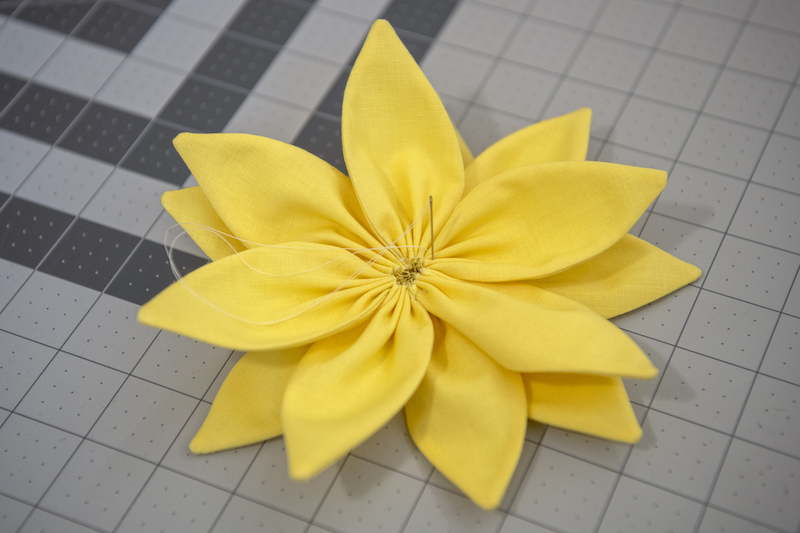
Pull the thread until the petals curl and line up behind the first. Tie a knot to connect the back layer of petals together into a circle. Use the remaining thread to sew a few stitches between the two layers of petals just along the inside edge to hold them together.
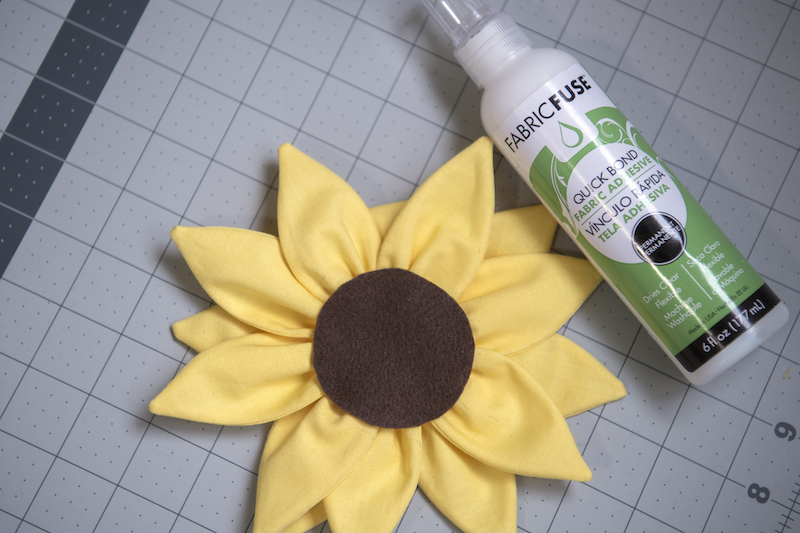
Next grab your HeatnBond Fabric Fuse Liquid Adhesive. Use it to adhere your felt circle to the back side of your flower petals. You’ll want your felt circle in the back covering up all the stitches and the fraying ends of your petals. Then glue the burlap circle to the center of your flower in the front. Let sit until the glue is fully dried. And that’s it! Fabulous sunflower complete.
Thank you so much for sewing with me today! I hope you love your fun little sunflower. If you make one and post it on instagram please tag me @stubbornlycrafty I’d love to see!