Hello Love Scrapbook Layout
by Jessica Michaels
Hello everyone! Jessica here with a layout featuring Deco Foil, adhesive transfers, and some of our easy tear tape with alcohol inks! I am documenting a photo of my hubby and I and thought our Hello stamp would be perfect for my title along with adhesive transfers!
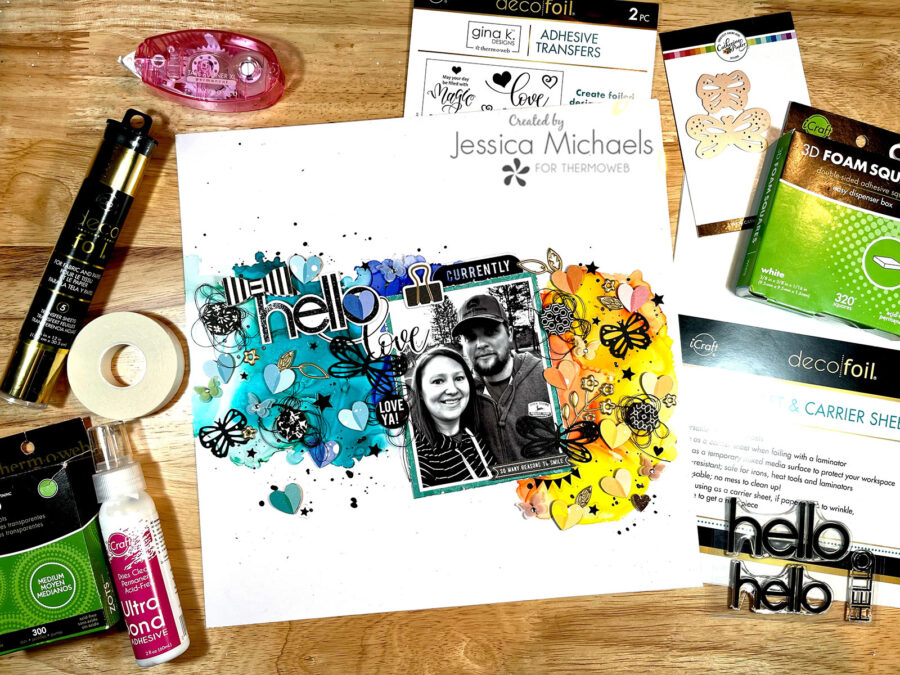
Therm O Web Supplies Used
Memory Runner XL
Memory Runner XL Refill
UltraBond Liquid Adhesive, 2fl oz
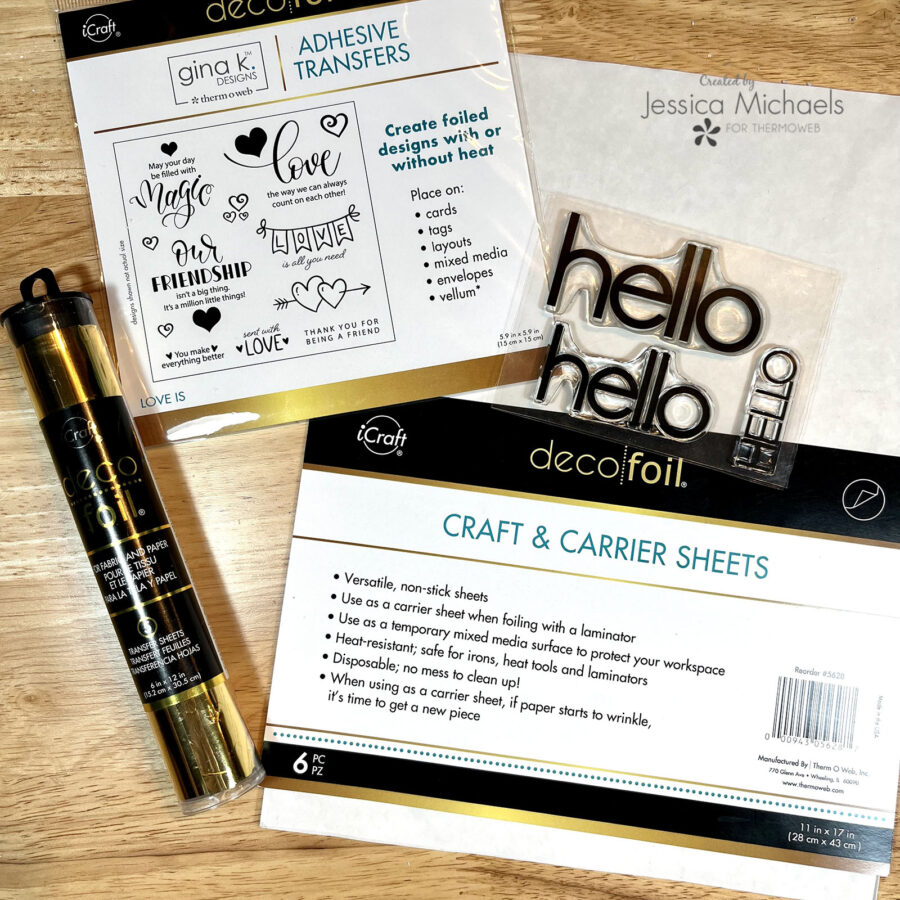
Craft & Carrier Sheets
Easy Tear Tape ½”
Deco Foil Transfer Sheets, Gold
Gina K Deco Foil Adhesive Transfers
3D Foam Squares box, white
Zots Medium
Zots Bling
Deco Foil Stamp + Die Set – Oh Hello
Other Supplies Used
Alcohol Inks
Alcohol Blending Solution
12×12 clear acrylic sheet
Vicki Boutin Where to Next collection
Hip Kit Club embellishments and others from my stash
Black Heidi Swapp Color Shine
Catherine Pooler Butterfly Buddies Dies/Manual Die Cutting Machine
Laminator
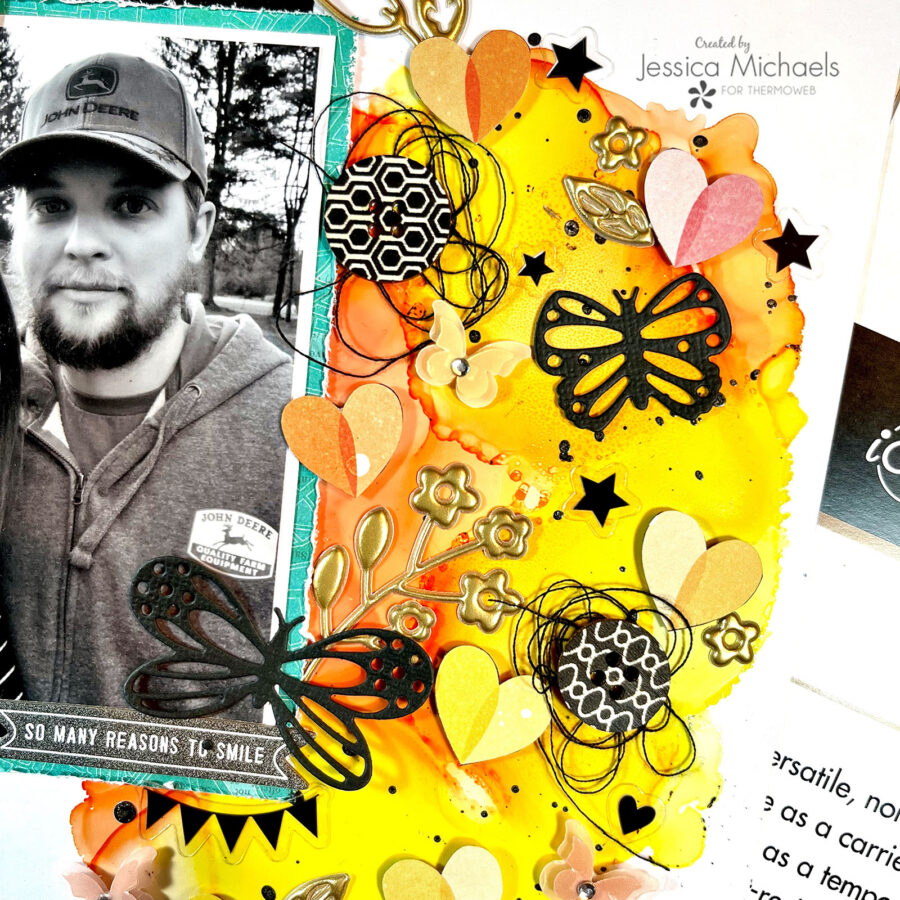
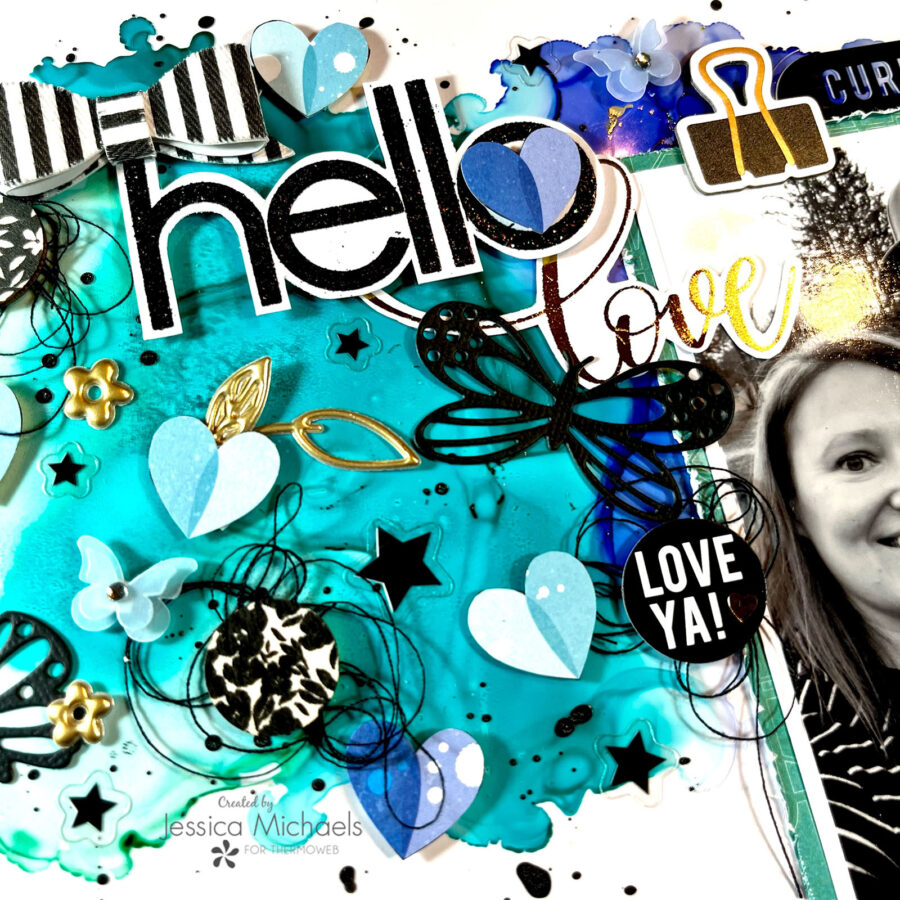
I started this layout by pulling out a sheet of white cardstock and a 12×12 sheet of clear acetate along with my alcohol ink supplies. I sprinkled some alcohol blending solution all across my clear acetate and then began dropping on droplets of alcohol ink colors and blending them together a bit with my blower tool. Once all my colors were added, I pulled out a sheet of gold Deco Foil and applied a little pressure to my layout to transfer some gold flecks onto my alcohol inks where it wasn’t quite dry yet.
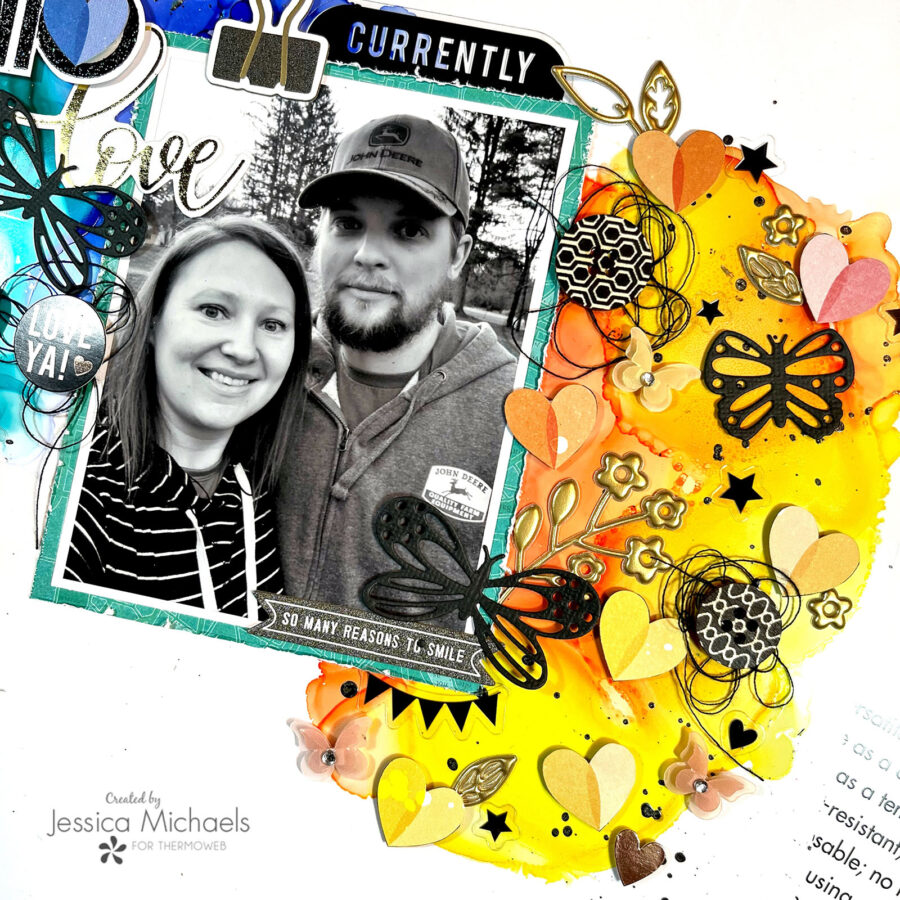
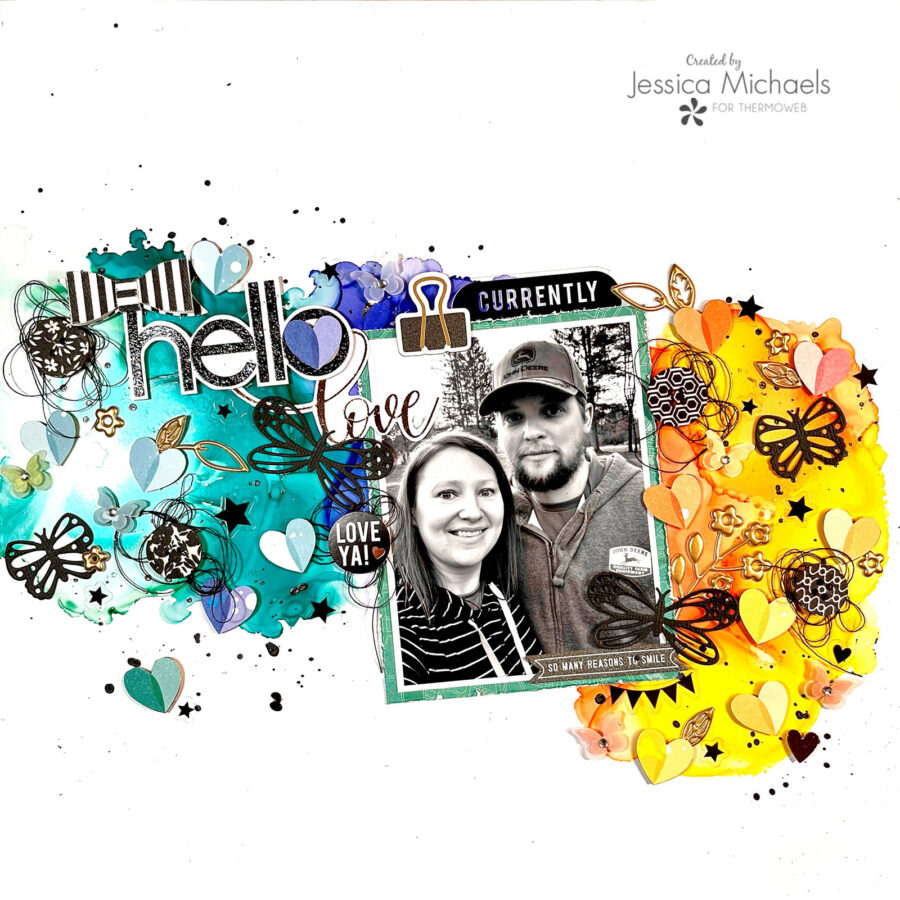
I matted my photo with some smooth white cardstock and easy tear tape, and then matted again with a patterned paper from the Vicki Boutin Where to Next collection, also using easy tear tape again. I then distressed the edges for some texture. I cut some of the Butterfly Buddies dies in textured black cardstock using my manual die cutting machine. I just love those dies from Catherine Pooler! Those butterflies are so adorable and I like that they are an open design so you can see my alcohol inks through them.
I added some black splatters with some heidi swapp color shine and then went to work on my title.
I stamped my “hello” onto white cardstock that I had leftover from matting my photo with some clear versamark ink. I then applied some black glitter embossing powder and heated it with my heat gun to create an embossed effect. I fussy cut the hello with my scissors and then moved onto the “love” word. I could have used the die that came with my stamp set but honestly, I misplaced it at the moment! I started the love word by pulling out my adhesive transfers by Gina K. I cut the “love” word from the transfer sheet and peeled the backing off to attach to my white cardstock. I left the top piece on it and ran it through my hot laminator between a craft and carrier sheet to transfer the adhesive design to my white cardstock. Once this came out, I peeled the top sheet off the transfer, and laid a piece of the gold foil on top. I then closed my craft and carrier sheet around it and ran it through my hot laminator once more to transfer the gold foil to the love word. Once that came out I simply fussy cut the word again as I did with the hello word.I adhered to my layout with some UltraBond Liquid Adhesive and then decided to use some 3D Foam squares to pop up the hello word above it for dimension.
I then added the black butterflies with the UltraBond Liquid Adhesive along with lots of other embellishments from my stash using my tape runner and medium glue dots. I fussy cut the hearts from a patterned paper in the Vicki Boutin collection and popped them all up with 3D Foam Squares. I like the white ones that come in the box which I’ve linked above for you.
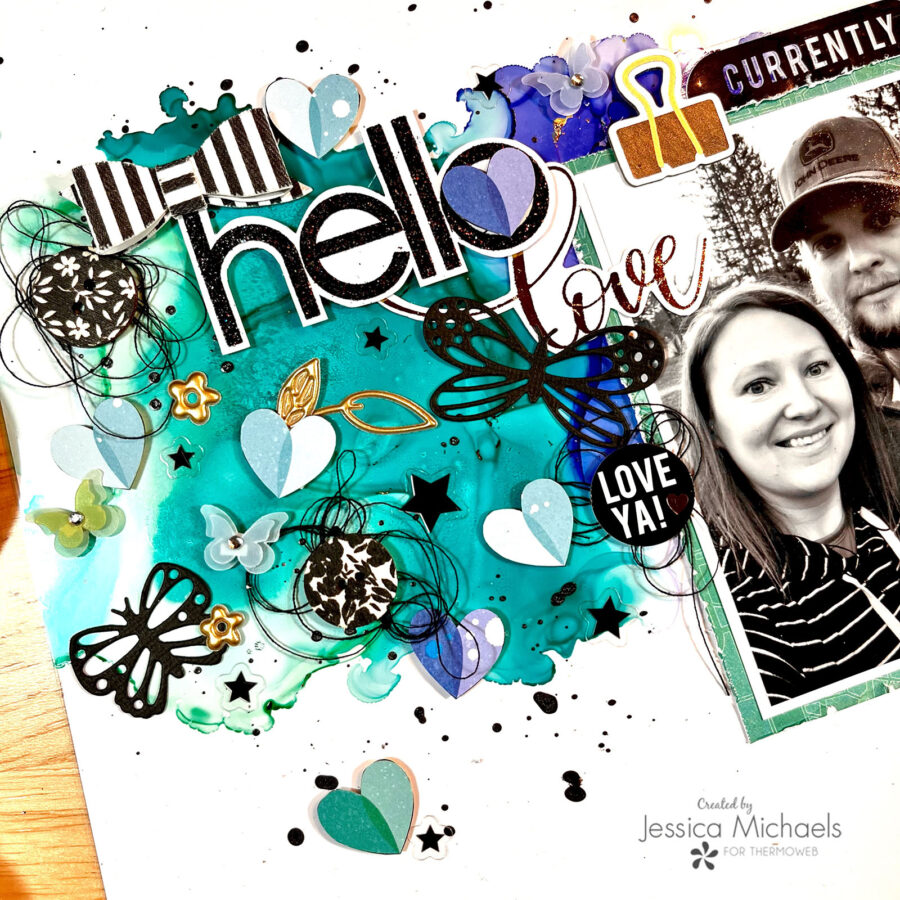
I added a bunch more stickers and embellishments from my stash. Can you see the flecks of gold foil peeking through to the right of the hello word? I made the bow using some bling size glue dots!
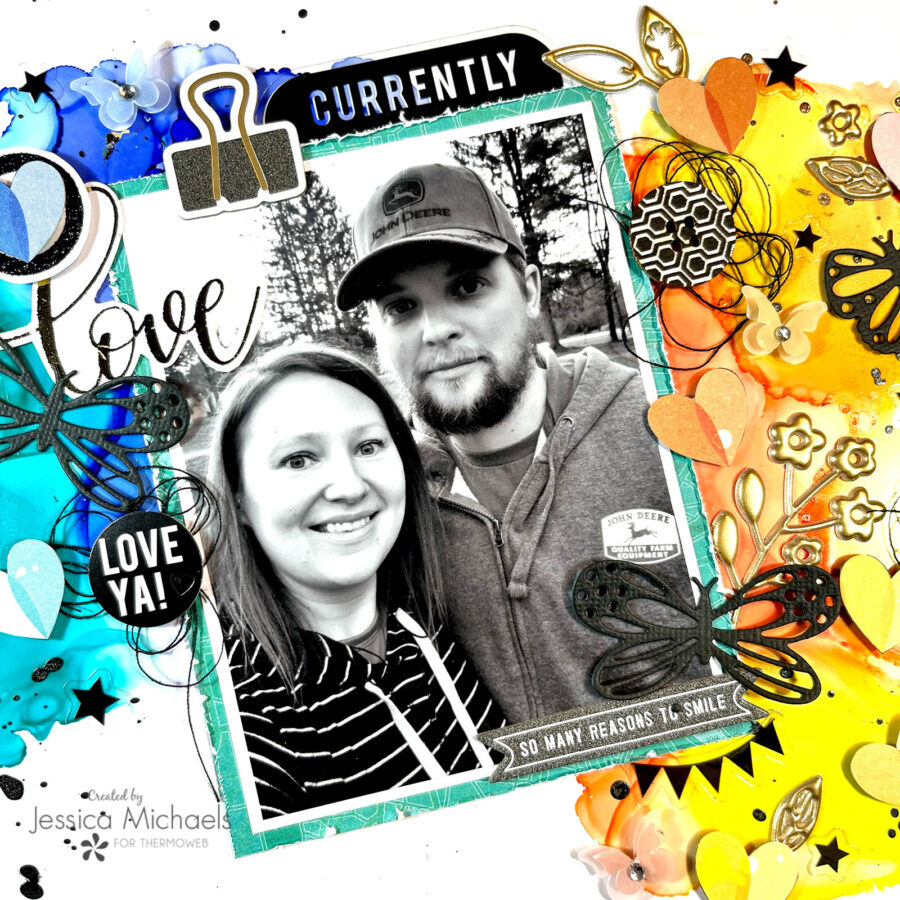
I really love how this one came together and had so much fun with all these products to document my hubby and I’s annual Easter selfie! I have a process video the Thermoweb YouTube channel if you’d like to see how this came together.
Thank you for being here today and I hope I was able to inspire you to create!
Jessica
This post contains affiliate links. For more information, see our disclosure <a href=”http://thermoweb.com/blog/designers/about-us/affiliate-disclosure/“>HERE</a>.