Hello everyone, Deb Riddell here today for another Mix It Up Monday. Today I’d like to share a project with you that I made using Therm O Web’s wonderful collection of Deco Foil Stencils.
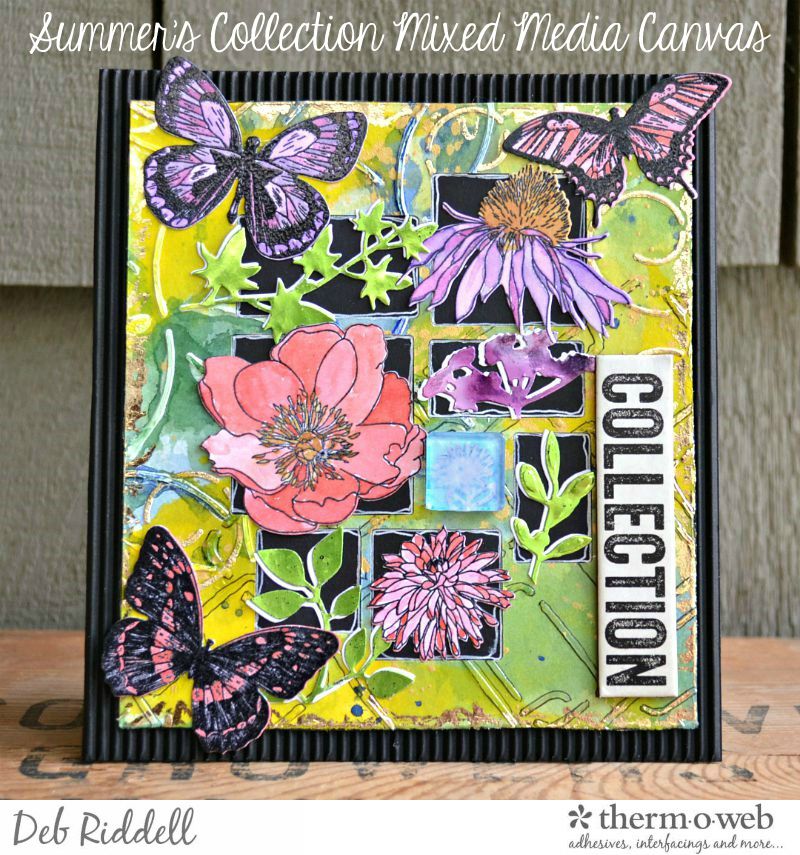
Summer’s Collection Mixed Media Canvas with Deco Foil Stencils
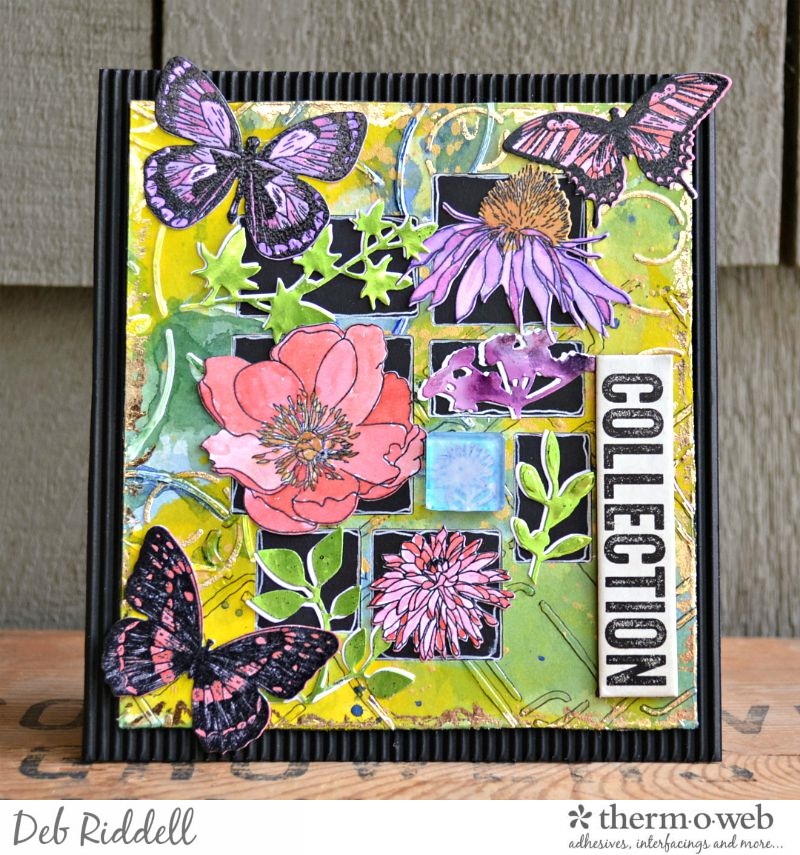
We all know how great the stencils are to use with Deco Foil Transfer Gel and Foil Transfer Sheets but today I’ll show you how I used them on my Summer’s Collection mixed media canvas with other mediums and applications so you can get more out of your Deco Foil Stencils.
Therm O Web Supplies used:
Deco Foil™ Swirls Stencil
Deco Foil™ Abstract Circles Stencil
Deco Foil™ Modern Links Stencil
Deco Foil™ Transfer Gel
Deco Foil™ Transfer Sheets • Champagne
Deco Foil™ Transfer Sheets • Spring Green
Deco Foil™ Transfer Sheets • Amethyst Watercolor
Deco Foil™ Toner Sheets
Deco Foil™ Adhesive Pen .34floz
Purple Tape
Memory Tape Runner XL™
iCraft Mixed Media Adhesive 2.1 fl oz
Other supplies used:
Foil Laminator • 12 inch
Mosaic Bigz die; Garden Greens dies; Flower Garden and Mini Bouquet dies; Flutter dies – Sizzix
Flutter stamps; Flower Garden stamps; Mini Bouquet stamps – Stampers Anonymous
Distress Inks; Distress Archival Ink; Alcohol Ink – Ranger Ink
White gesso – DecoArt Media
Micron black permanent ink pen – Sakura
Nuvo Embellishment Mousse Indian Gold – Tonic Studios
Fragments; Quote Chips – Advantus
Watercolor paint
White and black cardstock
Black corrugated cardstock
Mixed media or watercolour paper
Clear embossing powder
White paint pen or gel pen
Paint brush or water brush
Small floral stamp
Paper trimmer, scissors, die cutting machine
Summer’s Collection Mixed Media Canvas Instructions:
Cut a piece of mixed media or watercolour paper to approximately 6″ x 7″ and apply Deco Foil Transfer Gel through the Swirls Deco Foil Stencil to a few areas around the edges of the paper. Allow the Gel to dry till clear (about one hour) and then run the paper through your pre-heated laminator with Champagne Deco Foil.
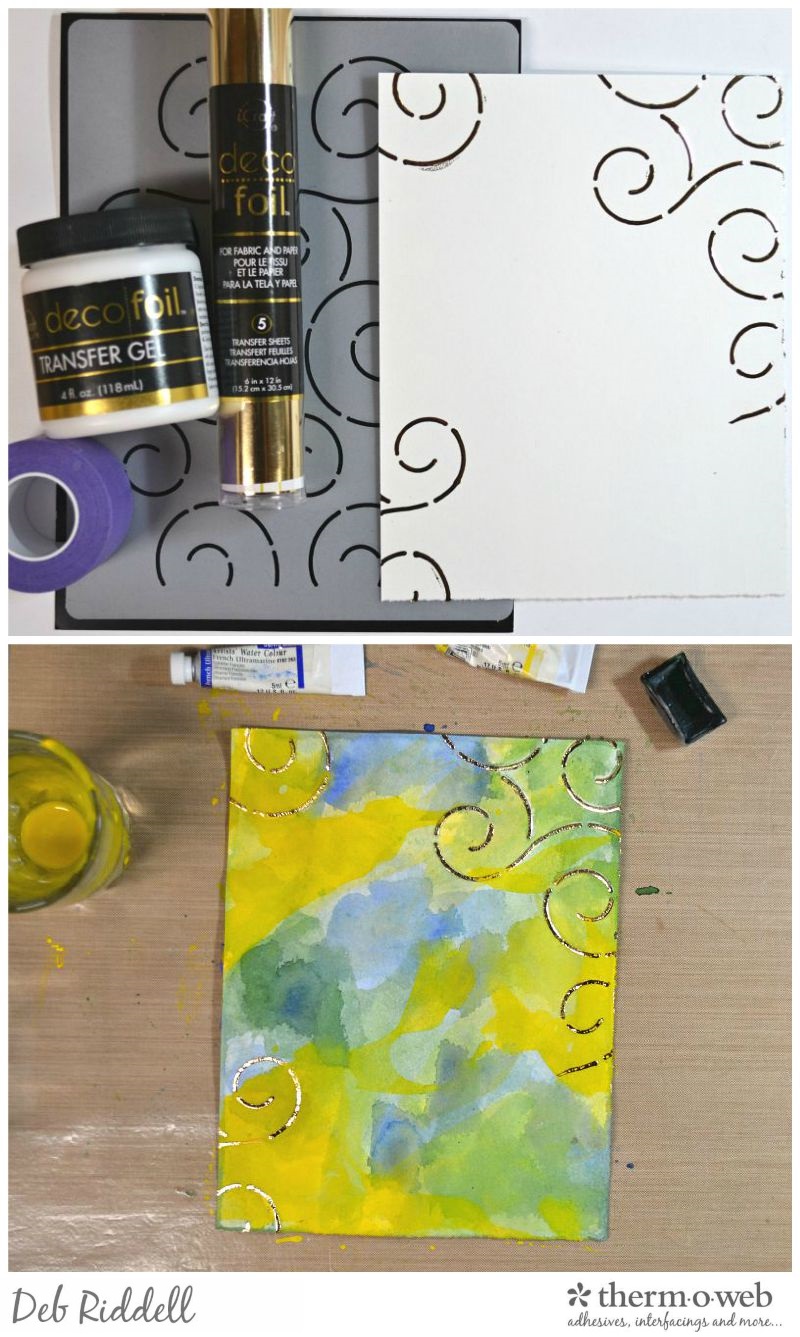
Choose three analagous watercolours (that just means colours that are near each other on the colour wheel!) and randomly apply paint to the foiled paper. Allow the paint to dry, you can speed up the process by drying it with your heat gun or a blow dryer.
Next, apply white gesso through the Abstract Circles stencil to the upper left corner of your paper. Don’t worry if it overlaps the foiled Swirls stencil. Let the gesso dry to the touch.
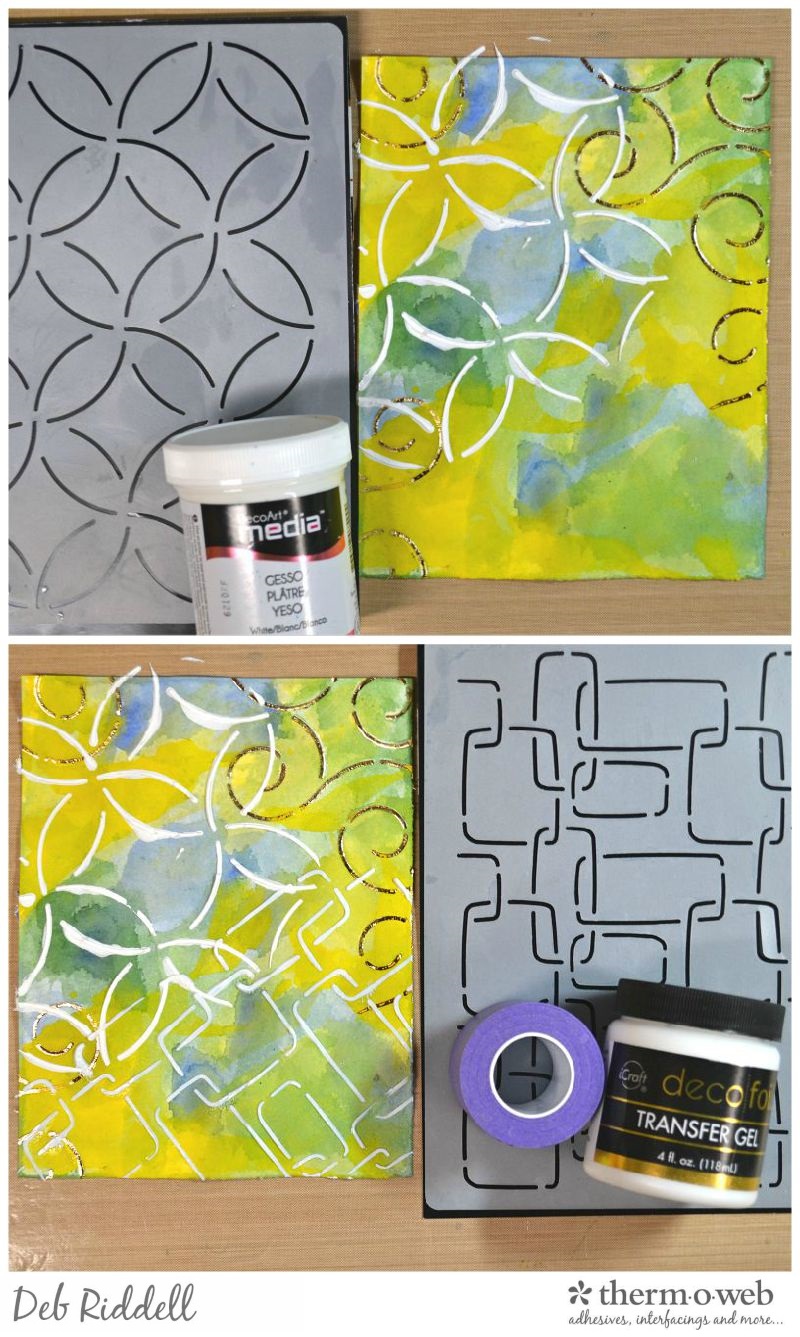
Add more Deco Foil Transfer Gel to the bottom right of the paper through the Modern Links stencil. Again don’t worry if it overlaps the foiled or gesso’d stenciled areas. Let the Transfer Gel dry till clear.
Mix up a small amount of each of the watercolour paint colors that you used on the background and paint them over the gesso’d stenciling. Add a bit more water as you go to allow the colours to blend and move. Spatter droplets of paint over the whole piece once the gesso’d stenciling has been painted and allow to dry. With a black permanent ink pen, outline the clear Transfer Gel Modern Links stenciling at the bottom of the paper. Deco Foil Transfer Gel is a great substitute for clear texture pastes!
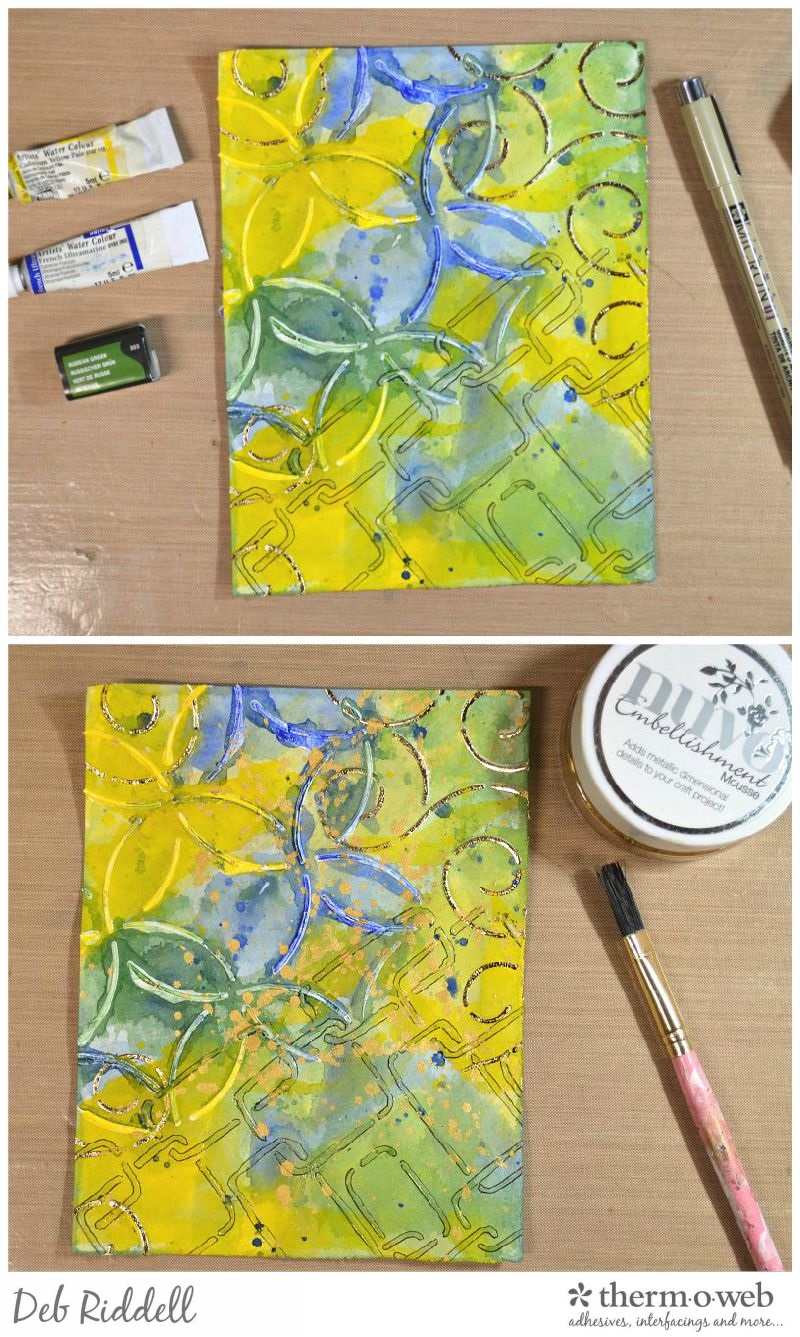
Dilute some Indian Gold Nuvo Embellishment Mousse with water and randomly spatter it over your paper to echo the Champagne foiled stenciling on your background.
Die cut your prepared background with the Mosaic Bigz die and mount it onto a piece of black cardstock. (Don’t throw out those wonderful pieces cut out by the die, they will make great additions to your next art journal page or collage!)
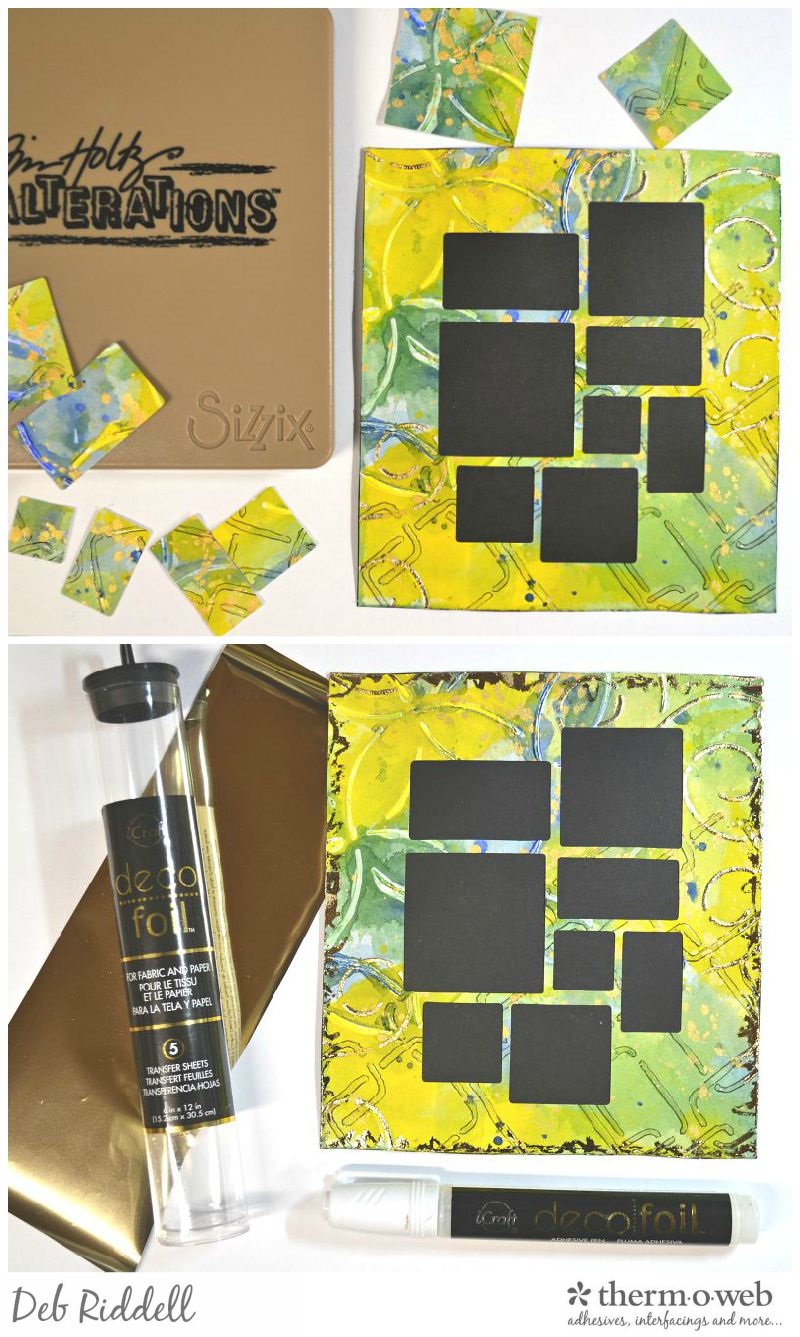
Randomly scribble adhesive around the edges of your prepared panel with the Deco Foil Adhesive pen and when it becomes tacky (in just a few minutes) burnish on more Champagne Deco Foil.
Cut a piece of black corrugated cardstock about 1/4″ larger on all sides than your prepared panel and adhere the panel onto the corrugated card with the Memory XL tape runner. Add a Quote Chip with the saying of your choice, adhering it with Mixed Media Adhesive. Outline the die cut openings with a white pen or gel marker with a couple of scribbley random lines.
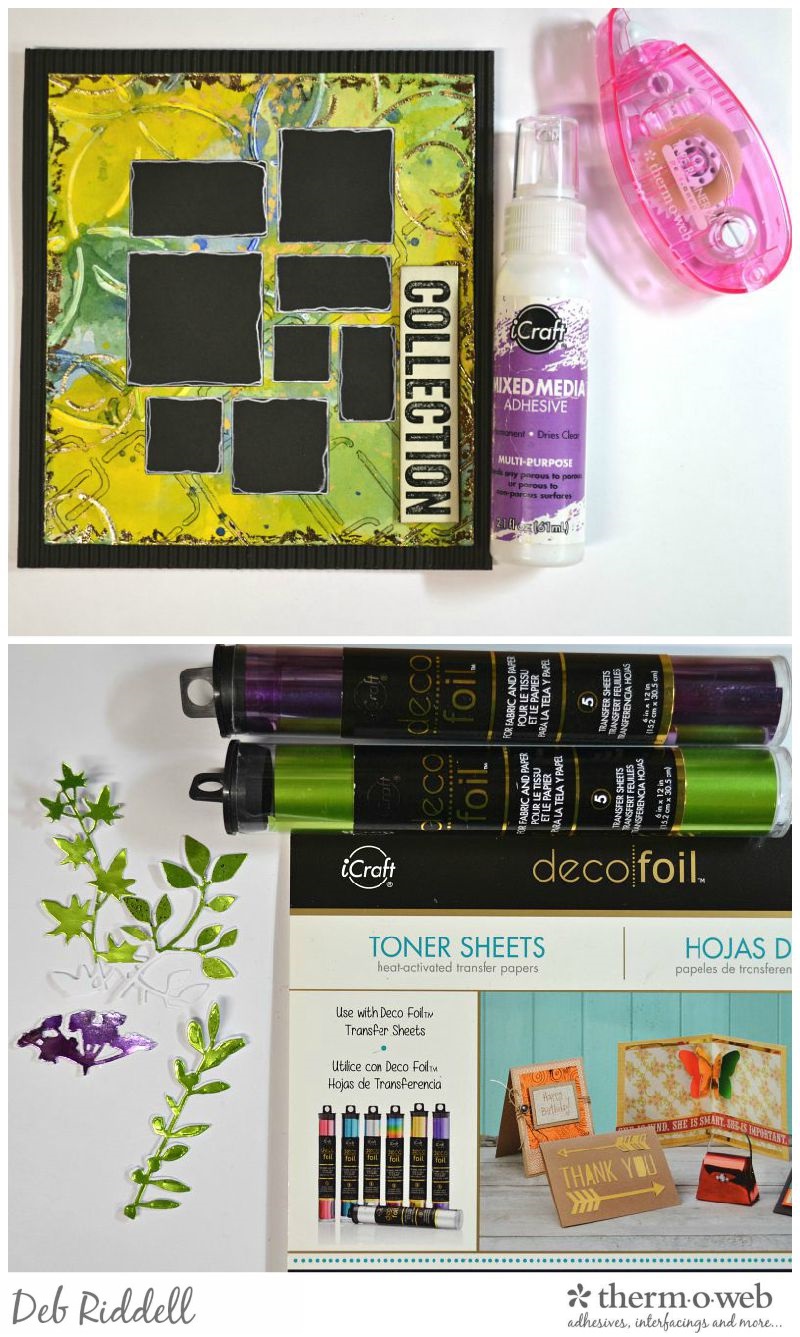
Cover Deco Foil Toner Sheets with Spring Green and Amethyst Watercolor Transfer Foil sheets and die cut a flower and some greenery (these are Wildflower and Garden Greens dies). Die cut a second piece from white cardstock and adhere it behind the foiled die cut, off setting it slightly so that some of the white card is visible.
Stamp florals onto white cardstock with black permanent ink and emboss with clear embossing powder (these are Flower Garden and Mini Bouquet stamps). Watercolour the stamped images with Distress Inks or watercolour paint. Die cut the stamped and coloured images with the coordinating dies or fussy cut by hand.
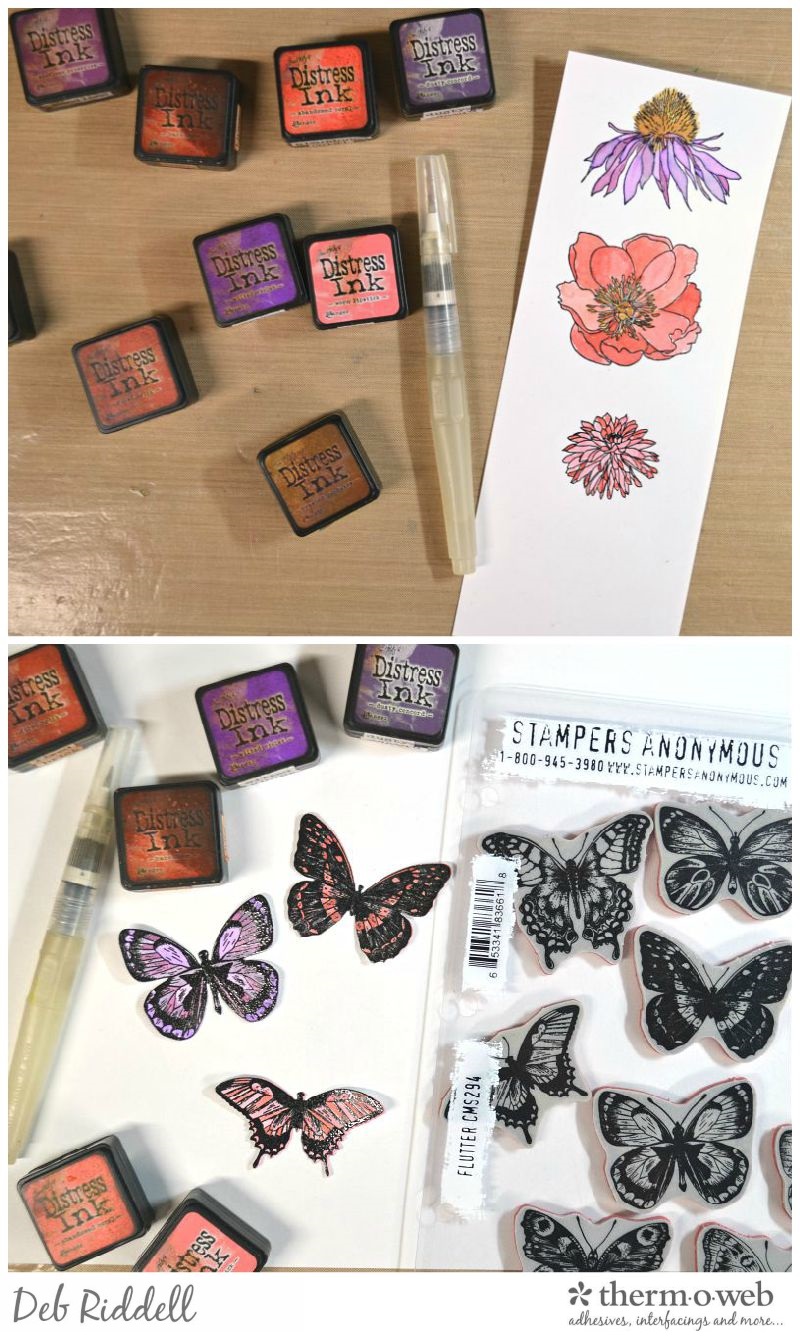
Stamp butterflies onto white cardstock in the same manner as the florals and colour with Distress Ink or watercolour paint (these are Flutter stamps). Die cut with the coordinating dies or fussy cut by hand.
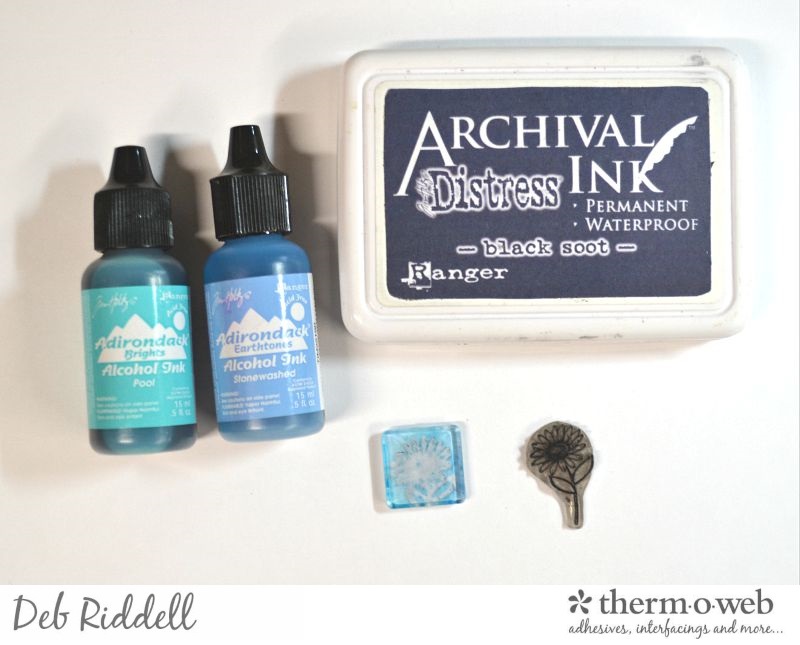
Did you know that the Mosaic Bigz die is sized to coordinate perfectly with Tim Holtz’s Fragments? Each of the openings will fit the various sizes of Fragments that you get in the package. I chose the smallest square Fragment and inked it with blue alcohol inks. After the alcohol ink had dried thoroughly, I stamped a small flower onto the alcohol inked side of the fragment with black Archival ink and then quickly wiped off the stamped image with a soft cloth. There is a reaction between the alcohol ink and Archival ink (you have to use Archival ink for this technique to work) and you are left with a ghosted outline of the stamp in the alcohol ink. Back the Fragment with white cardstock to ensure that your image can be seen.
And with that, all of your components are ready to assemble onto your Summer’s Collection canvas. Adhere the foiled die cuts into some of the openings and add the butterflies around the edges.
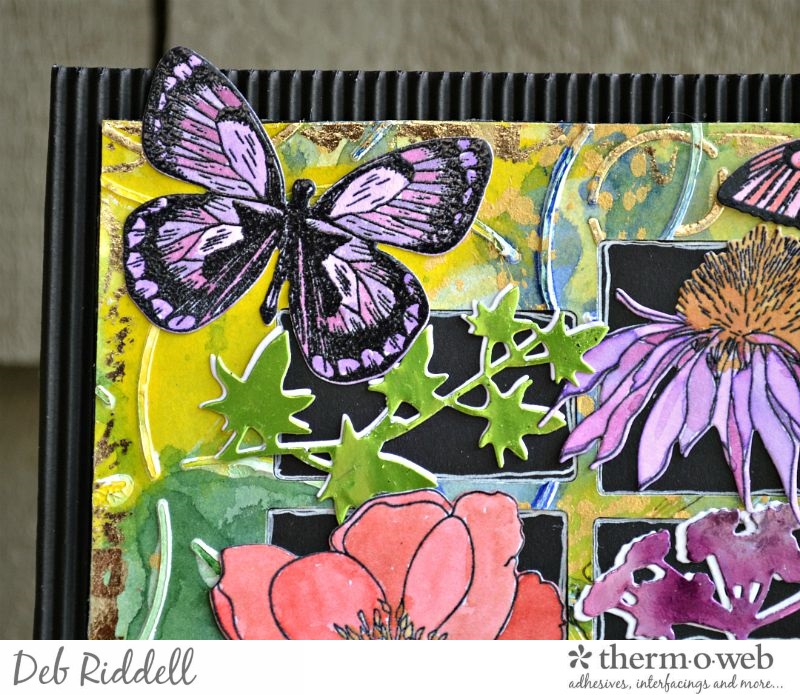
Add the alcohol inked Fragment into the coordinating die cut opening.
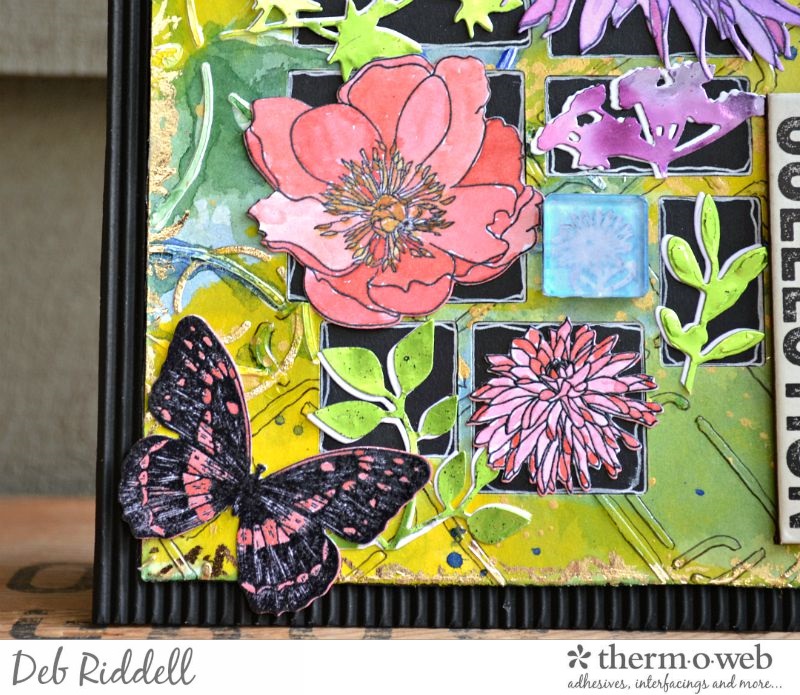
And glue the watercoloured florals into the remaining openings with Mixed Media Adhesive.
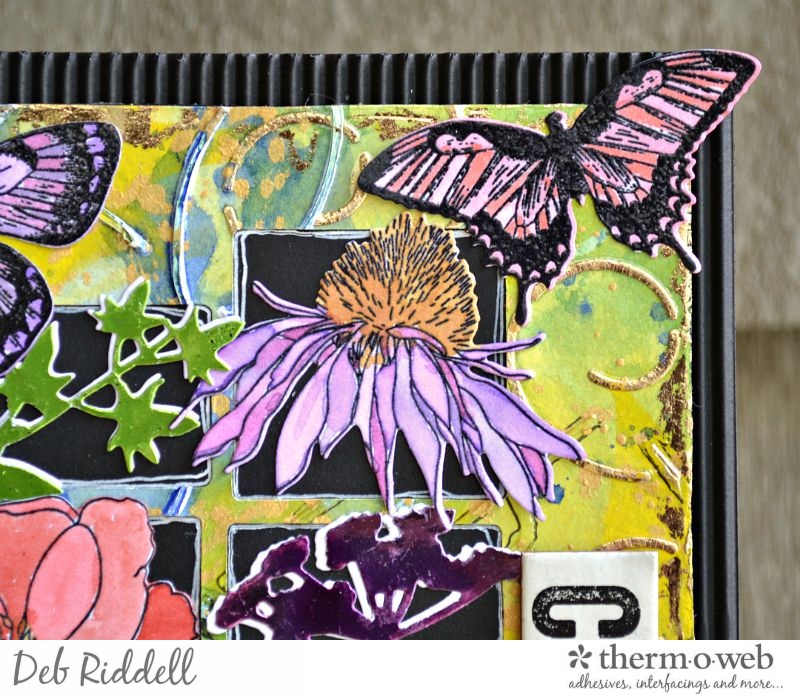
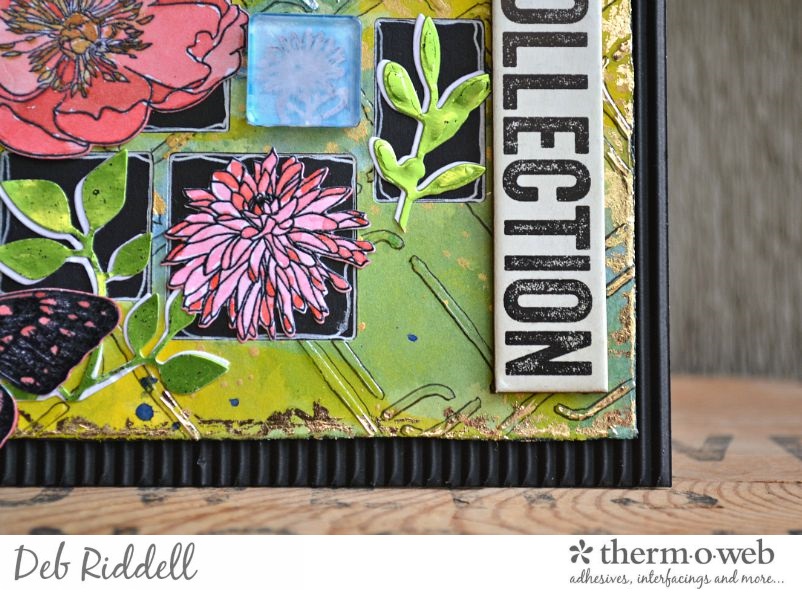
I hope that you’ve enjoyed seeing how this project came together and that you’ve been inspired to pull out your Deco Foil Stencils and have some creative fun!
Thanks as always for stopping by today and happy creating!
Deb xo
