


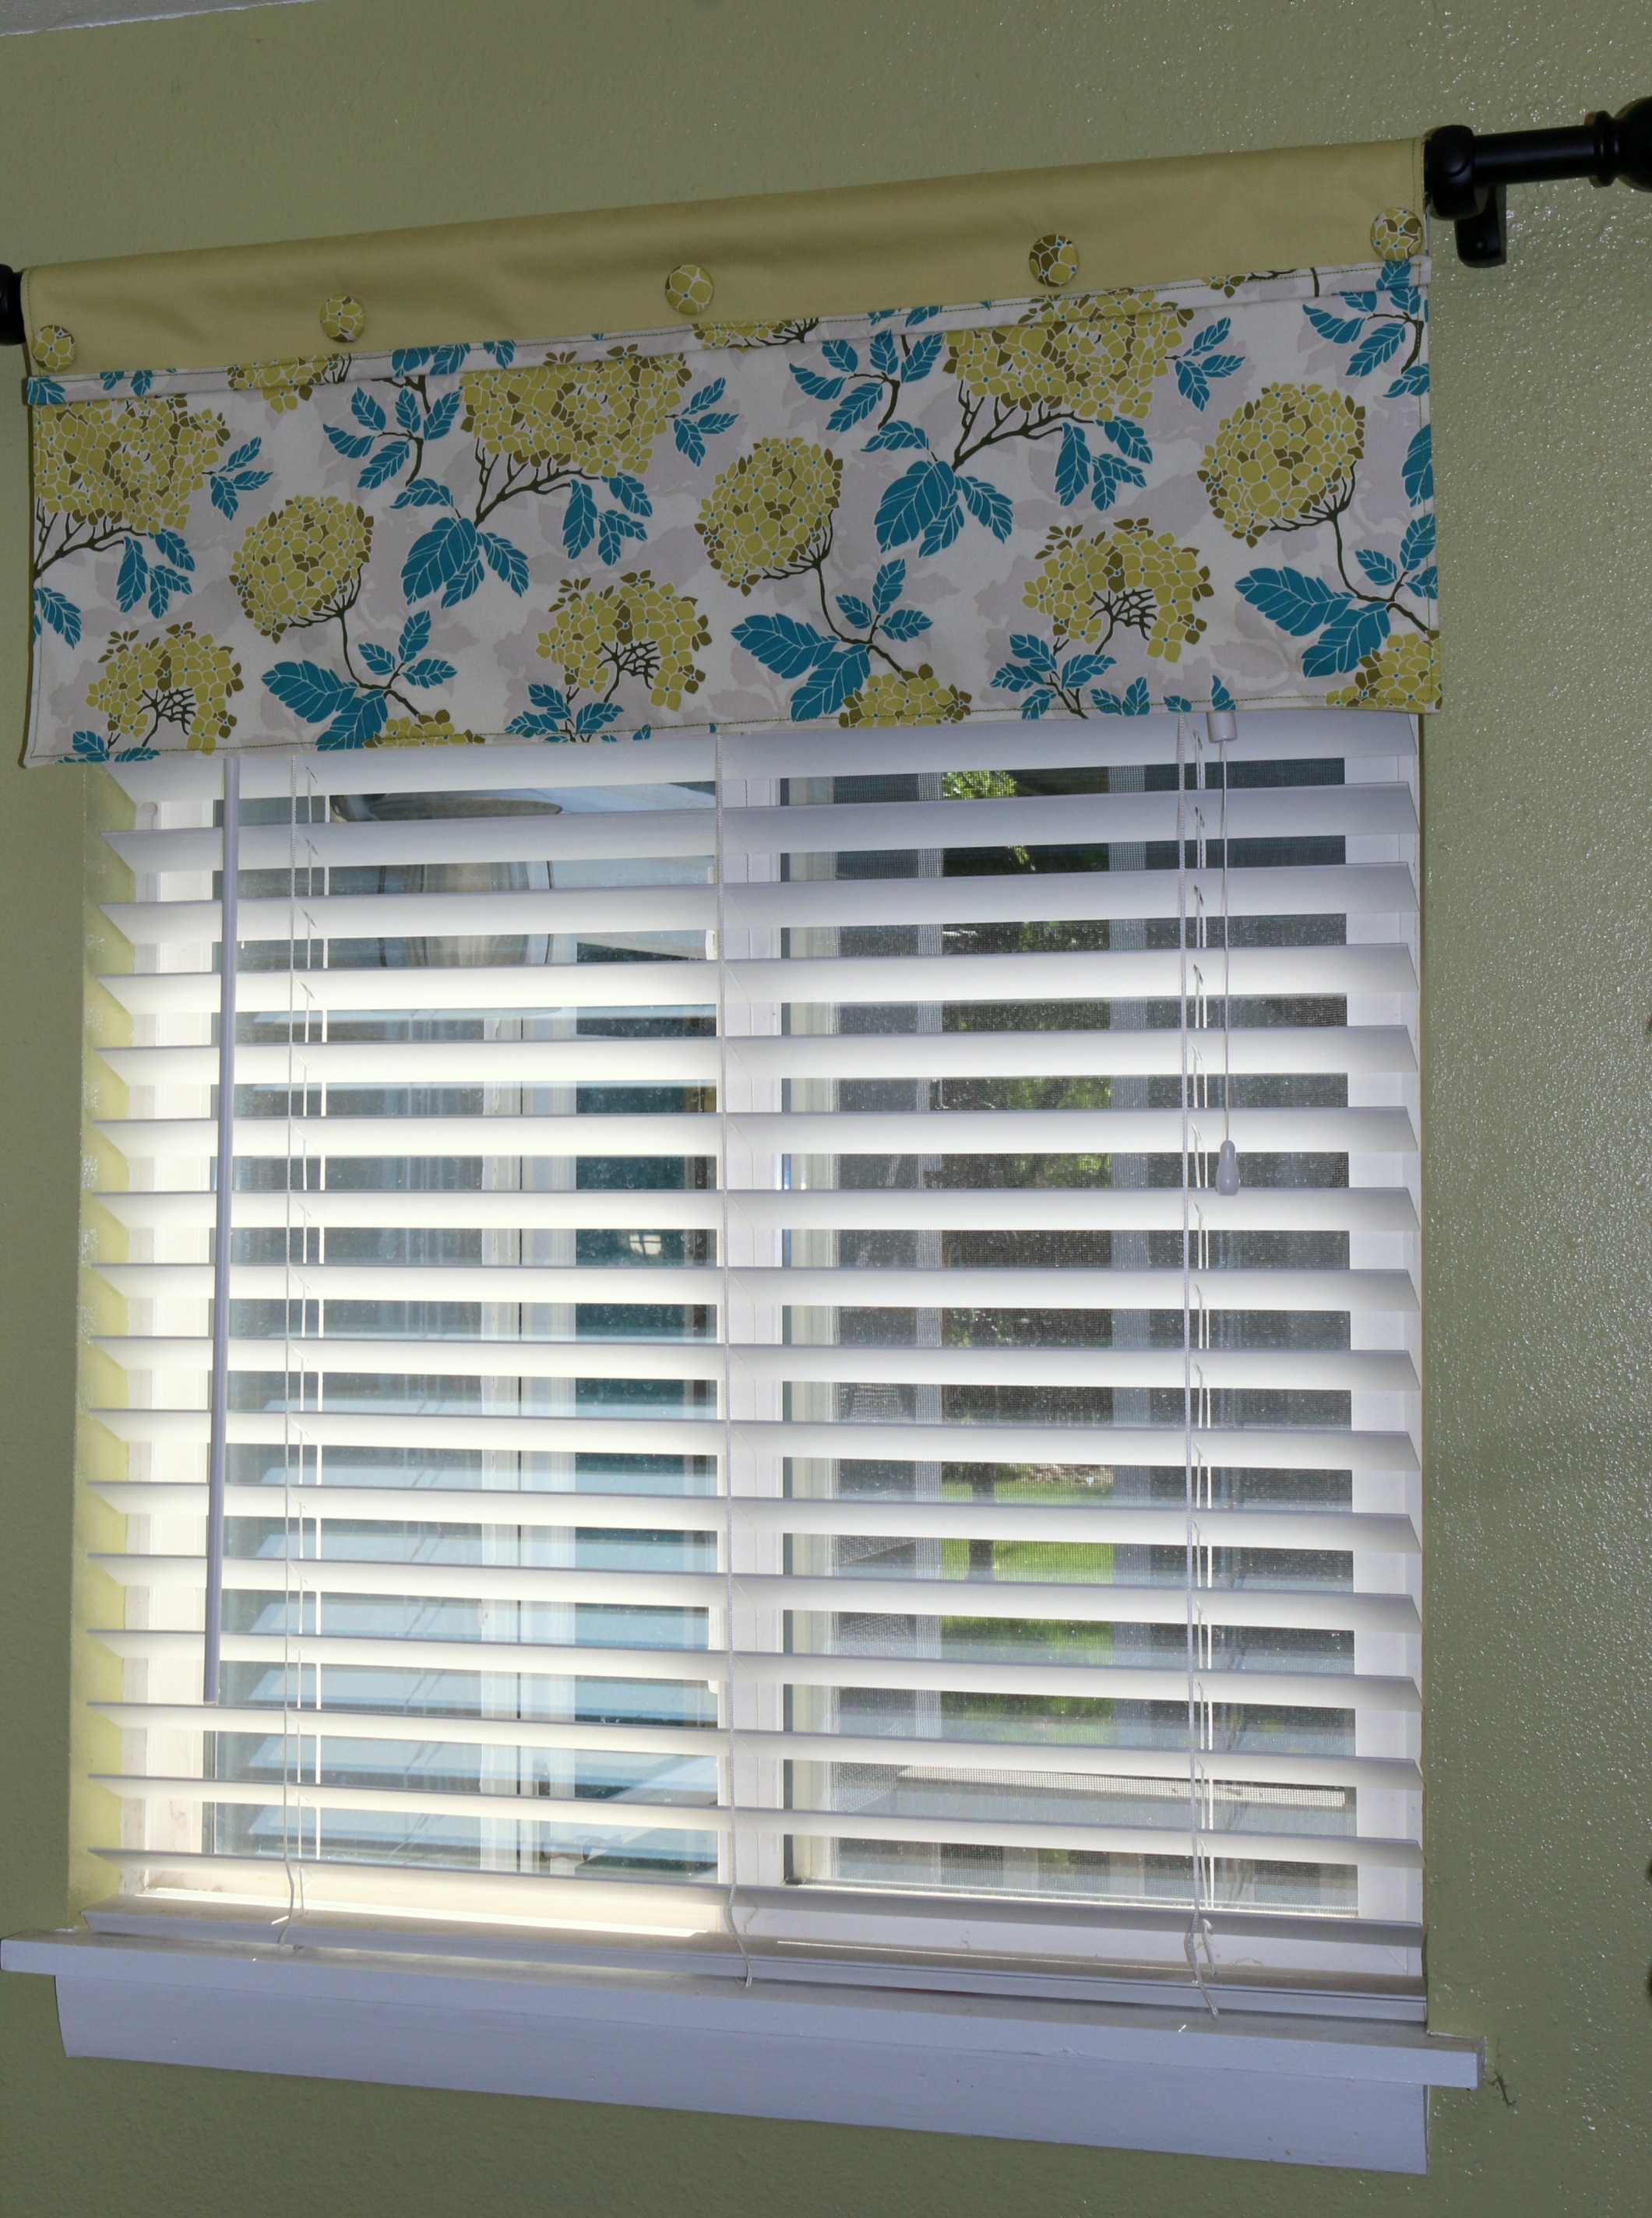
Creating the perfect decorative touch can be difficult when it comes to windows. When looking for a new window treatment, I like a valance or curtain to look classy, coordinate well with the paint, and not break the bank. Well, if you are like me, you will love just how easy this is to construct and have hanging in your home.
Easy to Make Curtain Valance Using HeatnBond Fusible Tape

Supplies Needed:
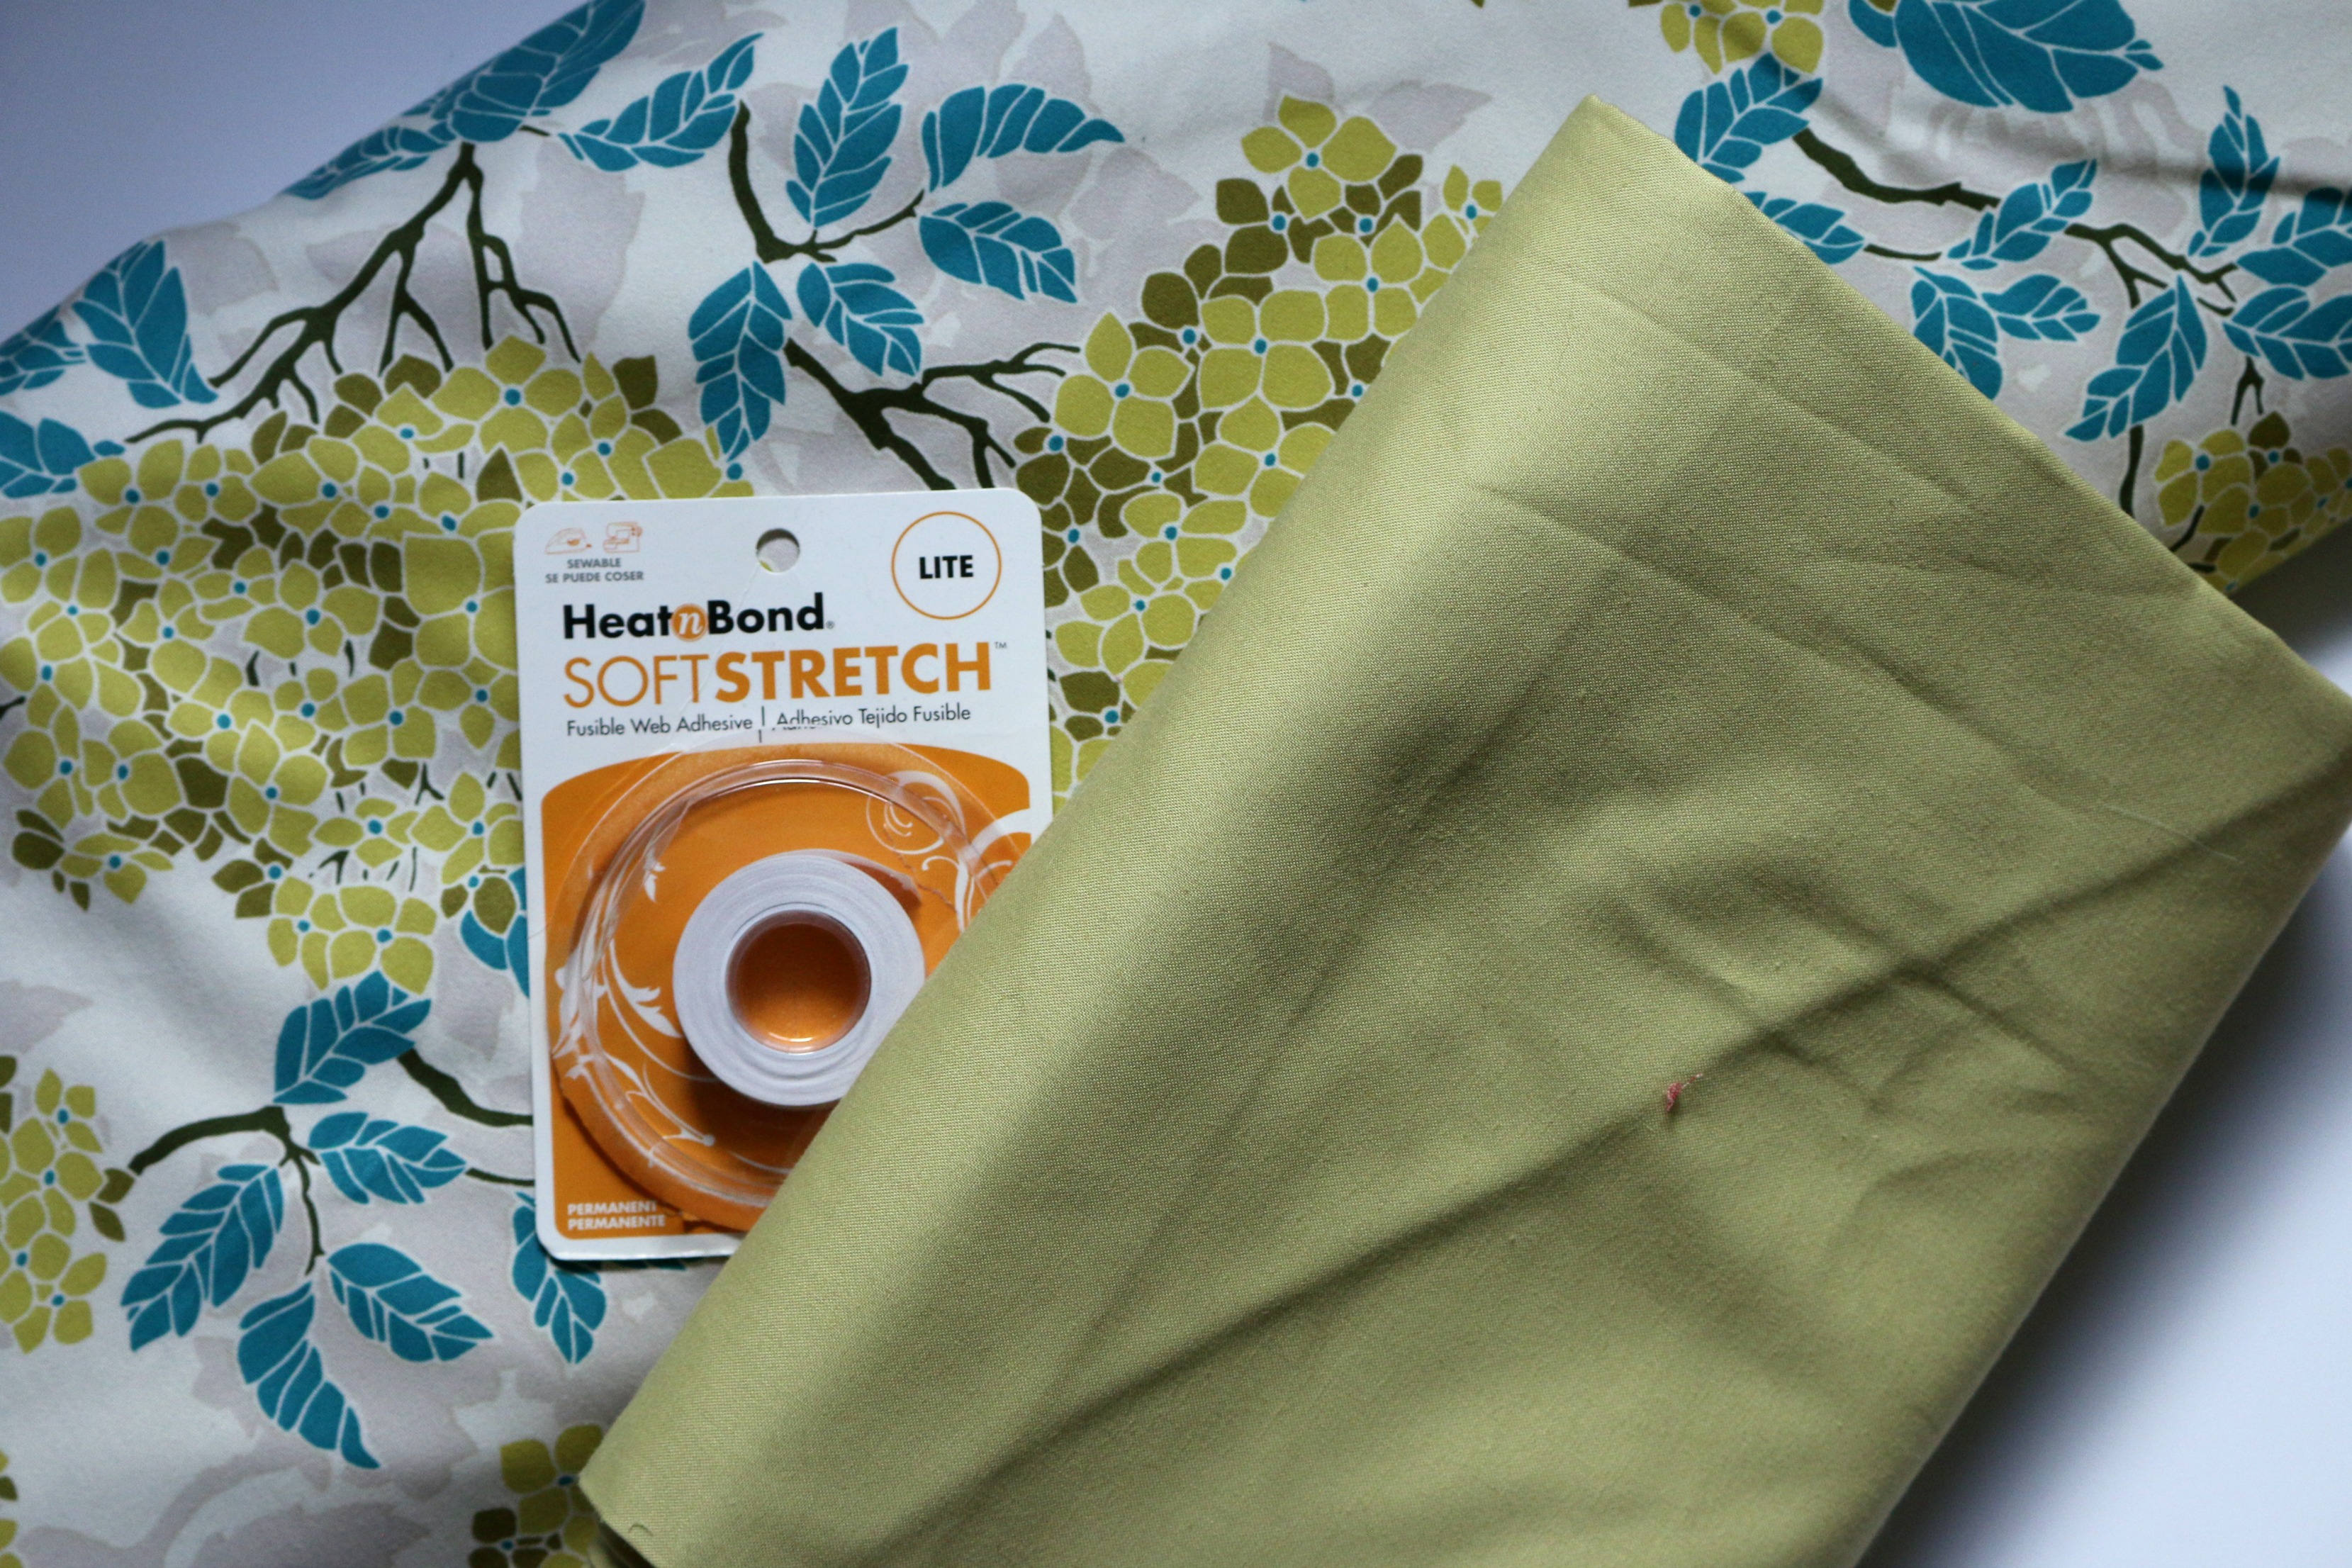
1/2 yard Hydrangea fabric
1/2 yard solid fabric
Coordinating thread
HeatnBond Soft Stretch™ LITE
5 Dritz DIY Buttons
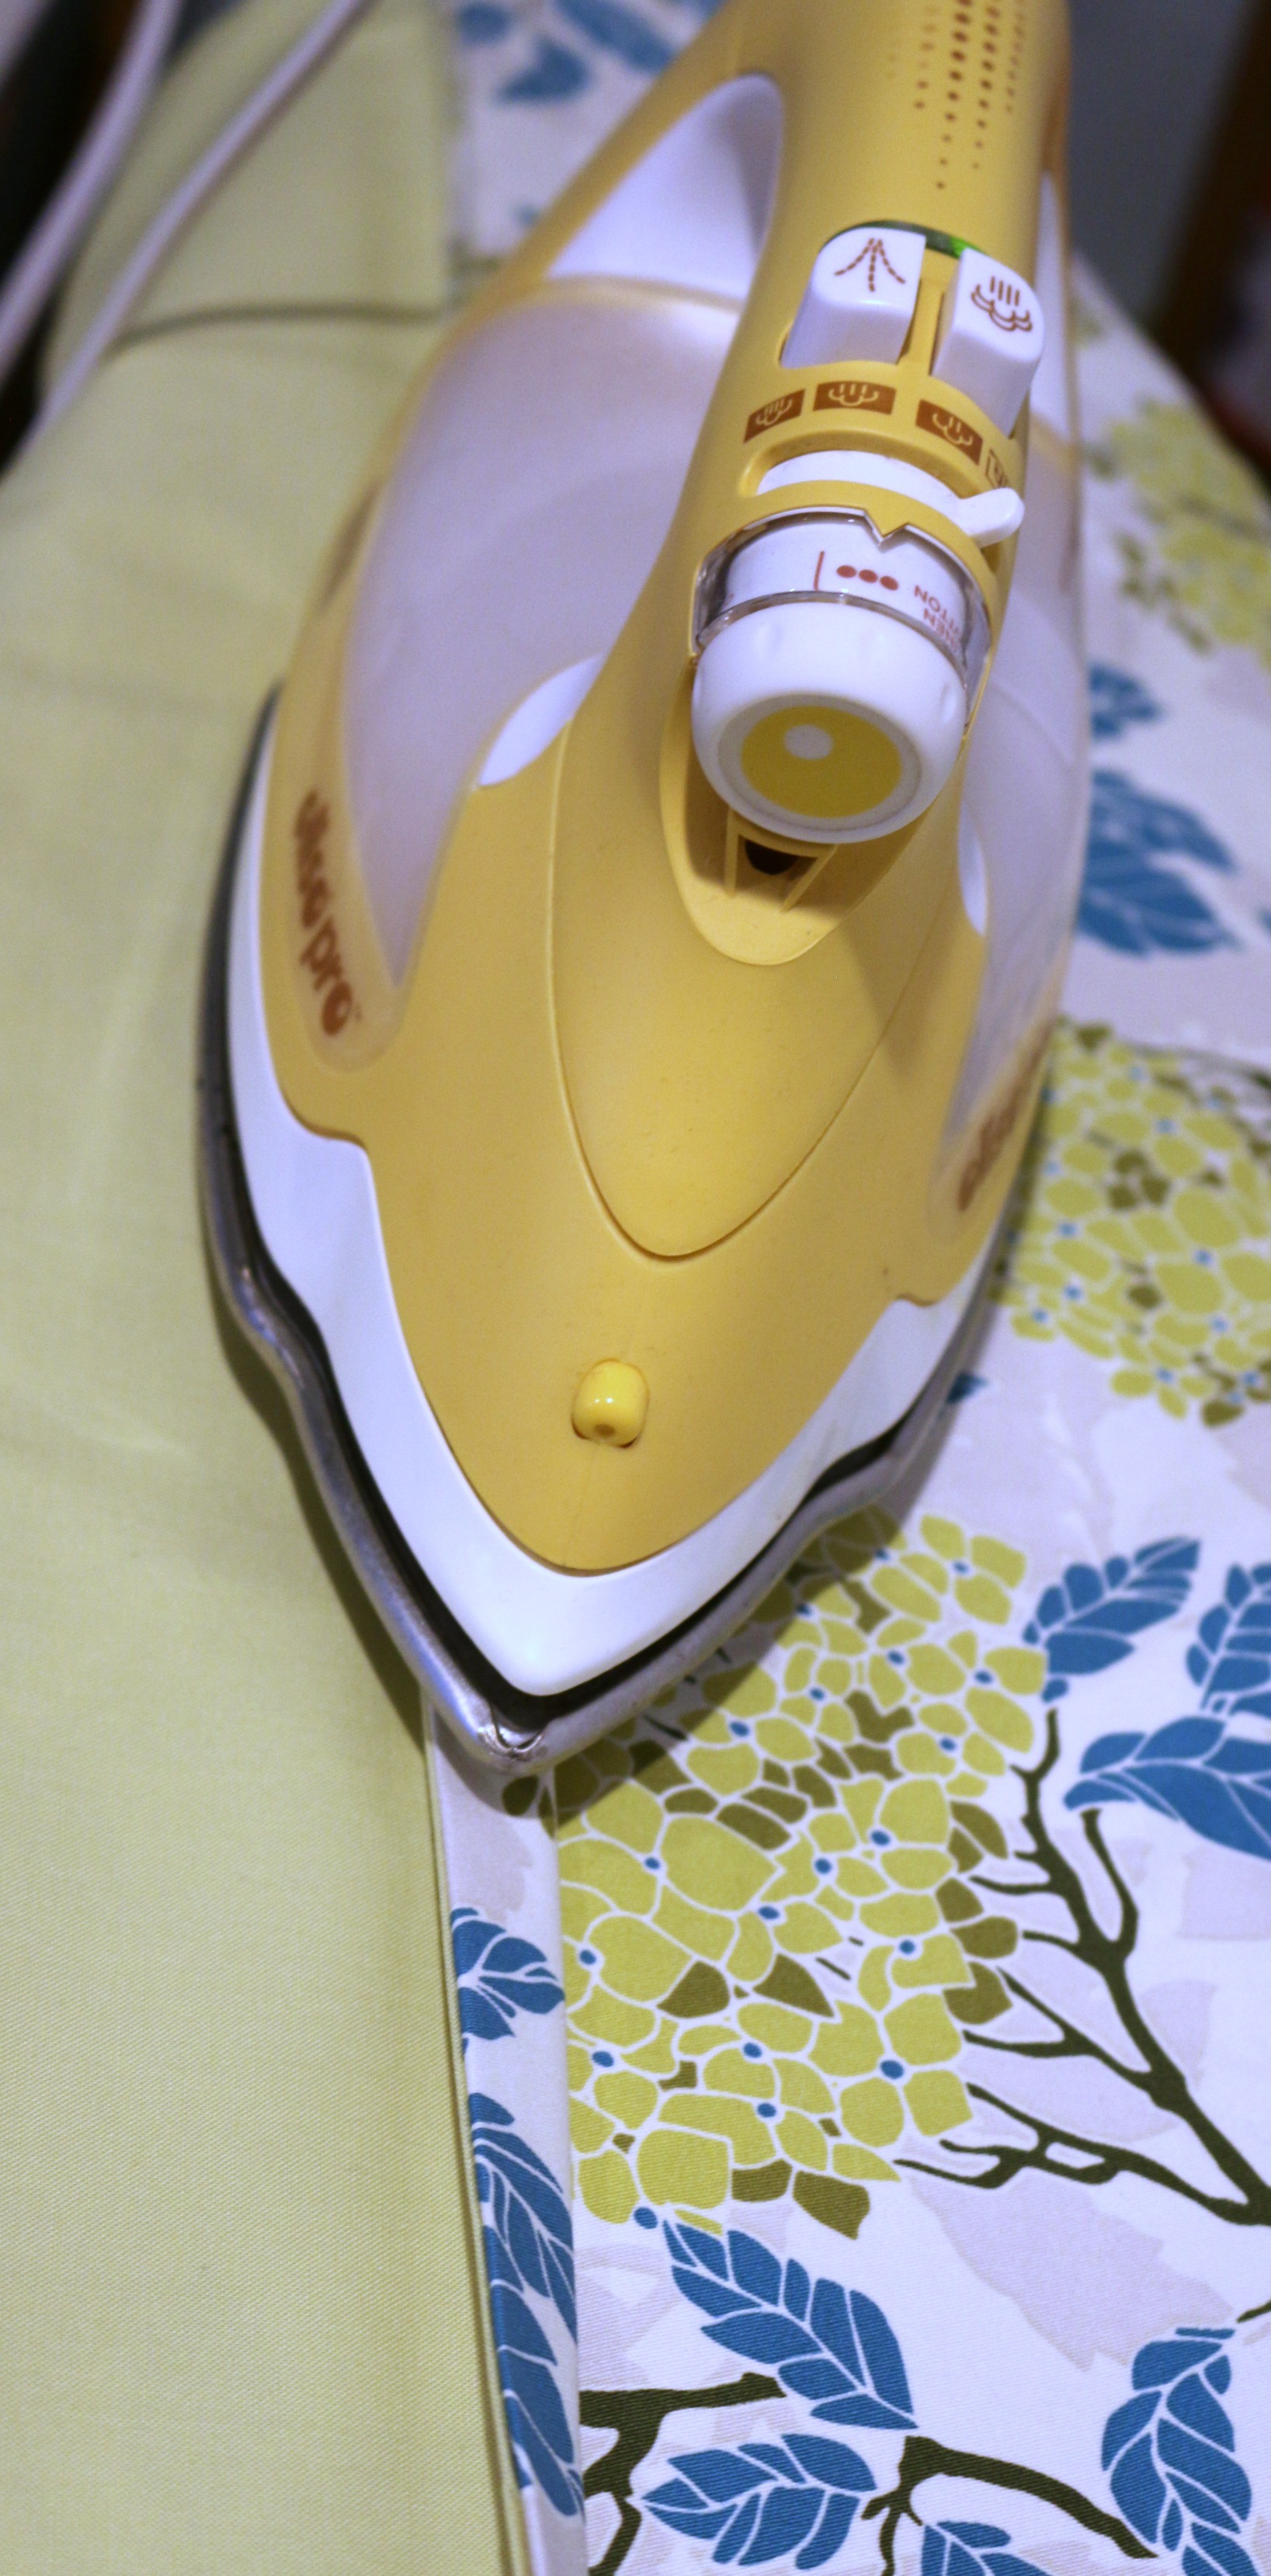
Oliso Iron
Easy to Make Curtain Valance Using HeatnBond Fusible Tape Instructions:
For the main part, the hydrangea fabric is a little heavier than that of a standard quilting cotton. However, this is not a requirement. The coordinating fabric is a Kona Solid, that matched the flowers perfectly.
To begin, measure the width of the window in which the valance will hang. To this measurement add 1/2″. This will be a 1/4″ seam allowance on each side of the valance. The measurement of this window was 34″
Cut one piece of floral print and one piece of solid print 18″ x 34 1/2″ or the specific size of your window.
With right sides together, sew around the perimeter of the rectangles. Leave an opening large enough to turn the valance right side out.
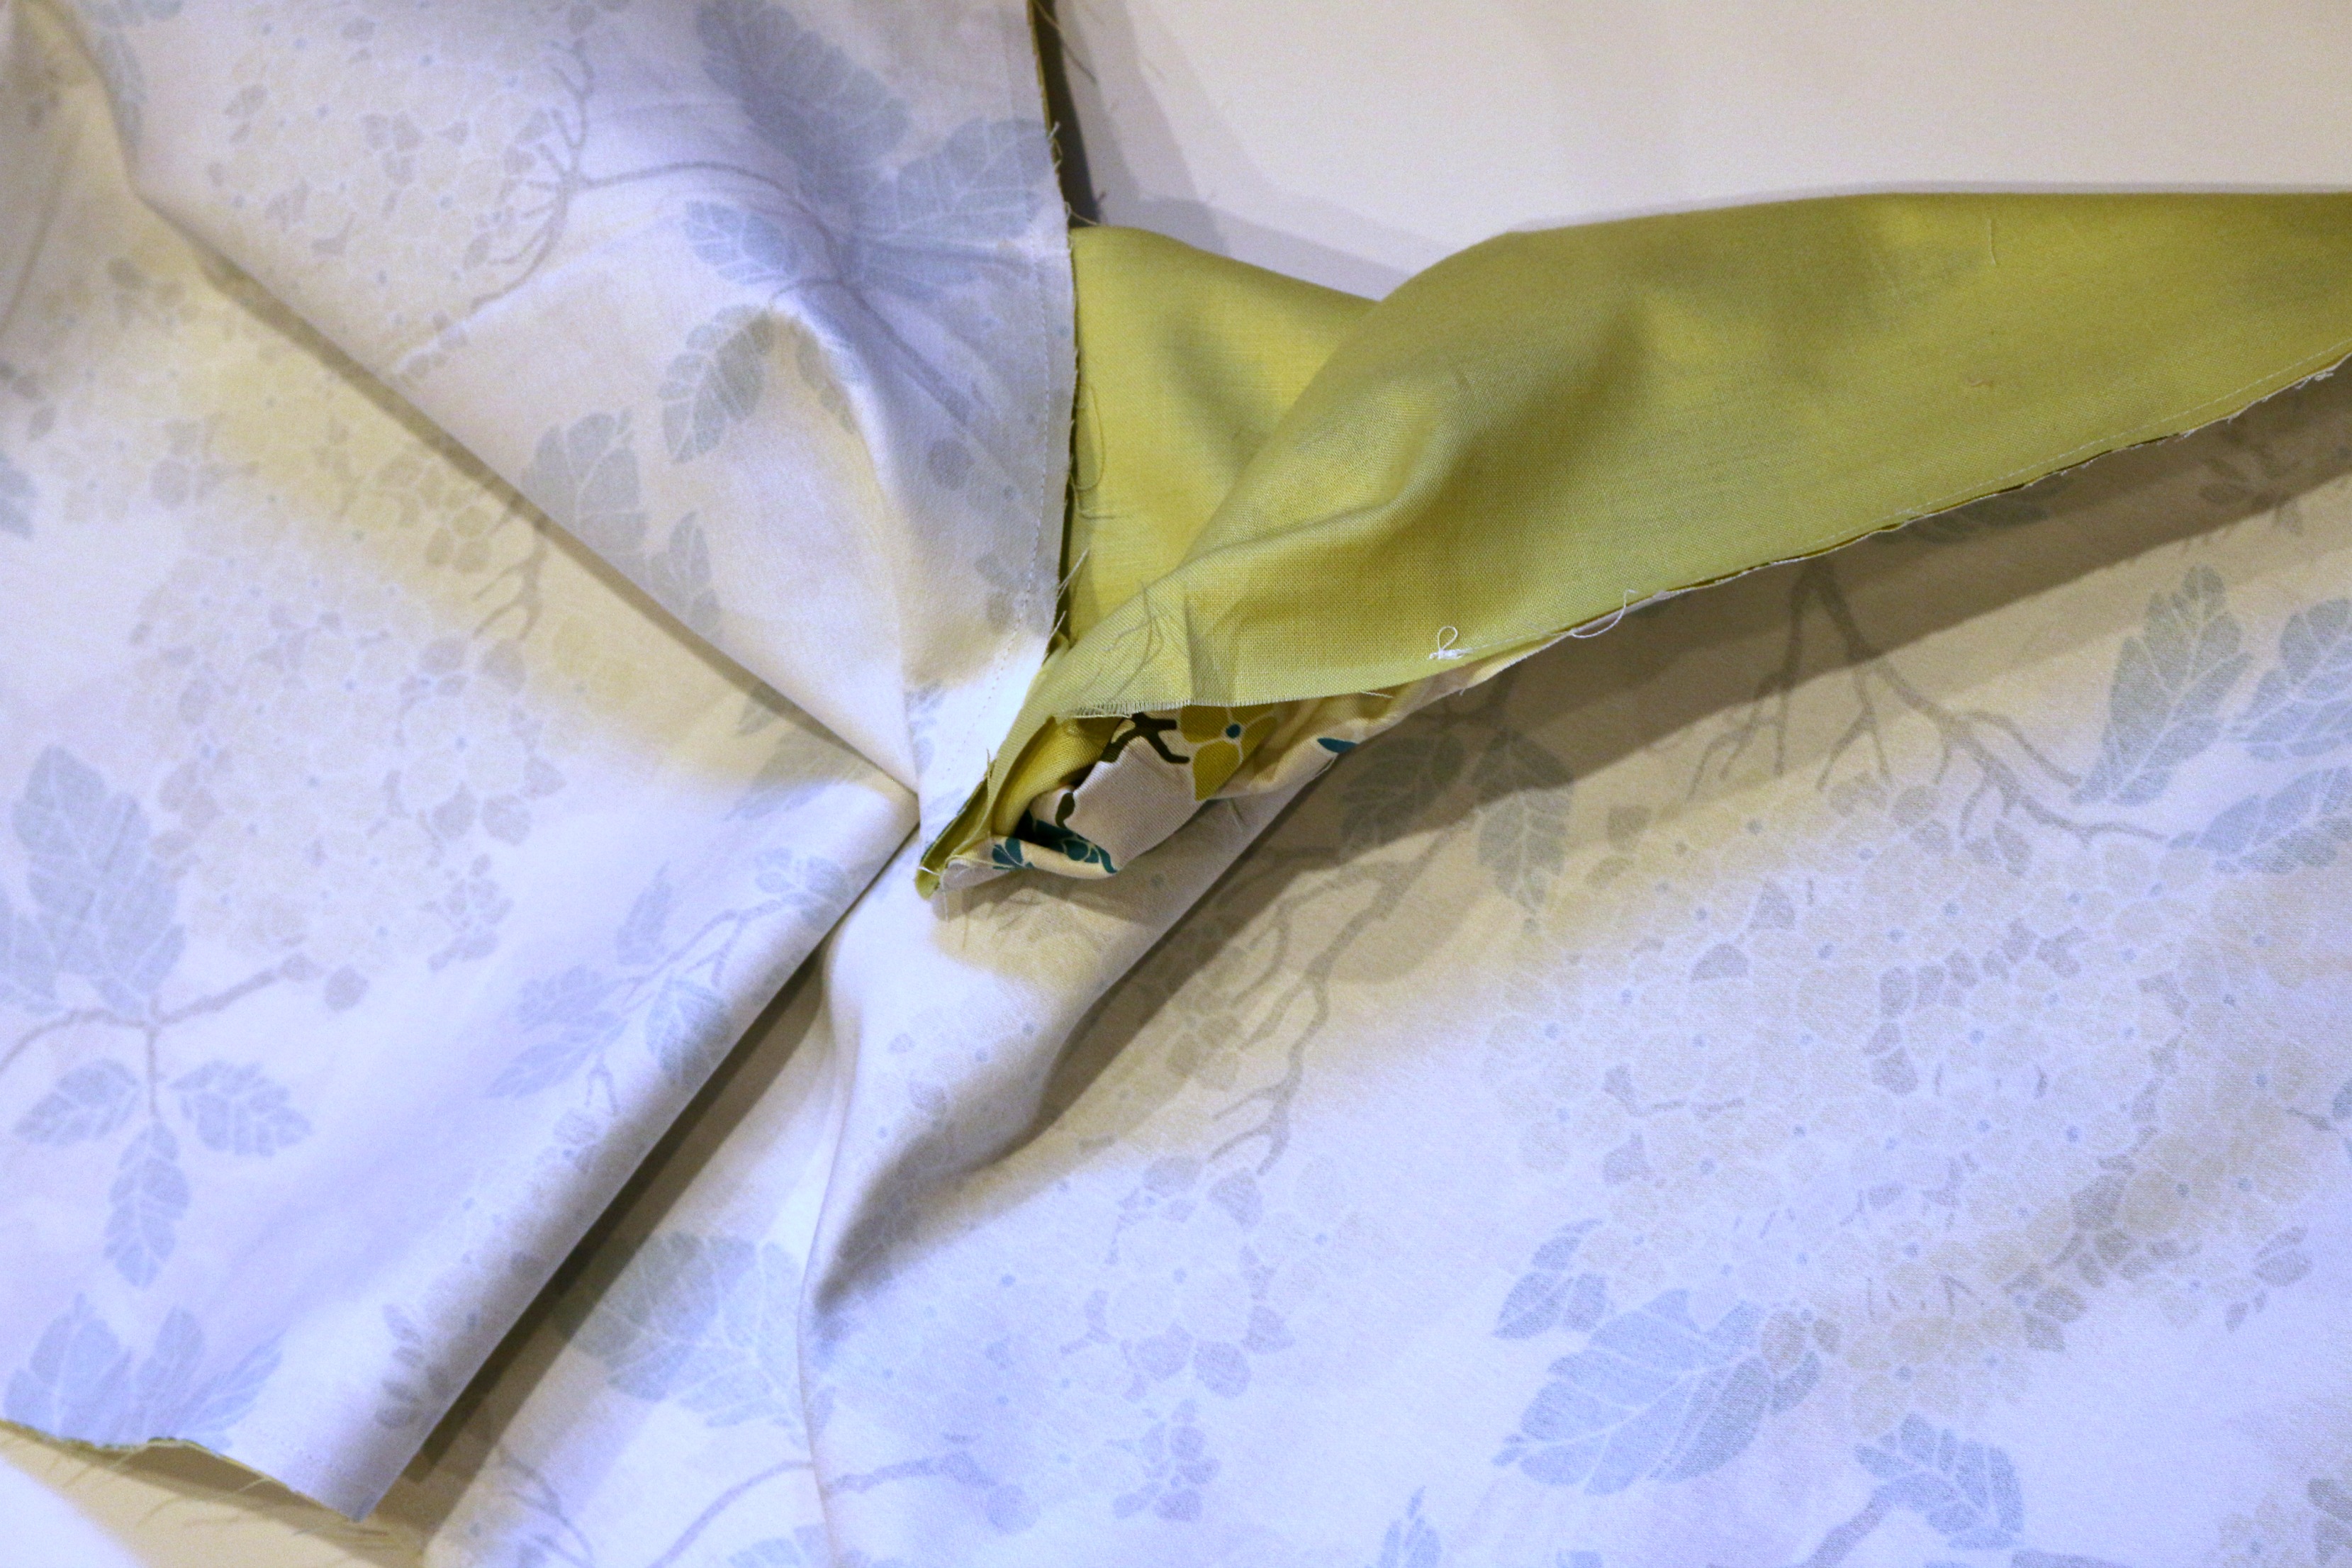
After turning right side out, press completely around the rectangle. Pay close attention to the seam and try to get them perfectly pressed. After this is completed, sew a decorative or straight stitch around the perimeter of the rectangle. This will add some interesting detail but also sew the gap closed. For this valance, a 12 wt. Aurfil thread was used. To use this weight of thread in a machine, the stitches must be set longer.
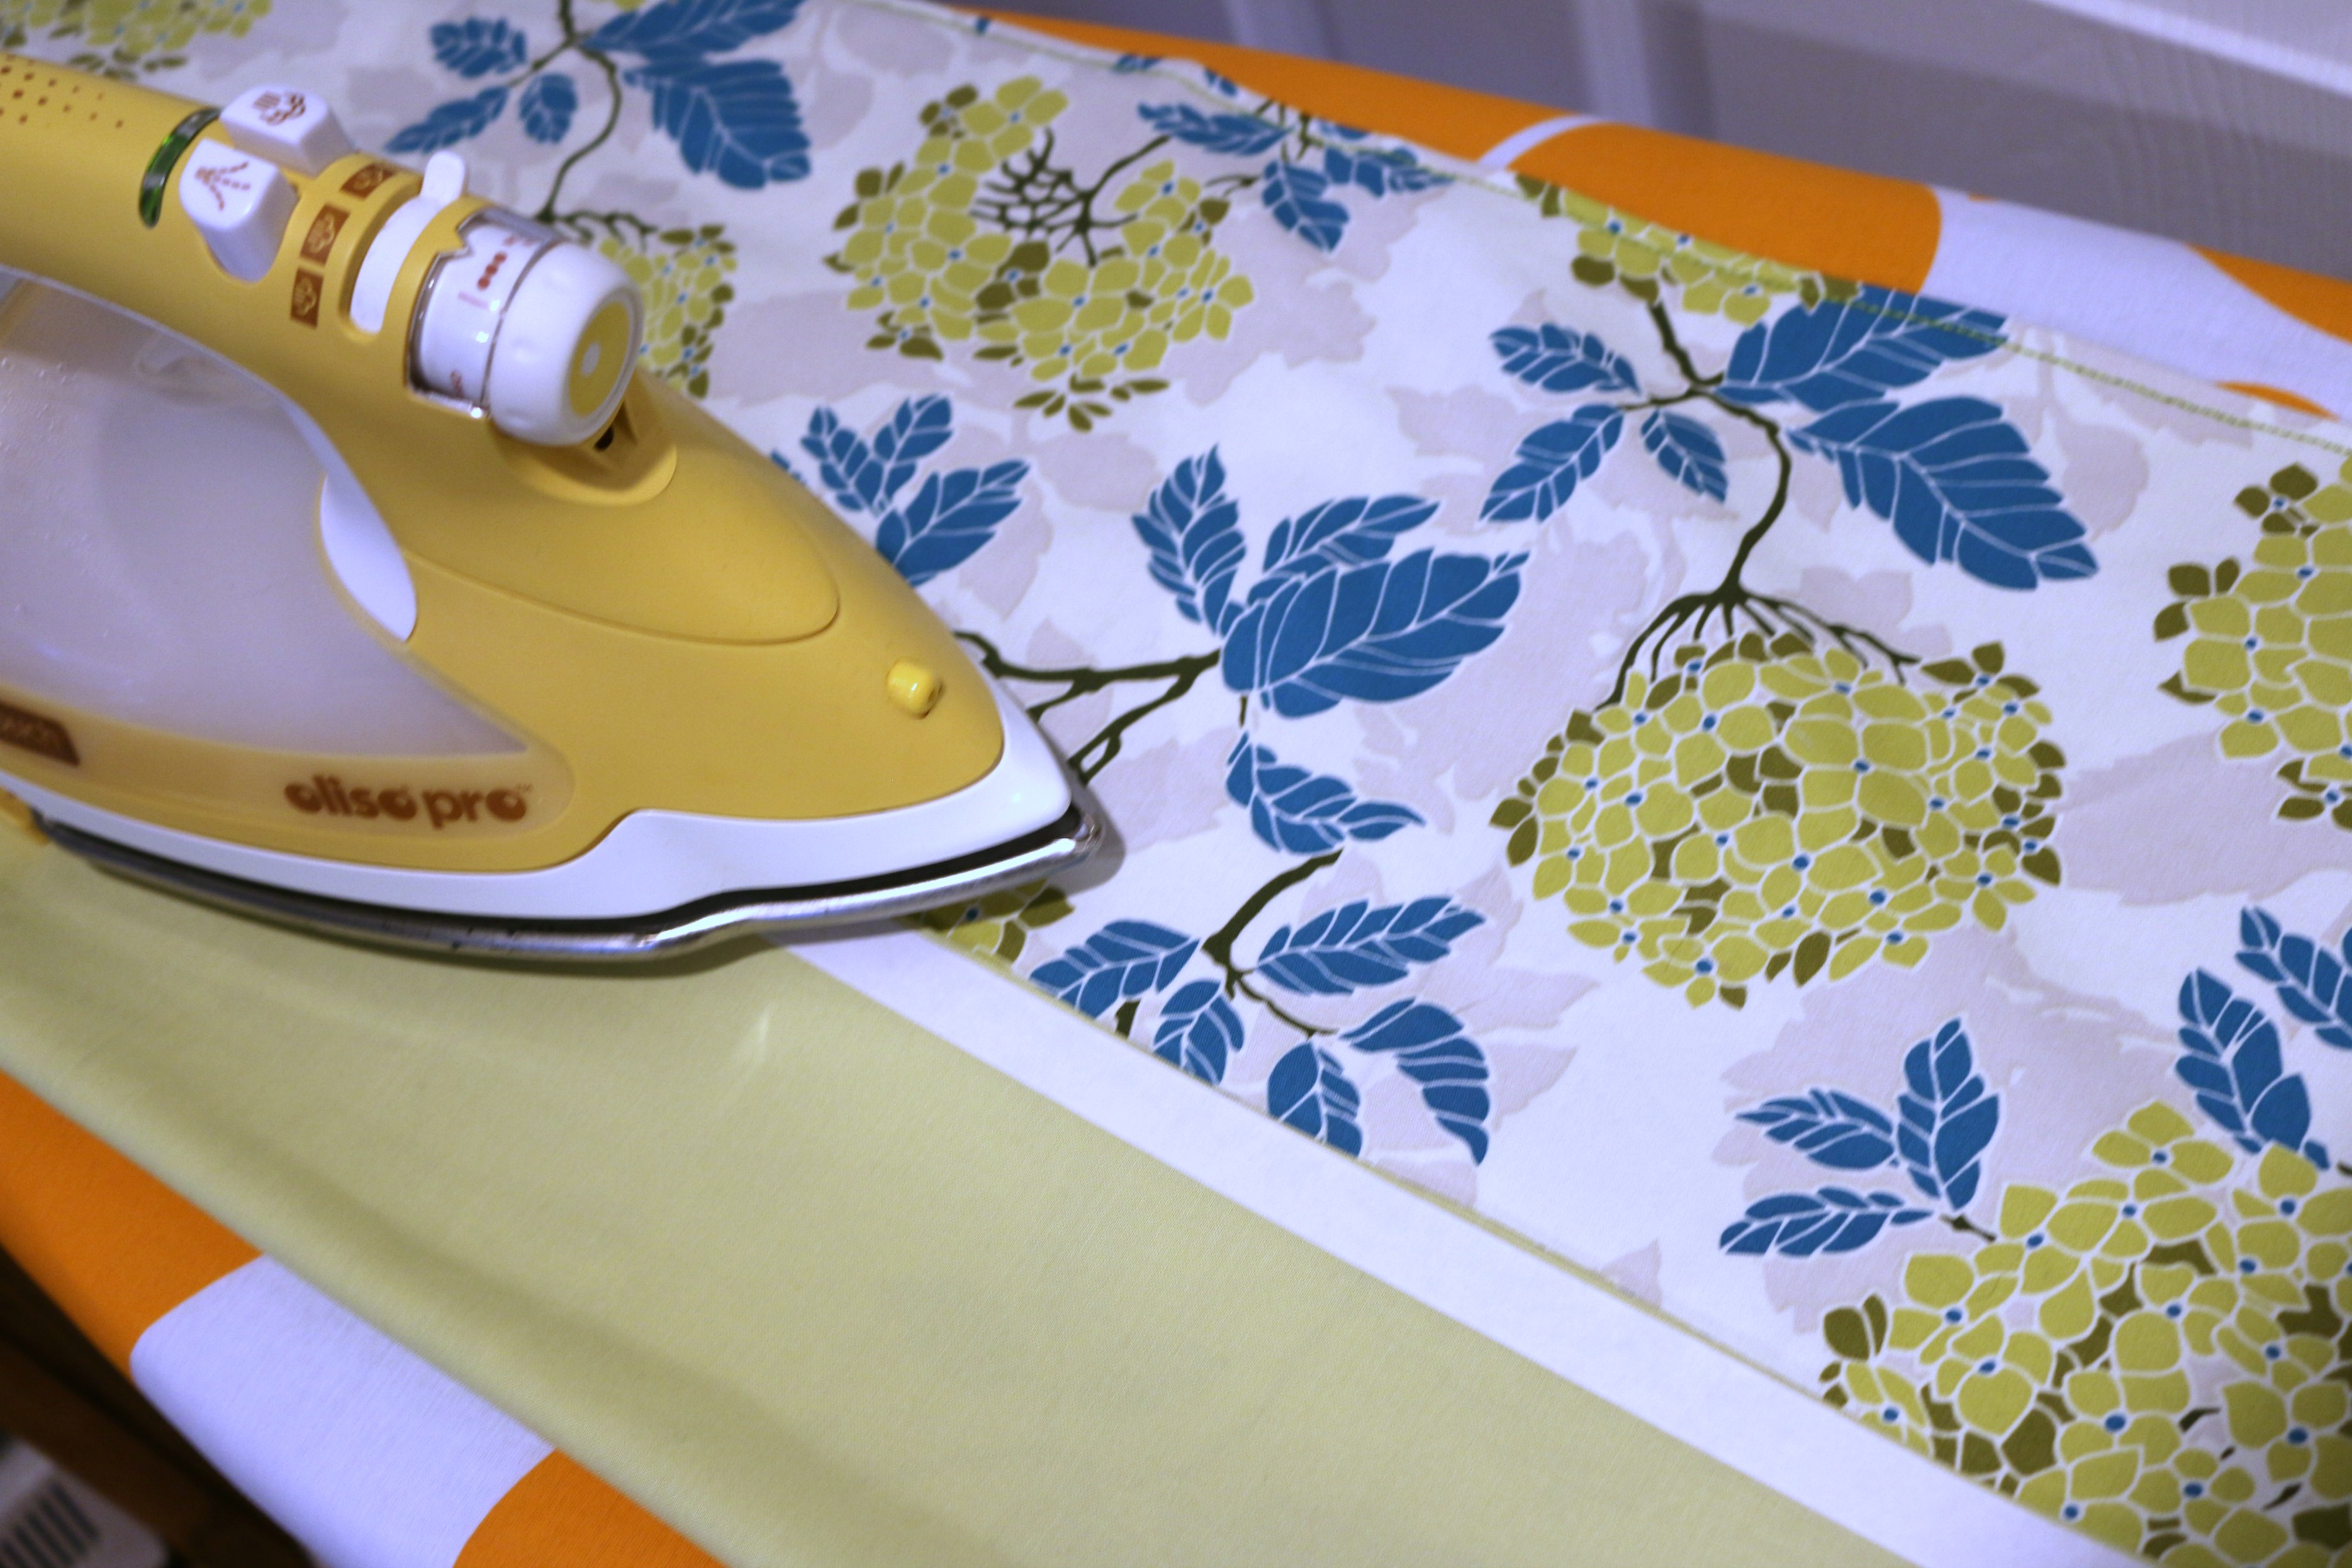
After the perimeter has been sewn, press down a 4 1/2″ piece to overlap the front. A nice crisp top will help with the next processes and allow the curtain to lie straight. Be careful to measure 4 1/2″ down in several places. This measurement might have to be adjusted according to the size of the curtain rod. After the overlap in pressed down, take a piece of HeatnBond Soft Stretch™ LITE to the size of the top edge and iron it in place. Before removing the paper backing, fold the paper back towards itself. Showing once again, the flower fabric. Allow the HeatnBond Soft Stretch™ LITE to cool completely, then remove the paper backing and iron down the edge.
If desired, pin the flap down before sewing across the top edge that was just ironed down. This will prevent any of the fabric from sliding. Sewing this edge creates the pocket for the curtain rod. After this is completed, there is the option to add fabric covered buttons. If this is something that you have never tried, I recommend it.

Here are the supplies to make the buttons.
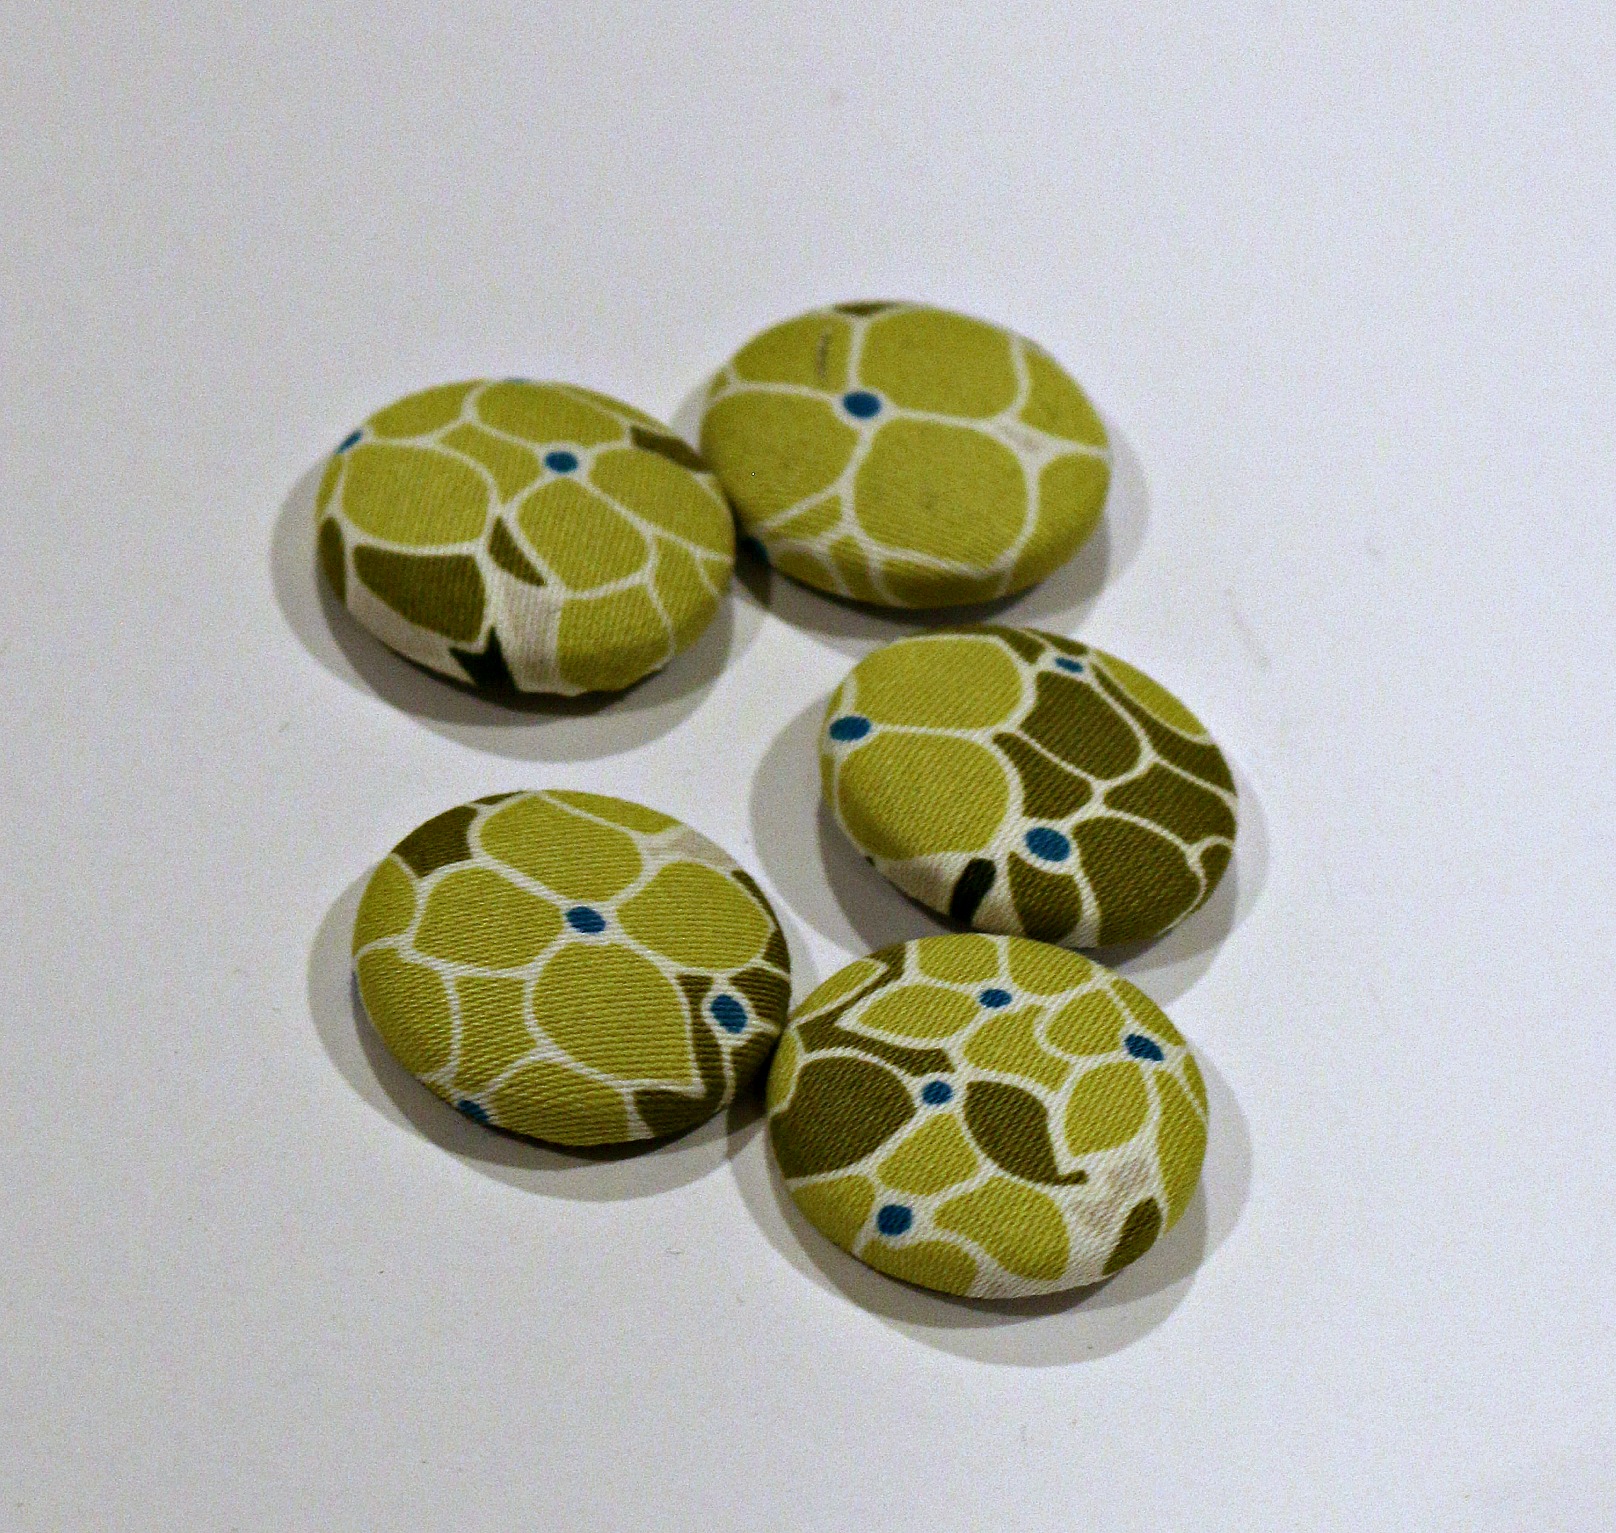 They turn out perfectly every time. Last, sew the buttons to the edge just inside the pocket that was created.
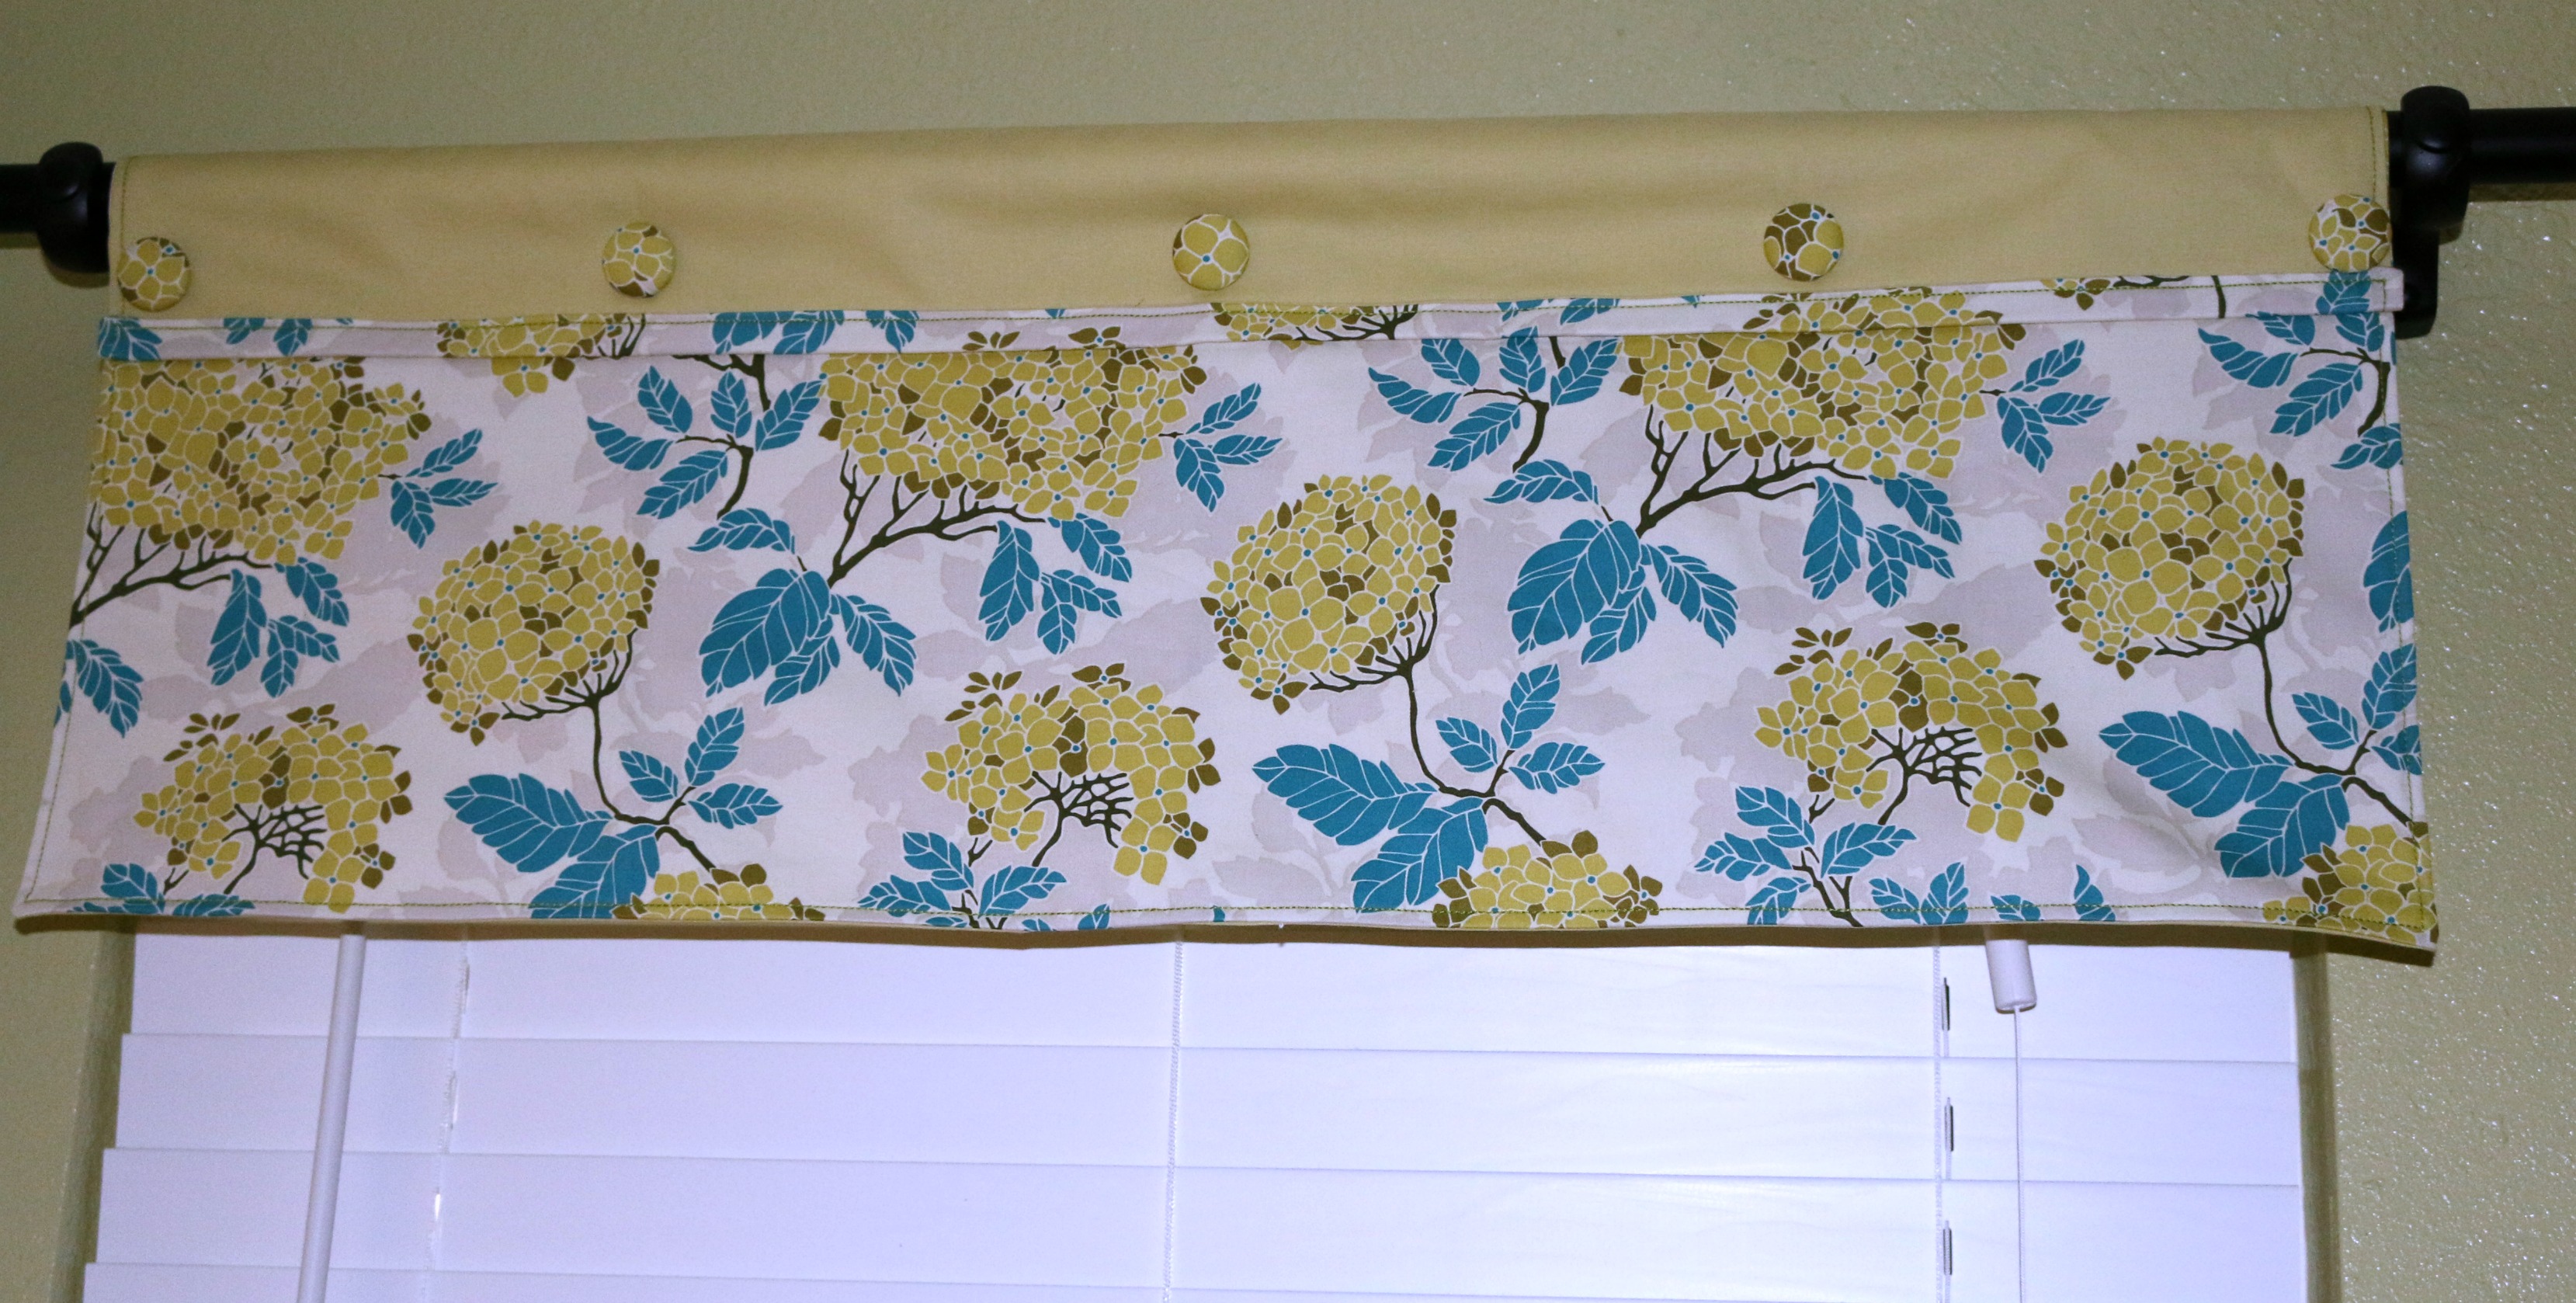
There is an easy valance, that took no time to create and matches my kitchen perfectly. This valance could also be a no-sew project using Fabric Fuse. This size would need to be slightly adjusted to account for the different size in the seam allowance.
I hope that you enjoyed the tutorial here on Thermoweb. I would love for you to stop in at my blog: Sew Incredibly Crazy. ~Hugs~ Amy