


 Hello and welcome!
 It’s Julia from Inflorescence Designs! I’m so joyful you are visiting today. This week is all about sparklers and the USA!
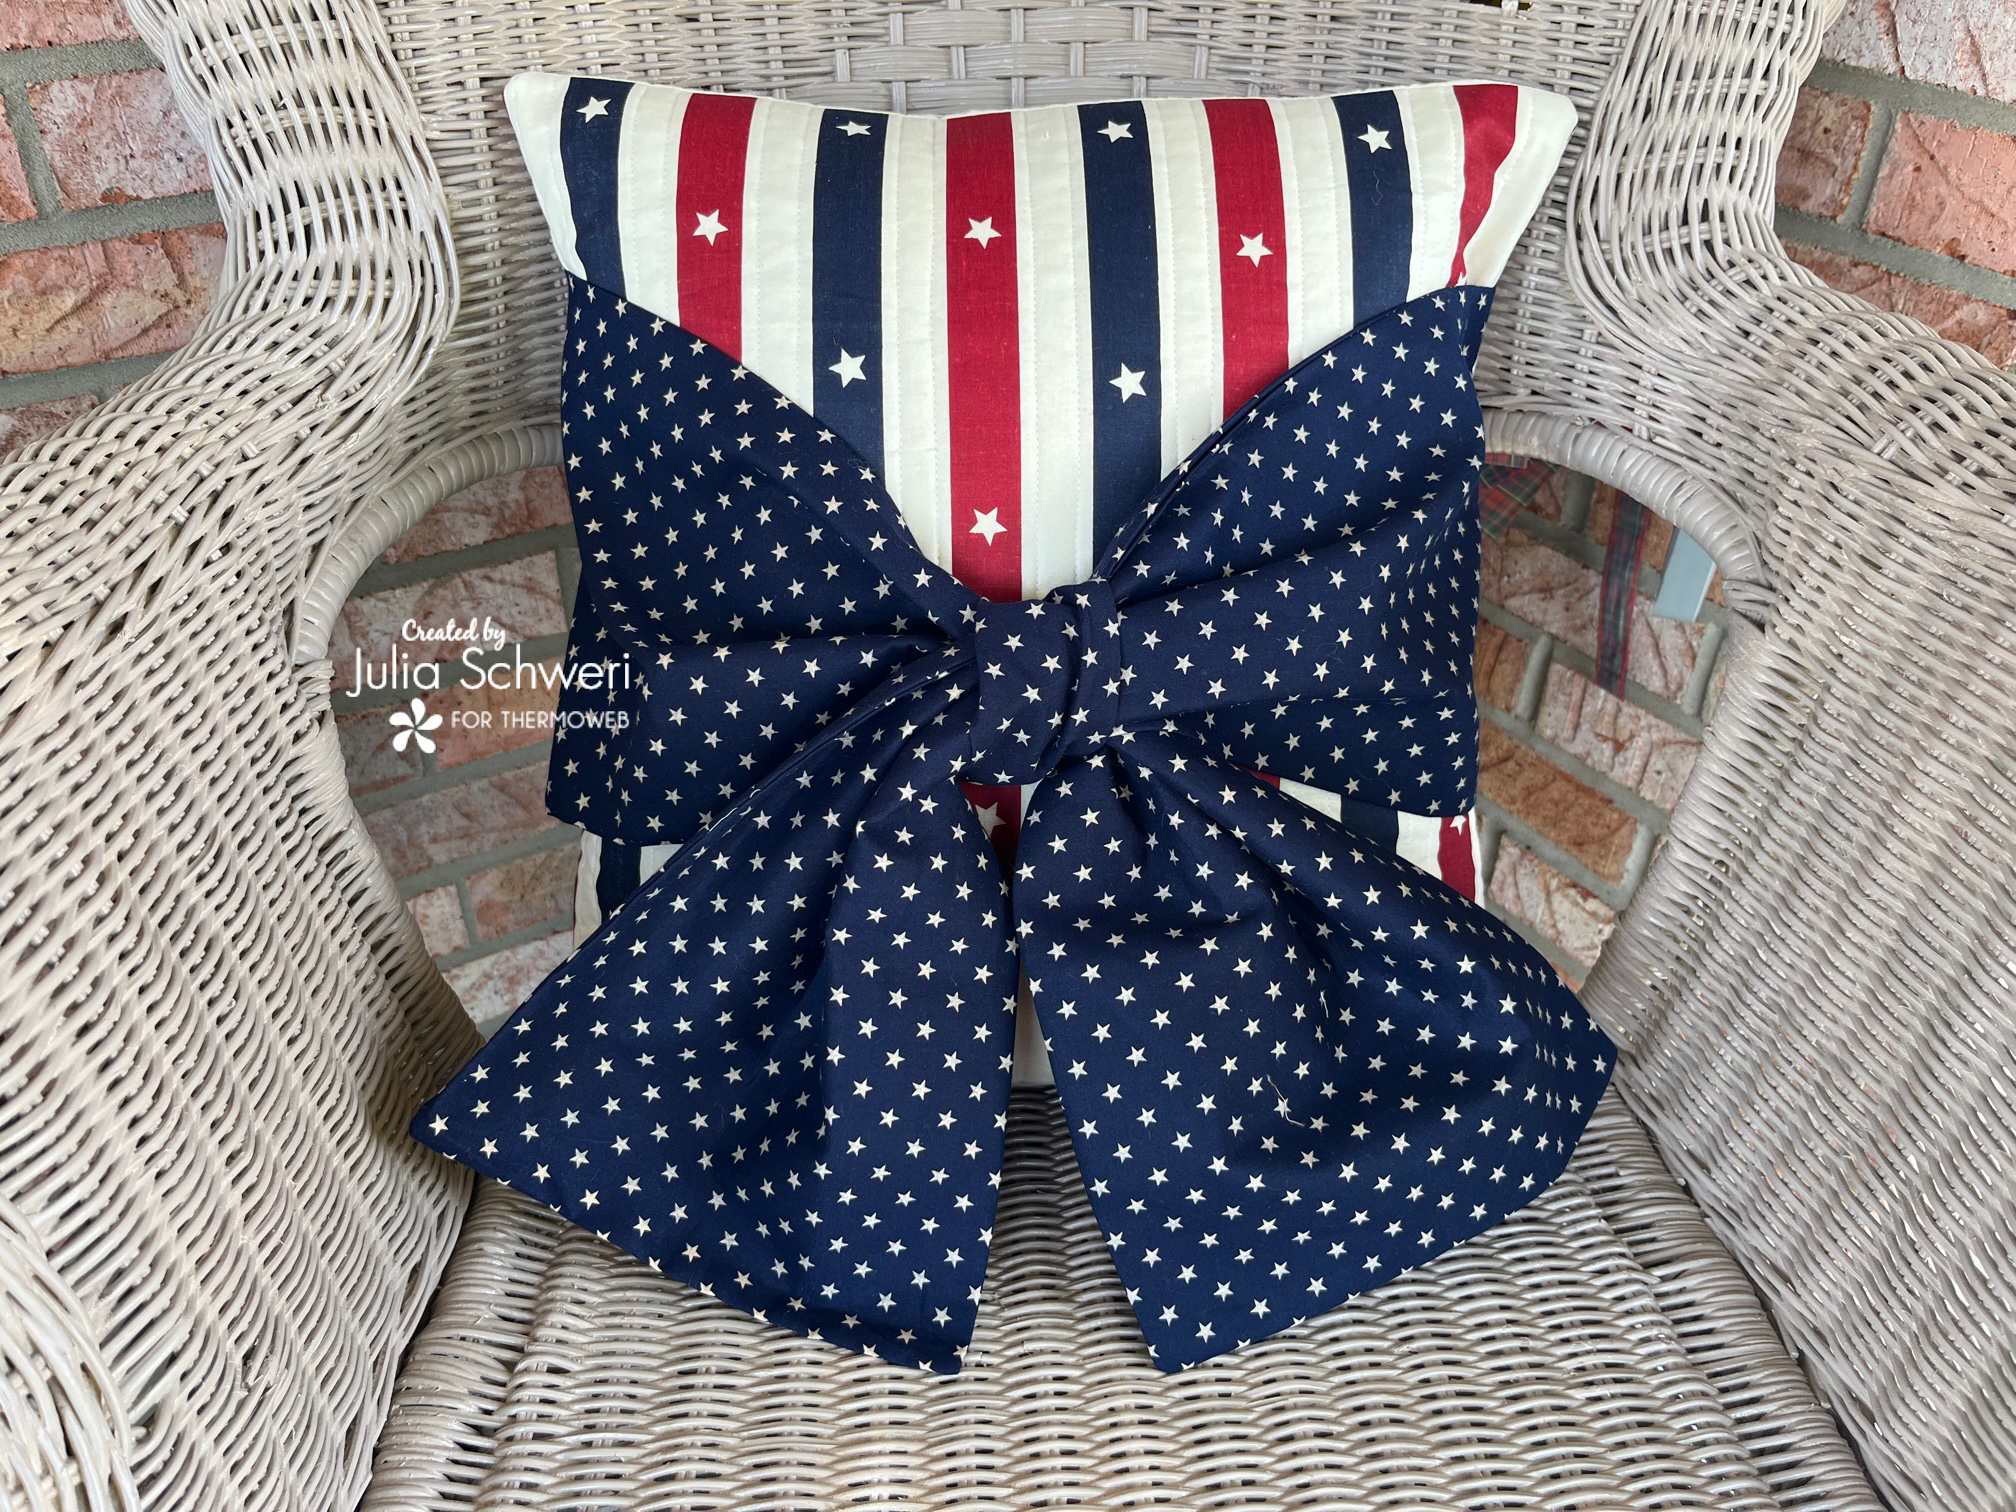
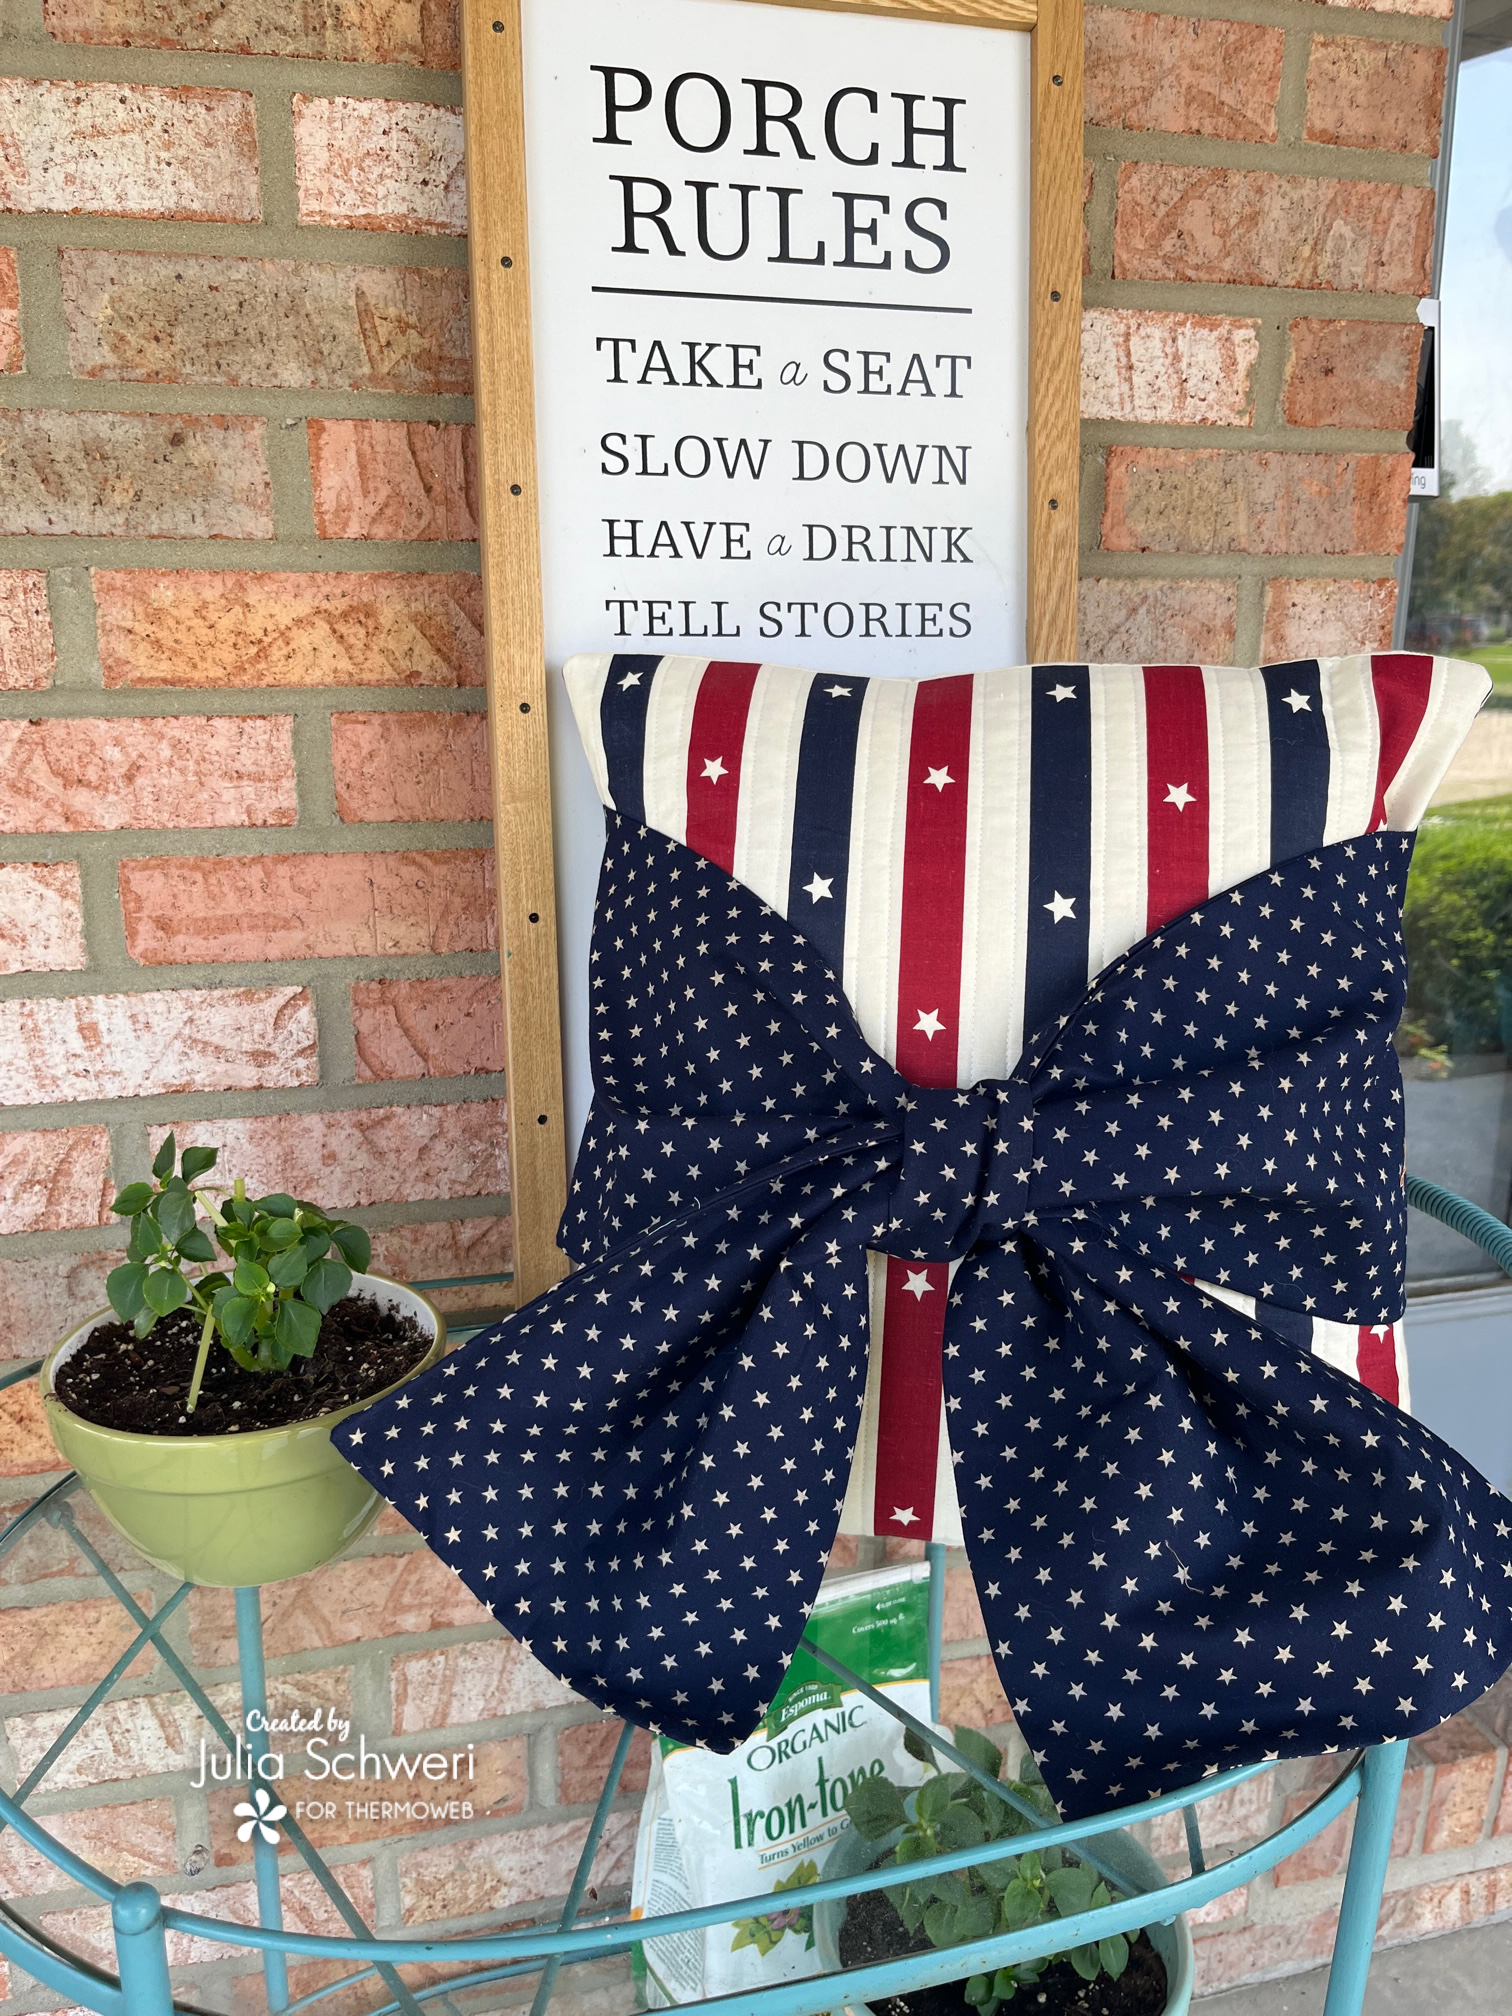
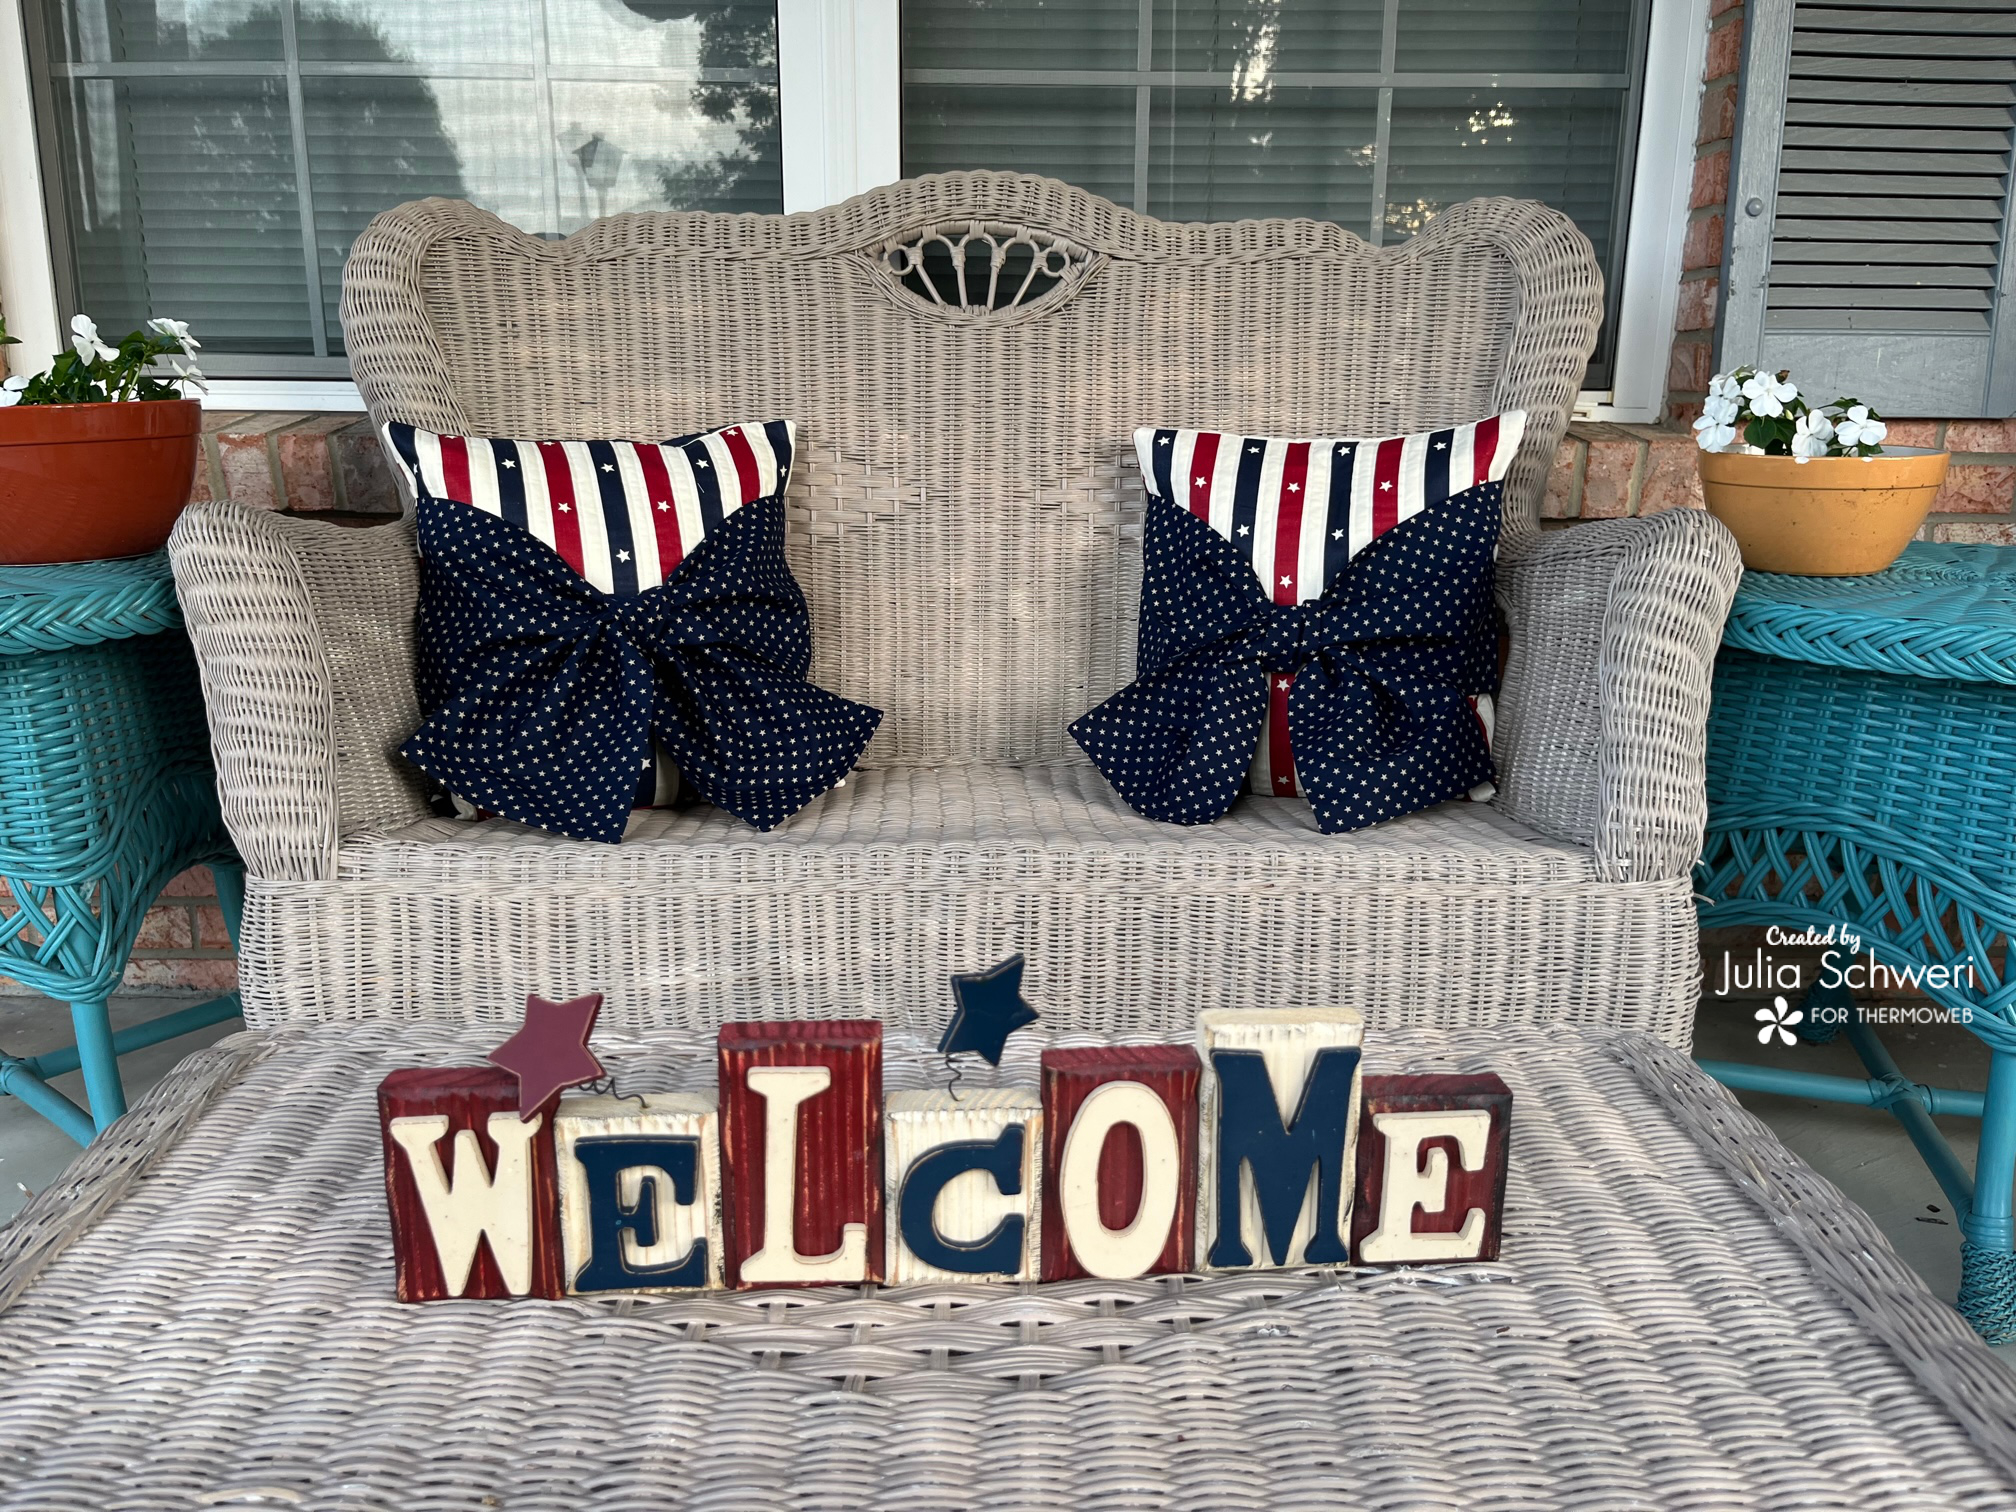
Next week on July 4th we celebrate Independence Day for the USA. Today’s project is a fantastic pillow cover that screams “Stars and Stripes Forever.”
Stars & Stripes Pillow Cover
Beginner sewing pattern!
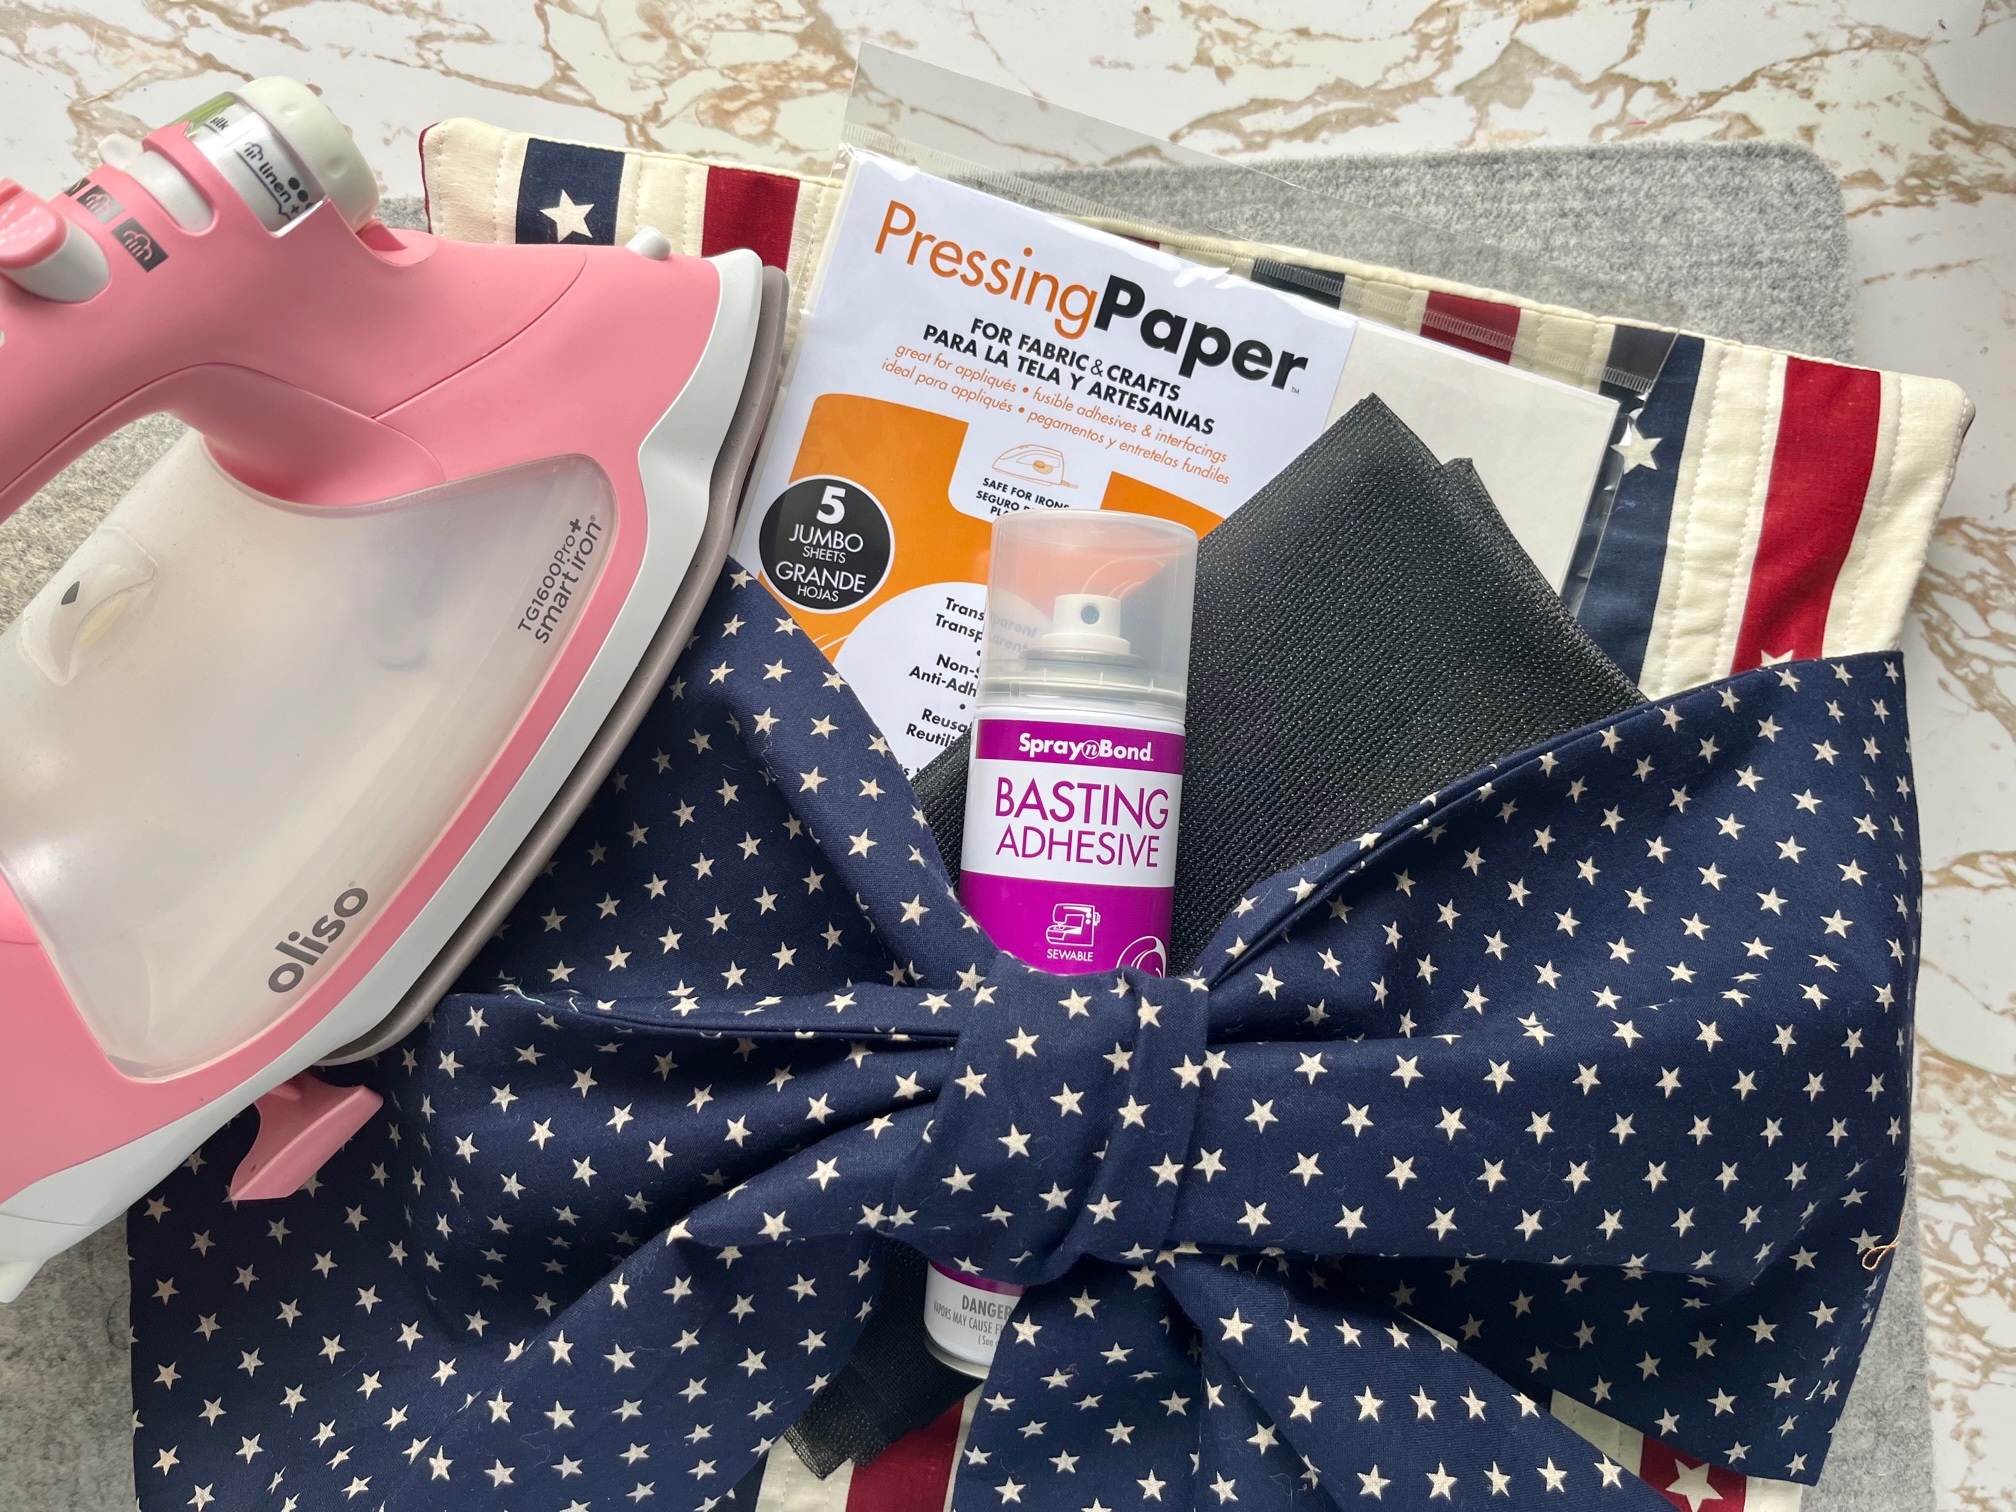
Supplies:
- Heatnbond Medium Weight Tricot Interfacing (I used black with the darker fabric): (2) 20″ x 17″
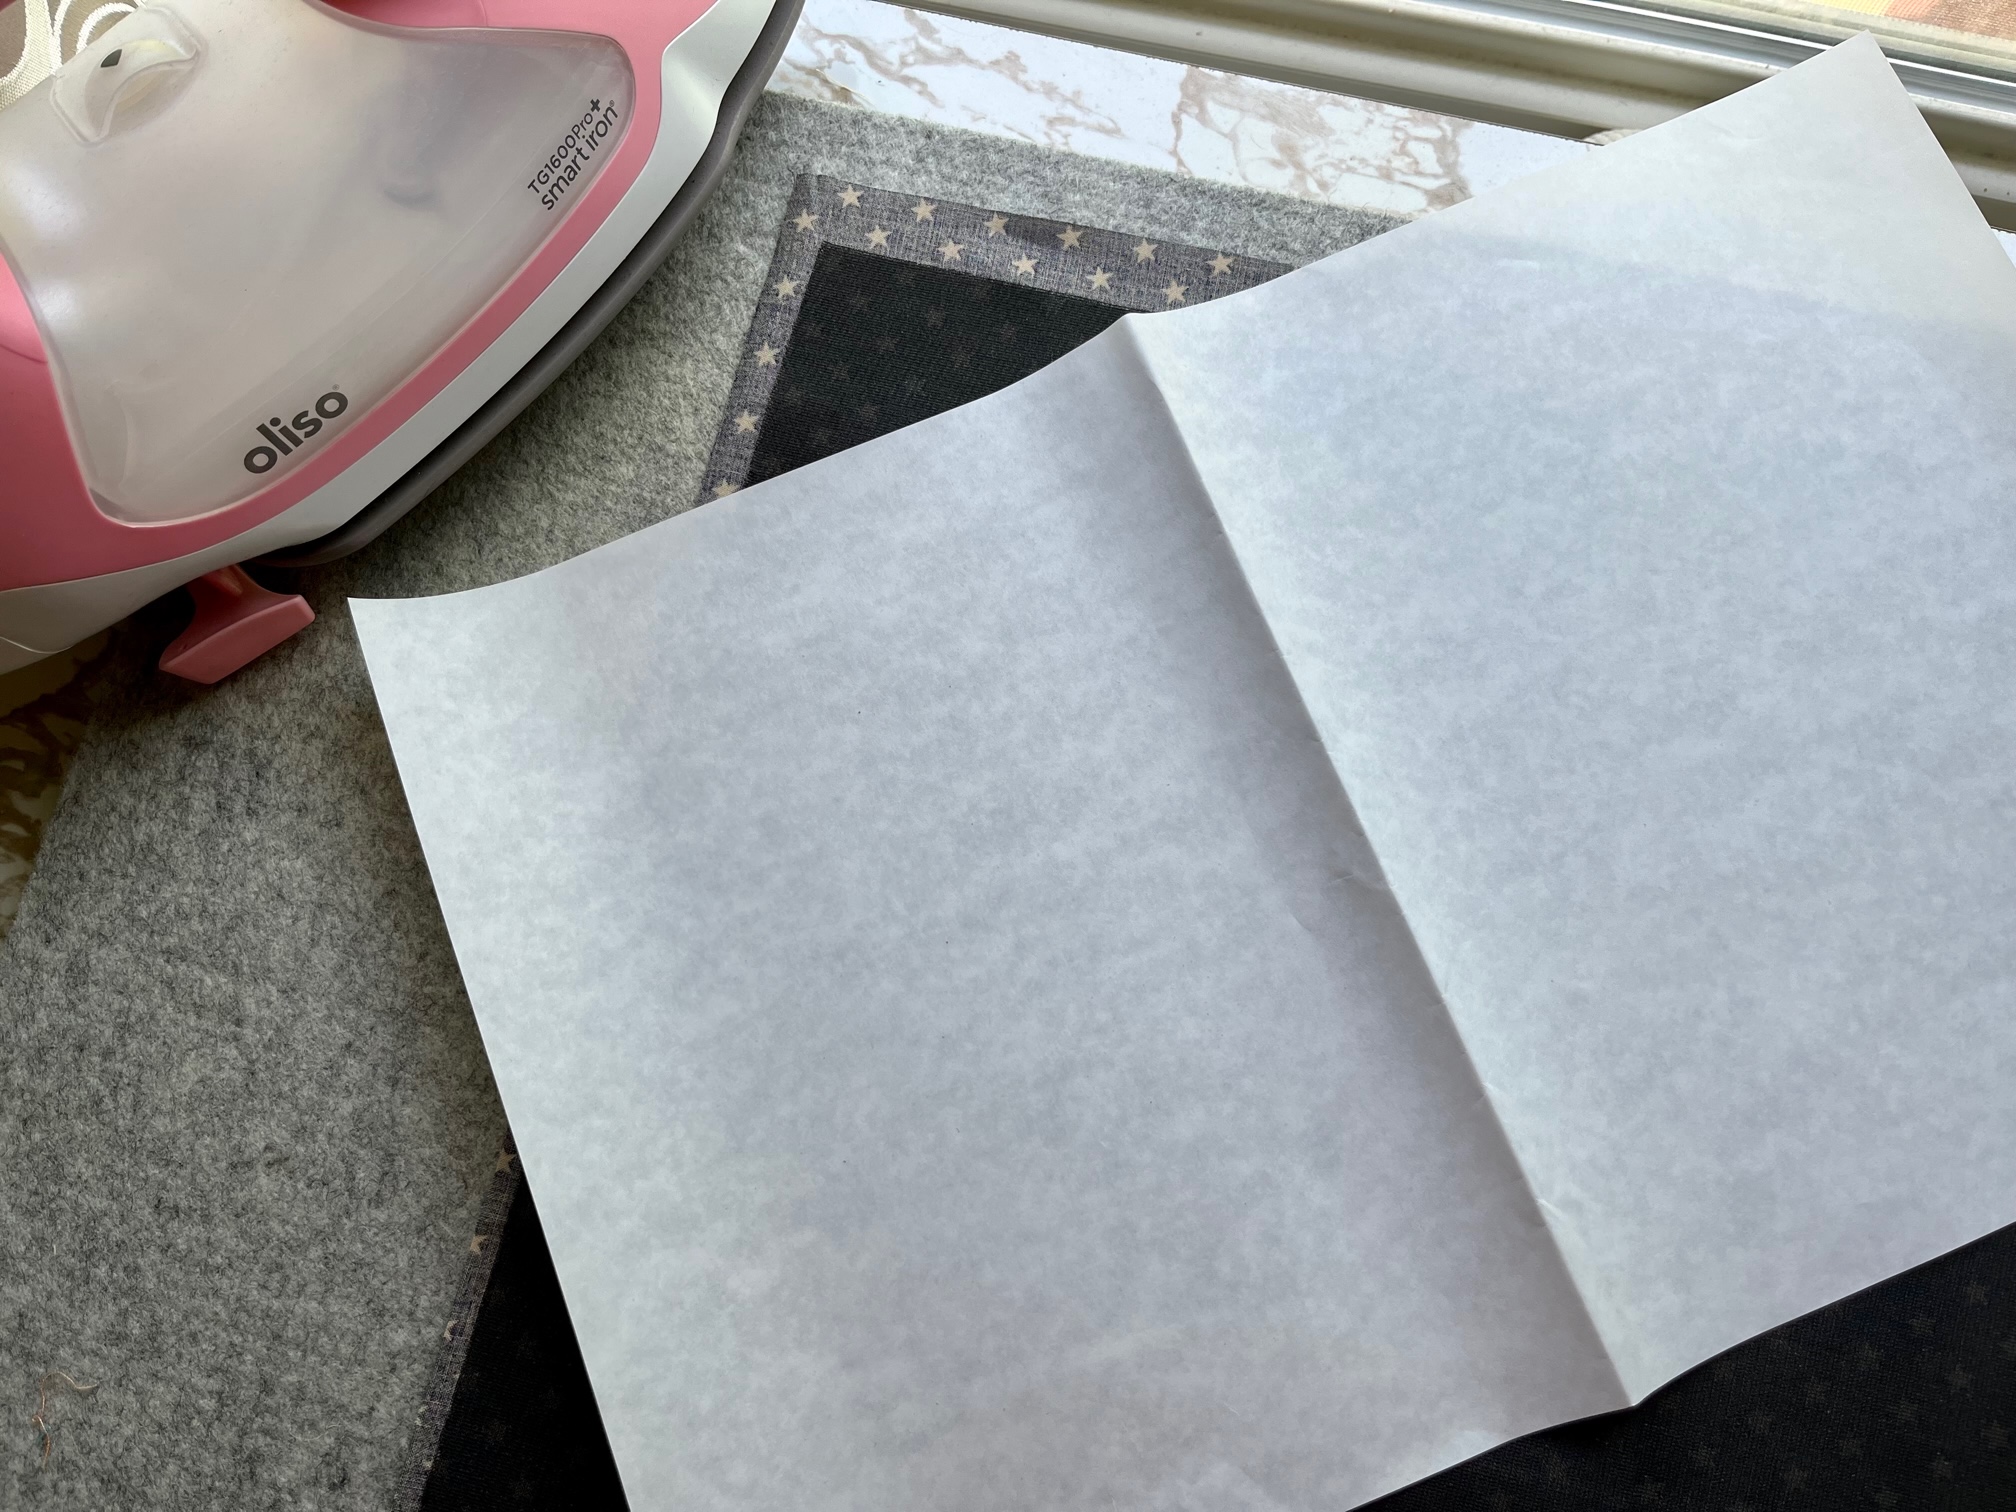
- Thermoweb Pressing Paper
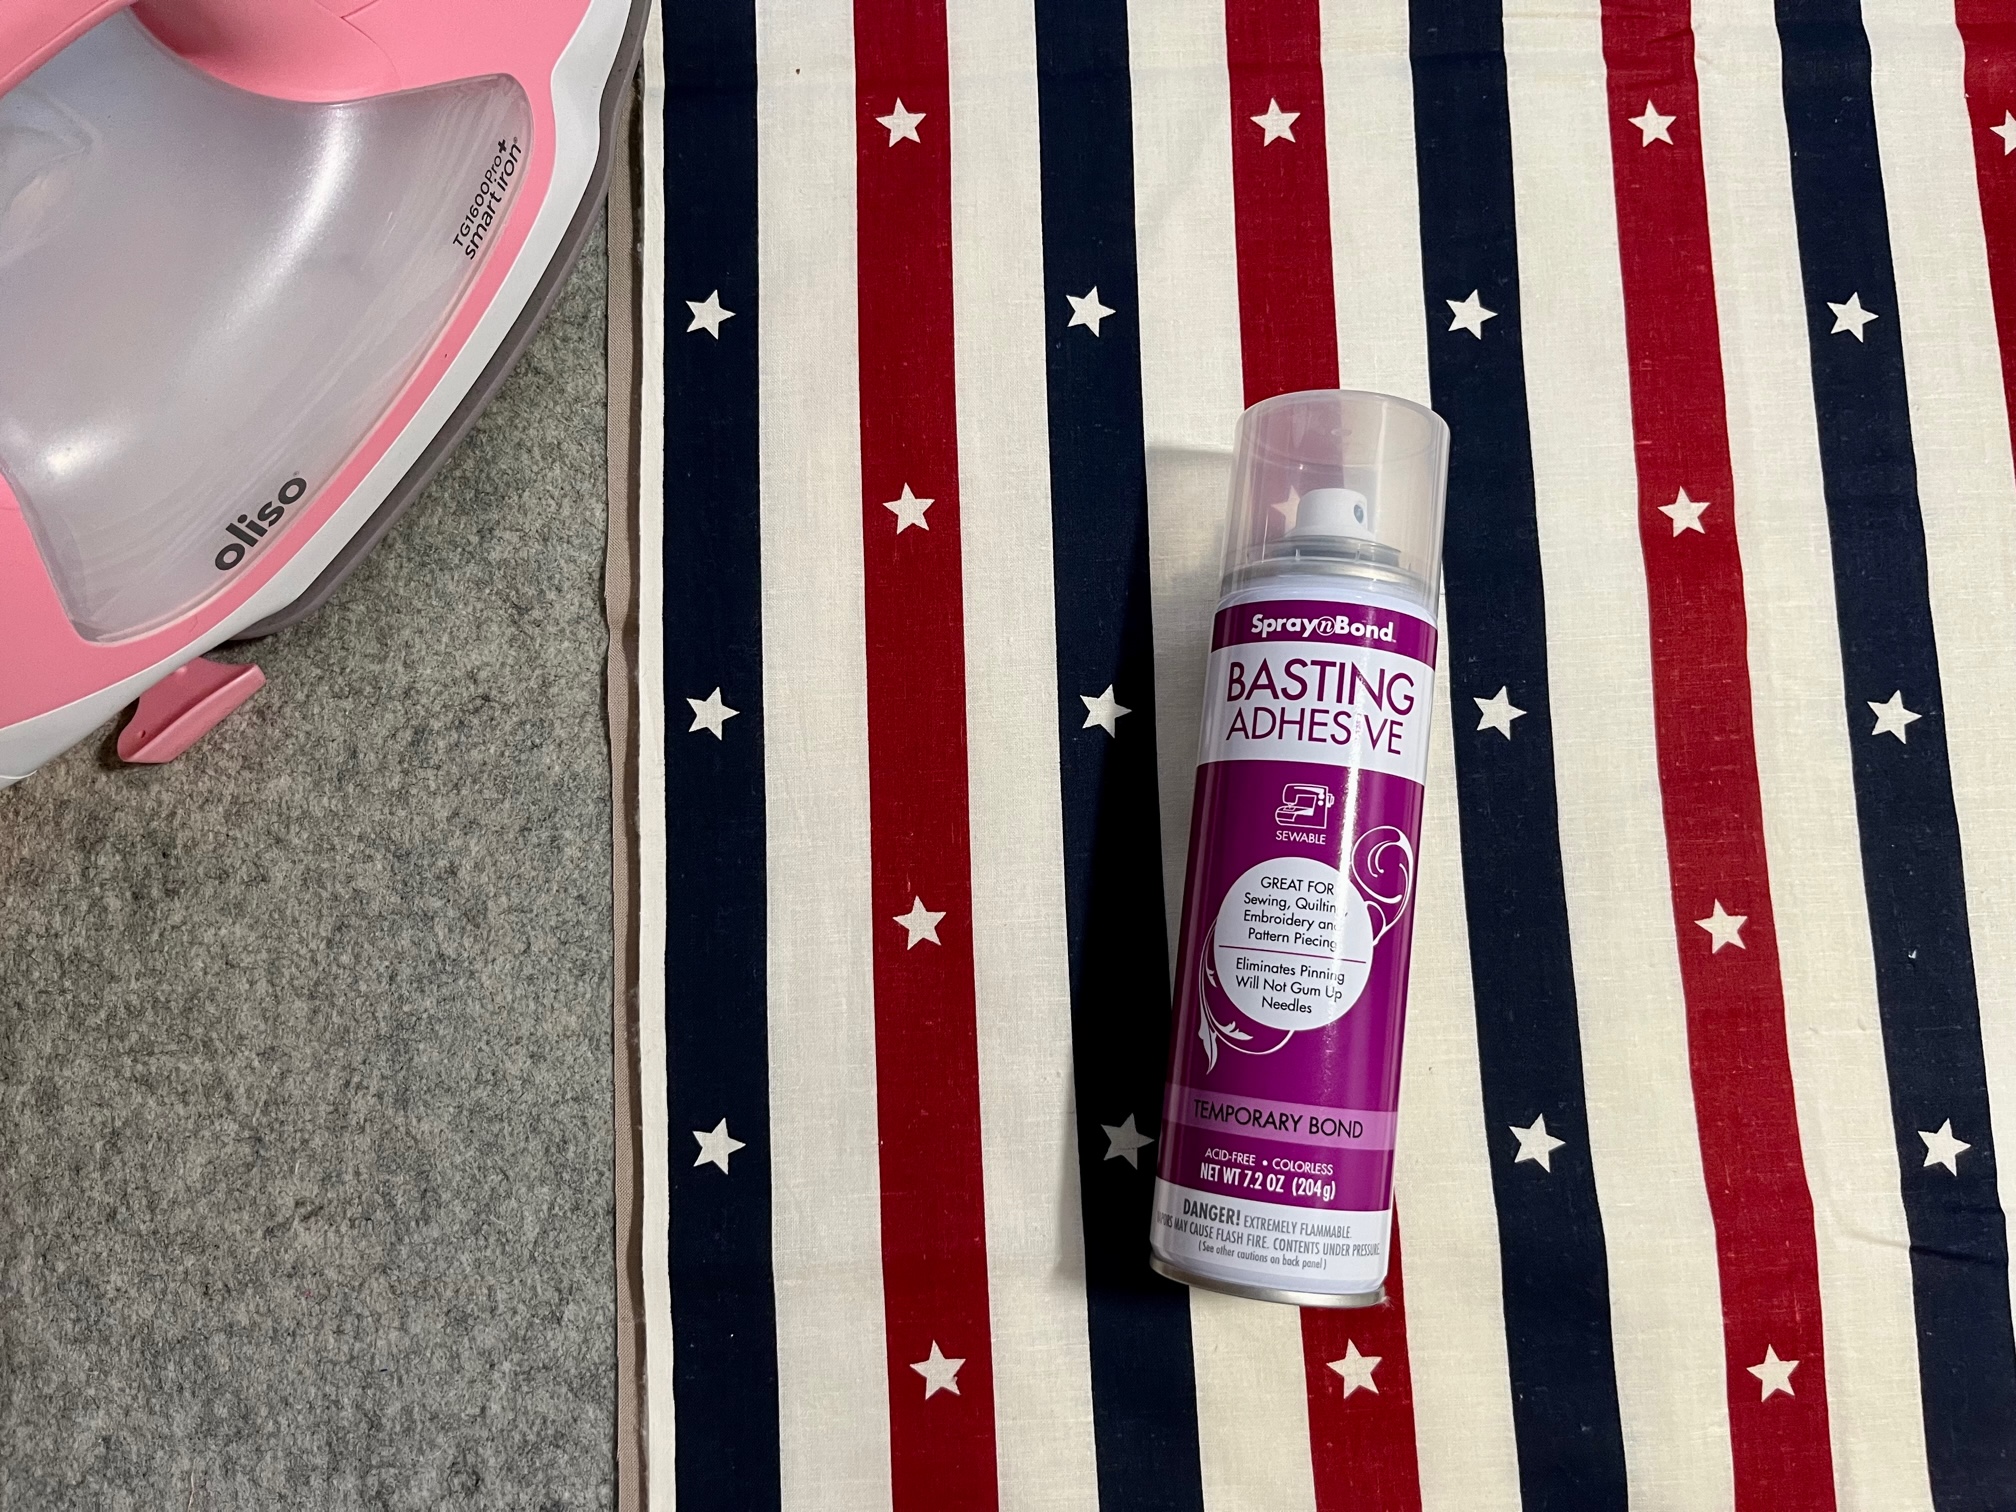
- SpraynBond Basting Spray
- Pillow front fabric: (1) 19″ x 19″
- Pillow front batting (1) 19′ x 19″
- Pillow front backing (for quilt sandwich) (1) 19″ x 19″
- Pillow back fabric: (2) 18″ x 13″
- Bow Fabric: (2) 18″ x 21″
- Bow Knot Fabric: 6″ x 12″
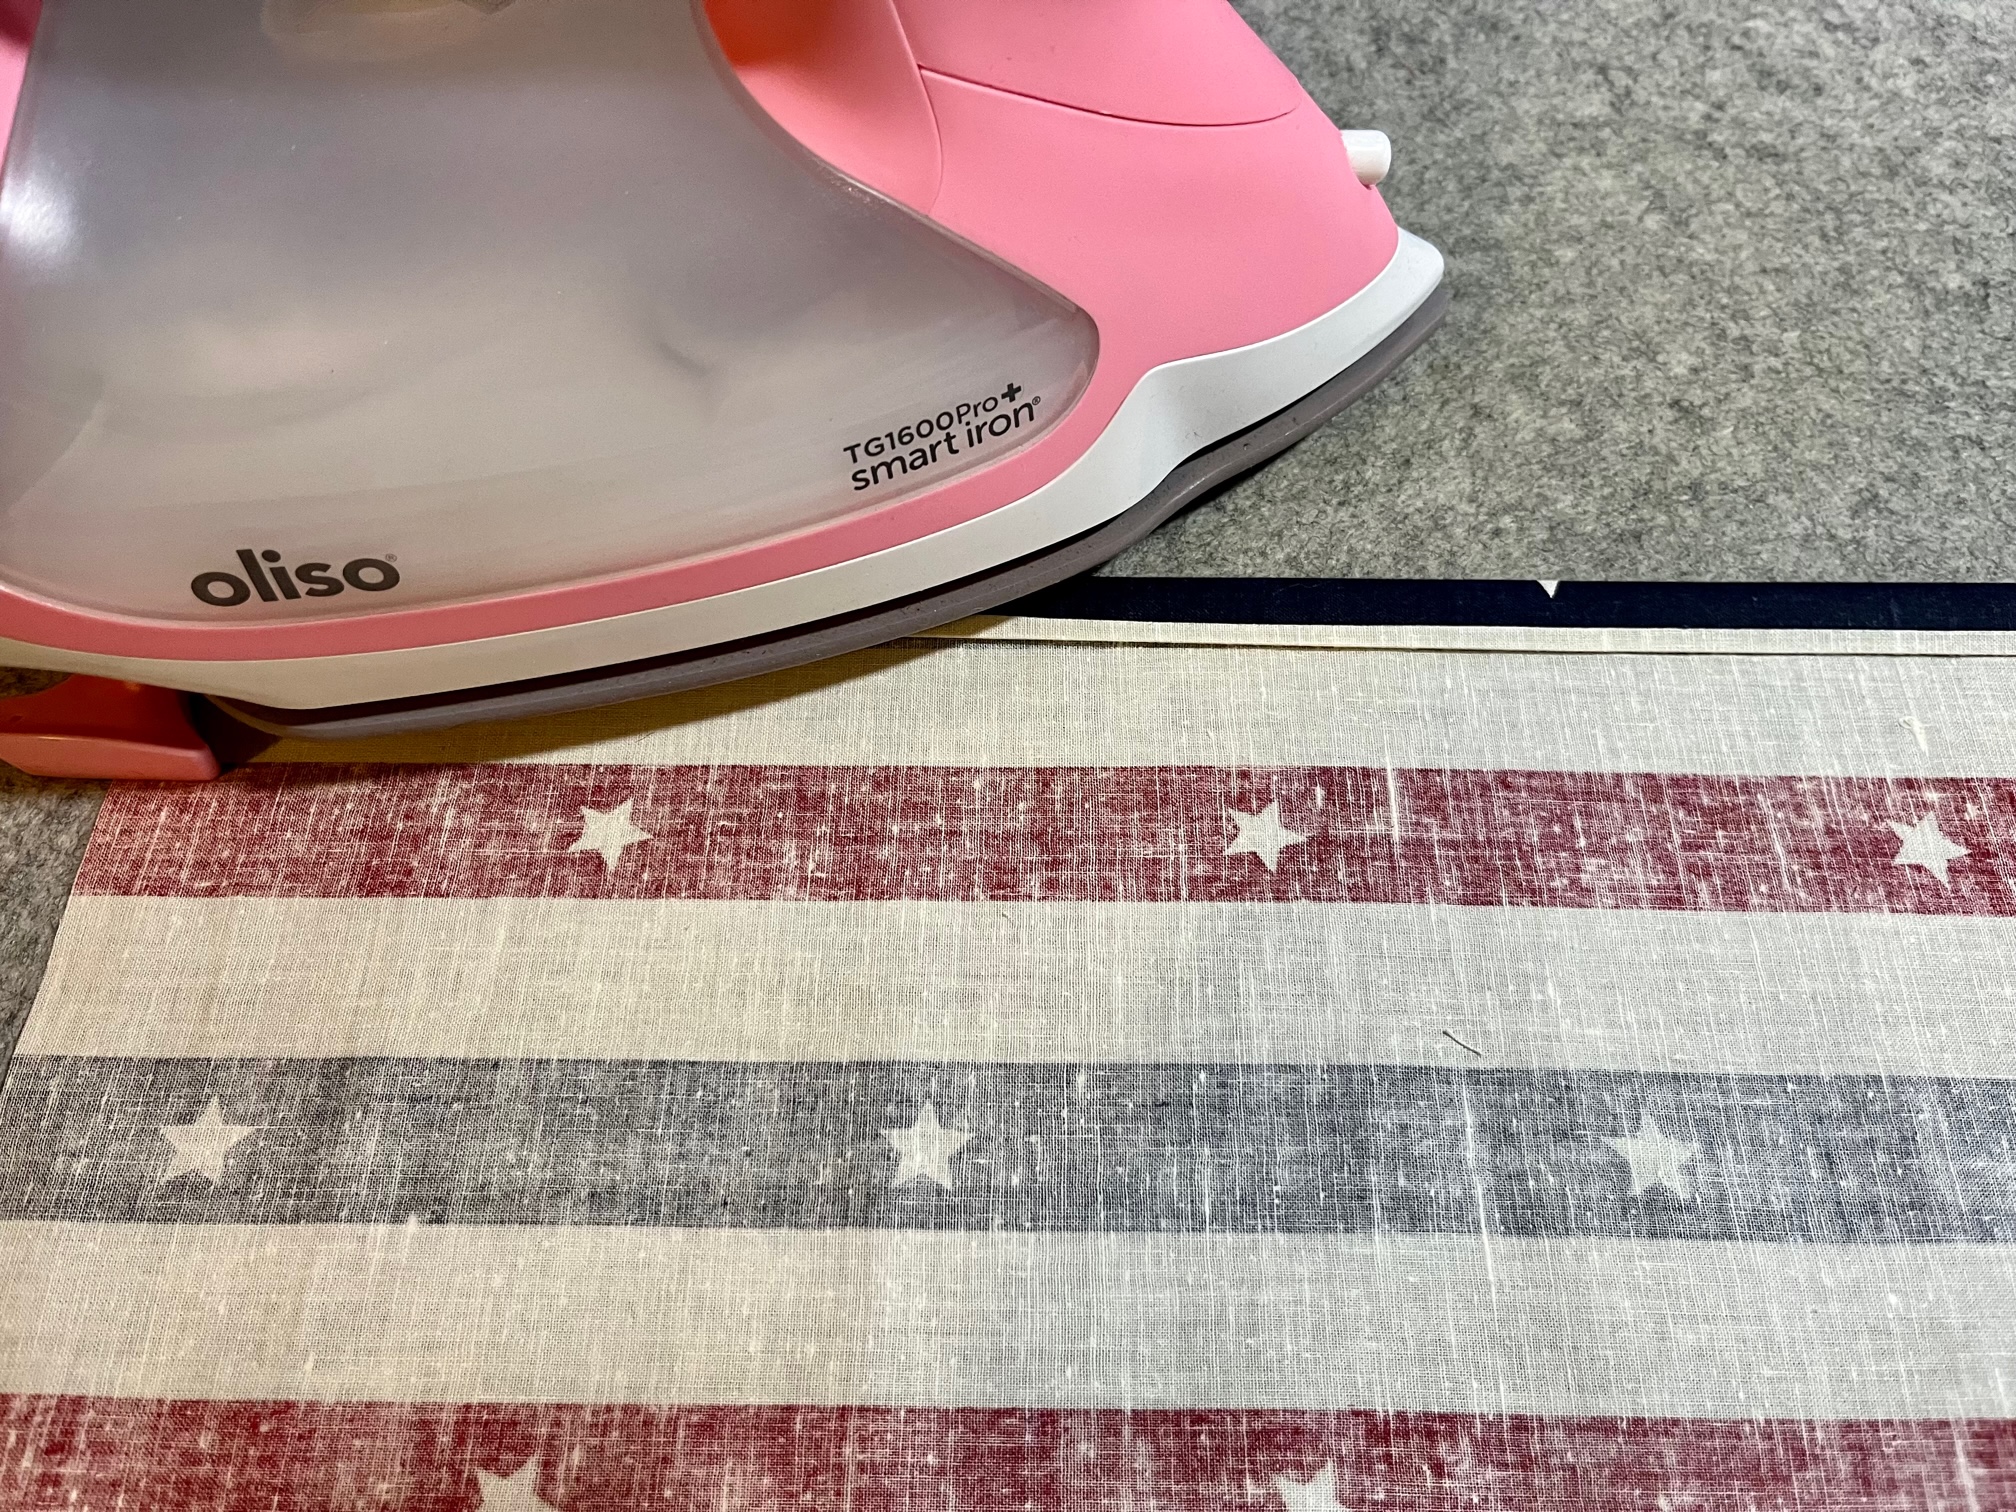
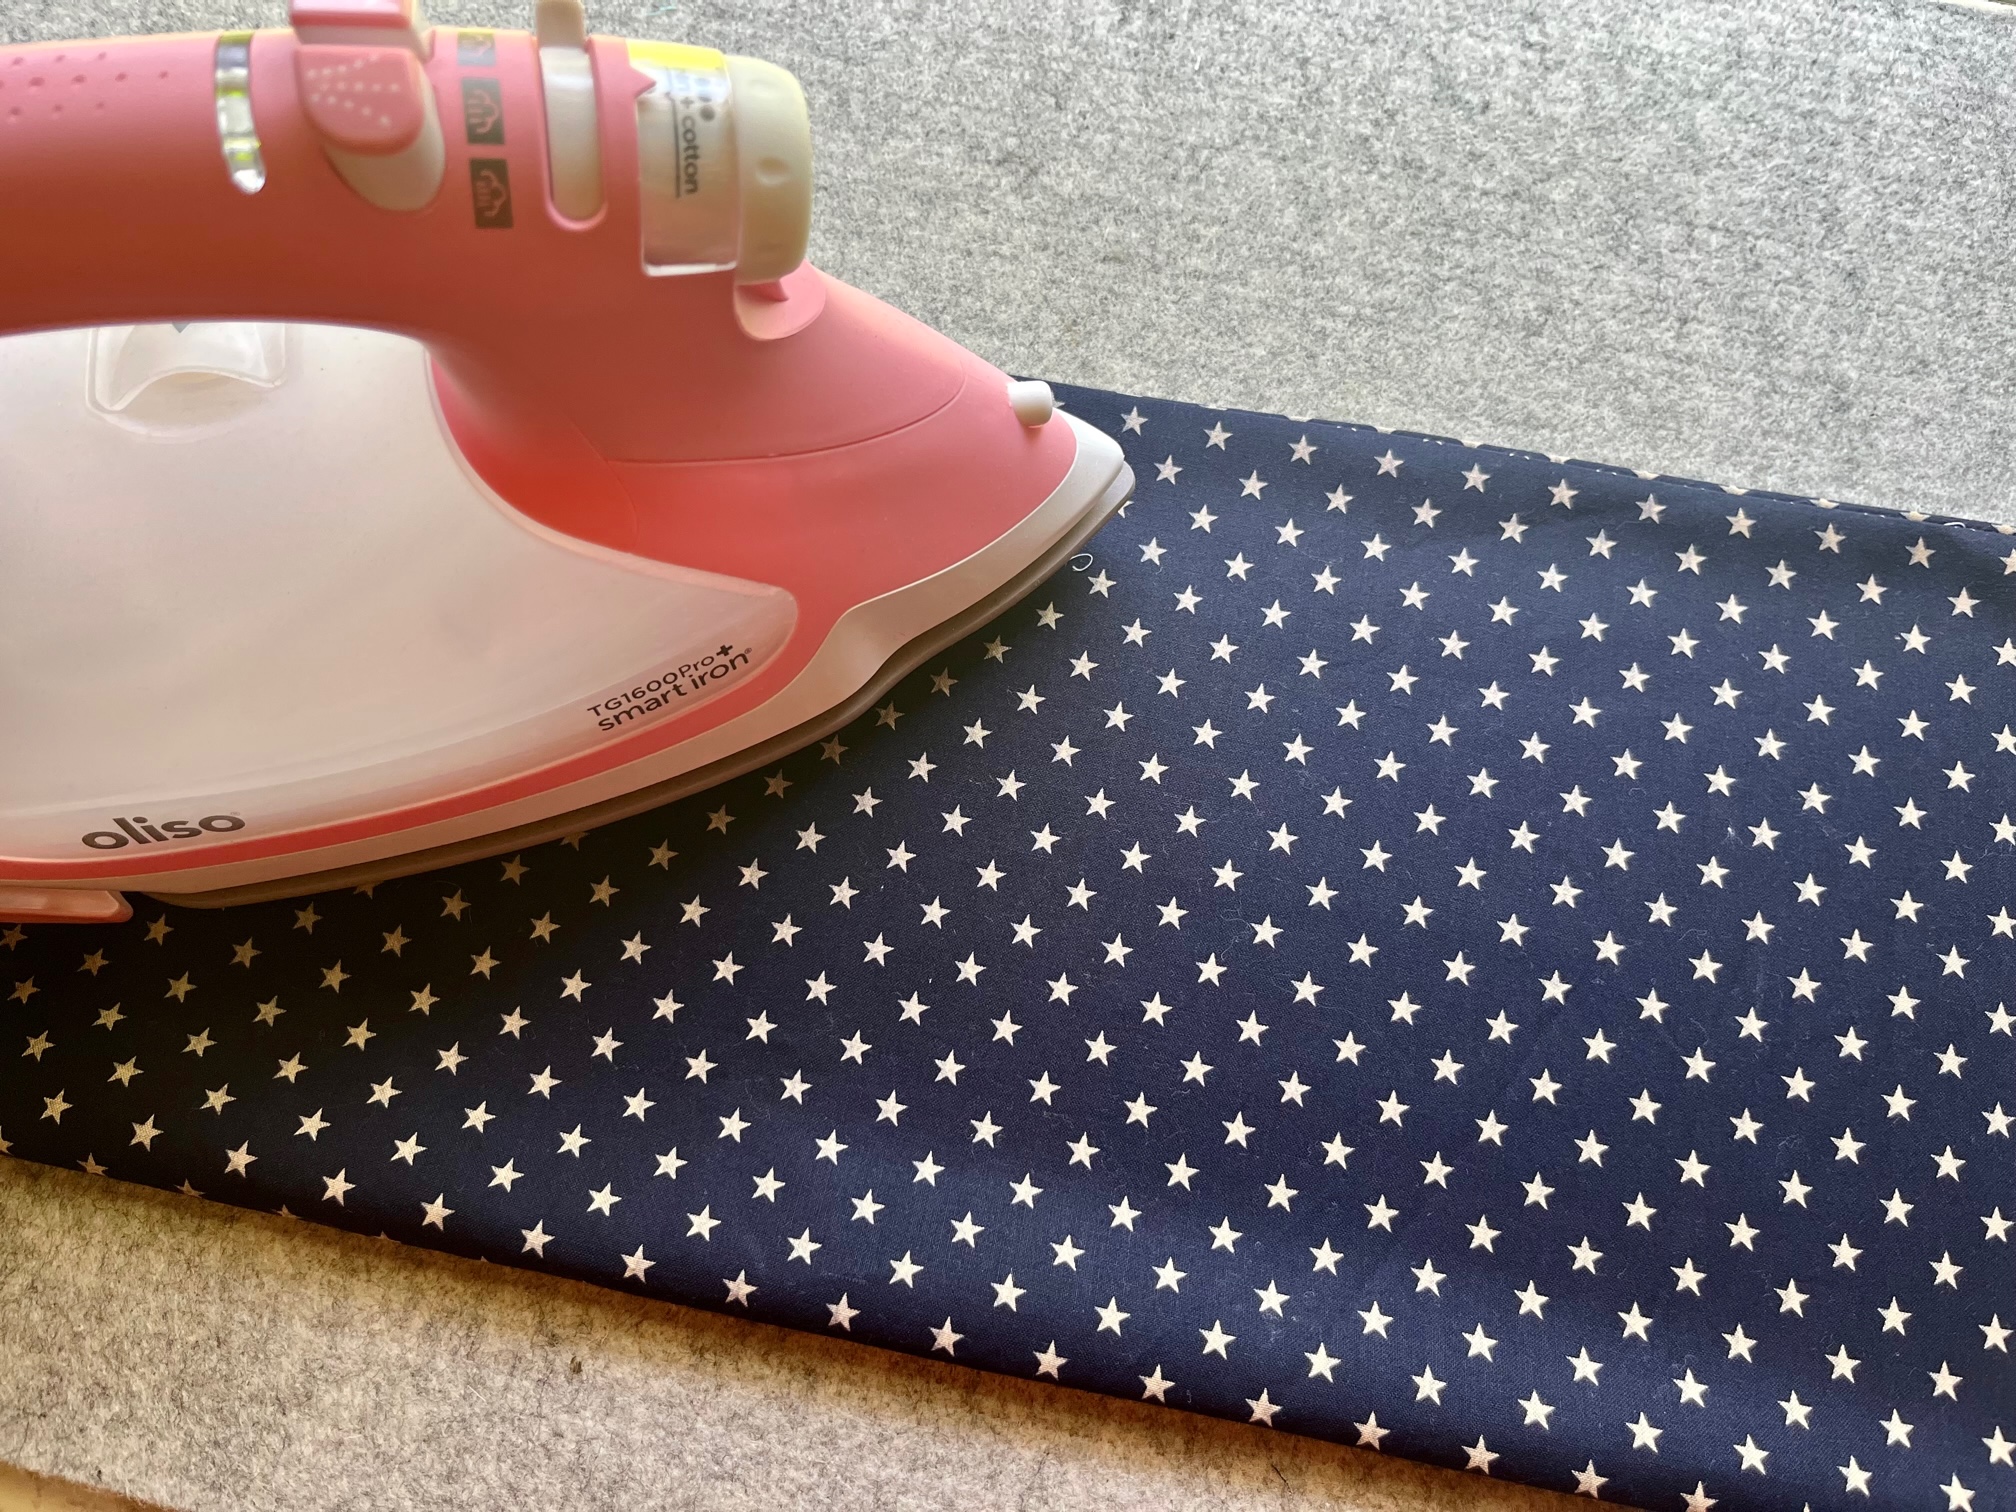
- Oliso Iron
- Basic sewing notions
Sewing Instructions:
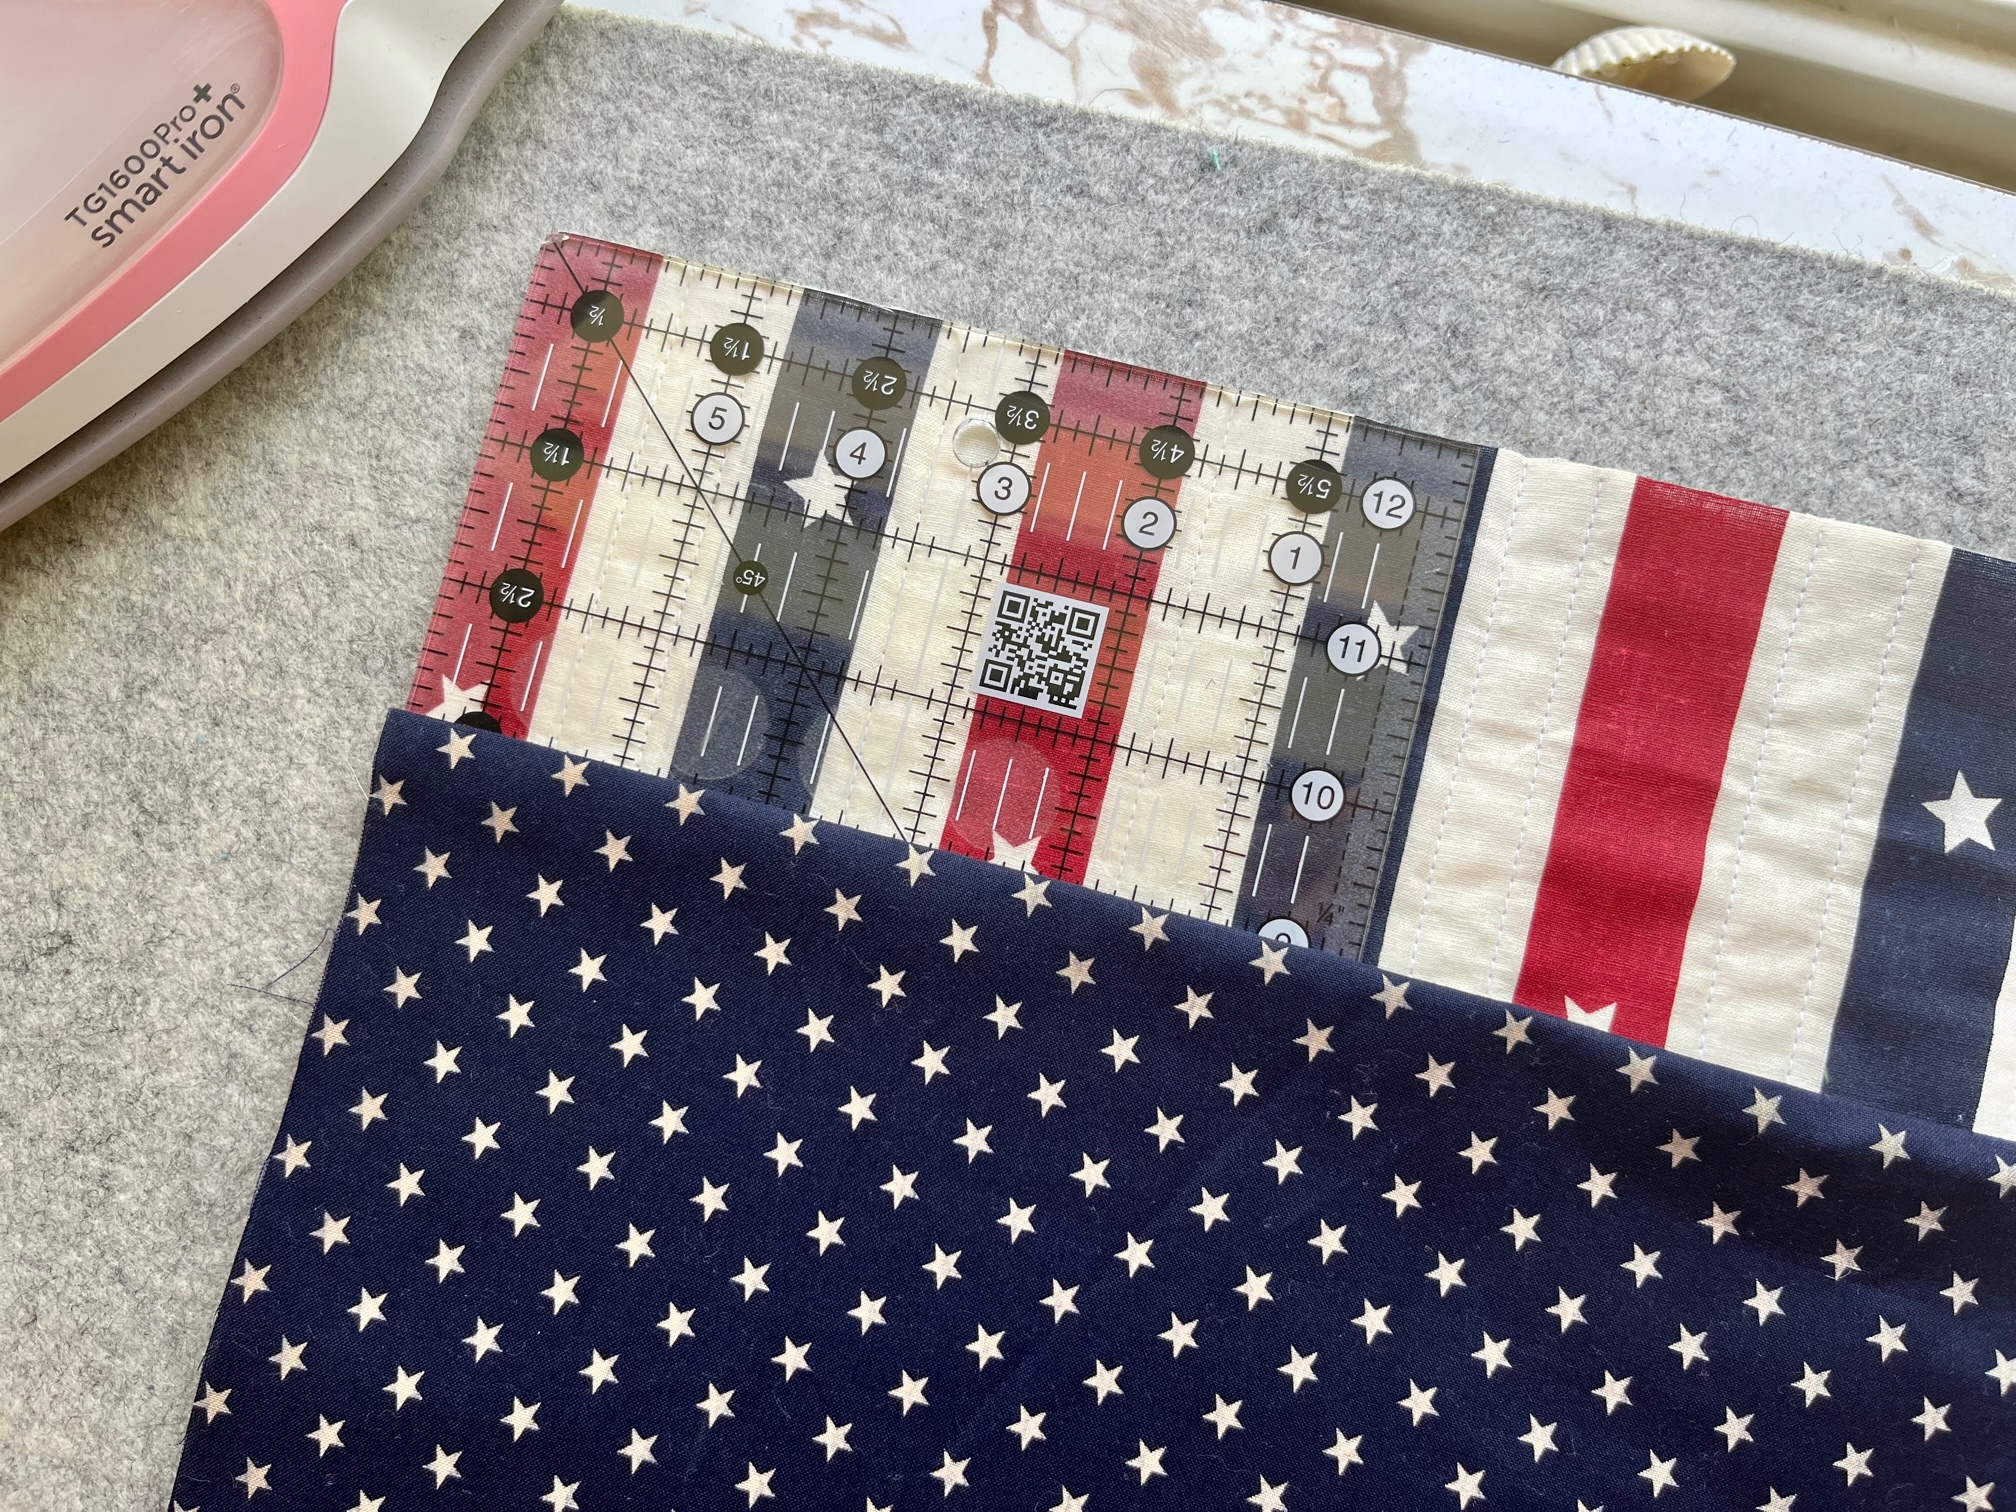
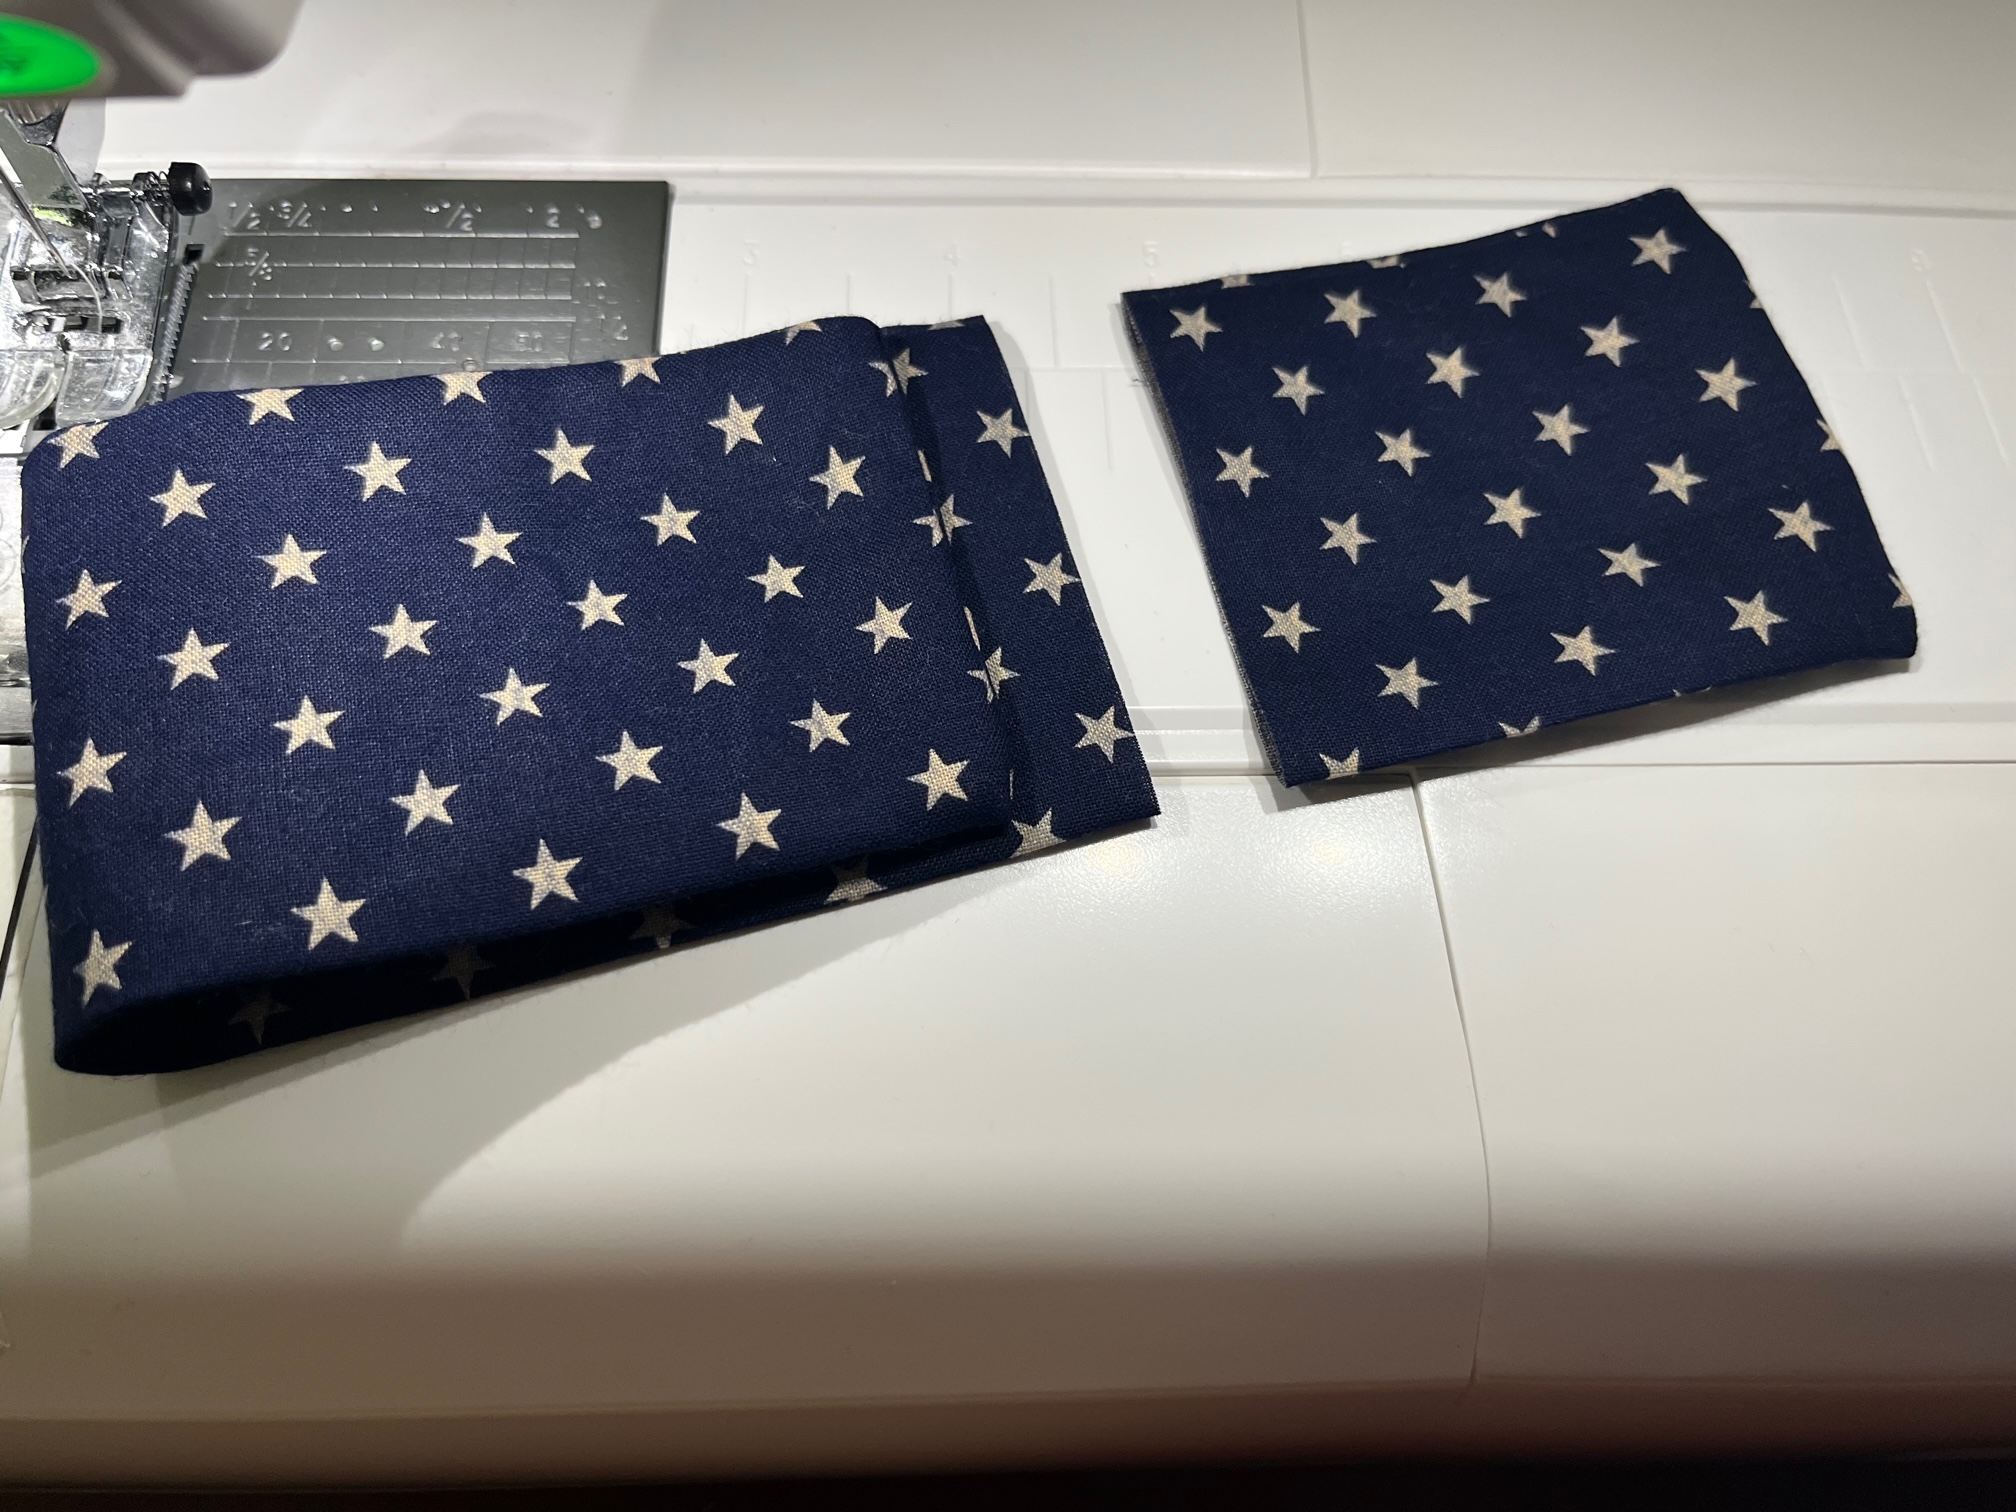
Begin by cutting out all materials. This pillow looks great with contrasting fabrics. I chose to do a dark bow with a lighter pillow. This would also look great with a light bow and dark pillow. If you make a lighter bow, I suggest using light interfacing like Thermoweb’s HeatnBond Medium Weight Tricot Fusible in white.
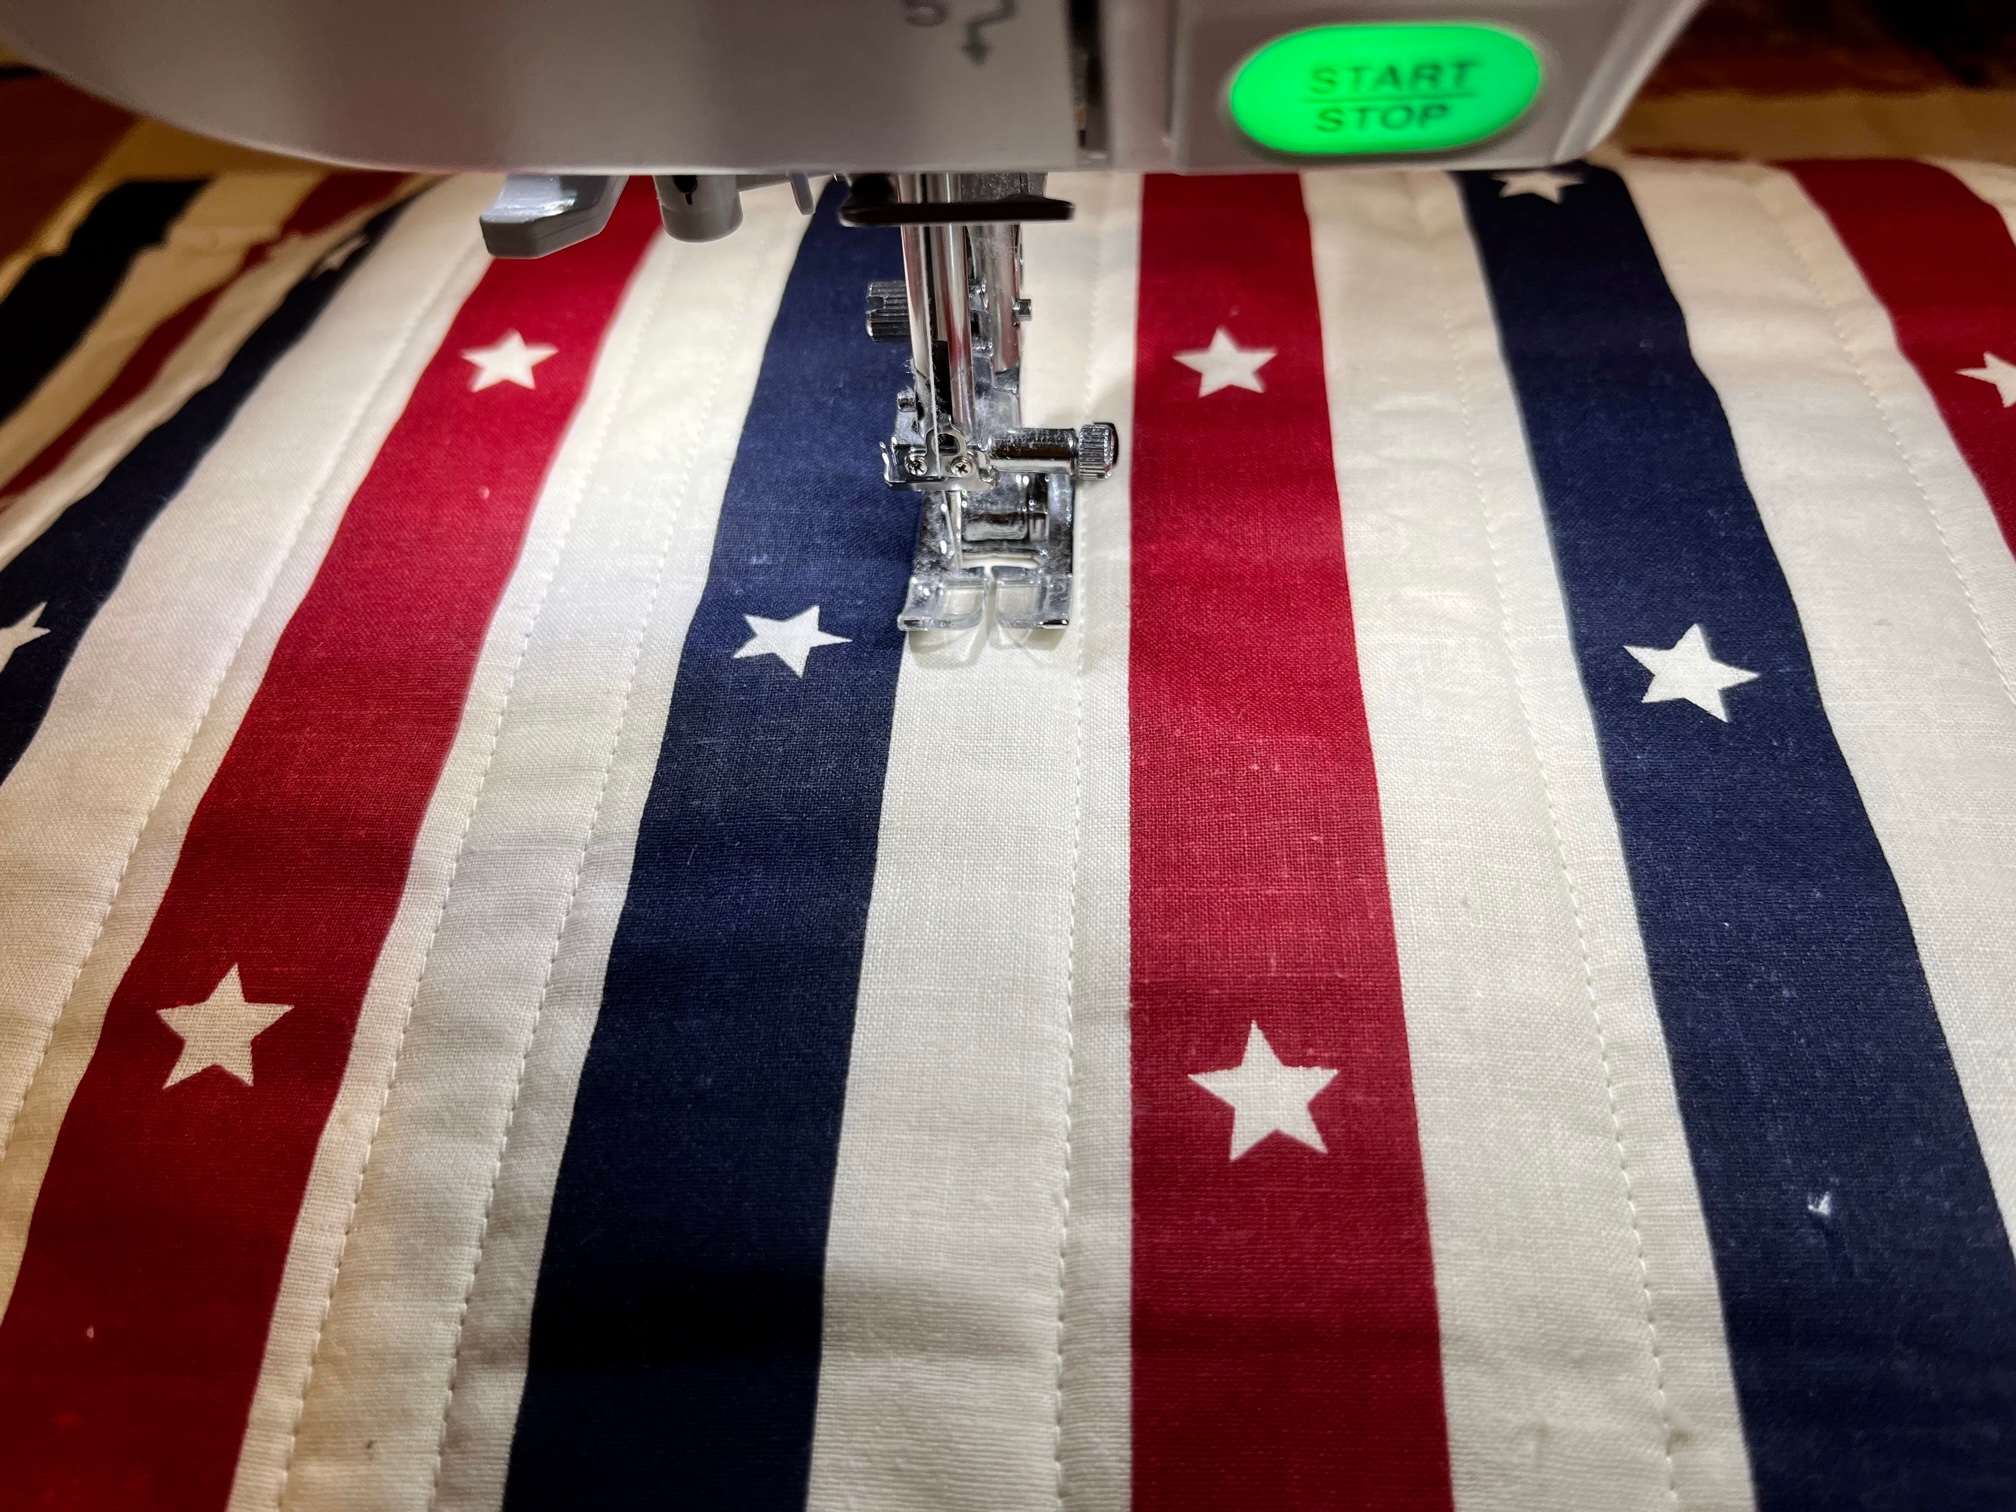
Once all your materials have been cut, spray baste your pillow front fabric, batting and backing together to create a quilt sandwich. Quilt this piece as desired. Once quilted, trim your pillow front to 18″ x 18″. Set aside.
Next…
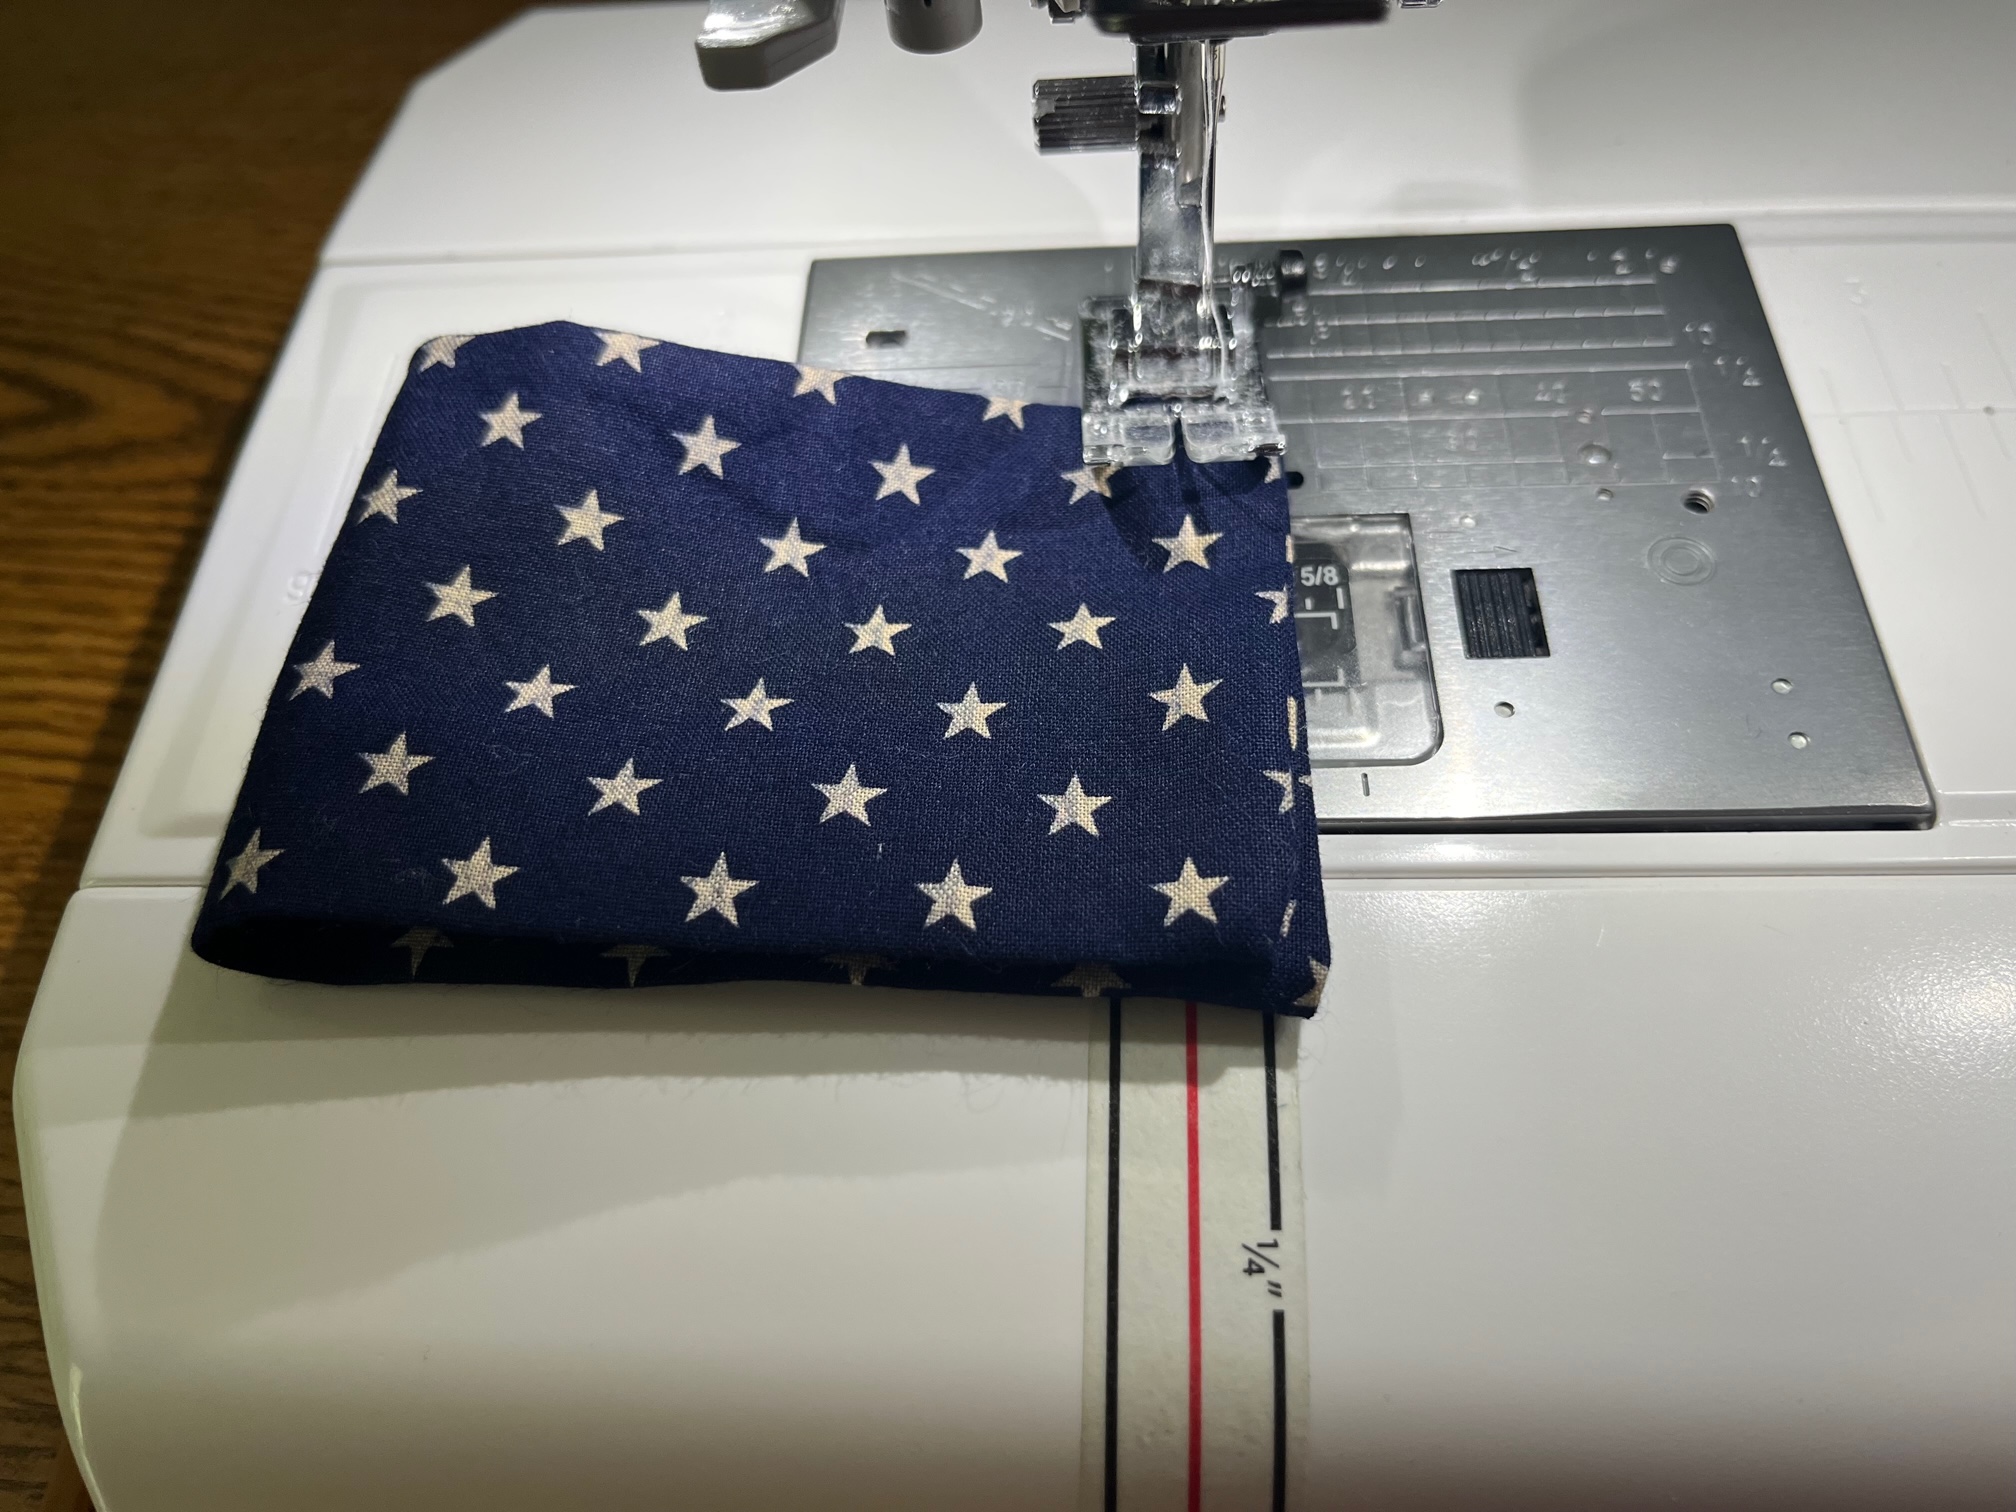
Grab the 2 pillow back panels. Fold over 1/2″ on the long side, press, fold over again and press. Top stitch the hem. Do this for both pieces. Set these aside.
Next…
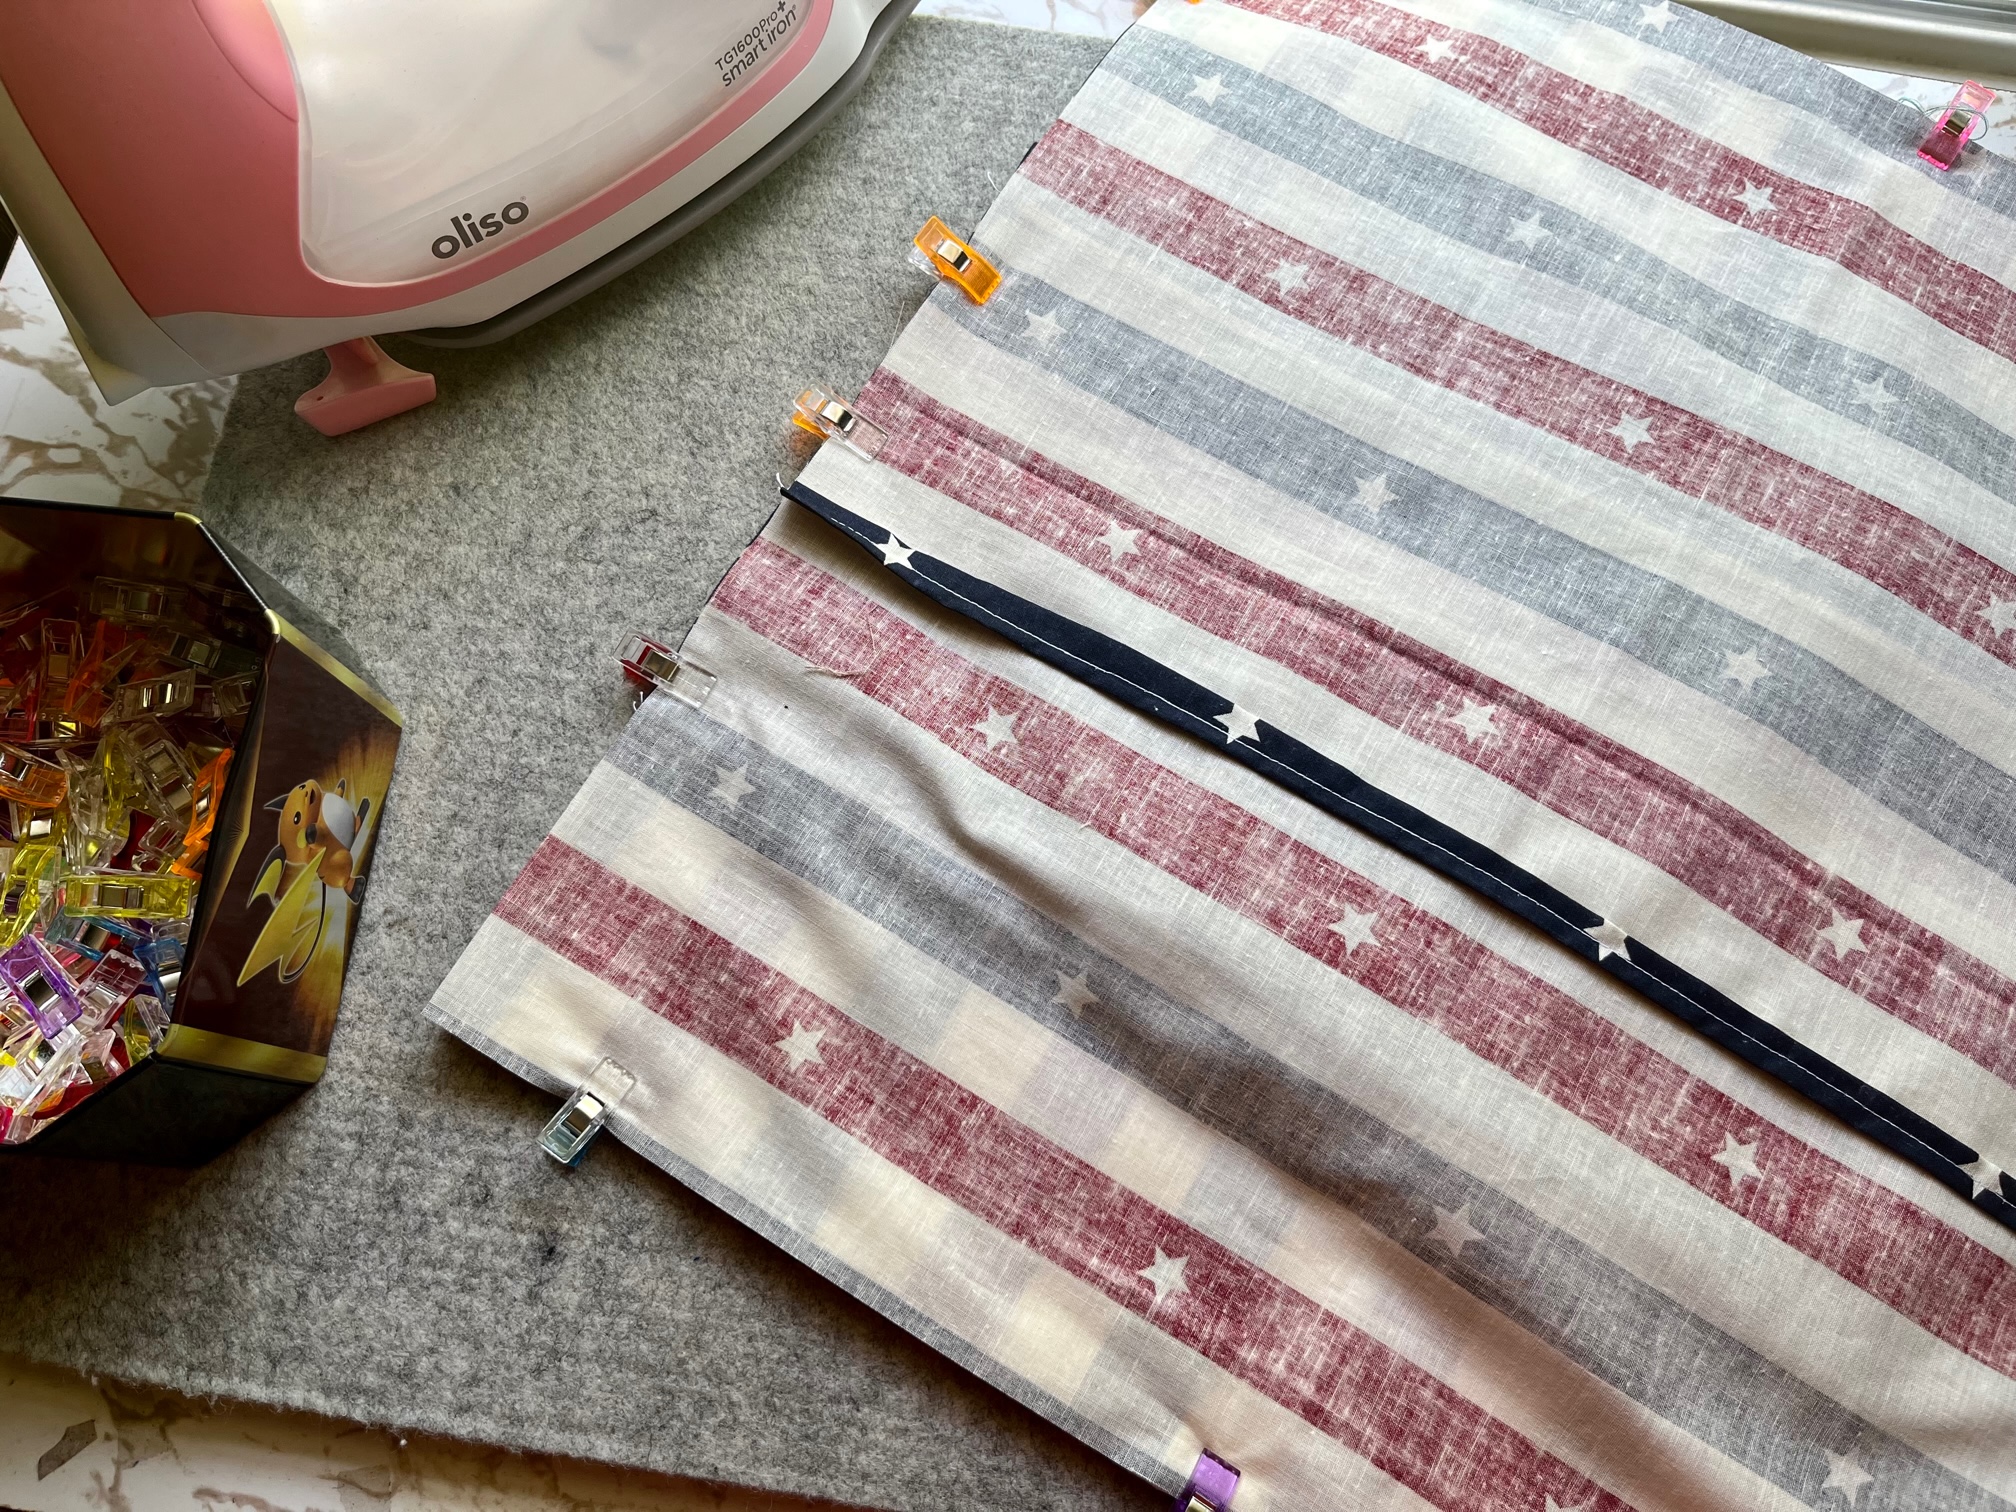
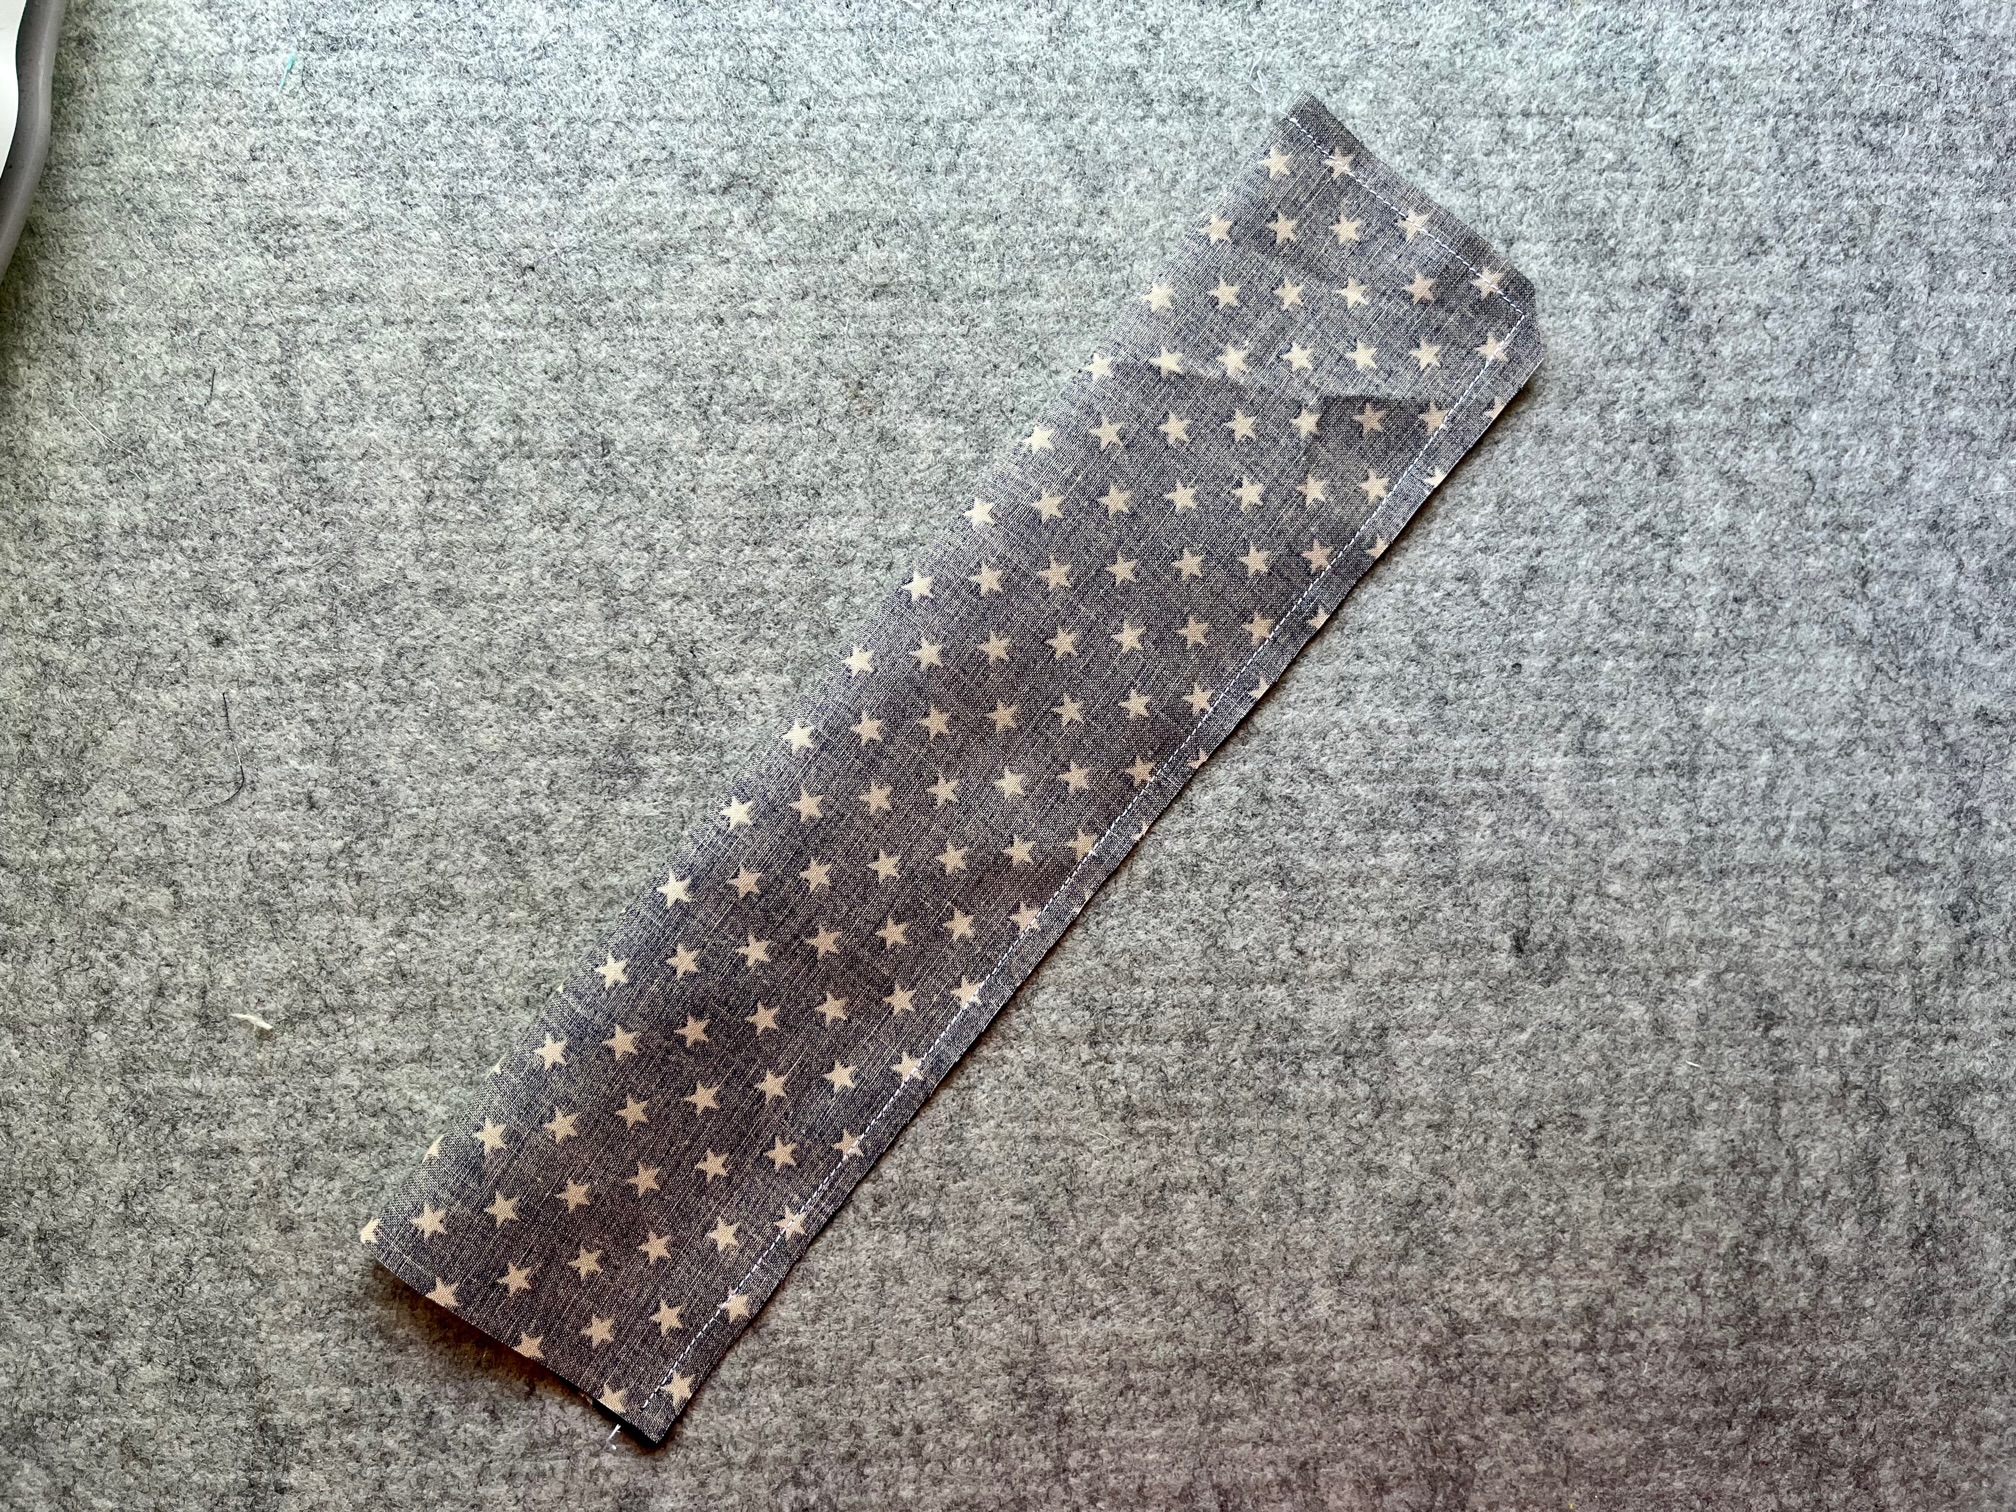
Fuse the medium-weight interfacing to your bow panels. With this interfacing, you will need to use pressing paper. The fusible is 1/2″ shorter around. This was to eliminate bulky seams. Once the interfacing is fused, fold the bow panel in half long way with the right sides together. Sew one short side and one long side. Clip the corner and turn right side out. Press. The open raw edge side will be enclosed in the seam of the pillow cover.
Pillow Assembly:
With your pillow top facing up, measure 3 1/2″ down from the top. This will be the top placement of the bow panels. Pin in place and repeat for the other side.
Next…
Place the pillow back panels facing down (right sides together) aligned with the edges of the pillow cover. Pin in place. Sew all the way around using a 1/2″ seam. When making pillow covers you want your pillow insert to fit snuggly so the cover should be about 1″ smaller than the pillow insert. Once sewn turn your pillow cover right side out and press.
Important Tip: Make sure to fold up the finished ends of the bow panels into the center so you don’t accidentally sew them into the seams.
Continue by…
Making the knot for the center of the bow. First, take your knot material and fold it in half long ways right sides together. Sew a 1/4″ seam around 2 of the open edges (one short, one long). Turn right side out and press.
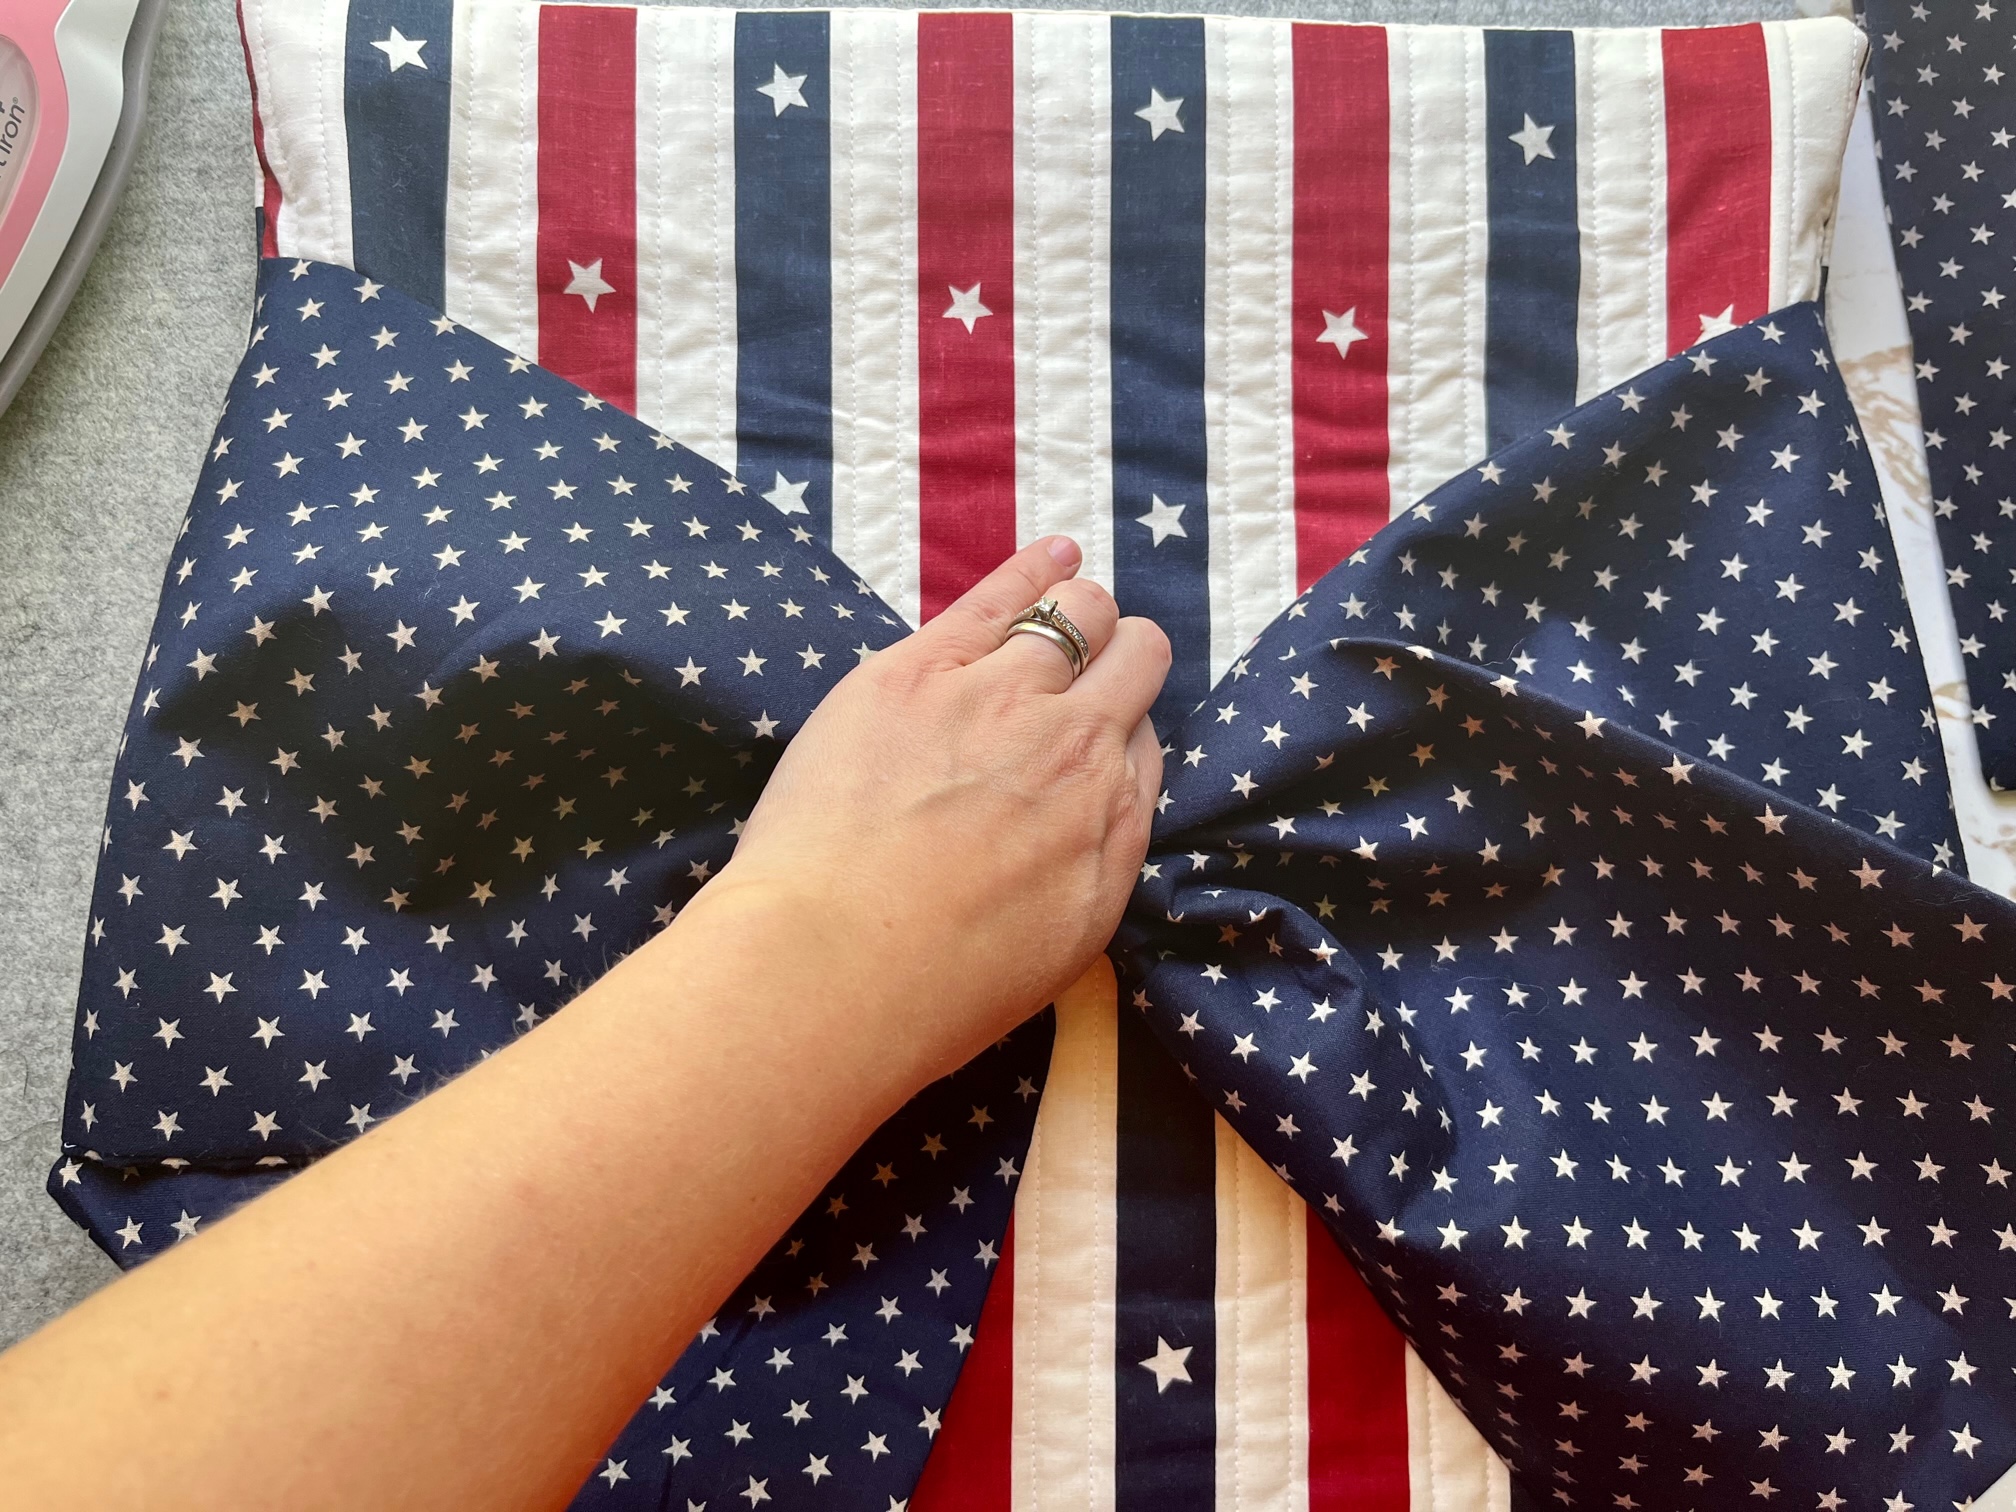
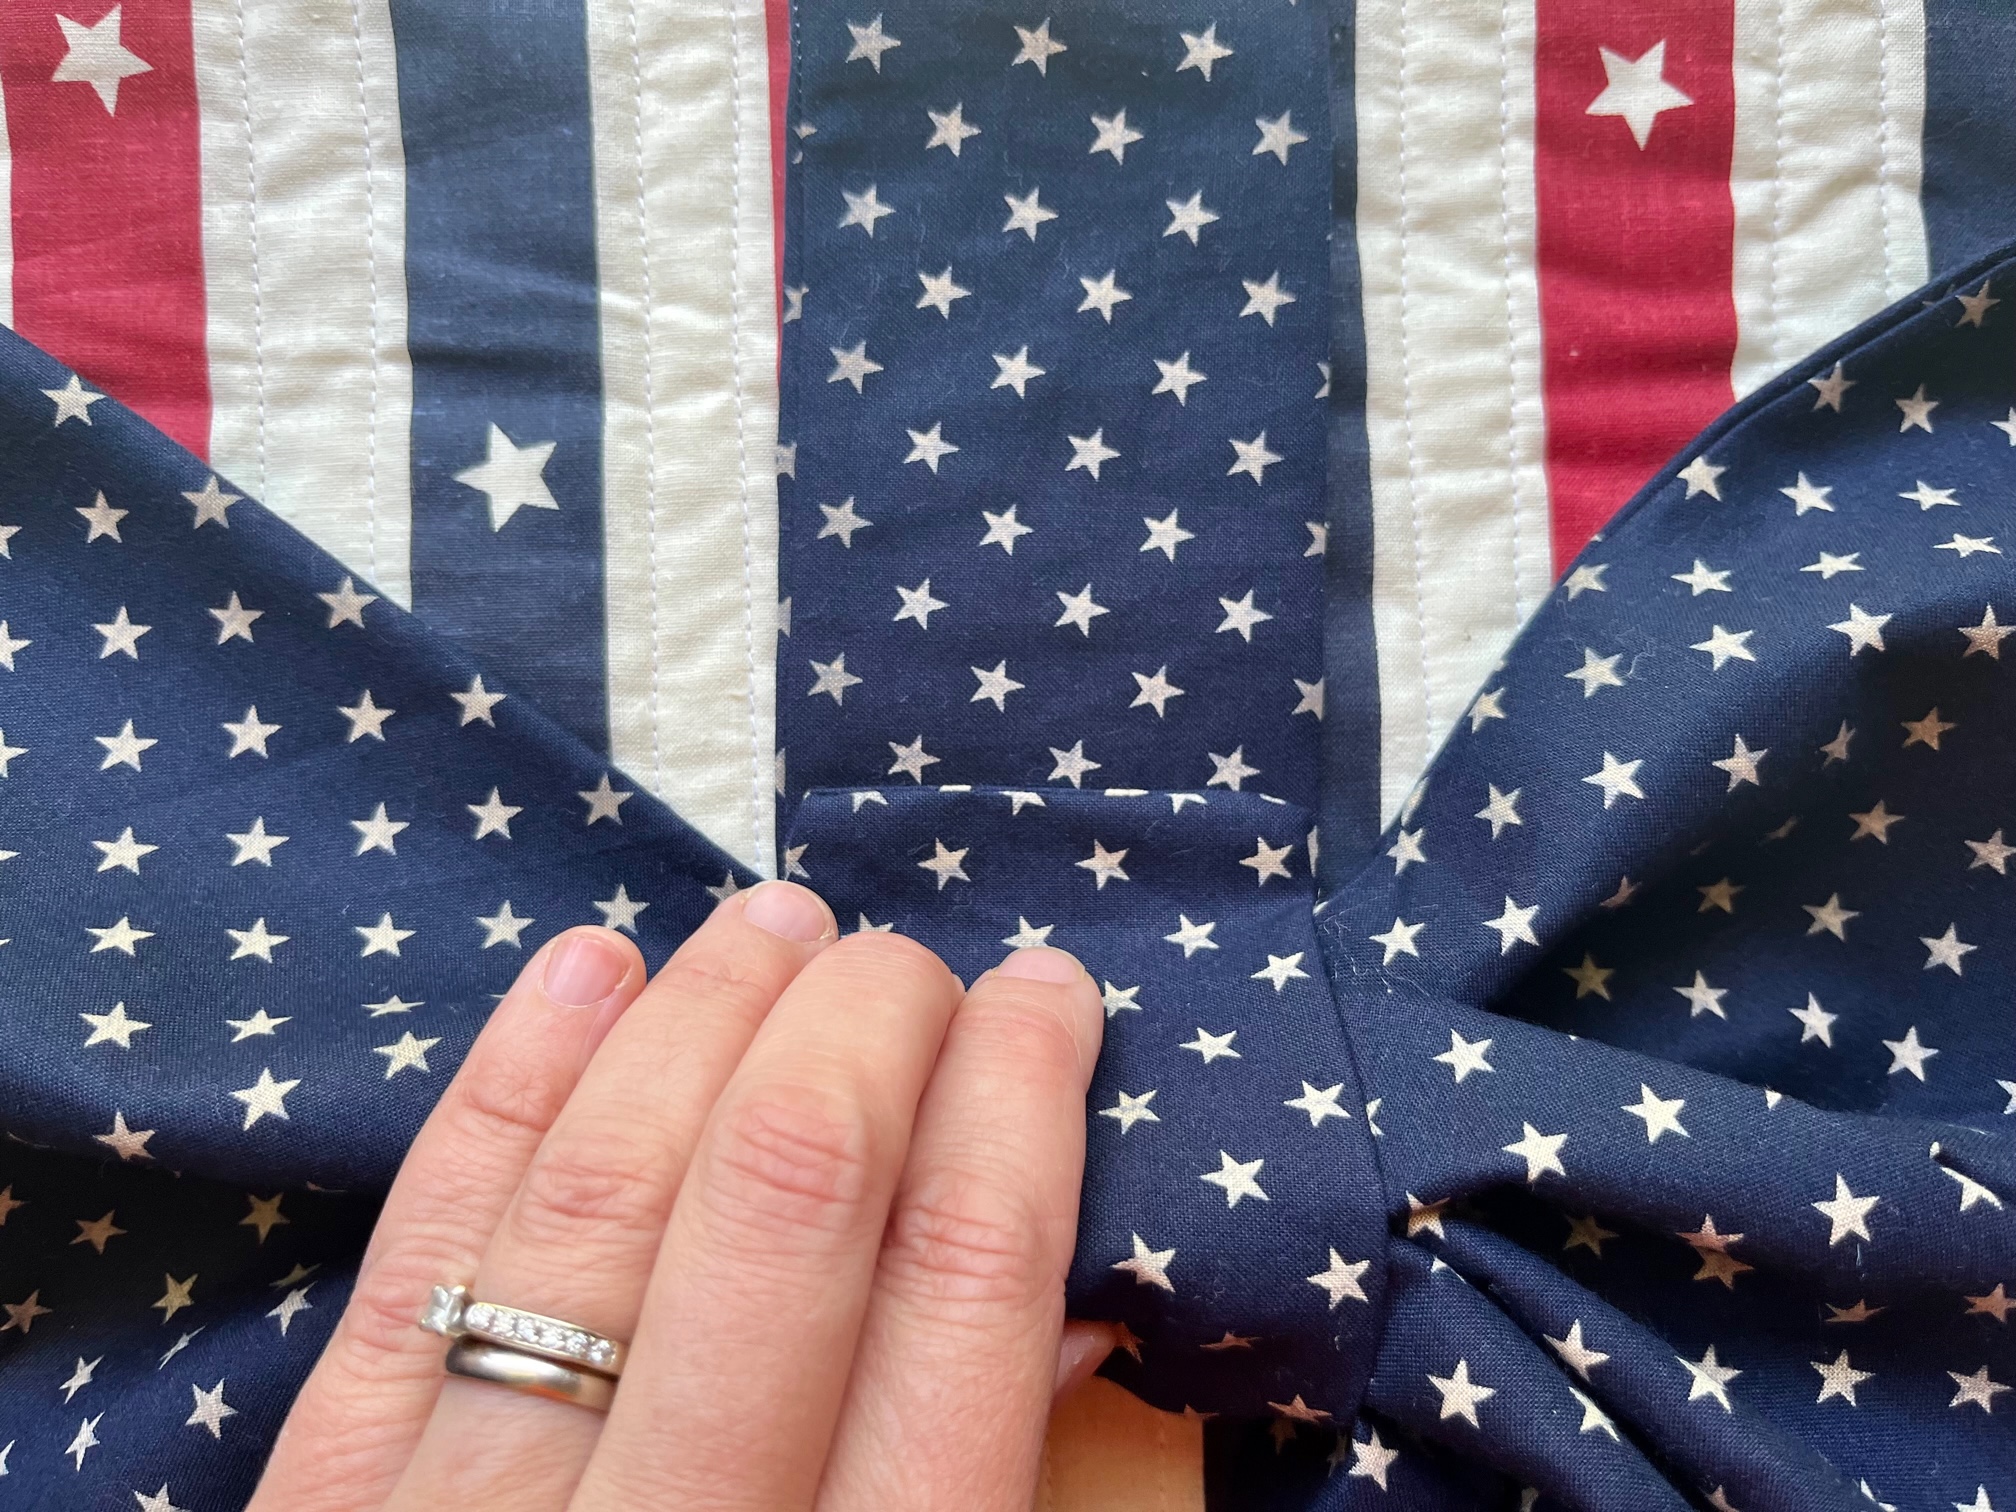
Next, grab your newly sewn pillow cover and gather up the 2 bow panels in the center. Take the bow knot and wrap it around the bow panels. Mark a line on the knot fabric of where you will sew the piece together.
Next…
Trim the bow knot down to 1/2″ away from the drawn line. Fold the raw edge under. Place the two ends of the knot together to form a ring and sew them together. Turn seam to inside.
Finally…
Slide each finished bow panel end through the fabric knot and arrange the bow to your liking!
Finished!
Check out the video tutorial for this Stars and Stripes Pillow Cover.
Thank you for visiting today! Come back soon to see what else will be starting to bloom with Inflorescence Designs!
Starting to bloom by choosing JOY ~ Julia
Brenda @ Songbird Designs
June 30, 2022 at 8:13 am (2 years ago)Love it, Julia!! Thanks for the tutorial!