


Renovation Scrapbook Layout
by Jessica Michaels
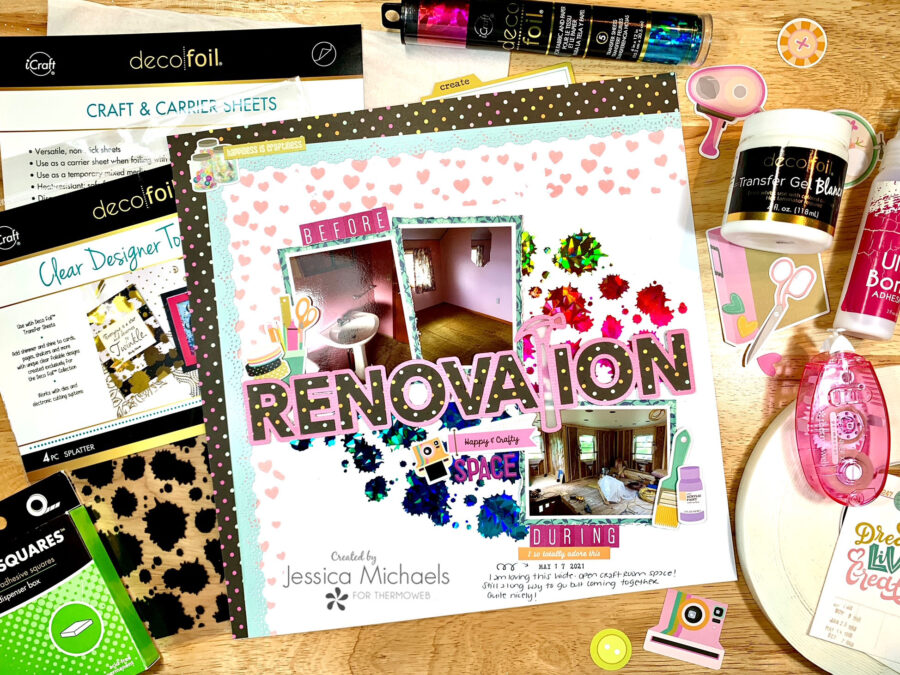
Hello everyone! Jessica here with a layout for Houses Make a Home week! A few years ago, my husband and I bought a farm and have been renovating the farmhouse so we can move there. In order to do that, we had to tear off the entire second story and make it higher since it only had a ceiling height of about 5’9” and only had two bedrooms. We added two more bedrooms and of course, a craft room for me! I love how it is coming together. I decided on making this pink bedroom/bathroom combo a nice wide open space with just a railing around my stairwell so it’s bright and airy and I can see my kids playing in the hallway and amongst their rooms from my space. It’s going to be wonderful when it’s all done! Here’s the nitty gritty on this layout.
Therm O Web Supplies Used
Memory Runner XL
Memory Runner XL Refill
iCraft Ultra Bond Liquid 2 fl oz
Decofoil Transfer Gel, Blanco
Brutus Monroe Clear Designer Toner Sheets, Splatter
Deco Foil Transfer Sheets, Rainbow Shattered Glass
Deco Foil Flock Transfer Sheets, Pink Carnation
Craft & Carrier Sheets
Pixie Tape
Easy Tear Tape ¼”
iCraft 3D Foam Tape Jumbo 1/16th White
3D Foam Squares Box, White
Stencil Pal 2pk
Other Supplies Used
Simple Stories Let’s Get Crafty collection
Peartree Cutfile
OLFA 12×17 Folding Cutting Mat
OLFA AK-4 Cushion Grip Art Knife
OLFA Frosted Acrylic Ruler

I started this layout by pulling out a sheet of patterned paper from the Simple Stories Let’s Get Crafty collection and sheet of white cardstock. I cut my cutfile on my electronic cutting machine in a sheet of cardstock from Hip Kit Club in a shade of pink that matched the collection. I then backed the cutfile using the UltraBond Liquid Adhesive with the patterned paper I selected. I also used the Ulfa Cutting mat, blade, and ruler to cut a strip of that patterned paper for the top and side of my layout. I then punched a border strip from a blue shade of cardstock by Hip Kit Club to adhere to the patterned border strips with my tape runner, then secured the whole thing to my white cardstock using easy tear tape.
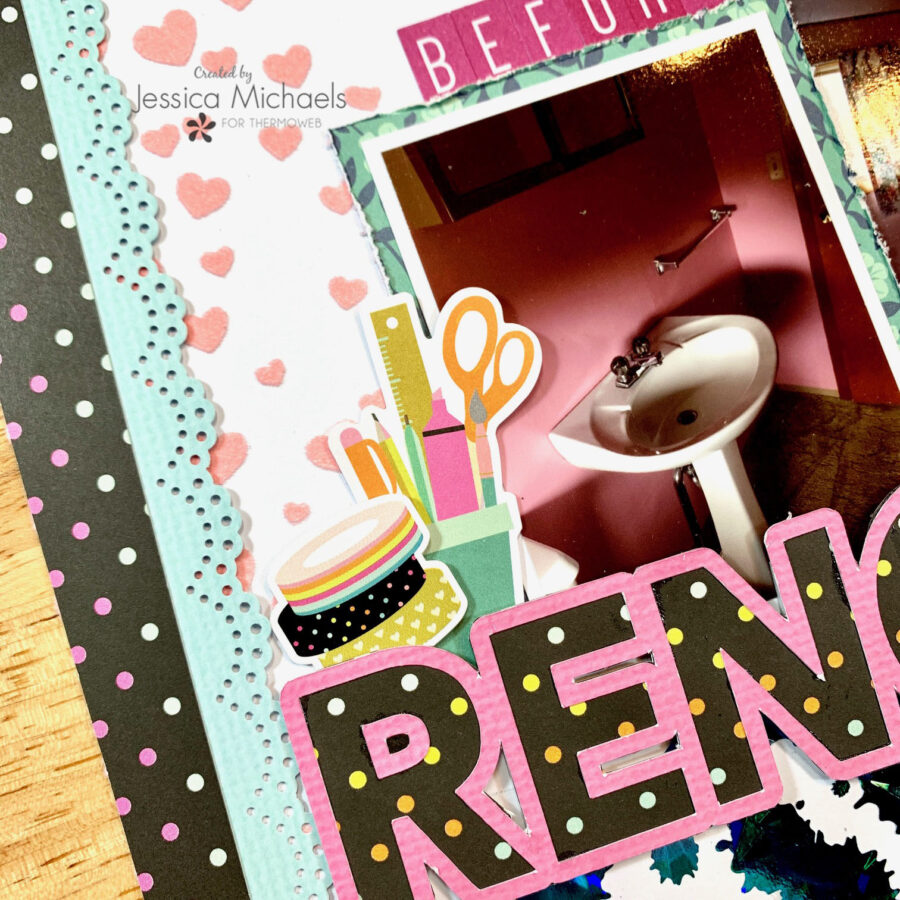
Next, I did some stenciling with Pink Carnation flock and Deco Foil Blanco Transfer Gel. I applied the gel through a heart stencil using my stencil pal for a smooth application on the white cardstock. When that was dry, I laid pink flock(colored side down) and sandwiched between craft and carrier sheets to run through my laminator. When I peeled of the flock sheets I was left with pink fuzzy hearts that pop up off my page!

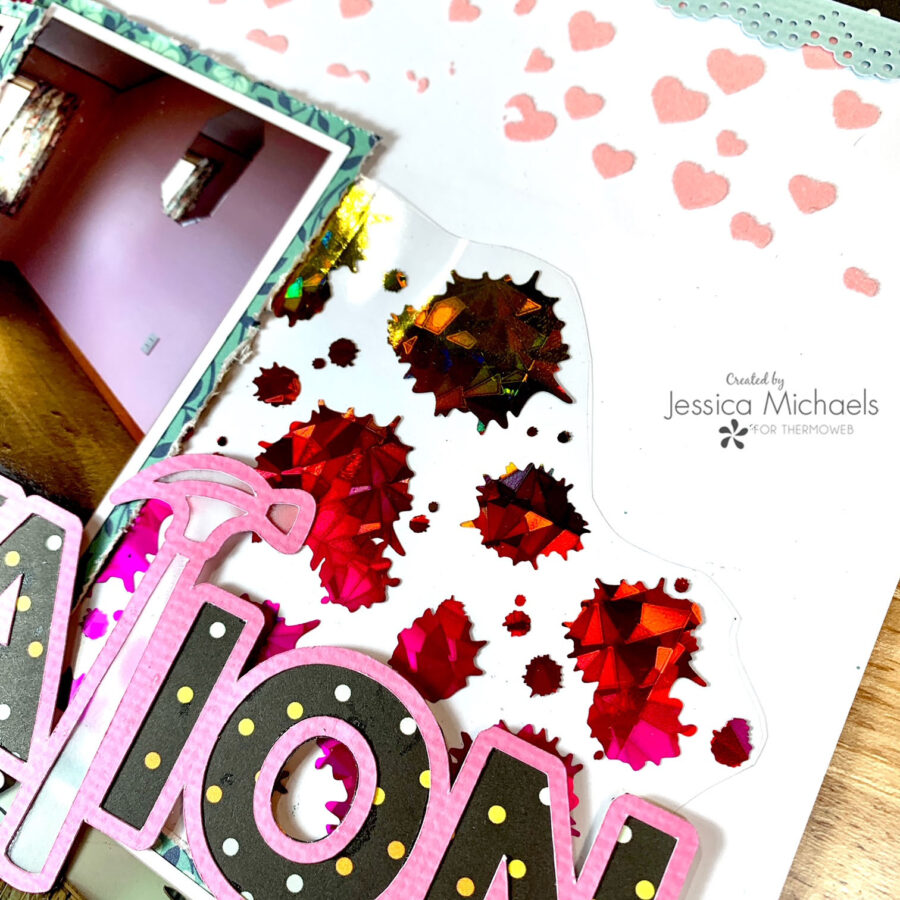
You can really see the dimension here in this photo! Next, I pulled out the Brutus Monroe clear toner sheet in the splatter design and two sheets of rainbow shattered glass deco foil sheets. I cut the Brutus Monroe toner sheet in half and foiled both pieces by once again sandwiching between my craft and carrier sheet and running through my laminator, colored side of the foil up for these. I then fussy cut around a section of splatters for the top and bottom of my cutfile and adhered with my tape runner so it would peek out around my photos, which I’ve matted with another patterned paper from the Simple Stories collection and some smooth white cardstock.
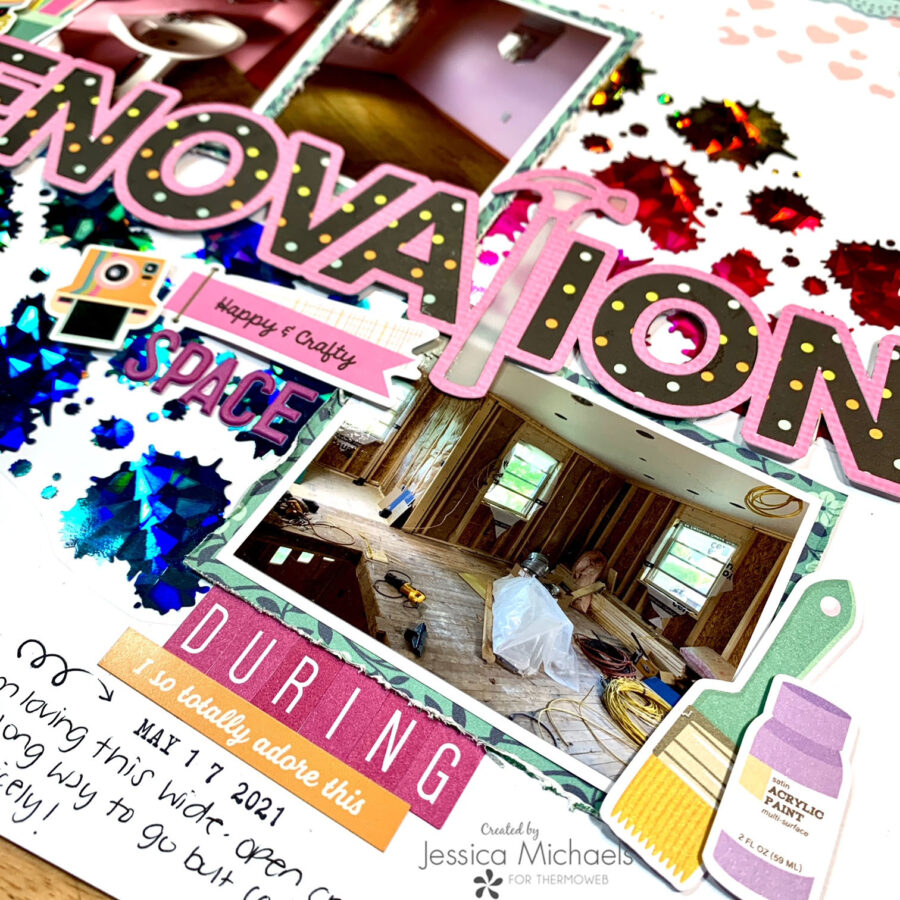
After backnig the hammer portion of my cutfile with vellum, I adhered my cutfile to the layout with some 3D foam tape in the jumbo 1/16” roll. I then finished it off with some Elle’s Studio alphas and some embellishments from the SS collection. I even did a bit of journaling on this one!
Watch the Renovation Scrapbook Layout Video
Thank you for being here today and I hope I was able to inspire you to create!
Jessica
This post contains affiliate links. For more information, see our disclosure <a href=”http://thermoweb.com/blog/designers/about-us/affiliate-disclosure/“>HERE</a>.