


Hello friends! This is Dori from @redfeedsack and I’m thrilled to be back this month to share a super fun project for Book Week!
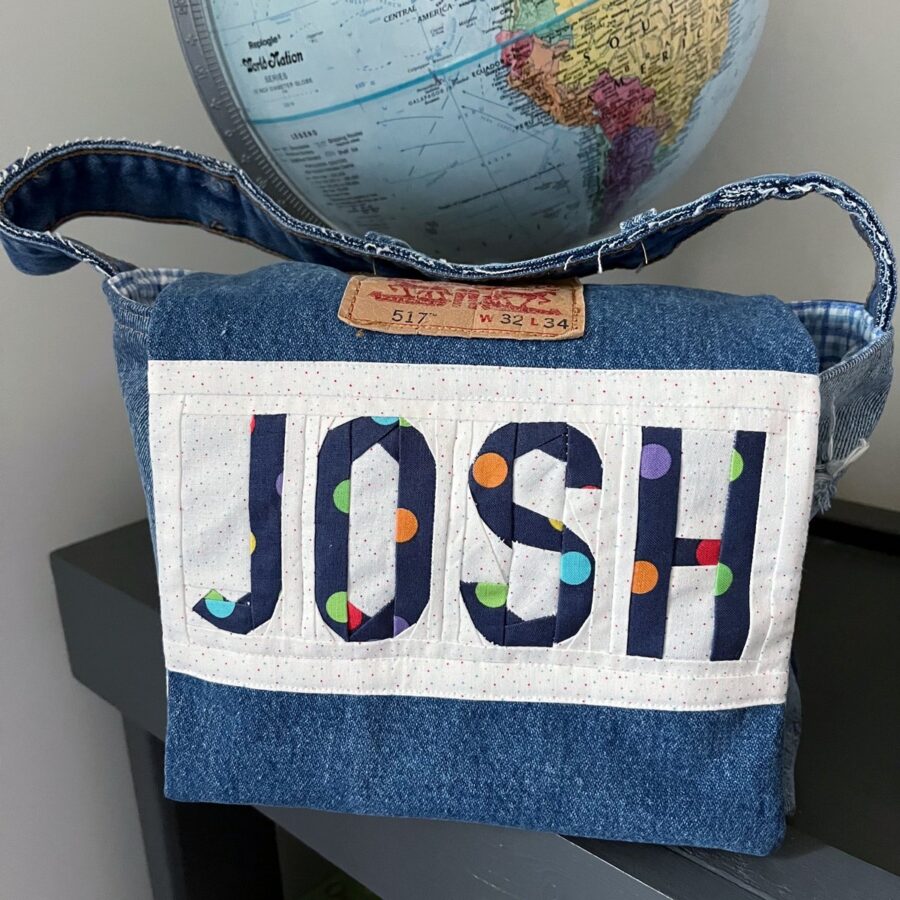
Recycled Jeans Personalized Messenger Book Bag
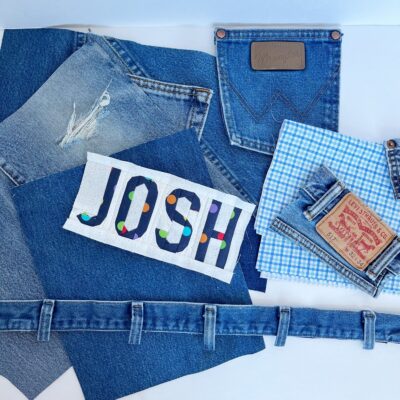
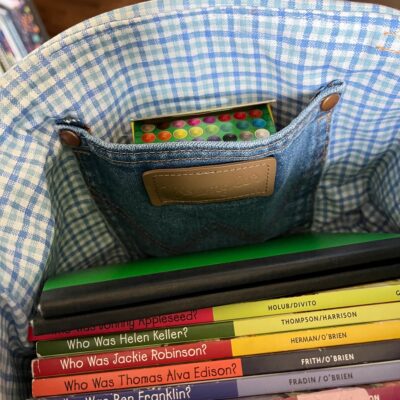
I had a request recently from a young mommy wanting a book bag for her little boy. This denim Messenger Bag is the perfect size for small books, notebooks, crayons and pens! It is also the perfect size for a purse! The funnest part is that you get to dig through old blue jeans and start cutting! Use your imagination and make it your own! Let’s get started!
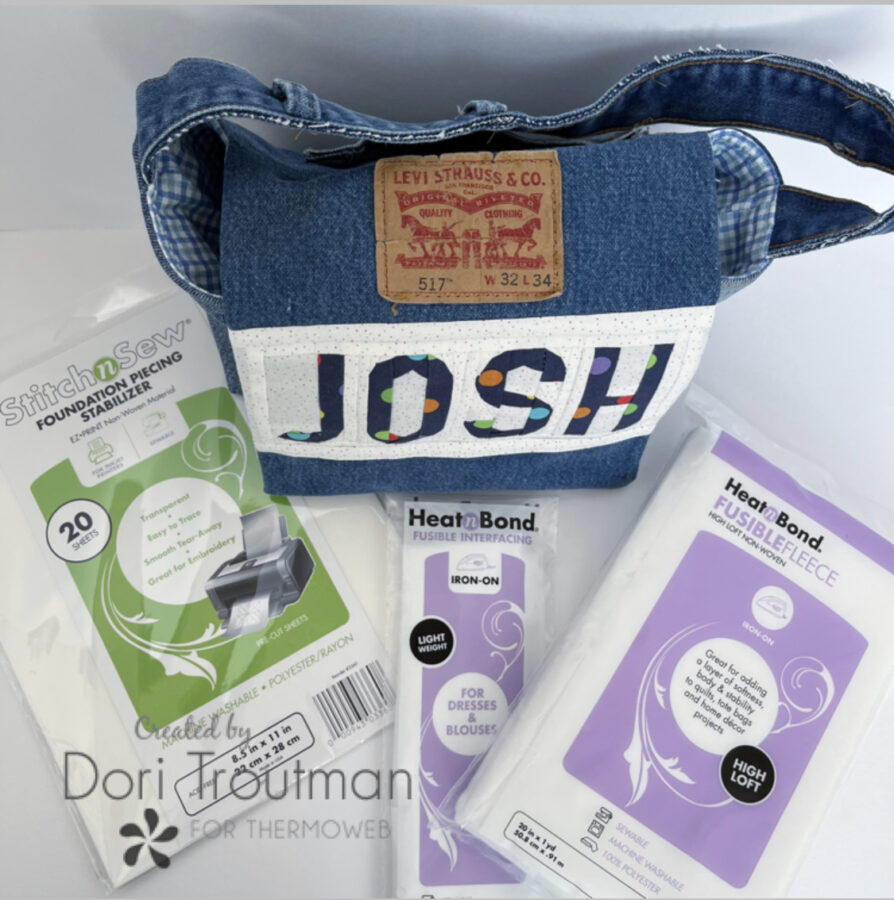
Recycled Jeans Book Bag Supplies:
- Two outer bag fabric cut to 10.5 inches tall x 14 inches wide (If you are using denim scraps, see the notes below)
- Two lining bag fabric cut to 10.5 inches tall x 14 inches wide
- One outer flap fabric cut to 10.5 inches tall x 9 inches wide
- One lining flap fabric cut to 10.5 inches tall x 9 inches wide
- One strap fabric cut to 5.5 inches wide x 20 inches long (if you are using the waistband of used denim pants, see the notes below)
- Optional: a decorative feature for the front flap (I used a foundation paper pieced name, discussed in step
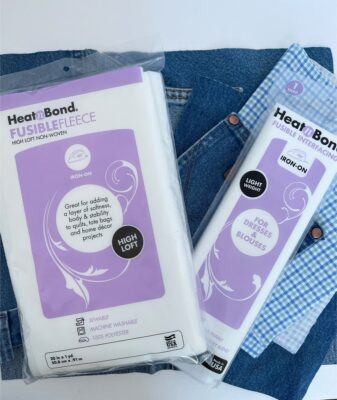
- Two HeatnBond Fusible Fleece cut to 10 inches x 13.5 inches
- One HeatnBond Fusible Fleece cut to 8.5 inches x 10 inches
- Two Heat n Bond Fusible Interfacing cut to 10 inches x 13.5 inches
- One Heat n Bond Fusible Interfacing cut to 8.5 inches x 10 inches
NOTES: If you are using denim scraps, enjoy the process of cutting, laying out and sewing together all the pieces to form a piece approximately 11 inches tall x 15 inches wide. Then cut it to the finished size of 10.5 inches tall x 14 inches wide. I recommend using a needle specifically for denim.
Also, if you are using the waistband of a pair of denim jeans for the handle of the Messenger Bag, carefully cut it along the seam until you have a long “handle”! I cut mine to 21 inches in length. By doing your handle this way, there is no finish work required.
Step By Step Instructions:
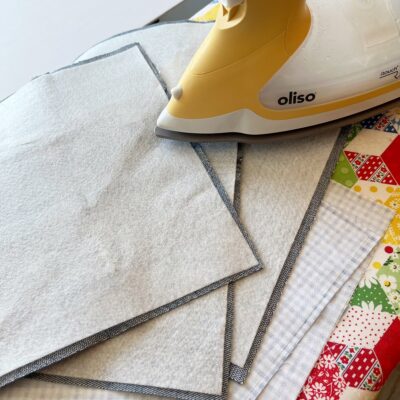
Step One: Cut all your fabric, fusible fleece and interfacing according to the dimensions above. Using your iron, adhere the fusible fleece to the outer fabrics of the bag and the flap. Adhere the interfacing to the bag ling and flap lining. (Note: the fleece and interfacing will be smaller than the fabric.)
Step Two: Cut a 2-inch square out of the lower corner of all four of the outer and lining bag pieces.

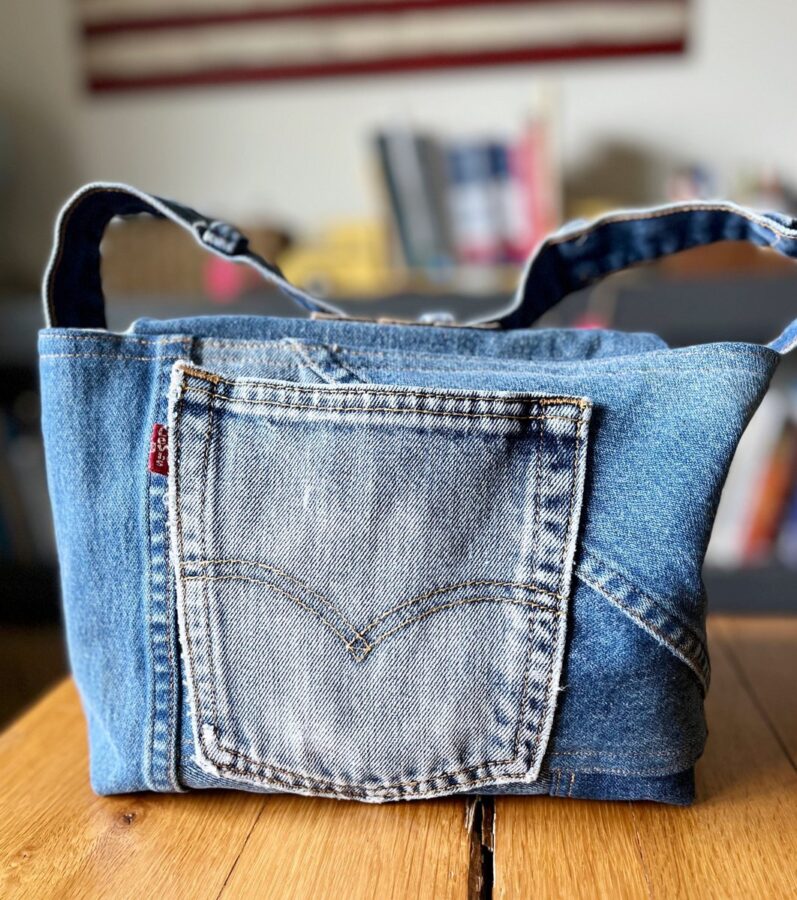
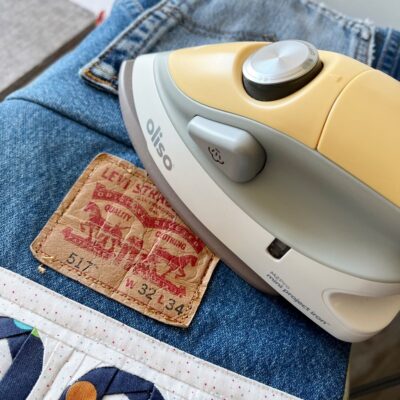
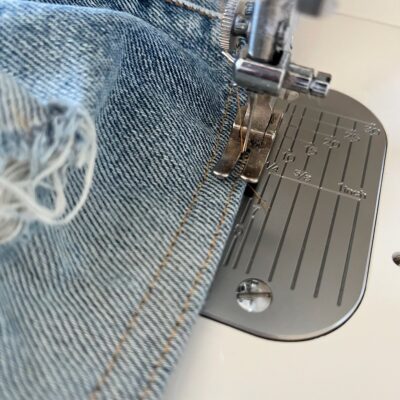
Step Three: OPTIONAL: If you are using denim scraps, cut a pocket from the denim jeans and attach it to the center of the back of the outer bag fabric, placing it approximately two inches from the top. Simply sew along the seam lines already on the pocket. (I used gold thread so that it matched.) You can also do the same with a pocket for inside the bag, attaching it to a lining piece.
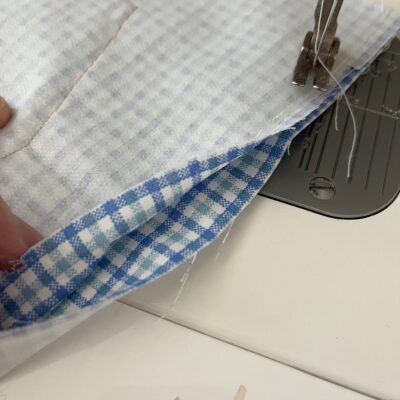
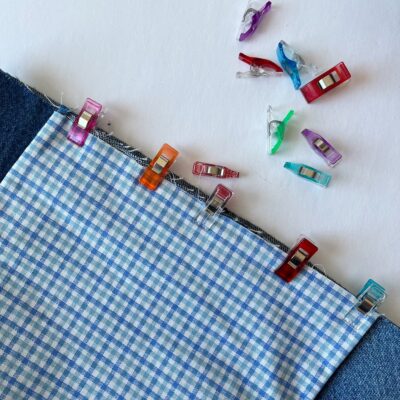
Step Four: Place the outer bag fabrics right side together and use clips to hold them in place. Sew 1/4 inch seam all the way around the sides and the bottom (leaving the top open). Do not sew around the cut out corners.
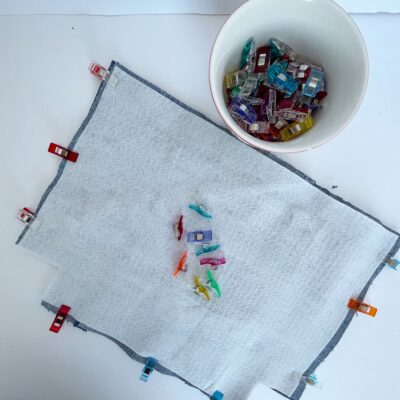
Step Five: Repeat the above step with the lining fabrics; however, leave approximately 5 inches open on the bottom seam. This will be necessary for turning the bag right side out later. So this is an important step to remember!
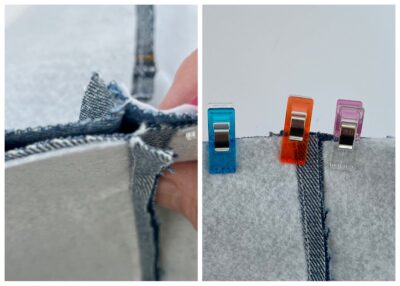
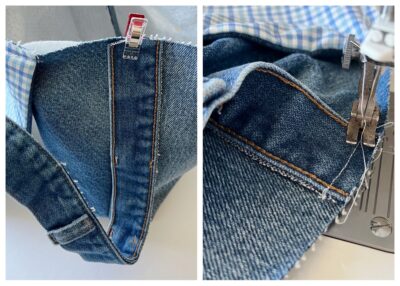
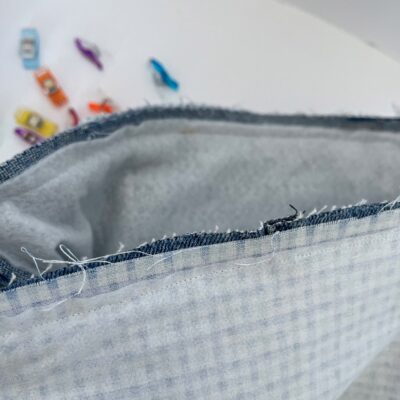
Step Six: This might be my very favorite thing in making bags… boxing the corners! This is when it really comes alive! It’s a super simple process that seems to intimidate a lot of people but I’m here to show you how easy it is! 🙂 You can start with either the bag’s outer or the lining. Keep your bag with the wrong sides facing out. Open up the little cutout corner and match the seams together (one will be a side seam and one will be a bottom seam). Those seams will match up best if the seams are lying in opposite directions. Use a clip right at the seams and a couple others on each side. Now you will simply sew a 3/8 inch seam to close that box up! Repeat on the three remaining corners (lining and outer).
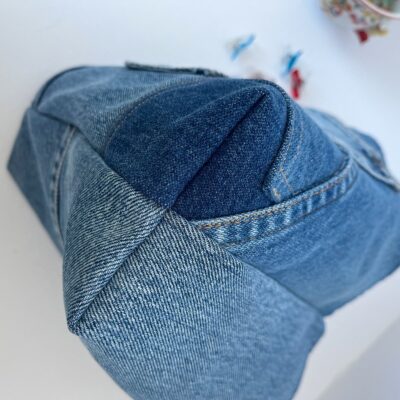
Turn your outer bag right side out to make sure the seams are matching and the box looks good!
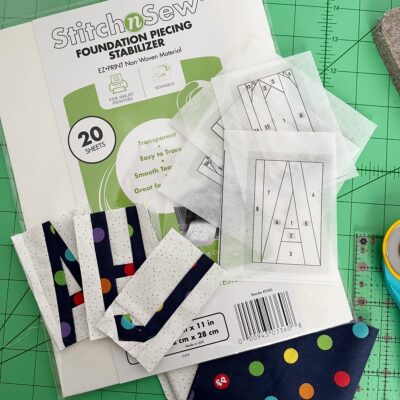
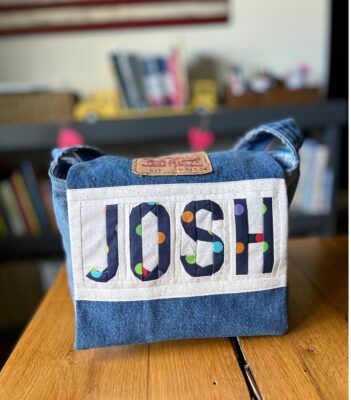
Step Seven: Now… let’s talk about the outer bag flap! You can use your personal creativity here and make your flap really fun! I wanted to use the name of the little boy that will be receiving this bag and decided it was time to try my hand at some TINY foundation paper piecing! I won’t go through all the instructions here, as it would require a complete blog post (and there are so many great videos online for foundation paper piecing. But I purchased a letter pattern from Etsy here and it was a great pattern. One thing I would like to say about foundation paper piecing is that I used the Stitch n Sew Stabilizer for it and wow I loved it so much. I highly recommend it.
Step Eight: My FPP name insert was the exact width of the bag flap and about 4 inches tall. I laid it out so that it was 4 inches from the top of the flap and attached it to the outer flap fabric, by top stitching along the top and bottom of the finished design. You could opt to do ANYTHING here (or nothing at all)!
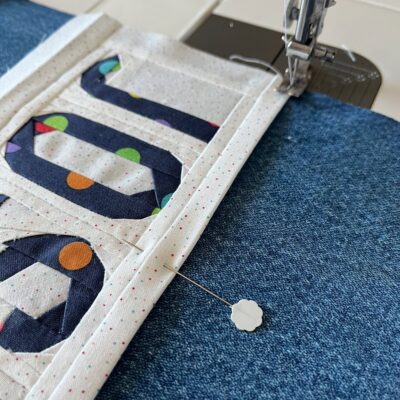
Step Nine: Place your flap outer and lining fabrics right side together and sew a 1/4 inch seam on the sides and the bottom. Trim the corner and turn the flap right side out. Iron the seams nice and flat. Attach the flap to the right side of the outer back of the bag. Sew the right sides together with a 1/4-inch seam.
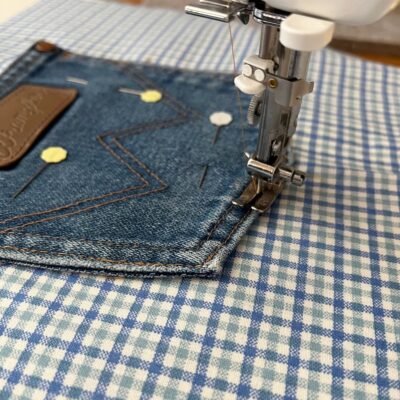
Step Ten: Now let’s talk about the strap! Since I used the waistline of the denim jeans all I had to do was reattach the belt loops where I had cut them. Do this VERY carefully and slowly as you will have a lot of bulk. Attach the step to the outer bag by laying the right side of the strap to the right side of the bag exactly at the side seams. Use a clip to hold it in place and sew a 1/4 inch seam. Be careful that the strap isn’t twisted when you do this!
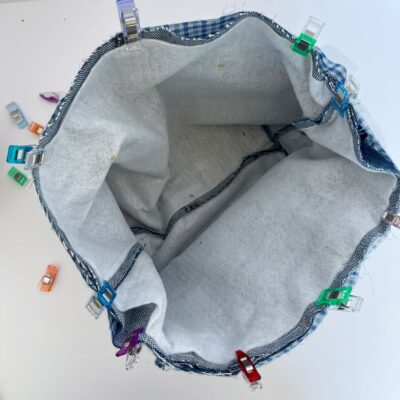
Step Eleven: Now we are ready to put your bag together! Place your outer bag into the lining part of the bag. Be sure the right sides are together. Clip or pin all the way around the bag, matching side seams. This will feel a little awkward at first, almost like it isn’t going to fit together because you have so much bulk between the handle and the flap. I started at the side seams and worked my clips toward the center and everything fit perfectly.
Step Twelve: Carefully sew all the way around at a 1/2-inch seam.
Step Thirteen: Once you’ve sewn completely around and secured your seam, turn your bag outside through the opening we left in the bottom of the lining. Just do this slowly and carefully and you’ll get your outer bag all the way out I promise! Don’t get too alarmed if the lining seams open up a little more, that happens.
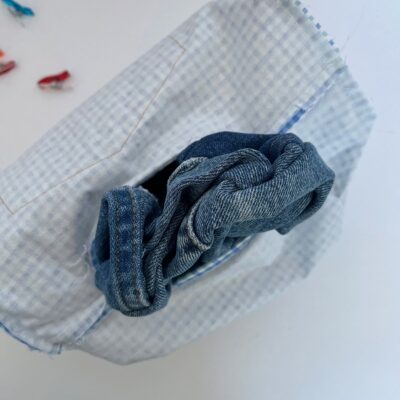
Step Fourteen: Once you’ve got your entire outer bag out of the opening, double-check that the straps are correct and that everything is as you want it! Iron the opening in the lining and sew it closed with a small stitch along the edge. This will not be seen, so don’t worry about it being exactly perfect, however, ironing it carefully will make a big difference!
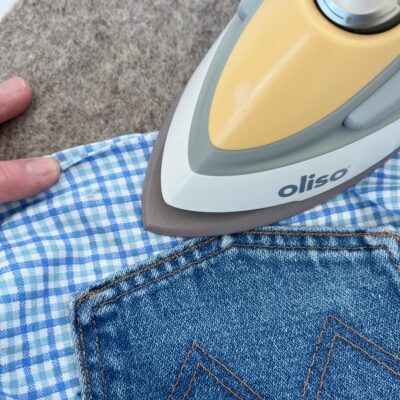
Step Fifteen: Iron the lining into the bag and the flap away from the bag, and spend time getting the top seam ironed very well.
Step Sixteen: Topstitch along the top of the bag, giving it a final finish. I used gold thread on the top and white thread in the bobbin and did a double topstitch line to match up with the rest of the denim seams. There is a lot of bulk so the key here is to go very slow. Don’t try to rush it!
And now, you’ve got a darling little Messenger Bag that you can fill with all the fun books, notebooks and crayons for that special child in your life!
Can I just say that I really love how this bag turned out? Smile!!
If you have any questions about making this bag, or you have pictures to share, be sure to reach out to me on my IG @redfeedsack!
Thank you for following along!
~ Dori ~
[…] This messenger bag isn’t just awesome because it’s personalized, it’s made from recycled denim too! […]