Hi I’m Maude, the Retro Quilter, and I am so excited to share with you today a project I just did with the HeatnBond Liquid Vinyl: Quilty upholstered chairs! Yes! You read that right!
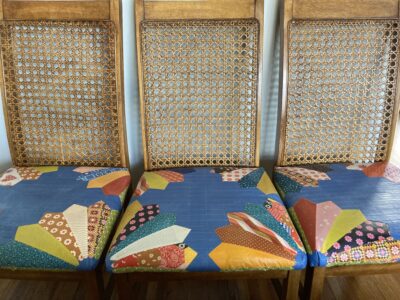
Ok, so I have been in a dire need for new (or new to me rather) dining room chairs. I found a beautiful set of four from Facebook Marketplace, but the fabric on the seats were damaged while the frames were in perfect condition. I assumed I could reupholster the seats, but then I had the most brilliant idea: Make it Quilty!
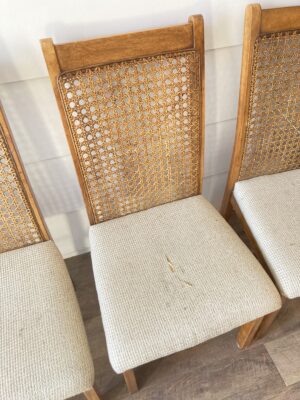
Let’s make some quilty chairs!
To begin, you’re going to want to take off the seat of your chairs and measure them. Be sure to measure the depth of the seat as well and add that to your length and width. Once you have these totals, add on at least four inches all around to ensure plenty of room for wrapping your fabric securely over the seat.
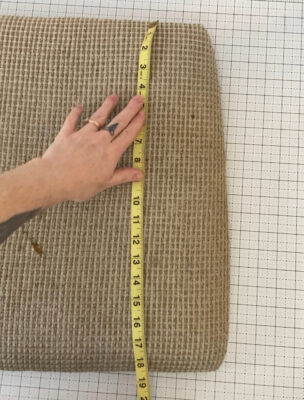
When you have your width and length measurements, this will be the dimensions for either a quilt block, or appliqued quilt block like I made. After you have made your quilt block or simply cut your fabric to the dimensions, you’ll need to quilt it.
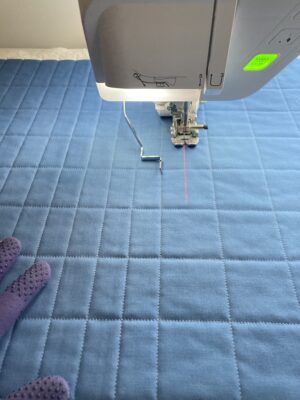
No need for a backing for this, and it’s a great way to use HeatnBond EZ Seam Tape to join scrap pieces of batting together and use those little bits up! Quilt your block as you’d like and have some fun with it! I recommend sewing a victory lap around the edges of your block, with about a ¼” seam allowance, just to keep that stitching sound.
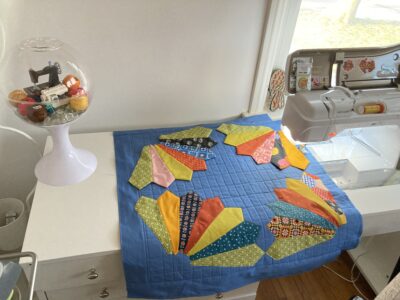
In my case, after quilting my block I appliqued these fantastic scrappy Dresden fans I made; however, it really required a lot of measuring and fussing to get them in the correct place. I love how it turned out, but just a heads-up friend, that it took some time.
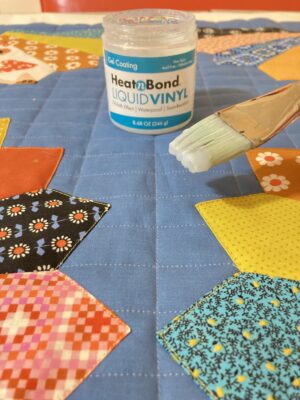
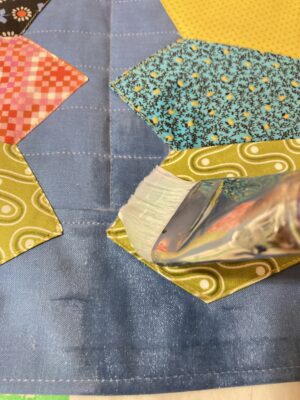
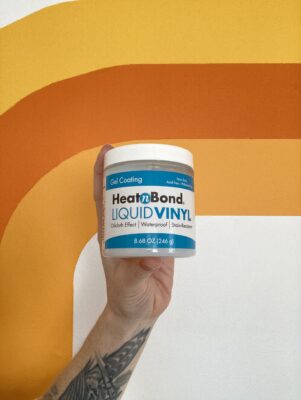
Yay! Quilt blocks are done, and now it’s time to glaze! I first put some paper down on my table in case I made a mess (I’m known to do that) and got out my HeatnBond Liquid Vinyl. With either a paint brush or a foam brush, paint on a thin layer of the Liquid Vinyl all over your block. Be careful of build up around seams and paint the Liquid Vinyl right to the edges. Let the Liquid Vinyl dry completely, approximately 30 – 45 minutes.
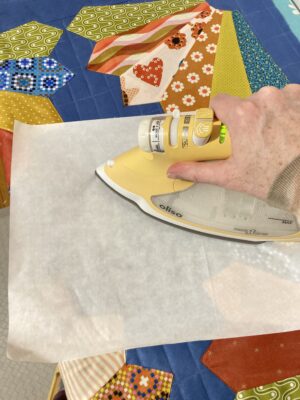
Now you’ll need to set the HeatnBond Liquid Vinyl. To do this, you’ll need either HeatnBond Pressing Paper, or you can use parchment paper. Set your iron to medium heat and place the Pressing Paper shiny side down over your glazed and dried quilt block. Press for 45 seconds in one place before moving iron slightly to the next area to set. Continue this process until the entire quilt block has been pressed.
If you are doing more than one coat (I did two), you’ll need to heat set the Liquid Vinyl in between coats.
Alrighty! We have our seat covers made and I am pumped to get these blocks on these seats! Place your quilted block batting side up and lay your chair seat cushion side down and arrange the two in place. Starting with the vertical sides, pull the quilt block until taut and secure edges with a staple gun. Hot tip: wear gloves when stapling, you’re less likely to get pinches – ask me how I know.
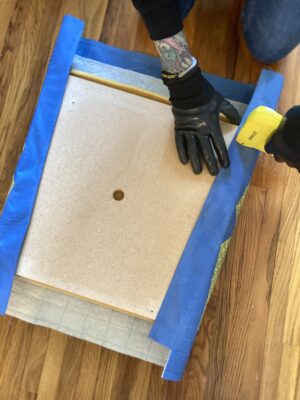
When sides are secure, repeat with the horizontal sides, but you will have to most likely fold in some of the block for smoothness. Do this process for all of your chairs, followed by screwing the seat back into the chair frames.
Before planting yourself onto these beauties, take a moment and clean them off with a damp cloth. Yes, that’s right! You can wipe your seat with no problem now because that liquid gold, I mean Liquid Vinyl, has made your seat water resistant! I would not have done this project without HeatnBond Liquid Vinyl because I have two sweet, but messy kids, and now I am confident my beautiful chairs can be cleaned whenever they need to be. Amazing right!?
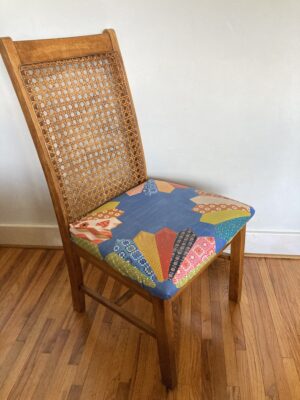
There you go, friend! You did it! Give yourself a high five and sit yourself down in your fantastic chair for a well-earned rest. Way to go!
Until next time, keep it quilty-
Maude
Please share your quilted chair and other projects with HeatnBond Liquid Vinyl at @thermoweb on Instagram.
You can find Maude on YouTube, Instagram and all the socials @theretroquilter and at http://www.theretroquilter.com

Doreen Sherk
April 23, 2024 at 1:23 pm (1 year ago)That is a great project, I have been wanting to do my dining room chairs for a while, I think I might try the product.
I’m thinking Kaffe Fasset fabrics.
Dawn Gehring
April 23, 2024 at 7:16 pm (1 year ago)Kaffe fabrics would look amazing AND the Liquid Vinyl will help protect them. Happy Creating! Share a photo at hello@thermoweb.com.
Marsha
April 23, 2024 at 8:23 pm (1 year ago)Such a fun idea! Thanks for sharing.