


Hello and welcome!
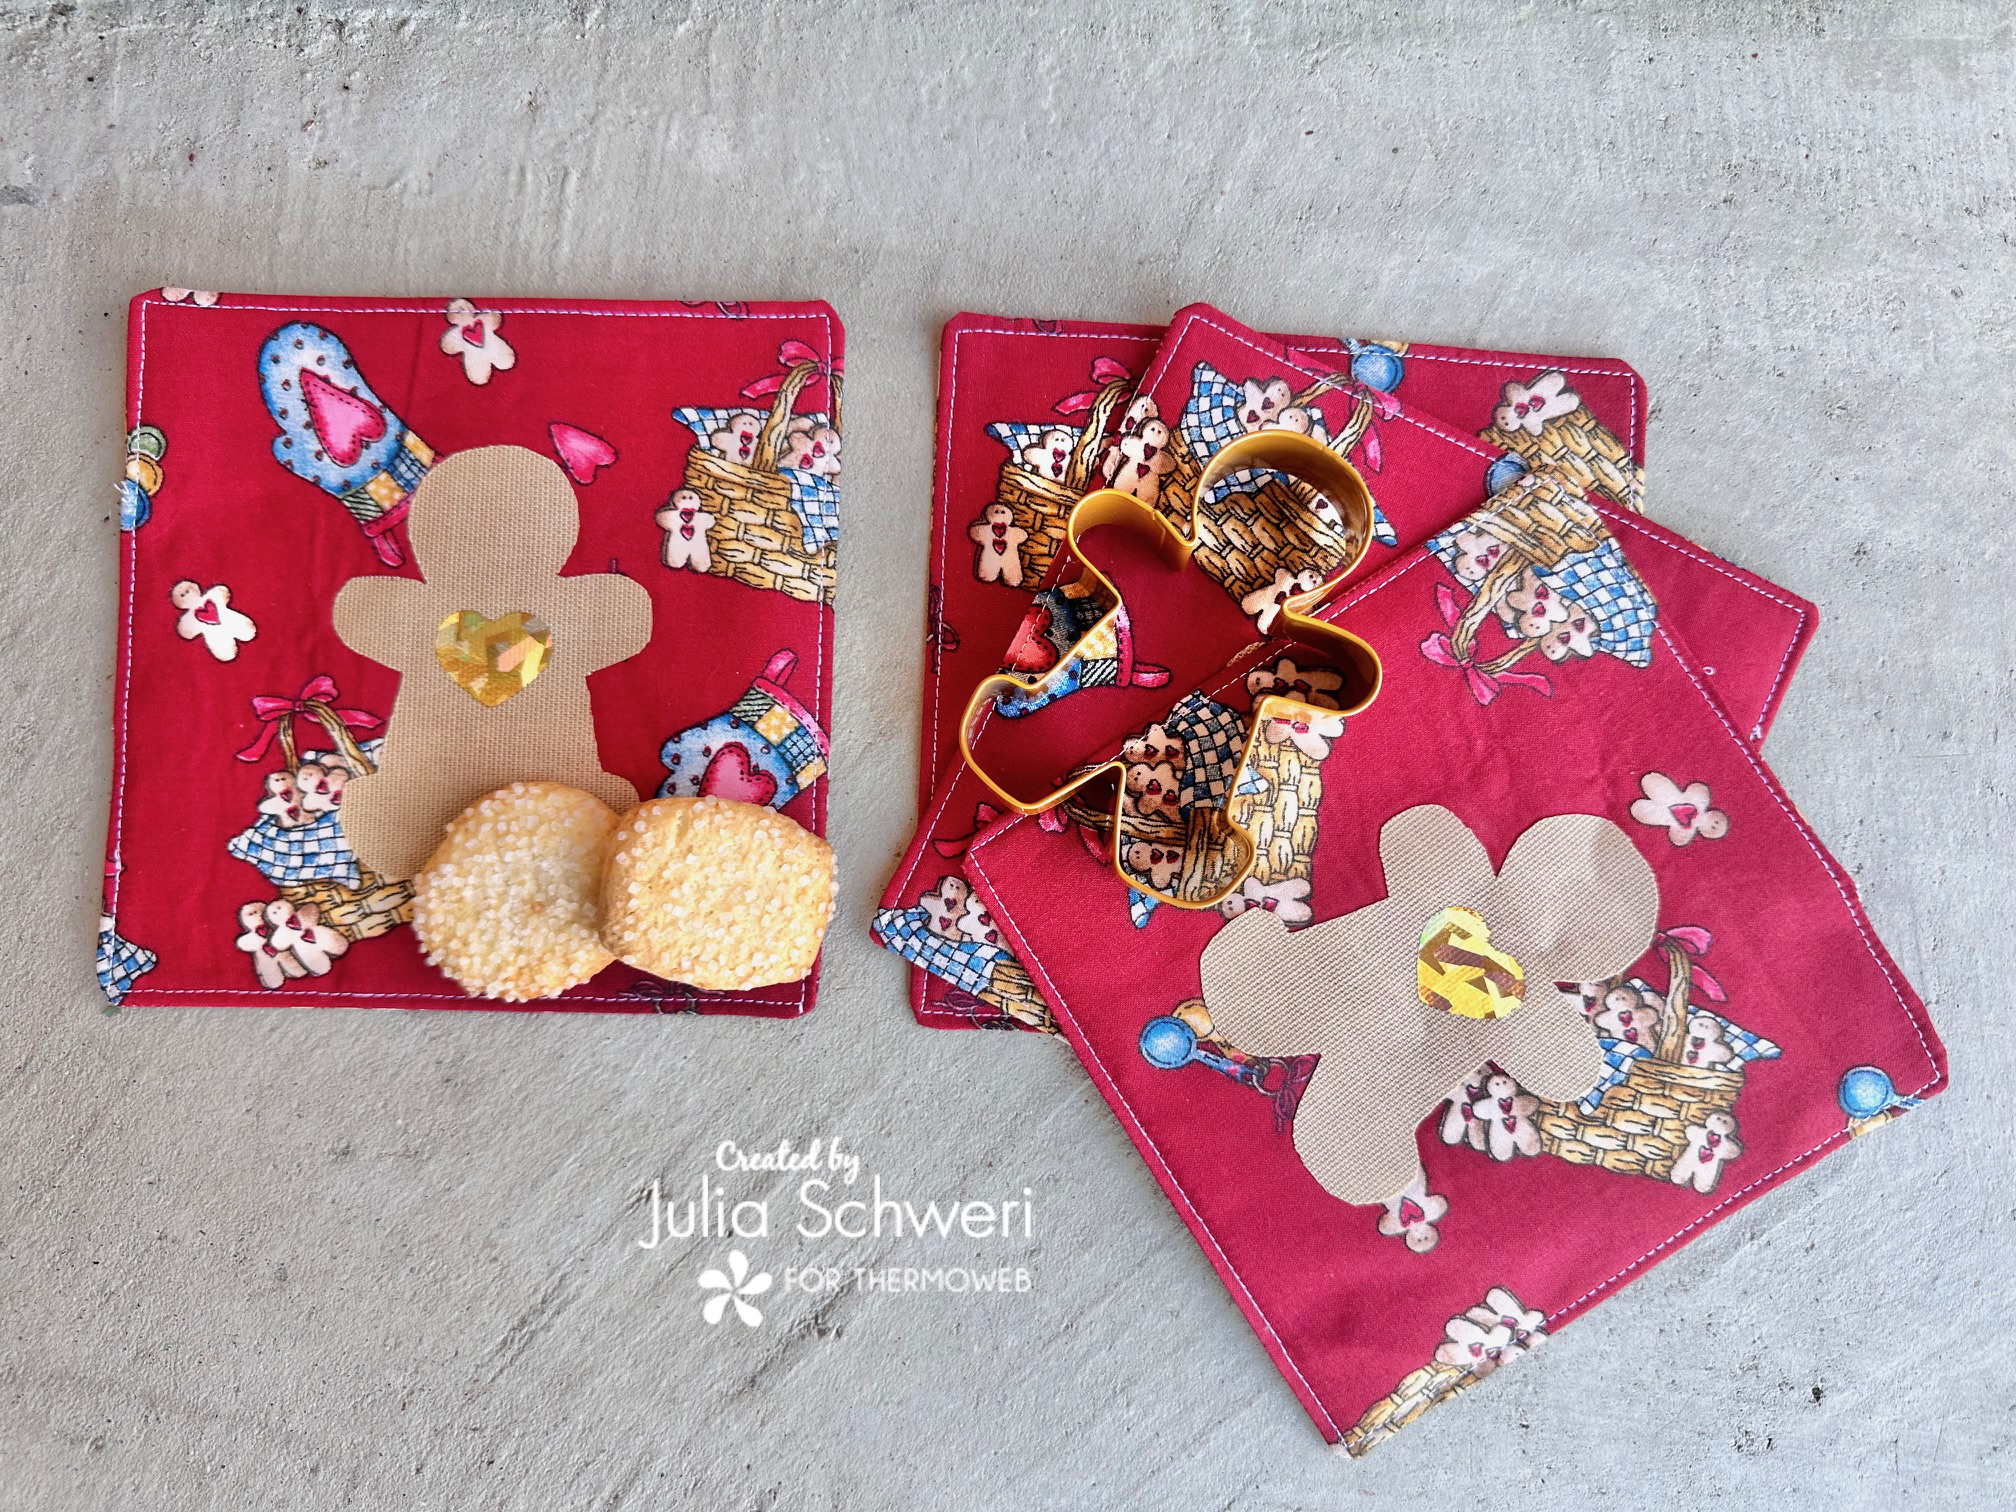
It’s Julia from Inflorescence Designs! I’m so joyful you are visiting today. For today’s tutorial, I am going to show you how to make some super quick Gingerbread Mug Rugs that you can share and gift to those you love this holiday season.
This project uses HeatnBond Ultra. This method is a no-sew applique. If you want to applique around the gingerbread person, use Thermoweb’s HeatnBond Lite in the purple packaging.
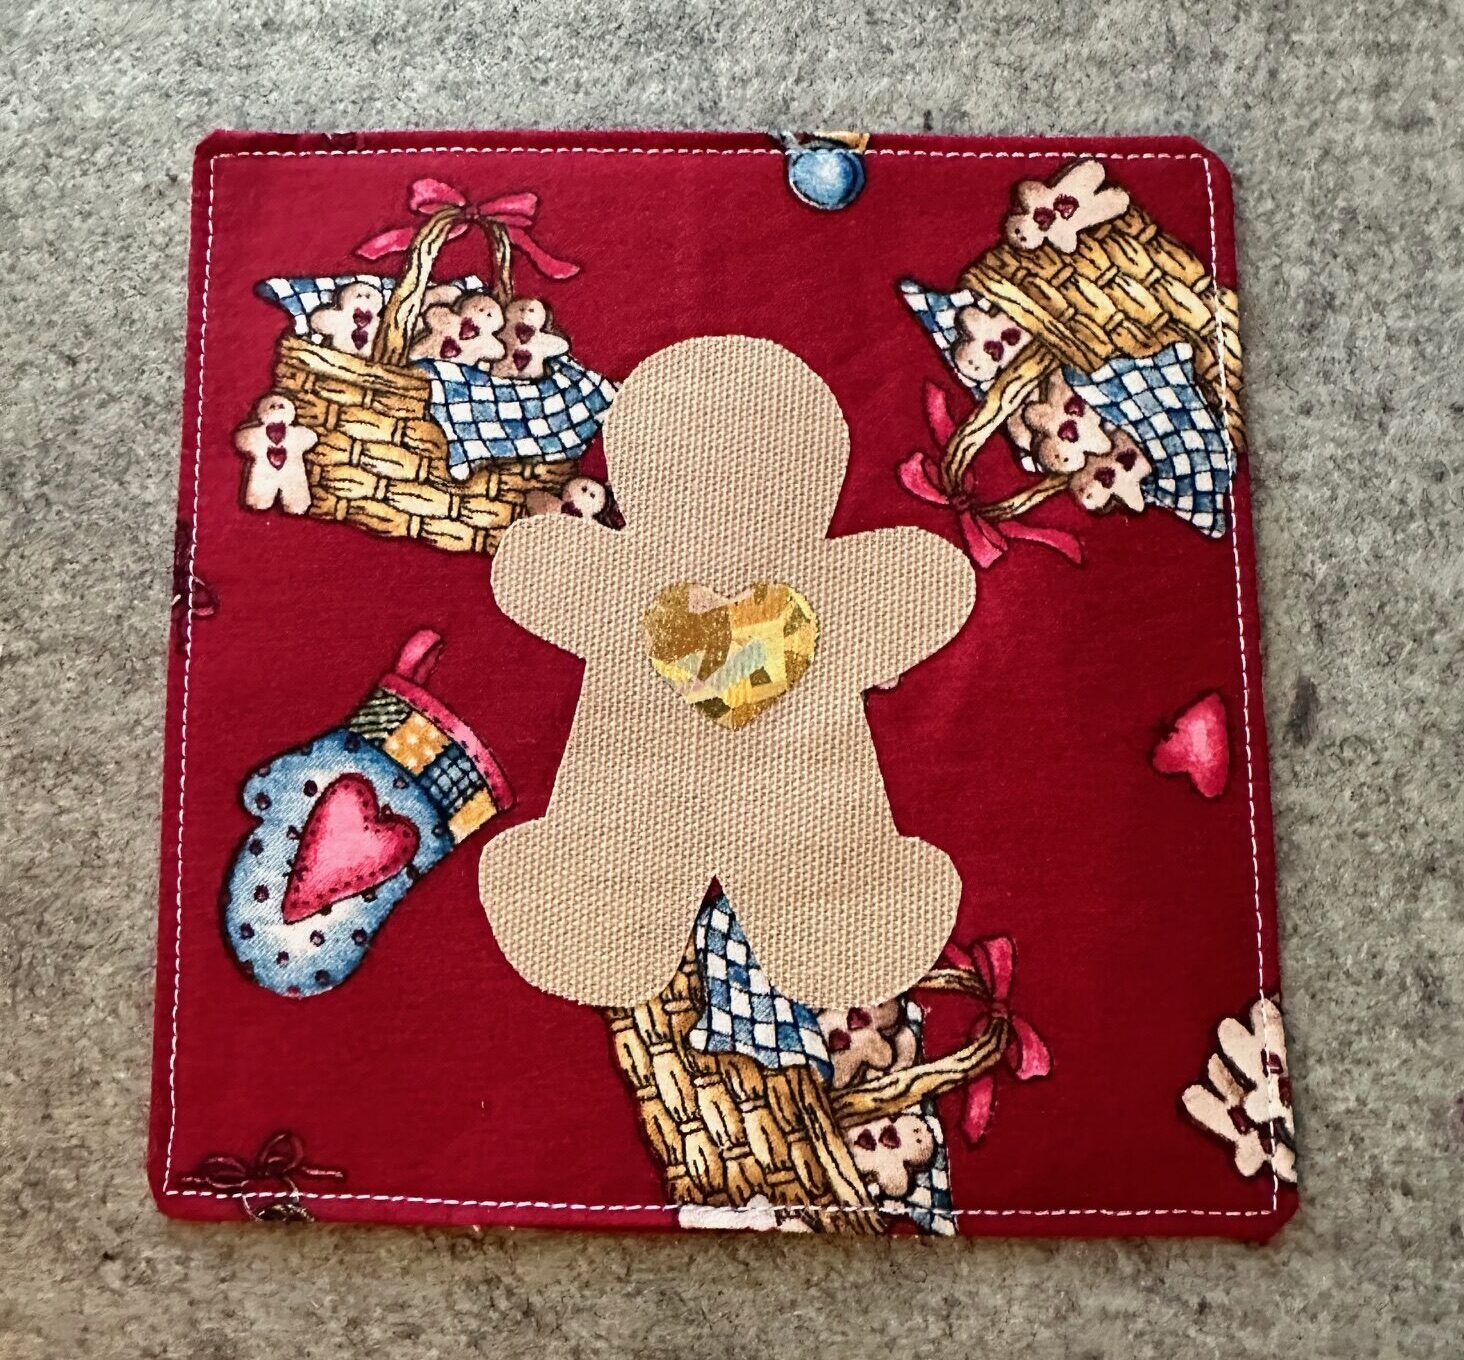
Gingerbread Mug Rug
Supplies:
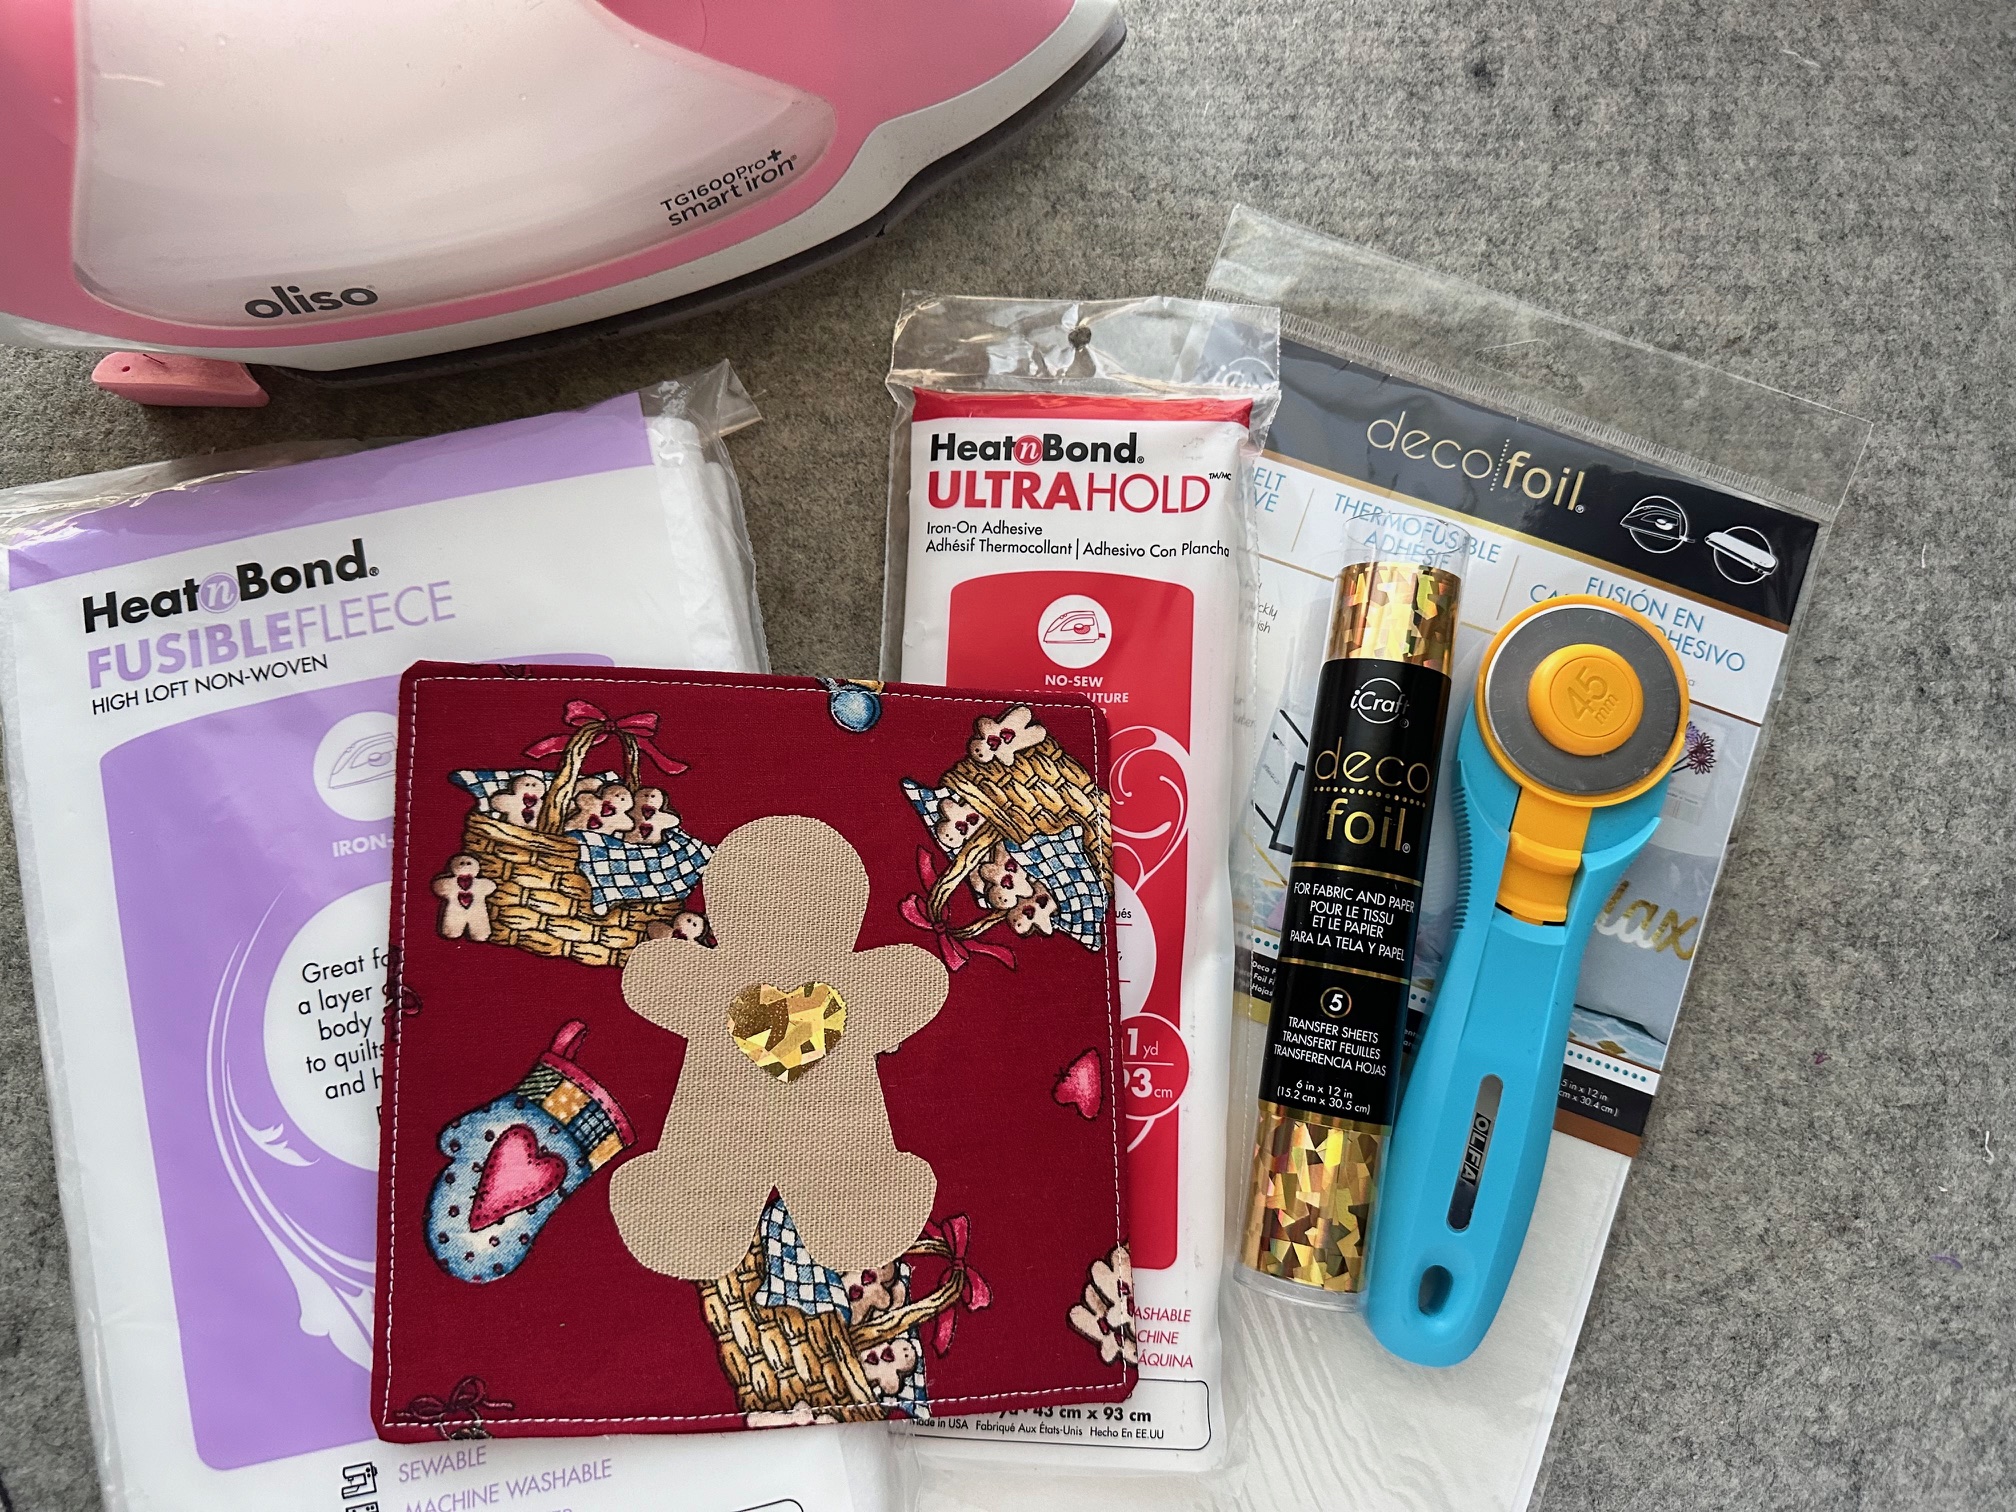
- HeatnBond Ultra Fusible Adhesive
- HeatnBond Fusible Fleece: 6″ square for each mug rug
- Deco Foil Shattered Glass
- Deco Foil Hot Melt Adhesive
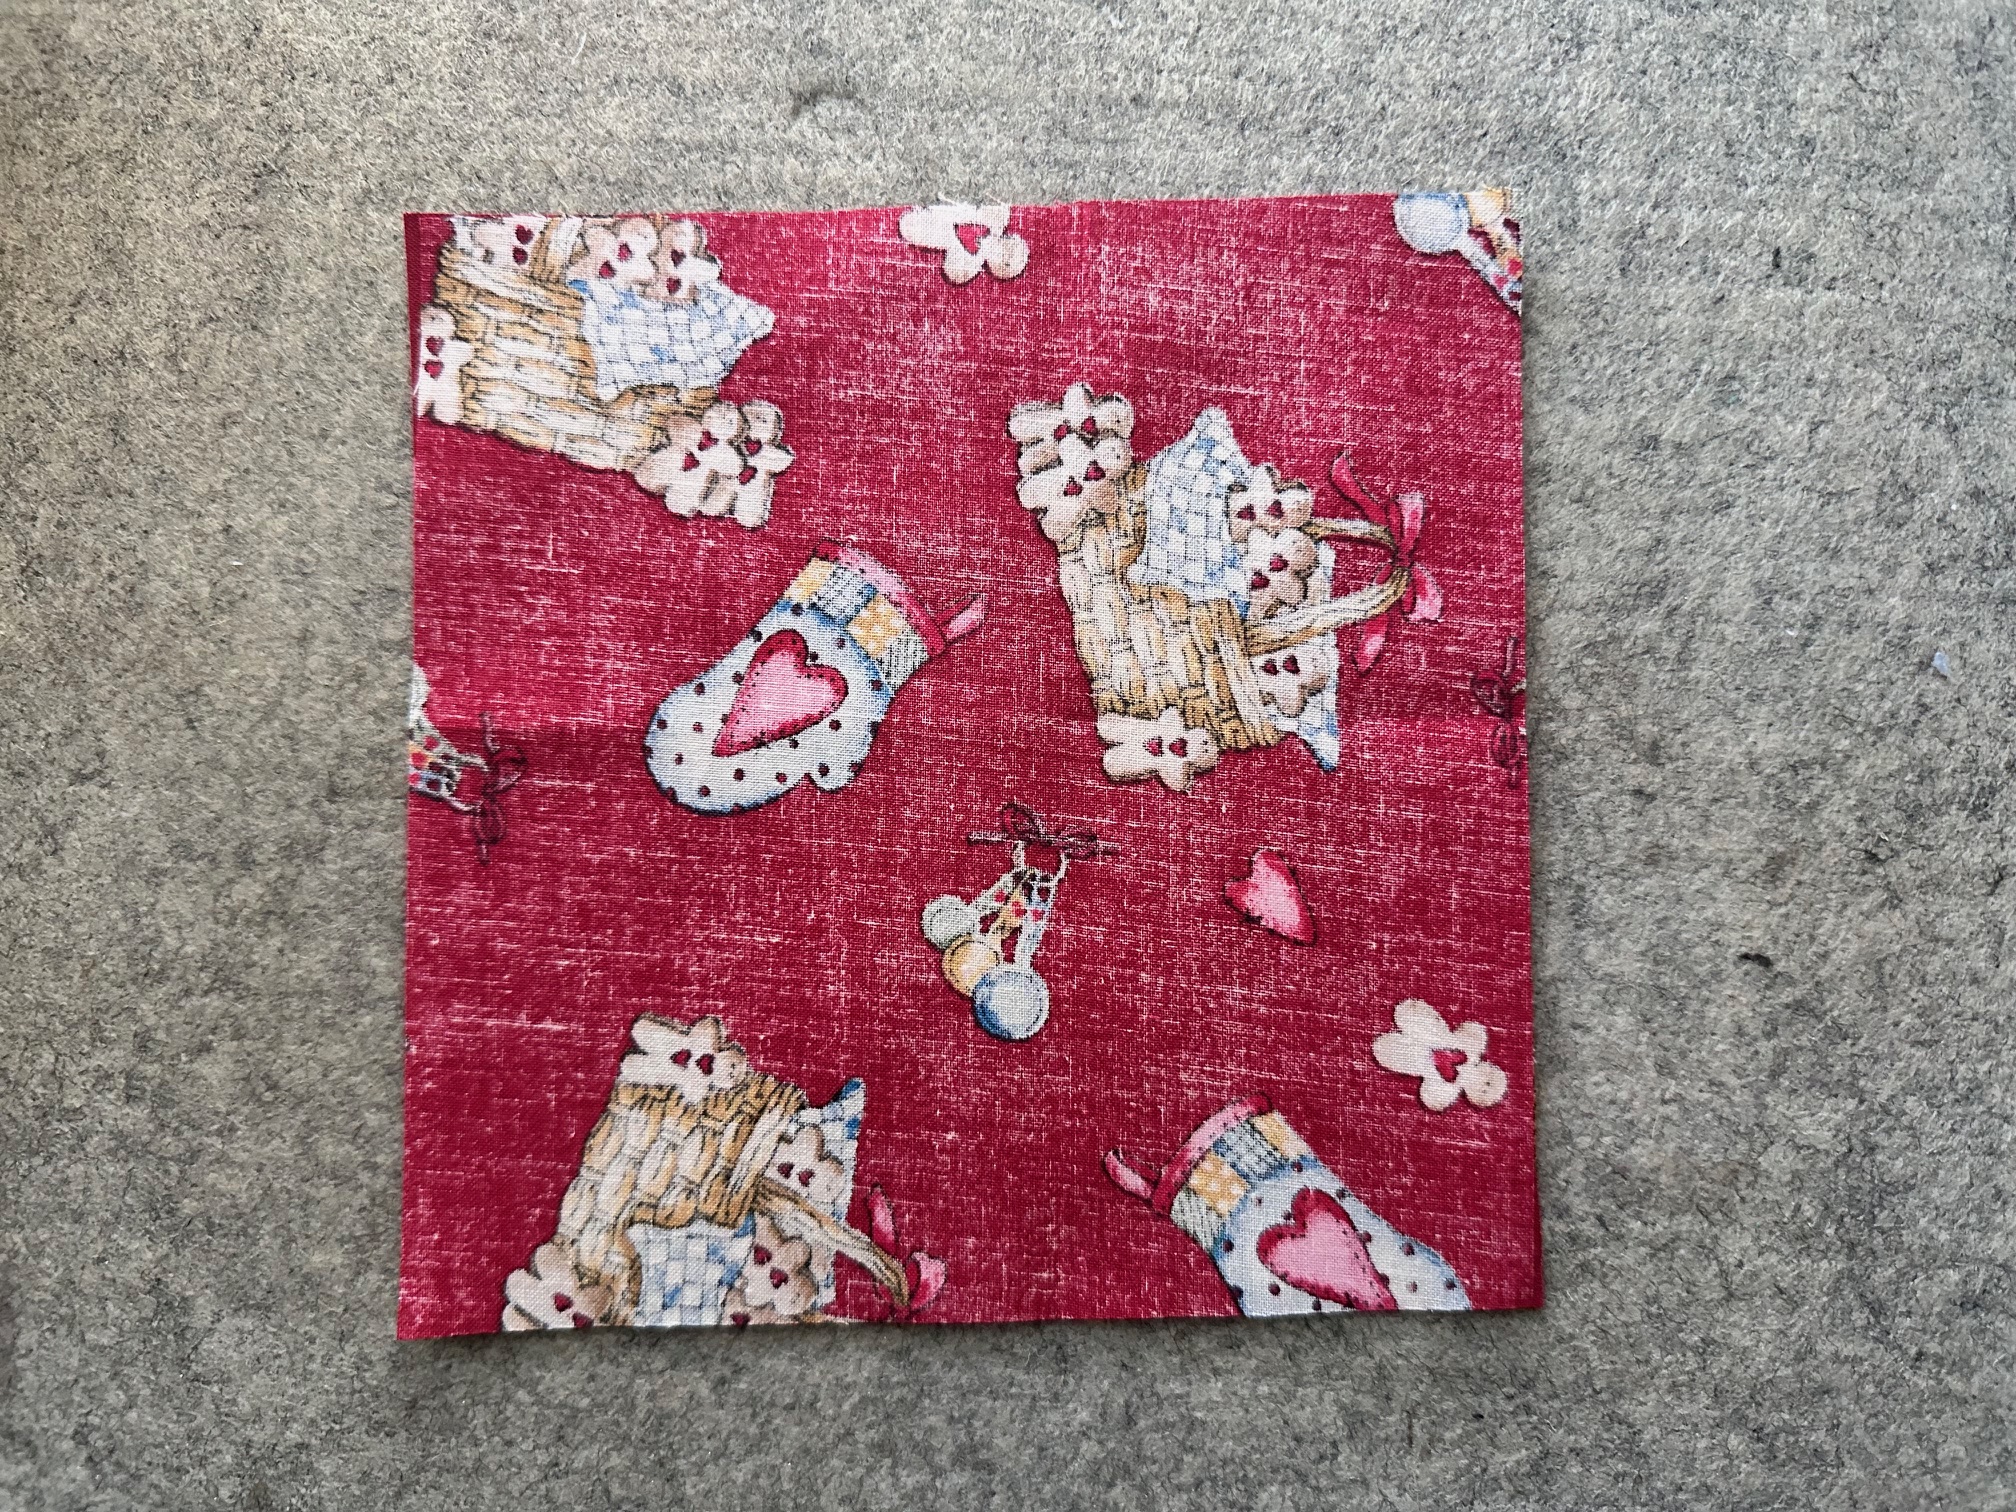
- (2) 6 1/2″ fabric squares for each mug rug
- Tan or brown canvas fabric for gingerbread man
- Gingerbread cookie cutter
- Basic sewing notions
- Oliso Iron
- Olfa cutting mat and rotary cutter
Instructions:
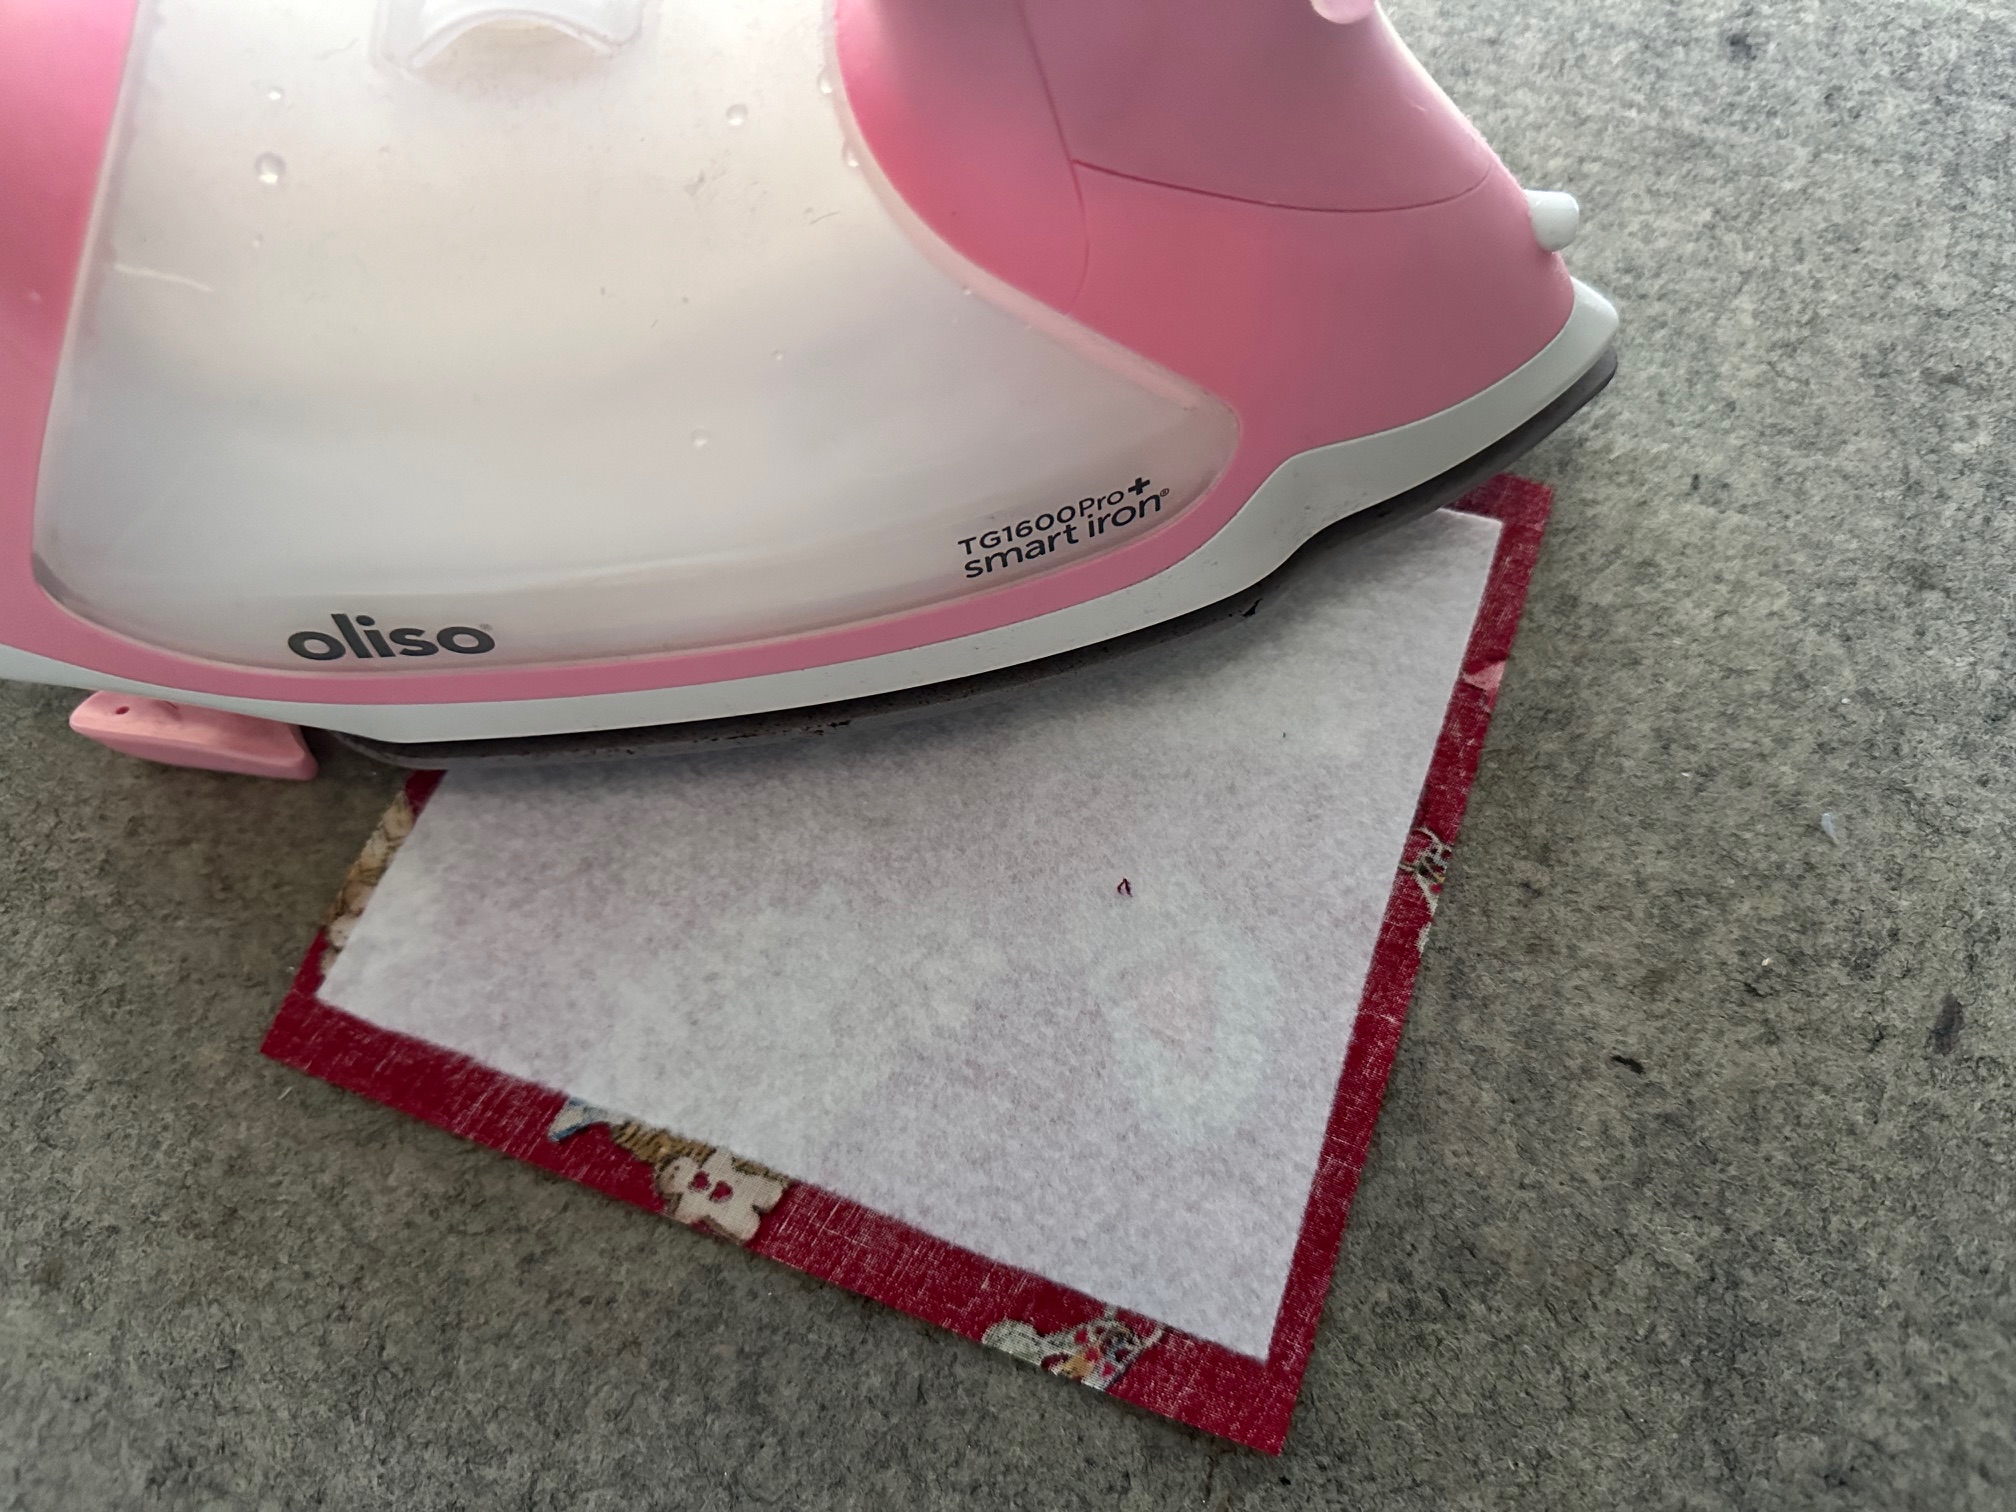
Begin by…
Adhere the HeatnBond Fusible Fleece to the wrong side on one of your fabric squares.
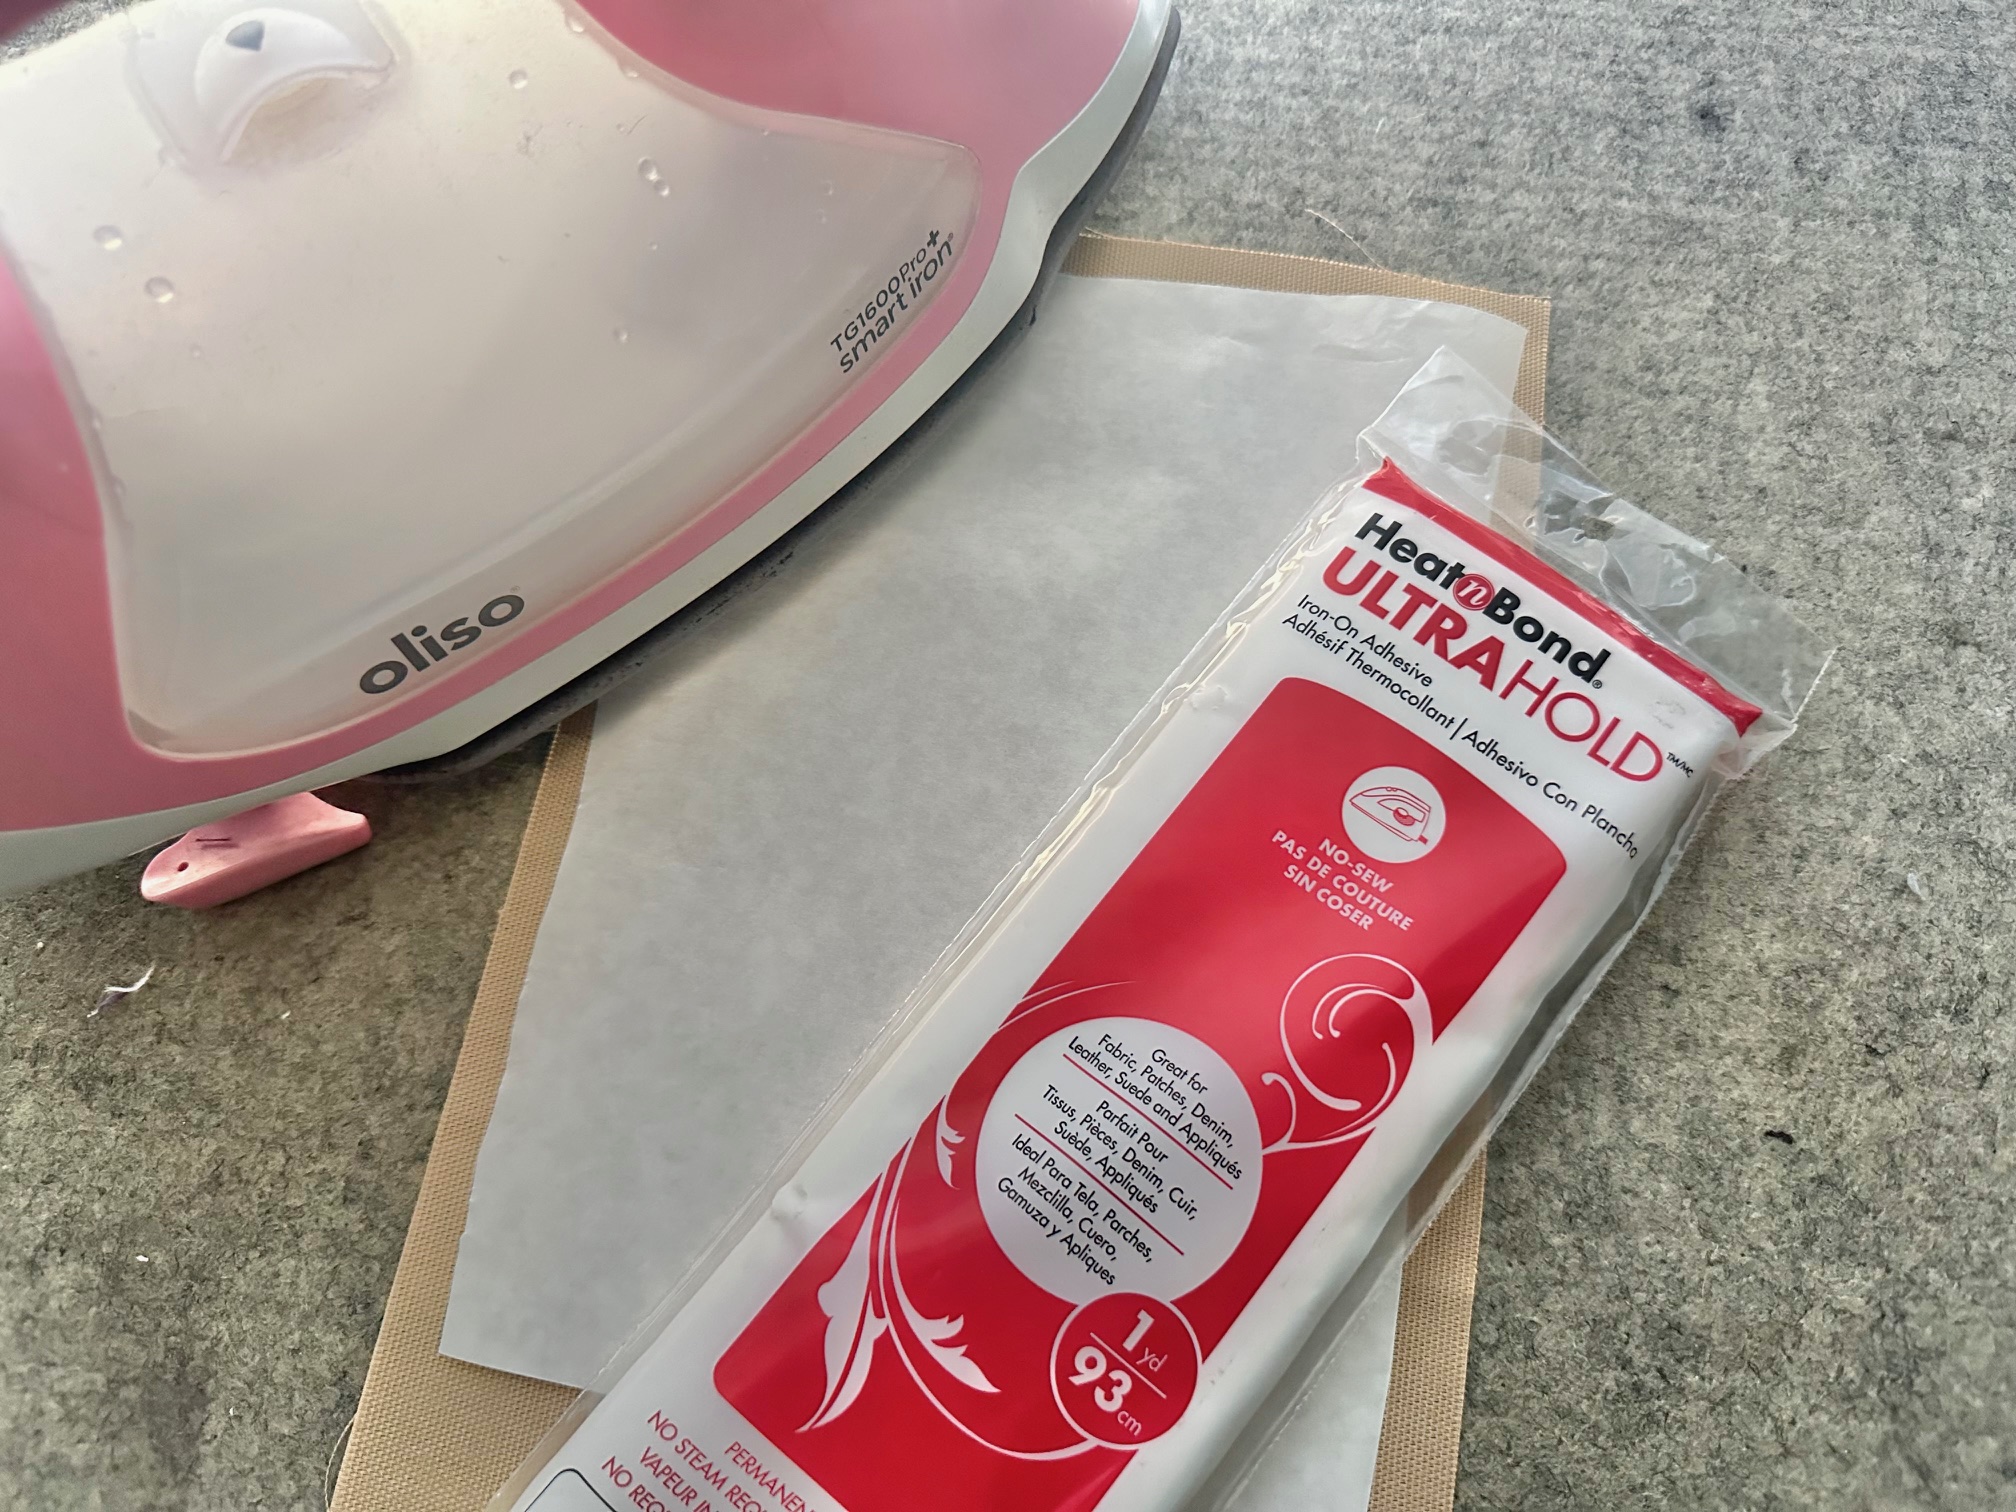
Next…
Fuse the HeatnBond Ultra to the wrong side of your tan/brown canvas fabric.
Then…
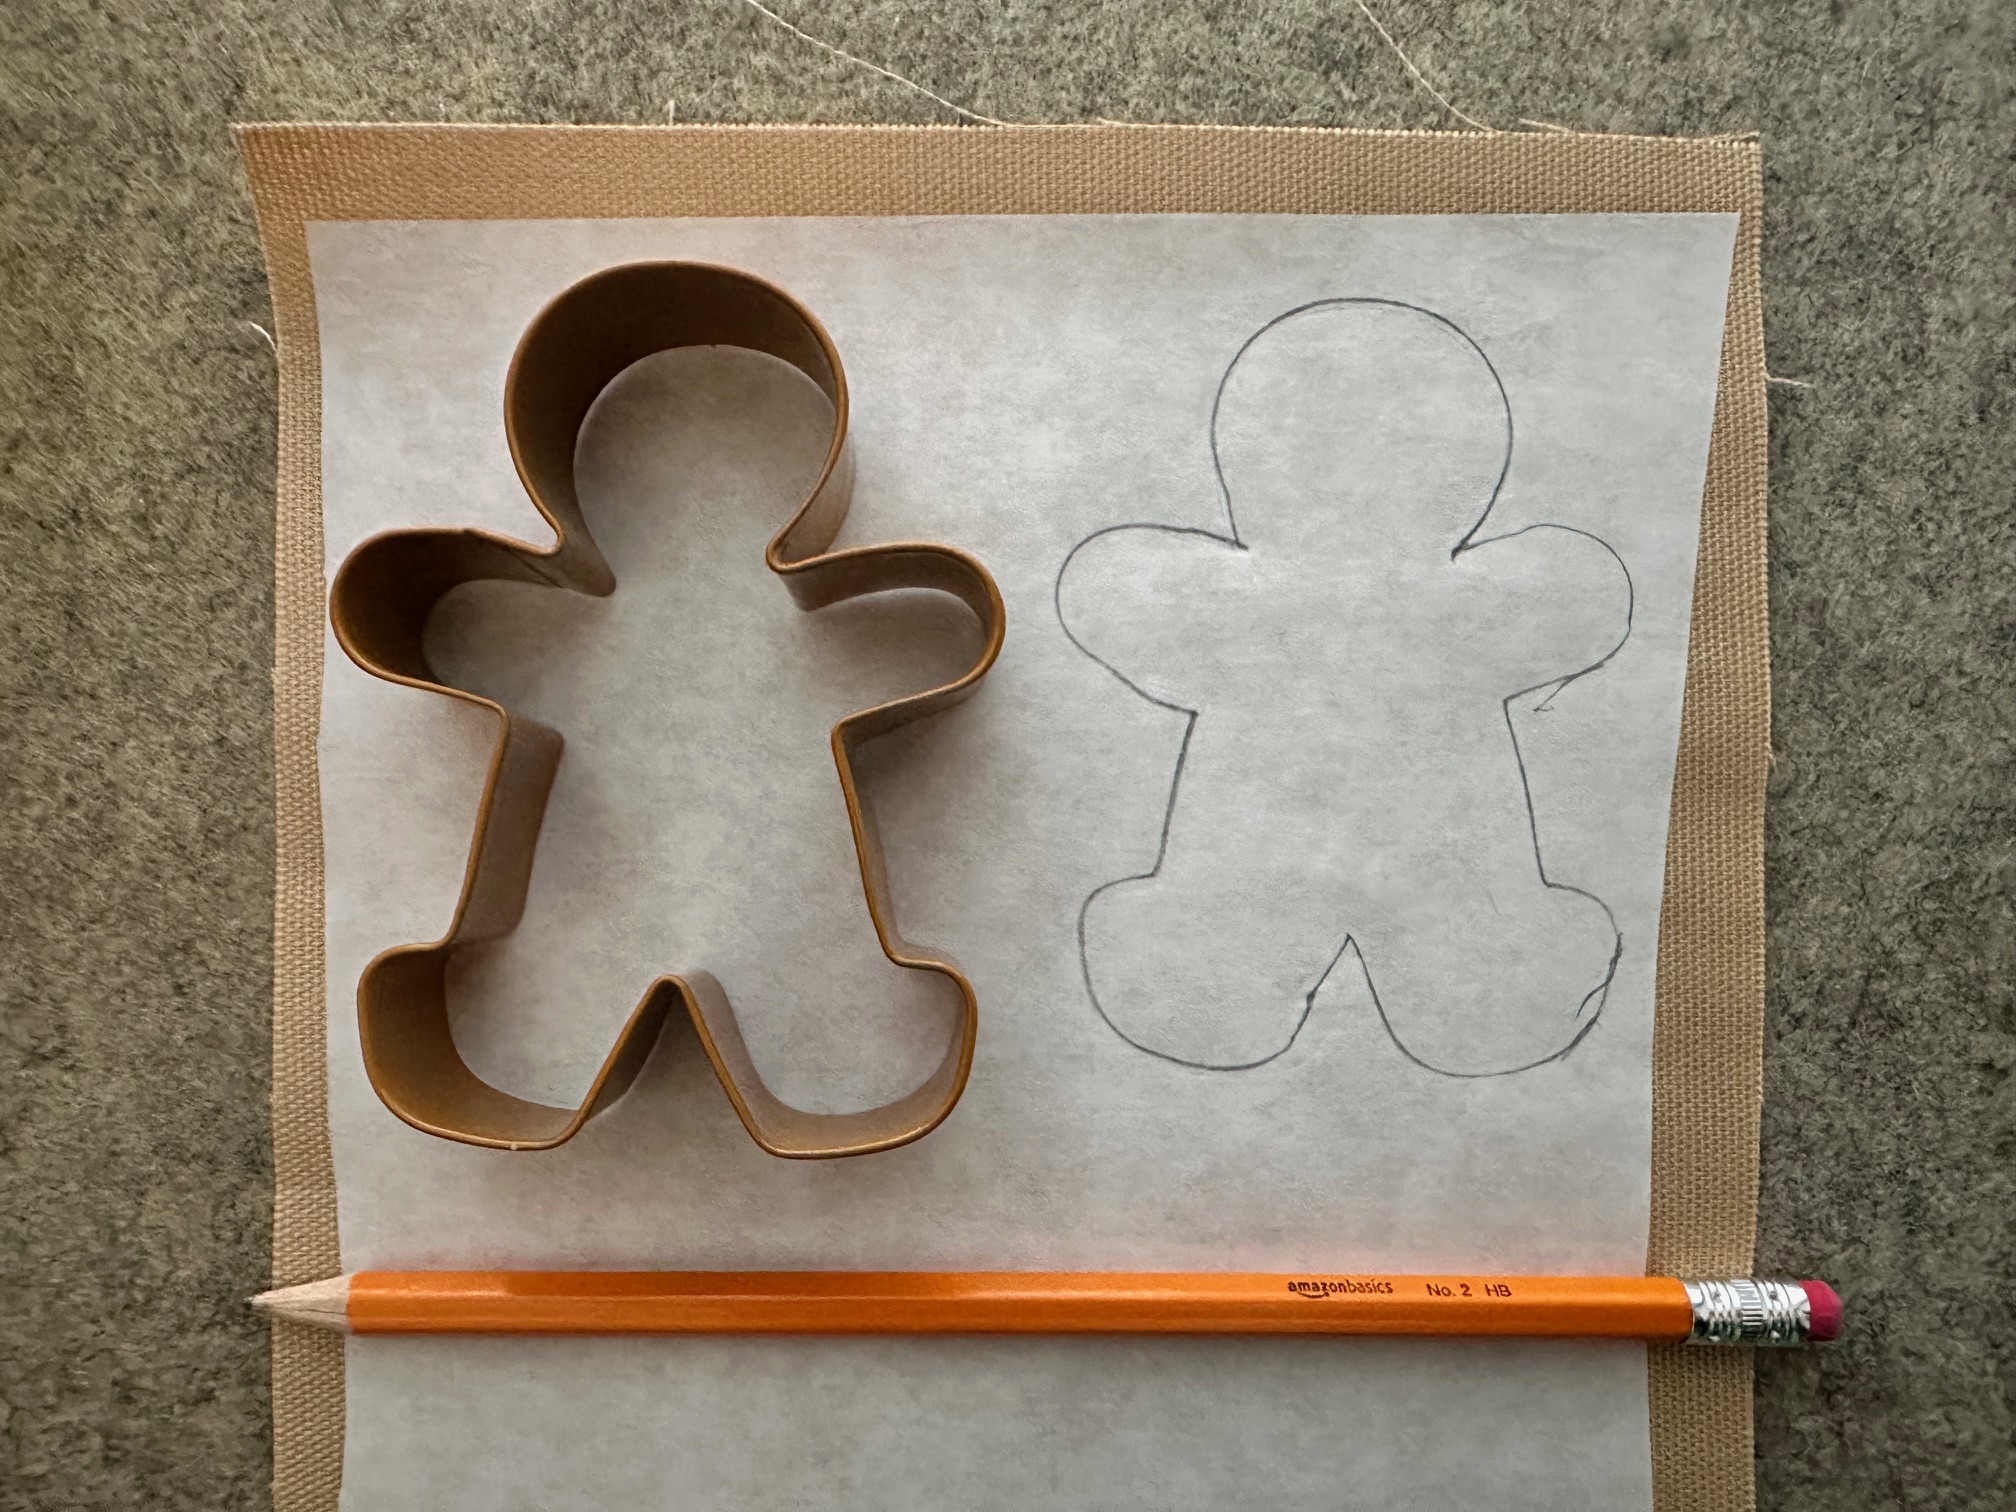
Using your gingerbread cookie cutter (or some other template/free hand) trace around it and cut it out.
Continue by…
Fuse your gingerbread person to the right side of your fabric square that has the fleece adhered to the back.
Next…
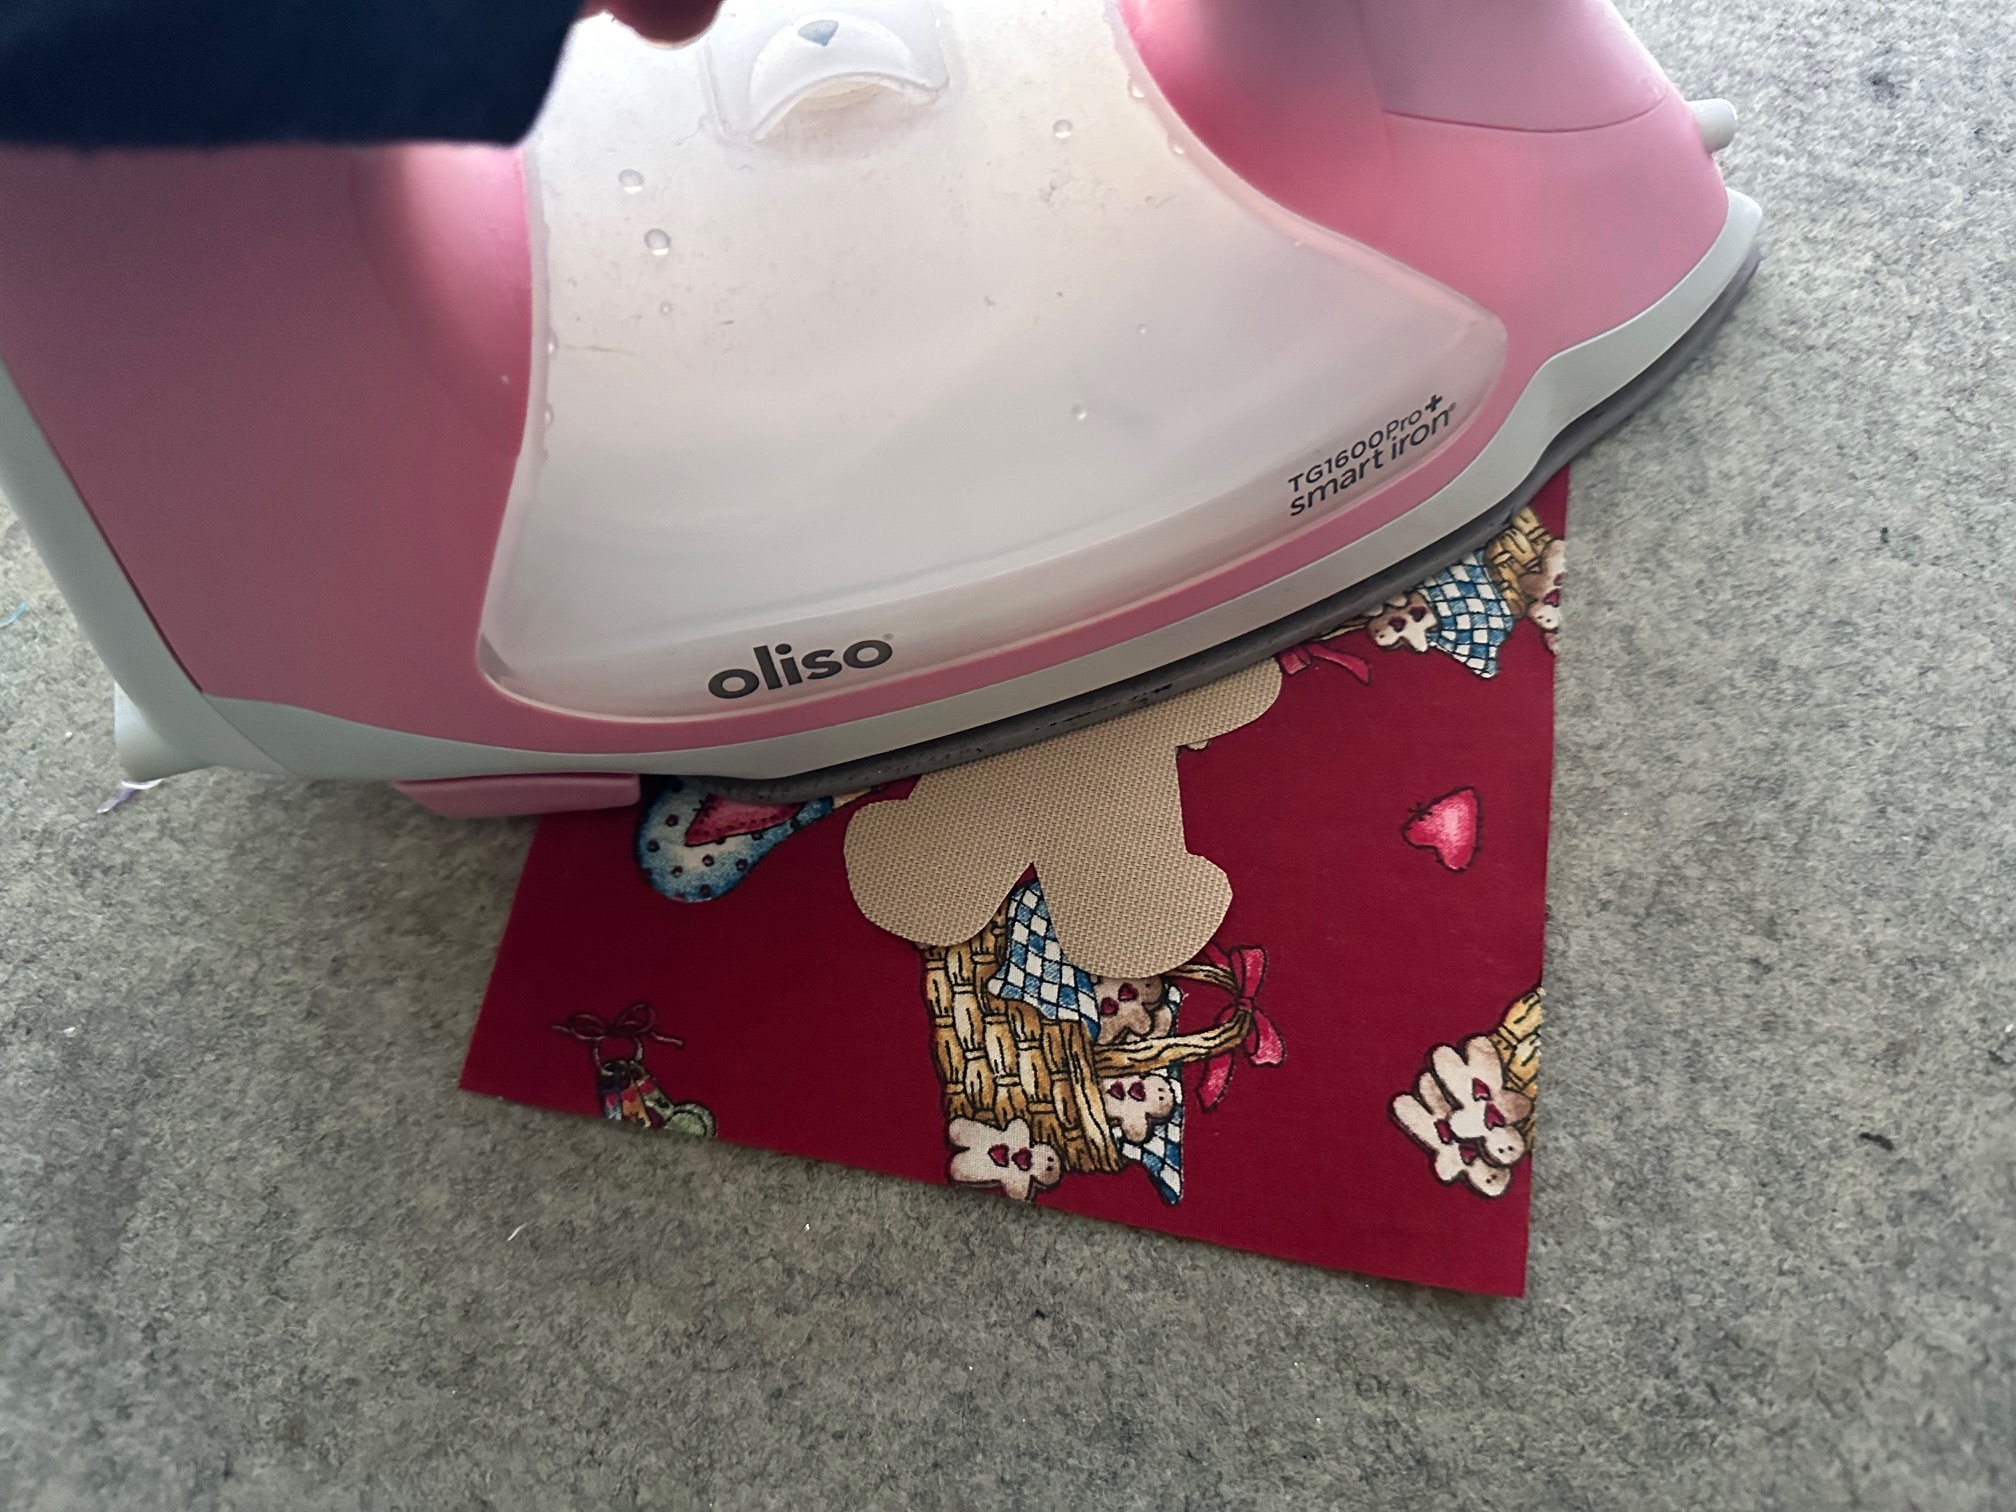
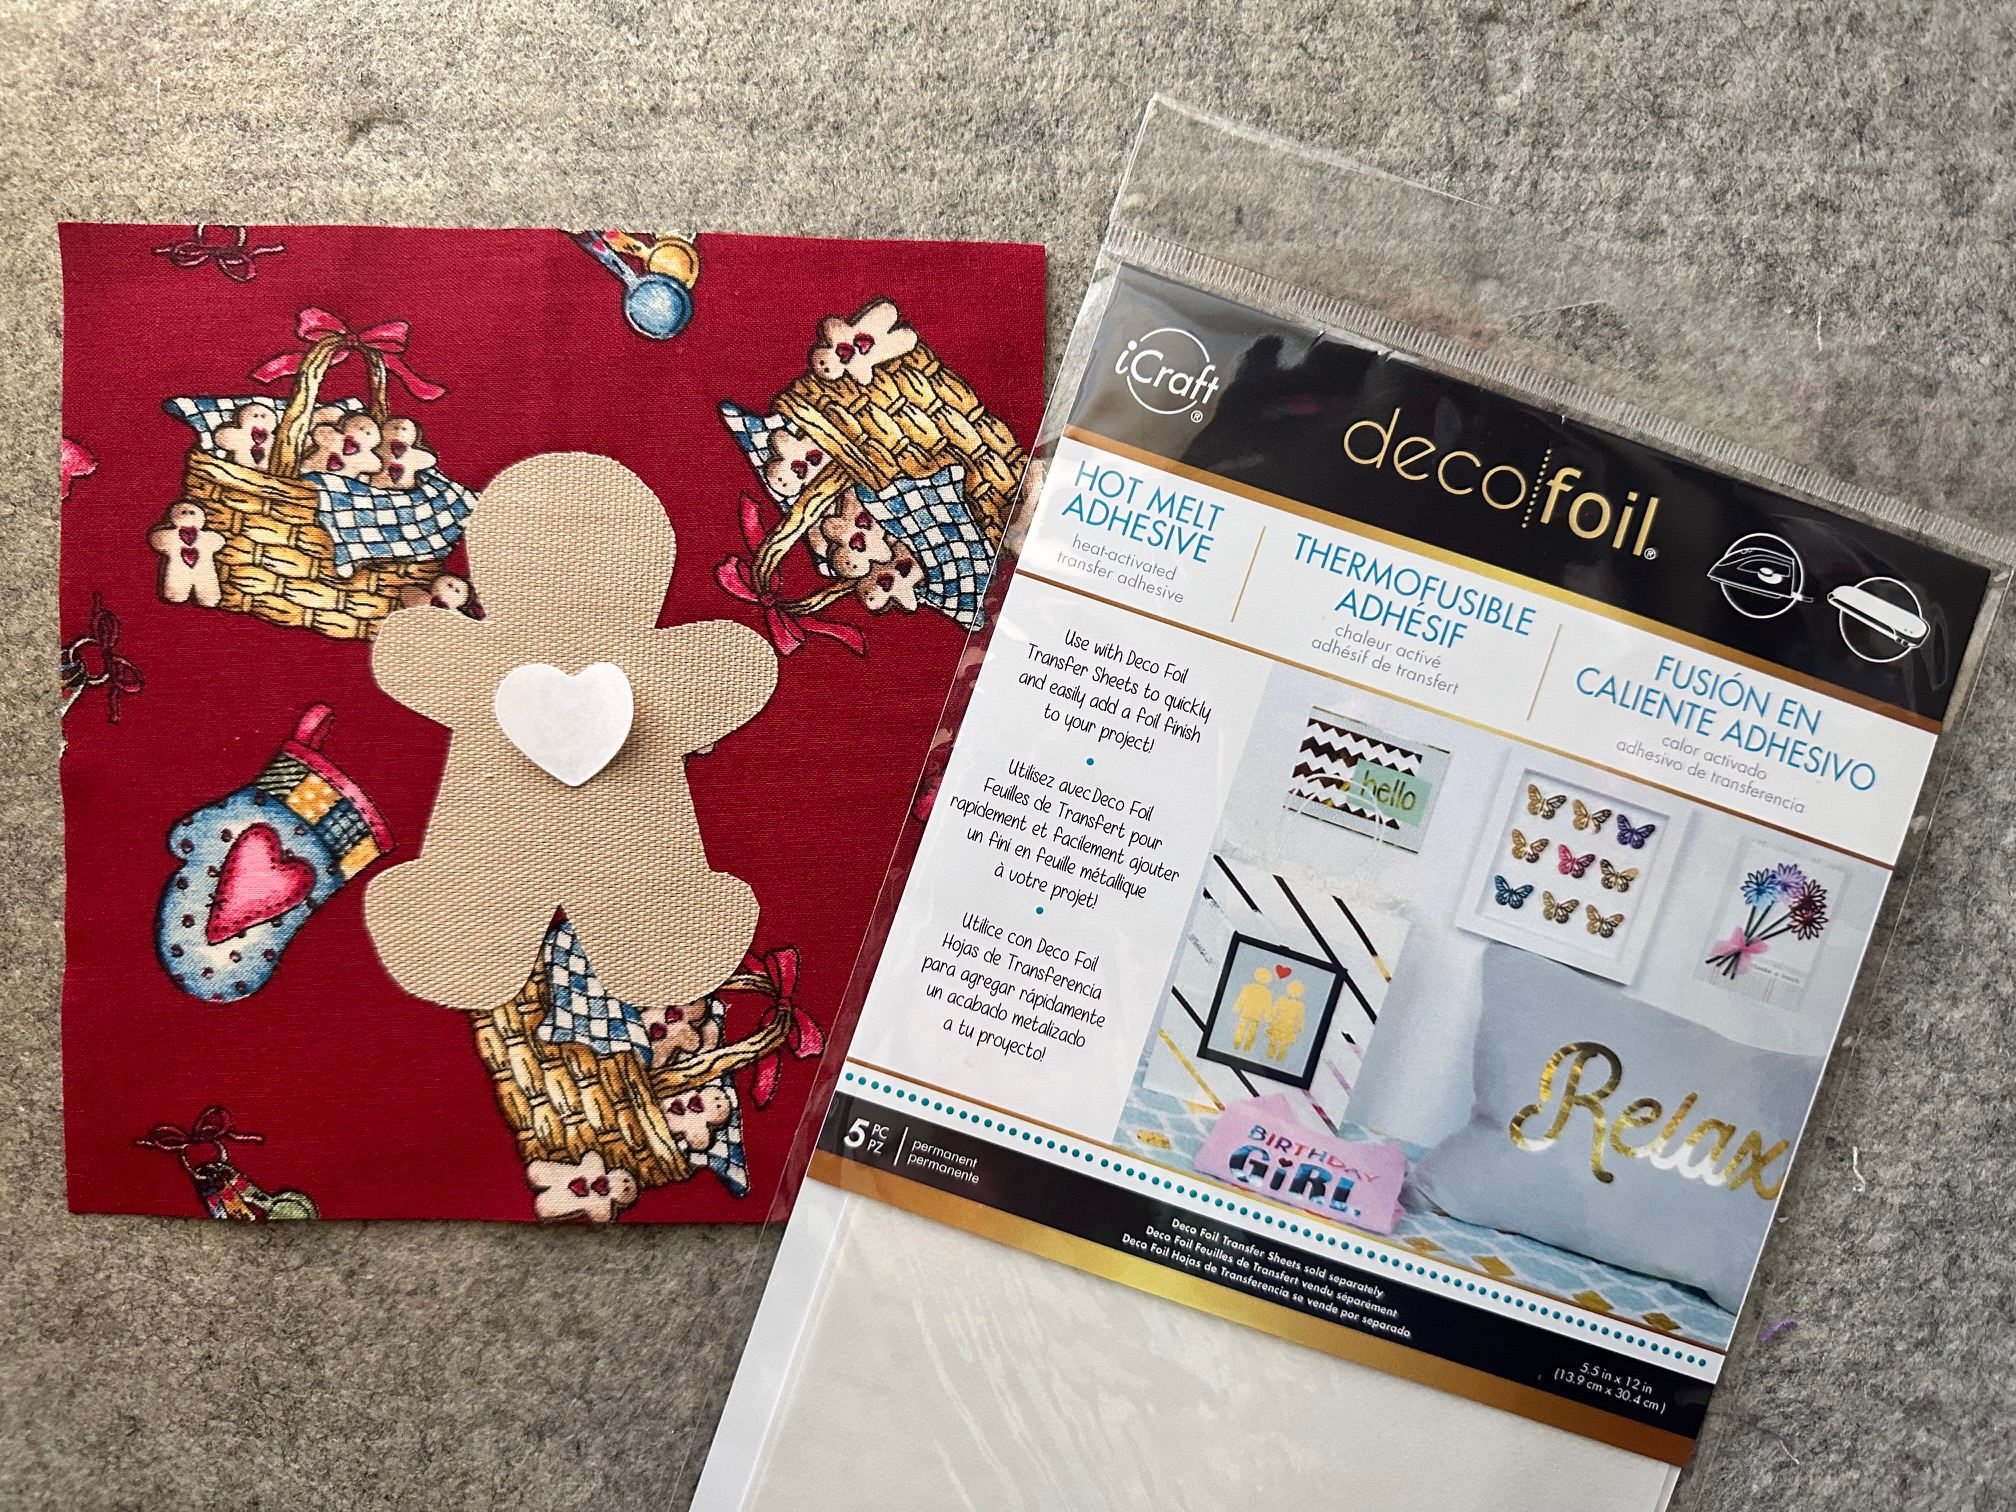
Cut out a heart from the Deco Foil Hot Melt Adhesive. This is a great way to use any leftover scraps! To use the Hot Melt Adhesive, place the rough side down on the gingerbread person. Using medium heat and no steam, press for 30 seconds then let cool completely.
Next…
Once cooled, peel off the paper backing. Cut a piece of foil slightly larger than the design. Place the foil, color side facing up, on top of the adhesive design and place a piece of parchment paper over the foil. Iron the project slowly with firm pressure for 30-40 seconds. When completed, remove parchment paper and allow to cool. Peel foil transfer sheet away from adhesive design.
Important Tip: Washing instructions: Hand wash and lay flat to dry. If needed, machine wash on cold, delicate cycle. Do not iron foiled areas.

Continue by…
Place the other fabric square right side facing down onto your gingerbread fused square. Stitch 1/4″ all the way around leaving a small opening for turning. Once sewn, clip the corners and turn your mug rug right side out and press the edges.
Important Tip: Make sure to not run your iron over the deco foil.
Finally…
Turn under the opening and sew an 1/8″ all the way around to close.
Finished!

Thank you for visiting today! Come back soon to see what else will be starting to bloom with Inflorescence Designs!
Starting to bloom by choosing JOY ~ Julia