Hello and welcome!
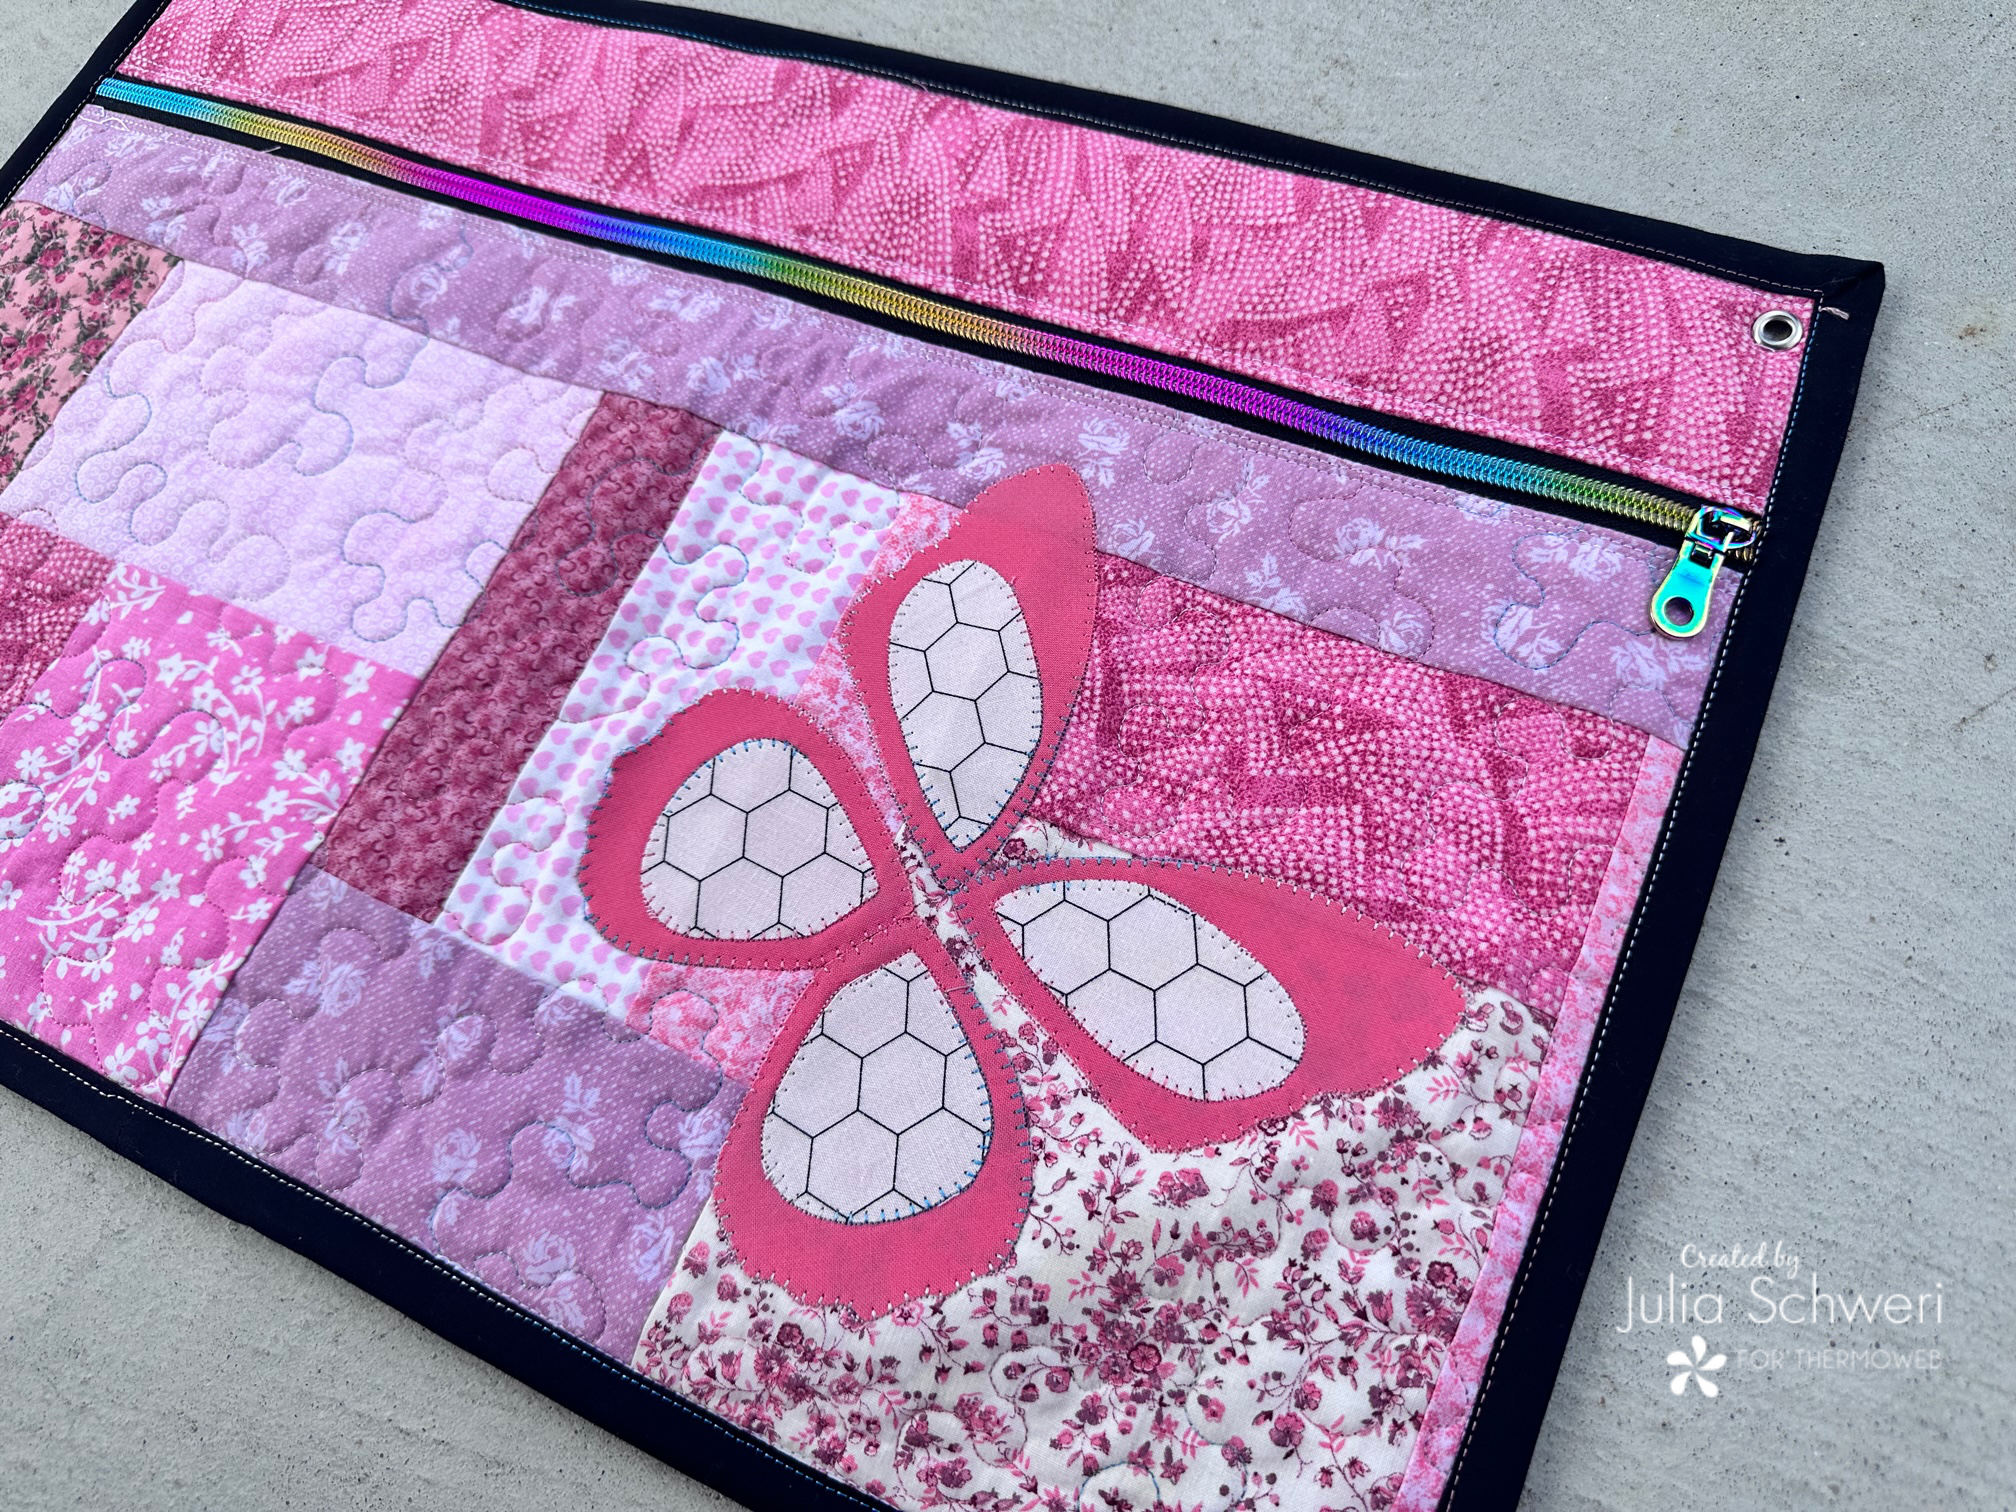
It’s Julia from Inflorescence Designs! I’m so joyful you are visiting today. For today’s tutorial, I am going to show you how to make this fun X-Large Zippered Pouch.
It is the beginning of October which means we are going to start to see black, orange, Halloween and fall everywhere! I wanted to change up this post and publish something PINK! October is also Breast Cancer Awareness Month, so this post is to honor that.
This X-Large Zippered Pouch is BIG! It measures approximately 20″ x 13″ when finished. It is great to hold all sorts of things. You can store some of your WIPs or perhaps wrap a gift in it. It can also hold toys and toiletries. I even added a rivet in the top corner so it can be stored in a closet or on a hook.
Pretty in Pink X-Large Pouch
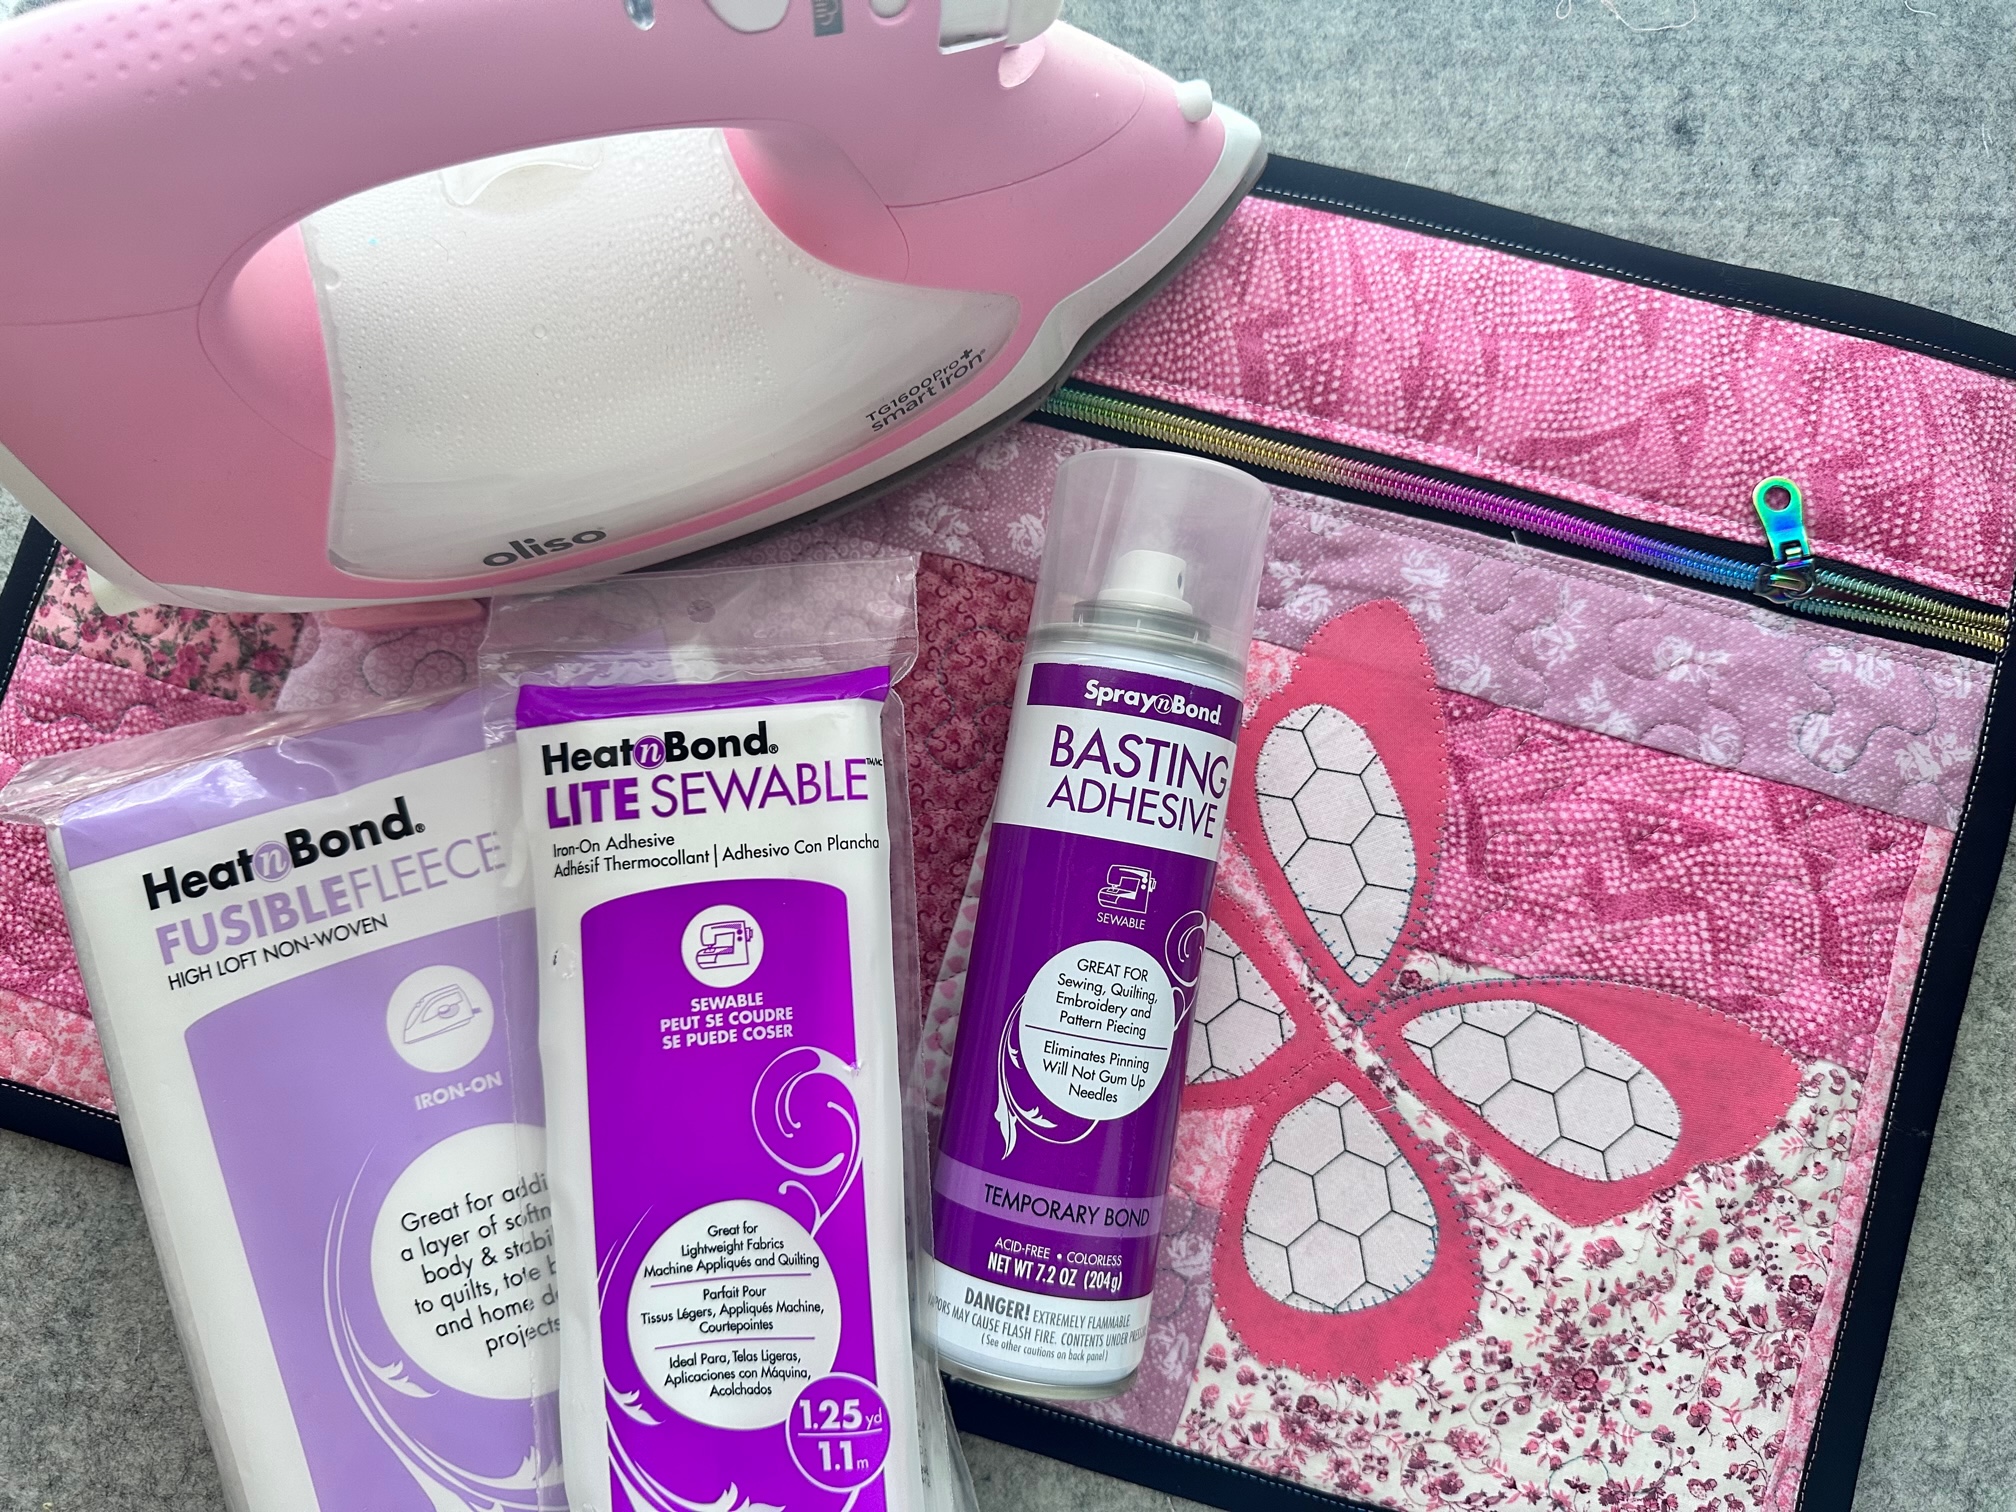
Supplies:
- HeatnBond Lite Iron on Adhesive
- HeatnBond Soft Woven Fusible (optional)
- HeatnBond Fusible Fleece
- 20 1/2″ x 10 1/2″
- 2 3/4″ x 19 1/2″
- 19 1/2″ x 12 1/2″ (this size is determined by your bag back sizing)
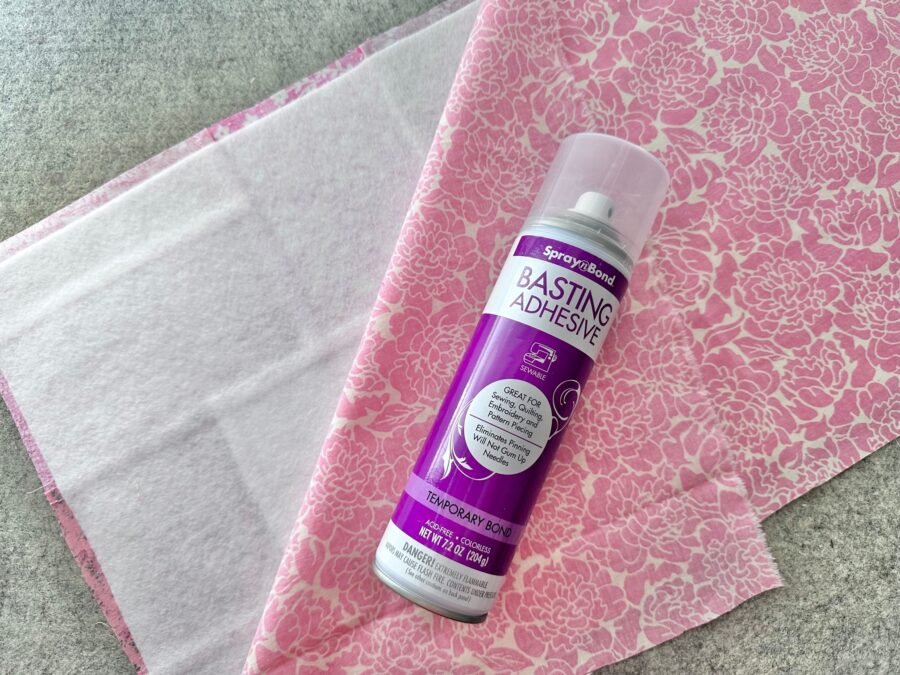
- SpraynBond Basting Spray
- 22″ Zipper #5 with zipper pull
- 21″ x 11″ Front Fabric Piece (solid piece or patchworked together)
- 21″ x 11″ Lining Front Fabric Piece
- 3″ x 20″ Front Fabric Piece
- 3″ x 20″ Lining Fabric Piece
- 20″ x 13″ Back Fabric Piece (This is approx. It will be determined by your front size piece when finished making it. You can also patchwork this piece as well)
- 20″ x 13″ Back Lining Piece (This is approx. It will be determined by your front size piece when finished making it)
- Fabric for binding (amount varies depending on application) My binding is 2″ in width, and I needed 2 strips of 42″ fabric.
- Basic sewing notions
- Oliso Iron
- Crafter’s Edge Crossover II Die Cutting Machine
- Crafter’s Edge Large Butterfly
- Rivet and Rivet Application Set (optional)
Instructions:
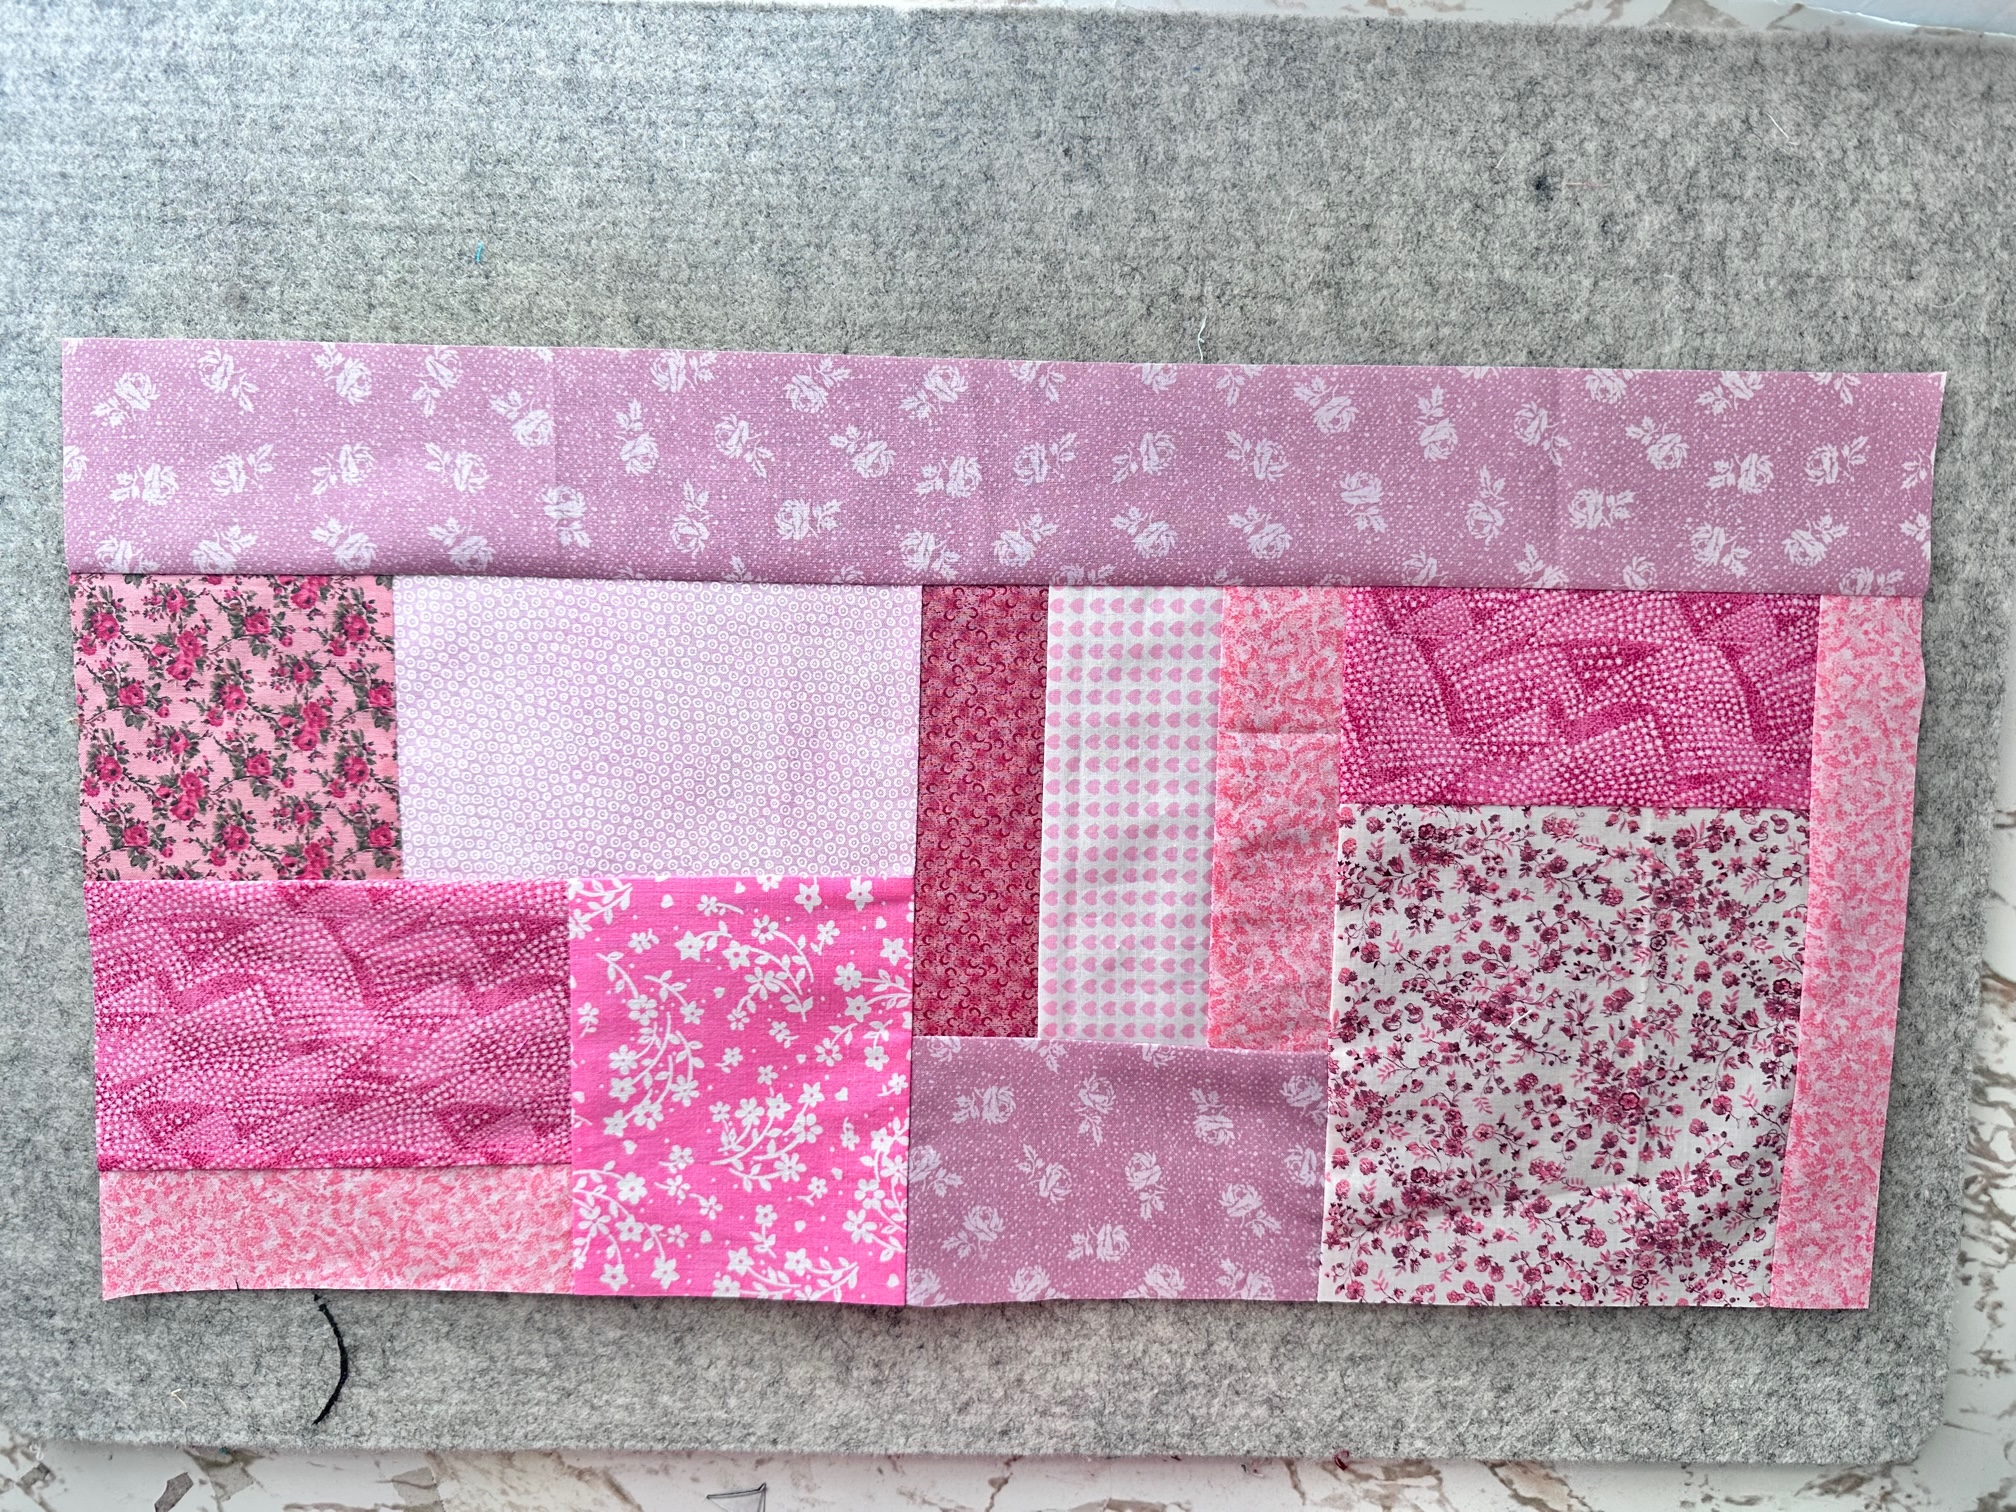
Begin by…
Cut or patchwork piece your front 21″ x 11″ panel and set aside.
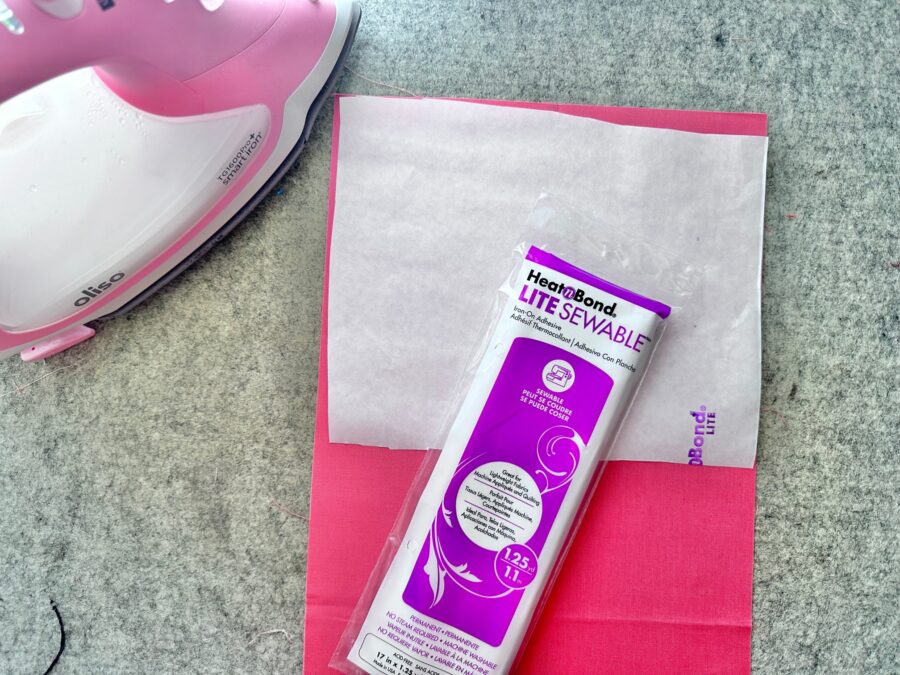
Next…
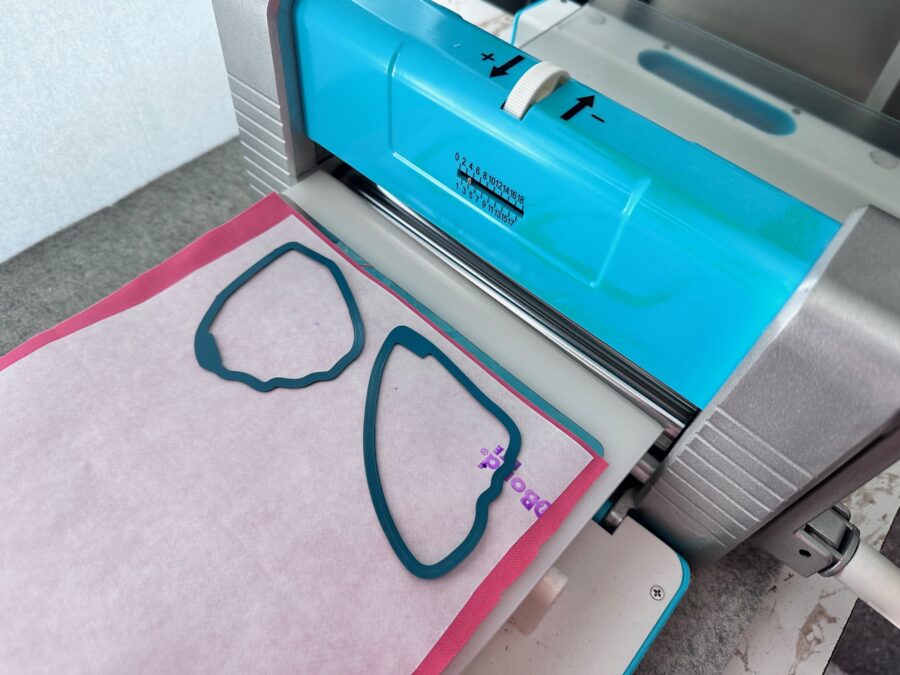
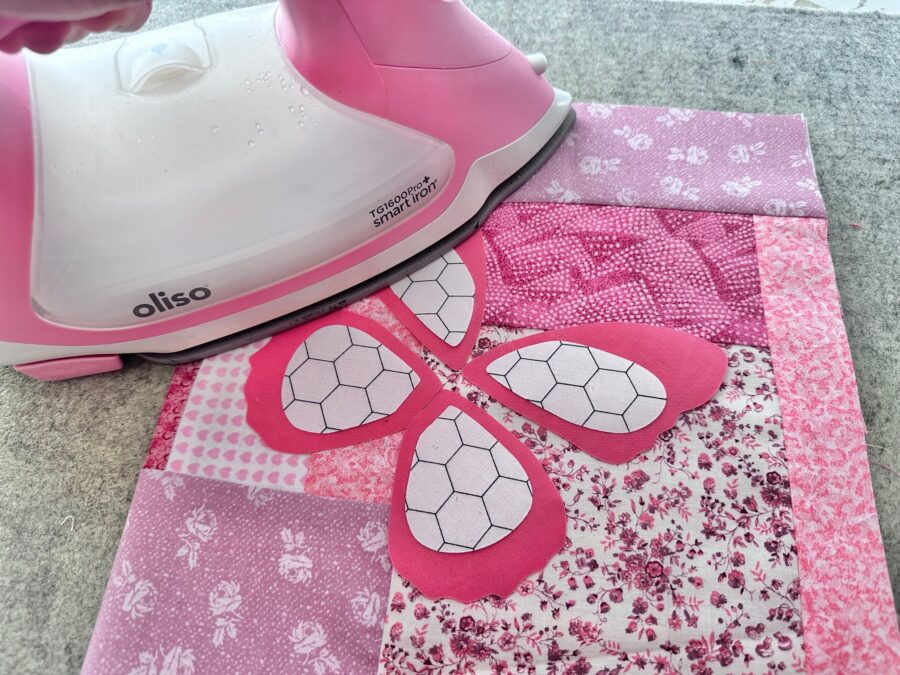
If adding applique, fuse the HeatnBond Lite to the wrong side of the fabric. Cut out your shapes. If doing the butterfly die from Crafter’s Edge, make sure to cut out one set of the butterfly wings with the HeatnBond Lite facing up and then the other set with the HeatnBond facing down so you have a mirror image of the shapes. Once your shapes are cut out, fuse them to your front panel fabric piece. Make sure not to fuse your shapes too close to the edges.
Continue by…
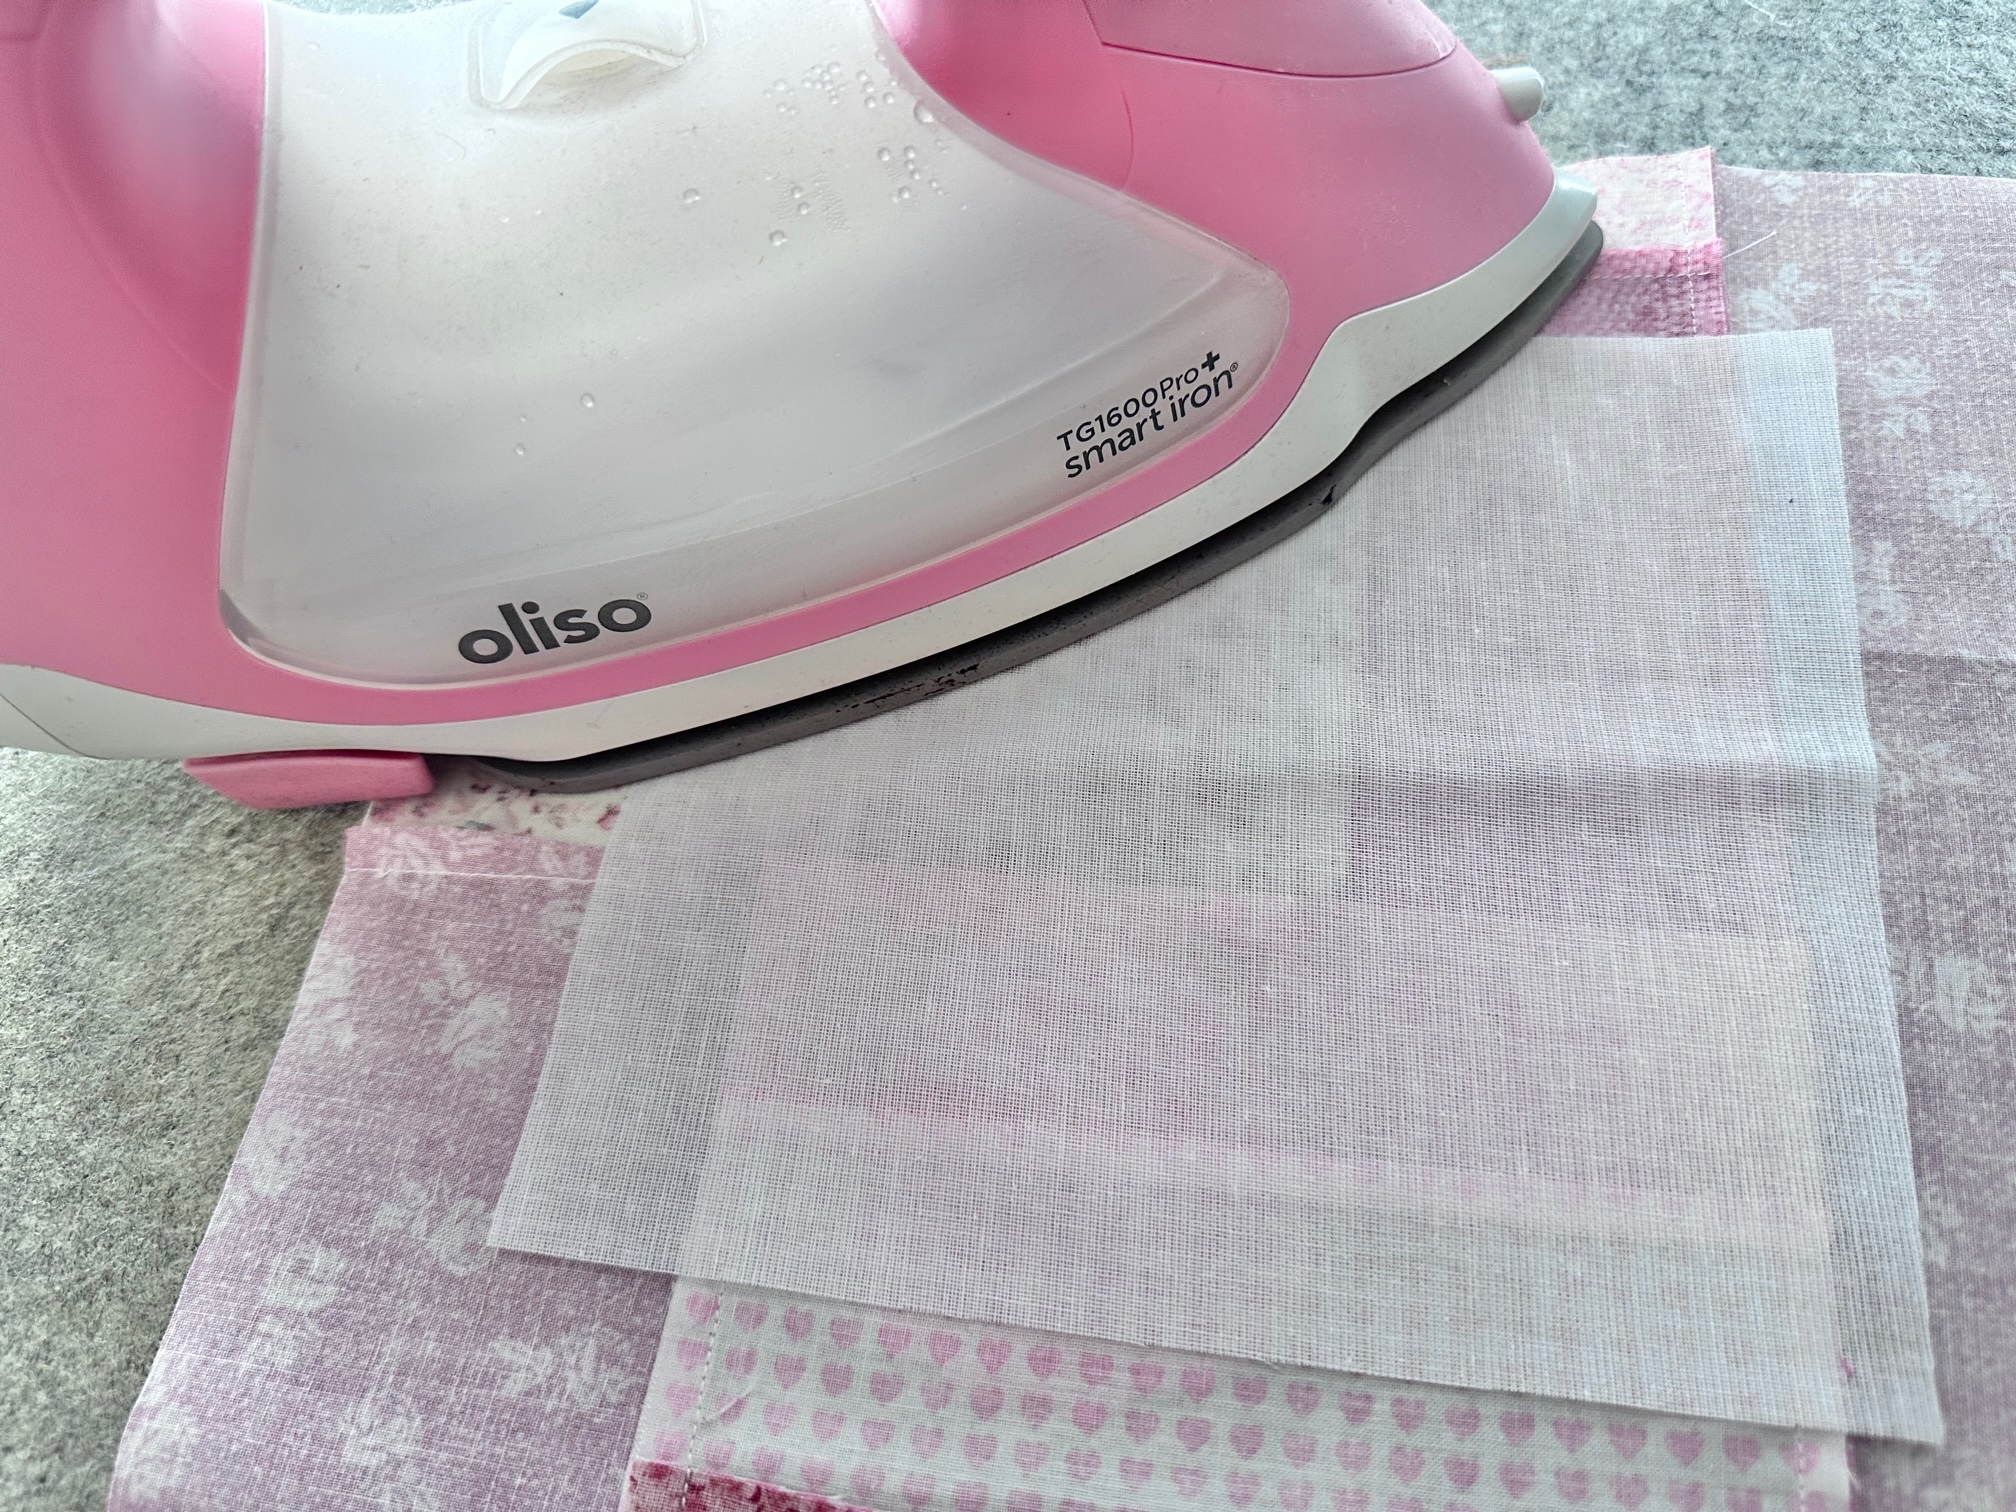
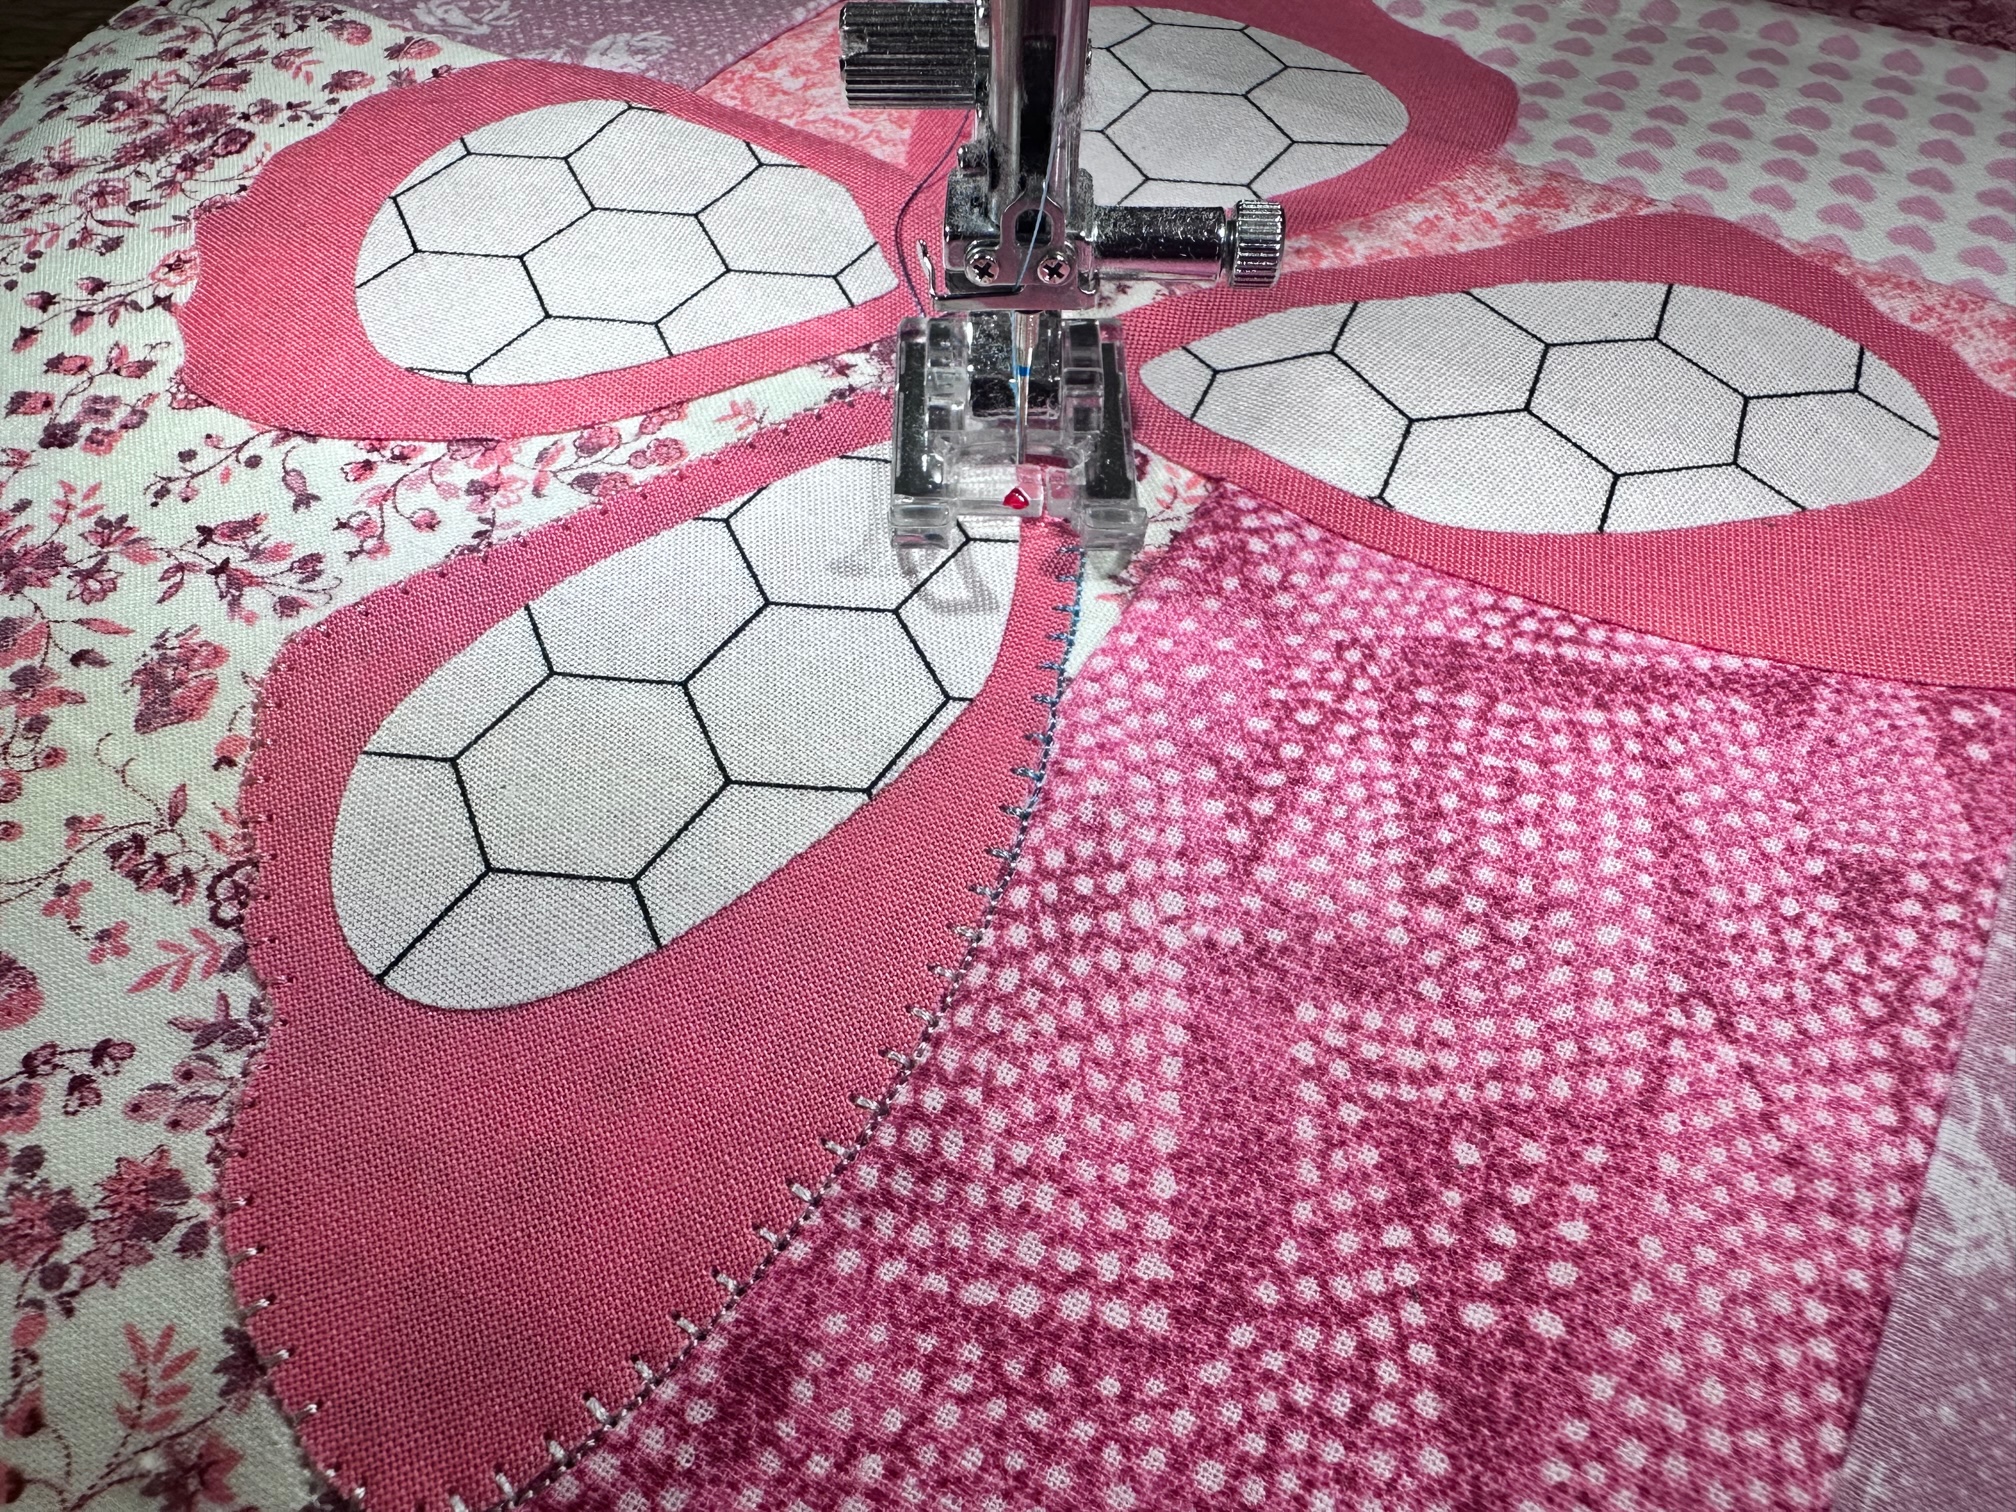
This next step is optional, but I highly recommend it. I fused a piece of HeatnBond Soft Woven Fusible to the back of the fabric over the butterfly. This piece will help keep your fabric from puckering and tucking while you are machine appliquéing. If you have ever appliqued just 2 pieces of fabric together with nothing to stabilize them this can happen. Applique using your preferred method.
Next…
Fuse the HeatnBond Fusible Fleece to the wrong side of your bag front. Then, baste the lining to the fusible fleece using SpraynBond Basting Spray. Quilt the front to your liking. Then trim your bag front to 20″ x 10″.
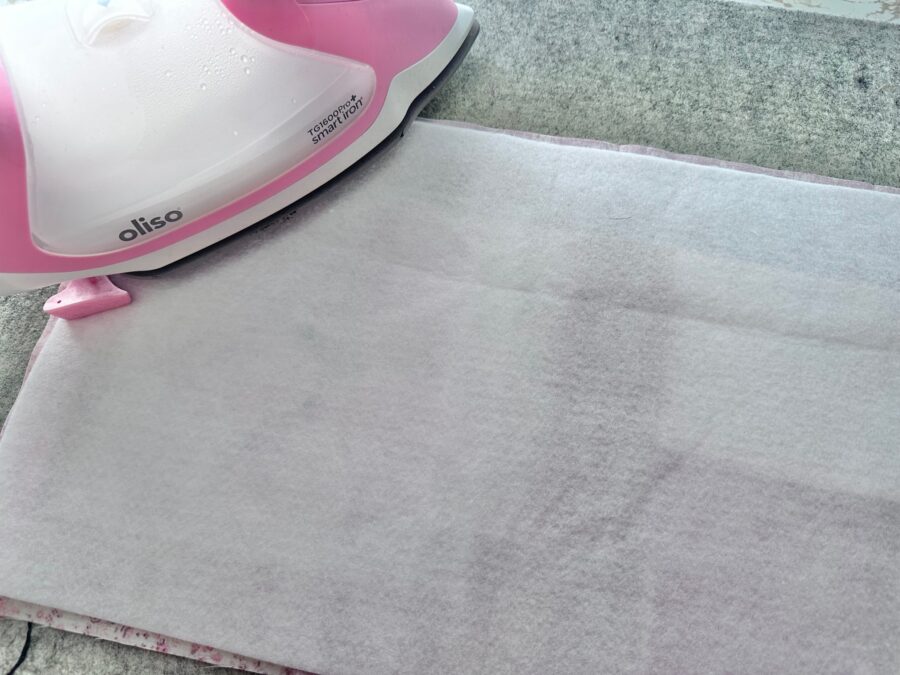
Next…
Fuse the top strip (3″ x 20″) front fabric and HeatnBond Fusible Fleece together. Then, baste the lining to the back of the fleece using SpraynBond Basting Spray.
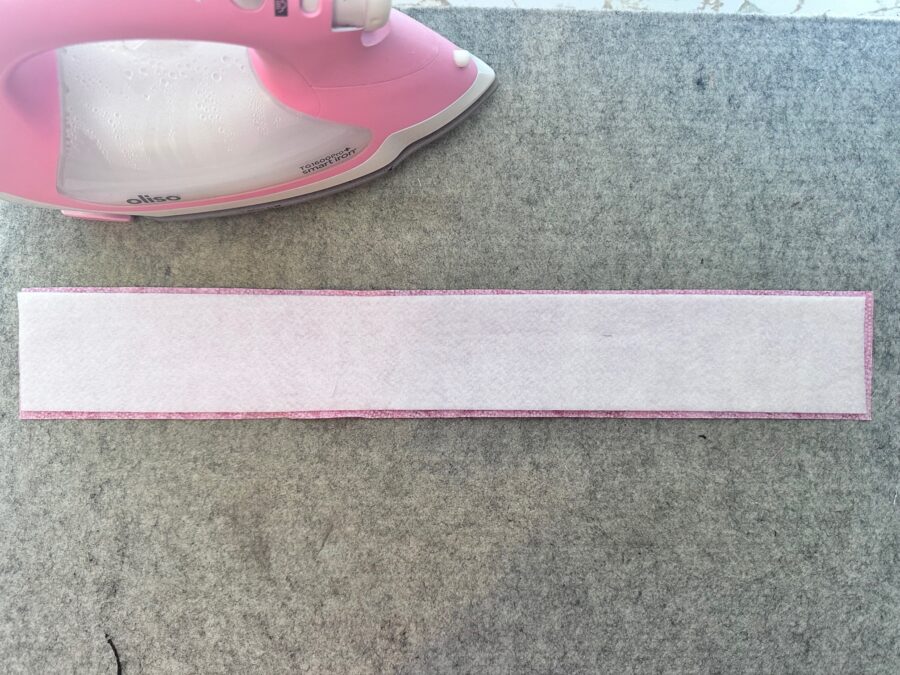

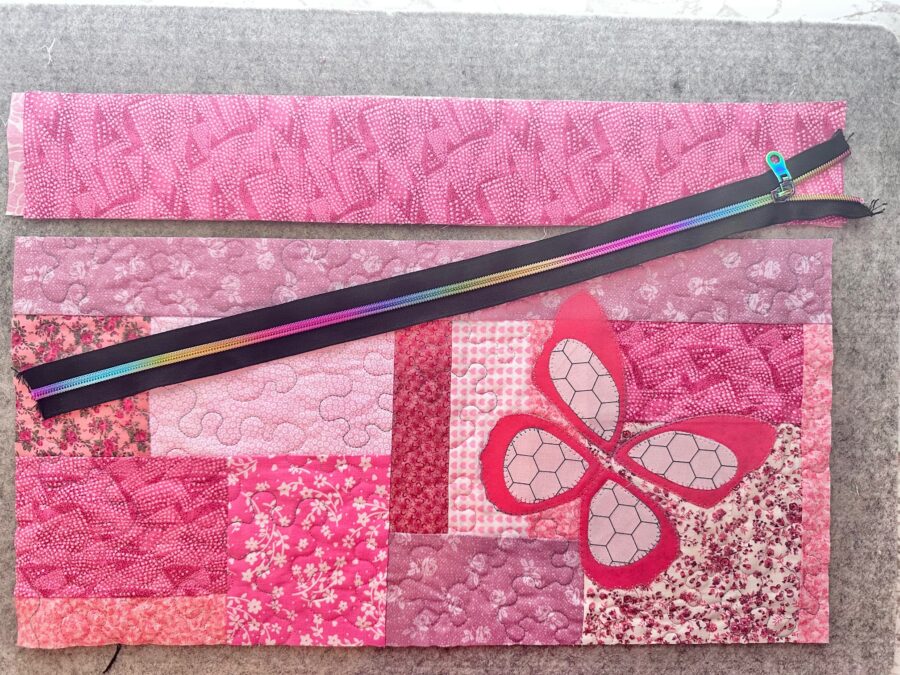
Continue by…
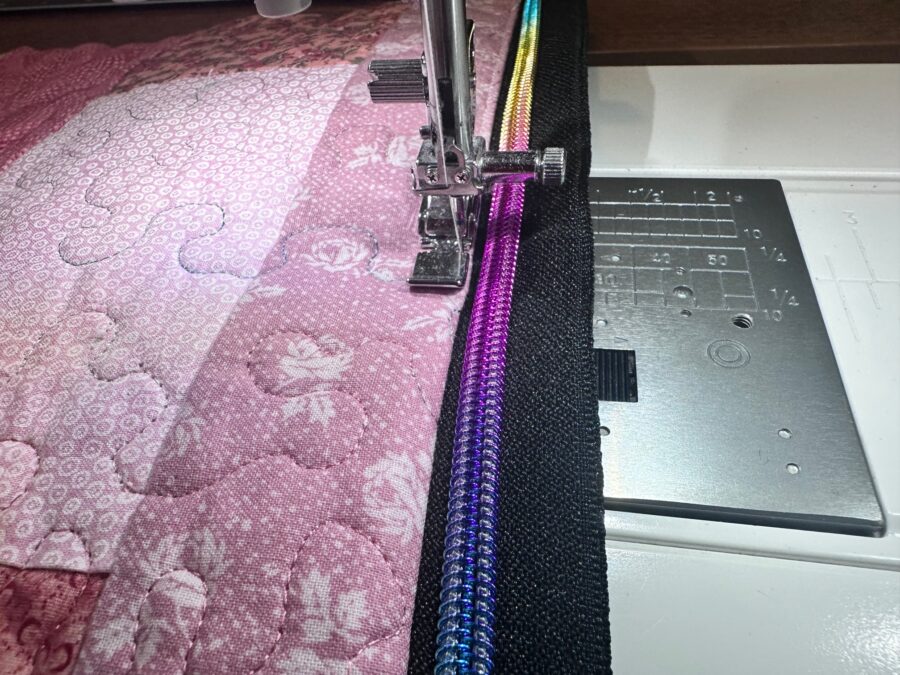
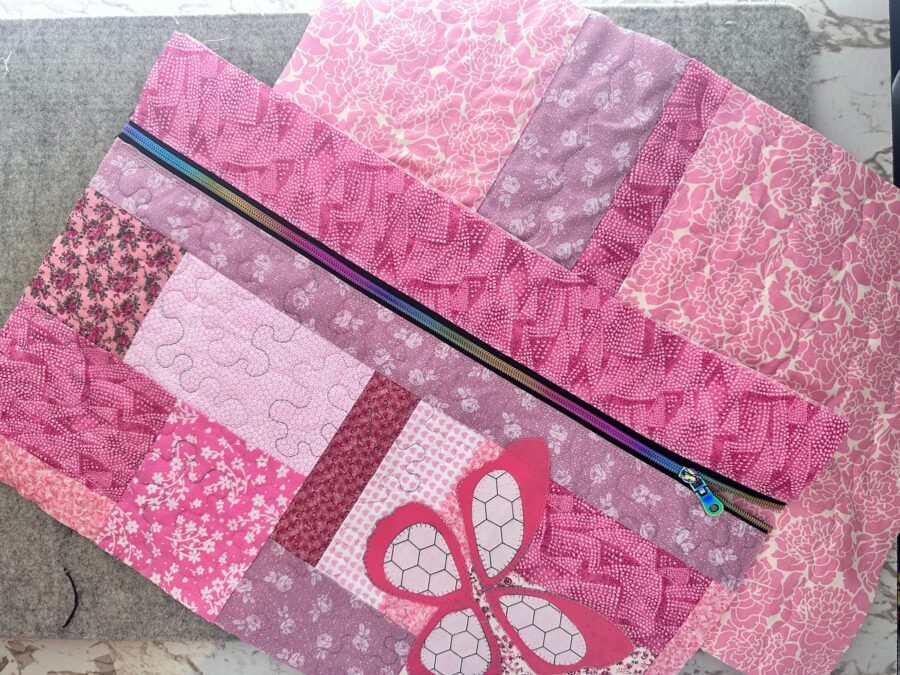
Now it is time to add the zipper. With right sides together, sew the zipper to both bag front pieces. Fold under the seam and top stitch the zipper in place on top and bottom.
Next…
You will need to measure your finished front piece. Depending on zipper width and seam allowance your bag front might be slightly different. Mine was approximately 20″ x 13″.
Once you have your measurements, you will need to make the bag back. To do this you will cut out a lining, fusible fleece and bag back the size you measured. Fuse the fleece and baste the lining to the fleece, then, quilt to your liking.
Important Tip: I suggest cutting your back pieces slightly larger and then trimming to size once quilted as quilting can skew the size of your pieces slightly.
Next…
Layer your bag front and back together. Their wrong sides will be touching. Sew a basting stitch around the bag to secure the two sides together. Then, add your binding using your preferred method.

Finally…
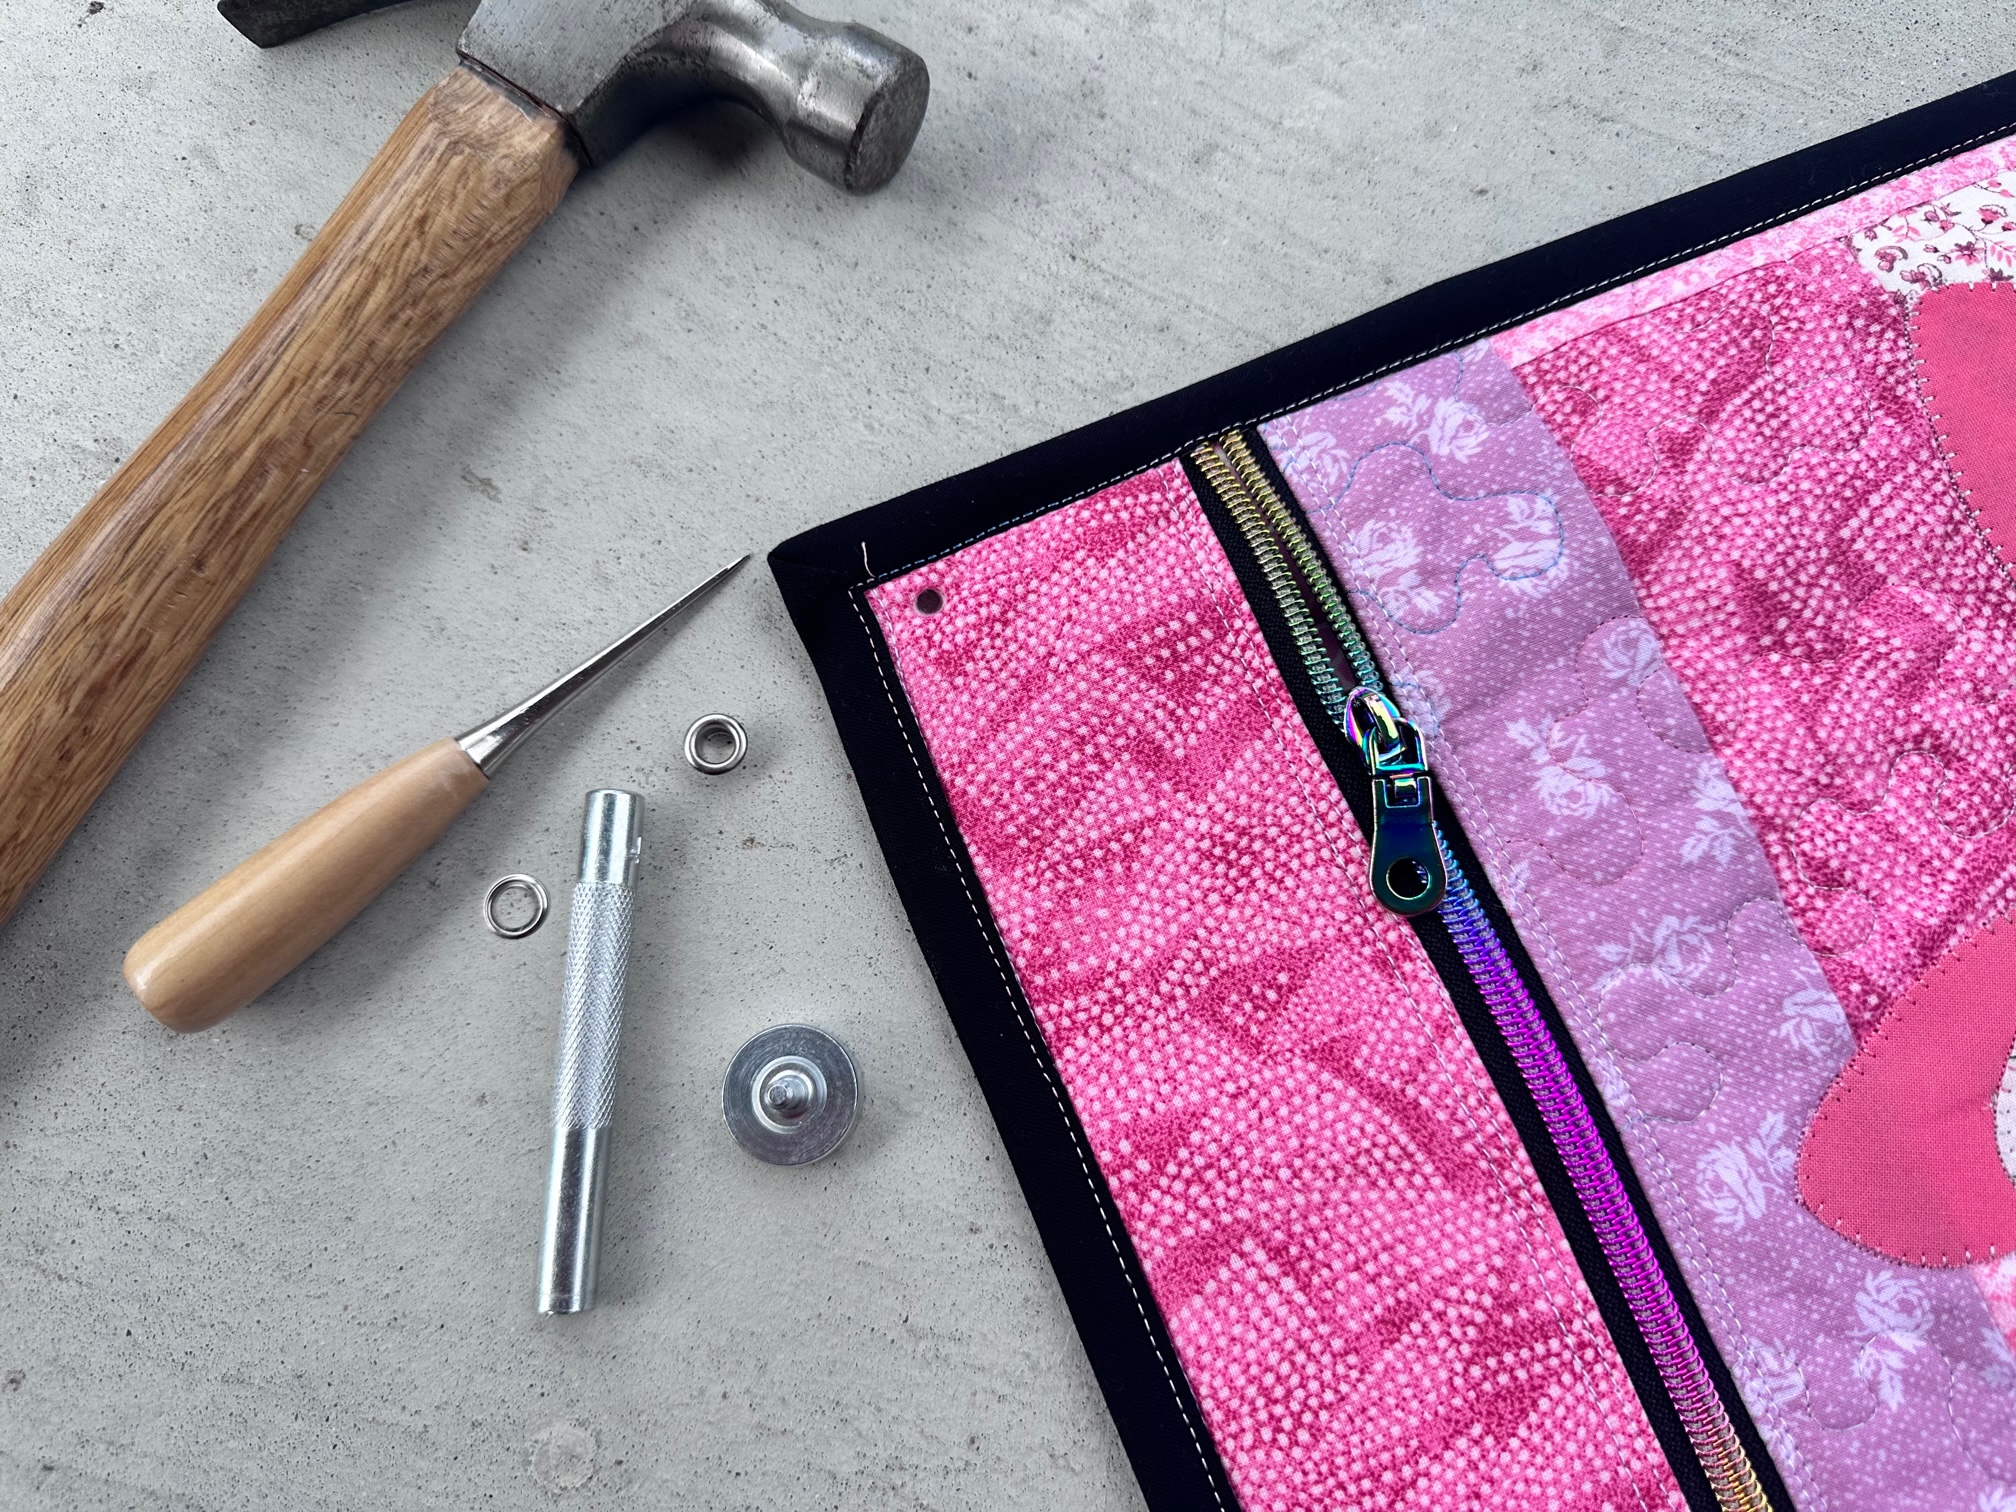
This step is optional. You can add a rivet to the top of the bag so it can be hung on a hook.
Finished!

Thank you for visiting today! Come back soon to see what else will be starting to bloom with Inflorescence Designs!
Starting to bloom by choosing JOY ~ Julia