


Posy Pocket Pillow featuring HeatnBond Products
Greetings all – it’s Belinda Karls-Nace from Blue Ribbon Designs, here today with a brand new project tutorial. It is Spring Flowers Week on the ThermOWeb Blog, and I am excited to share my “Posy Pocket Pillow” with you.
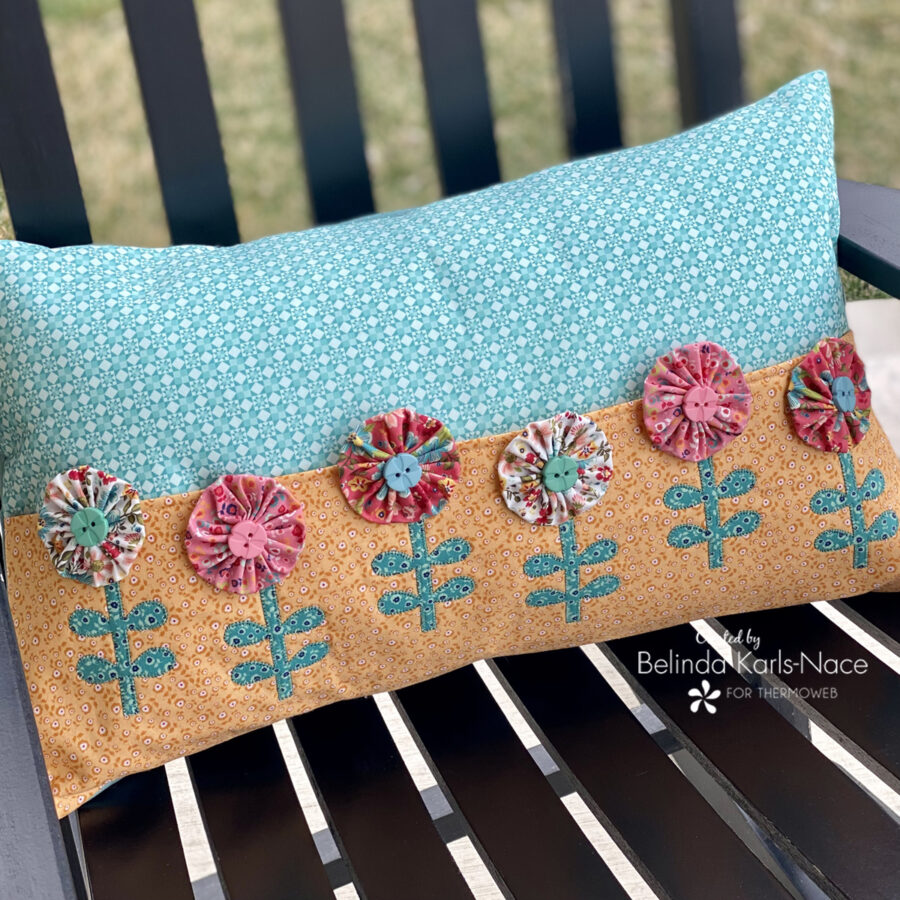 I have been knee deep in plant and seed catalogs for weeks, as warmer weather has been arriving. My perennial garden is starting to take off and I have plans to fill my front porch pots with some of my favorite colorful blooms, so this project is an exact match for my current state of mind. You will find this pillow brightening up my front porch in one of my rocking chairs…and it is the perfect place to stash a book for outdoor spring/summer reading or a favorite plant catalog.
Let’s get creative! Simply gather the materials/supplies listed below, then download the PDF templates and layout diagram.
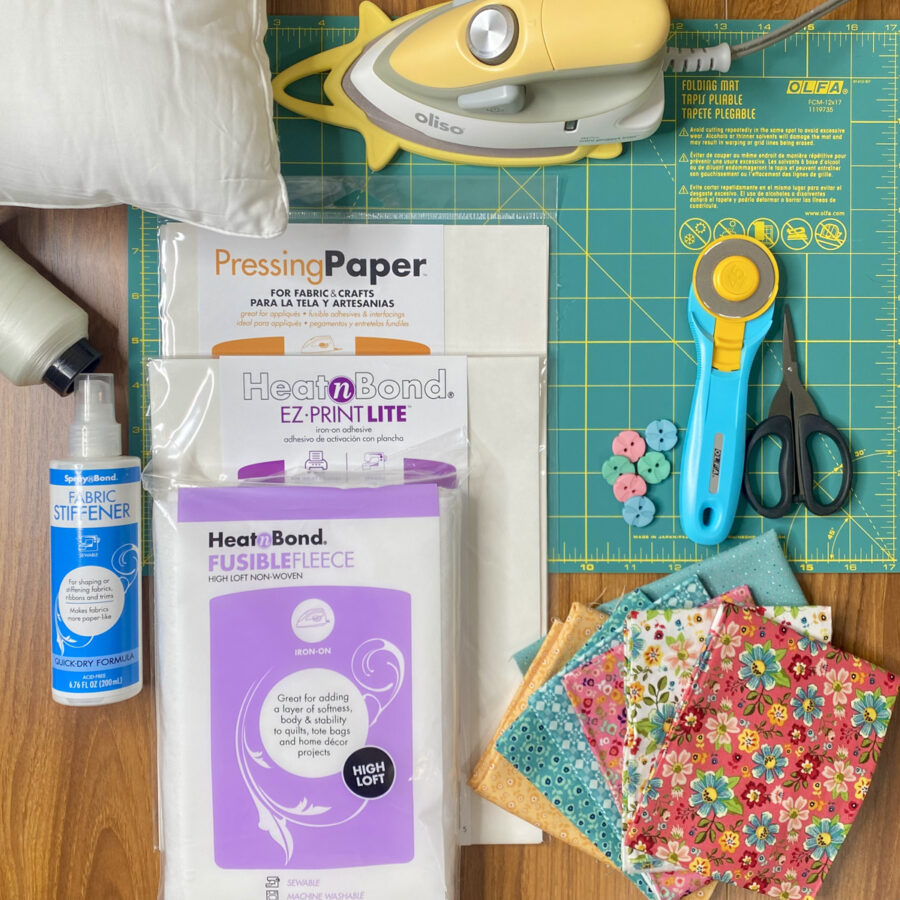
What you need:
- HeatnBond Lite EZ-Print Iron-On Adhesive
1 Sheet - HeatnBond Fusible Fleece
20 ½” x 12 ½”
20 ½” x 6 ¼”
10 ¼” x 12 ½”
14 ¼” x 12 ½” - SpraynBond Fabric Stiffener Spray
- Pressing Paper Fabric and Craft Sheets
1 Sheet - Cotton Fabrics: model uses Betsy’s Sewing Kit by Poppie Cotton for the front of the pillow and Country Confetti by Poppie Cotton for the back of the pillow
- Front fabric – 21” x 13” (Feeling Quilty Teal BK22105)
- Front pocket fabric – 21” x 13” (Corn Flowers Yellow BK22115)
- Backing fabric – 21” x 13” and 29” x 13” (Country Confetti – Lakehouse Teal CC20189)
- Applique flower stems – 7” x 6” (Corn Flowers Teal BK22117)
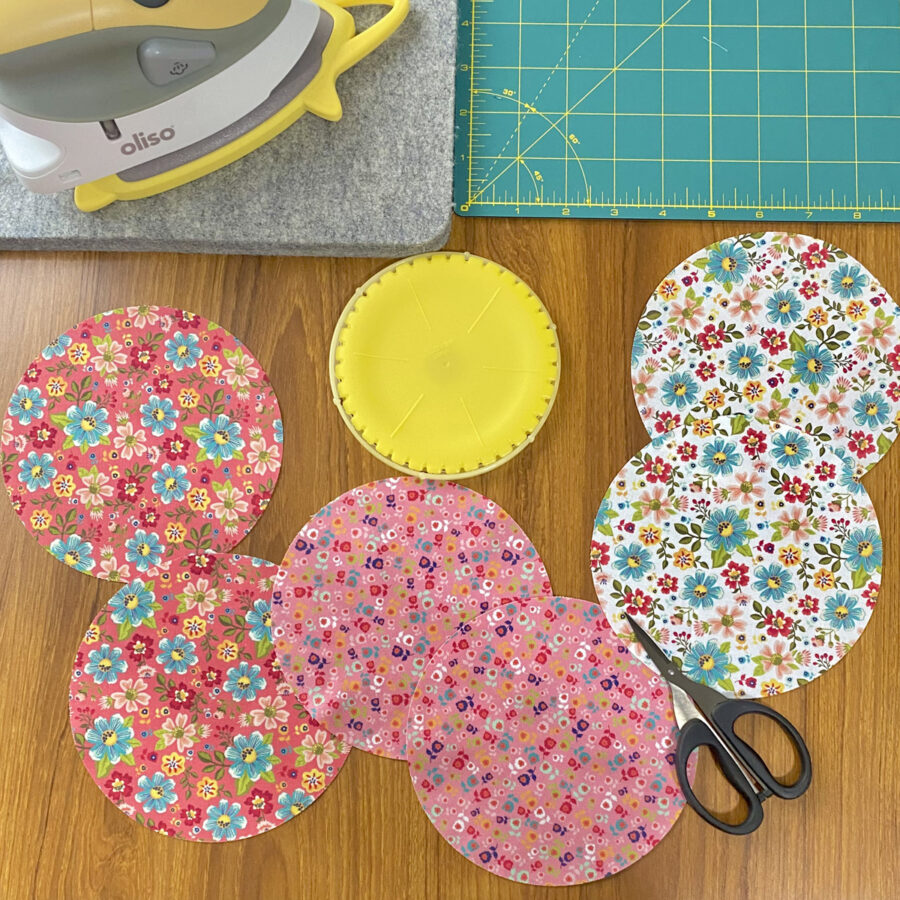
- Yo-Yos – six 5 ½” circles (2 each – Tossed Blooms Red BK22101, Tossed Blooms White BK22100, Corn Flowers Pink BK22116) (circle template provided in print out)
- 6 Coordinating Buttons (model used ½”)
- 1 – 20” x 12” Pillow Form
- Oliso Iron
- Olfa Cutting Tools (cutting mat, rotary cutter)
- Sewing Machine
- Basic Sewing Supplies/Tools (small sharp scissors, rulers, sewing thread, hand sewing needle, strong sewing thread for yo-yos, etc.)
- Optional: Clover Round Extra Large Yo-Yo Maker (8703)
How to Make a Posy Pocket Pillow
1. Download and Print the Posy Pocket Pillow PDF.
Posy Pocket Pillow – A Project for the Therm O Web Blog
Print pages to actual size; do NOT “fit to page” or “shrink to fit.” Pages one and two (layout and circle template) should be printed on regular printer paper. Print page three (stem applique templates on one sheet of HeatnBond Lite EZ-Print Iron-On Adhesive (Inkjet printer friendly – no tracing required).
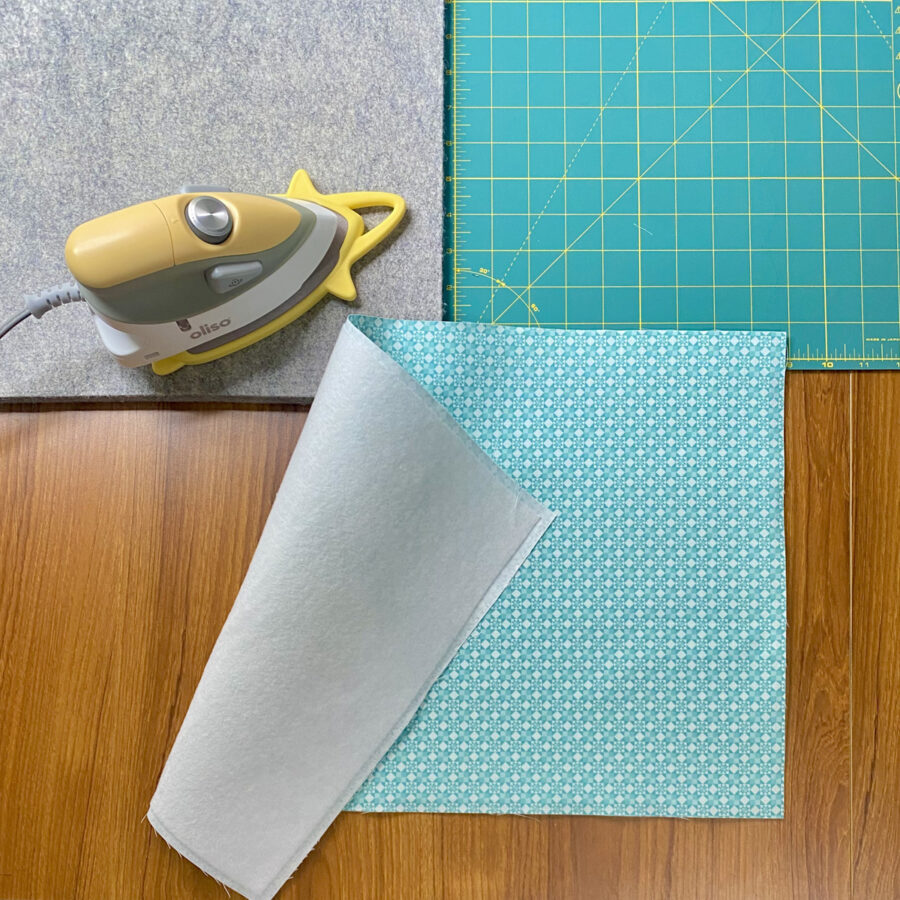
2. Center and fuse the 20 ½” x 12 ½” piece of HeatnBond Fusible Fleece to the wrong side of the 21” x 13” front fabric, following the package instructions. Set aside.
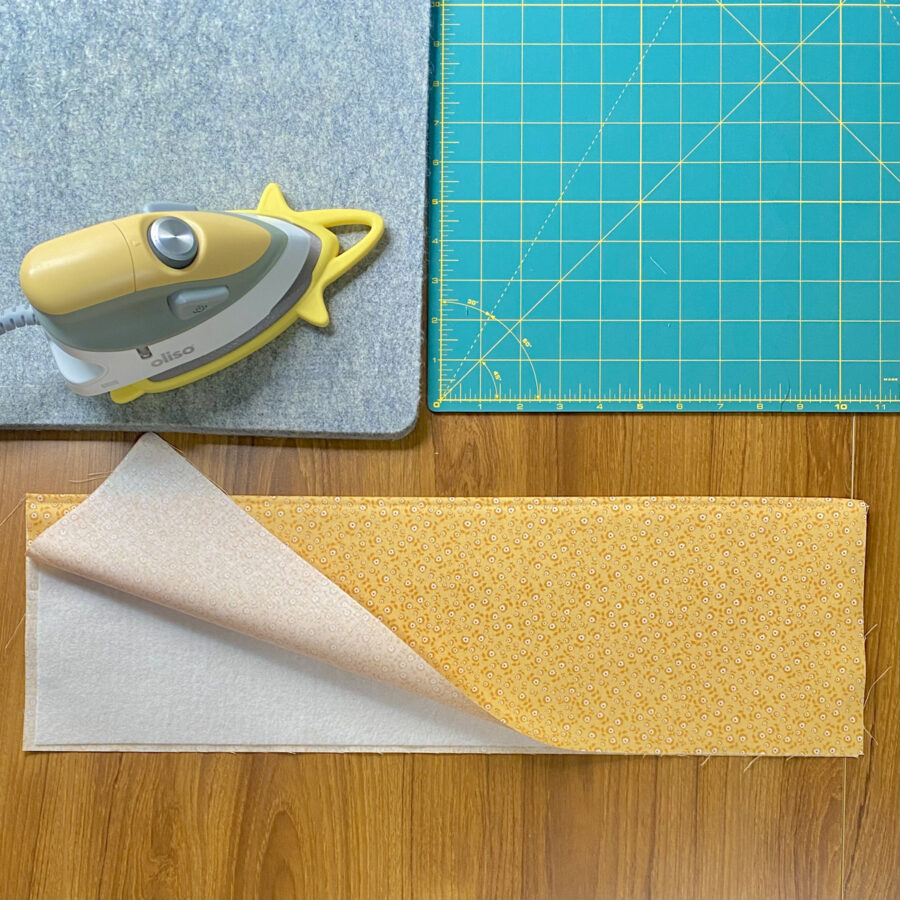
3. Press the 21” x 13” front pocket fabric in half to measure 21” x 6 ½”. Place the 20 ½” x 6 ¼” piece of HeatnBond Fusible Fleece inside along the fold against the wrong side of the fabric, center and fuse following the package instructions. Top stitch along the fold (top of the pocket). Set aside.
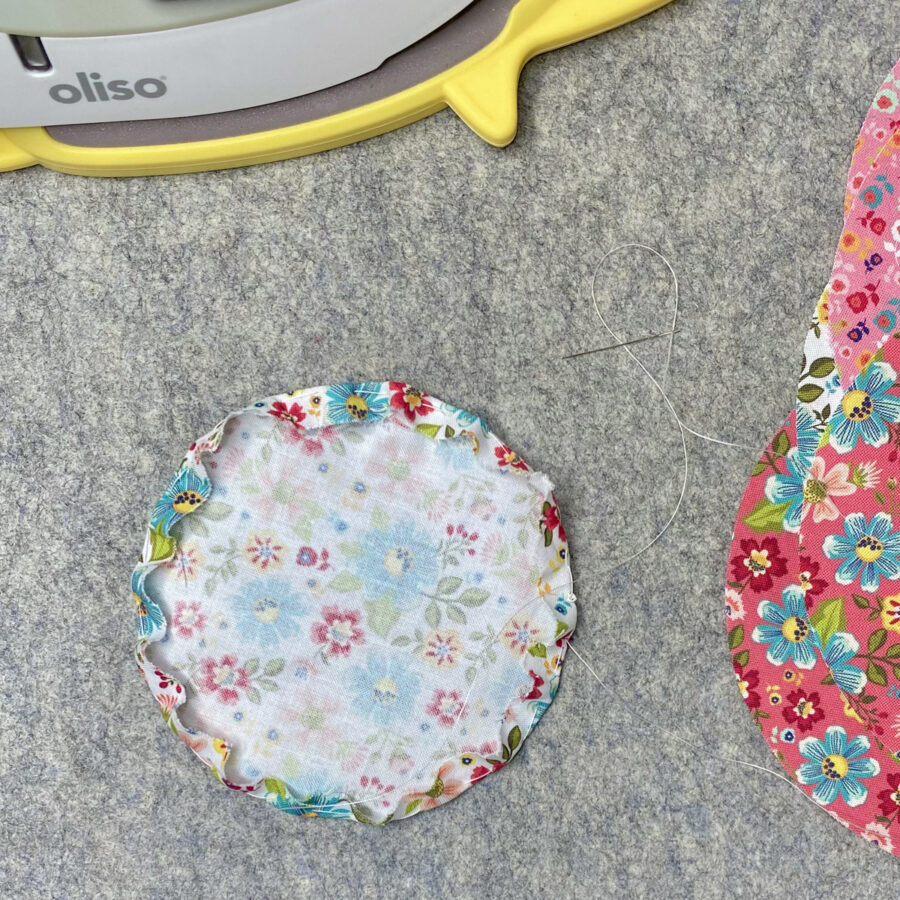
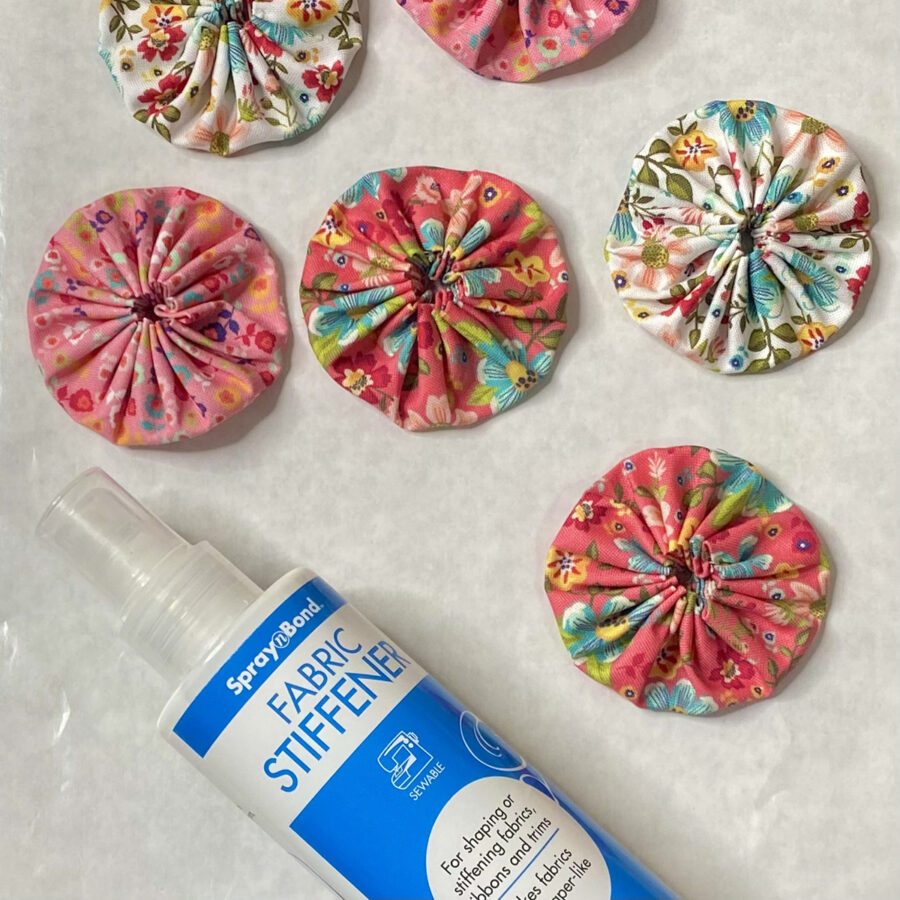
4. Use the template provided to cut six 5 ½” circles and create six fabric yo-yos (optional: a Clover Round Extra Large Yo-Yo Maker – 8703 makes quick work of this step). Thread a hand sewing needle with a strong sewing thread and knot the end. Fold over the outer edge of one 5 ½” fabric circle by ¼”, and use a running stitch to stitch along the outer edge, as shown – the knot should be placed on the ¼” side. Stitch around the entire perimeter.
PRO TIP: the longer the stitch length used, the smaller the center opening will be in your finished yo-yo.
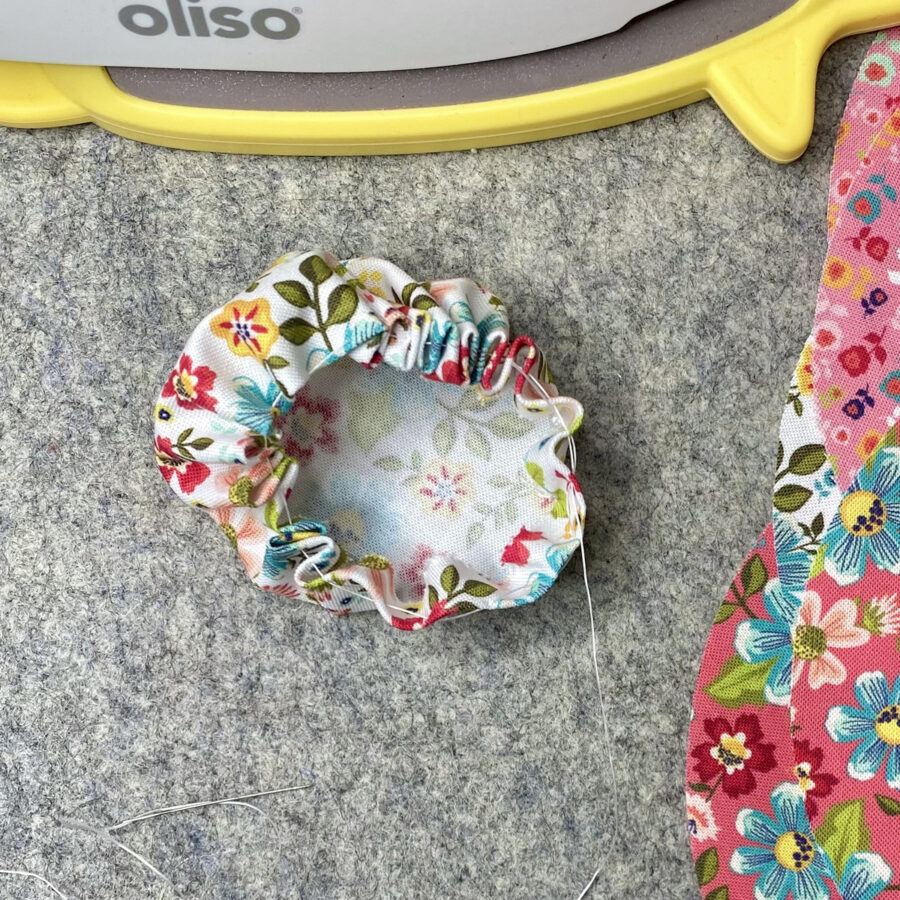
 Once you make it around the entire perimeter, gently pull the working thread to gather the piece at the center, as seen below. Press the piece gently with your fingers to flatten and adjust the gathers to create a uniform circle.
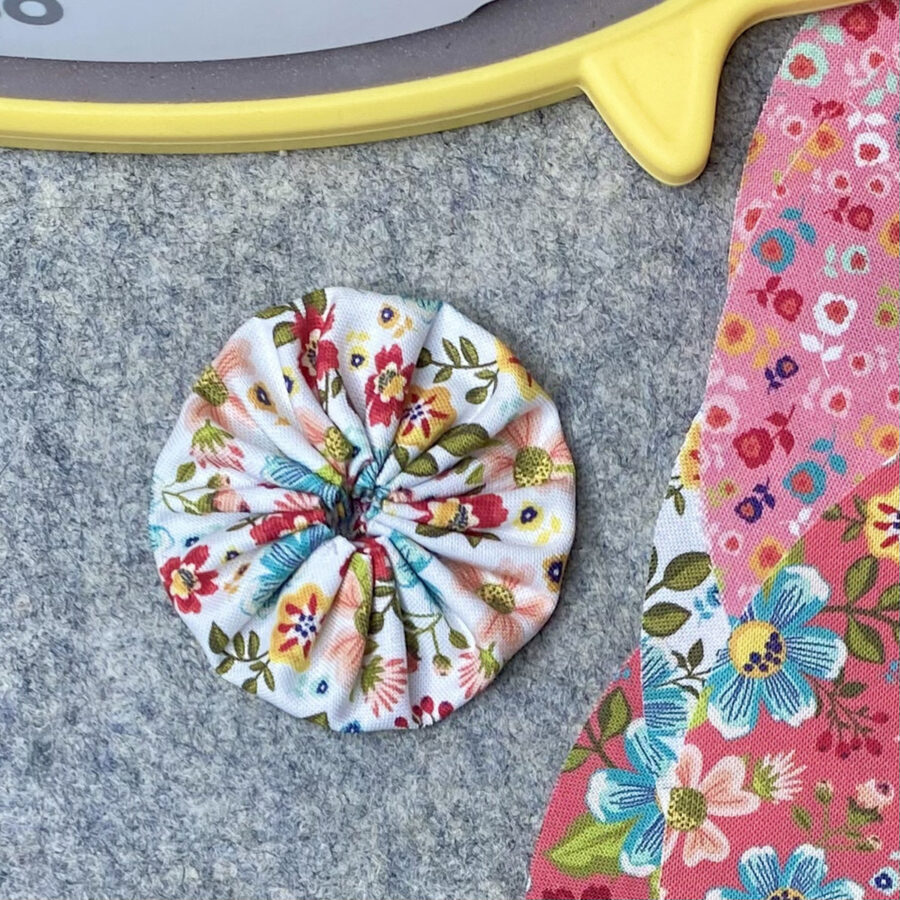 Secure the yo-yo by stitching through a couple of the gathers. Knot the end and snip the thread. Make six.

5. Lay out the fabric yo-yos on a piece of pressing paper or protective sheet. Following the instructions on the SpraynBond Fabric Stiffner Spray, lightly spray the yo-yos from 8-10 inches away, until the entire surface area is damp (not soaked). I sprayed the tops and bottoms. Set aside to dry.
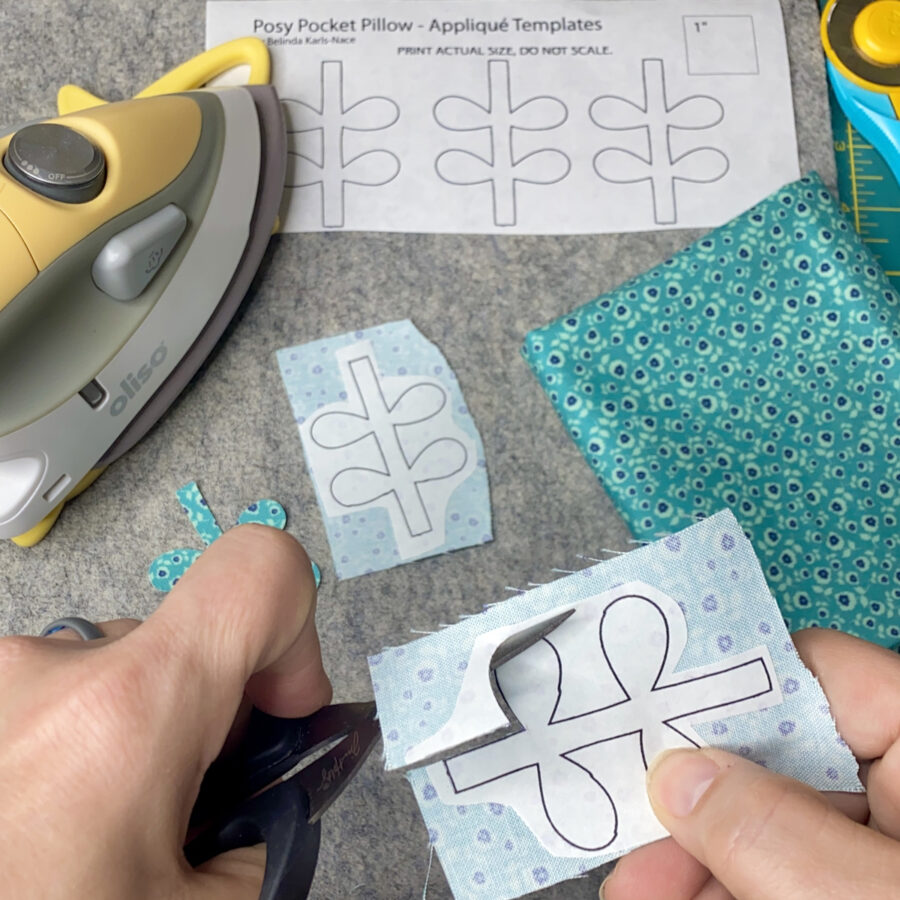
6. Loosely cut apart the stem applique templates printed on HeatnBond Lite EZ-Print Iron-On Adhesvie and apply to the back of stem fabric following the package instructions. Cut out all stems on the solid lines, leaving the paper in place.
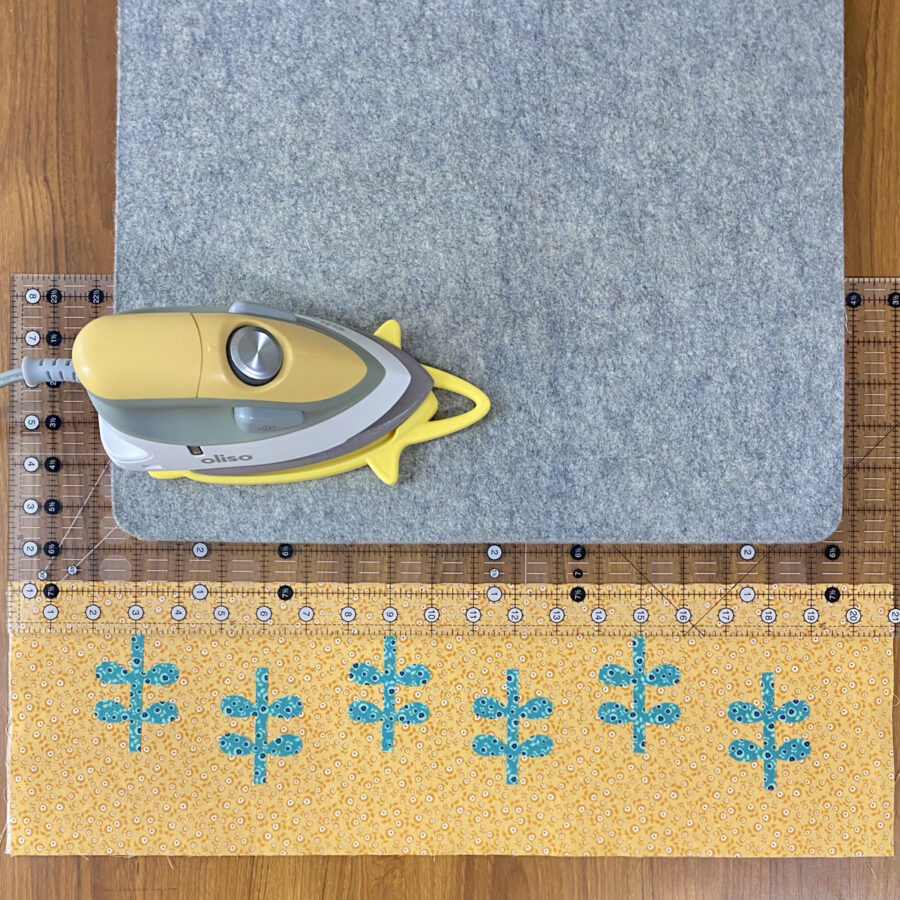
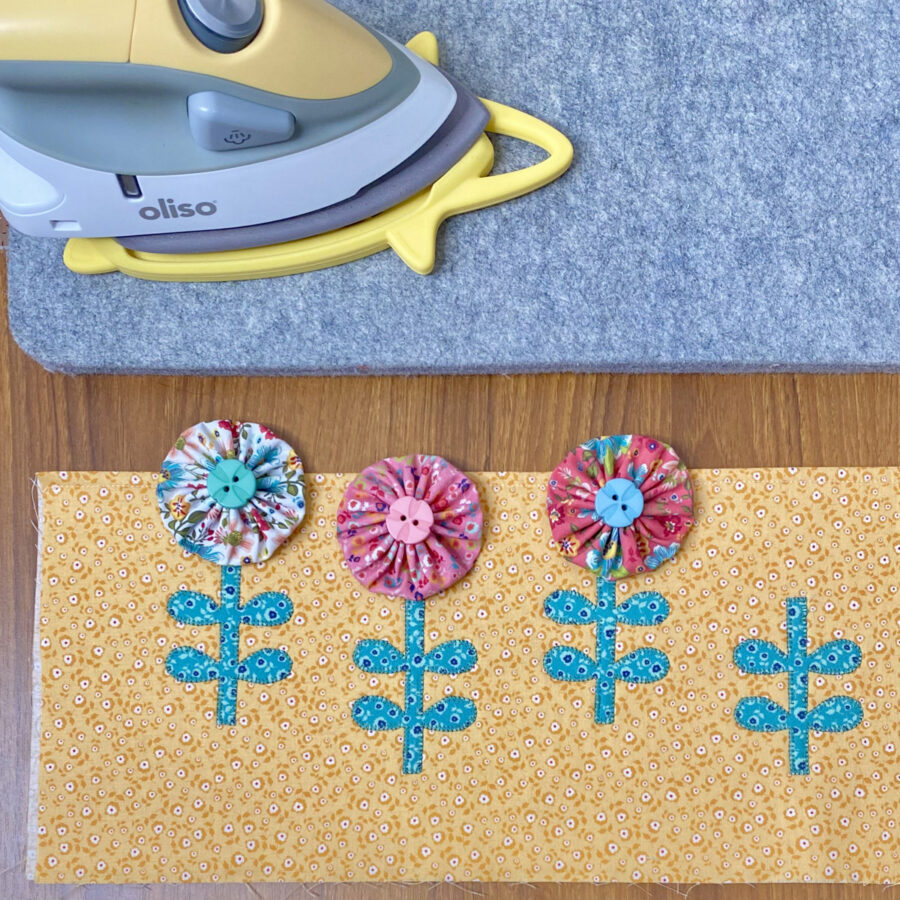
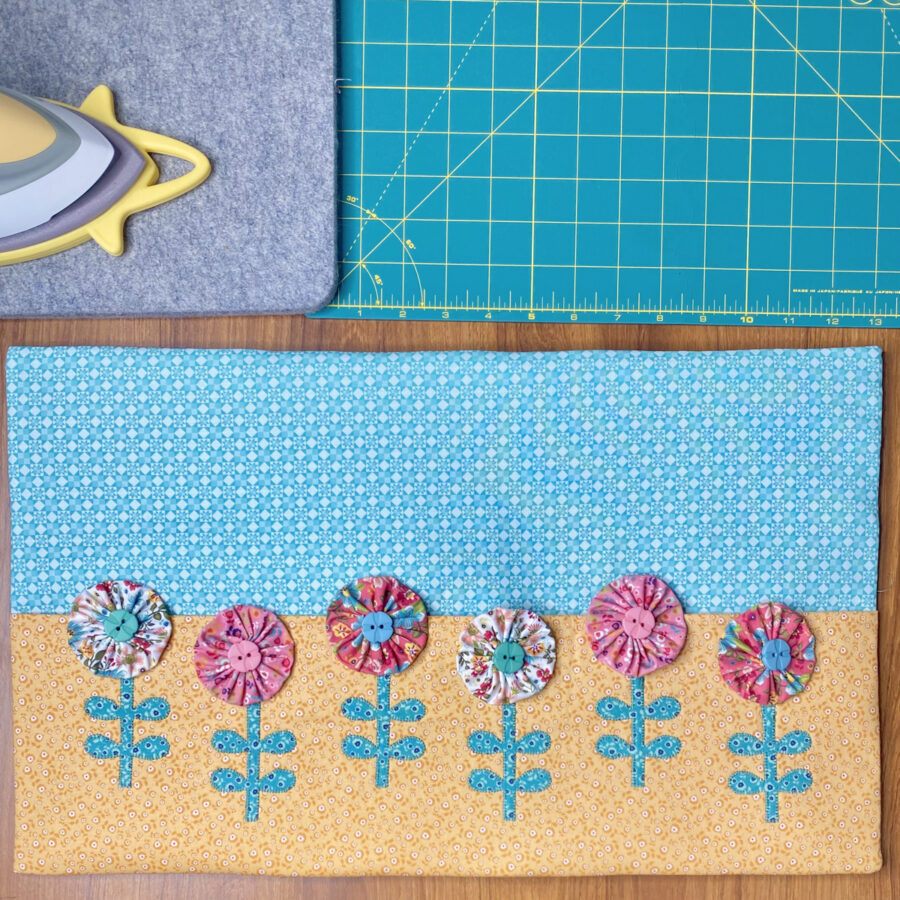
7. Using the Appliqué Placement Guide, remove the paper backs on the stems and fuse into place on the front pocket (I fused them to the side that has the fusible fleece on the back), following the package instructions. I altered the height of every other posy. Lining up a quilting ruler with the top of the pocket, I placed the center top of every stem 3” apart. The tops of the higher stems are placed 1 ¼” down from the top of the pocket. The tops of the lower stems are placed 2” down from the top of the pocket. See ruler placement below.
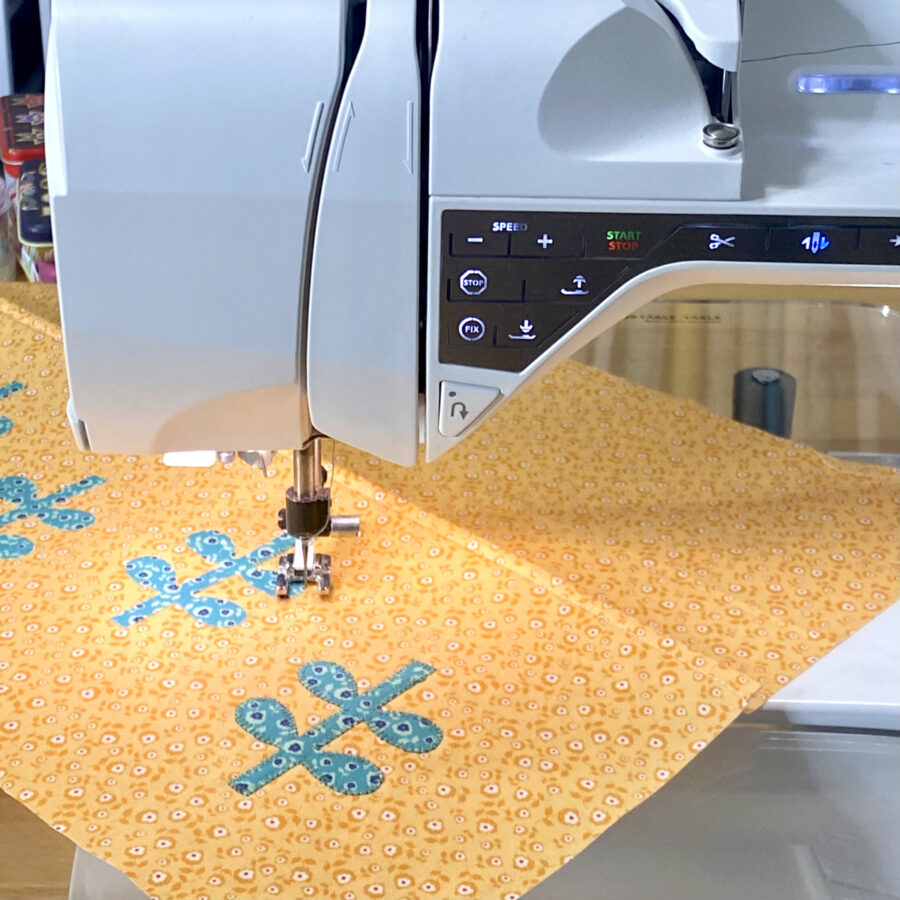
8. Using your favorite appliqué stitch and coordinating sewing thread, sew the stems in place (or leave them without sewing for a fast project! – the HeatnBond fusible adhesive will hold them in place). I chose to use a machine blanket stitch. You can sew through all layers of the pocket; however, I chose to fold out the back of the pocket and only stitch through the top fabric and fusible fleece (see photo below). The fusible fleece will keep the fabric structured for the appliqué stitches.
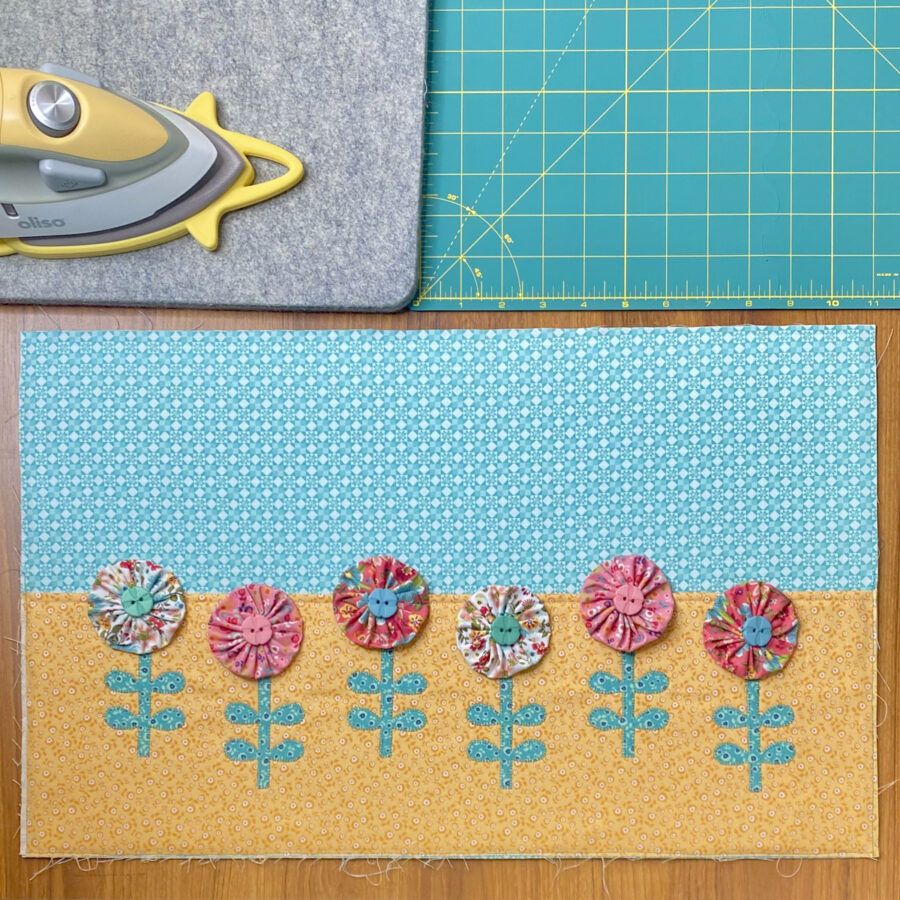
9. Layout the yo-yos and buttons at the top of the stems to decide on placement. Hand stitch in place going through the button, yo-yo and pocket fabric several times to make sure each bloom is securely fastened.
10. Place the pocket with posies on top of the pillow front (line up the raw edges) and baste in place.
11. For the envelope back:
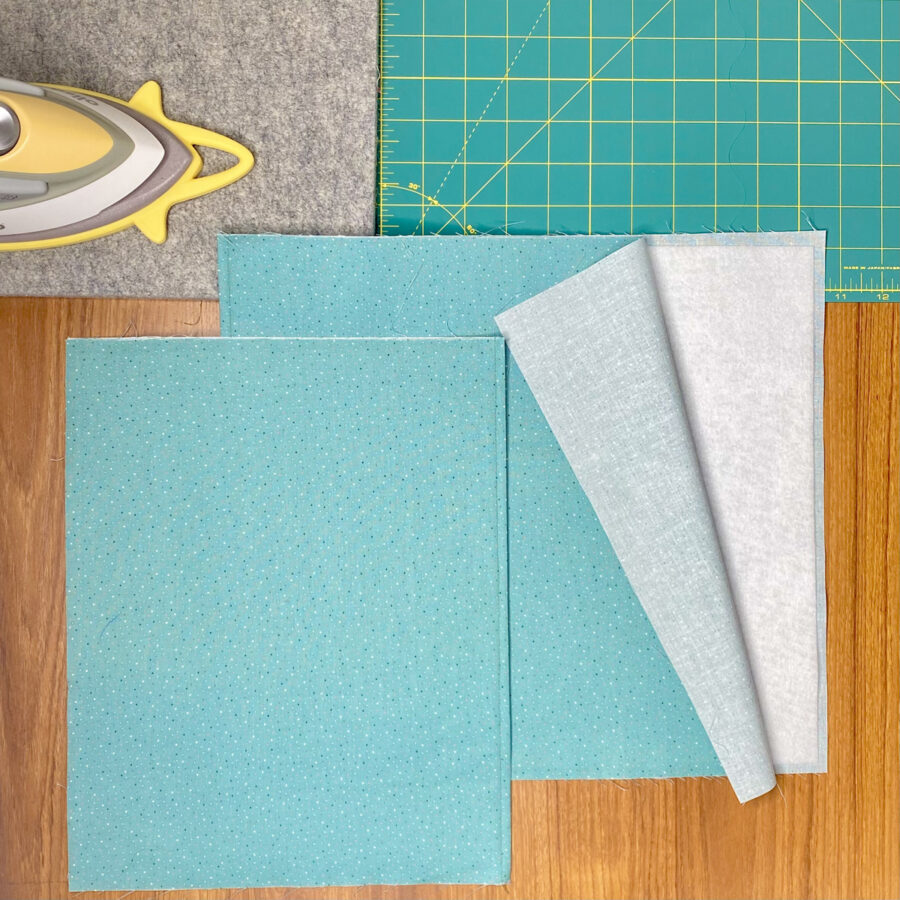
Press the 21” x 13” piece of backing fabric in half to measure 10 ½” x 13”. Place the 10 ¼” x 12 ½” piece of HeatnBond Fusible Fleece inside along the fold against the wrong side of the fabric, center and fuse following the package instructions. Top stitch along the fold.
Press the 29” x 13” piece of backing fabric in half to measure 14 ½” x 13”. Place the 14 ¼” x 12 ½” piece of HeatnBond Fusible Fleece inside along the fold against the wrong side of the fabric, center and fuse following the package instructions. Top stitch along the fold.
 Place the two backing units on top of the pillow front (right sides together), lining up the raw edges, with the top stitched sides overlapping in the center. Pin or clip in place.
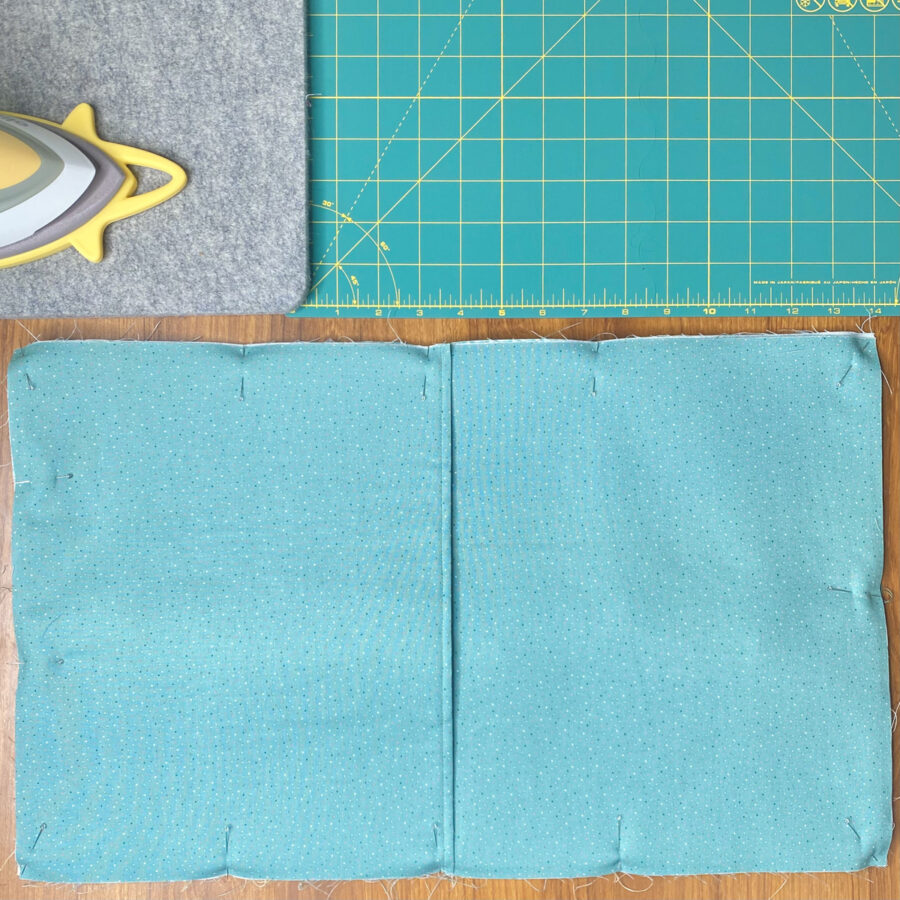 Stitch all the way around the perimeter (all four sides).
12. Clip corners and turn right side out. Press.
13. Place 20” x 12” pillow form inside of finished cover.
14. Your Posy Pocket Pillow is now complete. Enjoy!
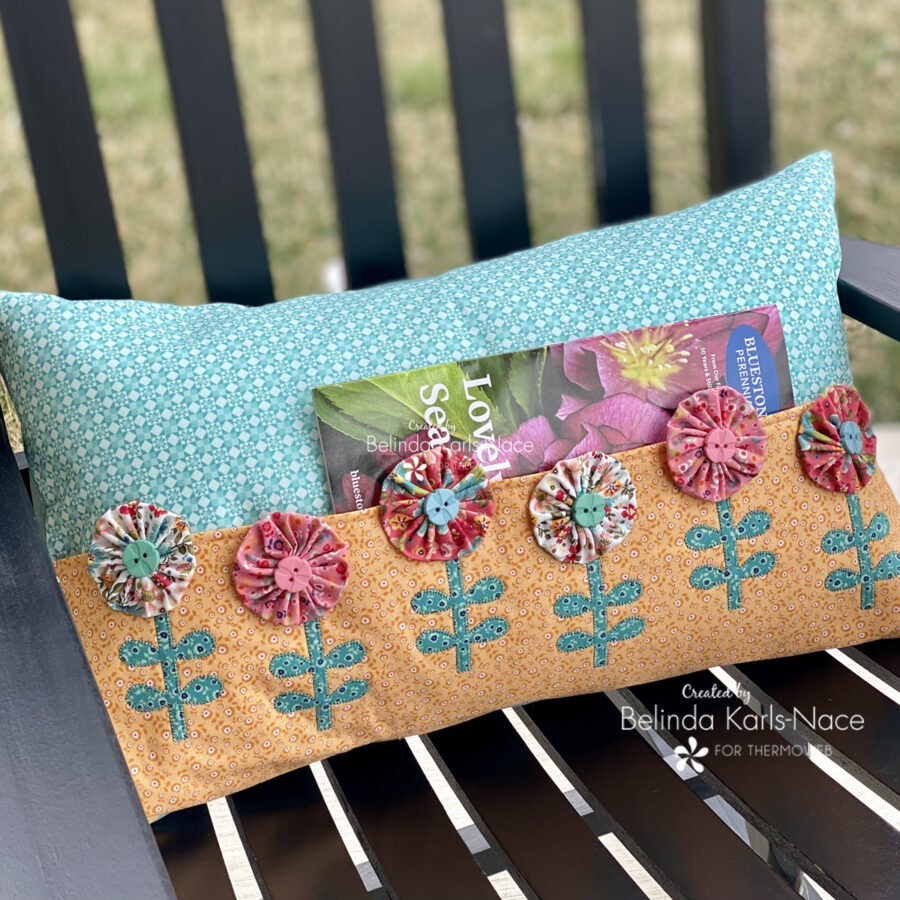
Thank you for joining me today for my ThermOWeb Spring Flowers Week blog tutorial. I hope this post inspires you to create a pocket pillow for your springtime decor. To see more of my projects, stop by my blog, website or Instagram – I would love to visit with you!