


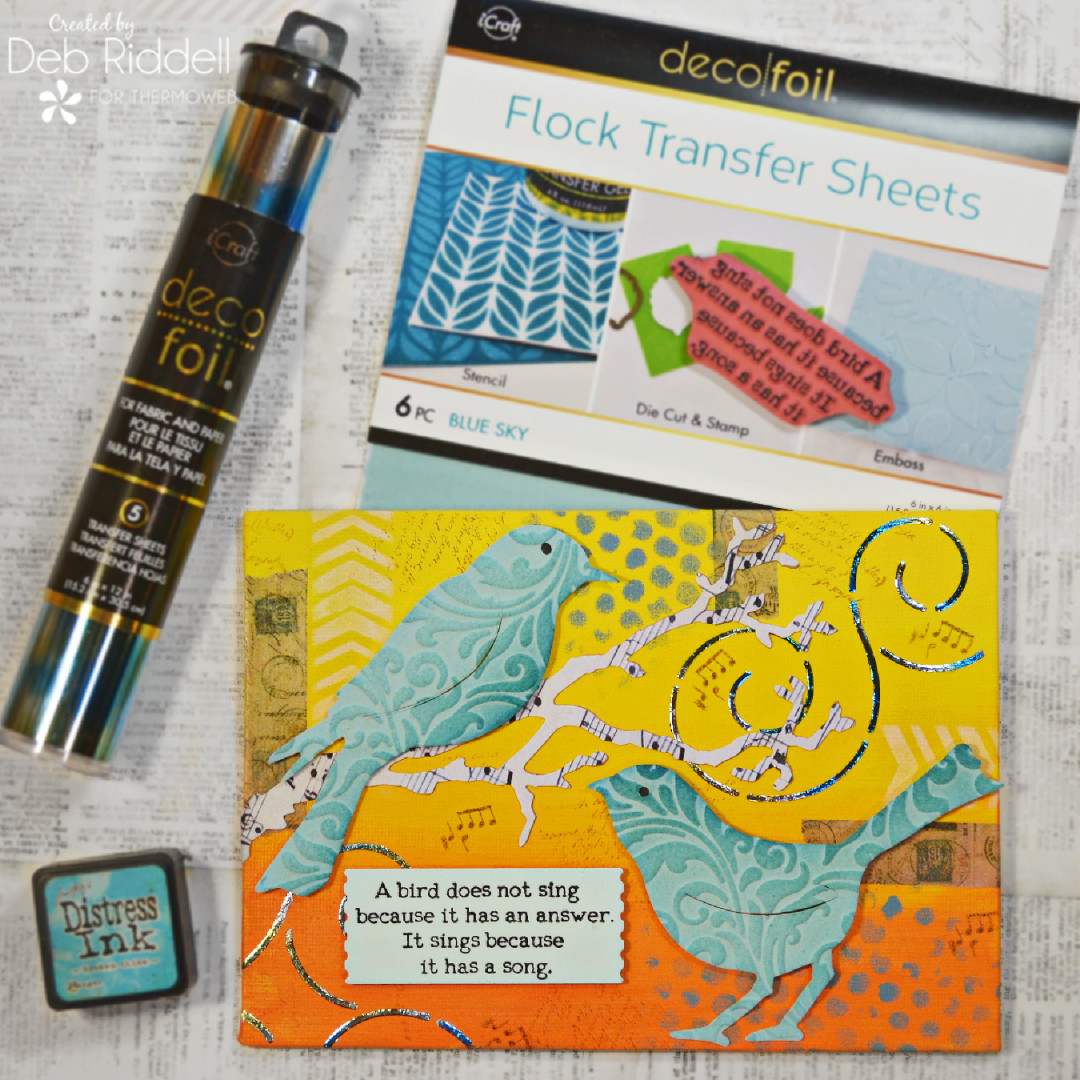
 Hello everyone and welcome to Ombre Week on Therm O Web’s blog! It’s Deb here with you today and I have a mixed media ombre canvas to share with you, created with Therm O Web’s Deco Foil Flock Transfer Sheets and Deco Foil DUO Transfer Gel and Foil Transfer Sheets.
Ombre Blue Bird Canvas with Deco Foil
Therm O Web Supplies Used:
Deco Foil Flock Transfer Sheets, Blue Sky
Deco Foil Transfer Sheets, Lapis Watercolor
Deco Foil Transfer Gel Duo, 4 fl oz
Deco Foil Stencil, Swirls
Deco Foil Stencil Pal, 2 PK
iCraft Removable Purple Tape Roll, 1.5 in x 15 yds
iCraft Easy-Cut Adhesive Sheets 5.75 in x 5.75 in, 5 pack
iCraft Ultra Bond Permanent Dries Clear Adhesive, 2 fl oz
Gina K. Designs Double-sided Adhesive Foam Squares, Black
Other supplies used:
5 x 7 flat artists canvas
Acrylic paint – 3 shades of yellow/orange; blue; cream or white
Matte Liquid Medium
Paintbrush
Blue stamping ink and applicator
Dies – bird die; branch die
Die-cutting machine
Floral/Vines embossing folder
Washi tape
Stamps – sentiment stamp; script stamp; musical note stamp
Brown permanent stamping ink
Mixed media stencils
Pale blue cardstock
Musical score scrapbook paper
Ombre Blue Birds Canvas Instructions
Step one – apply iCraft Easy-Cut adhesive to a piece of pale blue cardstock. Remove the backing paper from the adhesive sheet and apply Blue Sky Flock (fuzzy side down!) to the adhesive. Run it through your die-cutting machine to apply pressure to transfer the flock and remove the backing paper.
Step two – die cut a couple of birds from the flocked cardstock. Insert the die-cut birds into a floral or vine patterned embossing folder and run them through your die-cutting machine.
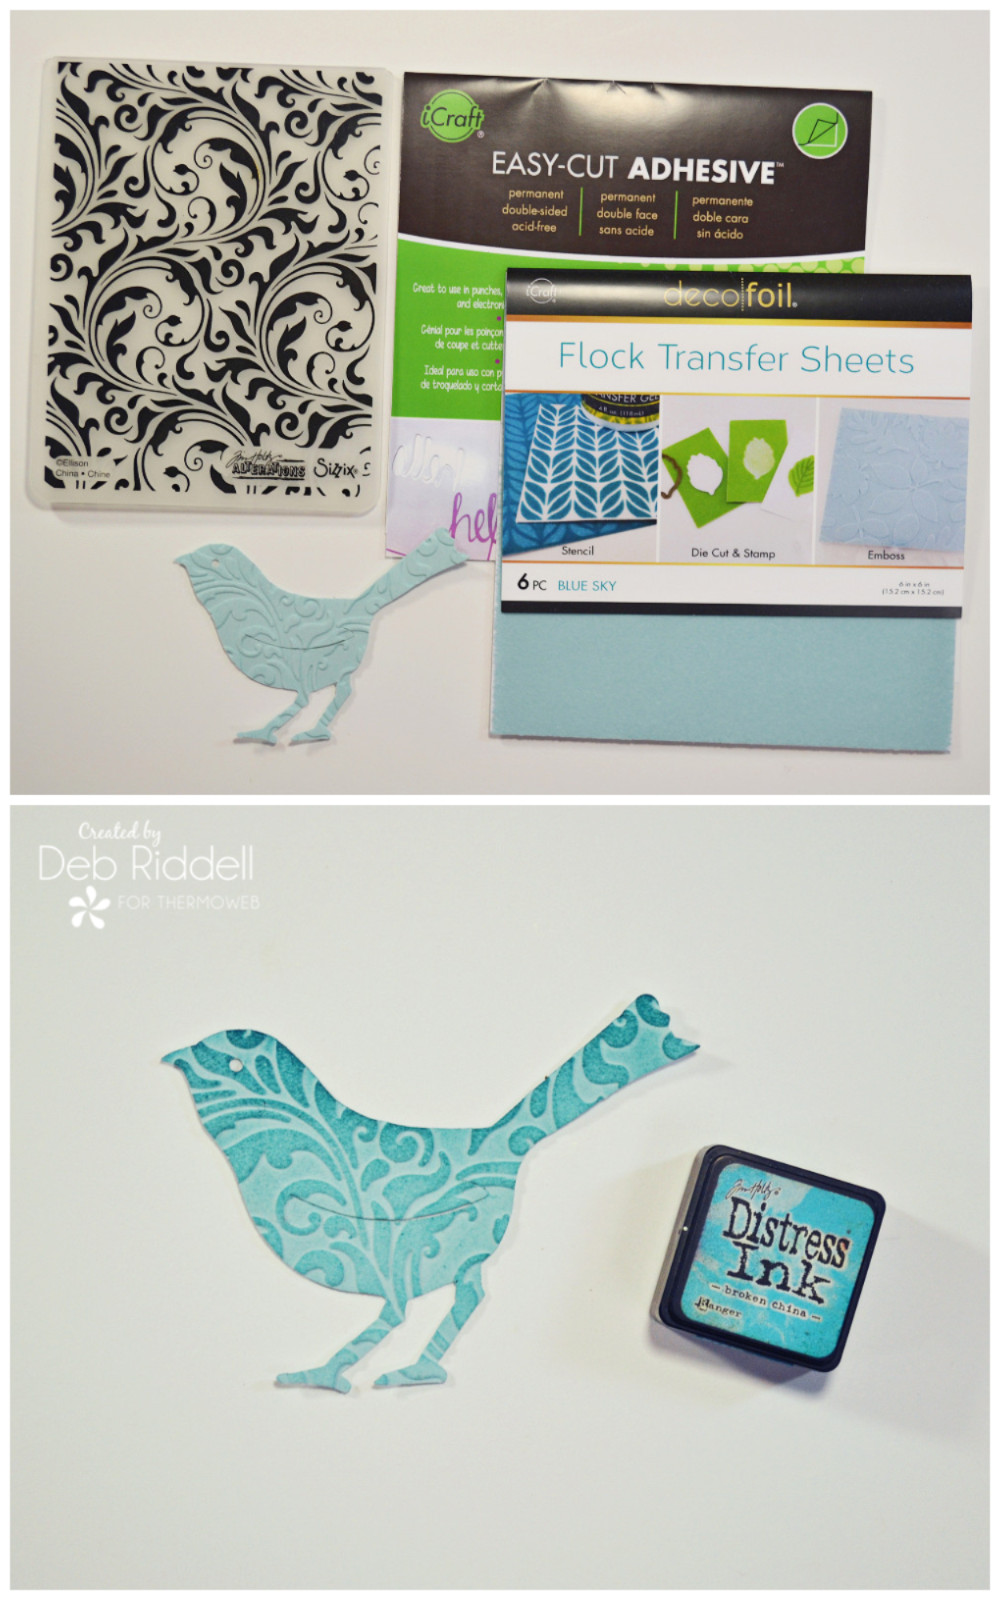
Ink the Embossed Flock
Step three – Ink the embossed flocked birds with blue ink, applying a heavier darker coat of ink at the top of the bird and less and less as you progress to the bottom for an ombre effect.
Step four – apply acrylic paint to your 5 x 7 canvas, starting with the lightest shade of yellow at the top and progressing to an orange shade at the bottom. Mix a little matte fluid medium with your acrylic paints to seamlessly blend the colors one into the other as you go down.
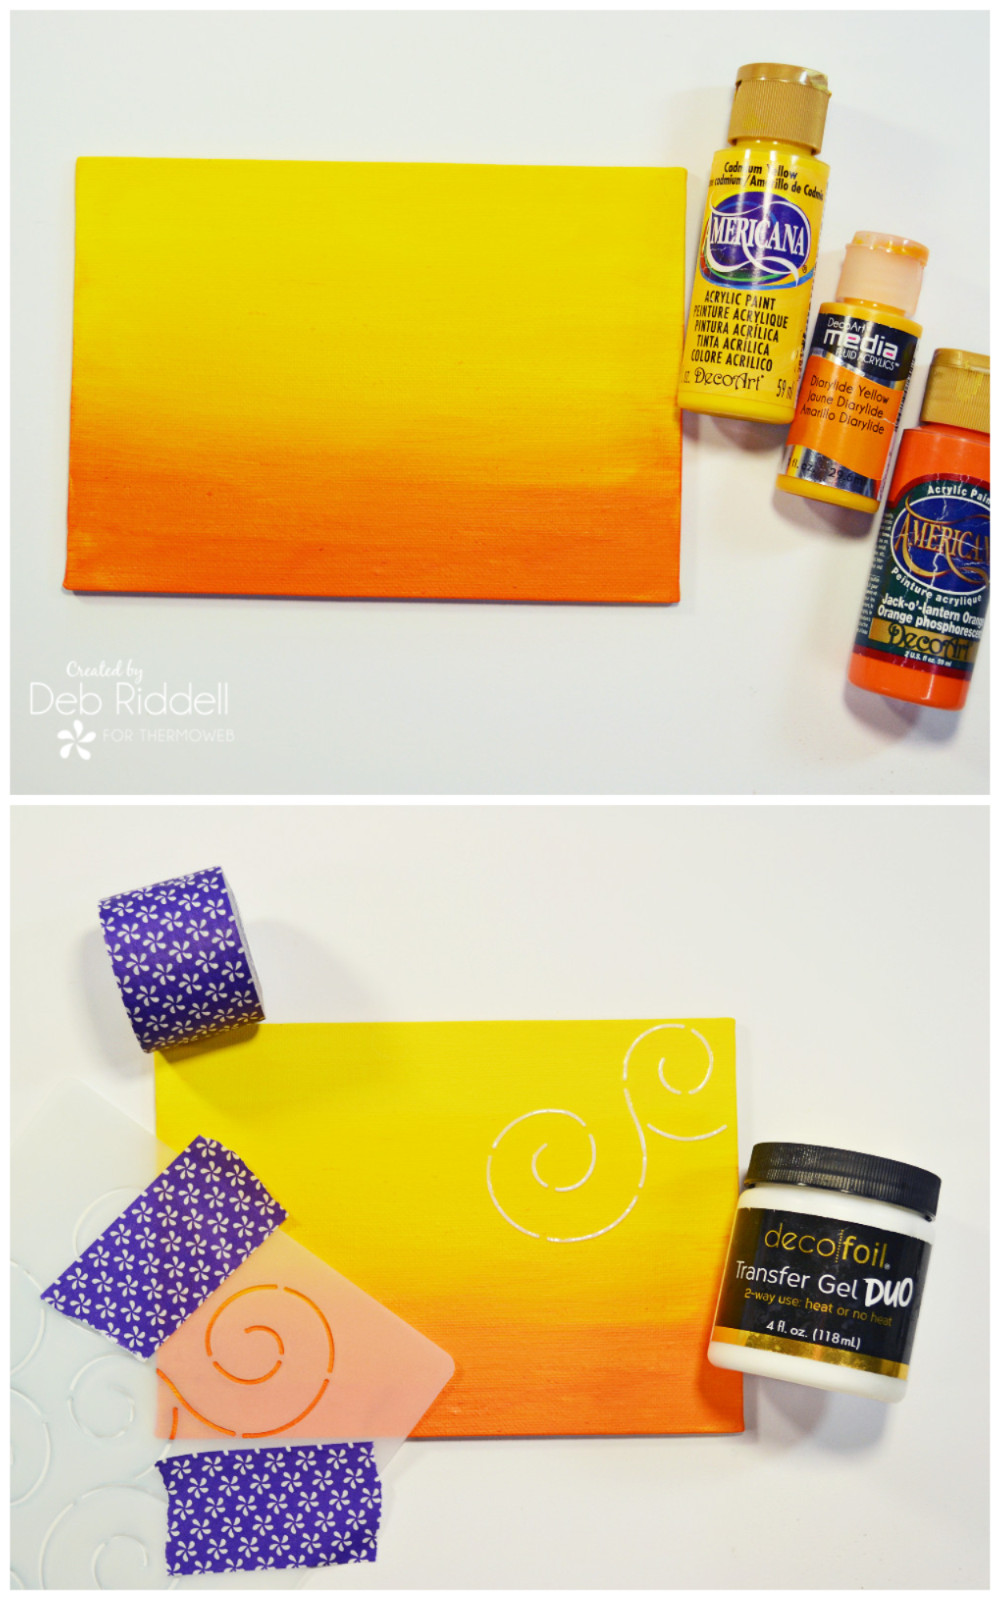
Apply Deco Foil Transfer Gel DUO
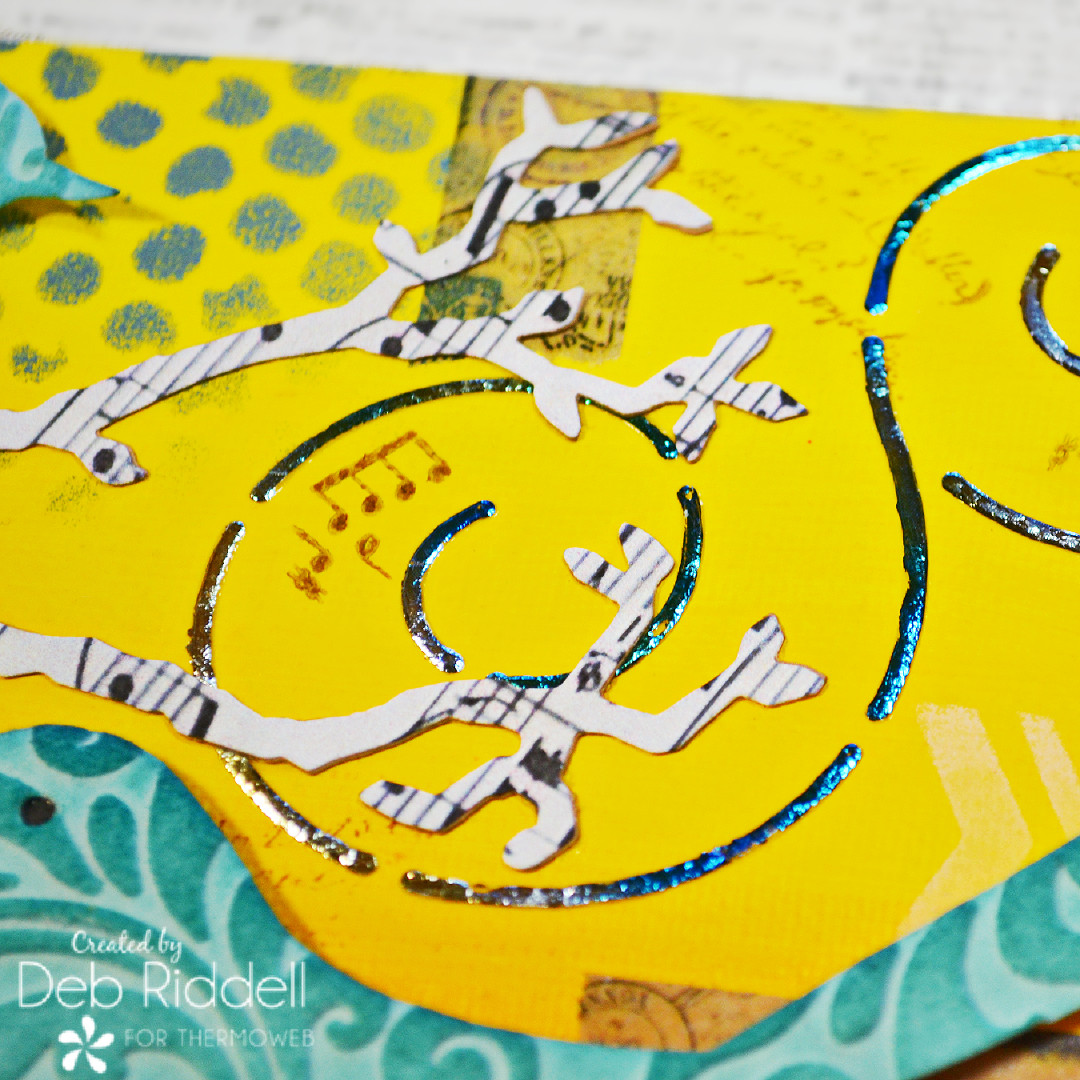
Step five – once the acrylic paint is thoroughly dry, apply Deco Foil Transfer Gel DUO to the canvas in a couple of places through the Deco Foil Swirls stencil with your Stencil Pal. Allow the Duo Gel to dry completely until it is translucent, it usually takes a couple of hours or so.
Step six – once the Duo Gel has dried, place a piece of Deco Foil Lapis Watercolour Transfer Foil over the stenciled areas and burnish well with a soft cloth to transfer the foil.
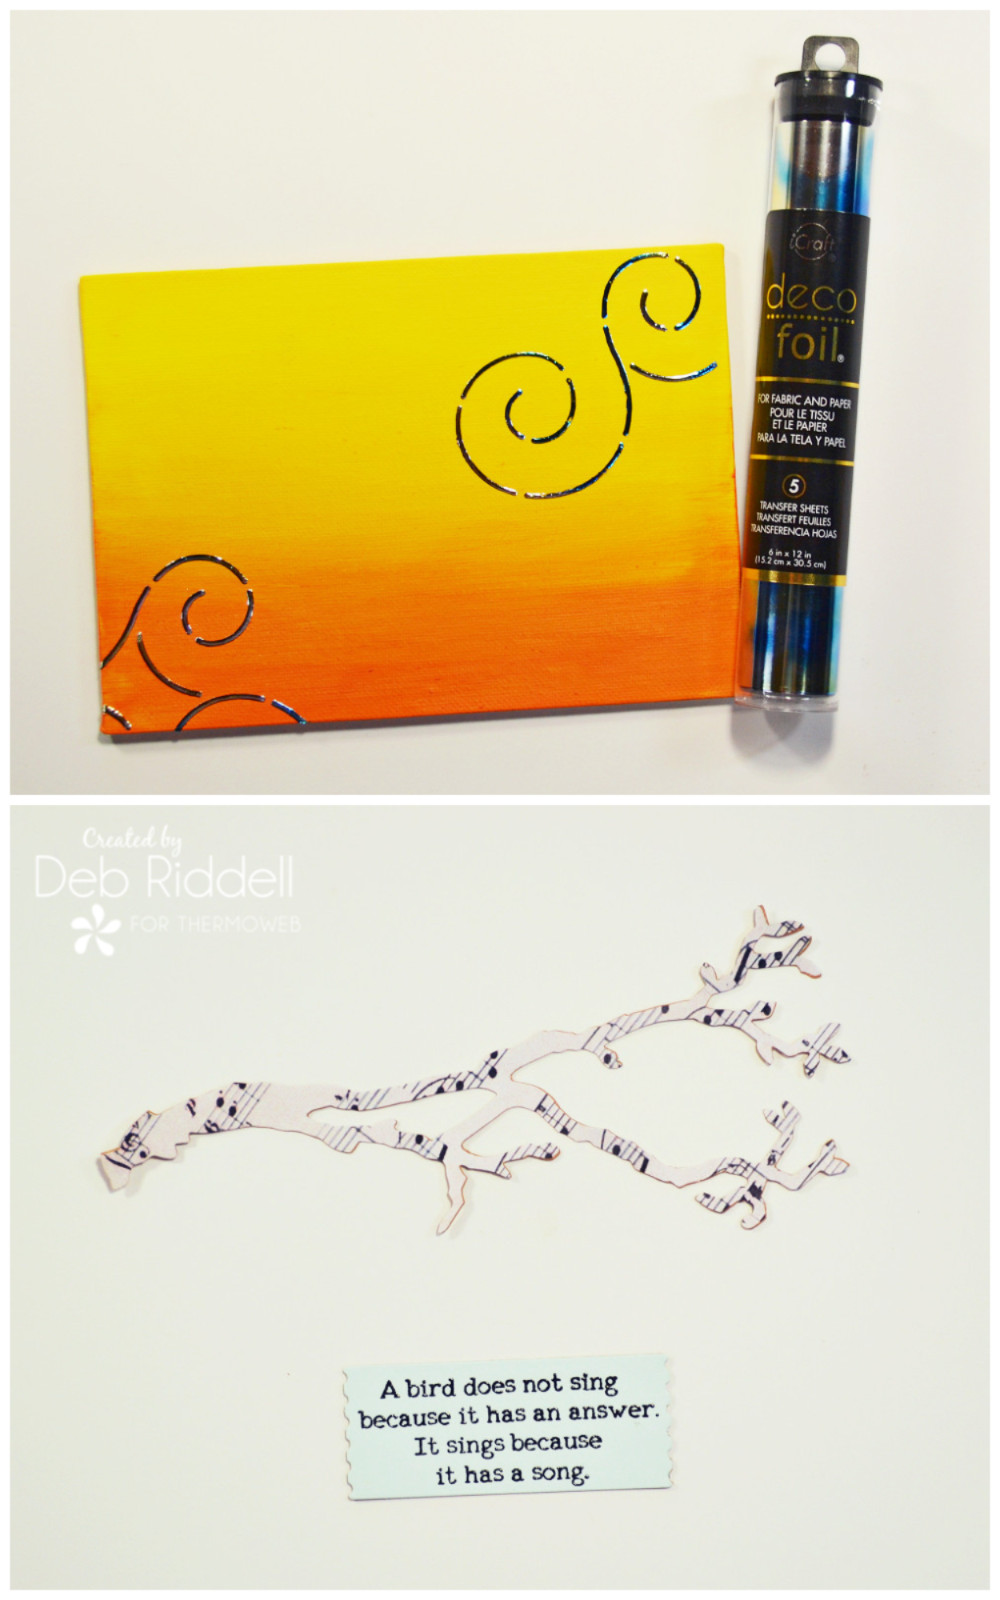
Step seven – Die cut a branch from some musical score patterned scrapbook paper. Stamp your sentiment onto a piece of the pale blue cardstock.
Step eight – add some more interest to your ombre canvas by stenciling and stamping it here and there and by applying some pieces of torn washi tape randomly.
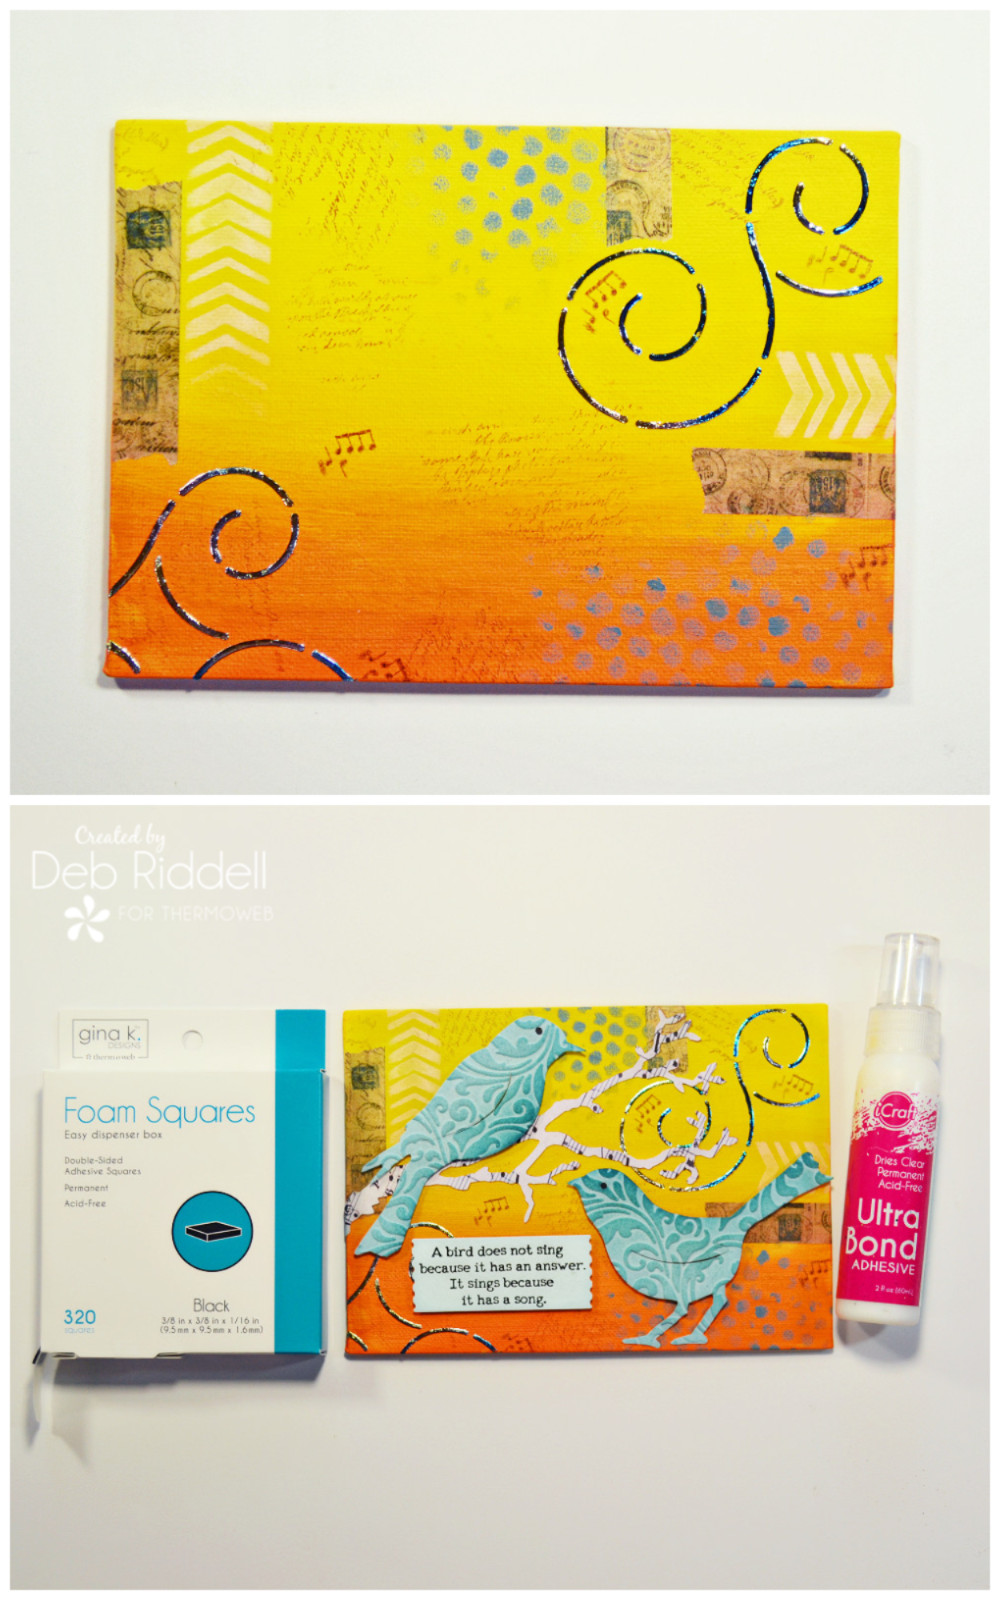
Step nine – Adhere the branch die-cut to the canvas with iCraft Ultra Bond Adhesive. Add the birds and the sentiments to the canvas, popping them up on Gina K. Designs Black Foam Squares and your ombre canvas is complete!
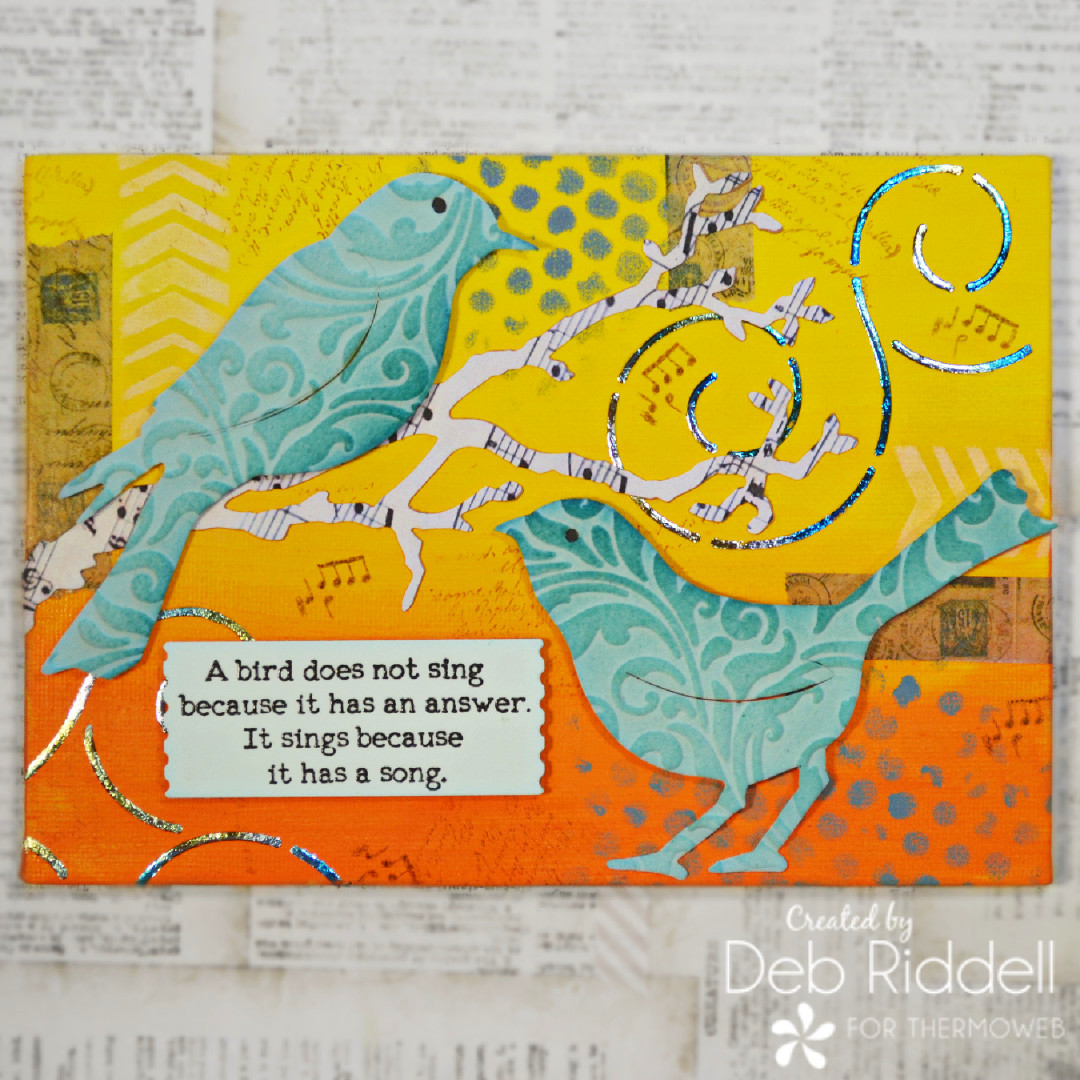
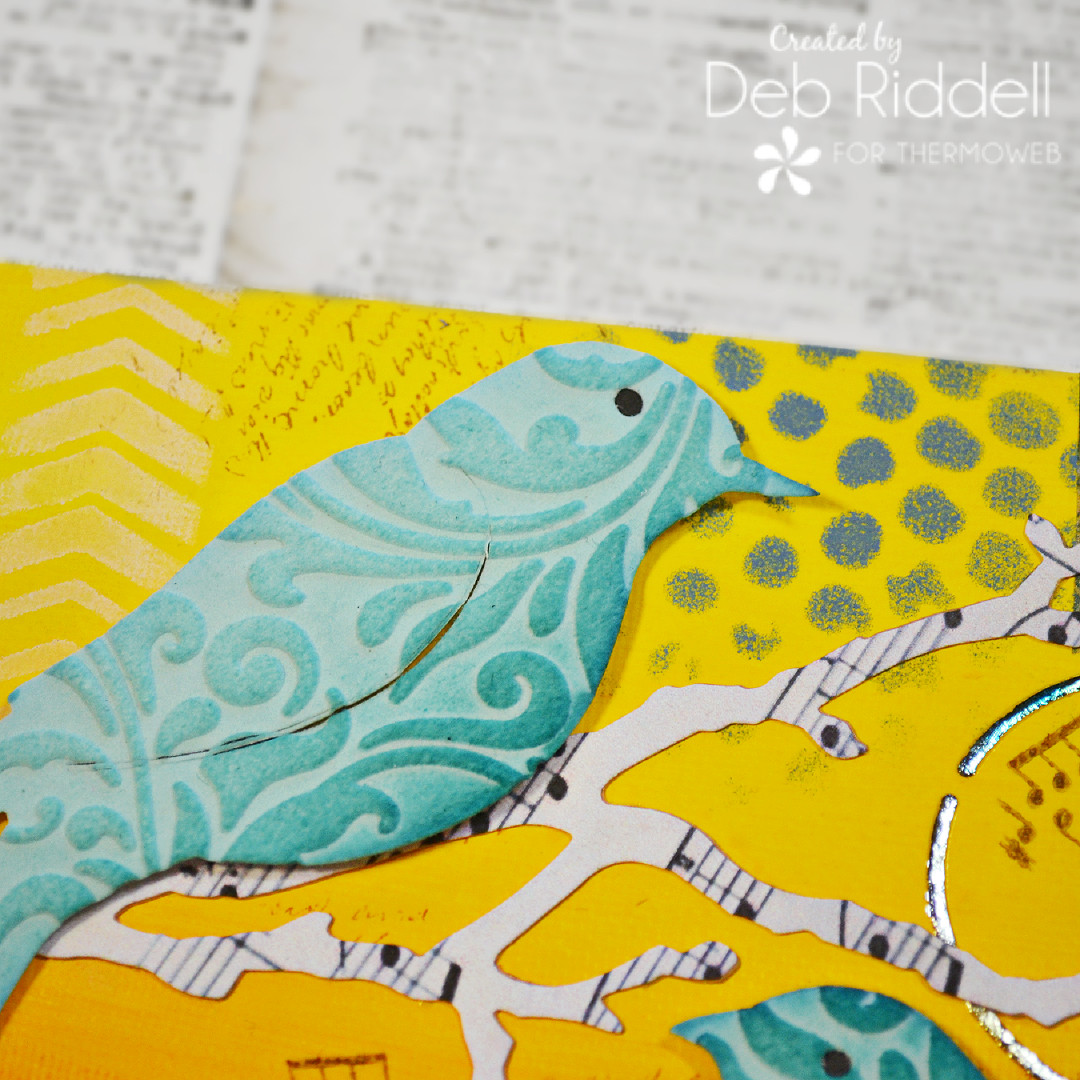
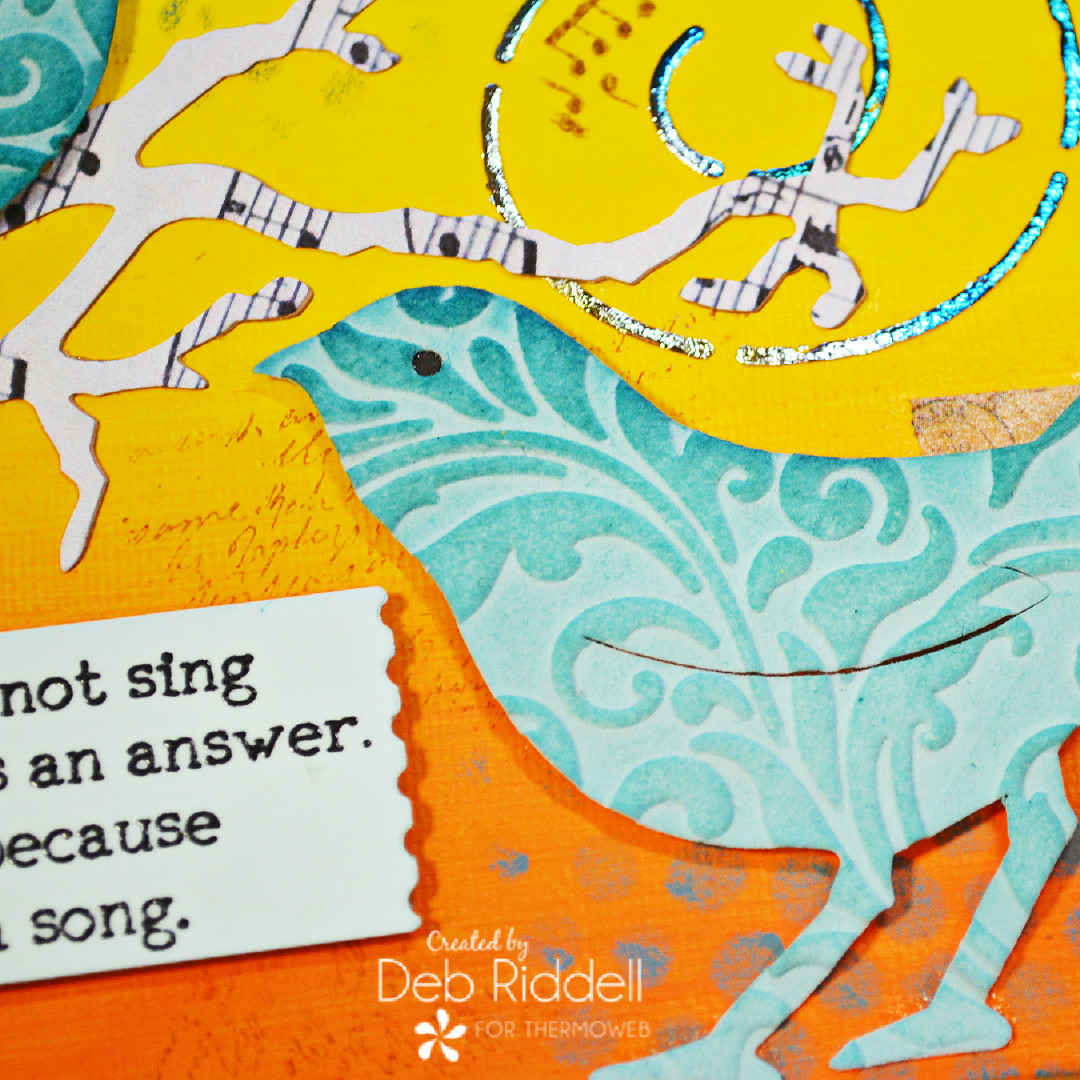
Here are a few closeups of the completed canvas.

Hope you’ve enjoyed seeing how it came together and that you’ve been inspired to make one of your own with Therm O Web’s wonderful line of Deco Foil products!
Thanks as always for stopping by this week and make sure to come back soon to see what other wonderful ombre creations the Design Team has made to inspire you. Happy creating,
Deb xo