


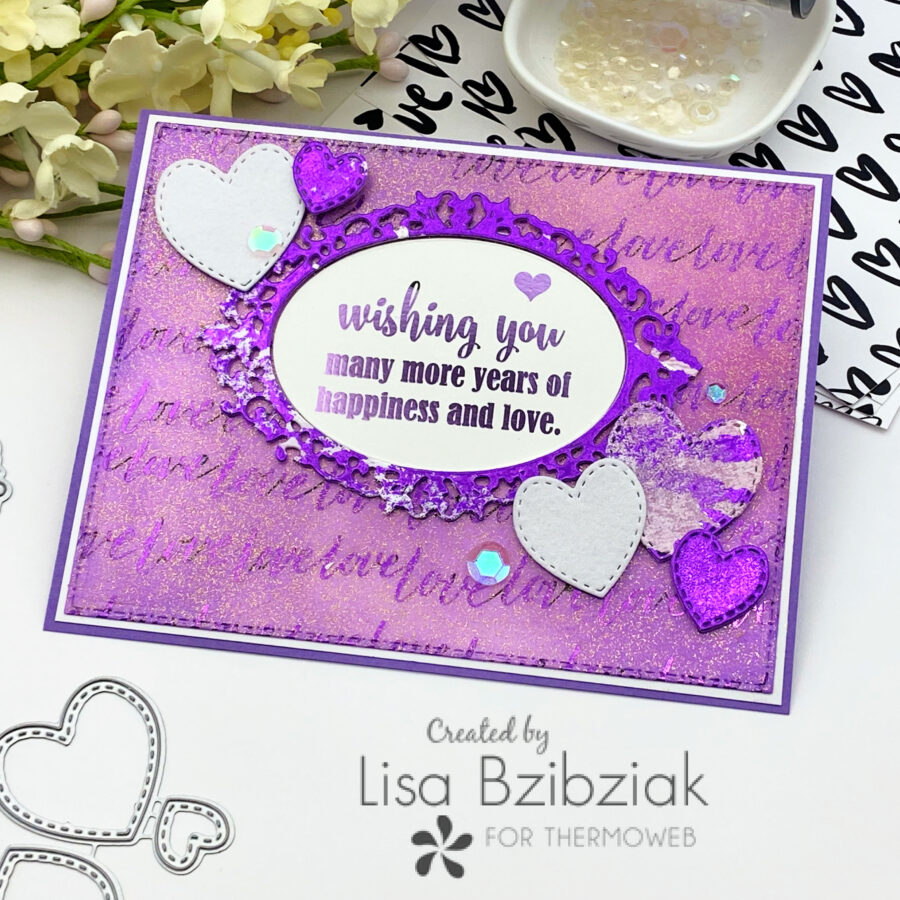
Excited to be back with some more new release fun! I made three cards today using lots of purples because..well… purple! When I was young purple was my favorite… I had a hope chest full of purple and black dishes and purple and black bath towels…lol. I fell out of love for a while and then back in… I’m fickle like that. But I LOVE all the purple in the TOW shop and they’re perfect with the new Toner Card Fronts! Here’s how I made this one:
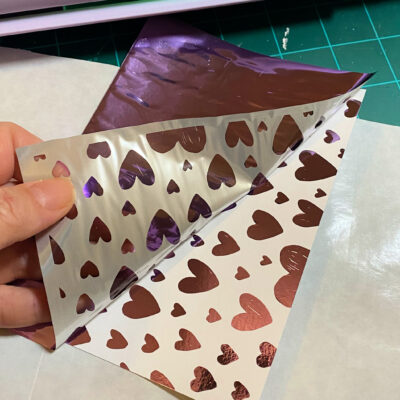
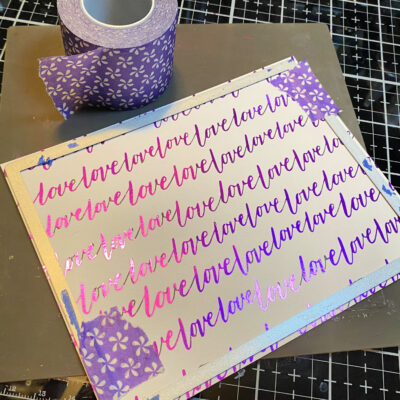
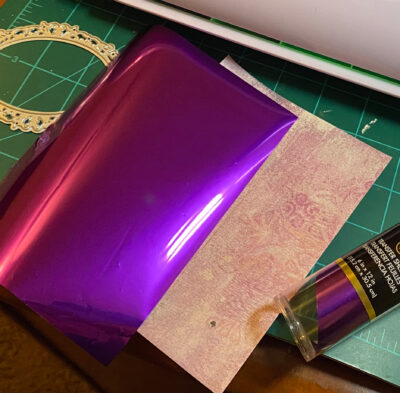
I started by foiling up bunches of the new card fronts… I have a feeling I’ll be using lots of them.
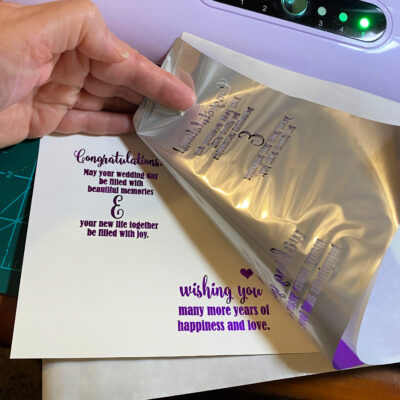
I also foiled up lots of sentiments from the Gina K Foil-Mates Weddings & Anniversaries pack. You can cut them apart to foil them one at a time or foil the whole sheet at once… I did both because I wasn’t sure how I’d be cutting them out so wanted to have some options.
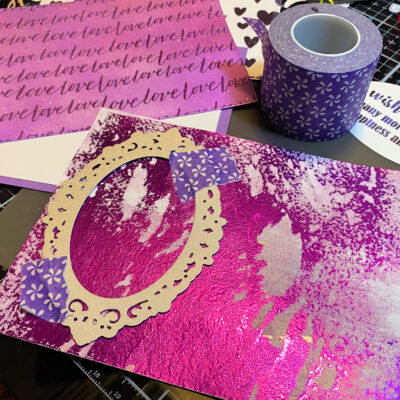
I decided for this one I wanted to frame it with that gorgeous vintage frame so I cut it out using the die so it would fit perfectly inside the frame.
I also die cut the foiled card front I decided to use for this one…
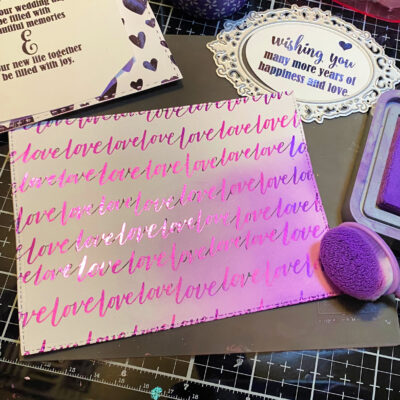
And then blended some ink over it in a couple purples. It’s easy to wipe the extra ink off of the foil when you’re done with a soft cloth to bring back the shine.
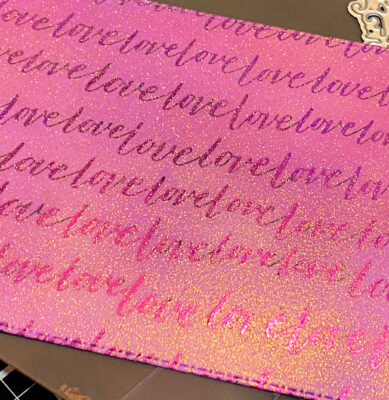
Then I sprayed some Gold Glitter Dust over the entire front in a couple layers to really add sparkle… love this stuff!
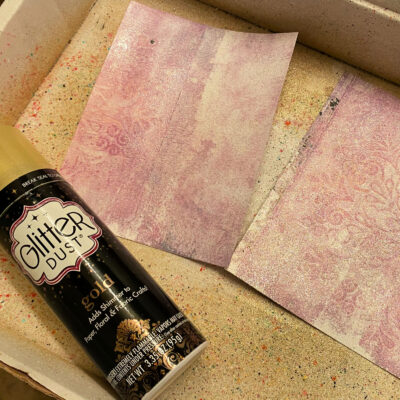
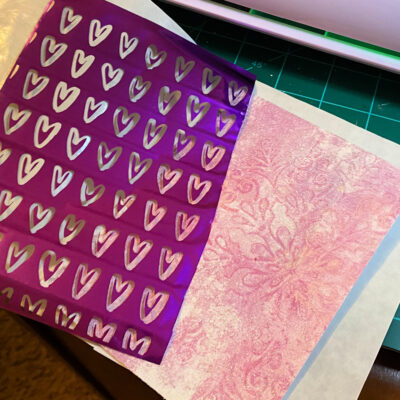
I sprayed some glitter dust over a couple gel prints too because it helps when I want to add foil to a gel print to adhere more foil… sometimes it will take it without, but the Glitter Dust is great when I want more foil to stick.
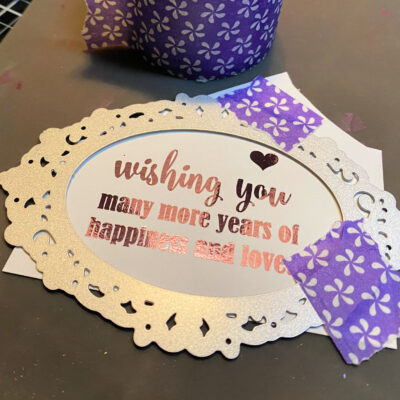
I decided to use one of the gel prints to die cut my frame, so I just laid the foil over it and ran it through my Fuse.
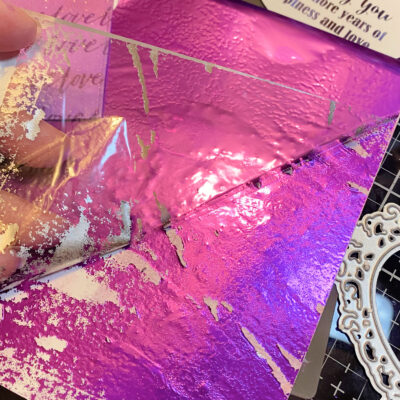
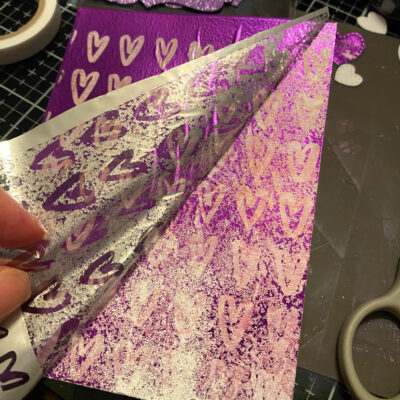
Ew! That’s ugly!… I’m impatient. If you’re going to use Glitter Dust to do this you should definitely spray it and give it a good long while to dry completely… but no worries! After I peeled off the film, I just pressed the foil down onto the gel print and let it cool and it was pretty cool and grungy looking.
See?? Cool!
I cut some hearts from it too as well as a few from some Plush Paper and some from foiled toner paper… I figured I was going to need a few hearts for my projects.

I love those grungy die cuts!
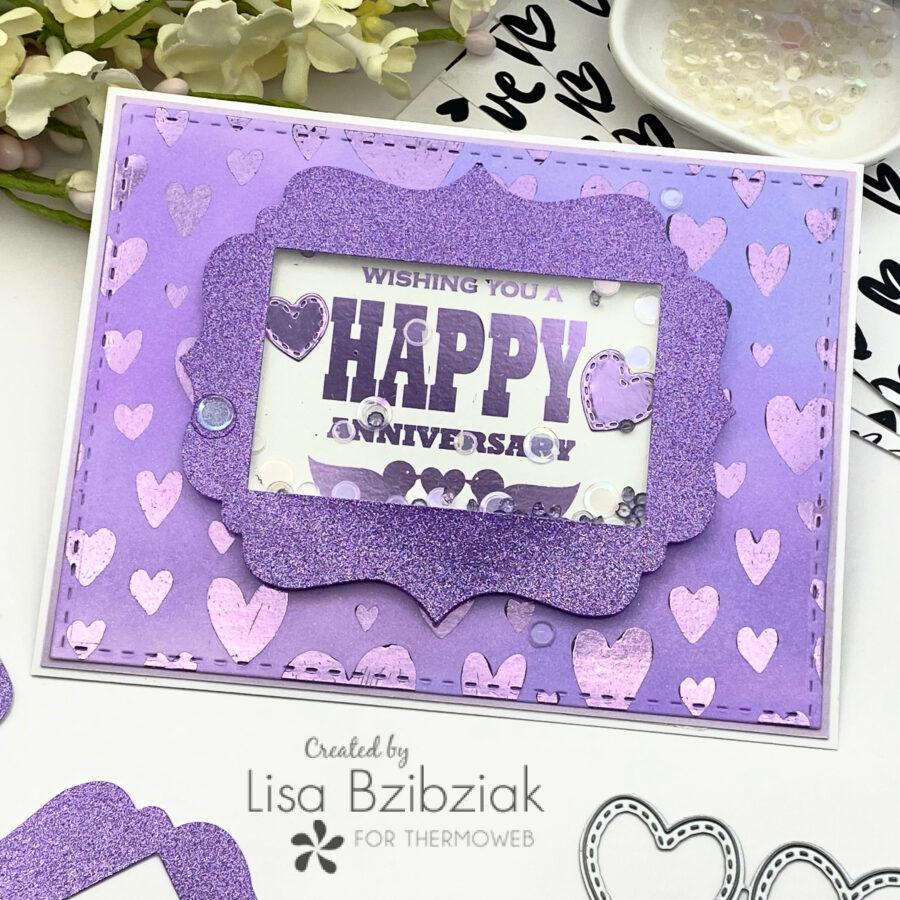
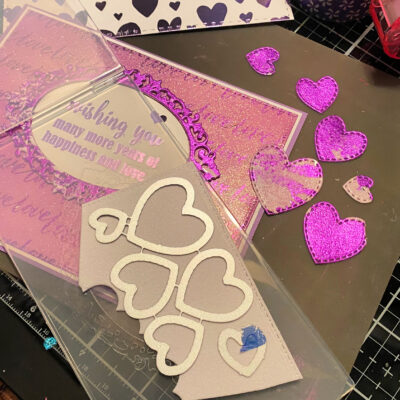
Next I created a shaker using the Glitter Dust Frames from the TOW shop. I ink blended my Toner Card Front as I did before.
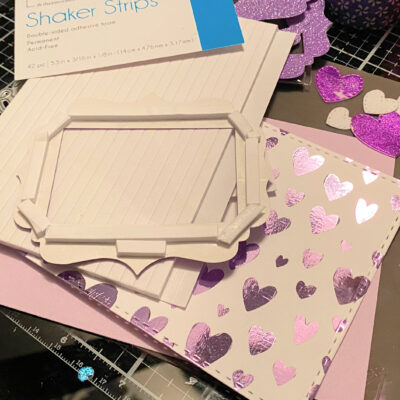
Then I peeled the backing off of the Glitter Dust frame and added a small piece of acetate to create the shaker window. The frames are self adhesive so it was super easy to adhere the acetate. Then of course I wanted it popped up and the Gina K Shaker Strips are perfect for these! I love the thickness because they can accomodate some of my chunkier shaker fillings.
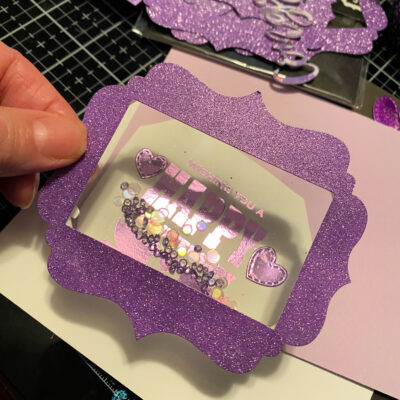
I had cut out my sentiment in an odd shape so I just laid some crystals and sequins on top of the sentiment piece (after I added a couple heart die cuts onto it of course) and then adhered the frame over the top to the cut out sentiment. Then I just trimmed the extra around the edges so the white cardstock didn’t extend past my frame.
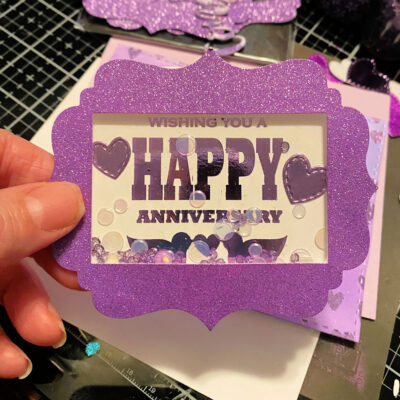
Then I had a shaker element I could just adhere to the front of my card!
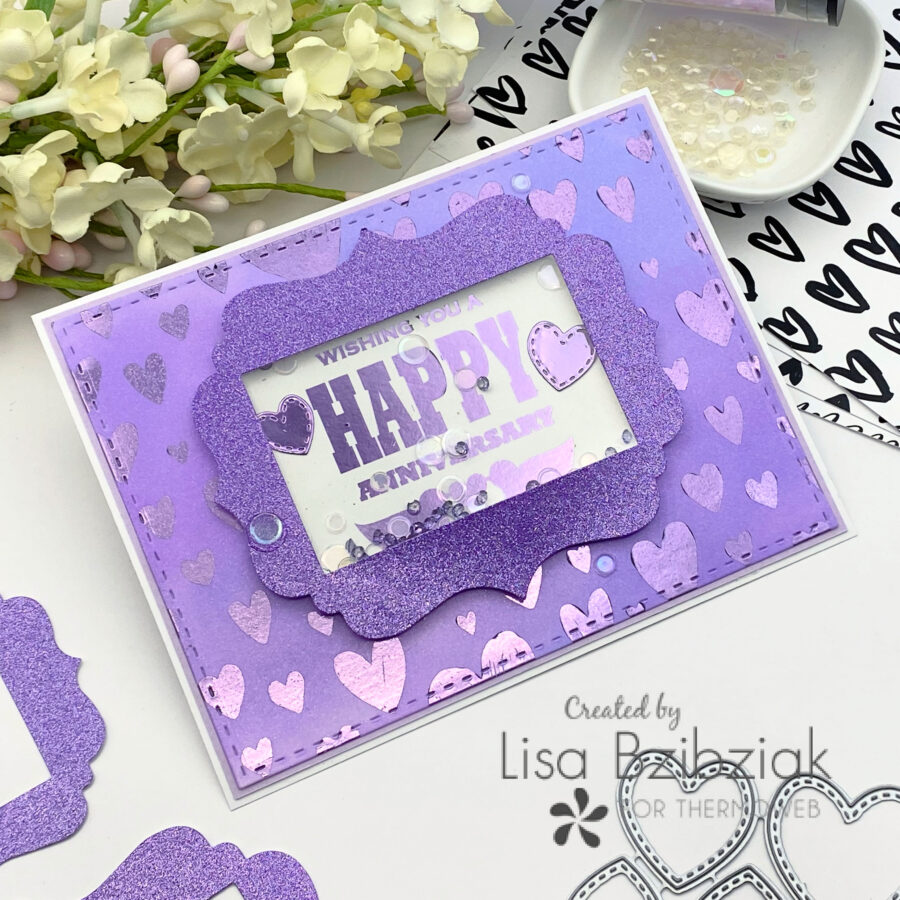
Easy peasy!
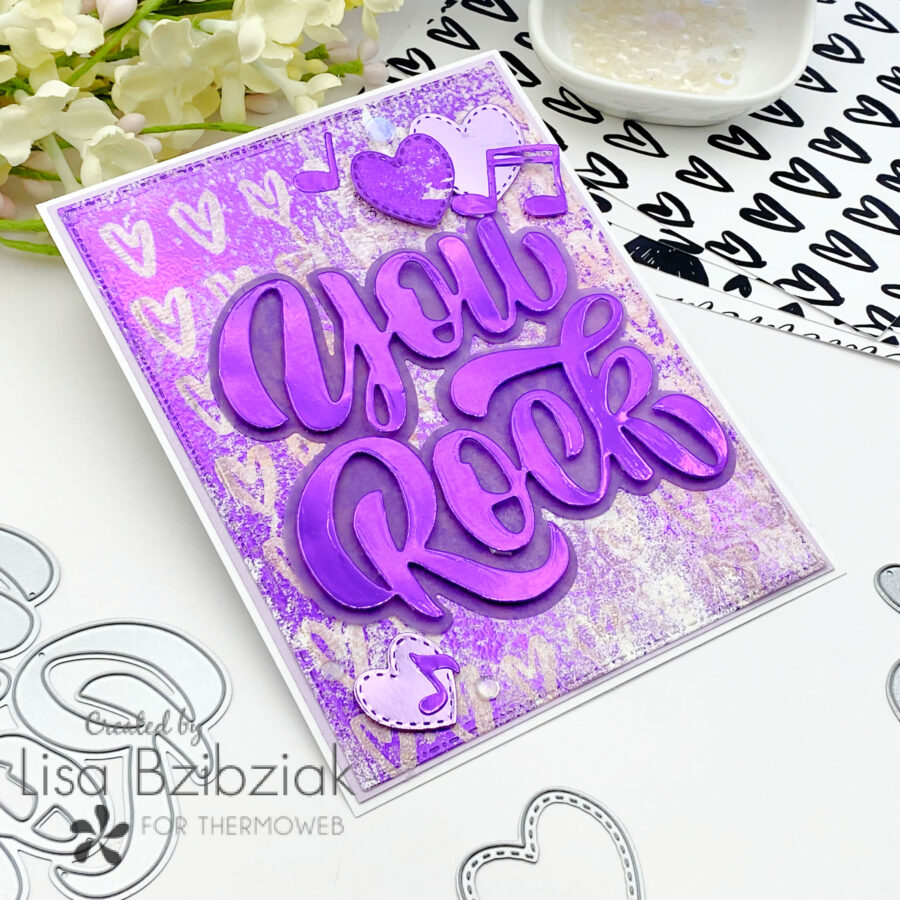
And finally this one! I’m not gonna lie it might be my favorite! So you remember I foiled a bunch of card fronts… but you’re always left with those negative sheets. I cannot stress this enough. DO NOT throw those away! They can easily be used with some toner paper to make a shiny card front OR you can use it with some of your other papers like… idk… your pile of gel prints in your stash.
Remember those gel prints I sprayed with Glitter Dust?? I decided to add this negative sheet to it.
And I love how it came out! And look at that negative sheet… pretty sure I can use that again..lol!
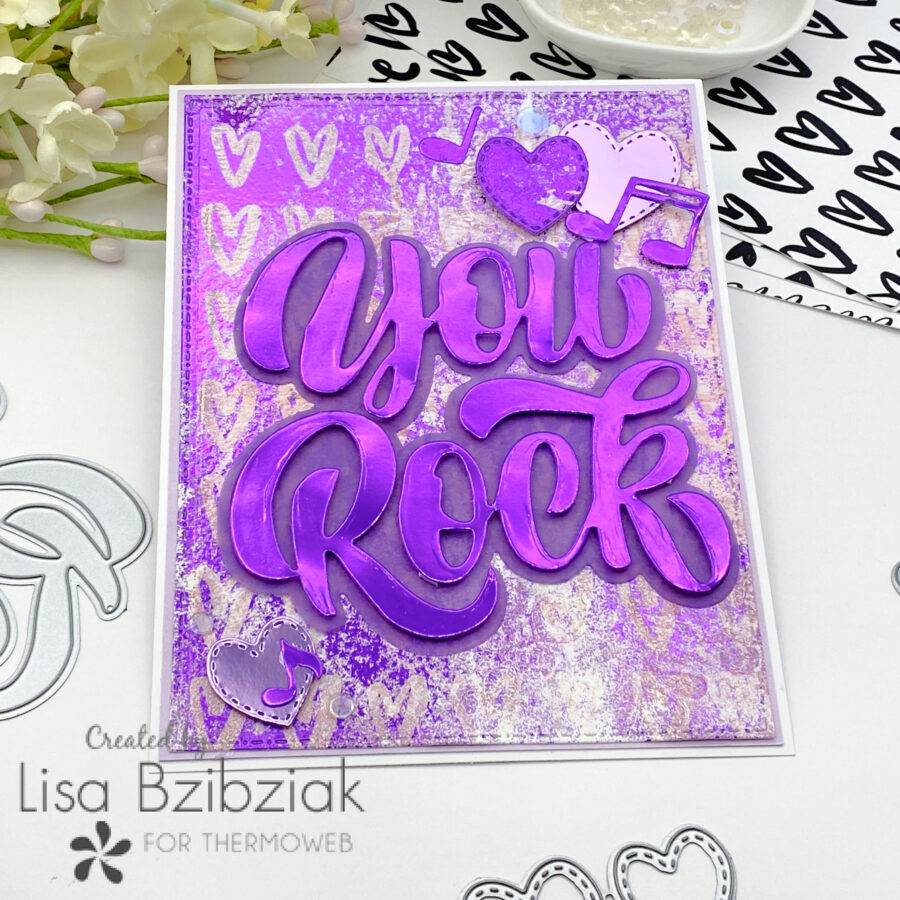
I added some of my hearts and decided with this awesome Kat Scrappiness sentiment some music notes would be fun to add too. This would make a fun Valentine for anyone who loves music. The You Rock was cut from foiled toner paper and popped up over a vellum shadow die cut.
That’s me for today! I hope you enjoyed it! You’ll find lots of New Release inspiration here on the blog and over on Instagram. Come again soon.
https://linkdeli.com/widget.js?id=f5e8378456858c916708