


New Addition Scrapbook Layout
by Jessica Michaels
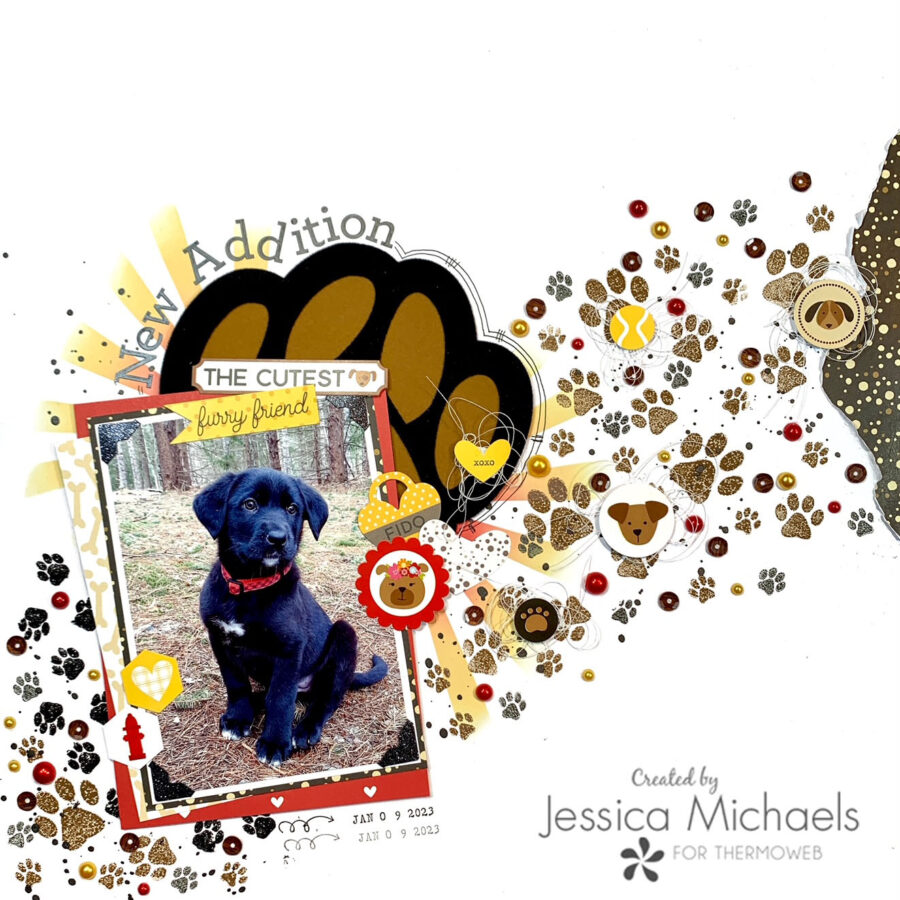
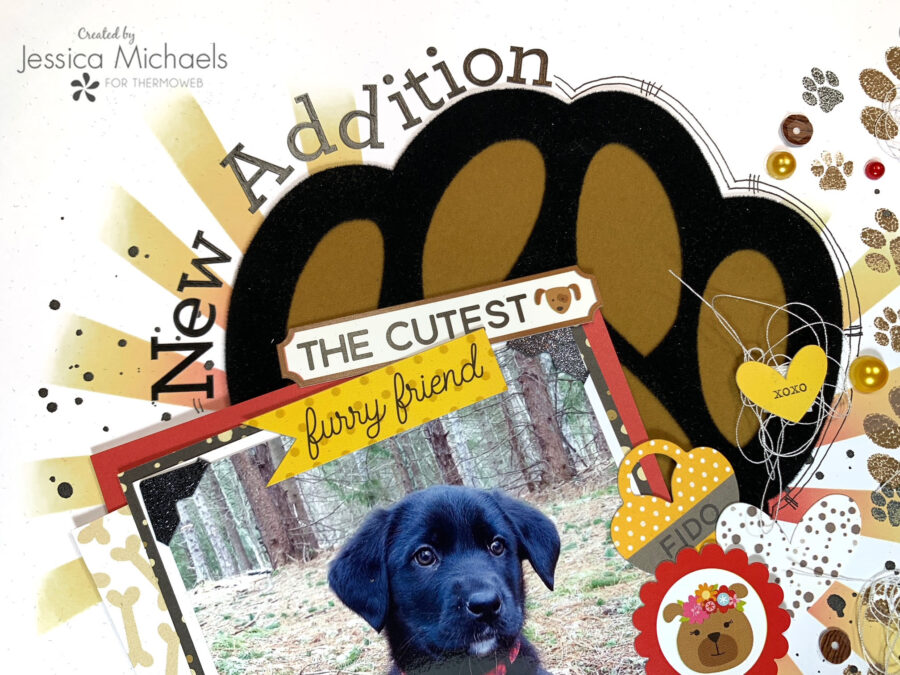
Hello everyone! Jessica here with a layout for Pets We Love Week! My sister just got a new puppy named Ruger and she is absolutely adorable so I just had to scrap it for her book! Doesn’t everyone love cute little squishy puppies? I used some glitter glitz gel on this one with a paw print stencil and included a flocked paw print behind my photo! Read on to see how this came together or grab the link to the video below!
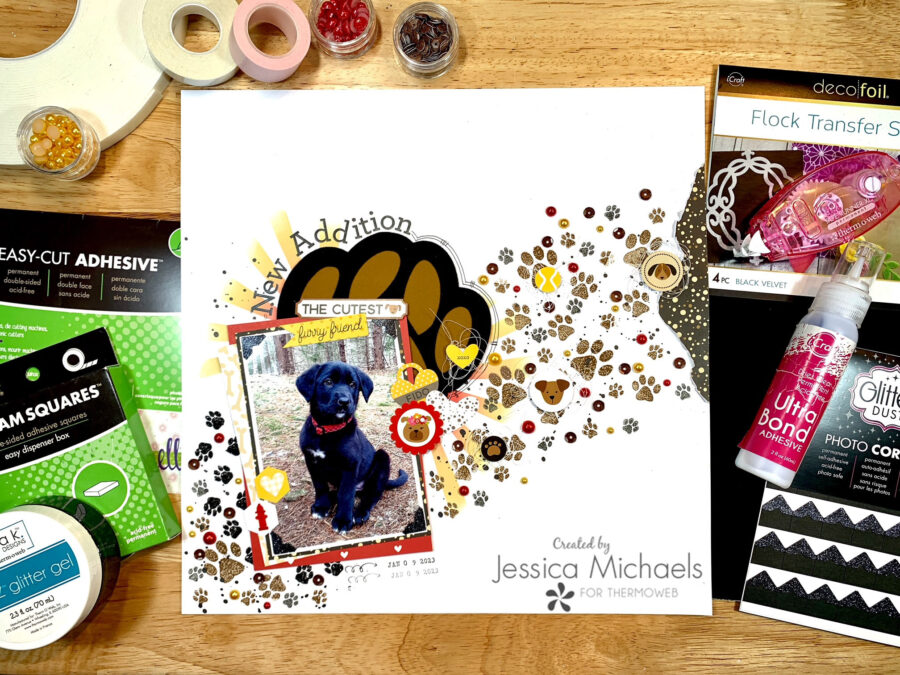
Therm O Web Supplies Used
Memory Runner XL
Memory Runner XL Refill
Easy Tear Tape 1/4″
3D Foam squares box, white
Easy Cut Adhesive
Gina K Glitter Glitz Gel- Black
iCraft Ultra Bond Liquid 2 fl oz
iCraft 3D Foam Tape Roll Jumbo 1/16
iCraft Removable Pixie Tape
Deco Foil Flock Transfer Sheets, Black
Deco Foil Flock Transfer Sheets, Tuscan Gold
Glitter Dust Photo Corners, Black
Other Supplies Used
Bella Blvd Cooper collection
Cricut Design Studio cutfile
Distress Oxides/inks in Black Soot, Barn Red, Scattered Straw, Gathered Twigs
Sequins by {Not} Just for Boys Kit Club
I started this layout by pulling out a sheet of smooth white cardstock and some black and Tuscan gold flock sheets. I also grabbed an extra sheet of white cardstock and some easy cut adhesive. I peeled the bottom backing sheet off the easy cut adhesive and applied to my cardstock. I then cut the top outline of my paw print cutfile from the cardstock backed adhesive, leaving the top backing piece on. When it was done cutting, I peeled it off my cutting mat and took off the top backing piece, adhering it to the black flock. I then ran it through my die cutting machine using a piece of cardstock as a shim to make it add more pressure for an even flock transfer to the adhesive. While I was running this through, I had my cutting machine cutting the back piece of my paw print from the Tuscan gold flock. It scuffed up the outside of the flock from the blade dragging but I knew this would be covered up with the top black flock so I let it cut it rather than transferring to adhesive first. Once that was done, I adhered the layers together with UltraBond Liquid Glue. I like the 2oz size bottle and use a corsage pin to unclog the tip when I need to as mine does tend to clog after use but I love this glue!
Next, I pulled out a couple stencils and went to town. I used distress oxides in scattered straw and barn red for my sunburst stencil, as I wanted to keep with the color scheme of the Bella Blvd Cooper collection. I first adhered my stencil down with pixie tape so I was sure it wouldn’t move around as I was blending the ink on with blending brushes. I did two spots around where my paw print and photo would sit and then moved onto the paw print stencil on the left of my photo. I pulled out some black glitter glitz gel by Gina K and applied that with a spatula, once again taping down with pixie tape first, which is removable, repositionable tape. I was not careful about my paw prints and how perfect they were because I like a bit of grunge to my layout and I figured it was going to take a grungy turn in a minute.
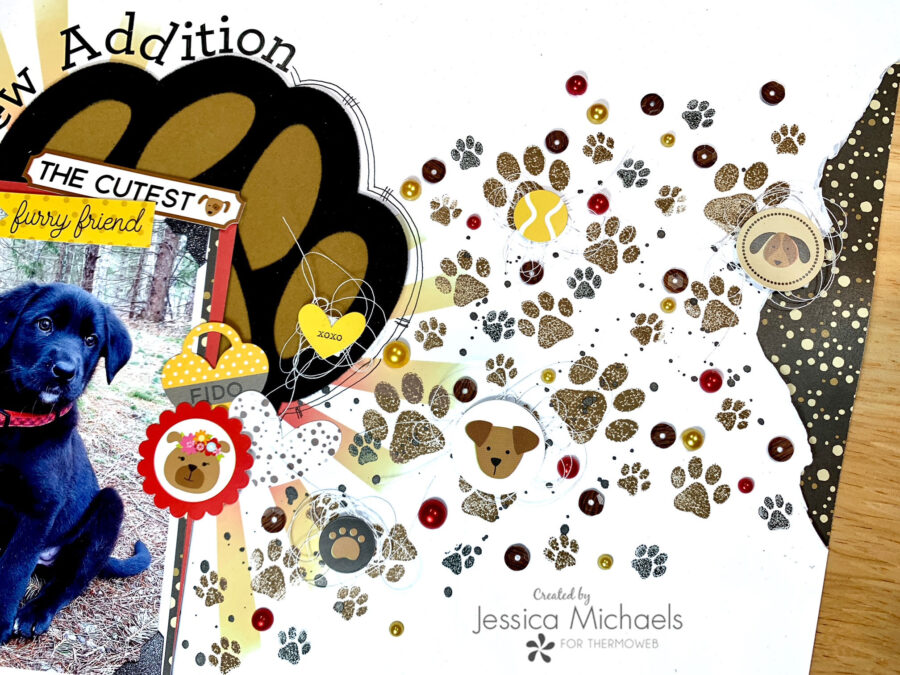
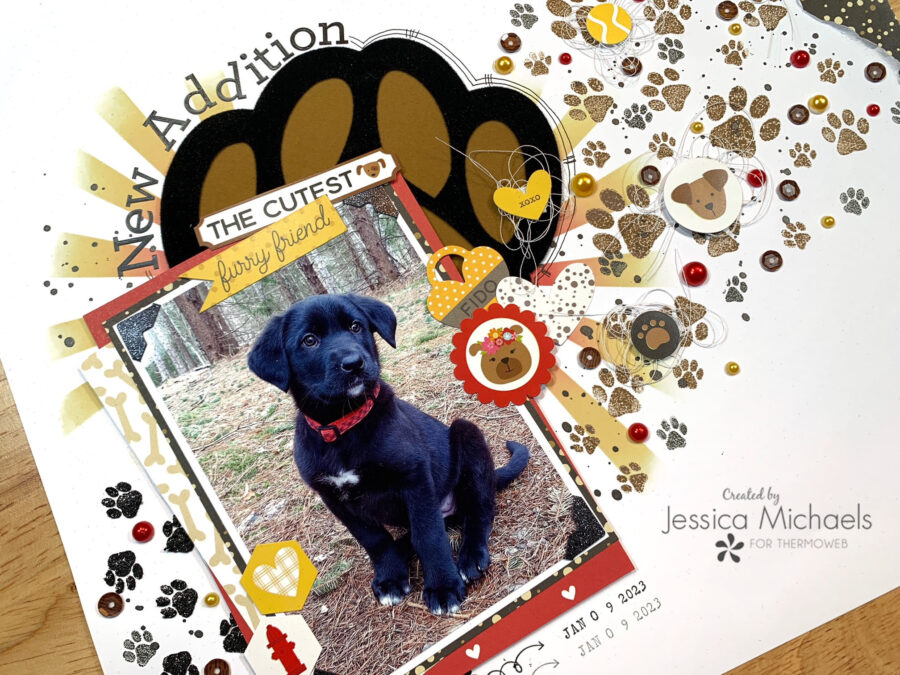
I layered up my photo with some paper scraps from the Bella Blvd Cooper collection and used the 3D foam tape roll to stick it to my page, and the paw print I adhered with some easy tear tape. I decided to add black splatters with Heidi Swapp Color Shine and lots of stamped paw prints in different sizes with distress inks in gathered twigs and black soot oxide. I then pulled out lots of sequins from the {Not} Just for Boys Kit Club and adhered them all over the paw prints section with the UltraBond Liquid Glue again.
I added a few embellishments, being sure to pop some up off my page with 3D foam squares and placing some thread behind for interest and then finished it off by adding my title with some Doodlebug letters. I also did some light doodling around the paw print.
I have a process video on the Thermoweb YouTube channel if you’d like to watch exactly how this came together.
Watch the New Addition Scrapbook Layout Video
Thank you for being here today and I hope I was able to inspire you to create!
Jessica
This post contains affiliate links. For more information, see our disclosure <a href=”http://thermoweb.com/blog/designers/about-us/affiliate-disclosure/“>HERE</a>.