Hello crafty friends! Today I am here to share my mini storage box, highlighting the Gina K. Designs Deco Foil Transfers along with Deco Foil Transfer Sheets. Once I finished this project, I couldn’t help but imagine all of the other out-of-the-box ways to use these transfers. I’m thinking jewelry boxes, wood trays etc. The list goes on and on . . .
Mini Storage Box with Gina K. Designs for Deco Foil Adhesive Transfers
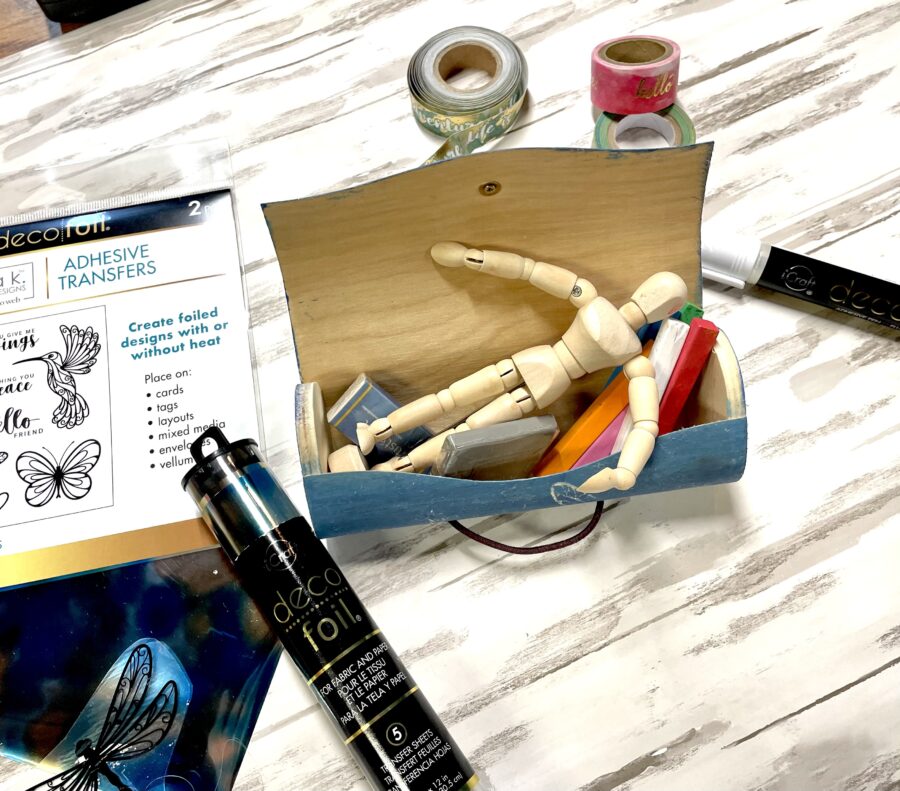
Mini Storage Box with Deco Foil Transfers and Deco Foil Transfer Sheets
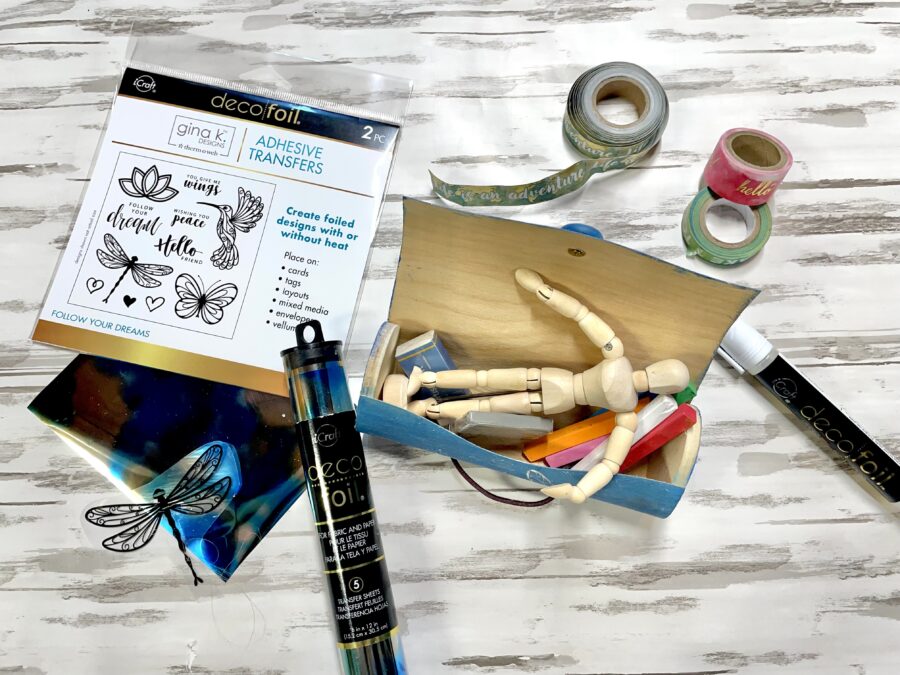
Storage Box Supplies:
Gina K. Designs Adhesive Transfers
iCraft Deco Foil Transfer Sheets
Other Supplies: small container, bone folder, chalk paint and wax or some sort of sealer and paintbrush
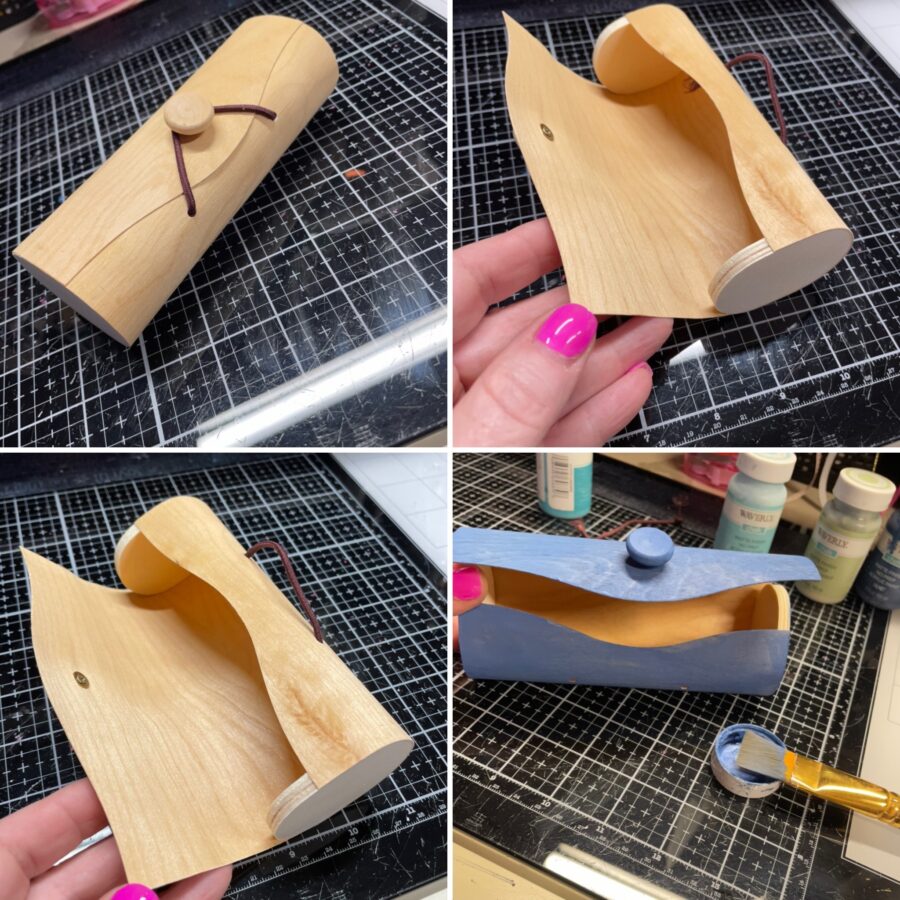
Mini Storage Box Step One:
Start by painting your storage container with chalk paint. I used three different colors and layered them with water as I painted. Allow the paint to dry completely.
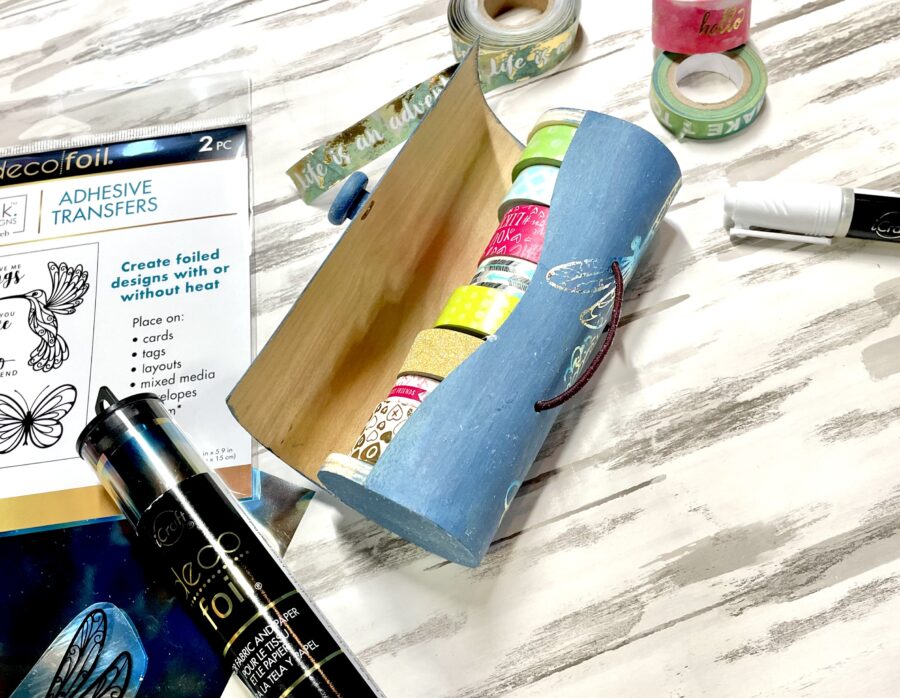
Hint: I used a balsa wood container, but your local dollar store should have several items to choose from in their craft/wood section.
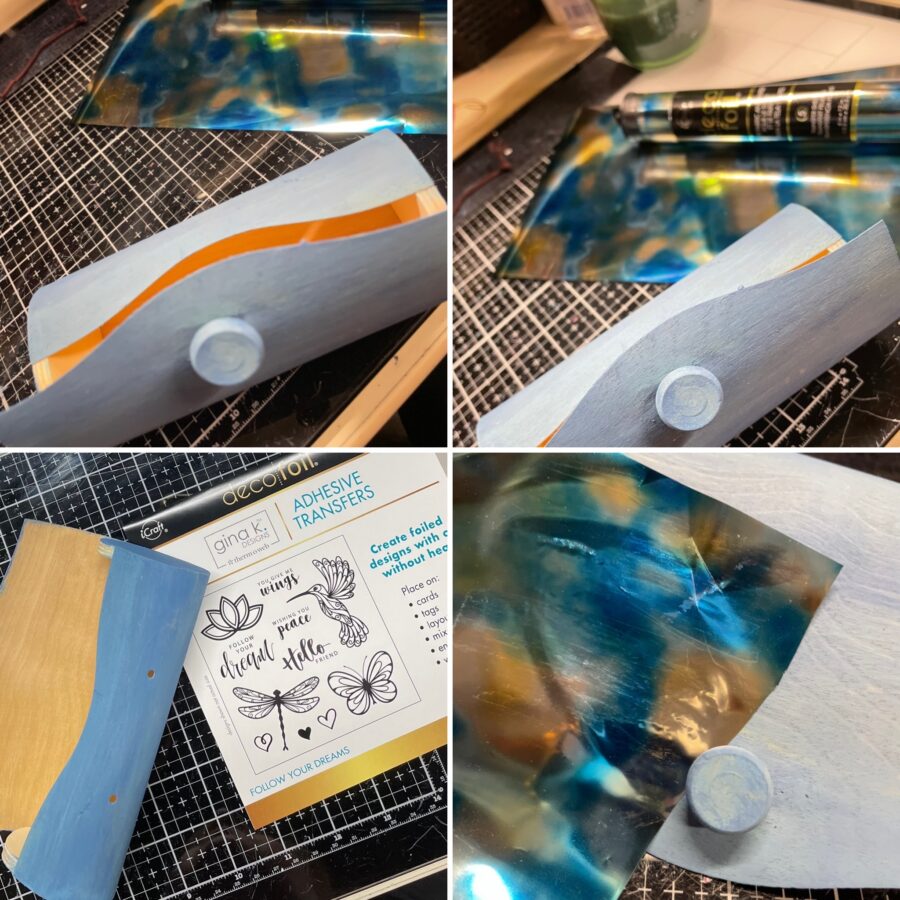
Mini Storage Box Step Two:
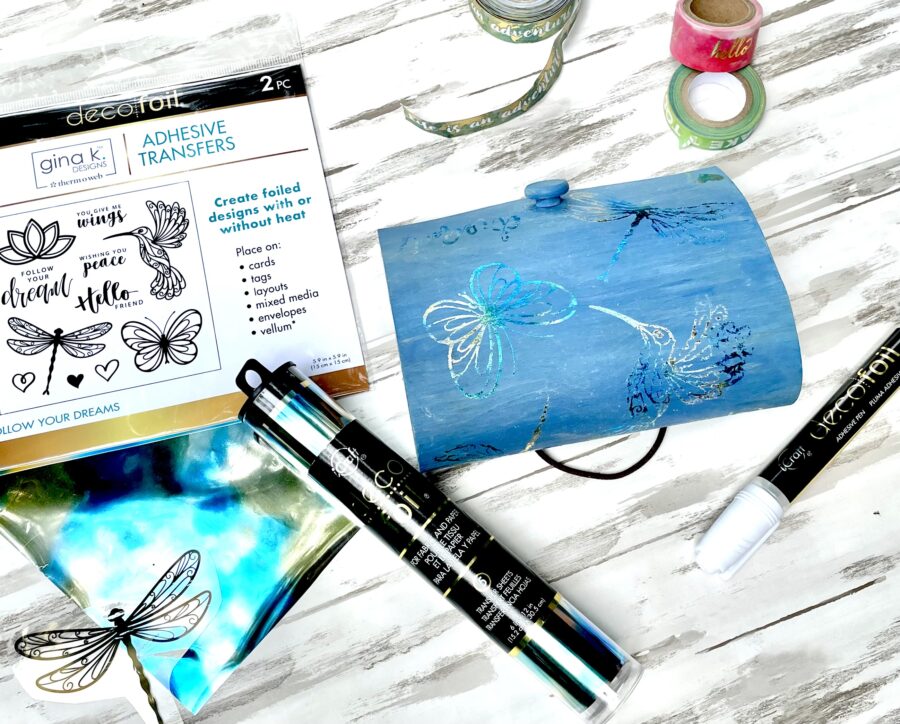
Choose the images you want to use from the Gina K. Designs Deco Foil Adhesive Transfers and trim around them. Carefully peel the backing off of the Transfer image and place it so that the text or picture is right side up (the sticky side is on the opposite side of the printed image). Place the images wherever you want them on your box. I used just a bit iCraft Pixie Tape to hold my images in place so they wouldn’t move around while I decided on placement.
Next, burnish the images onto the surface of your container using a bone folder or other flat-edged item.
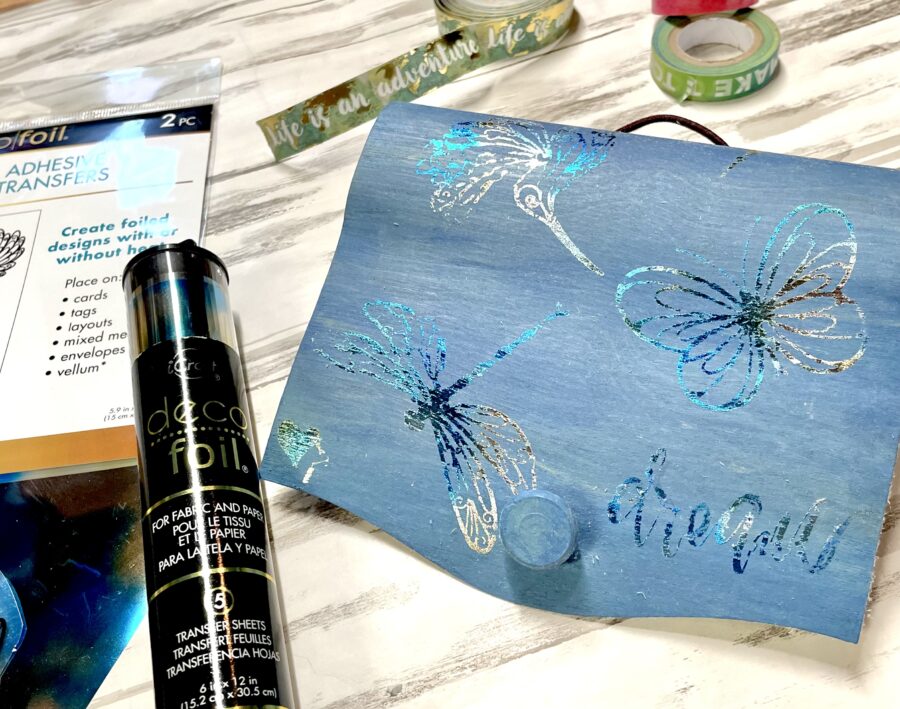
Lastly, peel away the printed acetate, leaving an adhesive image and place your Foil Transfer Sheets on top of the images. I used Lapis Watercolor because it gives you a variation in color without having to use different foil sheets. Burnish again so that the adhesive is completely covered by foil. When you peel away the foil transfer sheet, you are left with a foiled image.
Hint: The adhesive image is clear so you might need to hold it at an angle to see it. If there is a portion that did not transfer completely (this usually happens if you didn’t burnish it completely) use a glue pen to fill-in the missing areas. This trick worked great for me!
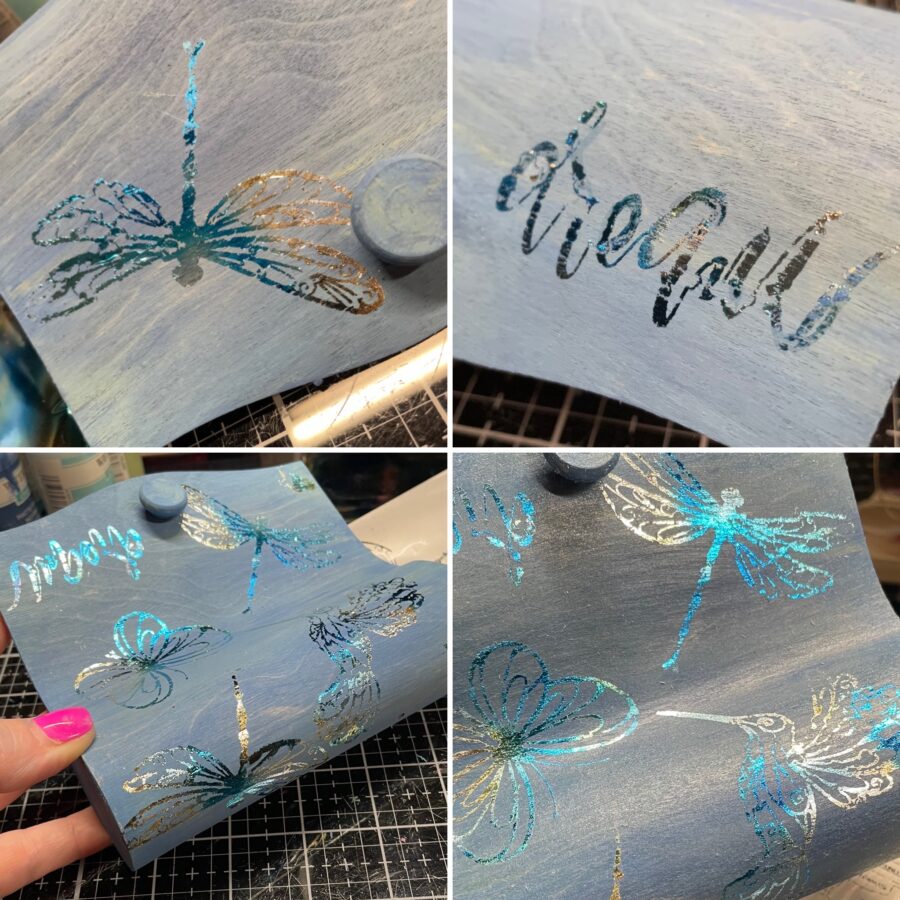
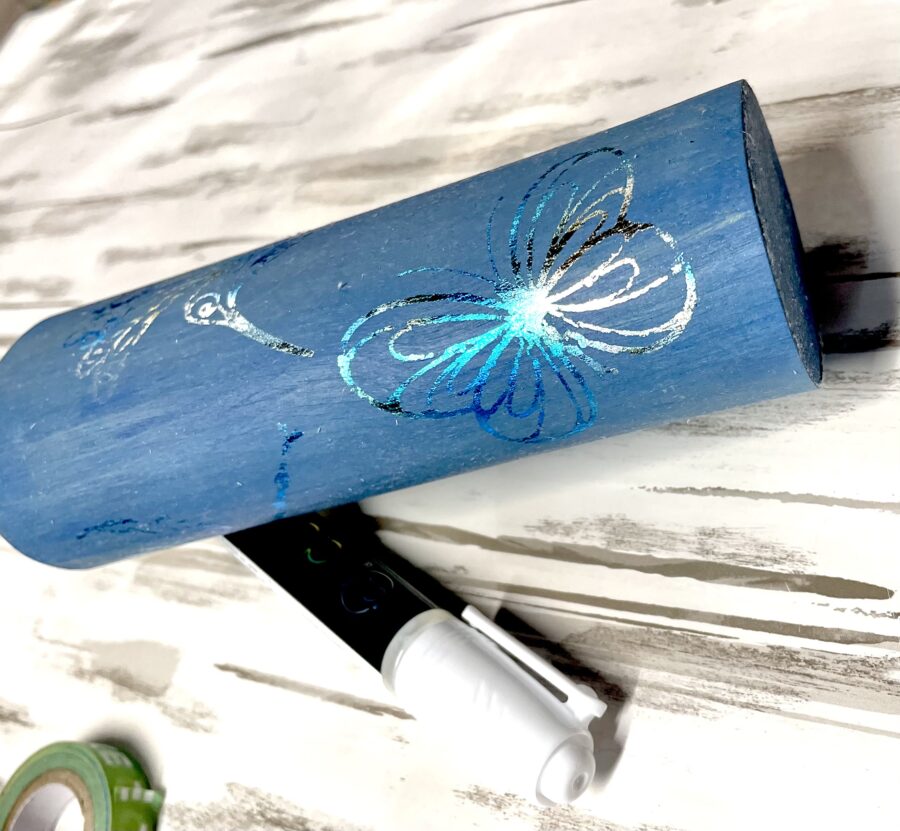
The result is beautiful! I tried to photograph from different angles but it so hard to capture the shine of this project. Make sure you scroll all the way to the end to see the video clip which gives you a better idea of just how pretty this came out!
If you used chalk paint like I did, make sure you seal your project.