


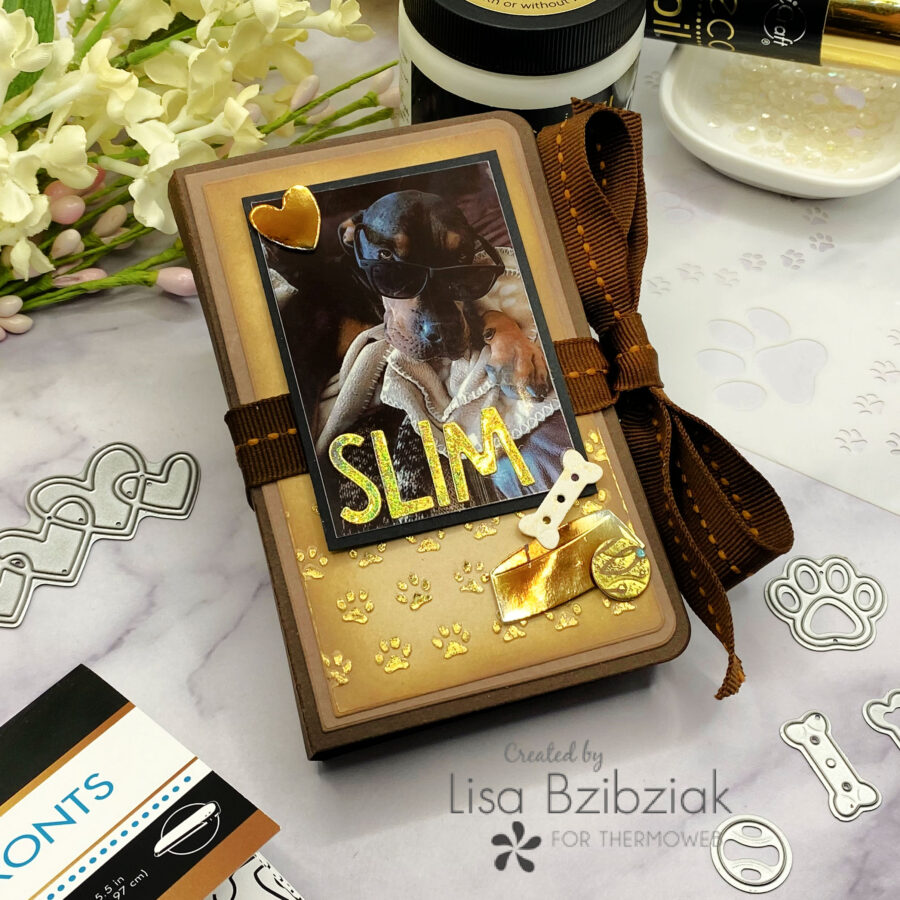
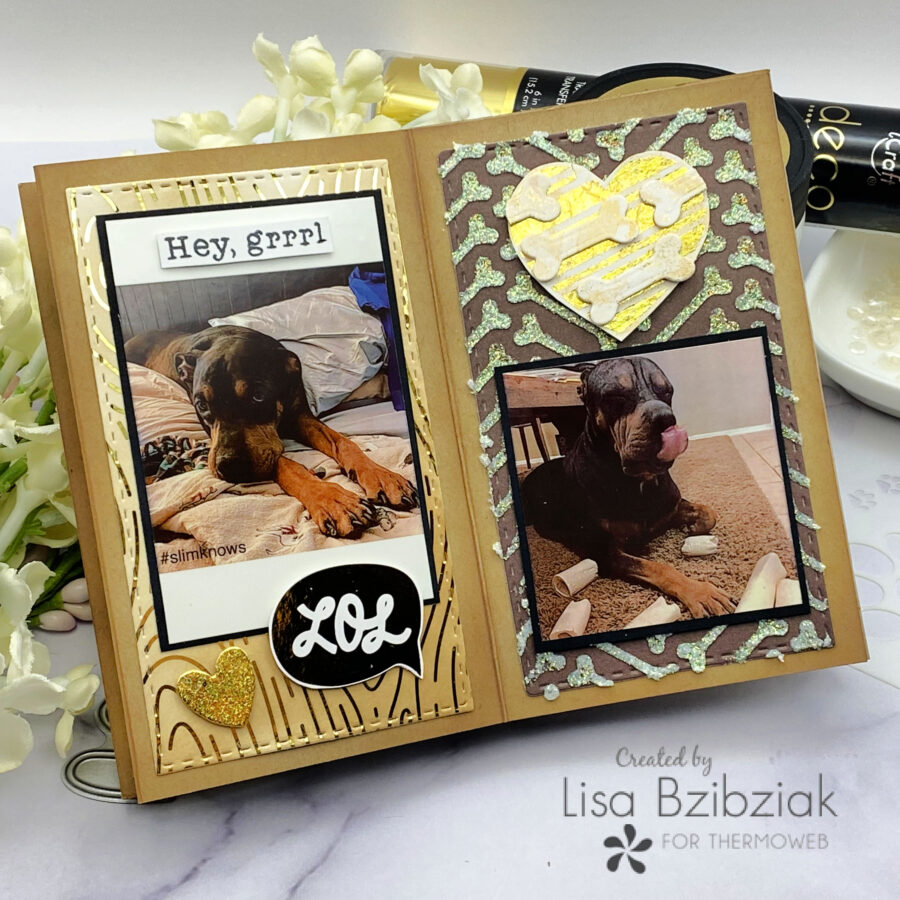
Welcome back! I’ve got a fun mini album for you today! It’s been bothering me for a while that so many of my favorite pics are just on my phone. I used to do a lot of scrapbooking but not as much any more. But I decided it was time to print some of those pics and decided to get myself a Sprocket printer.. I love it! And when I saw a crafty friend post a project made using this mini album box die set from Studio Light I knew it would be perfect for these 2×3 pics! I decided to start with an album of all of the pics of my very good boy, Slim.
I started by putting together the box. I lined it with a couple simple panels stamped with an image from the stamp set from Miss Ink Stamps called Slim’s Whims… yes! He has his own stamp set!
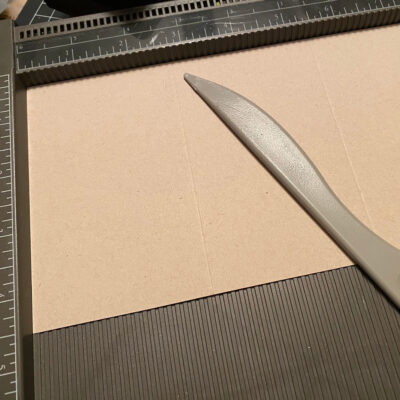
Next I made a simple accordian style mini book to fit inside the box. I cut two pieces of cardstock at 4 1/2″ by 11″ and then scored them at 2 3/4″.
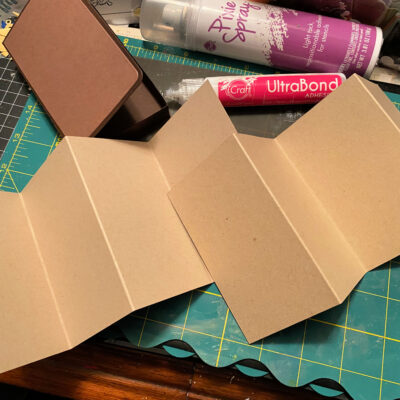
I folded at the scores and then attached the two ends with some Mixed Media adhesive and set them aside to dry.
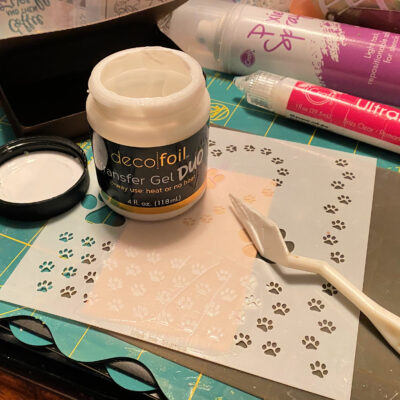
I decided to add some foiled paws to the top layer for the front of the box. I applied some Transfer Gel Duo to the panel and set it aside to dry to tacky.
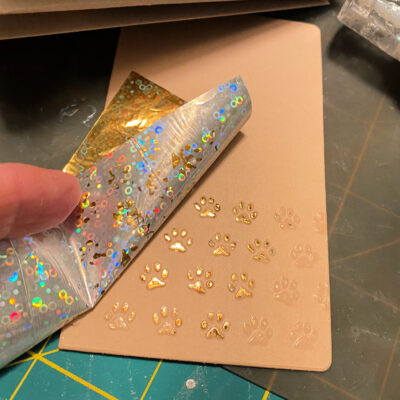
I applied some gold foil to the paws using pressure and the stencil pal.
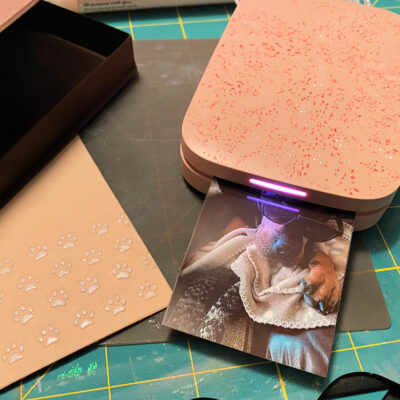
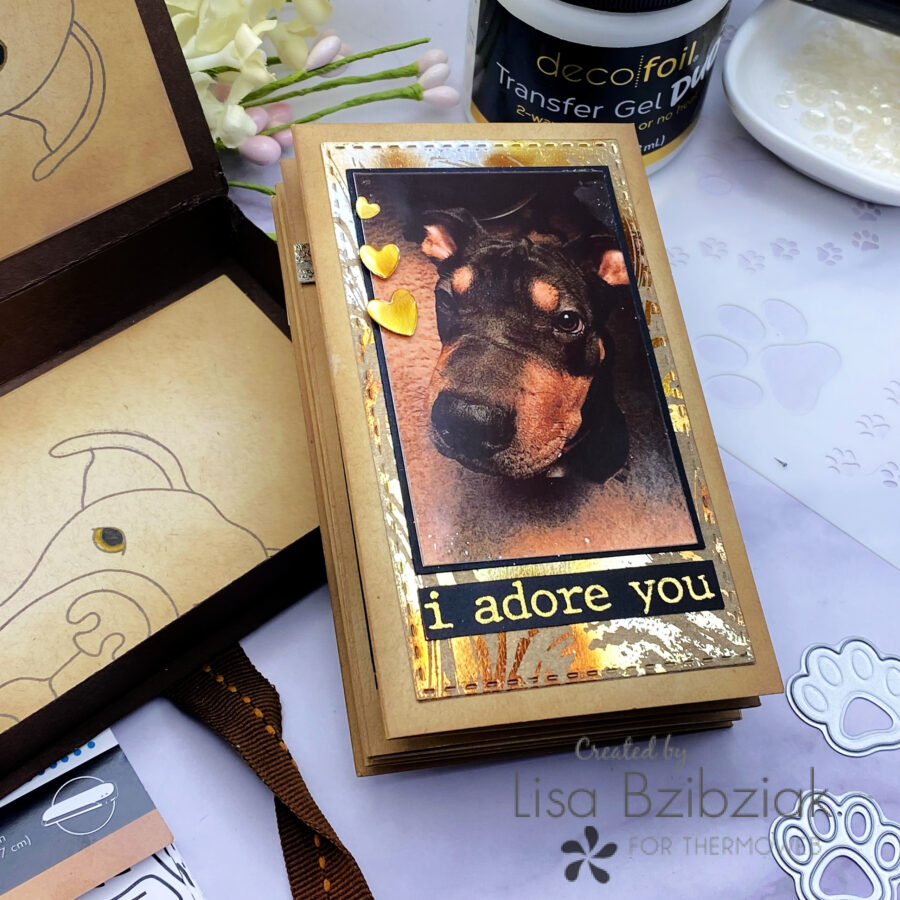
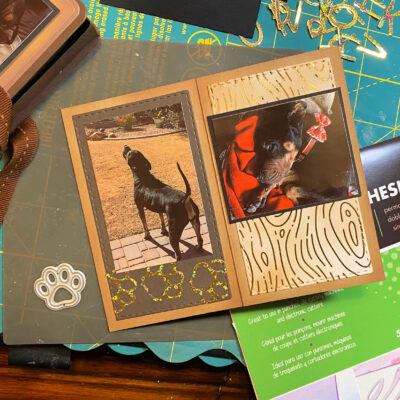
I printed the picture I wanted to use for the front of the box from my phone to my Sprocket printer.
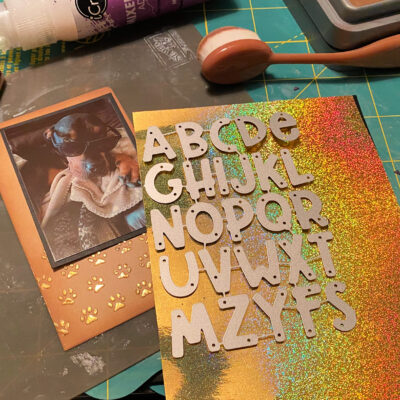
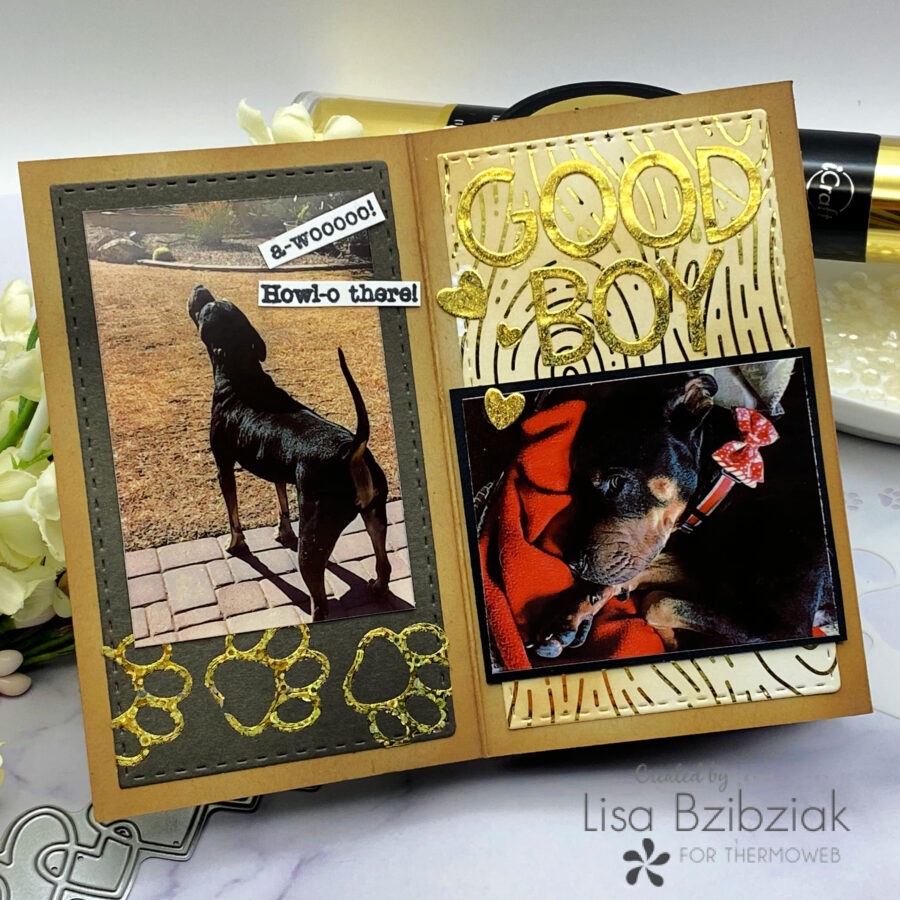
I matted the pic in black and popped it up onto the panel. I foiled a piece of toner card front with that gorgeous gold foil from Unity Stamps and cut an alpha set from it and added Slim’s name and then added the panel to the box.
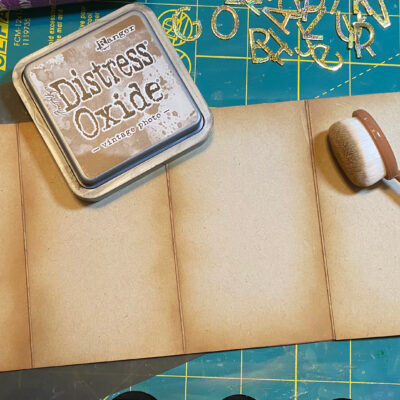
I added some Distress oxide to the edges of the accordian book base and the creases.
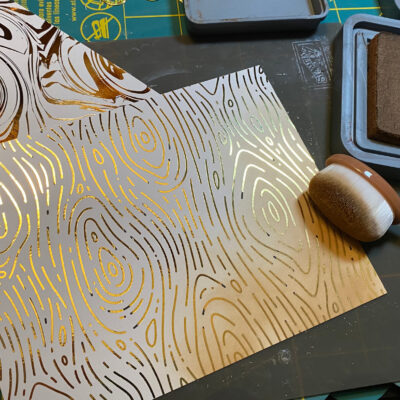
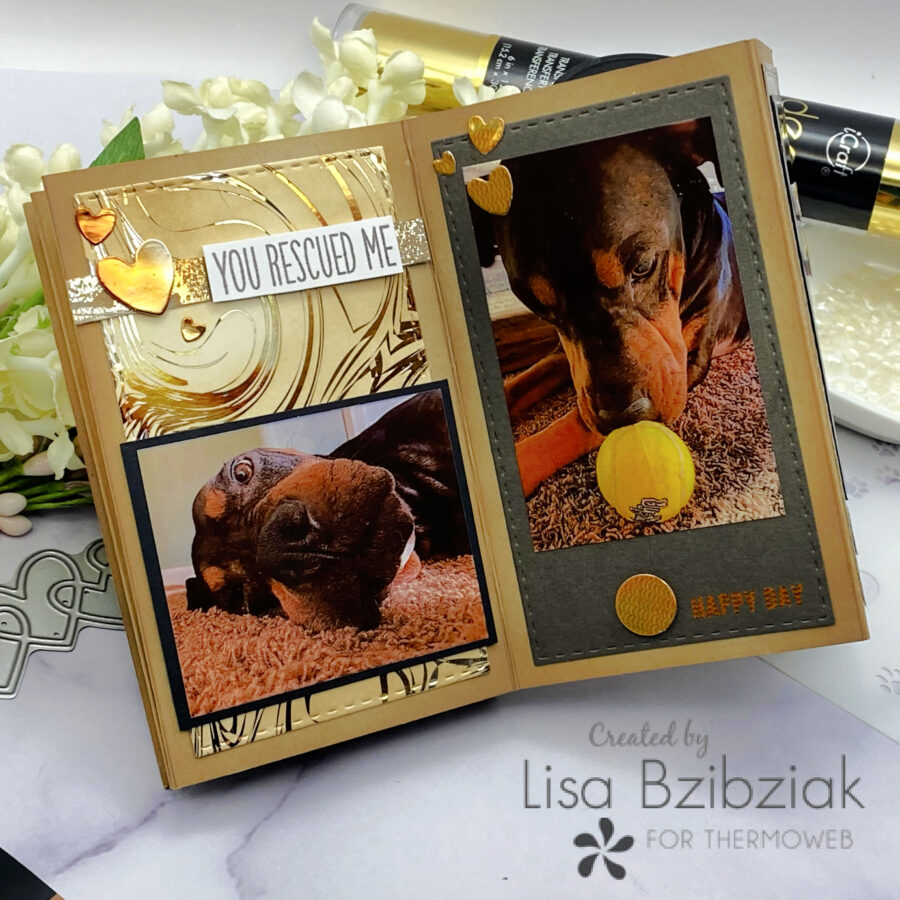
I foiled a couple toner card fronts and also foiled a couple gel prints with the used foil sheets and blended some ink over the top.
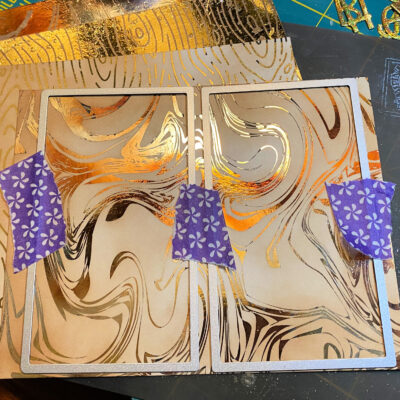
I cut the foiled pieces with the stitched panels from the die set as well as some plain brown cardstock in a couple colors.
I adhered the panels to the book pages… alternating the foiled pieces and the plain cardstock after adding various bits of foil to them.
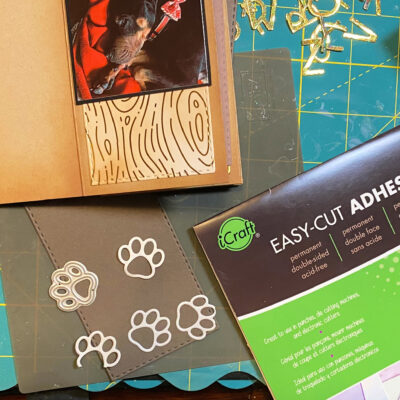
I used Easy Cut Adhesive to add some foiled paws to one panel. I die cut the paws from the Easy Cut adhesive, peeled the back protective layer and adhered them to the panel.
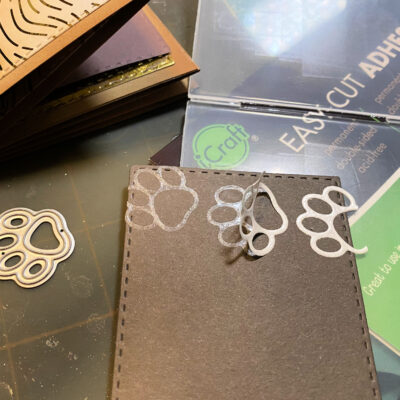
I ran the panel through my die cutting machine for pressure and then peeled the top protective layer.
And then added foil and ran it through the die cutting machine again.
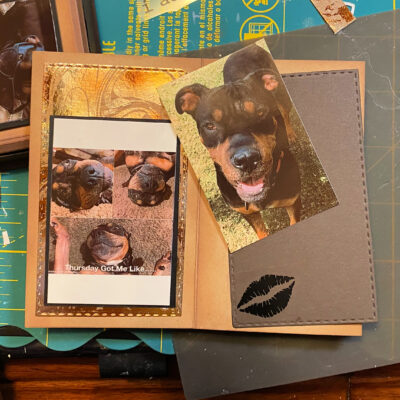
I added some lips from the Love & Kisses Adhesive Transfers.
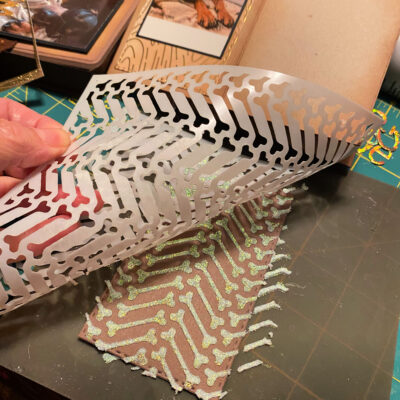
Some Glitz Glitter Gel to add bones to this panel.
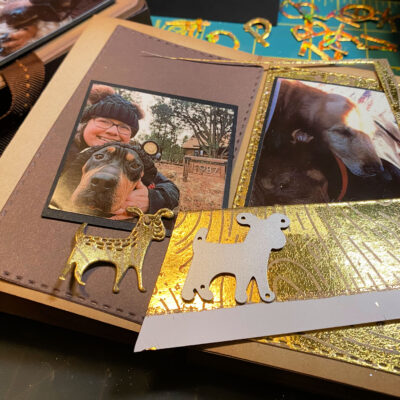
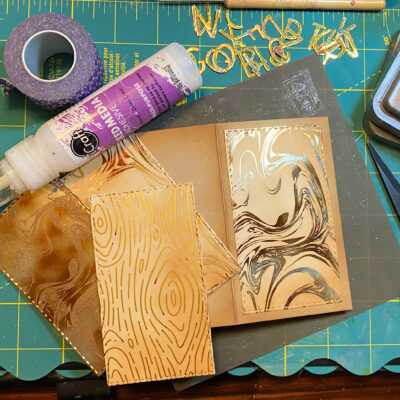
Die cut some shapes from the foiled panels. I added lots of foil touches throughout!
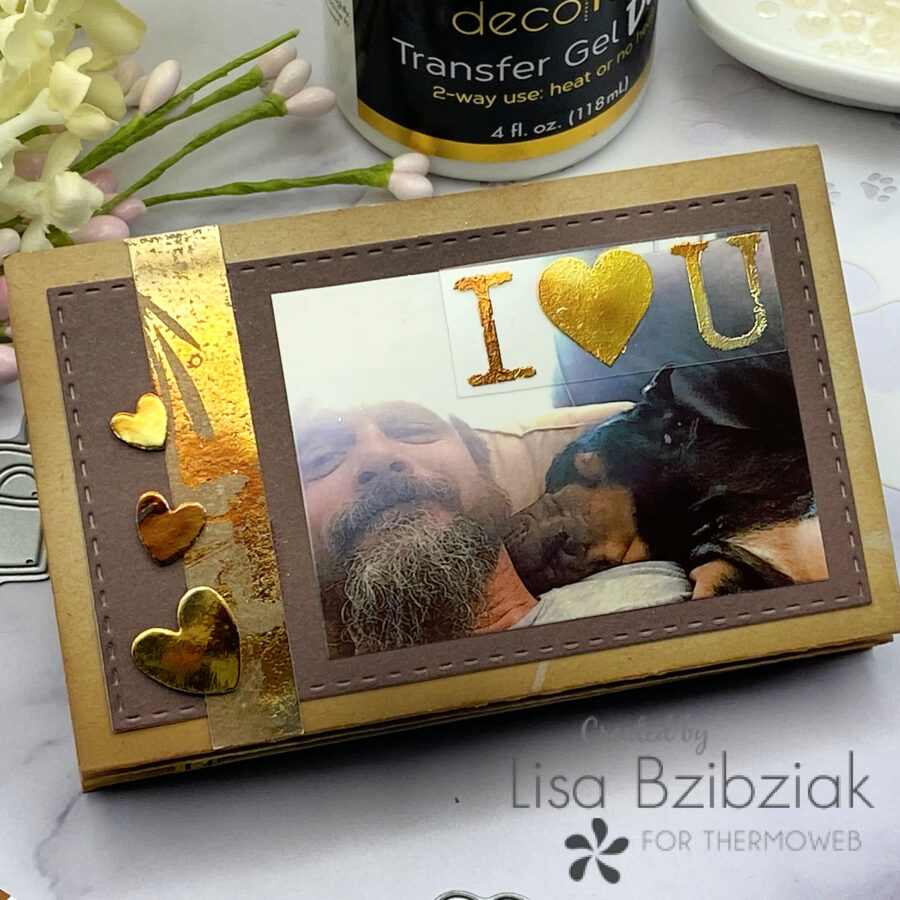
The paws added with Easy Cut Adhesive… the letters and hearts cut from foiled toner card fronts… the toner card fronts…. and a few sentiments from stamp sets.
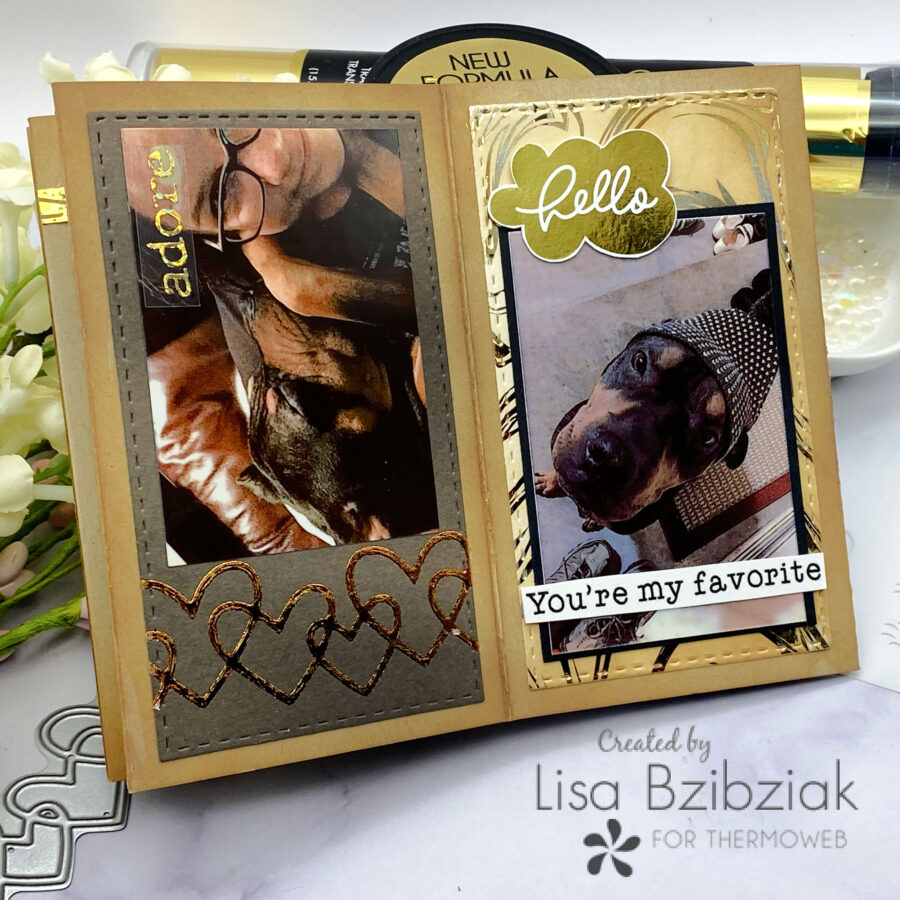
It was fun to use the word bubbles from the Brutus Monroe Really Radiant Toner Card Fronts on some of the pages.
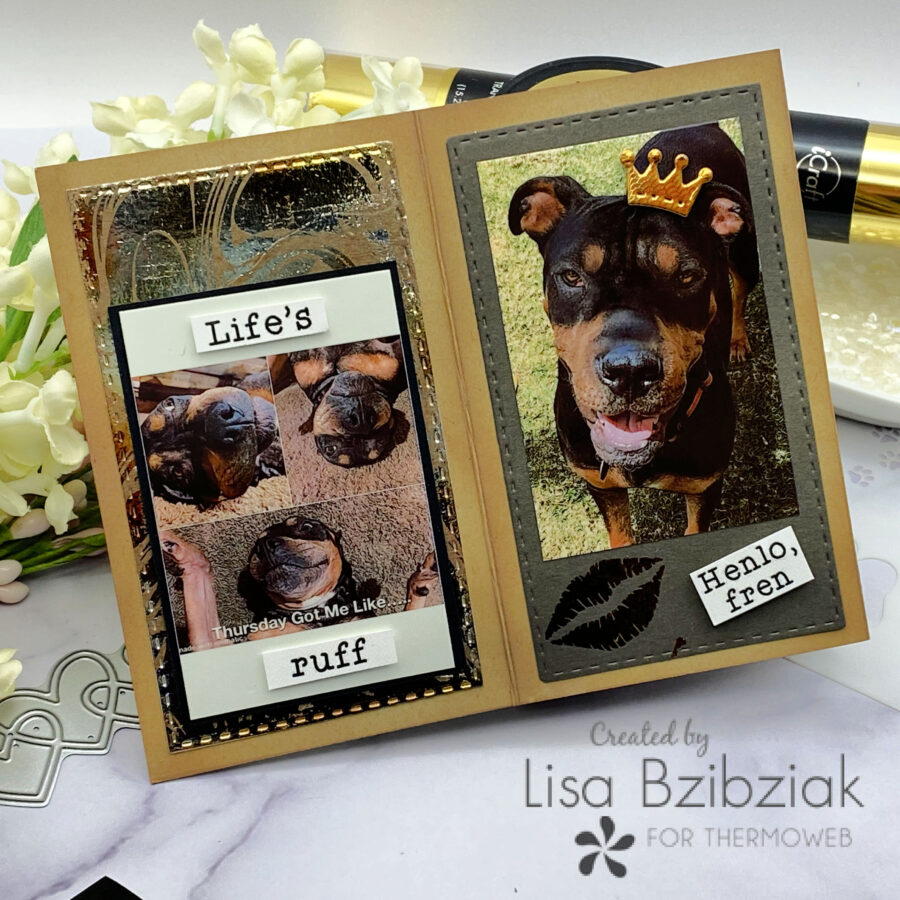
Adhesive transfers… and how about that cute crown die cut from a foiled gel print!
I really did have a hard time choosing photos…lol… there were so many cute ones!
I used up scraps from the foiled card fronts and gel prints… added some adhesive transfers to acetate.
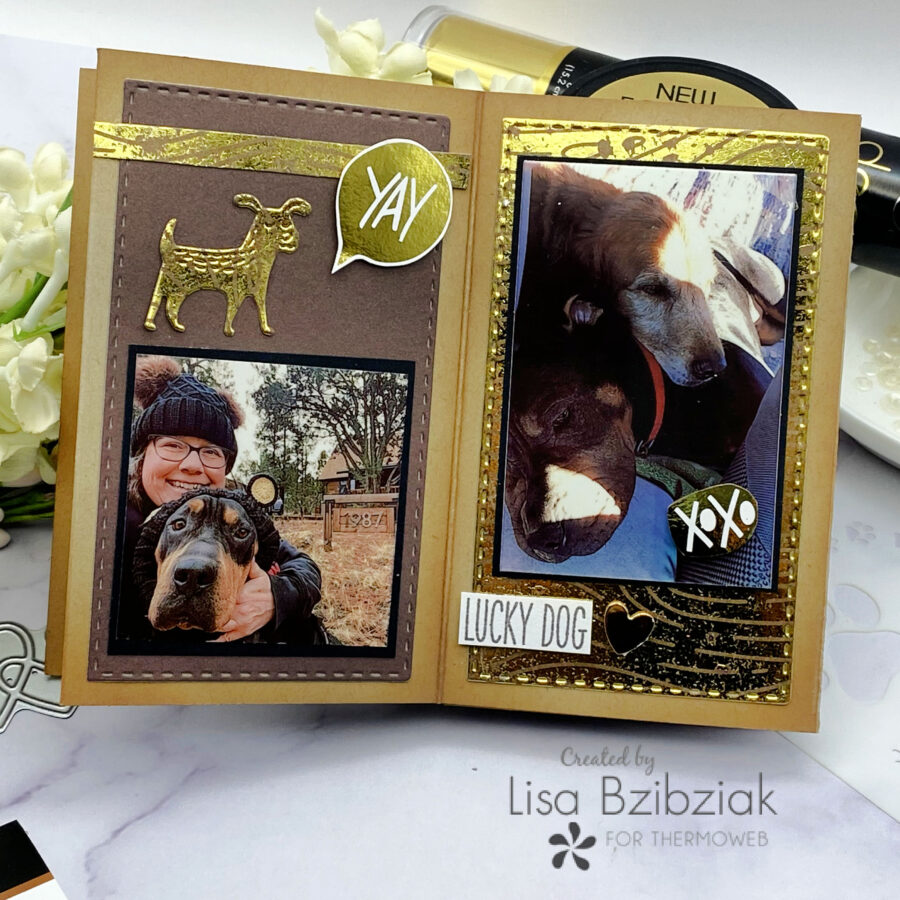
I picked three main foil colors to keep everything cohesive… I used Copper, Amber Waterfall, and Gold.
That’s me for today! I hope you enjoyed it! I’ll have a short video over on Instagram showing the album in full. I have links to the products I used today aside from a couple die sets that are no longer available. Thanks for stopping! Come again soon!
https://linkdeli.com/widget.js?id=f5e8378456858c916708