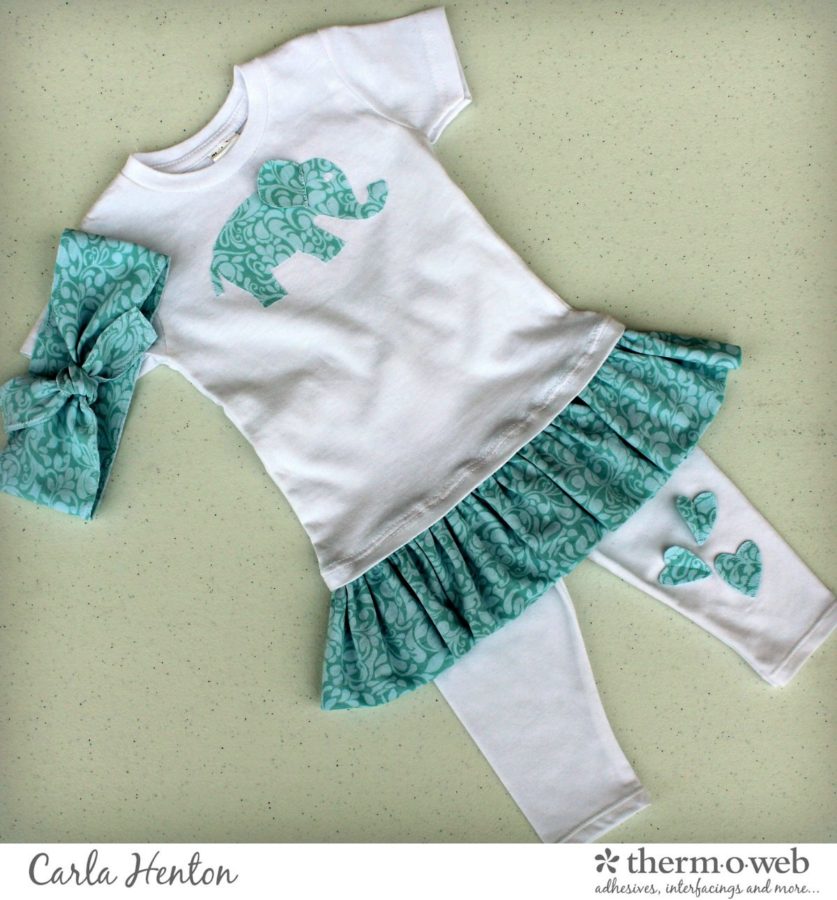
Appliqueing on t shirts is so much fun and now the shirt can remain stretchy and soft with NEW HeatnBond® Soft Stretch Lite. Today’s tutorial will show how to dress up a plain shirt and pant set into a unique baby girl outfit and we will make a knotted headband to top it off. It’s a quick and easy project with NEW HeatnBond® Soft Stretch Lite.
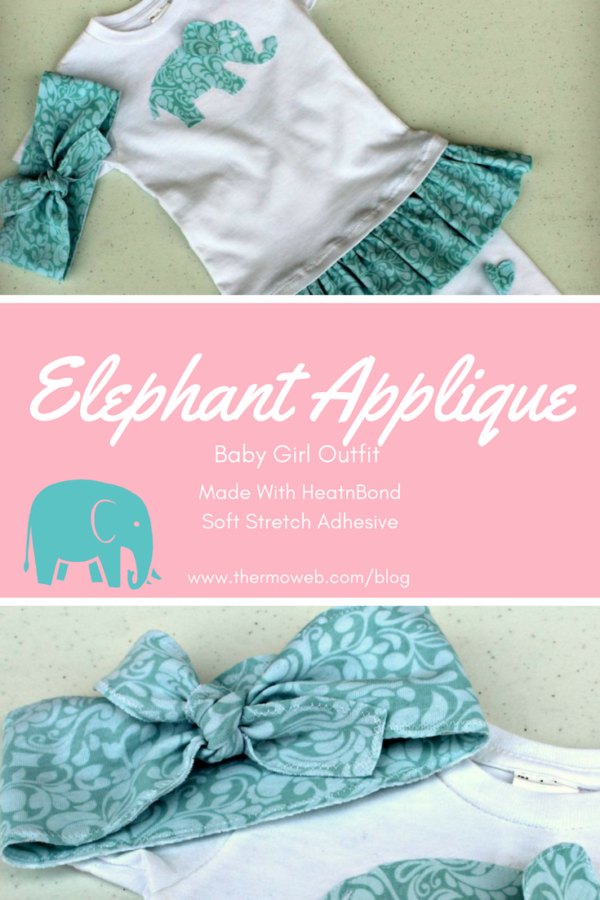
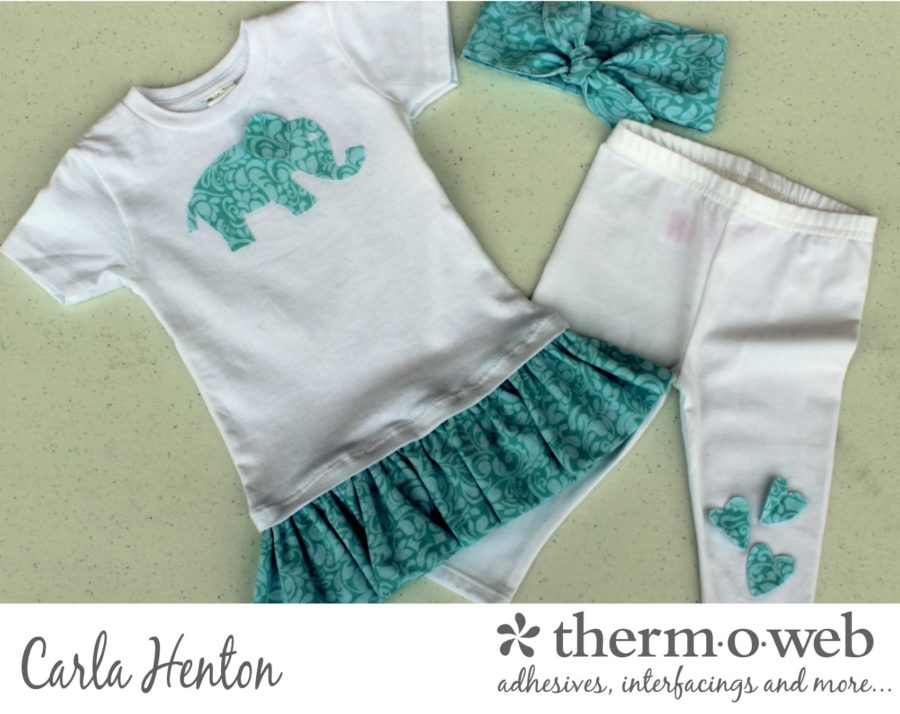
Elephant Appliqued Baby Girl Outfit
by Carla from Creatin’ in the Sticks
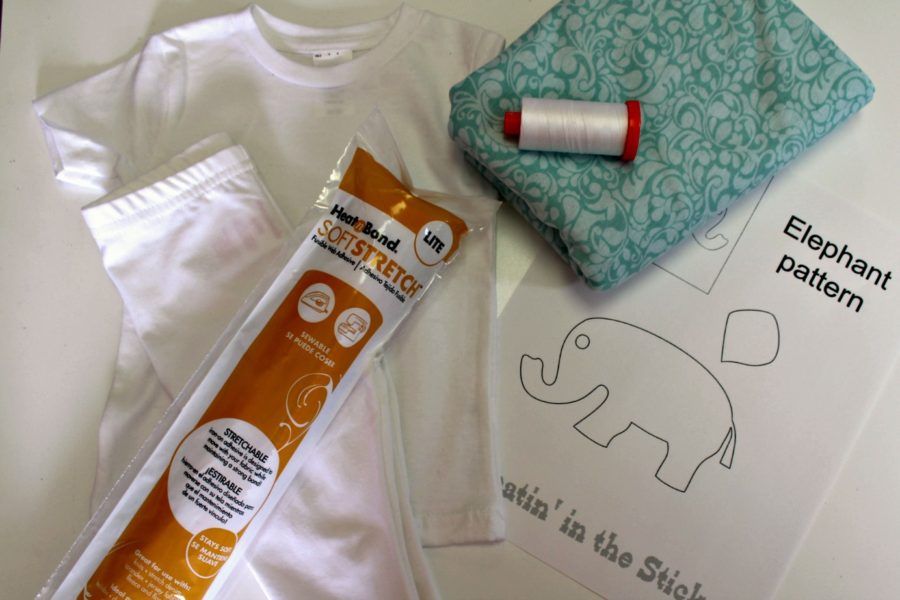
Suppies:
HEATnBOND® LITE SOFT STRETCH™
Plain t-shirt and leggings in needed baby size (white)
1/2 yard of cotton jersey knit (green)
Aurifil 50 weight cotton thread (white #2024)
Parchment paper
Iron (I love my Oliso Pro)
sewing machine
sharp scissors
erasable pen
permanent marker
other general sewing supplies
Instructions:
Wash fabric and press it with a little starch. This makes handling the cotton knit jersey much easier.
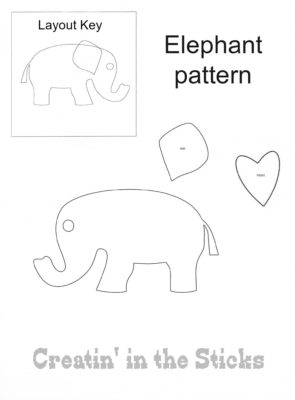
(click and right click to save or print. Enlarge to fit a full piece of paper)
Shirt Instructions:
Trace the elephant and her ear on the paper side of HeatnBond® Soft Stretch Lite. Now fuse the HeatnBond® Soft Stretch Lite to the wrong side of the print cotton jersey fabric following package instructions.
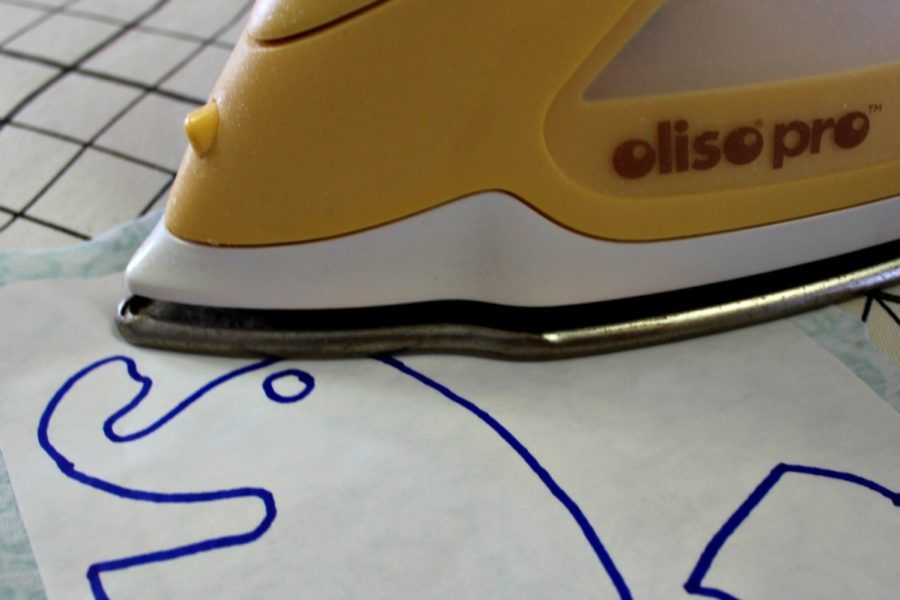
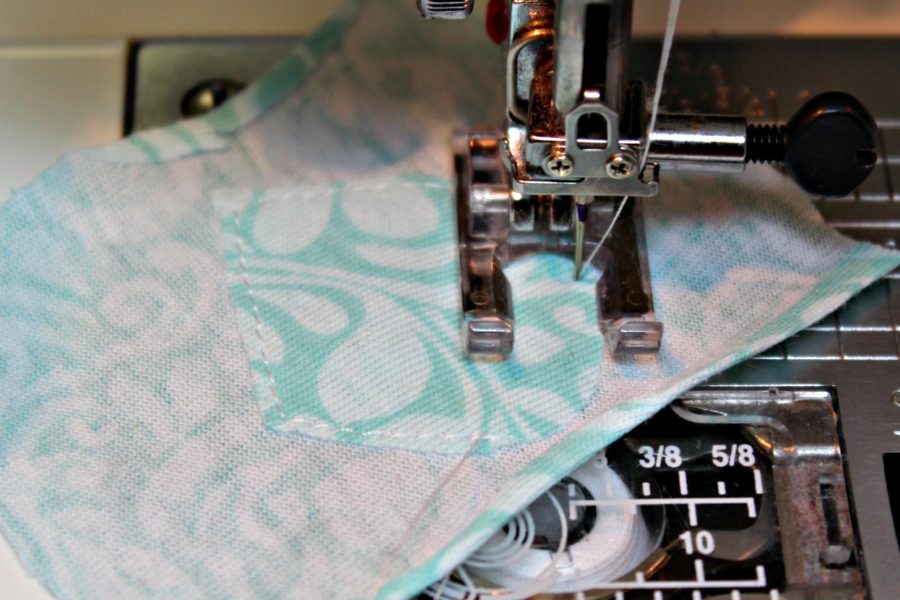
Next, cut out the elephant and ear following the traced lines. For the elephant’s ear, peel the paper off the traced ear and fuse to the wrong side of a small piece of the cotton jersey. Stitch around the ear with a straight stitch about 1/8″ from edge.
Cut out the ear following the first cut out ear.
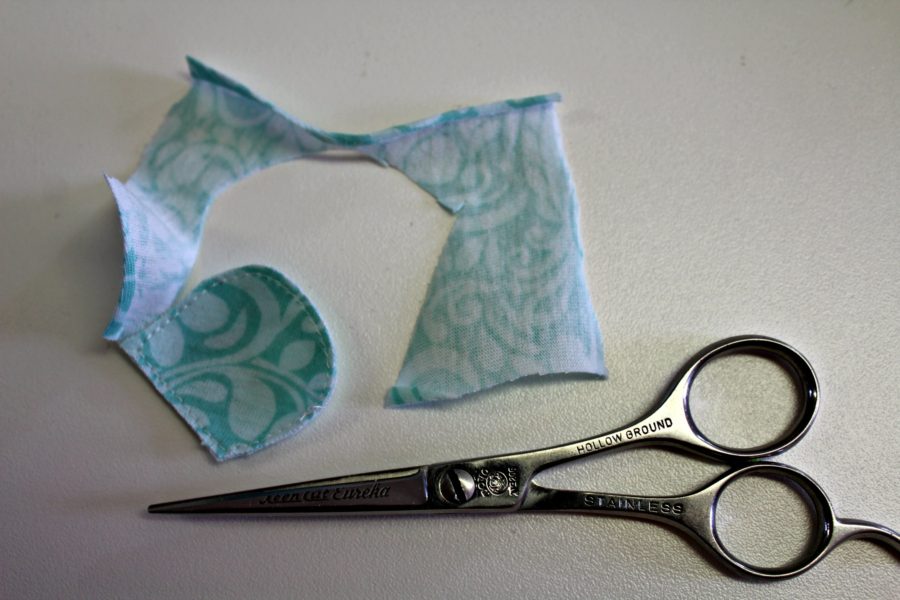
Set the ear aside.
For the shirt, slip a piece of parchment paper in between the front and back of the t shirt. Press the t shirt flat with an iron. Peel the backing paper off from the elephant and position it on the front of the shirt. Fuse the elephant by following the HeatnBond® Soft Stretch Lite package instructions. Next, stitch around the elephant and the eye with a straight stitch as was done before with the ear being careful not to catch the rest of the shirt in the stitching.
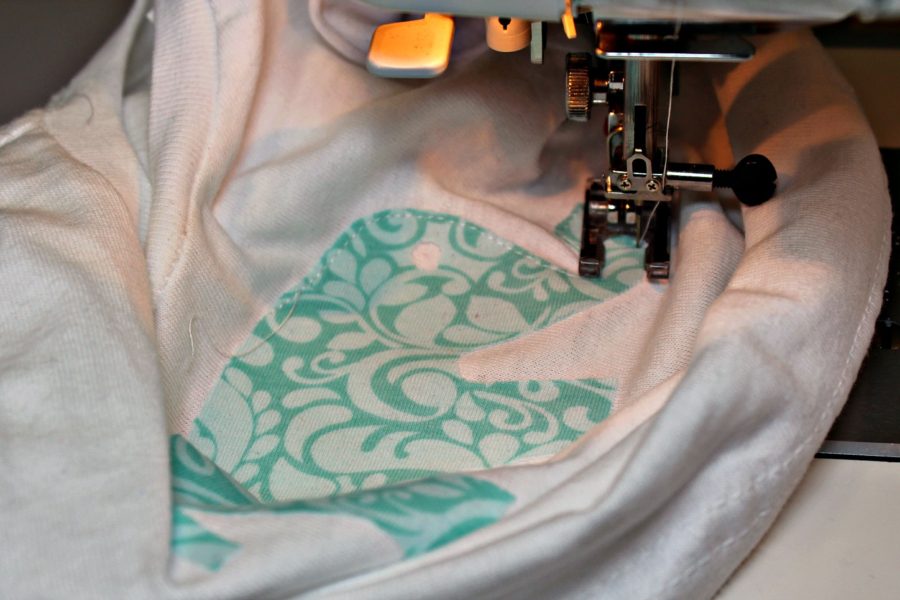
Place the ear that was set aside on the elephant, using the key as a guide and stitch on the straight side of the ear leaving the round edges loose. Be sure to backstitch at beginning and end.
Add a ruffle to the bottom of the t shirt by cutting the cotton jersey print fabric in a 8″ x width of fabric rectangle. Cut two 1/2″ x 4″ pieces of HeatnBond® Soft Stretch Lite. Remove the selvages on both ends of 8″ piece and place a Soft Stretch piece on the end of rectangle as pictured below in figure A on the wrong side of fabric.
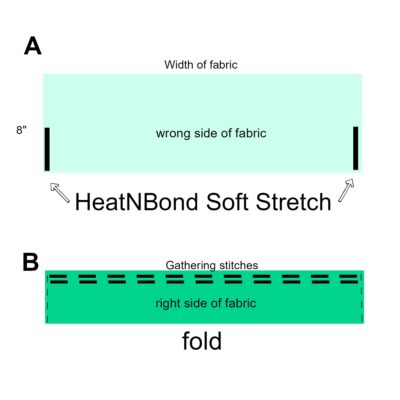
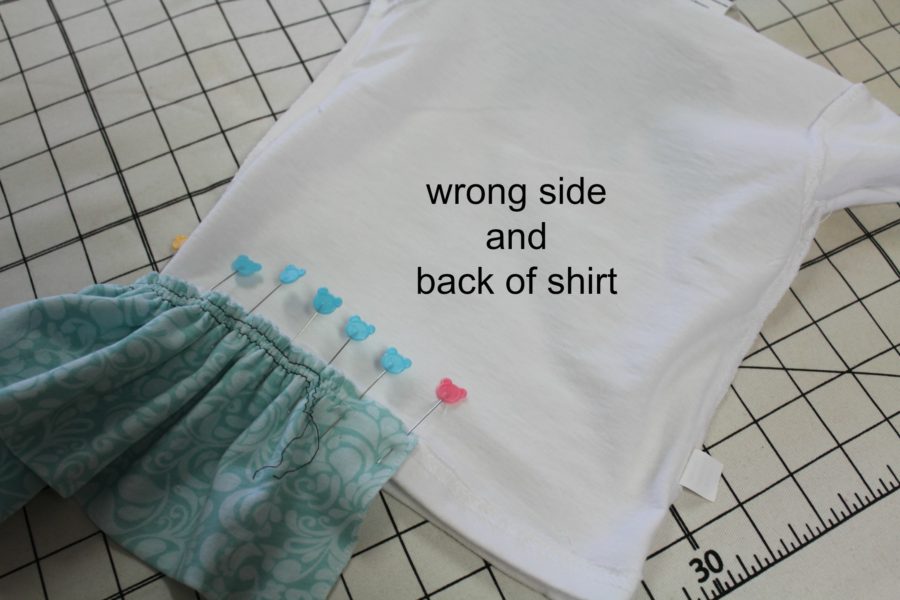
Bond the HeatnBond® Soft Stretch Lite to fabric. Fold the fabric in half, wrong sides together lengthwise, and press. Remove the paper backing from the Soft Stretch pieces and fuse to seal the ends of the ruffle strip. Stitch close to the edge with a straight stitch on both ends as pictured in figure B. Gather the strip by using a long basting stitch 1/2″ from the edge of the long cut side and then stitching another line of basting stitches 1/4″ inside the previous basting stitches. Pull up the gathering stitches to fit the bottom of the shirt. Next, turn the shirt inside out and starting in the back center, pin the ruffle to the inside bottom of the shirt lining it up with the hem of the shirt and overlapping the ends in the center back. Tip: Use a lot of pins.
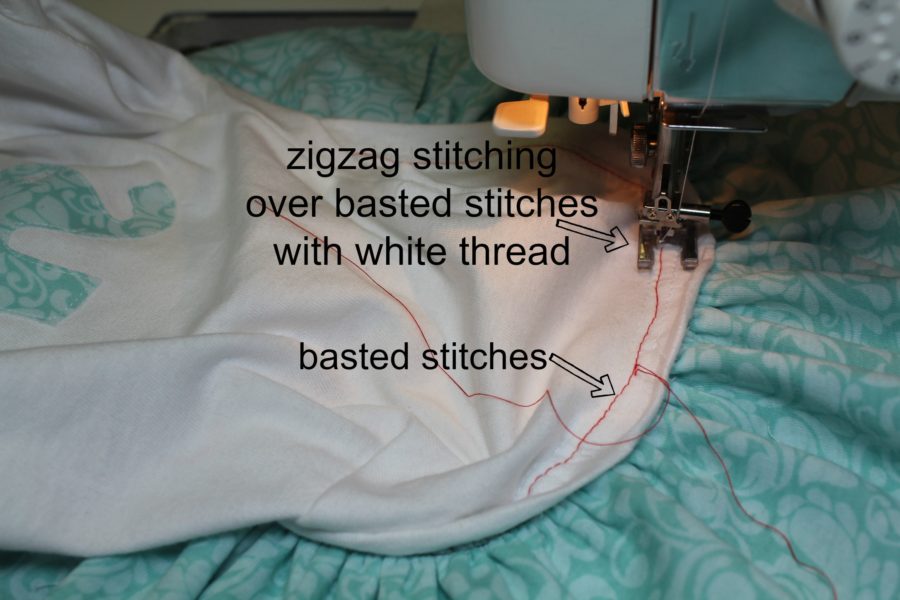
Use a basting stitch to hold the ruffle in place. Tip: Try a different colored thread to baste so it is easily removed. Remove all pins then turn the shirt to the right side and with a zigzag stitch, sew the ruffle on the shirt by stitching between the shirt hem stitches.
Pants Instructions:
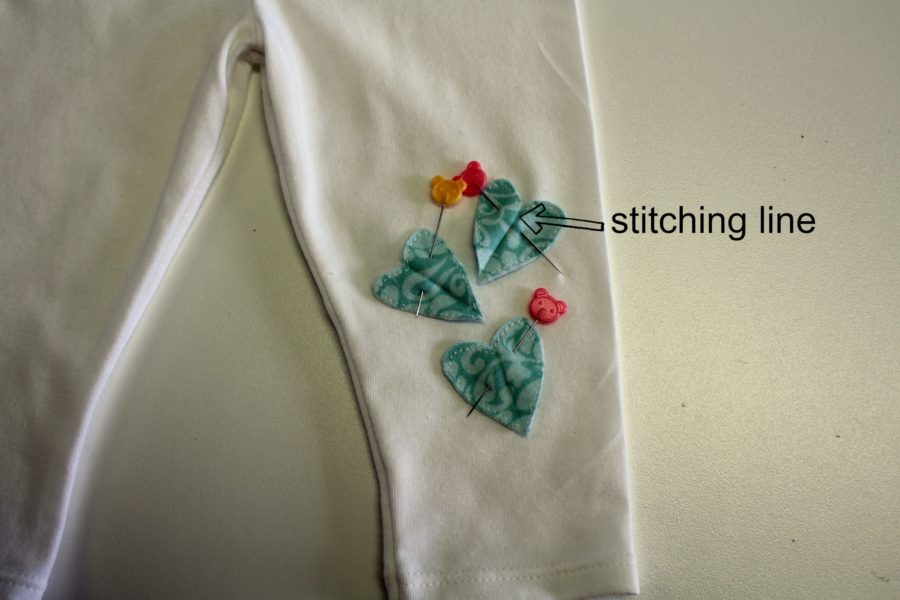
Trace 3 hearts on the paper side of the HeatnBond® Soft Stretch Lite then fuse the HeatnBond® Soft Stretch Lite with traced hearts to the wrong side of a small piece of jersey fabric, following package instructions. Follow the steps for the ear with each heart. Fold each heart in half lengthwise and pin to one of the pant legs. Open up the pant leg and stitch on the top of the hearts by stitching on the fold line of the heart. Make sure to backstitch at the beginning and end of stitching.
Headband Instructions:
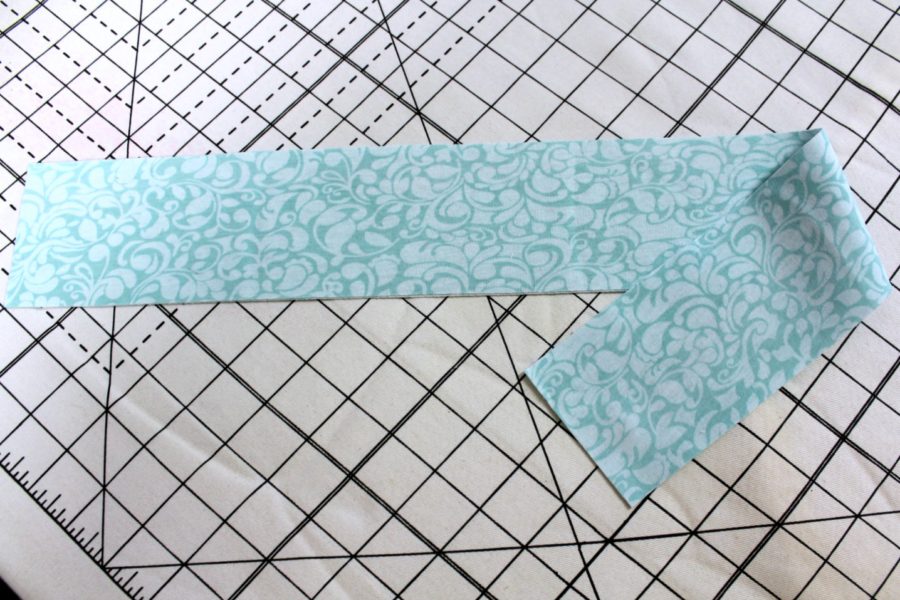
Cut 2 strips of cotton jersey fabric 3″ x 23″ making sure the most stretch is lengthwise. Cut 1 strip of HeatnBond® Soft Stretch Lite 3″ x 23″. Fuse the HeatnBond® Soft Stretch Lite to 1 of the fabric strips. Peel off the backing paper and fuse to the wrong side of the other fabric strip to make a strip with right sides of the fabric on both sides of the HeatnBond® Soft Stretch Lite.
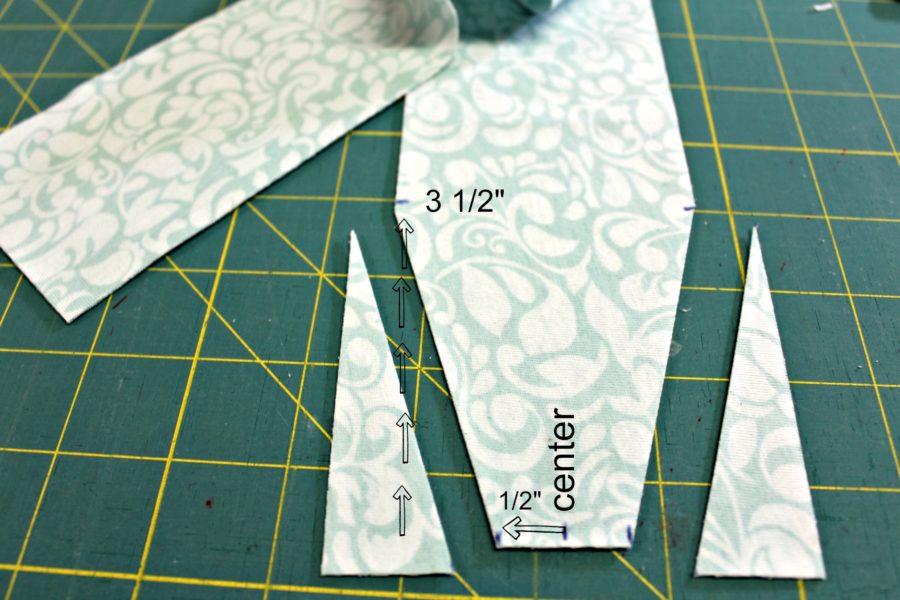
Make the ends narrower by marking the center of the ends with an erasable marker. Next, mark 1/2″ on each side of center mark and make another mark 3 1/2″ down on the strip. Cut off the triangle formed. Repeat on the other side and other end.
The final step is to zigzag close to the edge all around the strip and tie a knot.
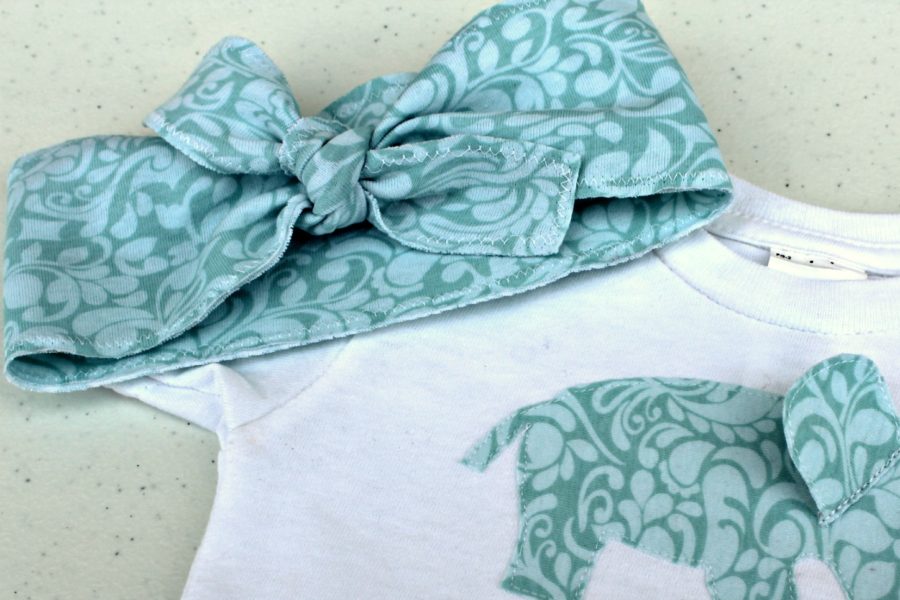
Now you are ready to give a unique outfit to a very lucky baby girl.
