


 Hello crafty friends! I hope you’re all ready to formally switch gears to all things hearts, love and valentines! This is Amanda from Twiddler’s Nook with a couple of cards I created using the new toner card fronts and adhesive transfers.
I don’t think I realized until this year just how much I truly enjoy creating for Valentine’s Day. It is bringing me such joy and the ideas are just flowing through my brain. I had a blast creating with all of these new goodies and I know you’ll love it all too!
Love is in the Air Cards
Products used today:
Deco Foil – shattered glass and gold
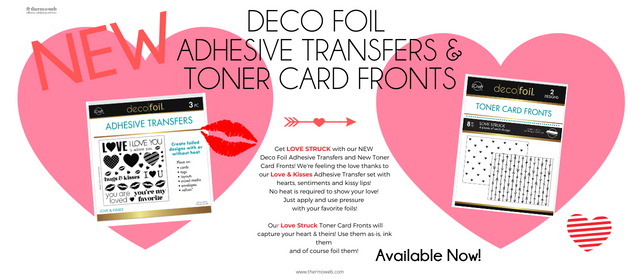
Deco Foil Toner Card Fronts – Love Struck
Deco Foil Adhesive Transfers – Love Struck
iCraft foam tape roll and foam squares
UltraBond liquid glue
Distress Oxide ink – salvaged patina and worn lipstick
Lawn Fawn Giant XOXO die
Lawn Fawn Extra Sentiment Strip dies
Avery Elle So Tweet stamps and dies
Glossy accents

Grab your toner card fronts, and Deco foil of your choice – today I have gold and shattered glass – and heat up your laminator.
Tips – make sure your laminator is good and hot, wipe your toner card front and the back of your foil with a clean cloth to remove oils that prevent adhesion, and run your foil through with the striation going parallel to the opening in your laminator
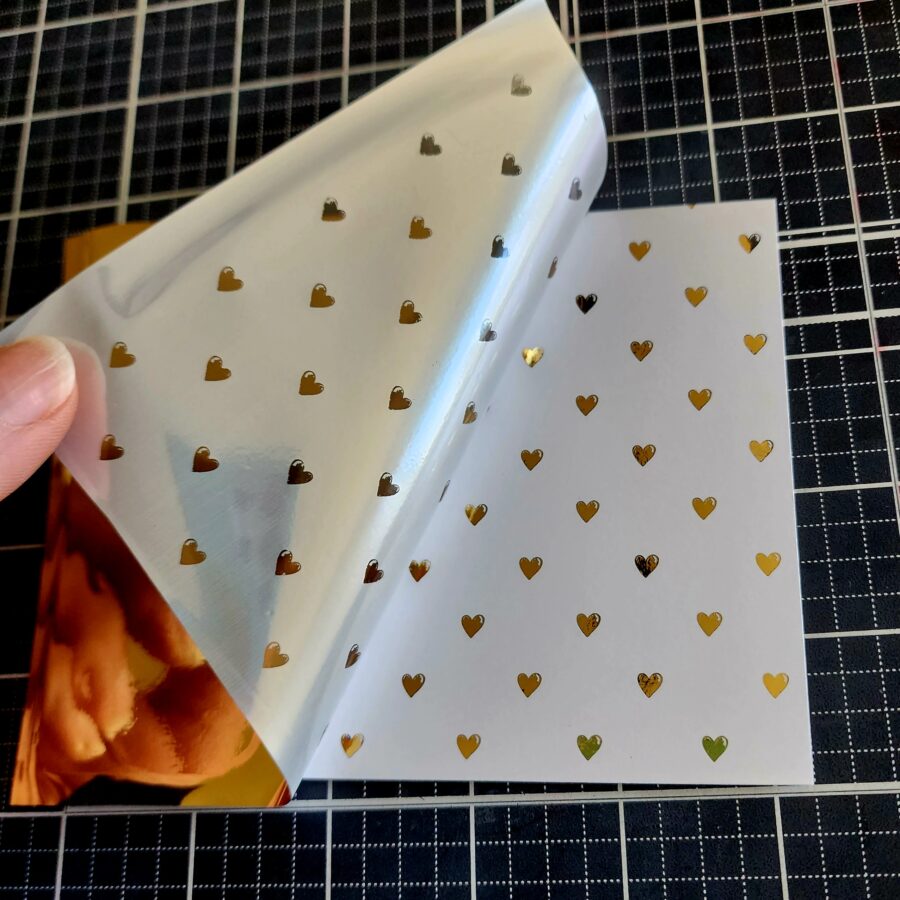
Peel away your foil and get all the feels from how cool it looks! Keep the negative to foil on a toner sheet if you like too! I did both of my card fronts at the same time because sometimes it’s just fun to foil one thing after another.

Next, I ink blended distress oxide inks on each one. Spritzed them with water and flicked watered-down ink on the panels too. I love texture like this. It’s so fun and can distract from any mild imperfections that you might be inclined to perseverate on. (Haha, I would never do that though.) 🙂
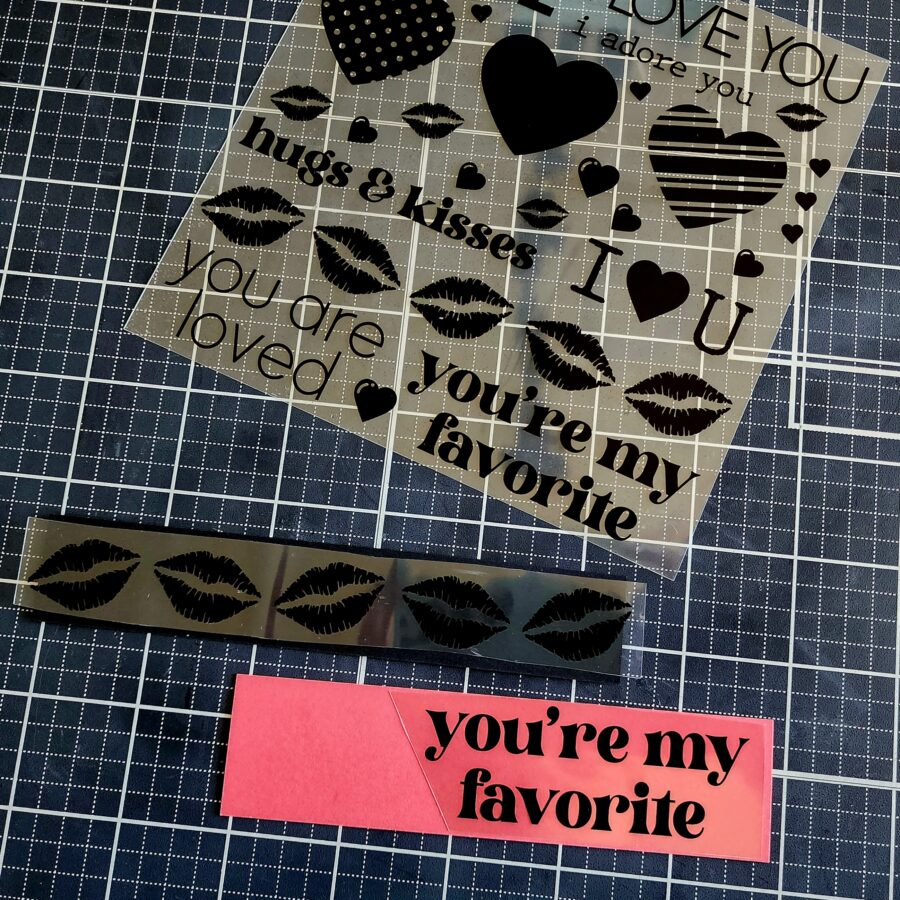
Next, I cut apart one of my adhesive transfer sheets and a couple of pieces of cardstock. I removed the backing sheet from the transfers and stuck them to the cardstock pieces. I placed these in a craft & carrier sheet and ran them through the laminator. You can also use your die-cut machine for pressure with adhesive transfers.
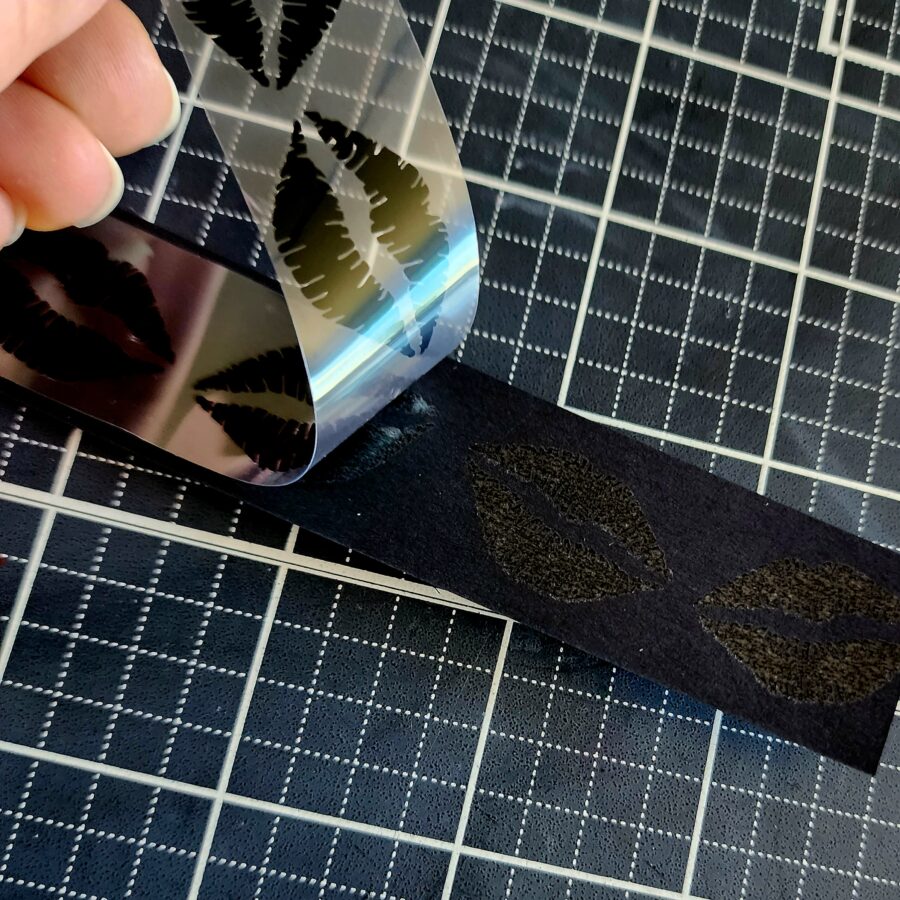
This is what it looks like when you peel away the acetate sheet from the adhesive transfer. You can see the shiny adhesive it leaves behind when you tilt it in the light.
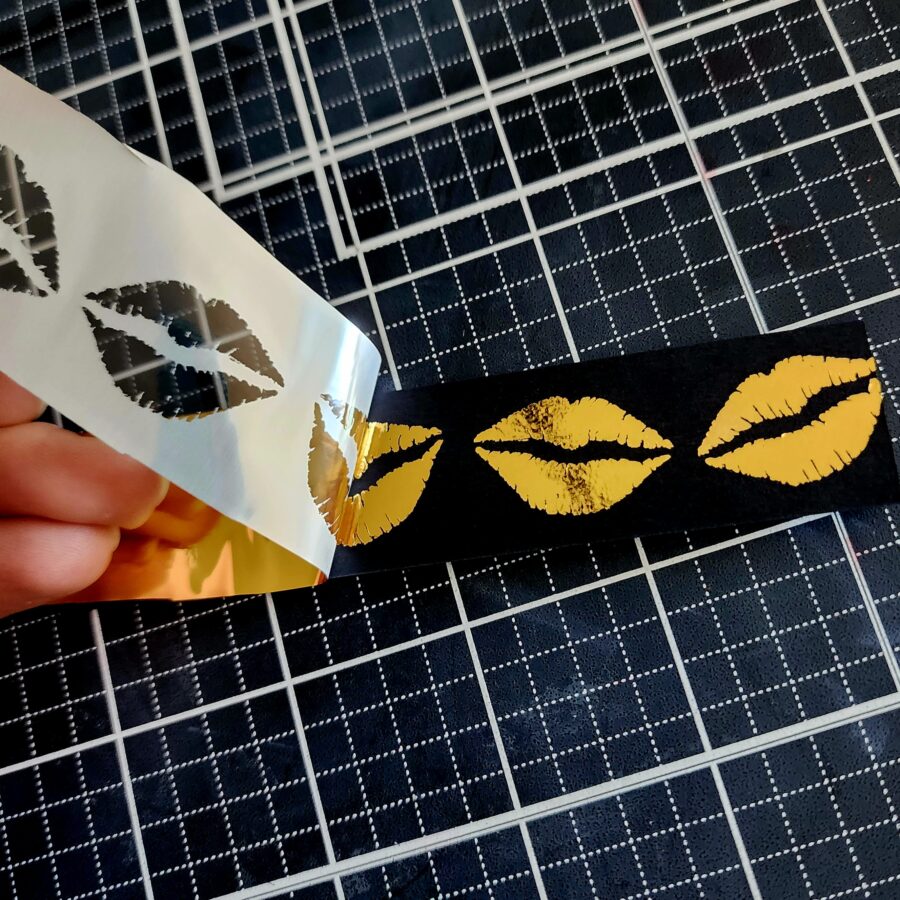
Next, you place your foil on top, put it all back in the craft & carrier sheet and run it through the laminator or die cut machine again. Perfect foiling!
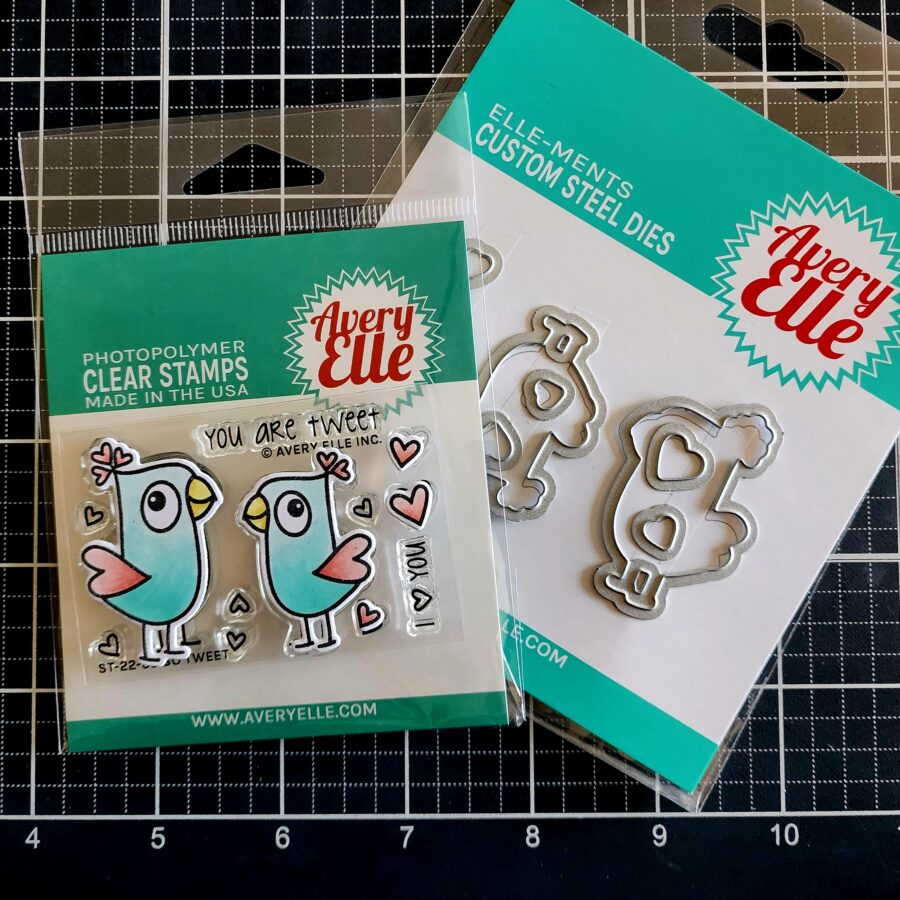
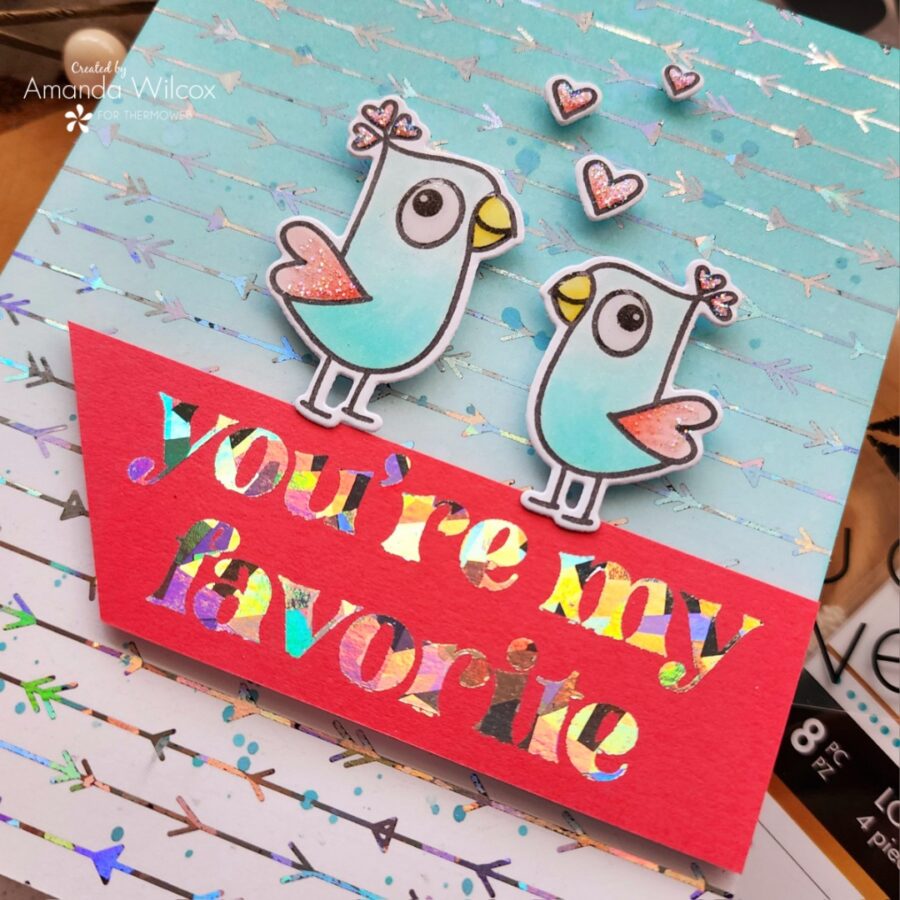
The next step for one of today’s cards is to stamp and color images from Avery Elle’s So Tweet stamp set. Aren’t these guys so stinking cute?!? I love them! I played off the distress oxide colors I used to color them. R22 and R20 for the red parts, BG32, BG11 and BG 10 for the bodies and Y15 and Y11 for their beaks. Then I used the coordinating dies to cut them out.
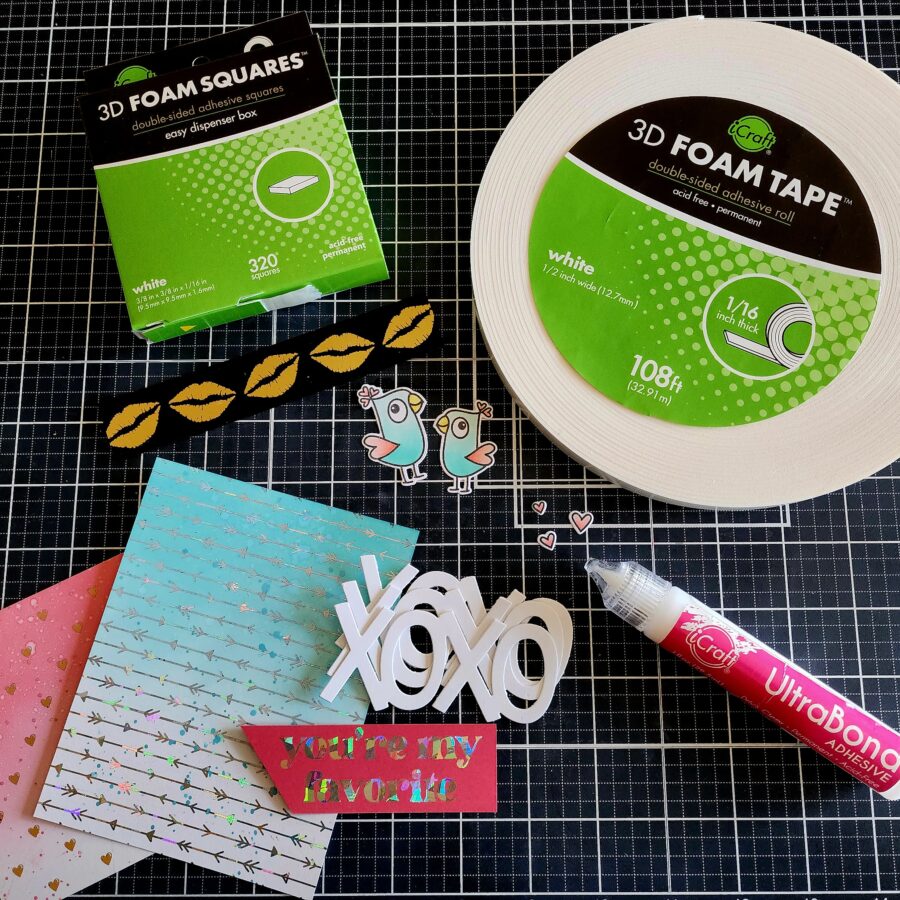
Grab all things foam and glue because we’re ready to start putting everything together! I added foam tape to the back of the sentiment and lips. Foam squares on the birds and hearts and used liquid glue to adhere all the XOXO layers together.
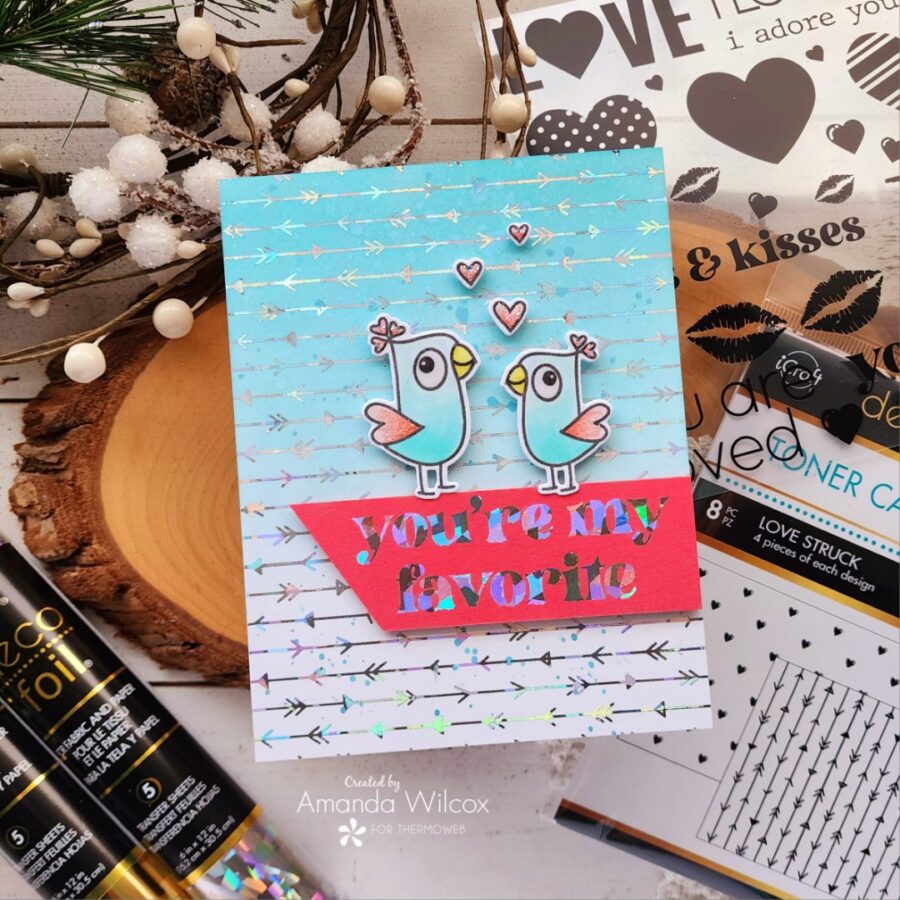
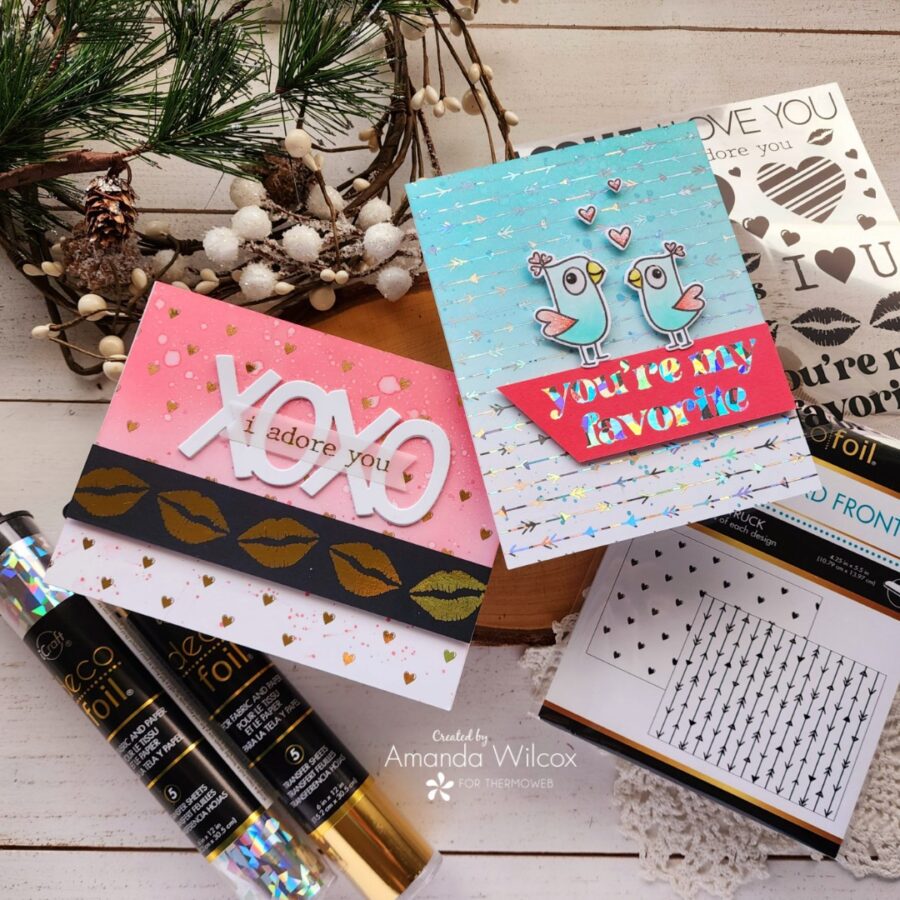
First up is this super “tweet” You’re My Favorite card. I love how this turned out! The shattered glass foil is so fun and works great with the fine arrows and the bold sentiment too! For finishing touches here I added glossy accents to their eyes and beaks. Then stardust Stickles to the wings and floating hearts.
Now, full disclosure for the second card. I put it all together with the elements we have created thus far and it wasn’t doing anything for me. It needed something else. So I walked away and came back later. This is a great thing to do when you’re not sure.
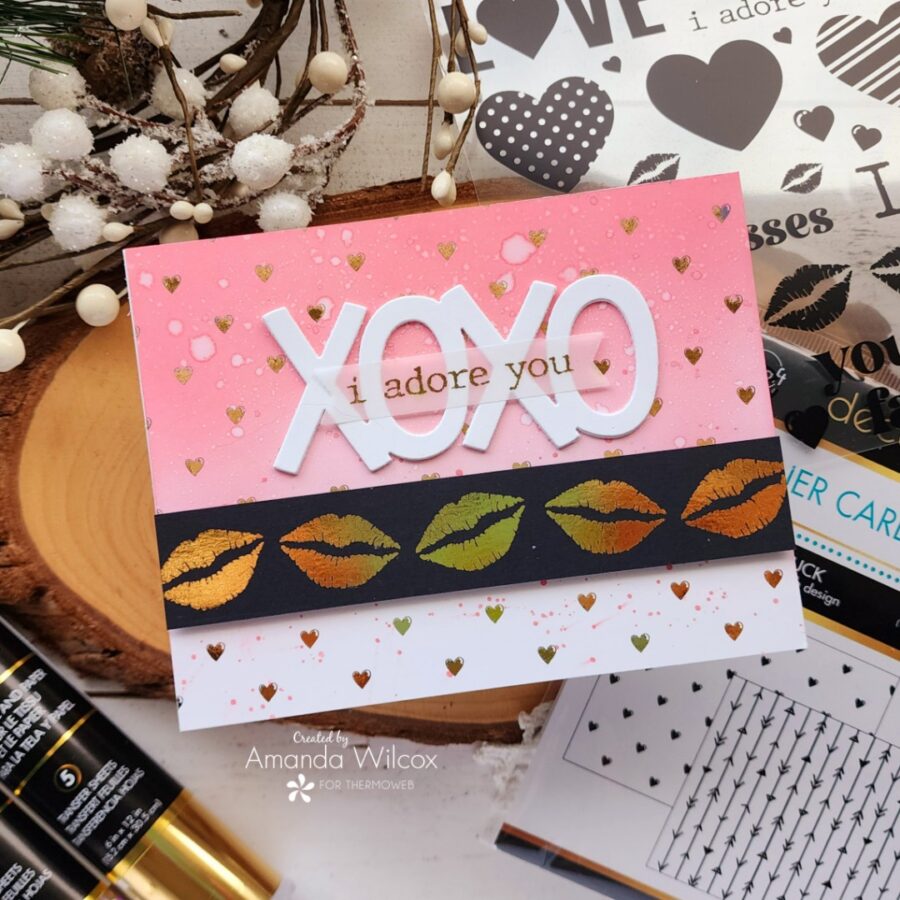
As soon as I came back into the craft room I knew what it needed. Another sentiment. Simple idea but it was not coming to me at first. So I die-cut a small banner, cut out another adhesive transfer and did those same steps all over again so the gold foil matches the rest of the card.
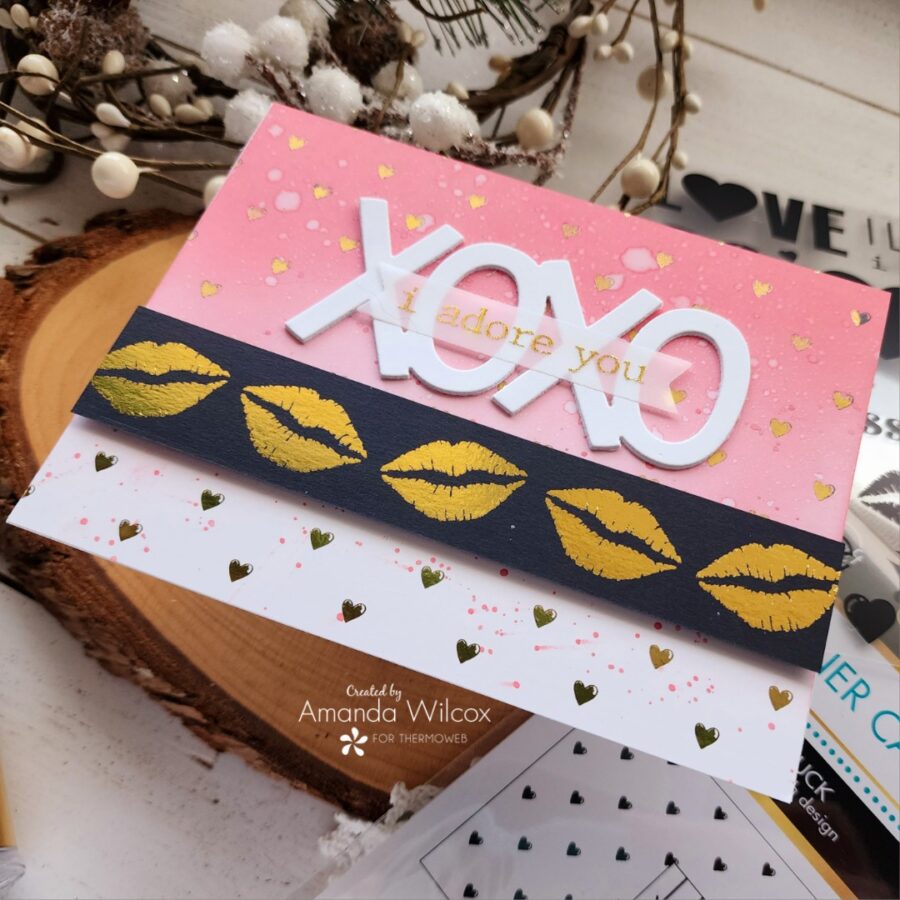
To adhere the vellum to the die cuts I just added a few little drops of liquid glue behind the text and blotted it with my fingertip. This gives a super thin layer of glue that is just strong enough for vellum but doesn’t show through.
Now I really love this card as much as those cute birds! It all worked out perfectly!
I appreciate you sharing your time with me. Have a fabulous day!
 No matter how you use our Adhesive Transfers and Toner Card Fronts we know one thing…you’ll be in L O V E! Be sure to join us all this week for new project tutorials featuring these new releases!
You’ll find more of our “Love is in the Air” themed products to help you send your love out to your favorite people here on our website! You’ll find Adhesive Transfers, Toner Fronts, Glitz Glitter Gel, Foils and more! So don’t miss taking a look at this LOVELY collection!
And speaking of things we know you’ll love… giveaways! After all who doesn’t want to win a gift card to shop on our website? We do! Just follow the steps below to enter to win a $40 Gift Card to shop on our website!