


 Let’s Eat Cake Scrapbook Layout
by Jessica Michaels
Hello everyone! Jessica here and I am back with another layout featuring adhesive transfers and foil transfer sheets! This week is sweets and drinks theme and I’m bringing you a fun layout of my husband’s birthday and the yummy cake his mama made for him!
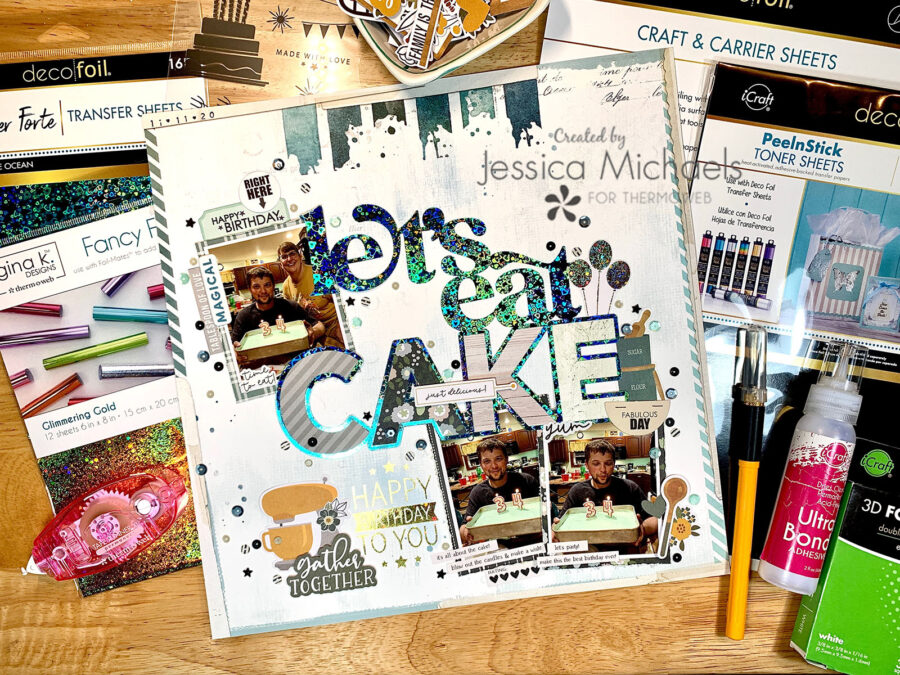
Therm O Web Supplies Used
Memory Runner XL
Memory Runner XL Refill
Gina K Fancy Foils, Glimmering Gold
Deco Foil Maker Forte Foil Transfer Sheets, Heart of the Ocean
3D Foam Squares Box, White
Craft & Carrier Sheets
Peel N Stick Toner Sheets
Gina K Birthday Bliss Adhesive Transfers
iCraft Ultra Bond Liquid 2 fl oz
Other Supplies Used
Simple Stories Hearth and Home/Birthday Blast collections
Noteworthy kit by {Not} Just for Boys Kit Club
Cutfile by Peartree Cutfiles
OLFA AK-4 Cushion Grip Art Knife
Laminator
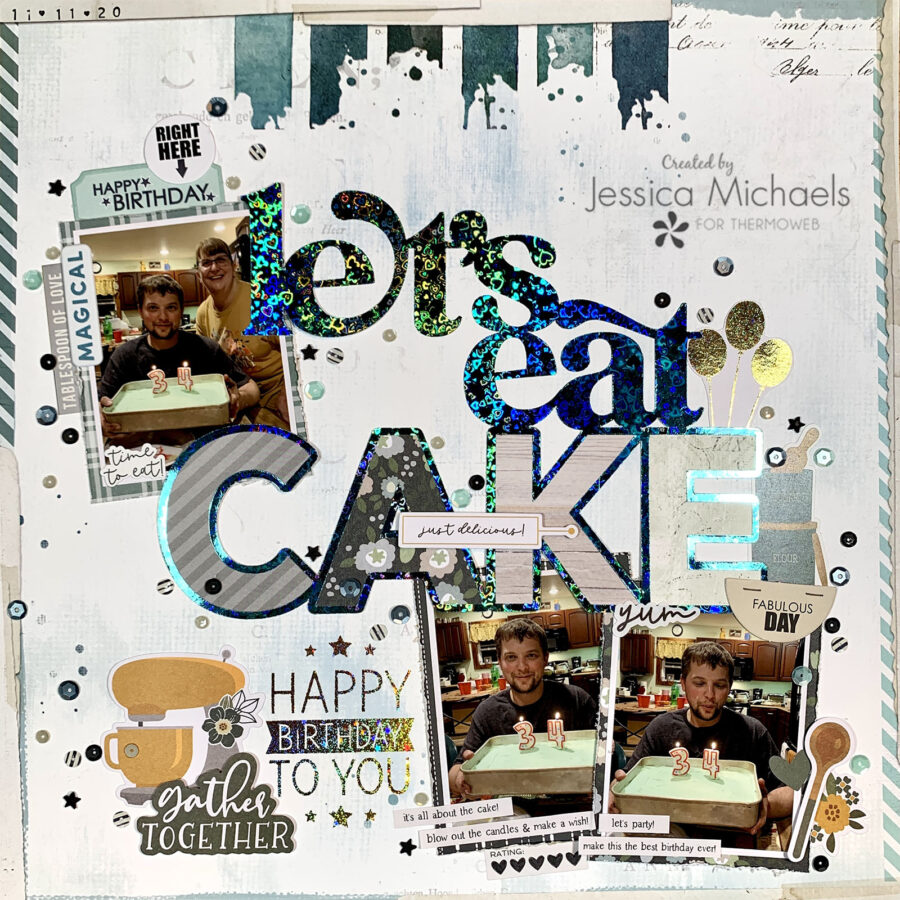
I started this layout by pulling out a patterned paper by 49 and Market from my stash. I also pulled out the Noteworthy Kit by the {Not} Just for Boys Kit Club as it had some die cuts about birthdays that I knew I could use on this layout. I cut the Let’s Eat Cake file on a Peel n’ Stick Toner Sheet on my cutting machine and then sandwiched it between a craft and carrier sheet with my Heart of the Ocean Maker Forte foil sheets on top.
I had to use two sheets to cover the whole thing. I then backed the cut file manually with patterned papers from the kit using my Olfa cutting knife and scissors. The back is already sticky so there was no need for any adhesive to back the file. I ended up attaching it to my page using my tape runner as it was quick and easy and I only needed adhesive on the patterned paper portion, as the top was the Peel n’ Stick toner sheet, so I didn’t need any extra adhesive on that part.
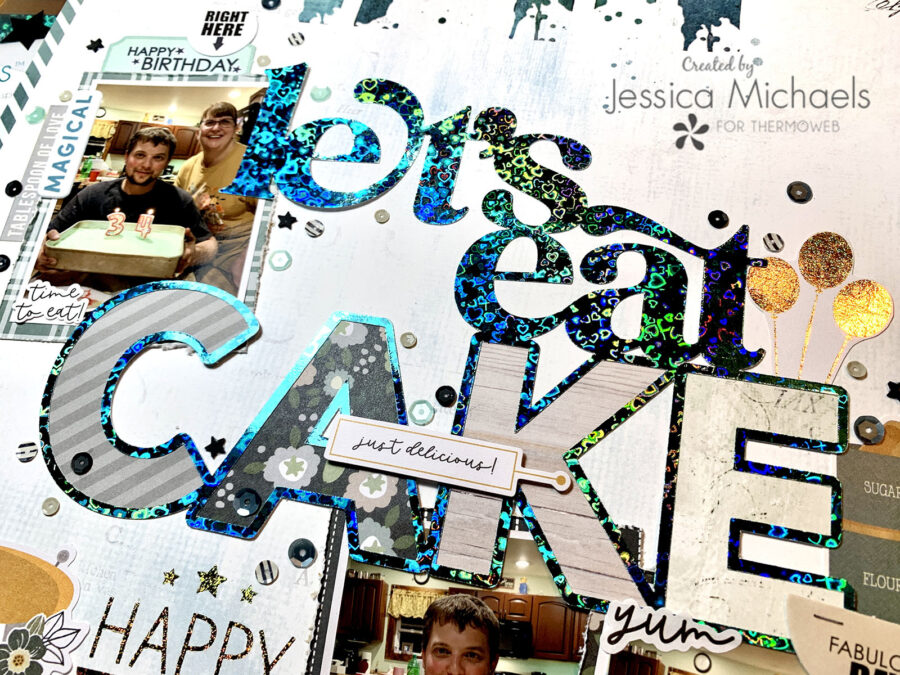
Just look at that beautiful sparkle! Next, I reached for my Birthday Bliss Adhesive Transfers by Gina K Designs and cut out the Birthday sentiment and balloons and I adhered the sentiment directly to my layout by pulling the backing piece off and gently pressing onto my page.
I ran it through my hot laminator between some craft and carrier sheets and then ran it through again after peeling off the top clear piece and laying a piece of Gina K. Designs Glimmering Gold Fancy Foils on top of the adhesive. I basically did the same for the balloons, just on white cardstock instead and fussy cut them out just in case I decided to move them somewhere else.
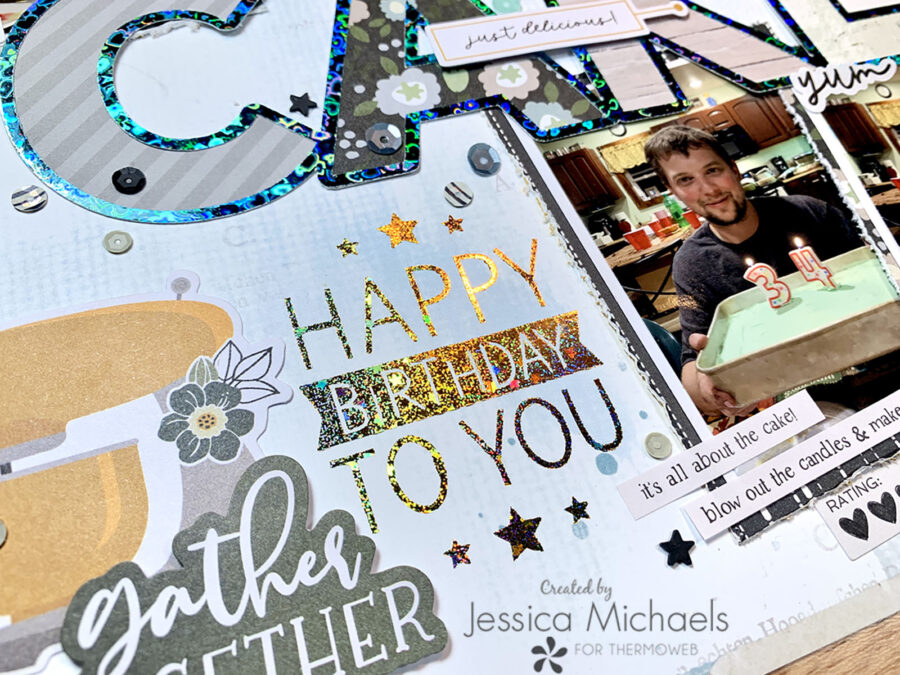
I backed my photos with my tape runner using some smooth white cardstock, then again with some papers from the kit and from Simple Stories Hearth and Home collection. I pulled out some embellishments from that collection as well since they matched perfectly with this layout. I added a few die cuts from both my kit and the Simple Stories collection using my tape runner and some 3D Foam squares in white to add some dimension. Lastly, I added some sequins using the iCraft UltraBond Liquid glue!
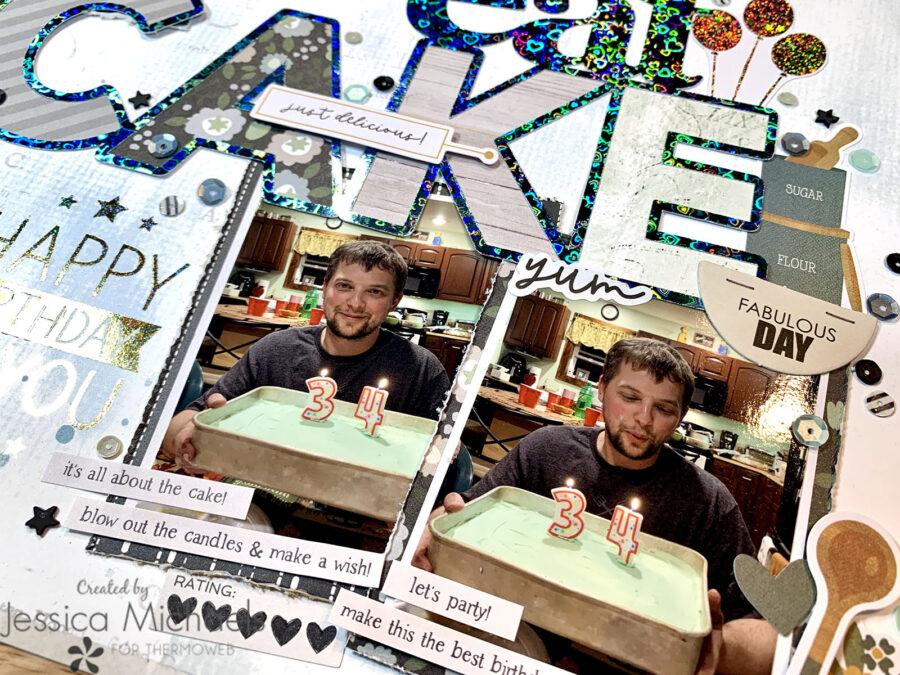
I also added some cute phrases from the Birthday Blast by Simple Stories to my photos!
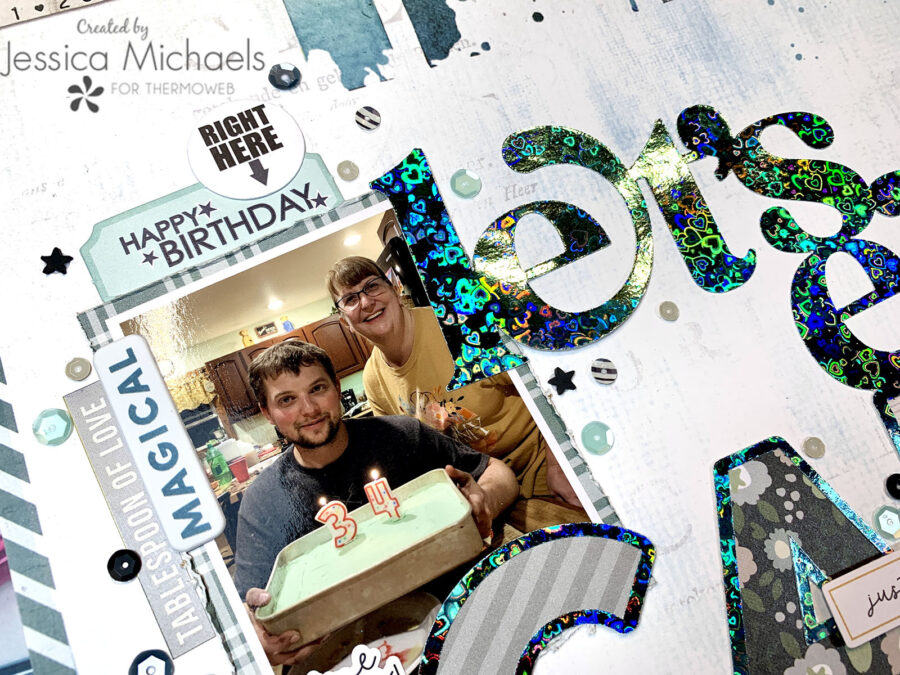
Aren’t my hubby and his mama so cute? She’s always cooking and baking things for us and is quite an amazing person!
I have a process video on the Thermoweb YouTube channel if you’d like to watch exactly how this came together:
Thank you for being here today and I hope I was able to inspire you to create!
Jessica
This post contains affiliate links. For more information, see our disclosure <a href=”http://thermoweb.com/blog/designers/about-us/affiliate-disclosure/“>HERE</a>.