 There are so many ways to add Deco Foil to your cards. I’m sharing three-card backgrounds featuring easy foiling techniques as part of the ThermOWeb and Ink Blot Shop collab!
Ink Blot Shop Cards with Deco Foil Backgrounds
[youtube https://www.youtube.com/watch?v=lFDOgl8h_DA%5D

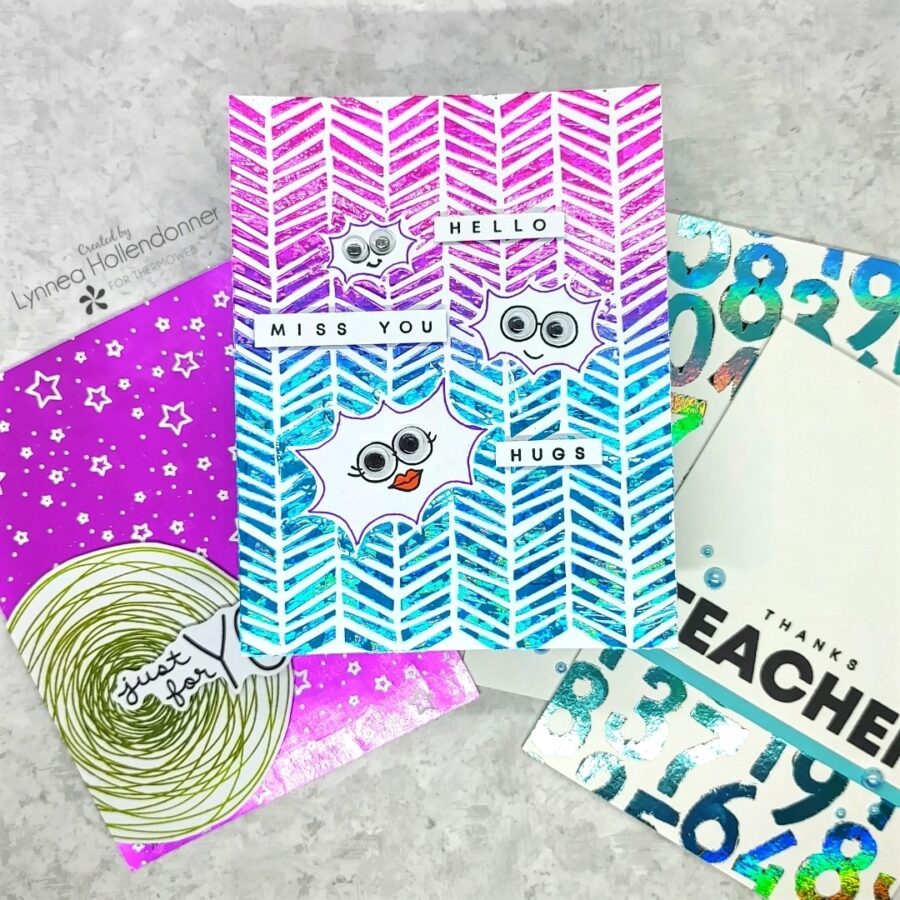
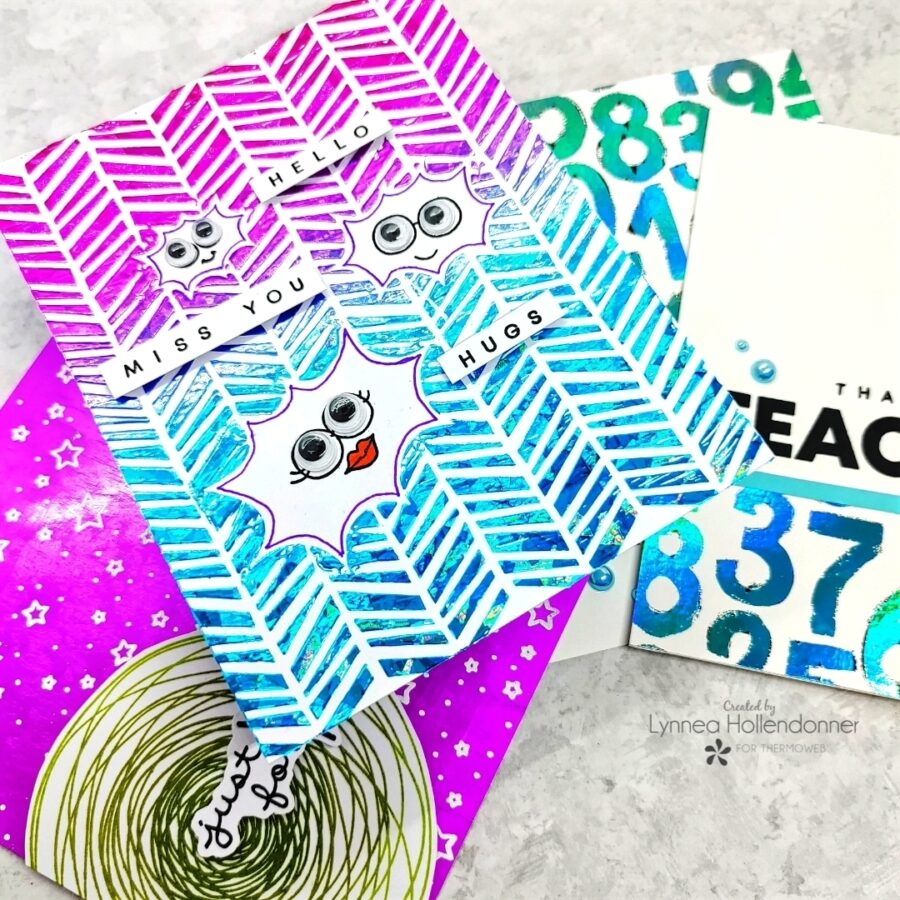
I wanted to try a bit of masking withe the Ink Blot Shop Superhero Bursts Stencil, so I sprayed the back of the negative pieces with Pixie Spray and arranged them on my card. I sprayed the back of the Wild Hatch Herringbone Stencil and placed that onto the cardstock on top of the masking stencils and used my Stencil Pal to spread Deco Foil Transfer Gel Blanco over the stencil. I removed the masking pieces and set the panel aside to dry. Once it was dry I transferred a piece of Rainbow Shattered Glass Deco Foil to the background using Deco Foil Parchment Paper and my laminator.
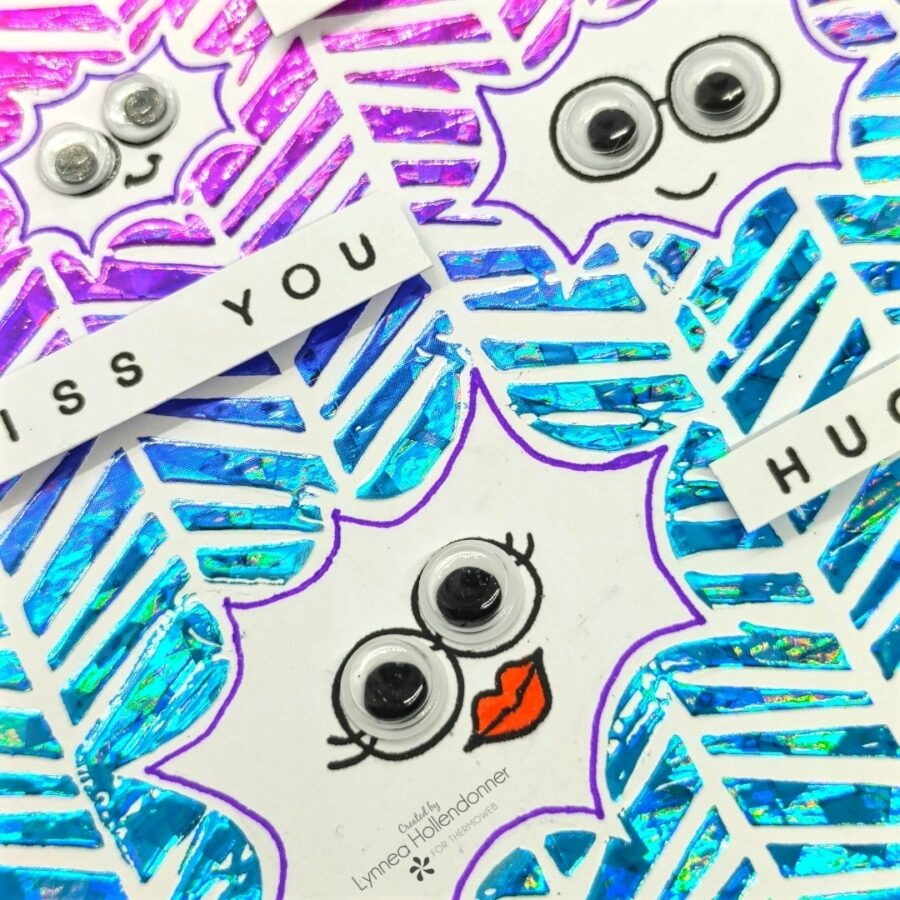
I used a Let’s Get Crafty Gel Pen to outline the bursts so that they would stand out and stamped a face from the Funny Faces Stamp Set in each burst. I stamped sentiments from the Spaced Out Greetings Stamp Set around the bursts and finished off this card with some adorable googly eyes.

My second background technique ends up with two cards! Bonus! I saw the numbers background sheet from the Brutus Monroe Really Radiant Toner Card Front Mixables pack and thought it would pair perfectly with the Teacher Greetings Stamp Set from ink Blot Shop! I transferred a piece of Glass Slipper Deco Foil to the Toner Card Front with my laminator using Deco Foil Parchment Paper.
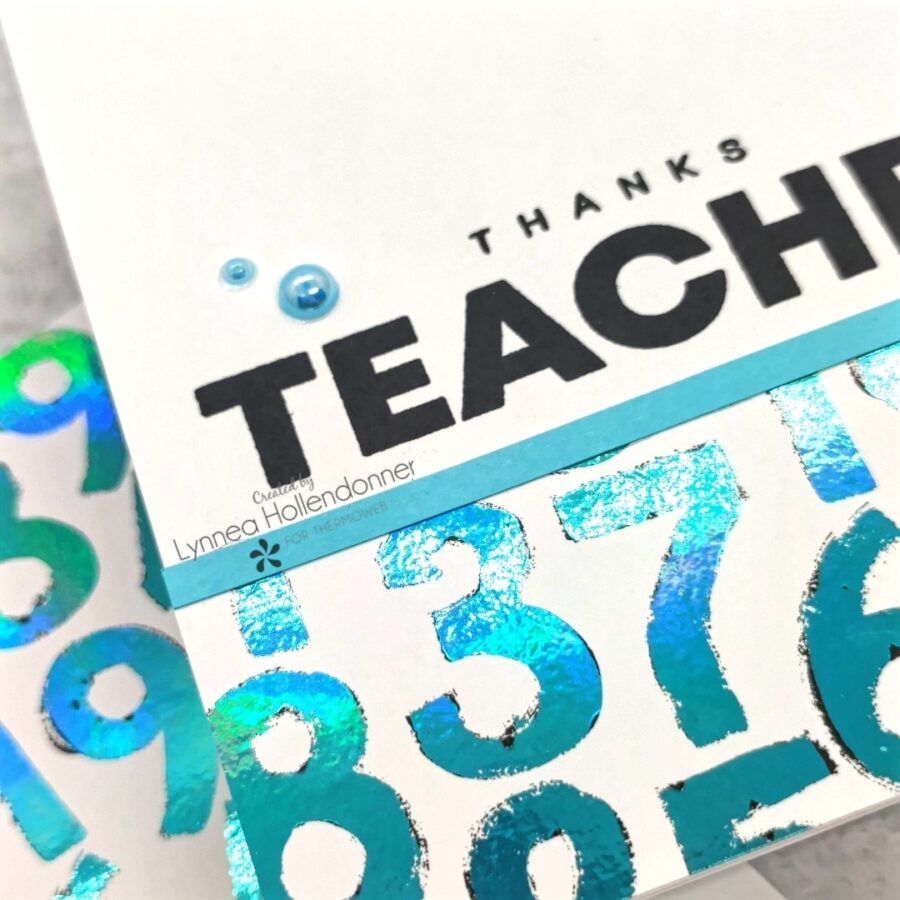
I cut the Toner Card Front so that I could get two cards from one background and used my iCraft Ultra Bond Liquid Adhesive Pen to adhere a thin strip of coordinating cardstock to give the eye a “break,” I stamped the sentiments using the Teacher Greetings Stamp Set as well as the Spaced Out Greetings Stamp Set. Some pearls help tie everything together!
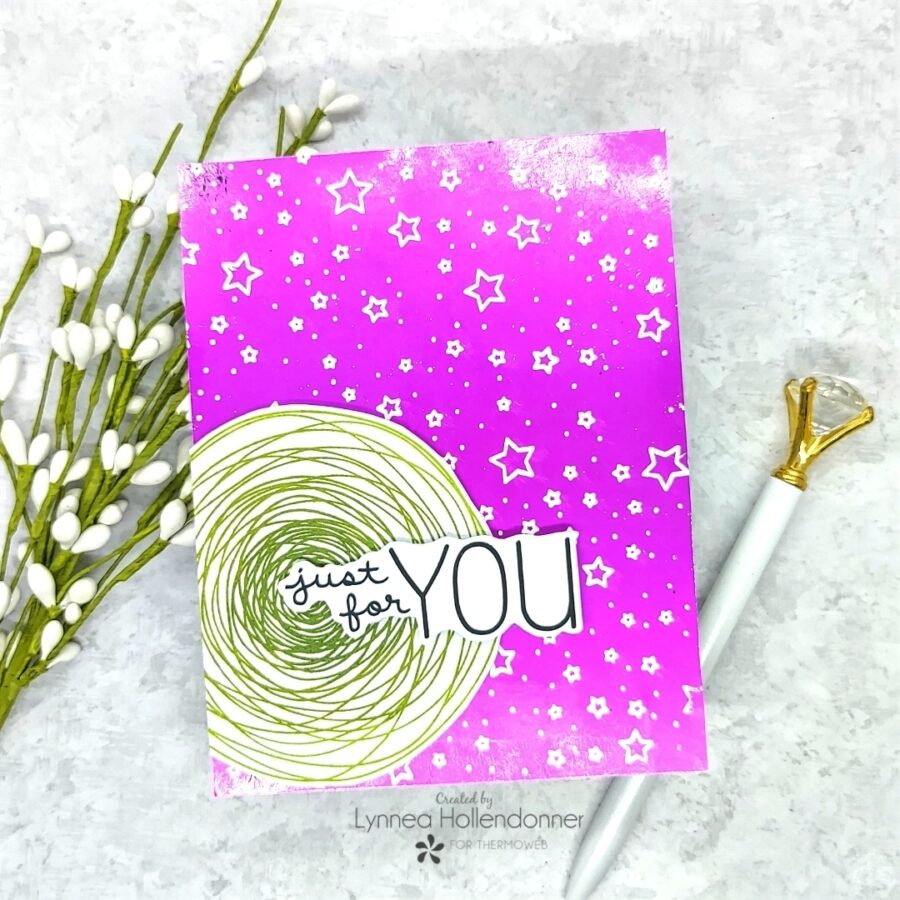
Ready for the last foil technique? This one lets you create a full foiled background! I trimmed a piece of a Deco Foil Toner Sheet to the size of an A2 card and transferred Magenta Deco Foil to it using my laminator. I LOVE that I can customize foiled backgrounds to any color! I stepped up the background by heat embossing the Ink Blot Shop Starry Sprinkle Background Stamp onto the foiled background, Be sure to watch my video for tips!
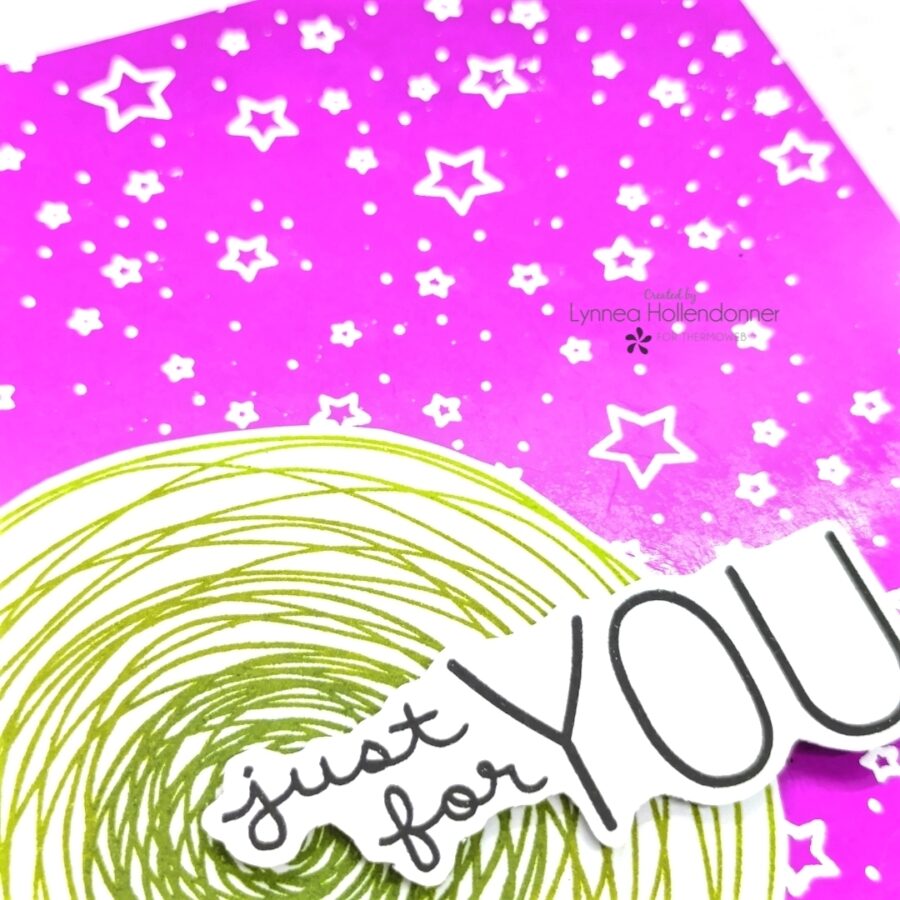
When paired with my starry background I think the Scribble Circle Stamp Set looks like a fancy planet! I added my “planet” to the left side of my card with 1/16″ Jumbo Foam Tape and topped off the card with a sentiment that I stamped and fussy cut from the Greetings to You Stamp Set.
I hope you’ve enjoyed coming on this fun foiling journey with me! I’ll see you again soon!
This post contains affiliate links. For more information, see our disclosure HERE.