


Hello and welcome!
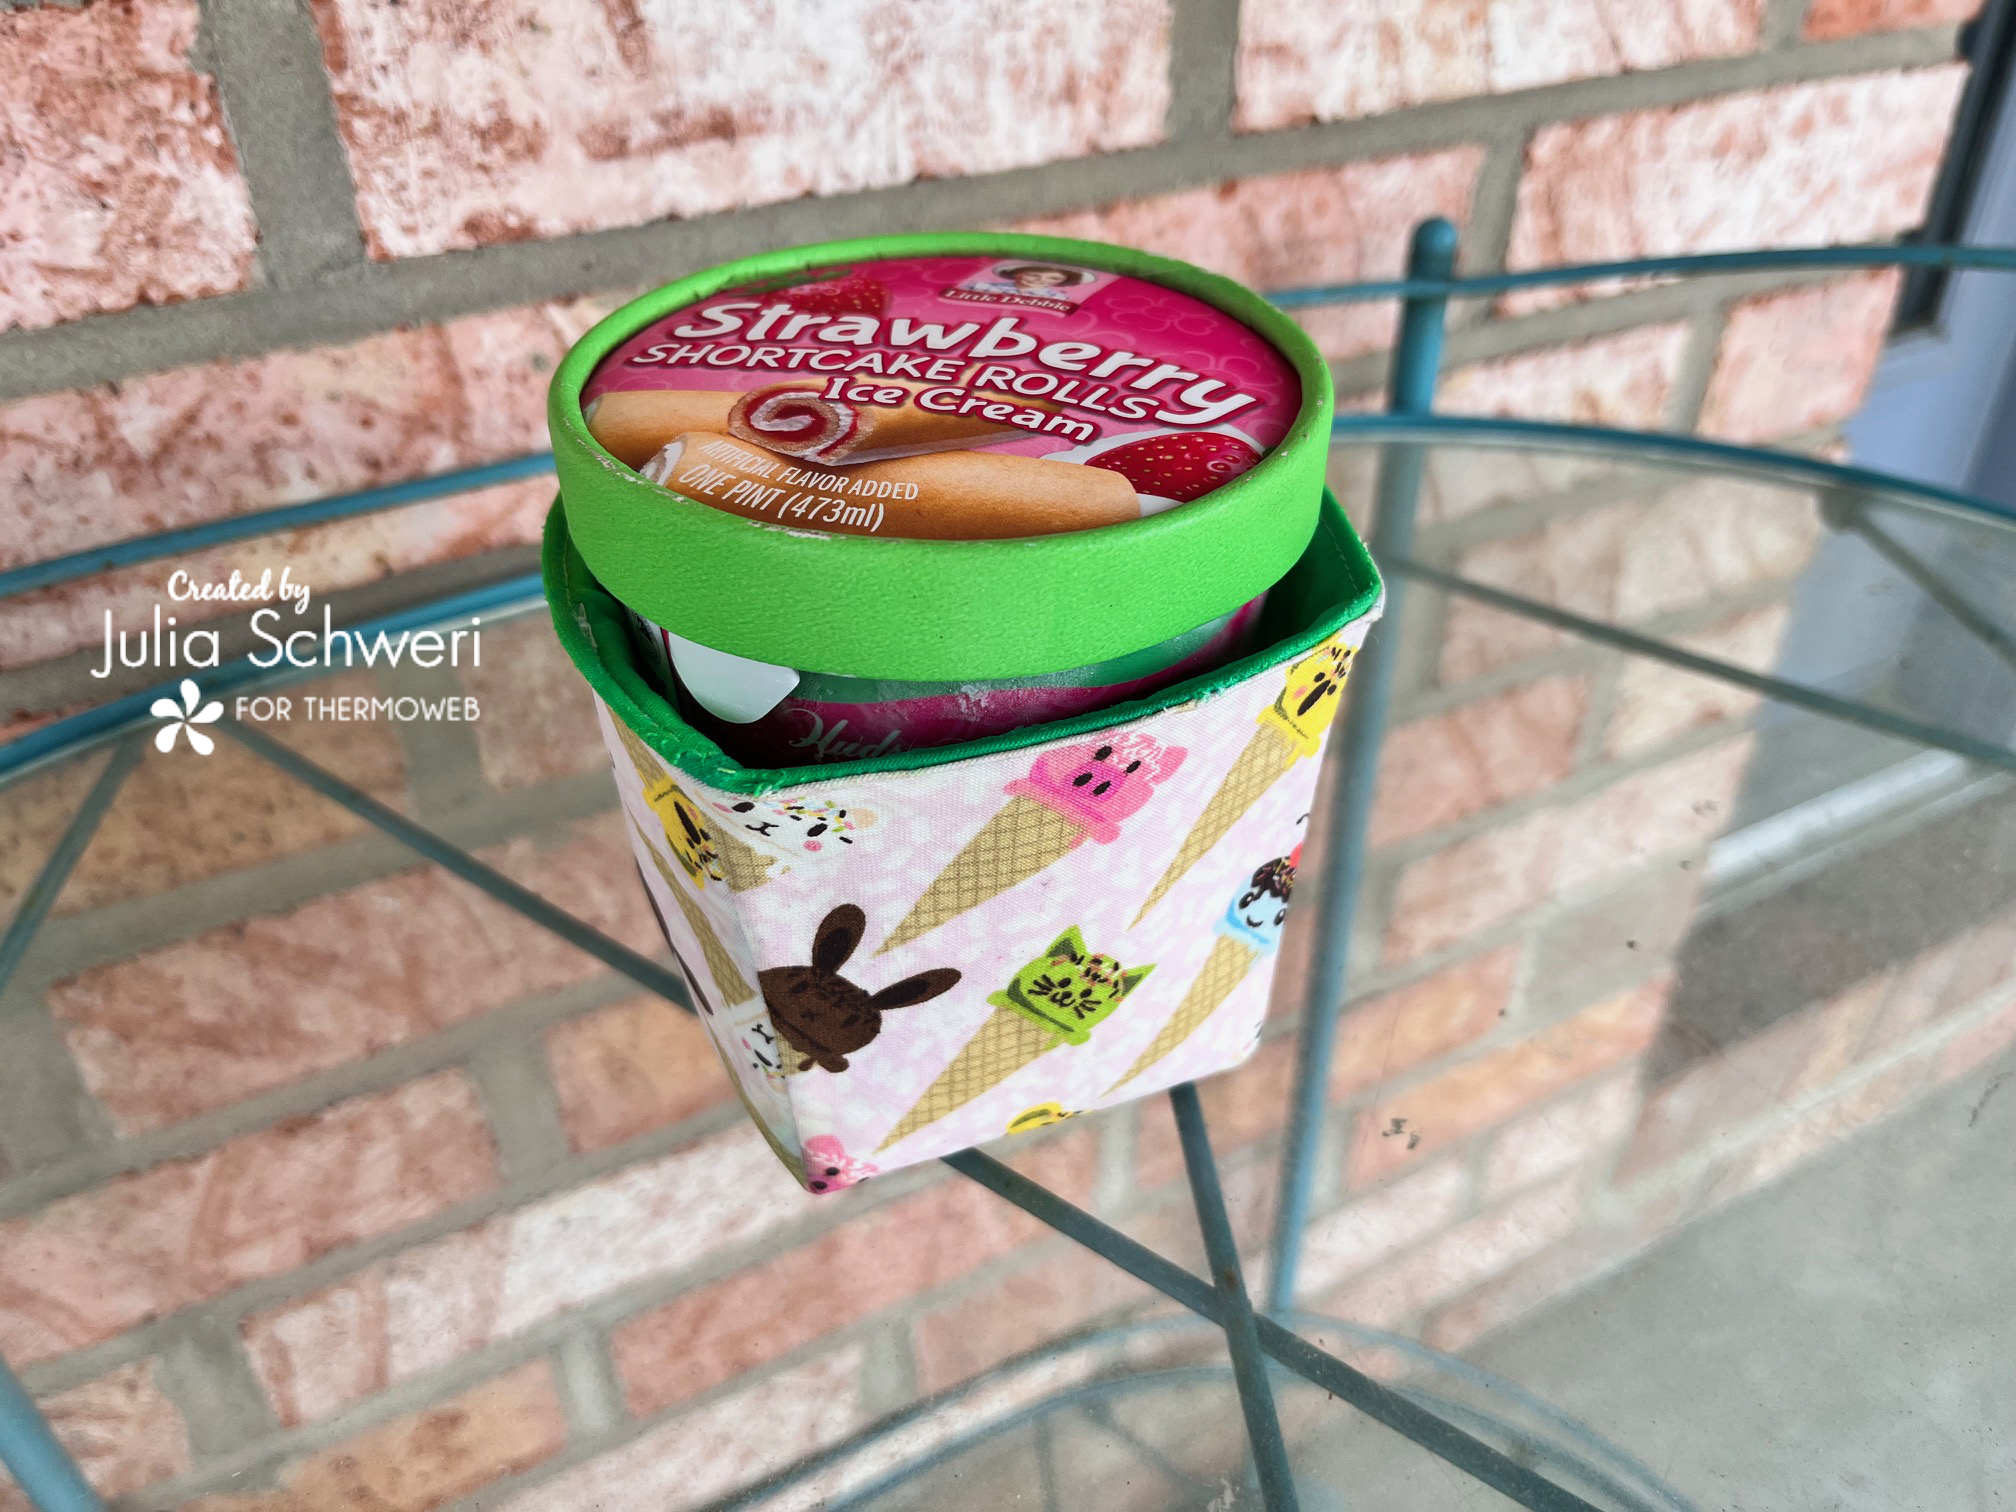
It’s Julia from Inflorescence Designs! I’m so joyful you are visiting today. For today’s tutorial, I am going to show you how to make your very own Ice Cream Pint Cozy! Now your hands won’t get as cold if you are like me and eat straight from the pint! For this project we will be using Thermoweb’s Liquid Vinyl.
Liquid Vinyl can make your favorite fabrics stain-resistant, water-resistant and even waterproof. Simply paint on a thin layer, let dry and then iron to create a smooth, protective finish. You can create different effects, including a semi-gloss oilcloth look, by applying multiple layers of Liquid Vinyl. My favorite part is you are not limited to commercially available laminated fabrics.
Ice Cream Pint Cozy with Liquid Vinyl
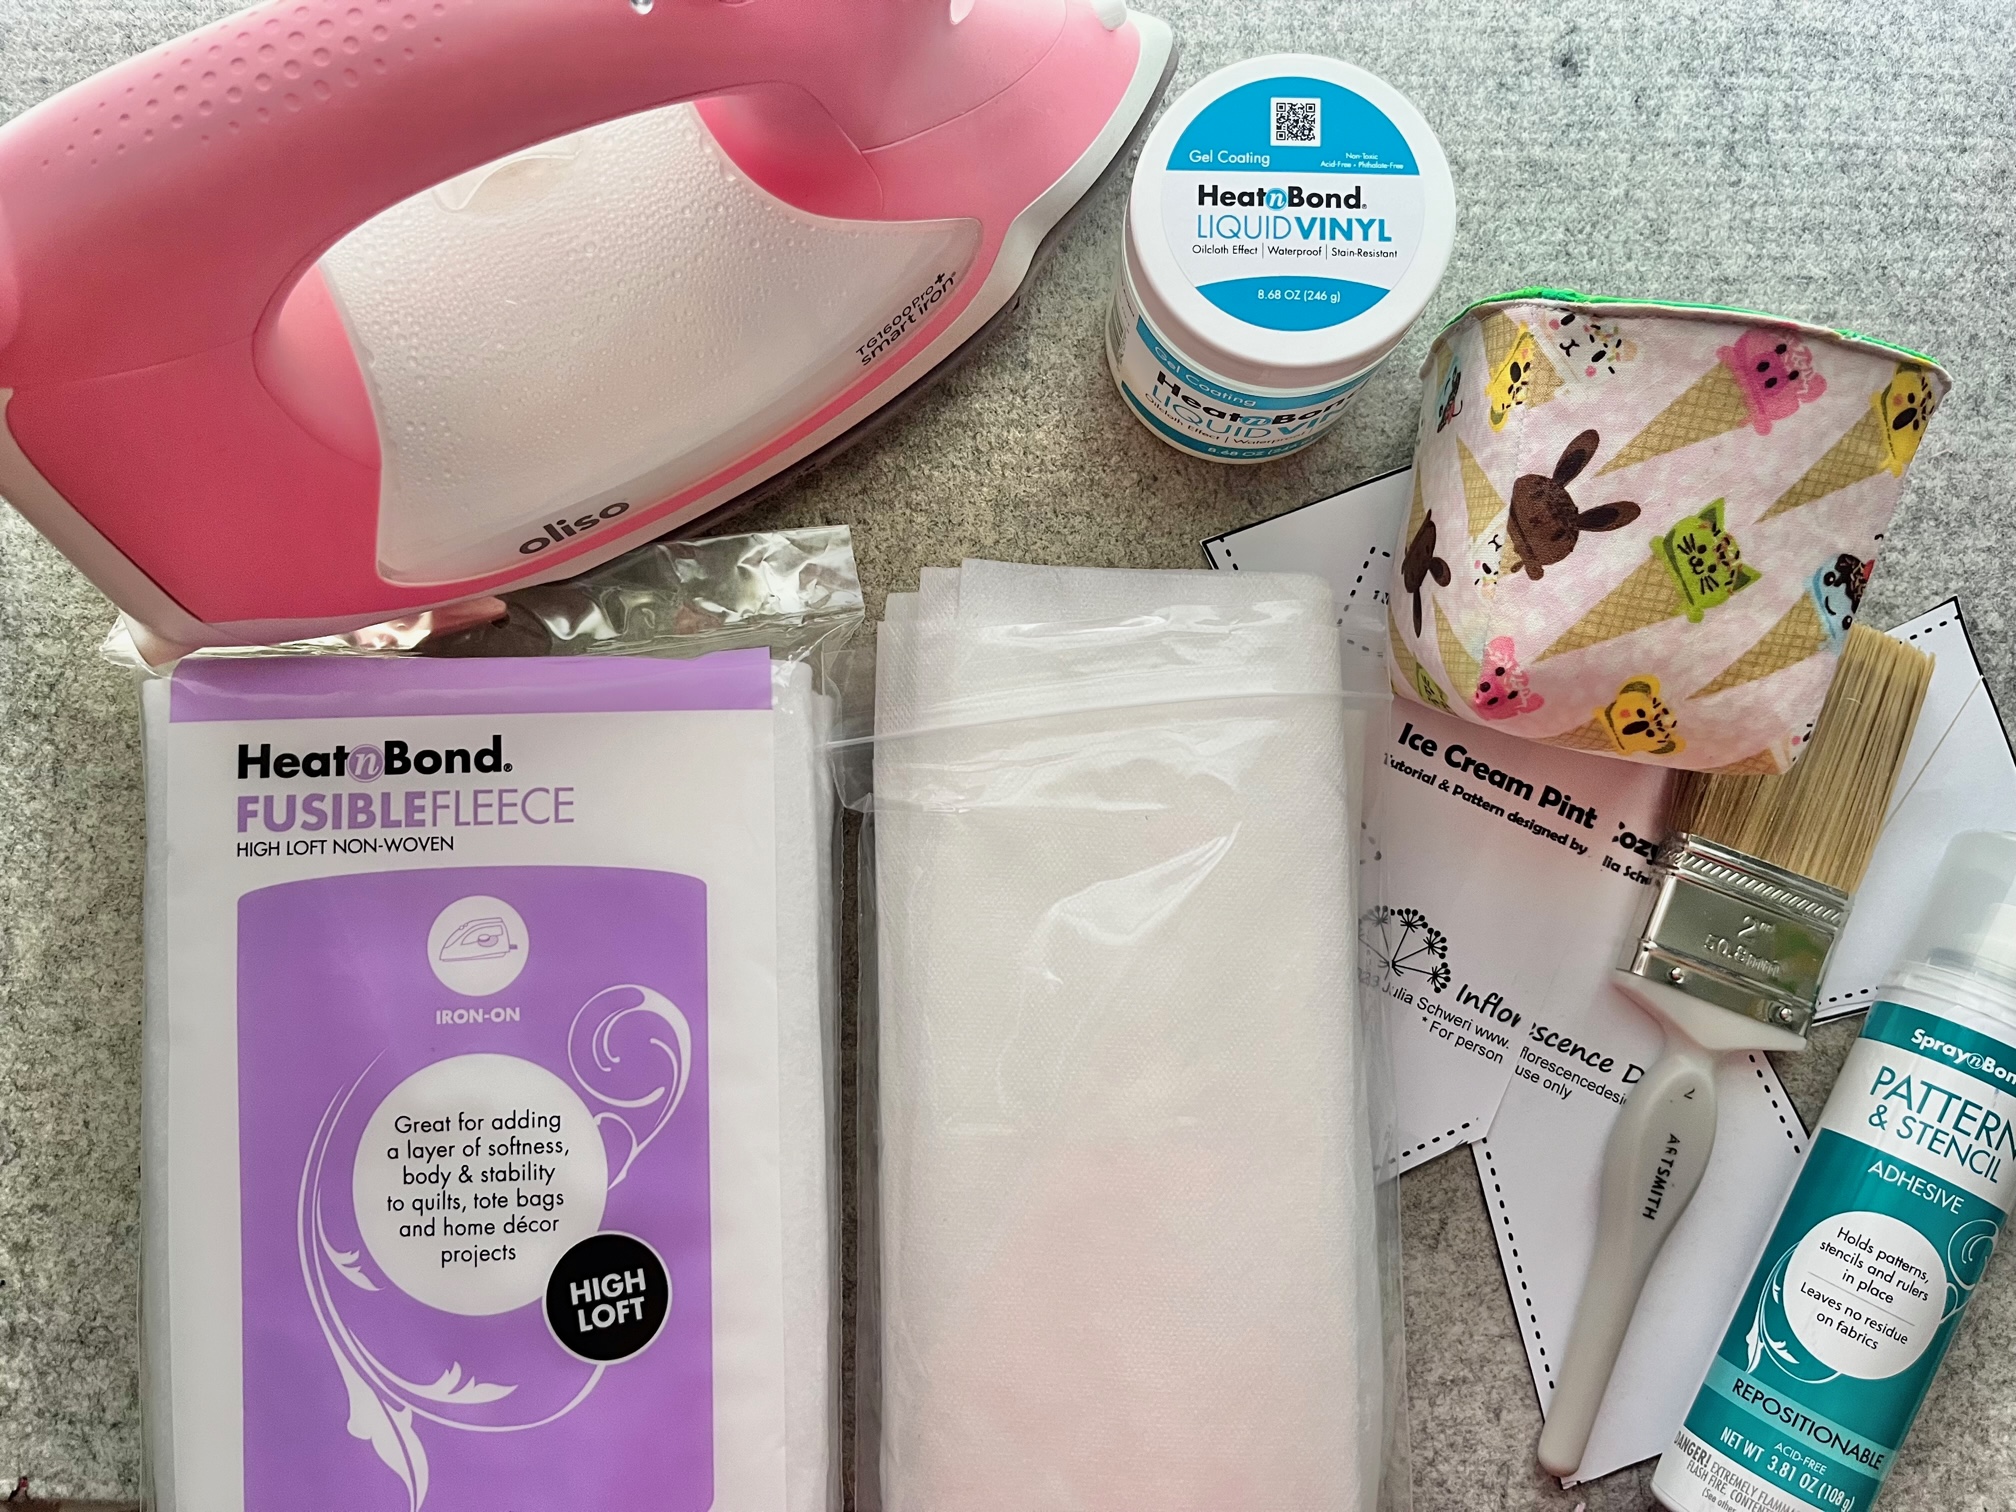
Supplies:
- Ice Cream Bowl Cozy FREE Pattern
- HeatnBond Liquid Vinyl
- Thermoweb Pressing Paper
- HeatnBond Fusible Fleece : 24″ x 10 1/2″
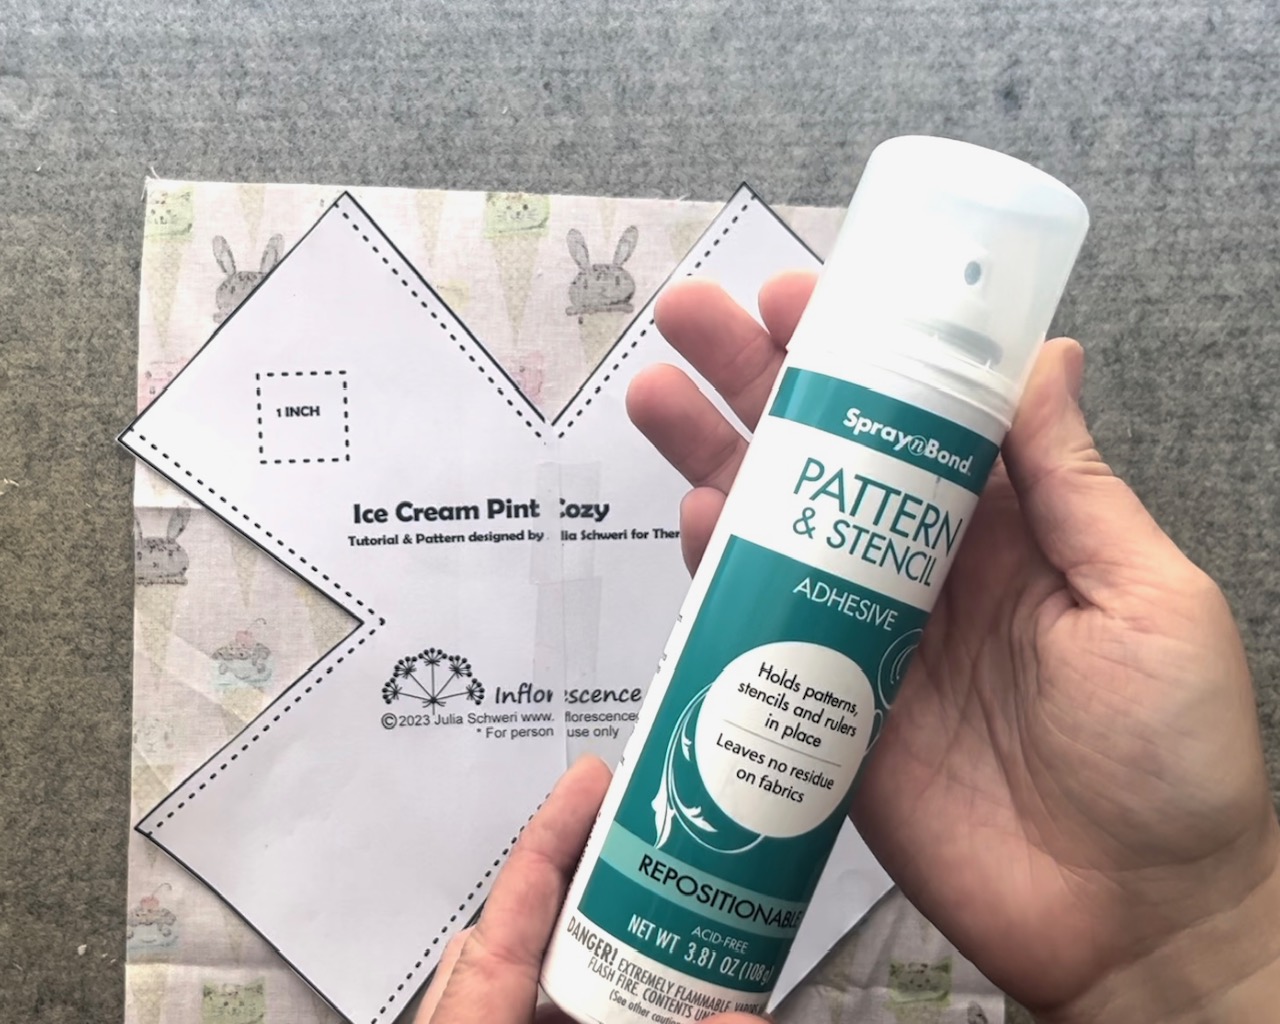
- SpraynBond Stencil & Pattern Spray (Optional)
- StitchnSew Wash Away Water Soluble Non-Woven Sew-in Topping
- Fabric:
- (1) 10 1/2″ square main fabric
- (1) 10 1/2″ square lining fabric
- Soft Bristle or Foam Brush
- Basic Sewing Notions
- Oliso Iron
- Something to paint on. I used file folders.
Instructions:
Begin by…
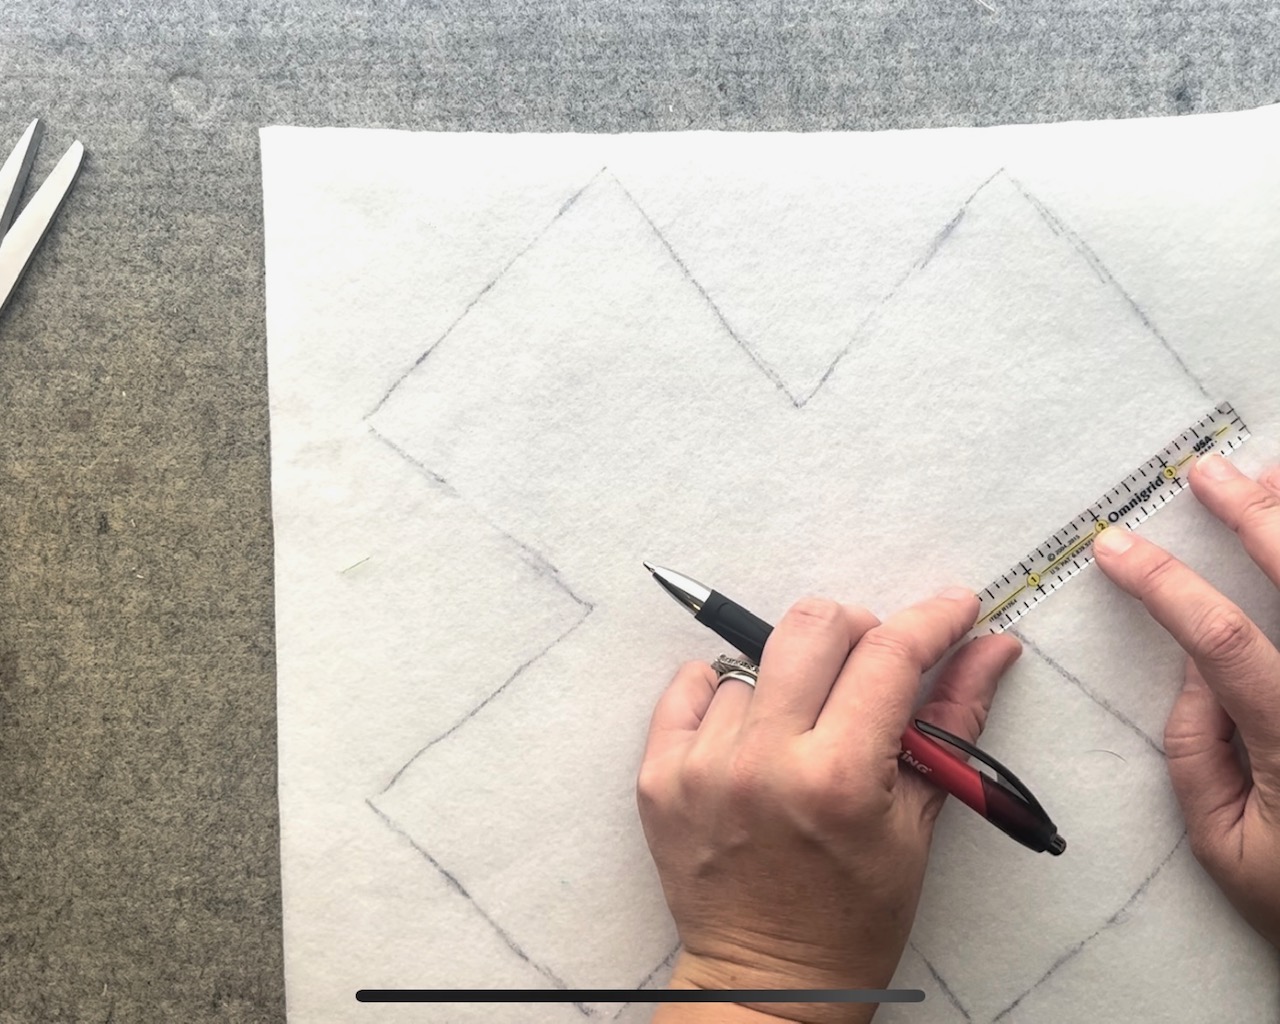
Print out and assemble the Ice Cream Pint Cozy pattern, then cut it out. Use SpraynBond Pattern & Stencil Adhesive to help hold the pattern in place of pins and trace the pattern onto the main and lining fabric pieces.

Next…
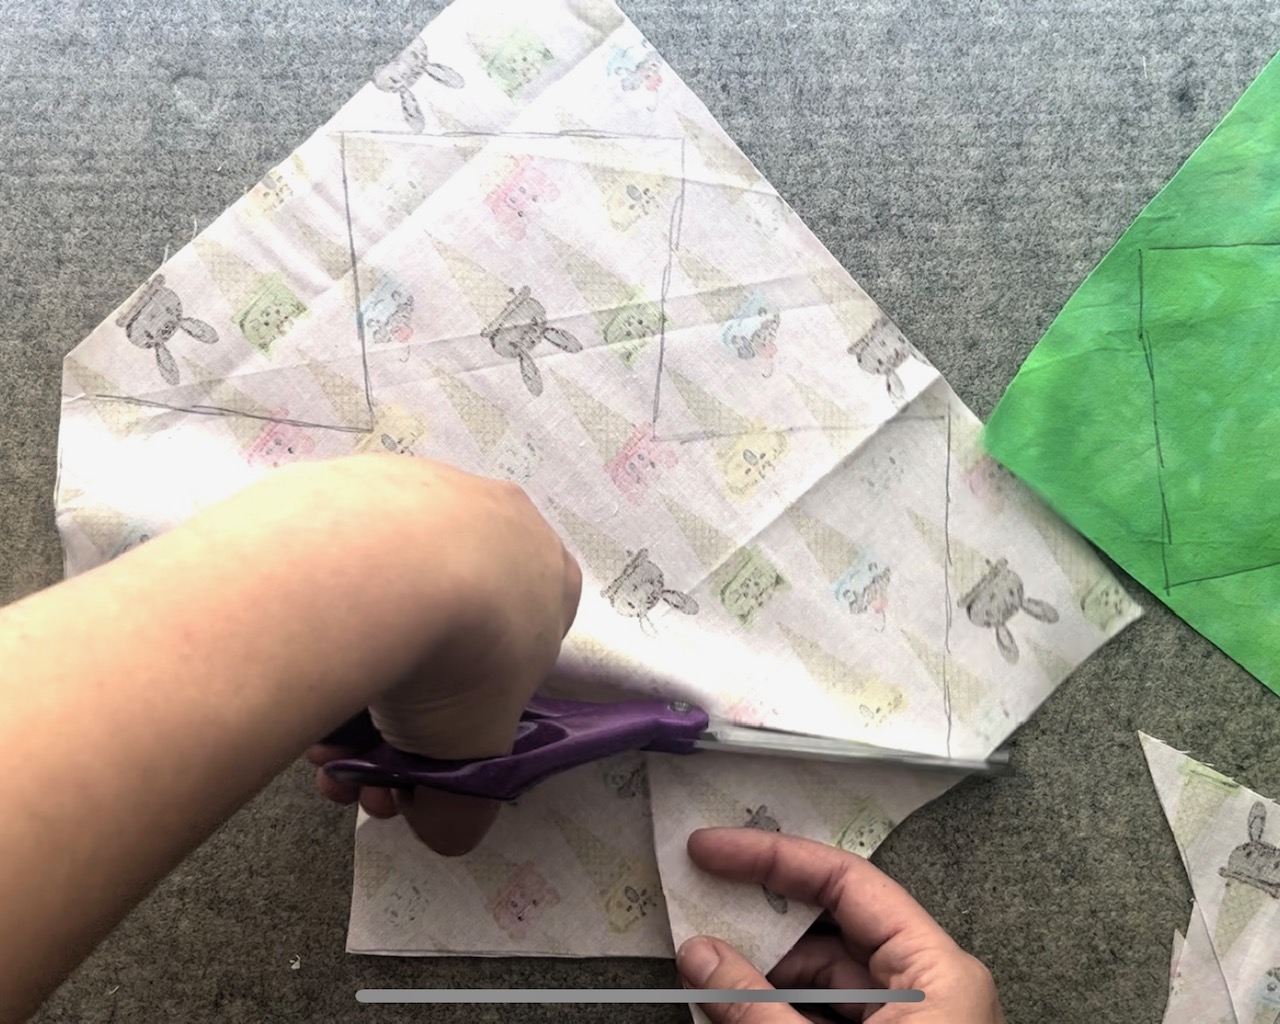
Cut out the main and lining fabric pieces.
Then…
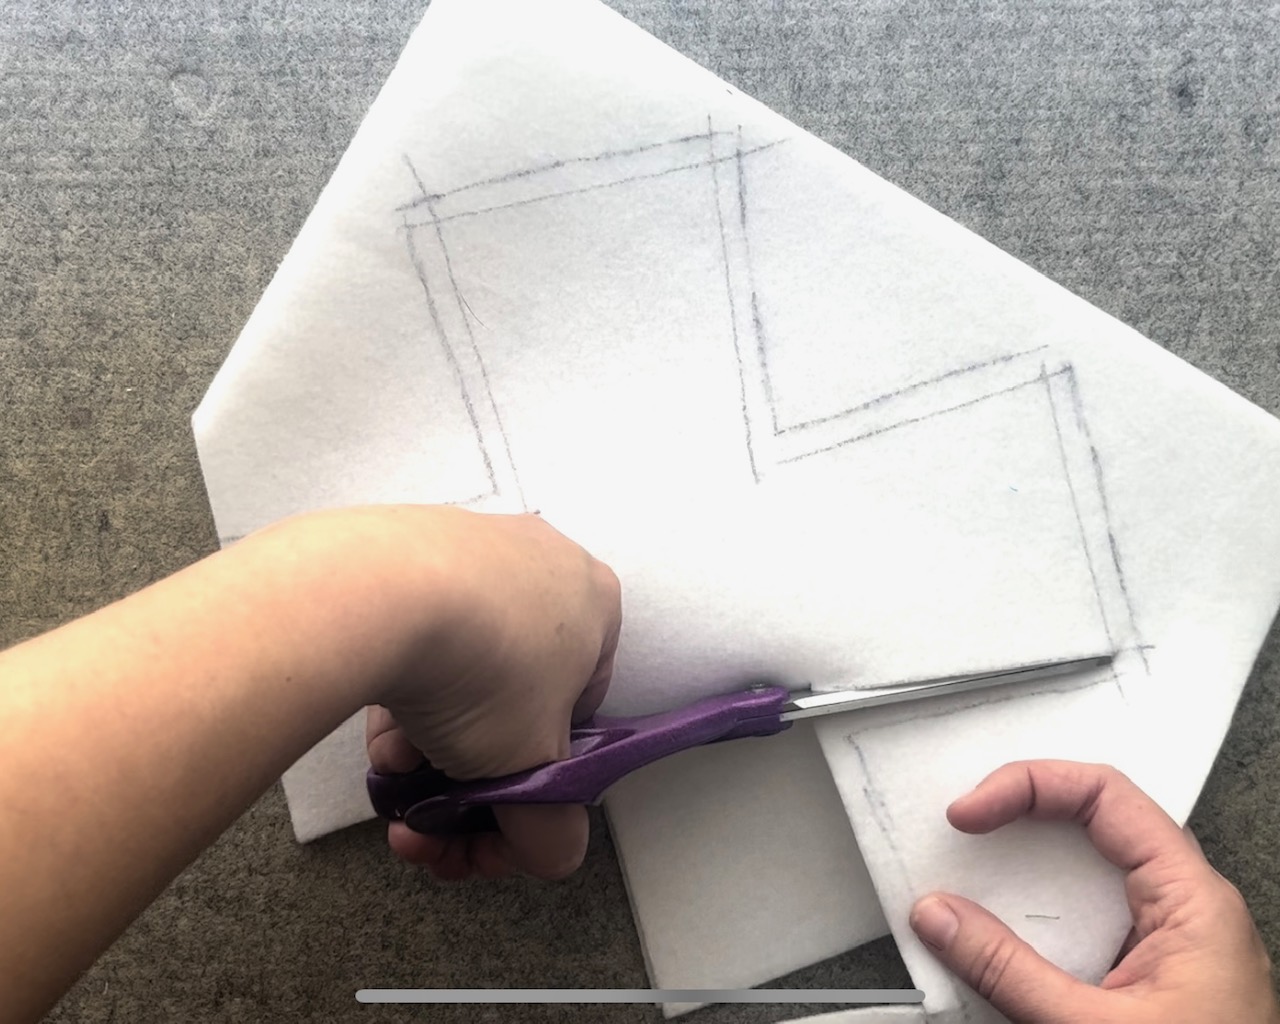
Fold the fusible fleece together in half (the adhesive side will be folded to the inside). Again, trace the pattern onto the fusible fleece. Next, draw a 1/4″ line around the inside of the line you just drew and then cut out the fleece on the inside line. Since your fleece is folded, you should have 2 fusible fleece pieces cut out.
Next…
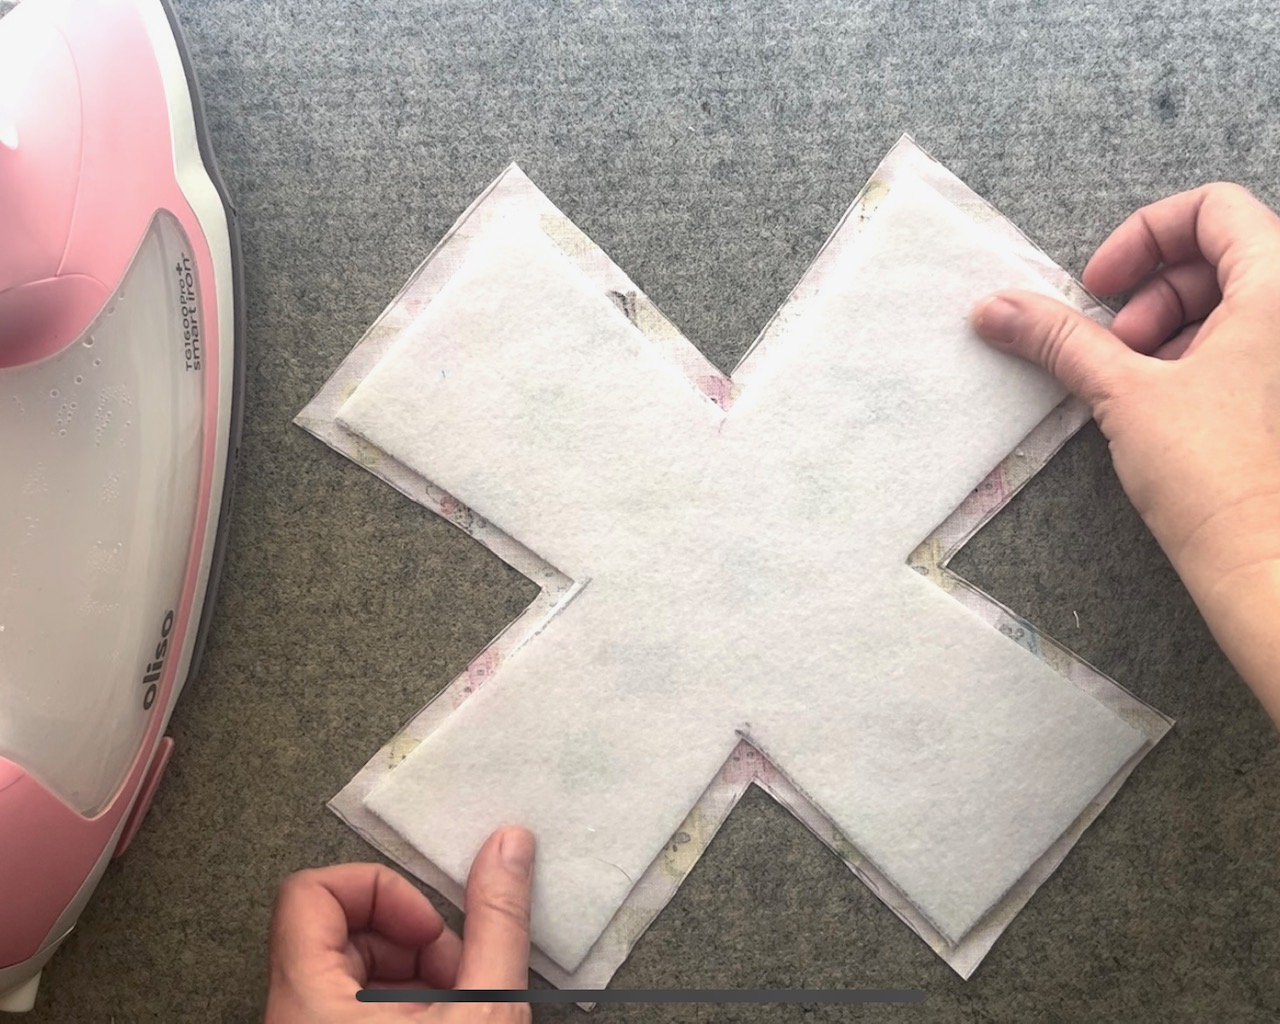
Adhere the fusible fleece to the wrong side of each fabric piece.
Continue by…
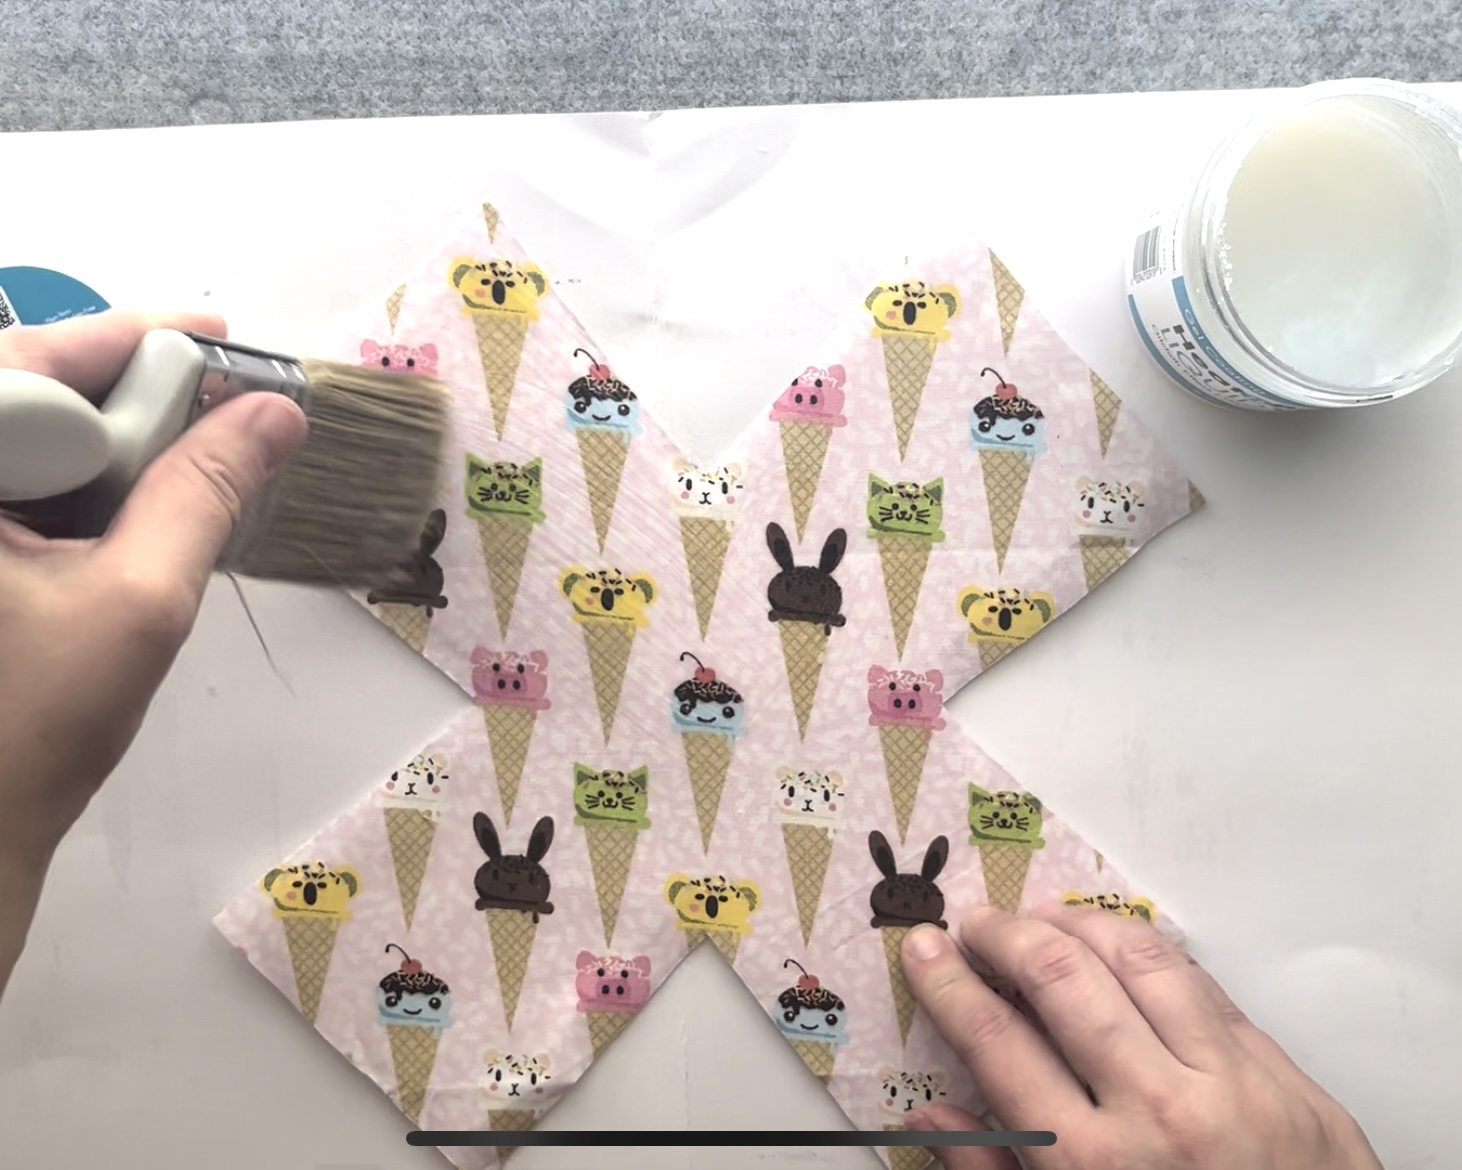
Now that the fusible fleece is adhered, we are going to add the Liquid Vinyl.
For this project, I used ONE coat of Liquid Vinyl. The number of coats is a personal choice for this project.
General Directions
Works best on smooth fabrics. Pre-wash and dry all materials without fabric softener. Please note, the application of HeatnBond Liquid Vinyl may slightly alter the fabric’s original appearance. For best results, always pre-test before starting the project.
Protect the workspace with a non-stick surface such as HeatnBond Pressing Paper, parchment paper or a silicone craft mat.
- Paint on a thin layer of Liquid Vinyl using a soft-bristled paintbrush or foam brush; rinse the brush and wipe off the rim of the jar before recapping.
- Let fabric dry 30-45 minutes.
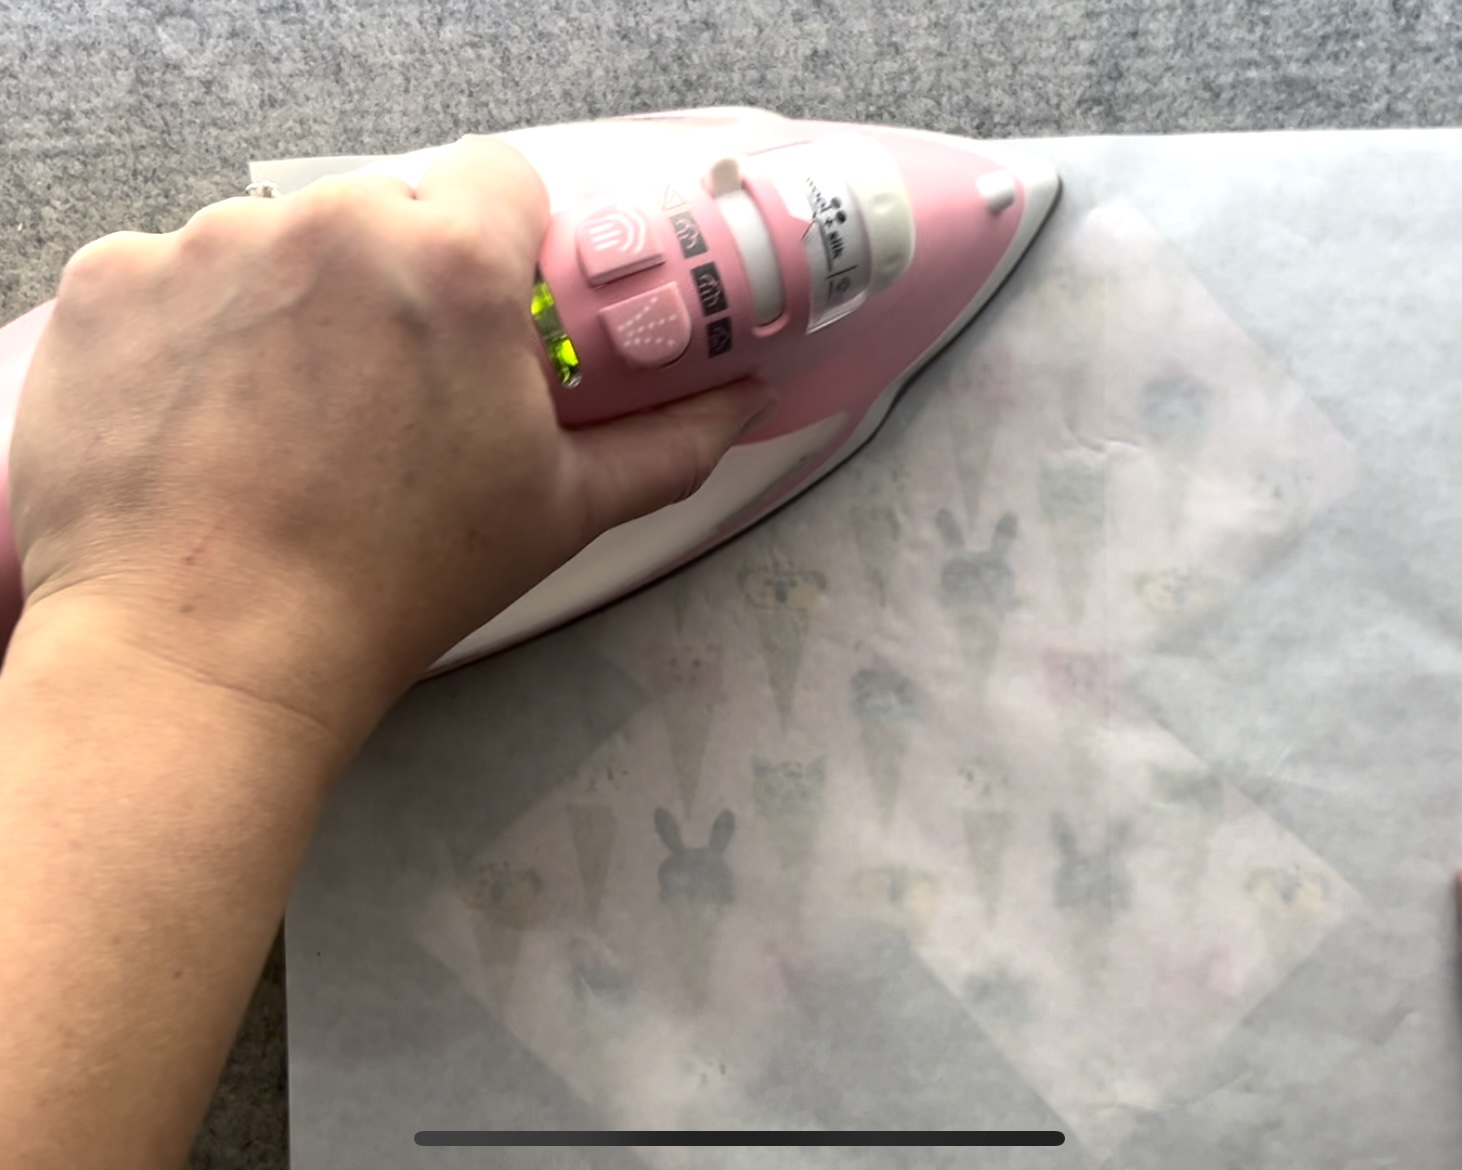
- Preheat the iron to medium heat, with no steam.
- Place fabric on top of parchment paper or a non-stick pressing sheet on a firm, heat-proof surface (not an ironing board) and cover with HeatnBond Pressing Paper. Press for 45 seconds, moving the iron slightly. For larger pieces, slightly overlap areas until the entire surface has been pressed.
- Repeat Steps 1-4 to apply additional coats of Liquid Vinyl, pressing after each coat.
Next…
Fold the adjacent sides of the main fabric piece together and sew using a 1/4″ seam. Do this for each side of the main fabric and then again for the lining fabric.
Then…
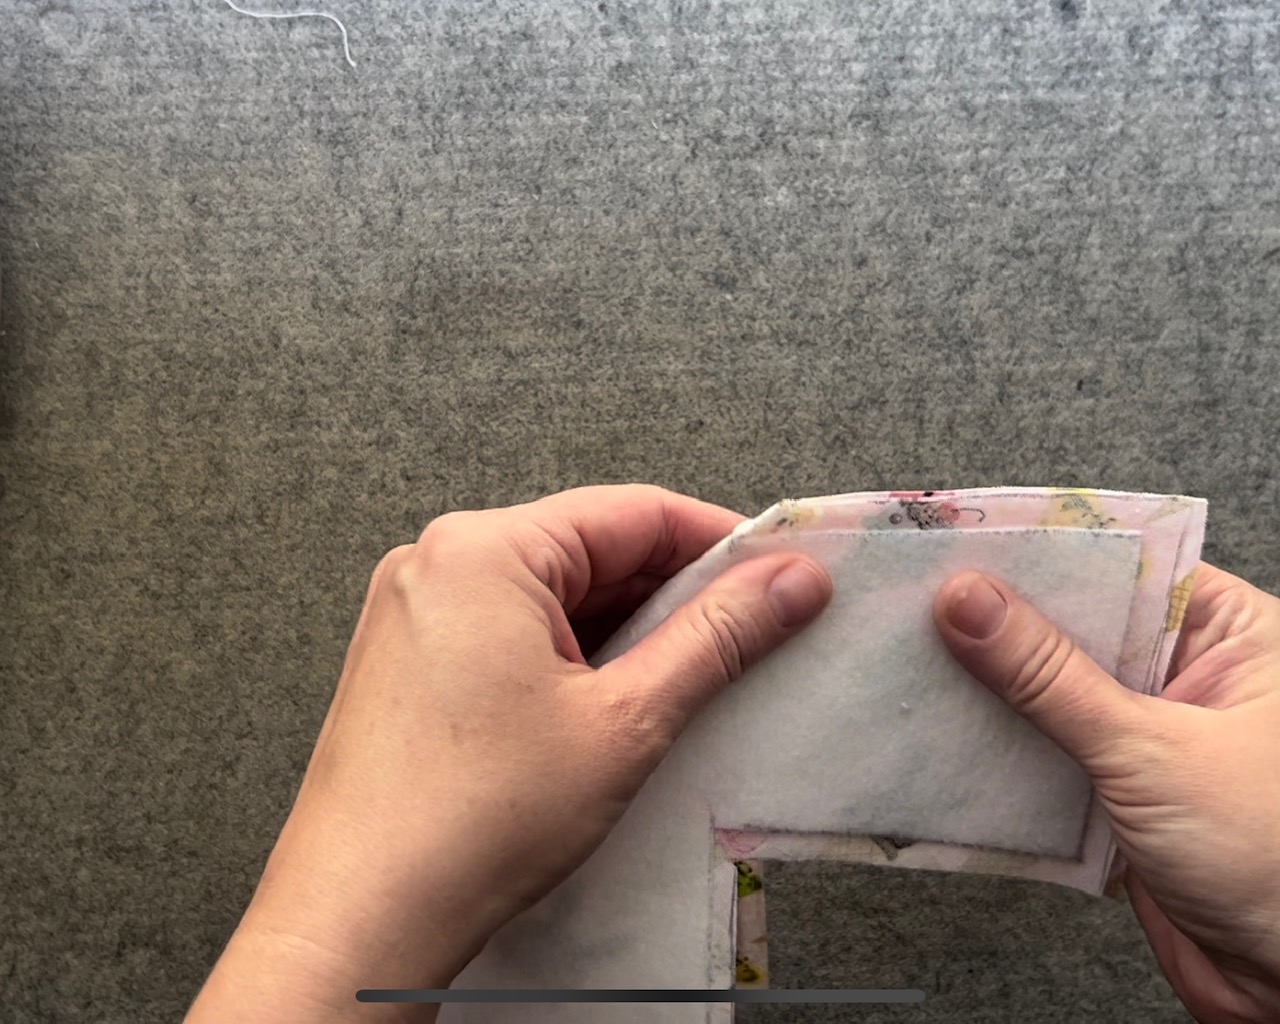
Once both the lining and main fabrics have been sewn, turn the main fabric right side out and insert it into the lining right sides together. Sew around the top of the cozy with a 1/4″ seam, leaving an opening for turning.
Important Tip: Watch the YouTube Tutorial for a better visual of how to do this step.
Continue by…
Turn the cozy right side out through the opening you left in that last step. Push the lining down into the main fabric to create your bowl shape. Then, fold the seam of the opening closed.
Next…
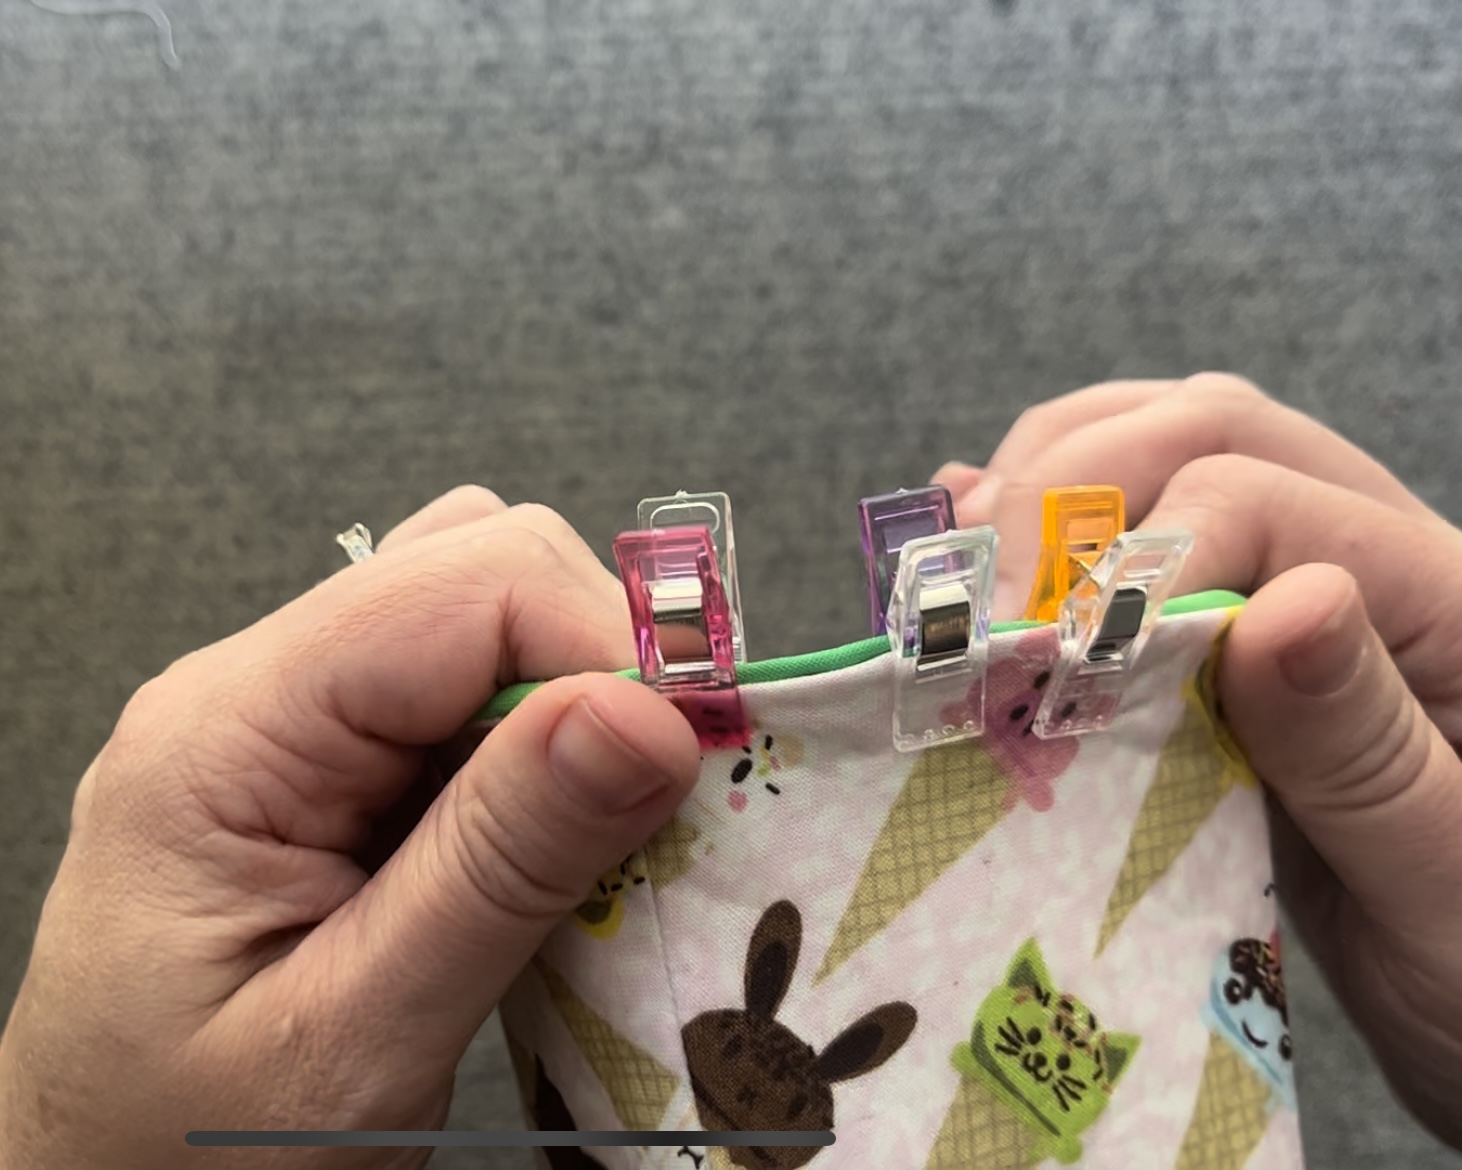
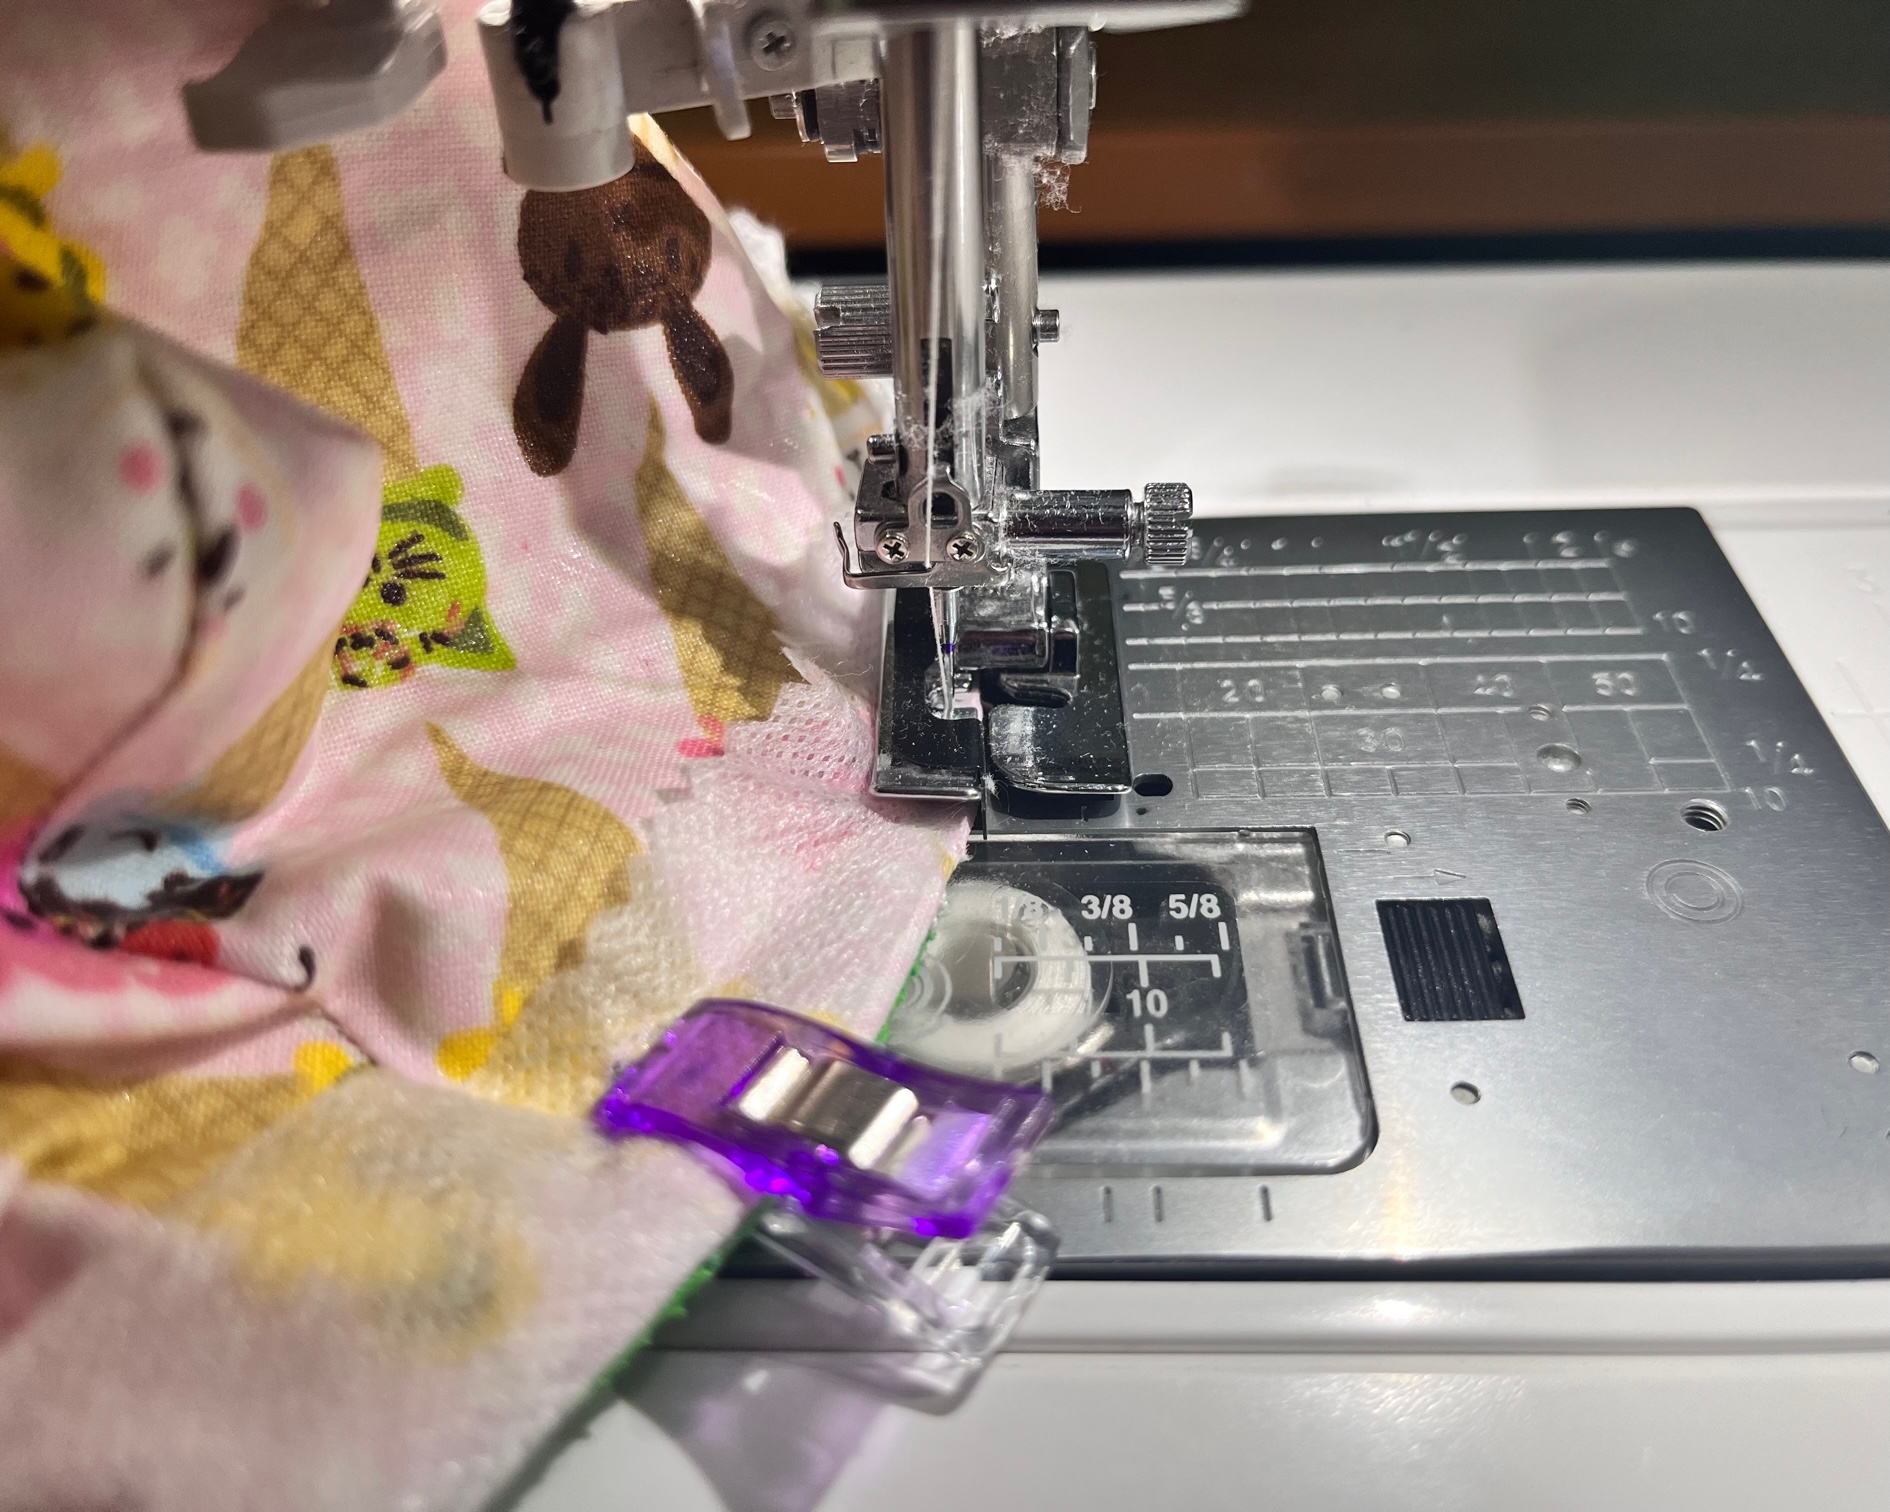
Cut out strips of the wash-away stabilizer. This will help you topstitch around the top of the Ice Cream Bowl Cozy. You can try to sew without it, using a non-stick foot, but from experience, I prefer the wash away stabilizer. It works perfectly every time.
Finally…
Wash off the stabilizer with water and then let dry. I like to tear the excess off before washing. You can see in the YouTube video that I took off the excess before washing.
FINISHED!

Need more visual help? Check out the YouTube Video Tutorial HERE!
Thank you for visiting today! Come back soon to see what else will be starting to bloom with Inflorescence Designs!
Starting to bloom by choosing JOY ~ Julia