Happy holiday’s y’all! Gail Dicks with Sunflower Seams Pattern Company here with you today to share a festive holiday make. Felt ornaments!
 My favorite time of year is Christmas, and it is also my favorite holiday to craft for! So when I had the opportunity to participate in this Benzie Felt and Therm O Web collab, I obviously jumped at it!
Something that I really enjoy making with my kids each year is ornaments. So, naturally, I decided that I would make this gorgeous Benzie felt into some festive plush ornaments.
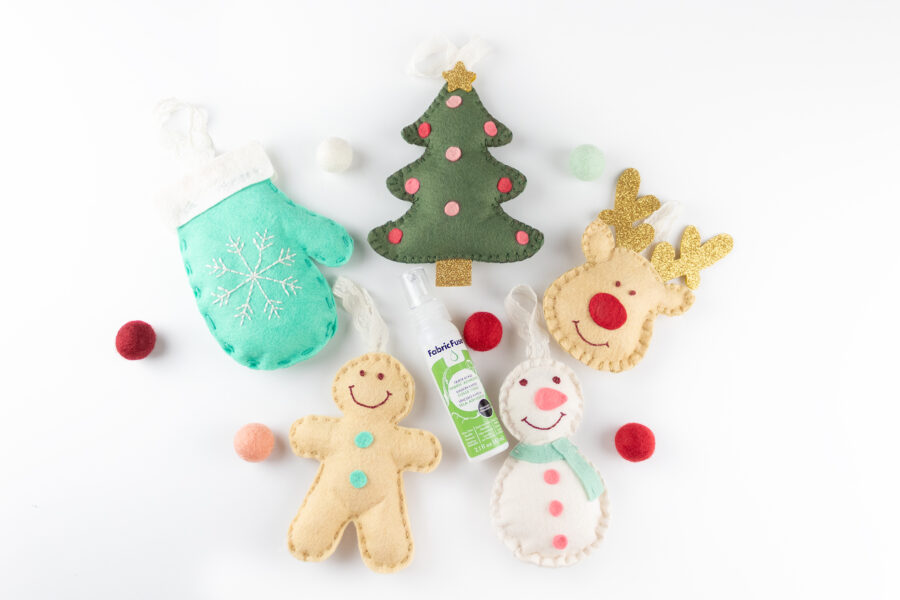
Supplies Needed:
- Sunflower Seams_Mistletoe Ornaments_Tutorial and Pattern_V1
- The brand new winter mint wool felt palette from Benzie Designs
- iCraft Fabric Fuse Liquid Adhesive
- Coordinated Embroidery Floss from Benzie Designs
- A needle for hand sewing
- Stuffing
- Yarn or Ribbon for hanging
Steps for Sewing Ornaments
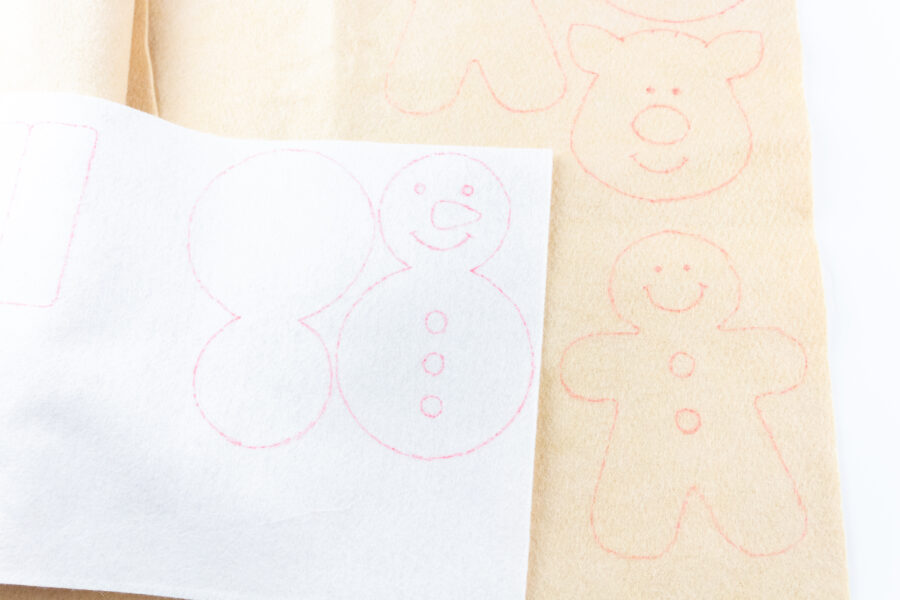
- Trace the outlines of the ornaments onto your felt following the instructions on the pattern. Make sure to mark the face and embellishment placement as this makes it much easier when assembling. Use a heat erasable pen or marker to trace the lines so that once the ornaments are done you can steam them with your iron and the markings will disappear.
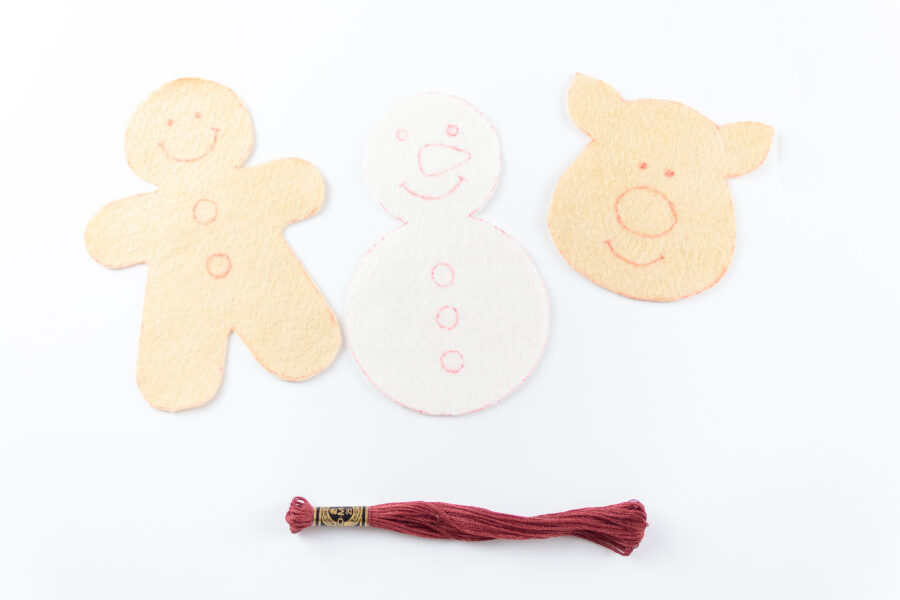
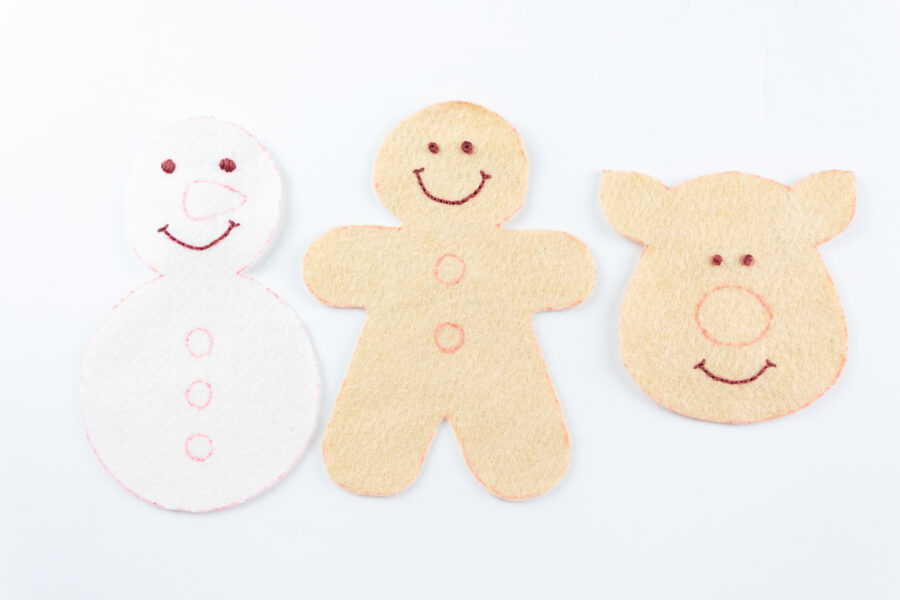
- Using embroidery floss, embroider the faces onto the snow person, gingerbread person, and reindeer. You can use any stitch that you desire. If you’d like to create a similar look to what I’ve made here, the mouths were all done using an embroidery backstitch. The snow person’s eyes were made using a satin stitch, and the gingerbread person and reindeer person’s eyes were made using french knots.
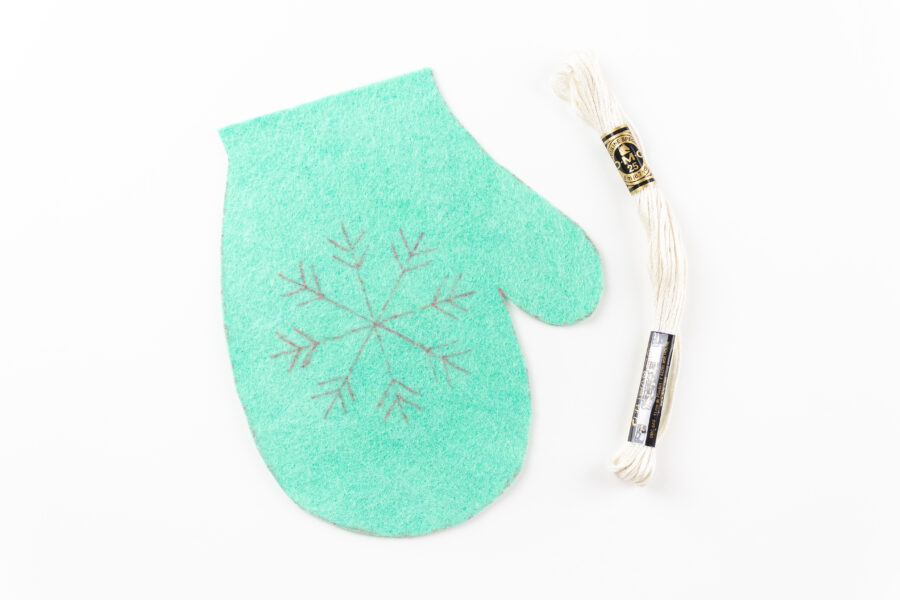
- Using embroidery floss embroider the snowflake onto the mitten.
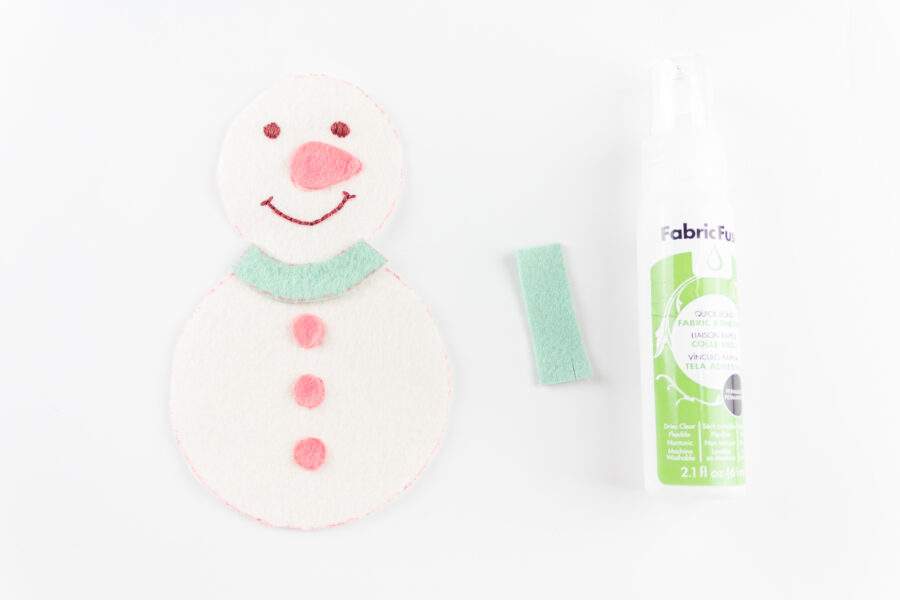
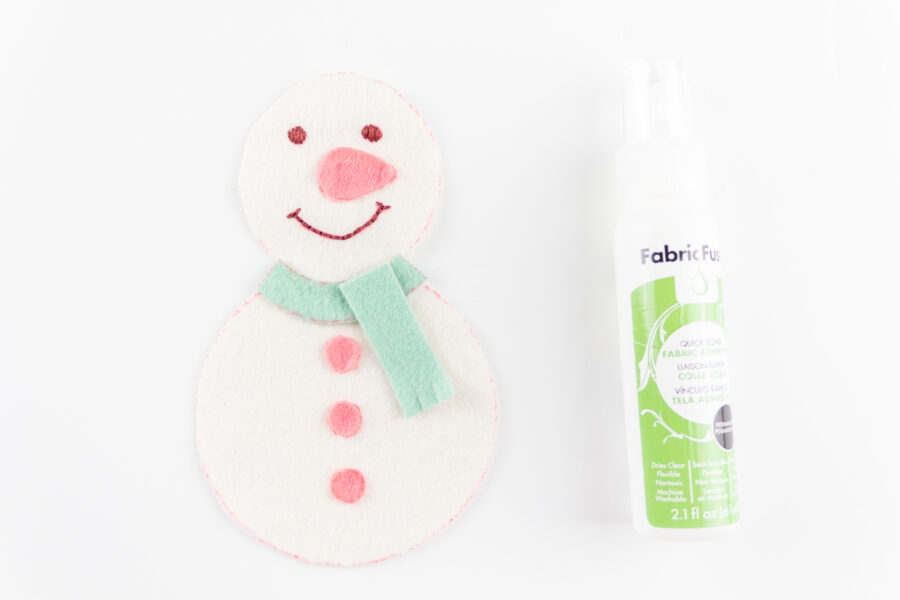
- For the snow person: Using the FabricFuse, adhere the embellishments onto your ornaments. You’ll adhere the scarf in two steps. First the rounded piece. Then you will adhere the rectangular piece on top.
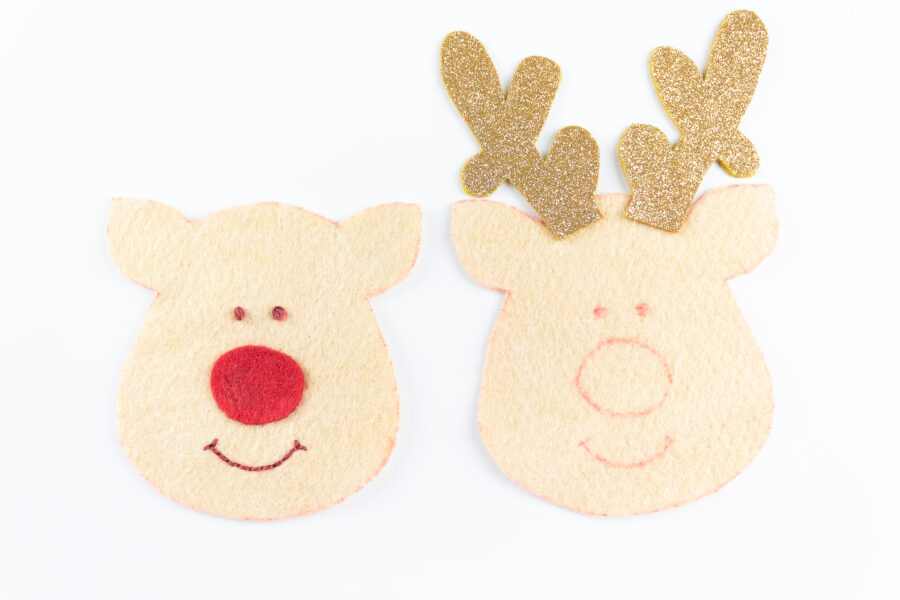
- For the reindeer: Adhere the nose onto the face using the FabricFuse and adhere the antlers to the inside of the back piece. I drew on the placement markings so I had a better idea of where to place the antlers.
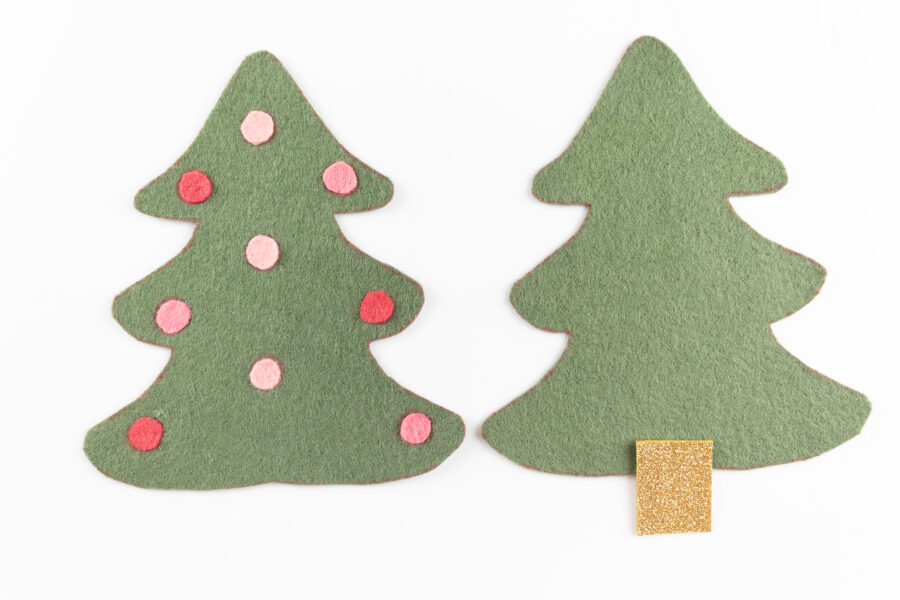
- For the tree: Adhere the ornaments onto one of the tree pieces. You may follow the placement markings or you may put them wherever your creative mind would like. The trunk piece will be centered on the bottom edge of the second tree piece.
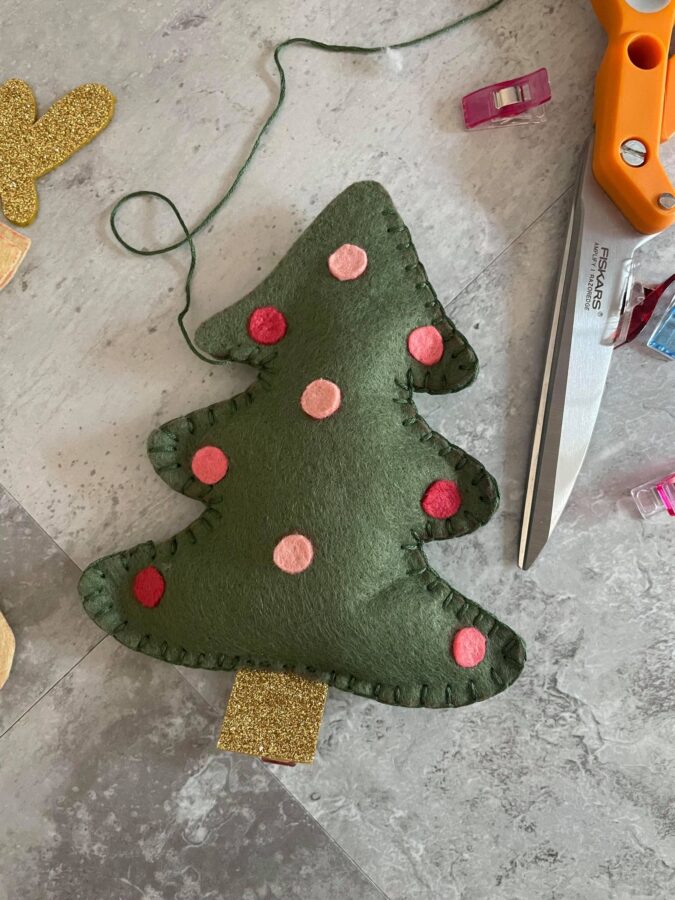
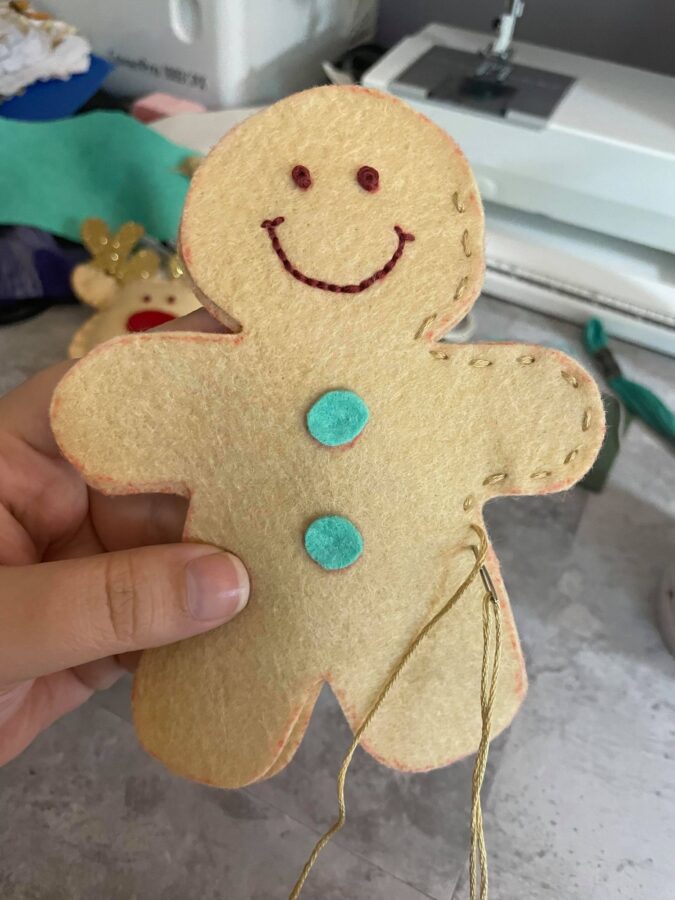
- Hand sew your pieces together using either a blanket stitch or a running stitch. Alternatively, you may also use the FabricFuse to adhere your pieces together. For this, you will need to allow plenty of drying time before you stuff the ornaments. Don’t worry about how neat your stitching looks, the stitches give the ornaments their charm!
- Important: Make sure to leave an opening at the top of the ornament for stuffing!
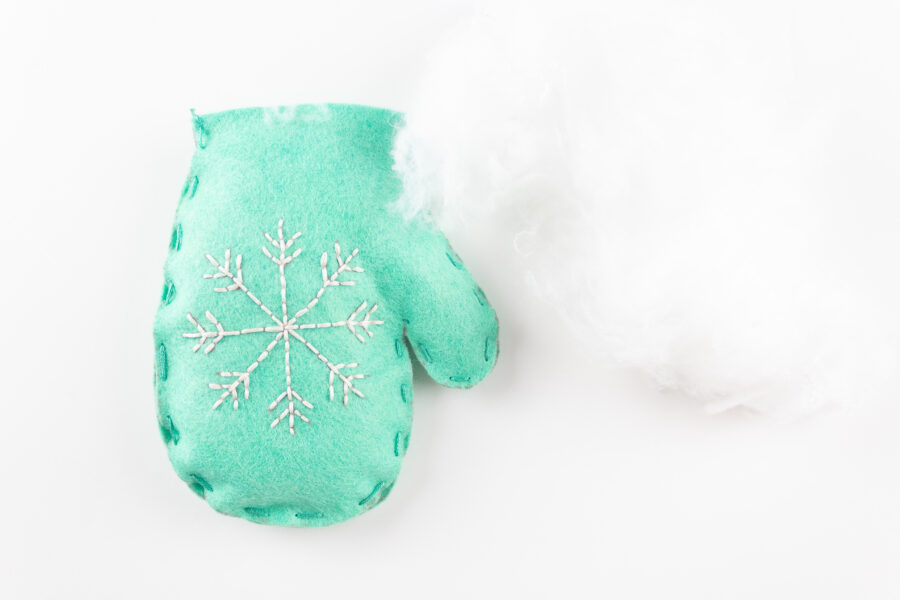
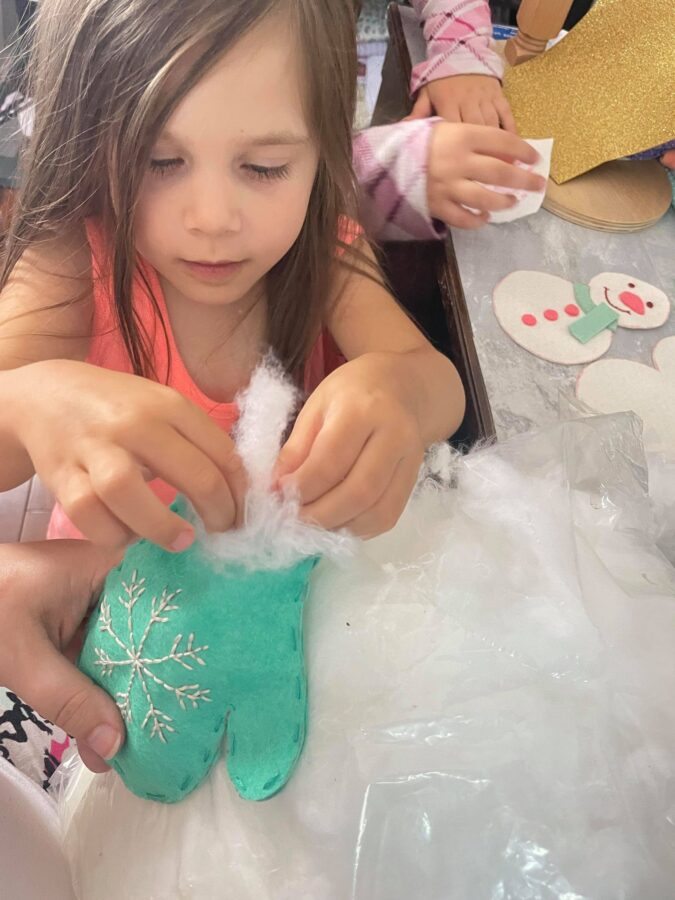
- Add some stuffing to the opening you left in the ornament.
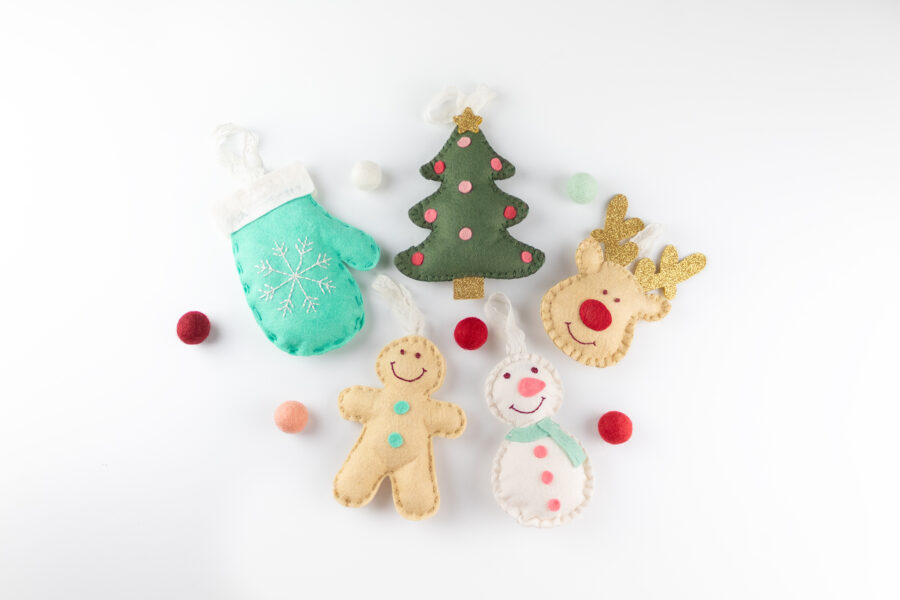
- Snow person, Reindeer, and Gingerbread person: Place a small piece of ribbon into the opening and sew the opening closed.
- Tree: Place a small piece of ribbon into the opening and sew the opening closed. Using the FabricFuse, adhere the stars to the top of the tree. One will go on the front, the other will go on the back. I found it helpful to use a sewing clip to hold the two pieces together while the FabricFuse dried.
- Mitten: Place a small piece of ribbon into the opening and sew the opening closed. Sandwich the top edge of the mitten between the mitten cuff pieces and fuse together with FabricFuse. I found it helpful to use sewing clips to hold the pieces together while the FabricFuse dried.
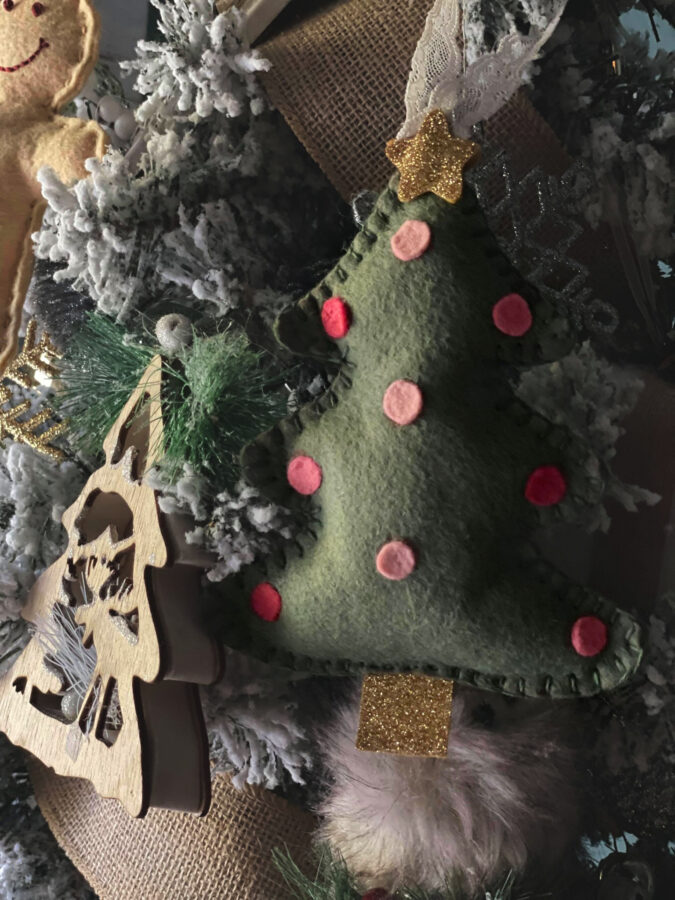
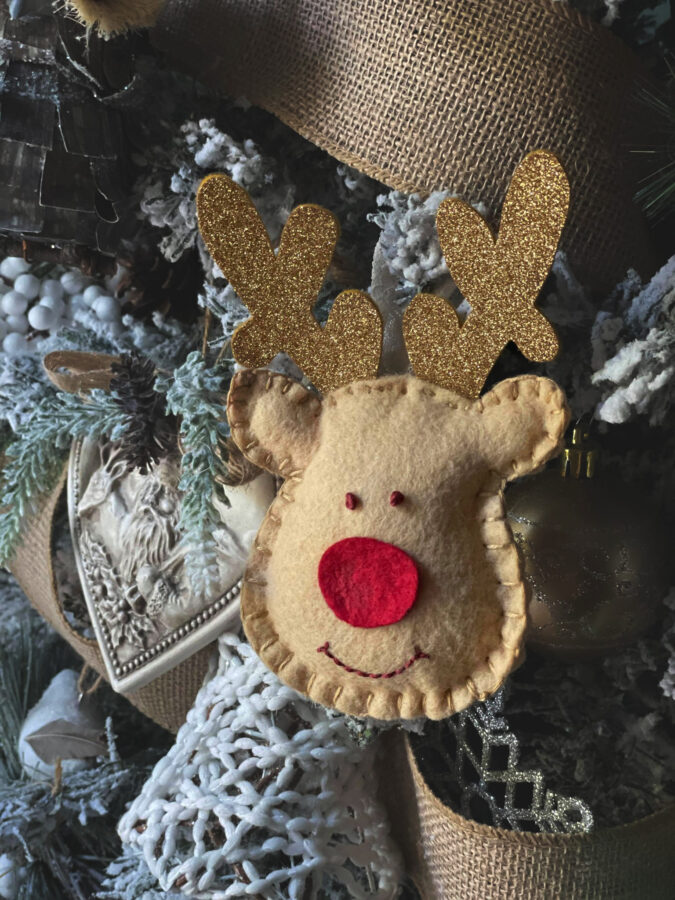
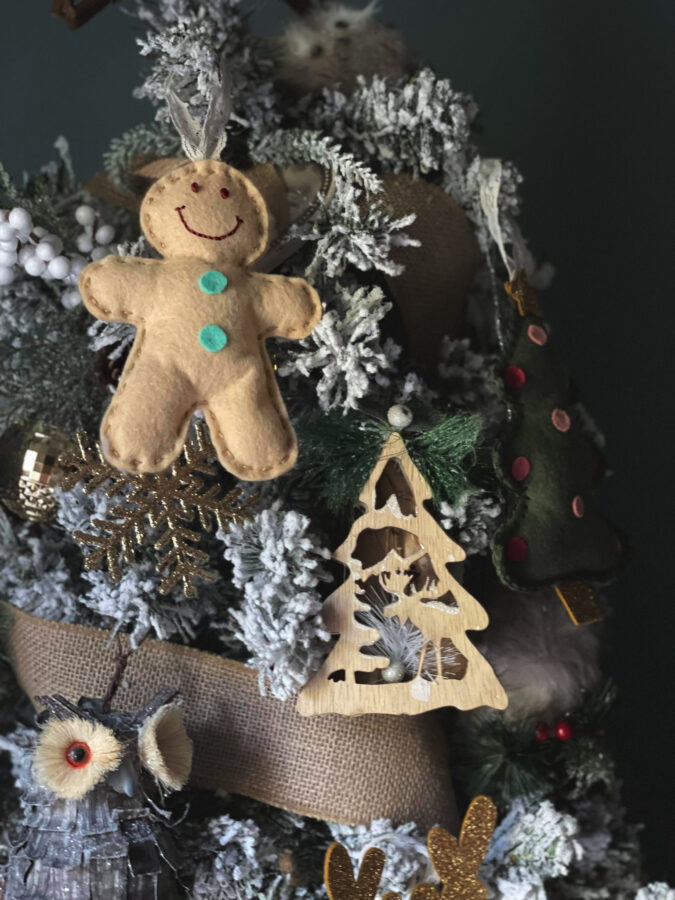
You are done! Happy sewing!
Our friends at Benzie Design are cooking up some inspiration of their own with our products. You’ll definitely want to take time to visit their blog and see their projects! Be sure to follow them on social and their talented team as well!
____________________________________________________________
We want to send a HUGE THANK YOU to the owner of Sunflower Seams Pattern Co., Becca Plymale, for resharing these reader favorite plush ornament patterns. Be sure to visit Becca and her team over at Sunflower Seams Pattern Co. for the most beautiful original sewing patterns for children’s clothing, bags, embroidery and home decor projects. Here’s a bit more about Sunflower Seams, from Becca herself: Sunflower Seams is all about timeless designs with a modern twist, giving sewists the confidence to craft heirloom-quality garments filled with love. Whether you’re new to sewing or a seasoned pro, I hope our patterns inspire creativity, connection, and joy. Our interactive tutorials and best in the industry projector files make sewing easy and fun. We are inspired daily by our children’s creativity and the beauty in the world around us. Our team’s expertise allows us to express this beauty into each of our patterns, allowing you to confidently create garments you and your child will love.
Gail Dicks, the designer of these adorable ornaments, now has her own pattern company, as well! Visit her at Boo & Lu Sewing Patterns. Here’s a bit more about Boo & Lu: Elevate your style effortlessly with our expertly crafted sewing patterns, spanning sizes newborn to adult 32! Meticulously designed with a keen understanding of real-world needs, we’re masters at curating wardrobe essentials that seamlessly integrate into your daily life.

Denise Bryant
July 29, 2021 at 10:09 pm (4 years ago)These are adorable!
Rebecca
July 30, 2021 at 7:46 am (4 years ago)This really seems like something kids could do too.