Heat N Bond Baby Onesie Tutorial
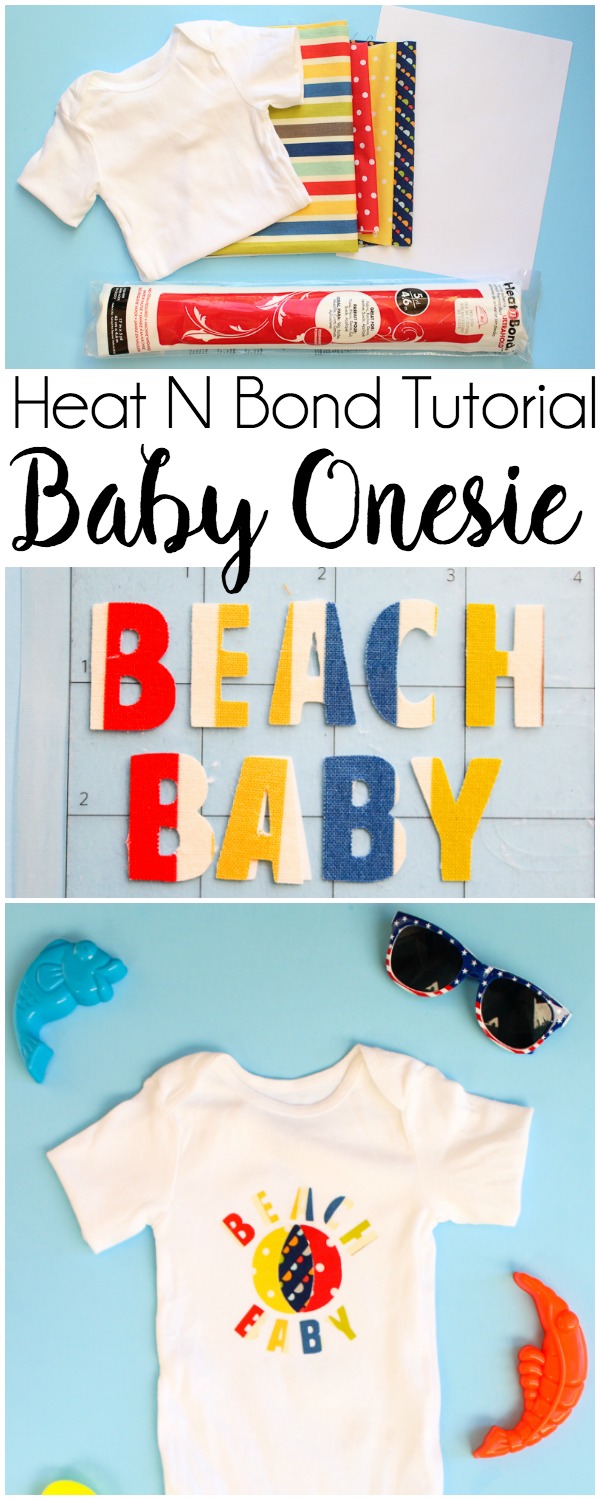
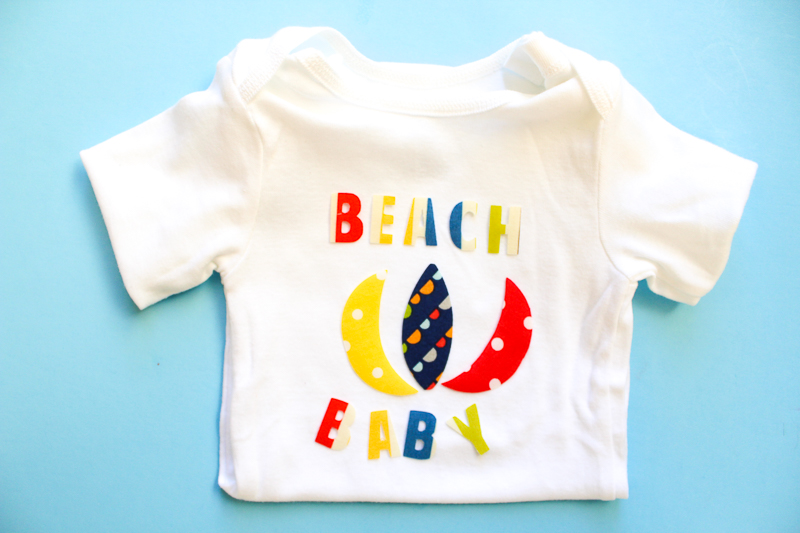
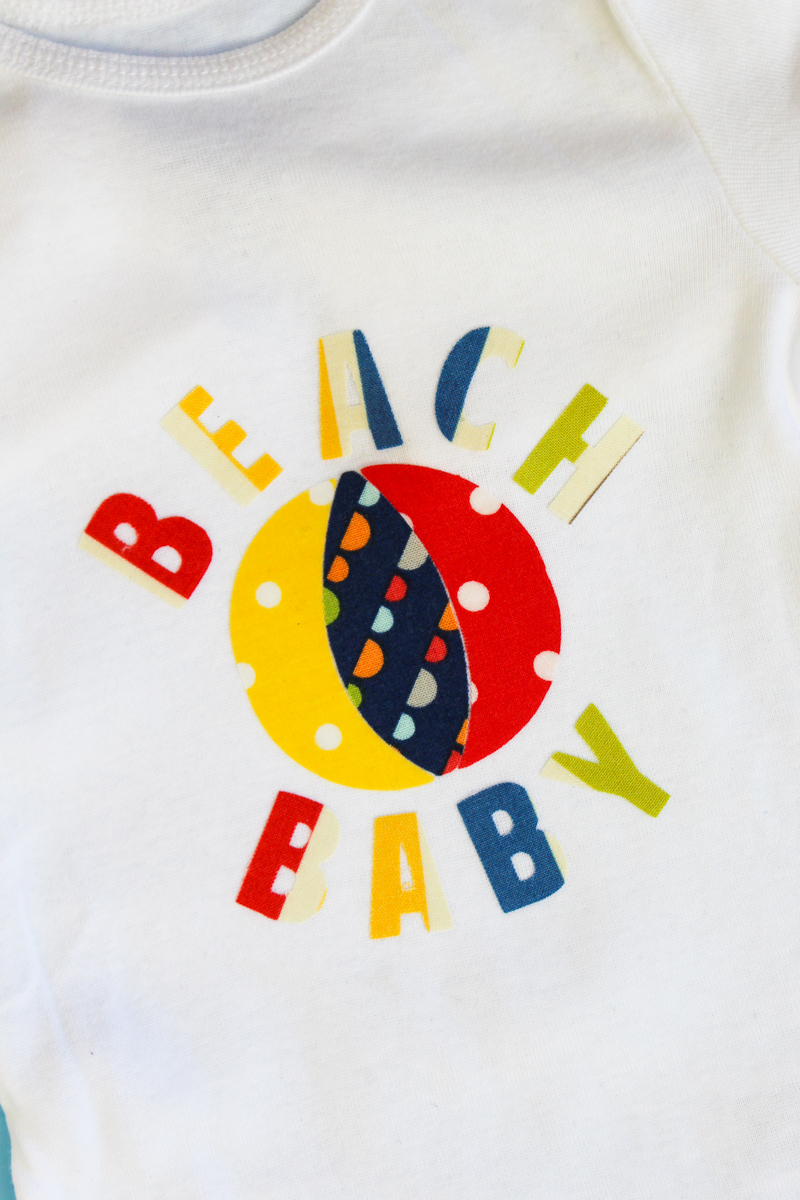
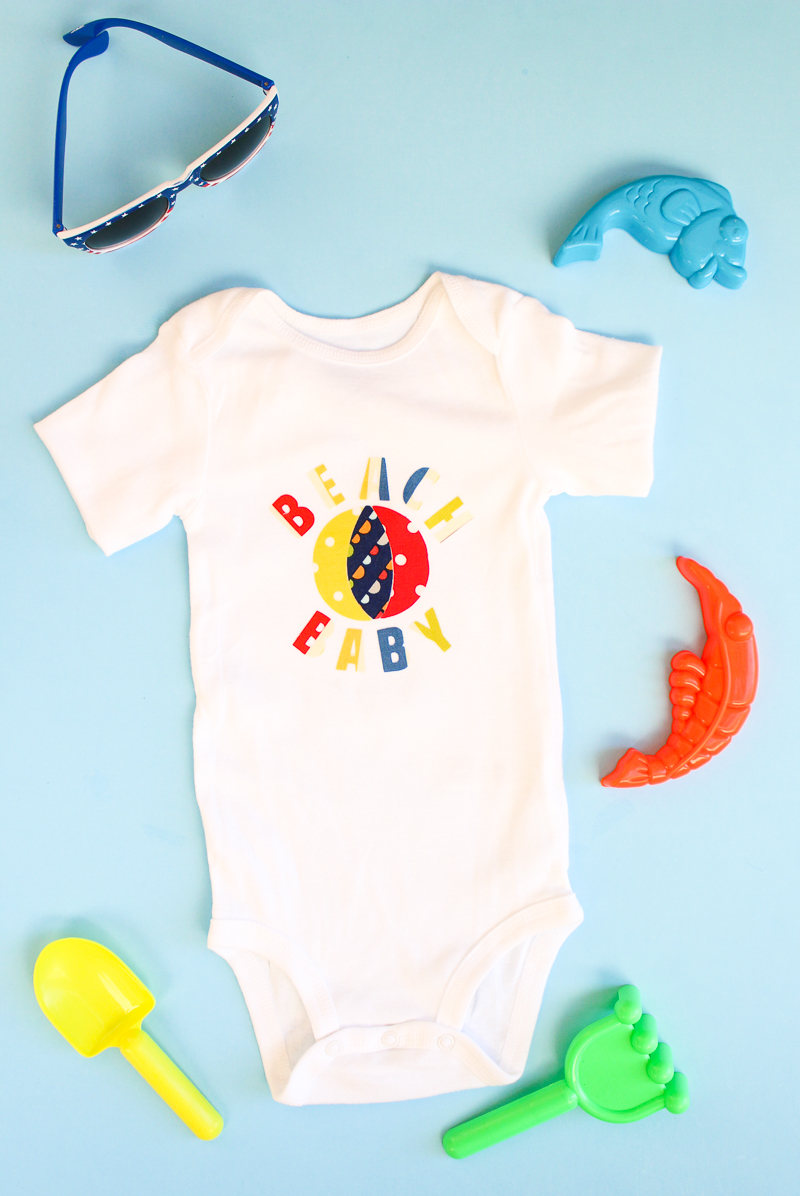
Hi friends! Alicia here again from Sew What Alicia. I am loving all the warm weather we are having here in California, but all I can think about is going to the beach. With the beach on my mind I created this baby onesie using Heat N Bond and my cutting machine! Here is a heat n bond baby onesie tutorial.
Heat N Bond Baby Onesie Tutorial
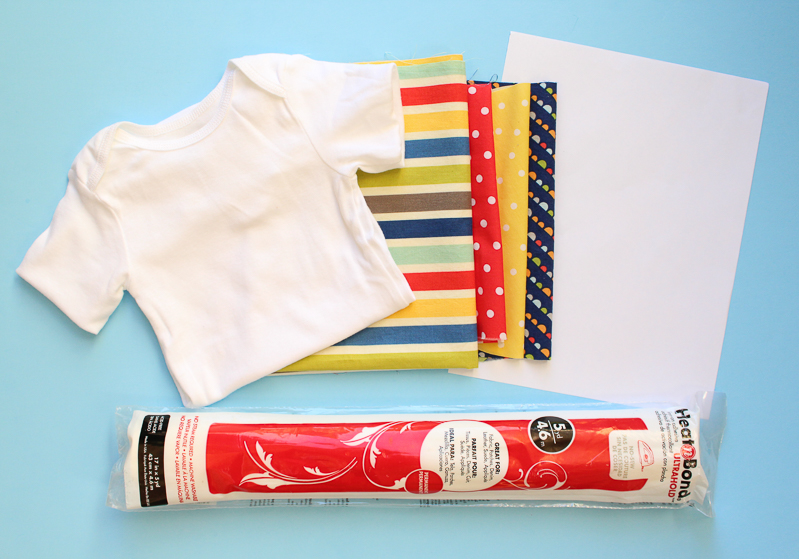
Supplies:
Thermoweb HeatNBond® Ultra Hold or NEW HeatnBond Soft Stretch Ultra Hold
Baby Onesie
Fabric Squares
Cutting Machine (optional) – Silhouette or Cricut
PDF File (use this if you DON’T have a cutting machine)
JPG File (use this is you use Silhouette design studio free edition)
SVG File (use this with the Cricut design studio or the Designer Edition Silhouette Studio.)
Baby Onsie Instructions:
If you are using the PDF simply print the image on paper then cut it out and trace it onto the paper side of your Heat N Bond. Then pick up the tutorial again after the cutting machine directions.
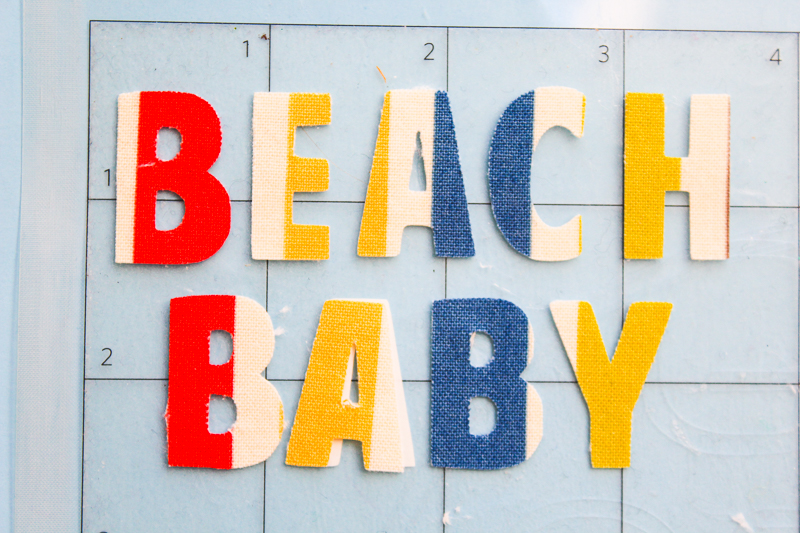
If you are using a cutting machine here are the steps. Press your fabric to ensure that there are no wrinkles. Then cut squares large enough for the words and the images from the fabric. For the beach ball there are three sections, we used Yellow polka dot, blue bunting, and red polka dot for the three sections. We then used a stripe for the words.
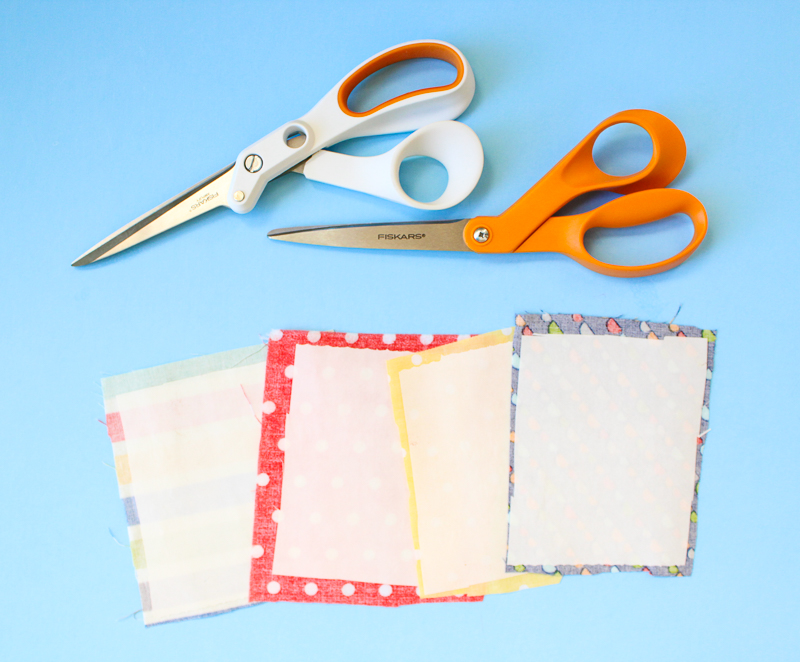
Cut a section of HeatnBond that is just smaller than each fabric square that you cut. Iron the heat n bond to the back of the fabric square. Use fabric scissors for the fabric and paper scissors for the heat n bond.
Now line up the squares on your cutting mat. You can put one on each corner and then line up your images in the design studio to each corner. Cut the images and words with your cutting machine.
Now place the ball and words on the onesie the way you want them to appear.
There are lots of options for a layout. Once you have the layout how you want it use your hot iron to press the appliqués onto the onesie.
You are all set! This HeatnBond® doesn’t require sewing to hold it in place. If you want to sew the appliqués on use the sewable heat n bond so it doesn’t gum your needle.
If you are looking for more beach projects check out my beach toy zipper bag and my beach tote tutorial.

Connect with Sew What Alicia
Facebook // Pinterest // Instagram // Twitter

kajunhunnie
August 10, 2017 at 3:24 pm (8 years ago)So cute! Thanks for the tutorial!