


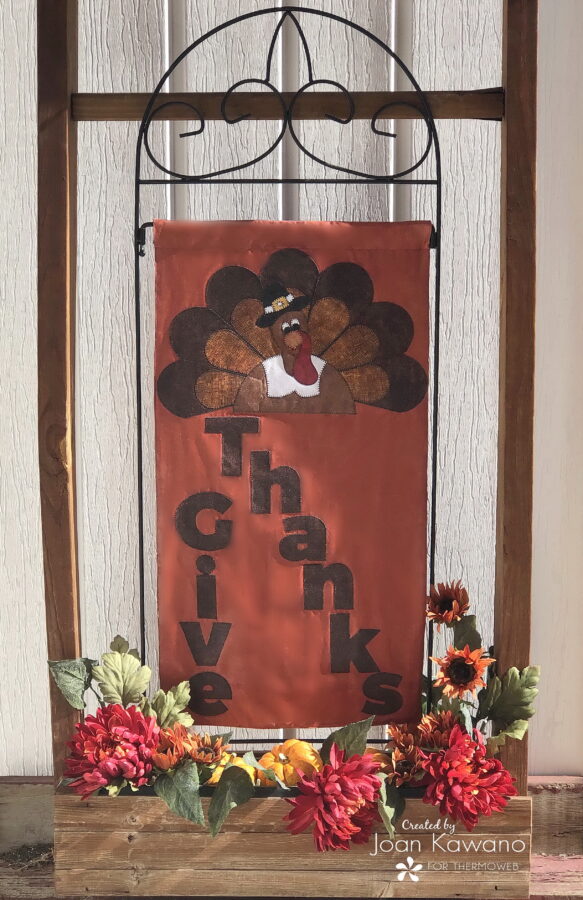
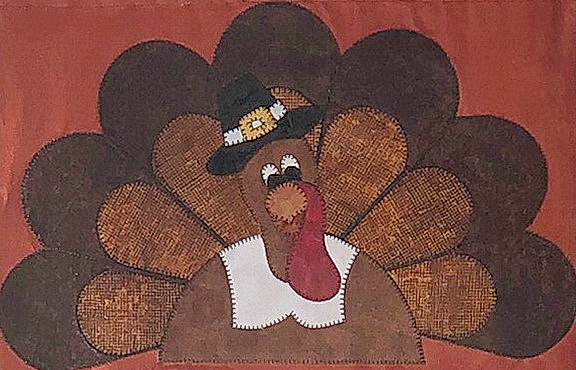
 I love garden flags. This “Give Thanks Garden Flag” is 14″ x 27″. It has been designed, using the “Gray Bunny Garden Flag Stand”. It’s a nice tall 51” x 15” wide stand you can find on Amazon HERE for under $20.
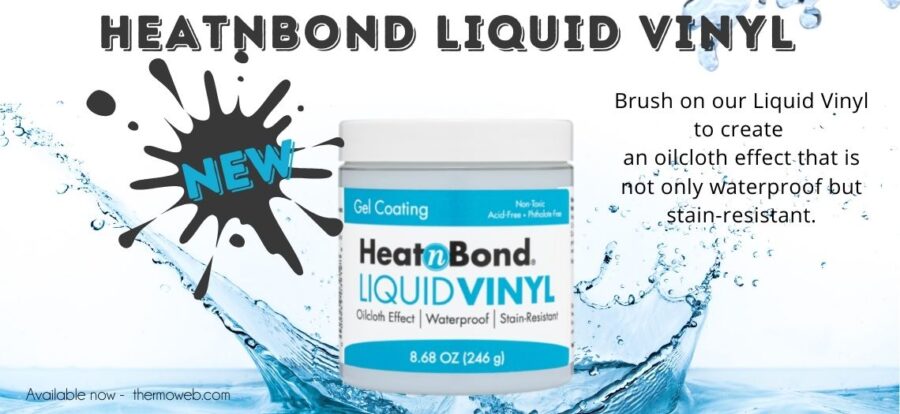
Thanks to “Liquid Vinyl”, I can take decorating outdoors year round, knowing my projects are durable and waterproof.
With Thanksgiving approaching, giving thanks…maybe a little extra thanks to that turkey we will be eating soon, just seemed fitting.
Give Thanks Garden Flag with HeatnBond Liquid Vinyl
With a few supplies, you too can show your thanks!
1/2 – yard rust background fabric
1 – 14 1/2” X 27 1/2″ backing fabric
1 fat quarter dark brown for lettering and tail feathers
4 ½” X 18 ½” strip contrasting rust for tail feathers
Scraps of lighter brown for turkey body and head.
Scraps of 2 different tans, gold, black, white, and dark red for appliques
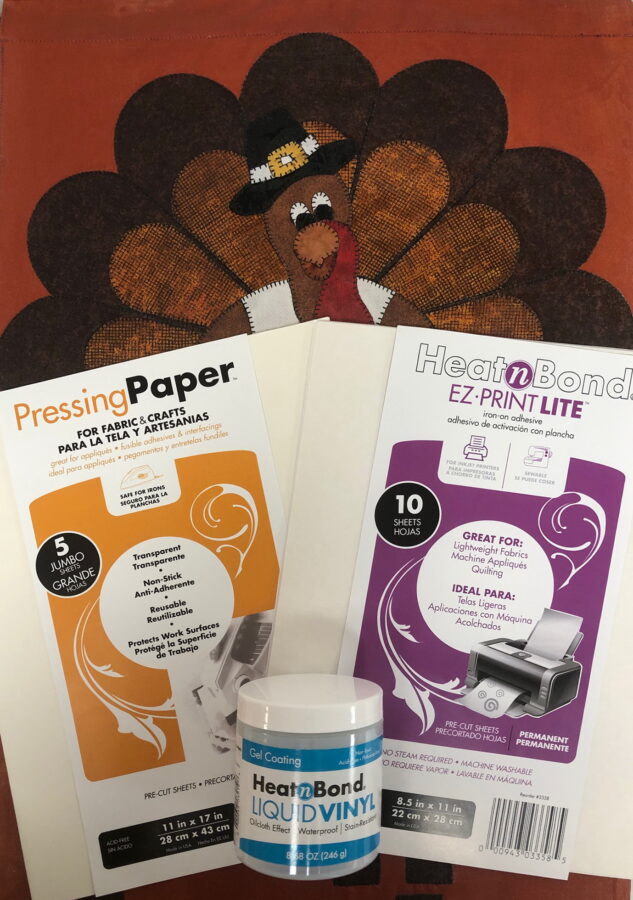
HeatNBond EZ Print Lite and HeatNBond®Lite fusible web
ThermOWeb Pressing Paper or parchment paper
Chalk Marker
Applique Pressing Sheet
Foam brush or fine bristle paintbrush
“Crafters Edge” alphabet dies
“Crafters Edge” Rounded Dresden Dies
Crossover II Die Cutting Machine
Thread to match
Teflon Sewing Machine Foot
Start by downloading the free “Give Thanks” pattern HERE.
If you can spell it, “Crafters Edge” alphabet dies can cut it. Their ” Rounded Dresden” die is perfect for giving our turkey his tail. Using the “Crossover II” machine that allows you to change the pressure on the roller bars, makes it as easy to cut just 1 layer of fabric, as it is 5-6 layers. I love it!

If you do not have these dies, you don’t know what you’re missing out on, but never fear I have included similar letters and “tail feathers” in the pattern for you.
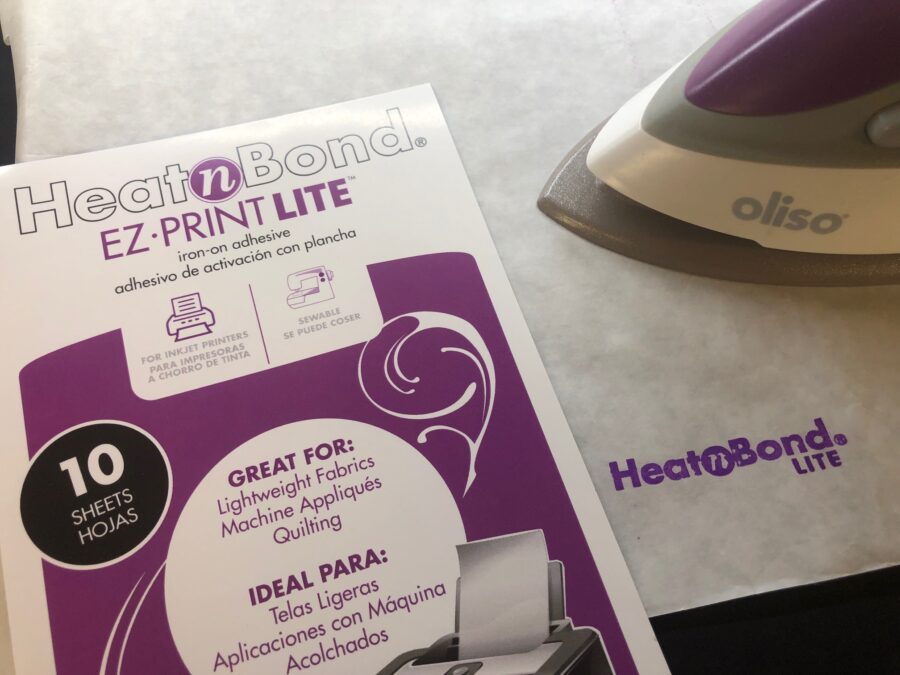
This pattern is HeatNBond EZ Print Lite friendly. No more tracing. Just pop them into your printer and you are ready to go. Once the patterns are printed, rough-cut pattern pieces from fusible sheets and fuse to reverse side fabrics, following the manufacturer’s directions. When cool cut out the appliques.
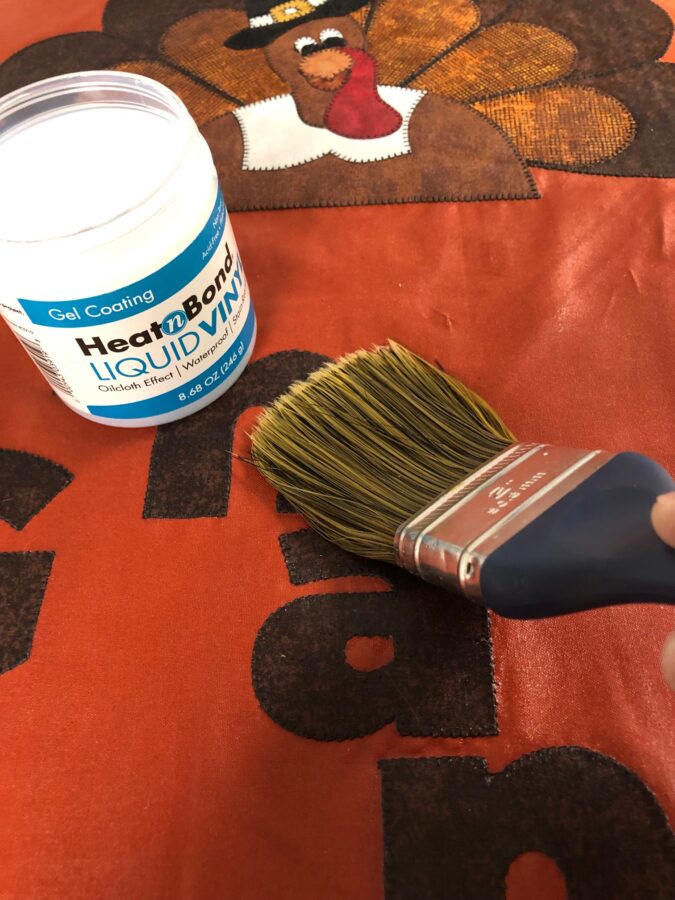
Applying “Liquid Vinyl” is easy. I prefer an inexpensive 2″ paintbrush. It give you nice coverage quickly and washes up nicely, with water. Following the manufacturer’s instructions, paint a thin layer of vinyl on your flag and let it dry. For more protection you can add up to 3 layers, letting it dry in between each one.
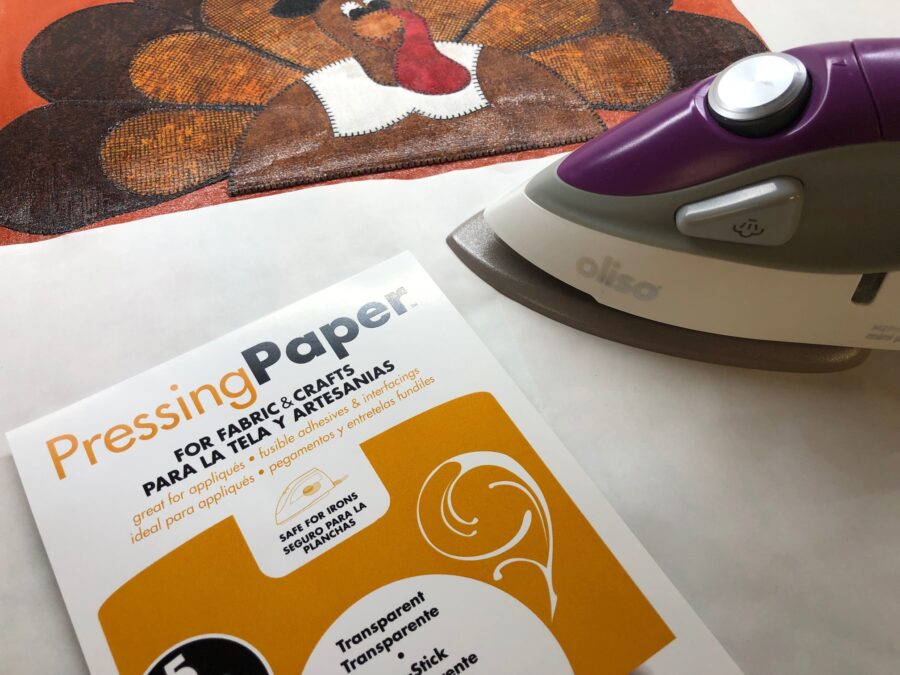
Once completely dry, cover the vinyl-coated side of flag pieces with ThermOWeb Pressing Paper or parchment paper. Following the manufacturer’s directions press, making sure you do not touch iron directly on the vinyl.
Do you need a flag that is visible from both sides? If so, you will want to make 2 and sandwich them together, skipping the backing fabric. But if you are hanging it where it’s only visible from one side, you can add a plain backing, or even make 2 different flags, as I am doing. I have found that it is best if you are not using a solid backing, that you apply the liquid vinyl before you stitch the side seams together. It needs a hard flat surface when you press your project to set the vinyl.
Now you didn’t really think I was going to show you what was on the back of my “Give Thanks” flag, did you? Nope…you will have to visit us again next month and see for yourself! LOL!! I think you are going to love it, though.
Have a great “Turkey” day.
Enjoy!
This post contains affiliate links. For more information, see our disclosure HERE.