


Hello maker friends! It is Jennifer Long from Bee Sew Inspired, back with another adorable stuffed Gnome Doll project!
Plaid Country Fabric Gnome Dolls
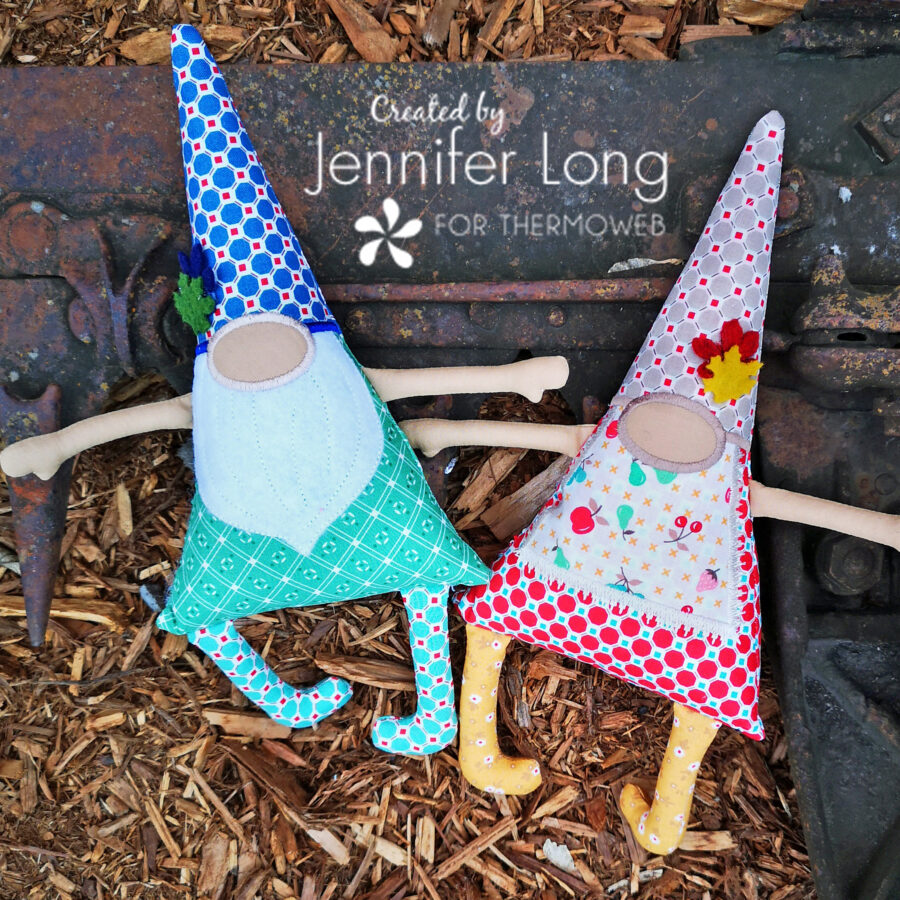
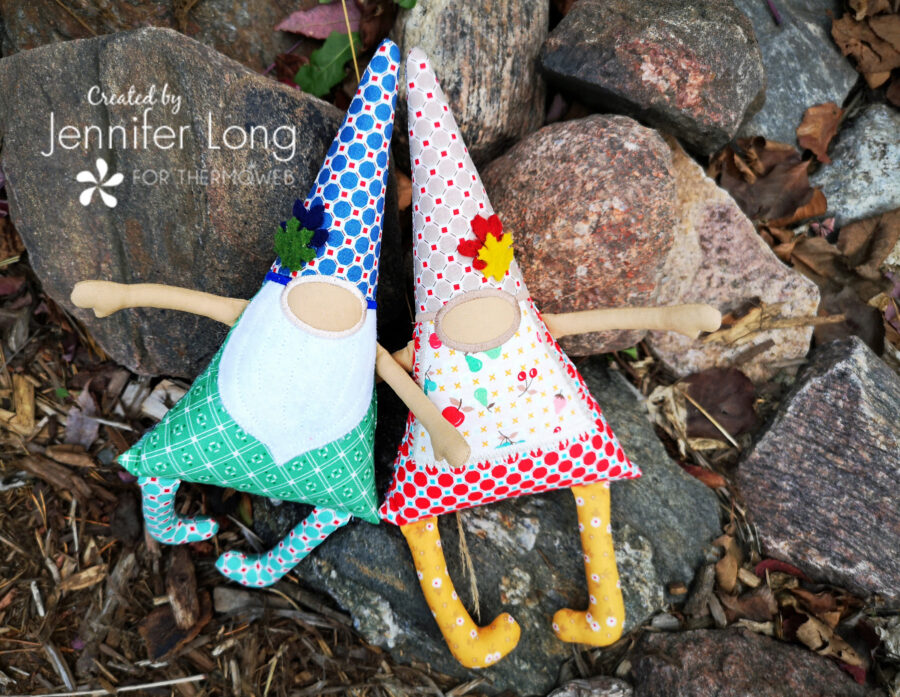
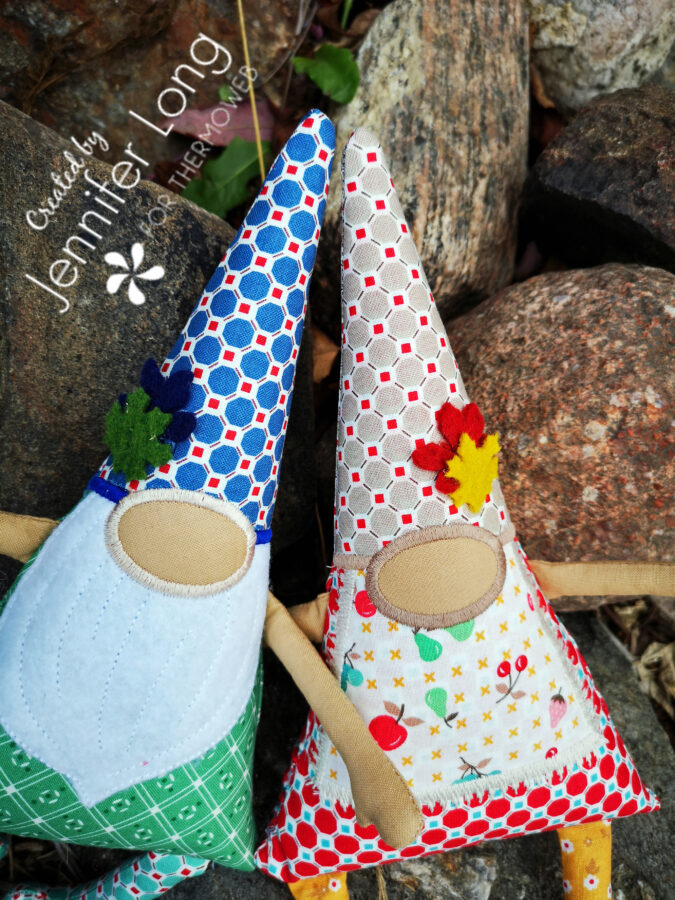
This time we are getting a bit country here and bringing in lots of small-scale plaids and adding some 3D effects with some wool-felt Fall leaves. I can’t wait for you to make some of these cuties. Let’s get started!
Beginner Friendly! These Gnome Dolls are simple and fun to create. You can use them as shelf sitters, tree ornaments, toys and gifts. You will need about 1 hour per Doll to complete this project from start to finish!
What You Need:
Plaid Gnome Doll Pattern Templates. Your choice either:
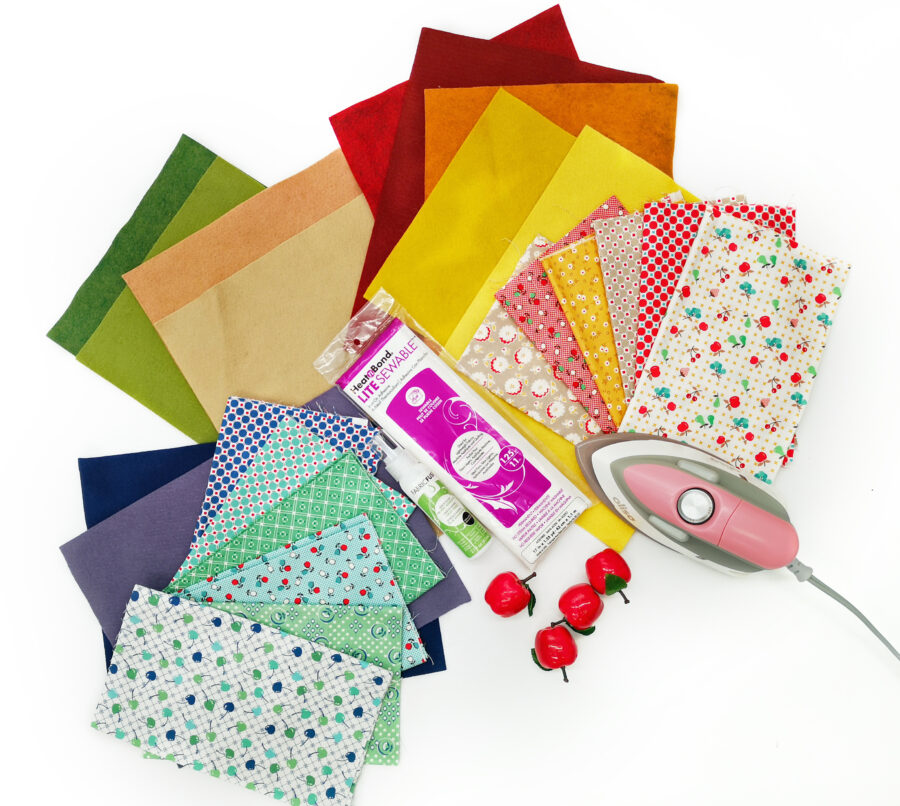
Fabric Fuse Quick Bond Fabric Adhesive
Embroidery Threads in a variety of colors
Sewing needle
Applique and straight scissors
Small amount of Polyester Fiber Fill
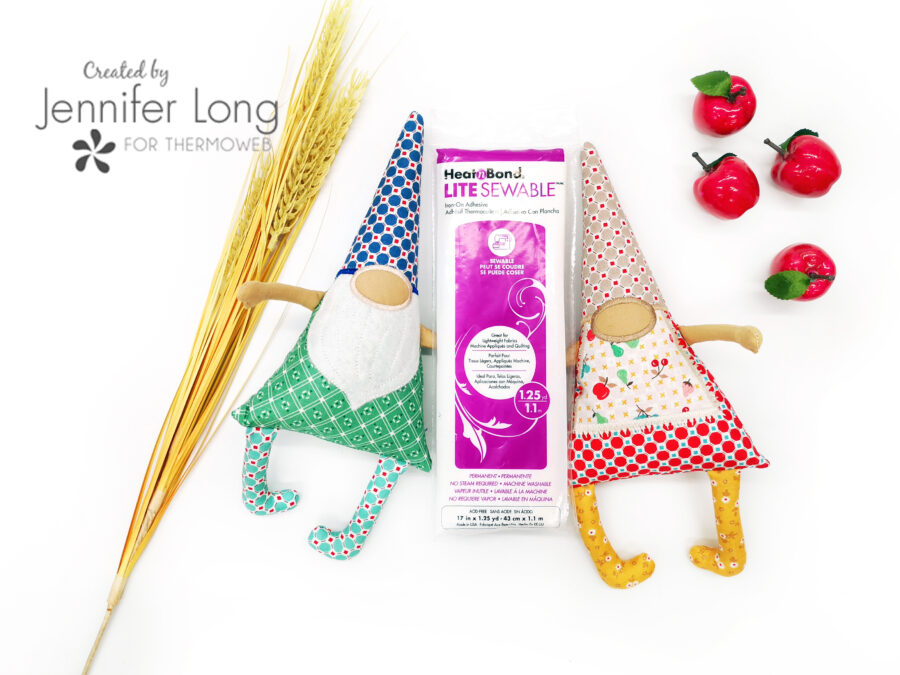
Scraps of cotton fabric: I used Cookbook by Lori Holt for Riley Blake Designs

Directions:
1. Download the Gnome Doll Pattern designed by Bee Sew Inspired. You can choose between the Hand Embroidery or Machine Embroidery Versions:
a) Hand Embroidery PDF Pattern (which included PDF pattern, step sheet and optional SVG Cut files) If you are using a Cricut Maker to cut the felt shapes, make sure to use your rotary blade and set the fabric to felt.
2. Cut the following:
Doll Main Body: Cut 2 from cotton fabric (front and back)
Legs: Cut 4 from cotton fabric (2 right & 2 left)
Arms: Cut 4 from cotton fabric (2 right & 2 left)
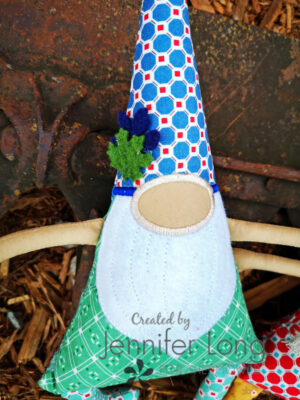
Hat: Cut 2 from felt
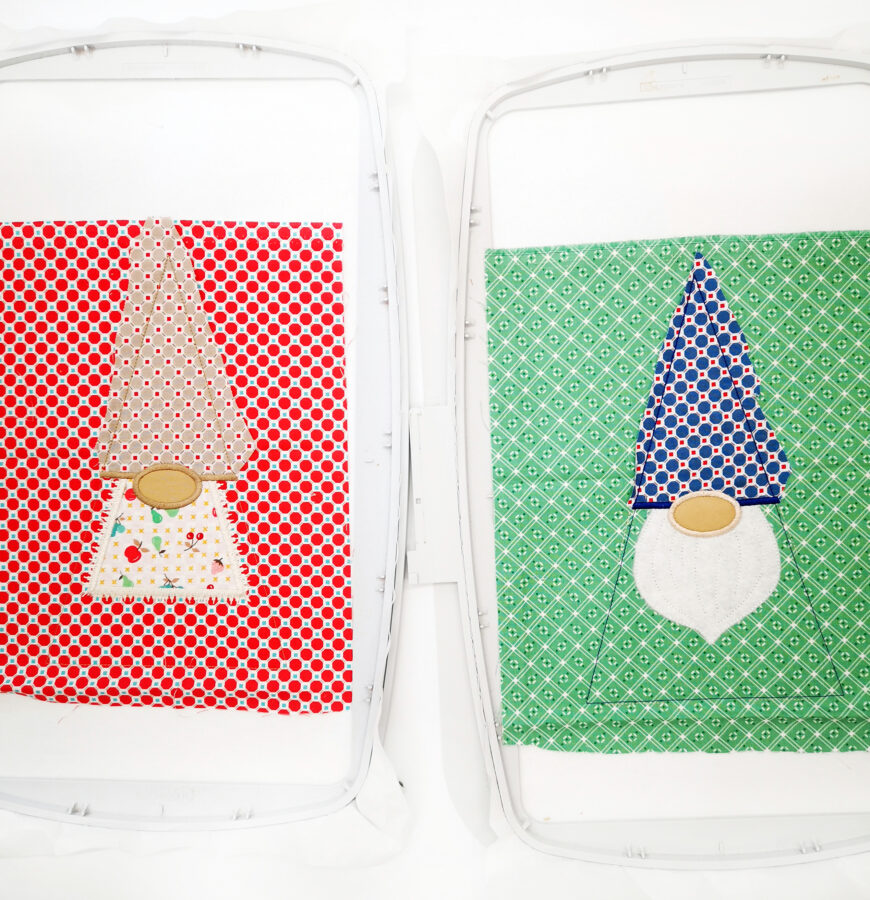
3. Trace the nose and beard shapes on the paper side of the HeatnBond Lite Sewable. Place the adhesive side of the HeatnBond on the wrong side of the fabric for each shape. Place and hold a warm iron on the paper liner for 2 seconds. Repeat until entire surface is bonded. Cut each shape out on the traced line and set aside.

4. Peel off the back of the beard and place shape adhesive side down on top of the main triangle body. Press and hold for 6 seconds on each section until the entire shape is bonded. Sew by hand or machine with a coordinating thread color. Make optional details in the beard for strands of hair.
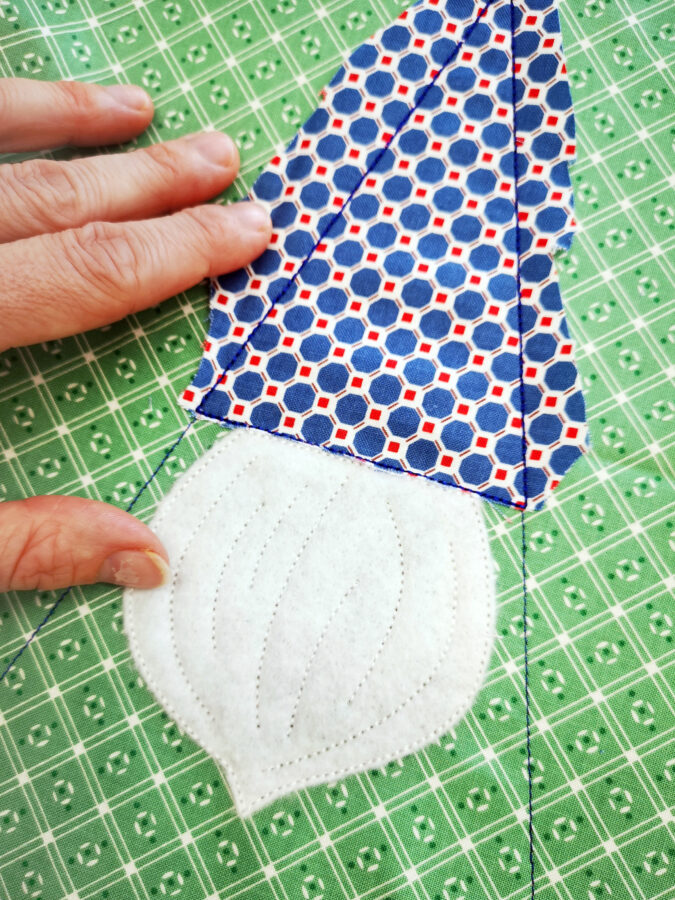
5. Sew the hat to the body covering up the raw edge of the beard.
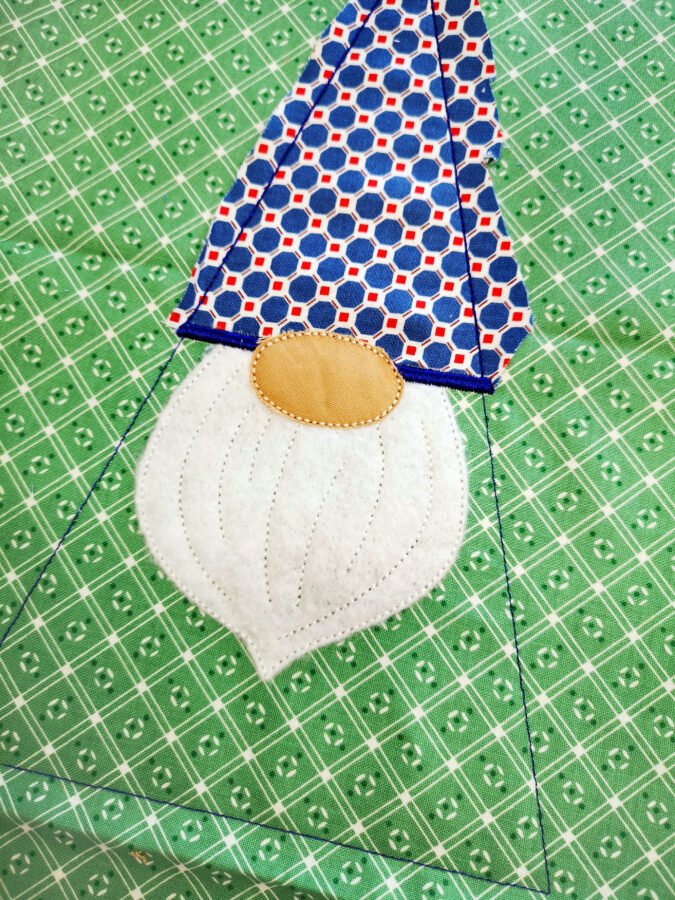
6. Repeat the above applique instructions for the nose shape. Set the Gnome front body aside.

7. Prepare the limbs by sewing them together with right-sides together. I like to use my sewing machine for this part and a shortened stitch length. Snip the seam allowance around all the curves and edges and turn the limbs right-side out. Stuff firmly with polyester fiberfill and leave a good half-inch unstuffed at the top of each limb for easy assembly.
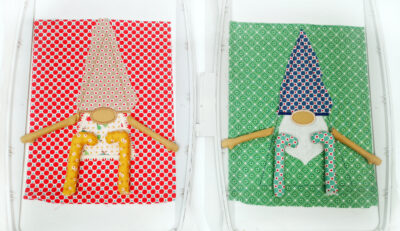
9. Pin all the limbs into position and secure them using a basting stitch.
10. Prepare the backing piece by sewing the top hat to the body piece. Lay the prepared backing piece over the completed front body piece with attached limbs. Stitch around the perimeter using your sewing machine and a shorter stitch length. Make sure to leave an opening for turning at the side. Using a sharp pair of small scissors, make little snips around the edges and cut away the excess fabric a the corner tips.

11. Gently turn the dolls using the opening. Stuff firmly with polyester fiberfill and hand stitch the opening closed with a ladder stitch.
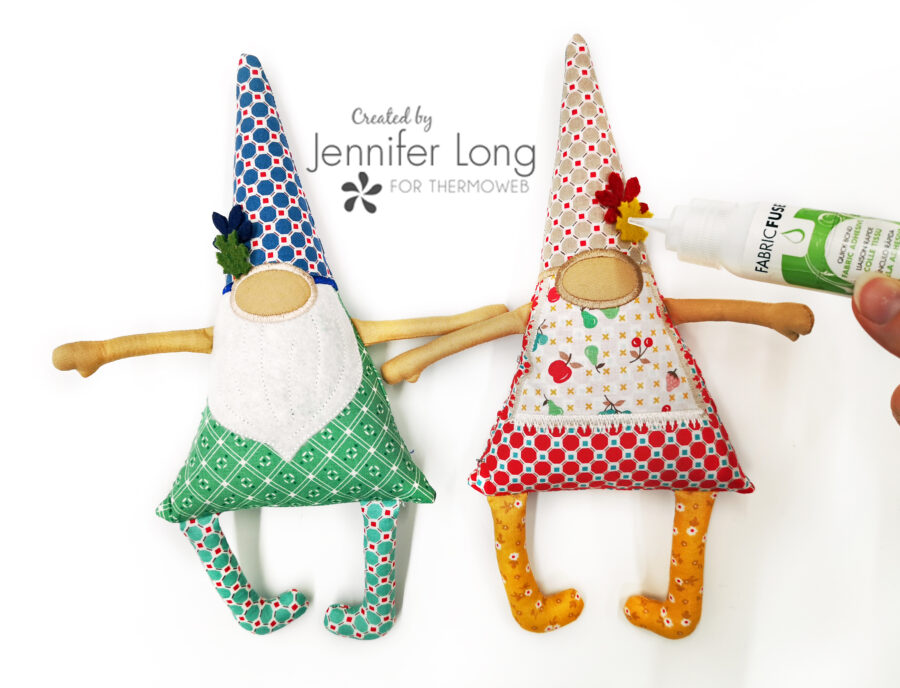
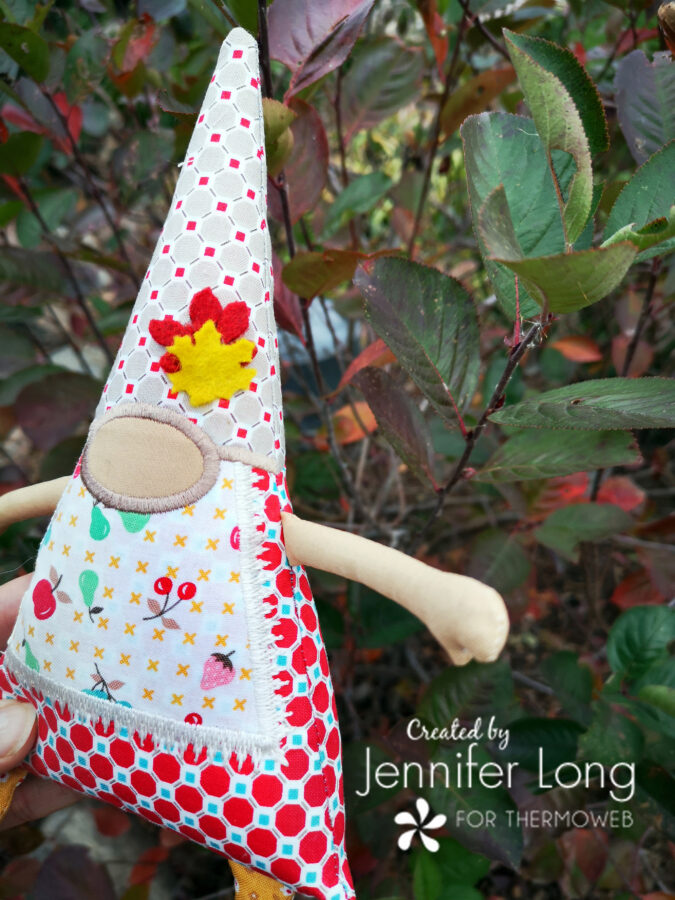
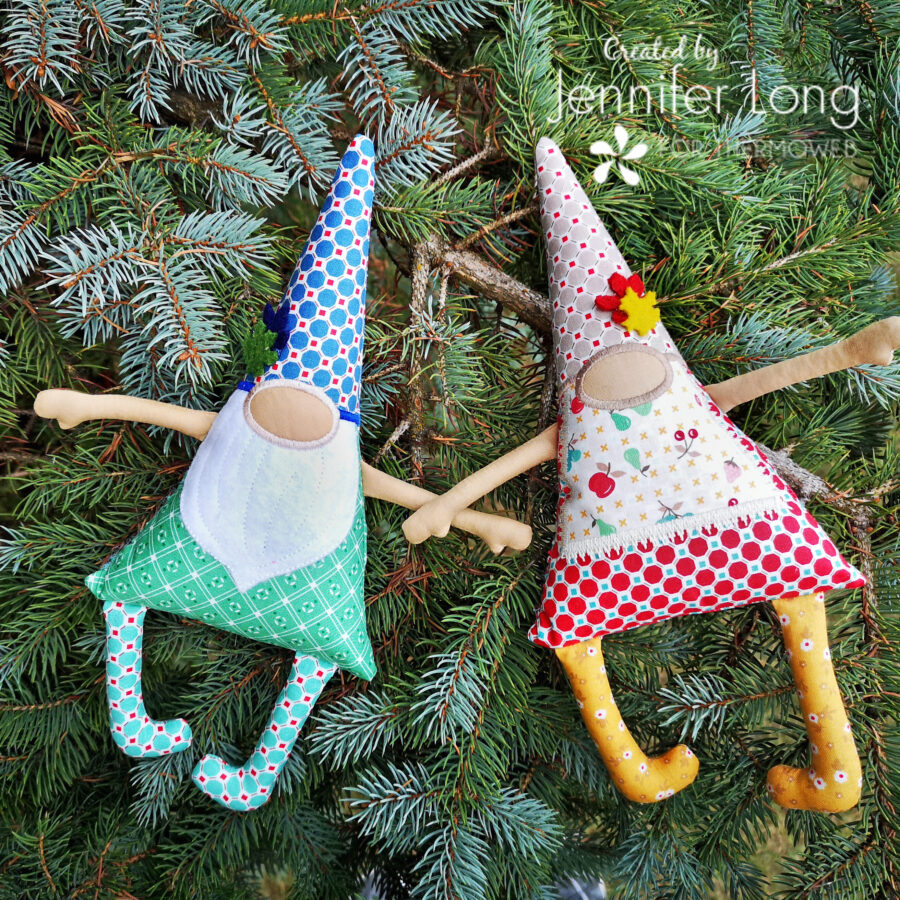
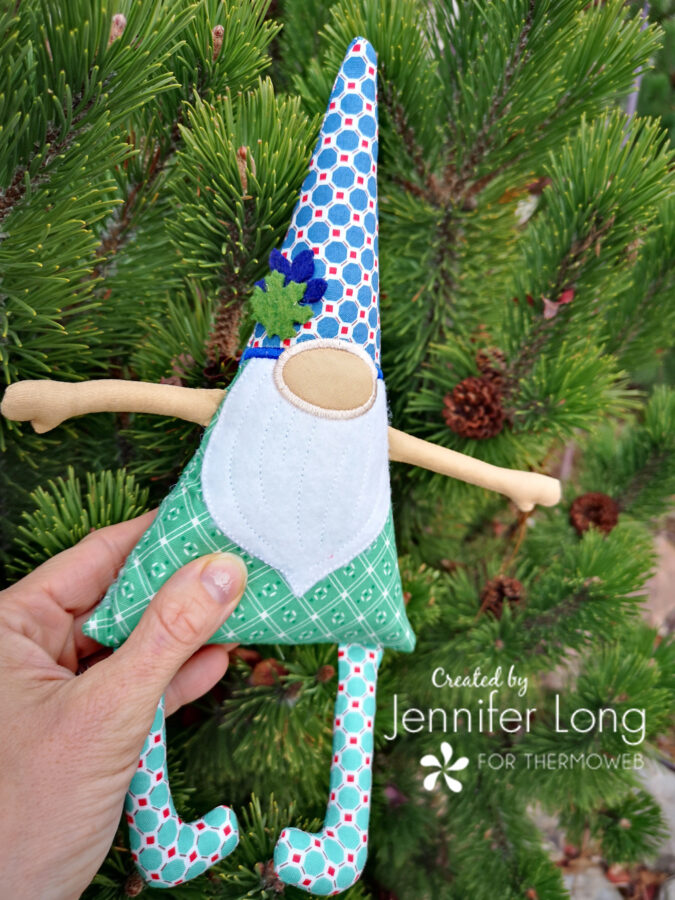
12. Using a small amount of Fabric Fuse Liquid Adhesive, embellish your Gnome Dolls with Fall Felt Leaves on their hats in matching colors!
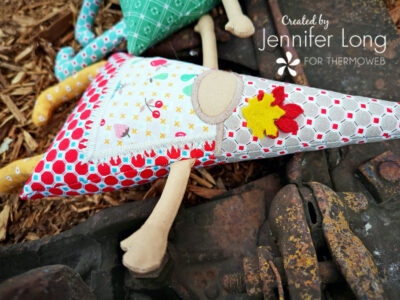
Your Country Plaid Gnome Doll is now complete!
Use your Country Plaid Gnome Dolls for Autumn decor, shelf sitters, or give away as gifts at Thanksgiving. I can’t wait to see what you create using this pattern.
If you liked this tutorial and want to see more whimsical, doll inspiration, please sign up for my weekly newsletter at http://www.beesewinspired.com. I share tons of tips, tricks, and tutorials and as always, please tag me with your makes on social media @beesewinspired so I can share and tag you back! See you soon!