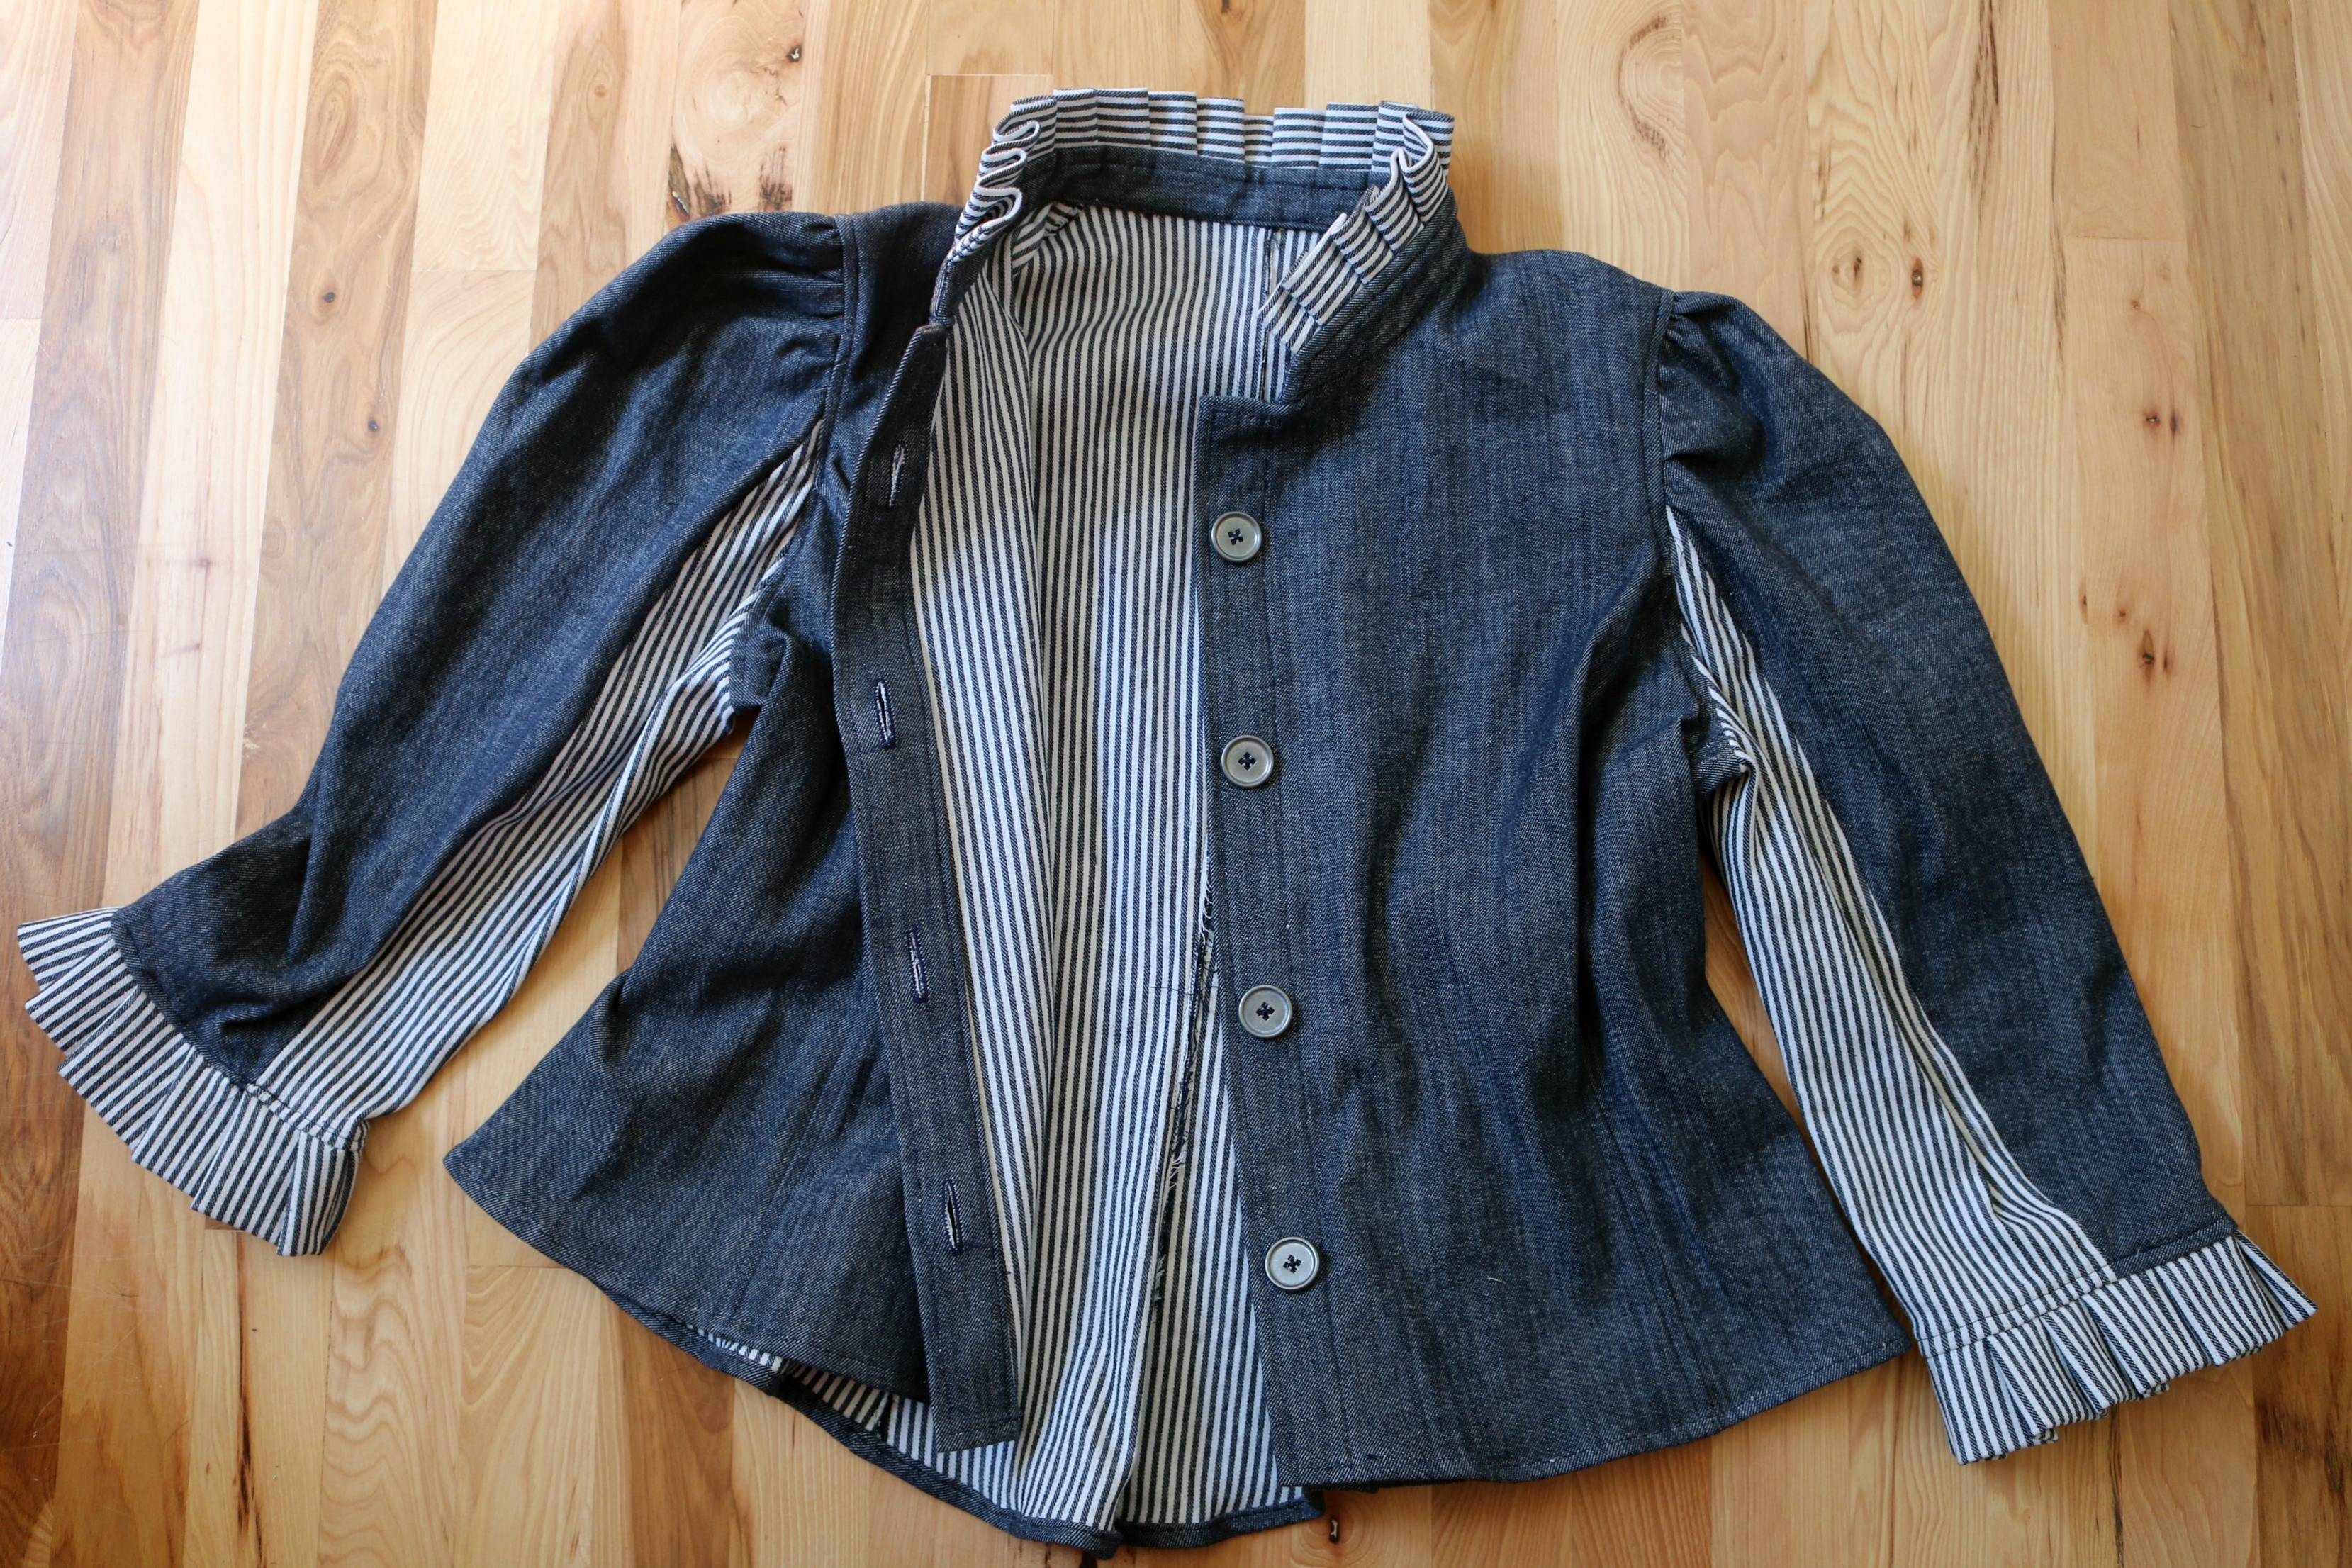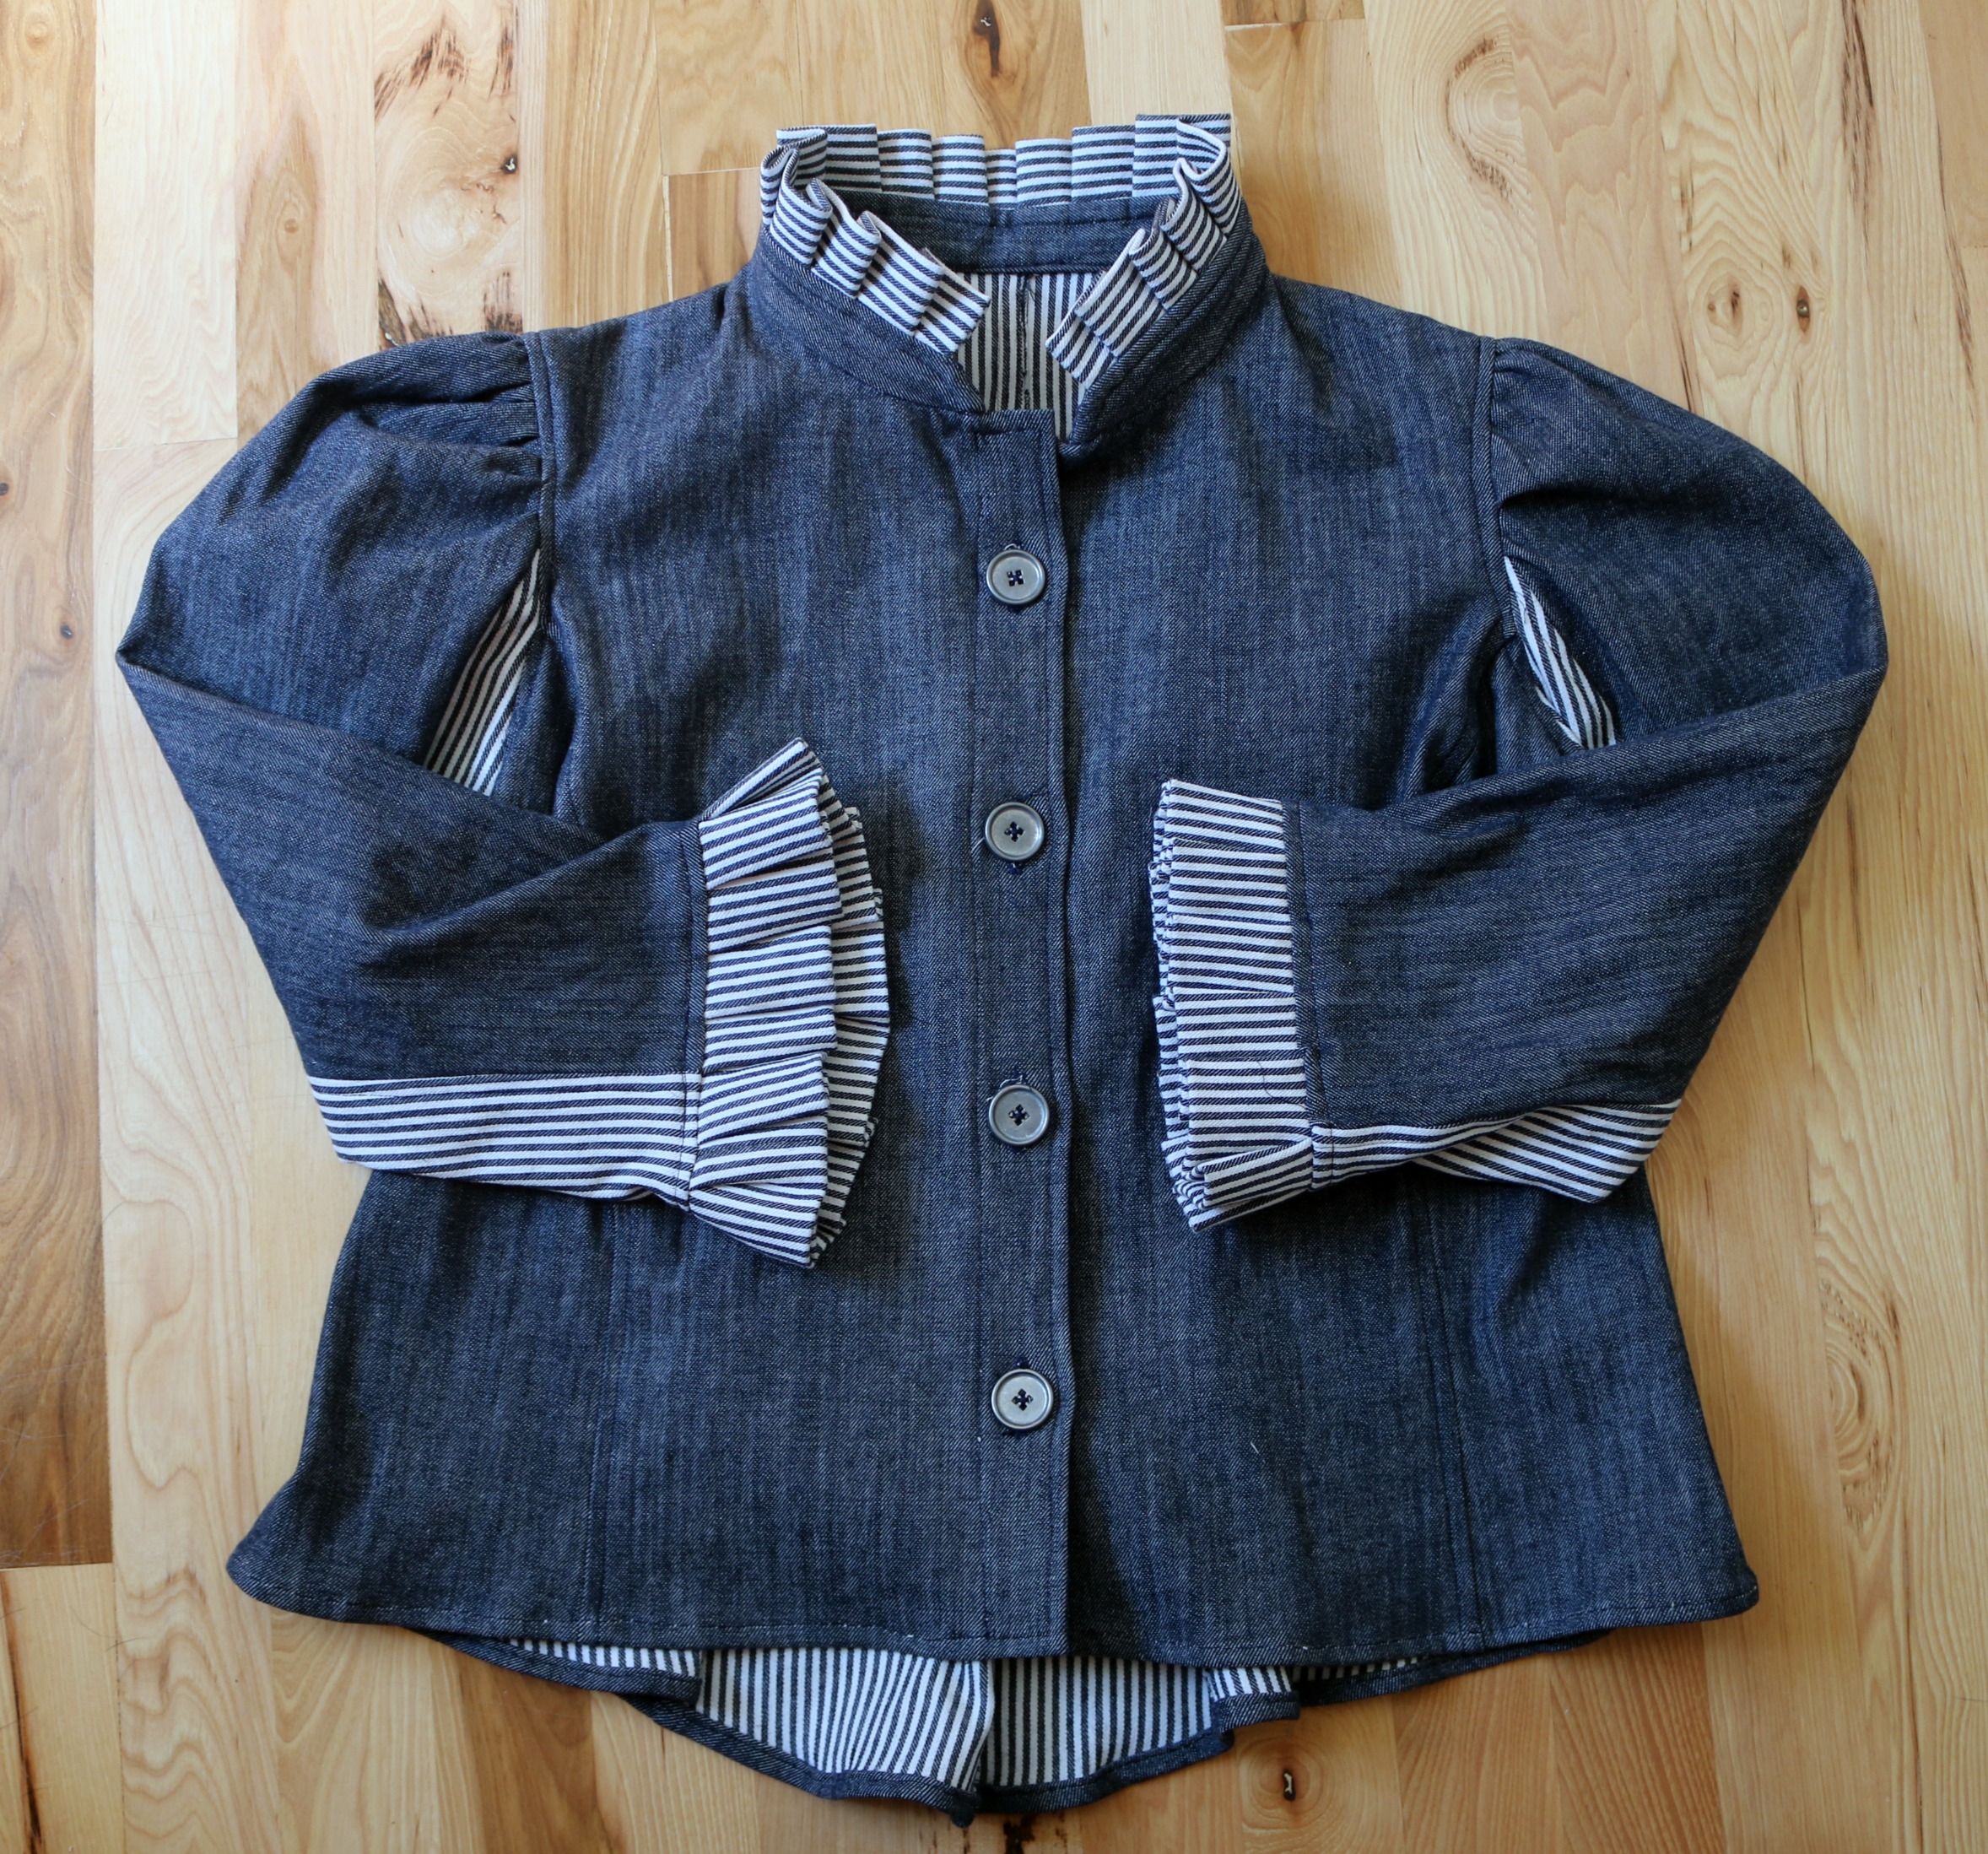
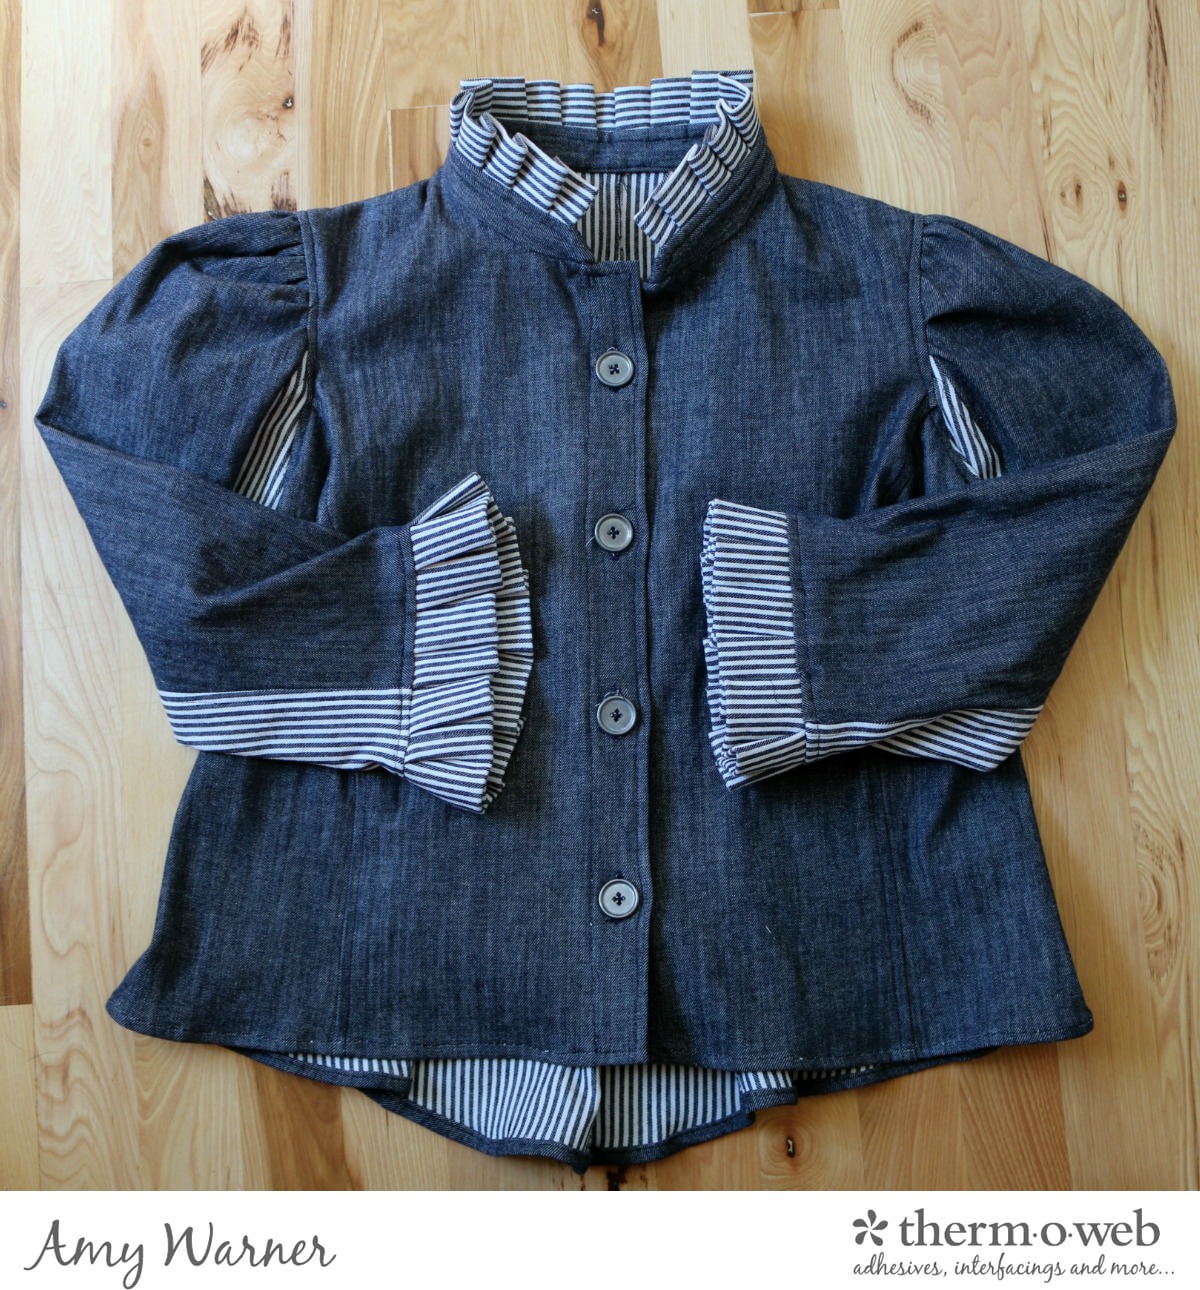
When deciding to sew yourself a garment, it makes it a lot simpler to do when you have great tools and a few tricks to get the piece done and be happy to say, “Yes, I made that.” Today I will show you how to sew a stylish denim jacket with HeatnBond Interfacing!
Fashion Friday – Sew a Stylish Denim Jacket with HeatnBond Interfacing
To make a jacket like the one pictured above you will need:
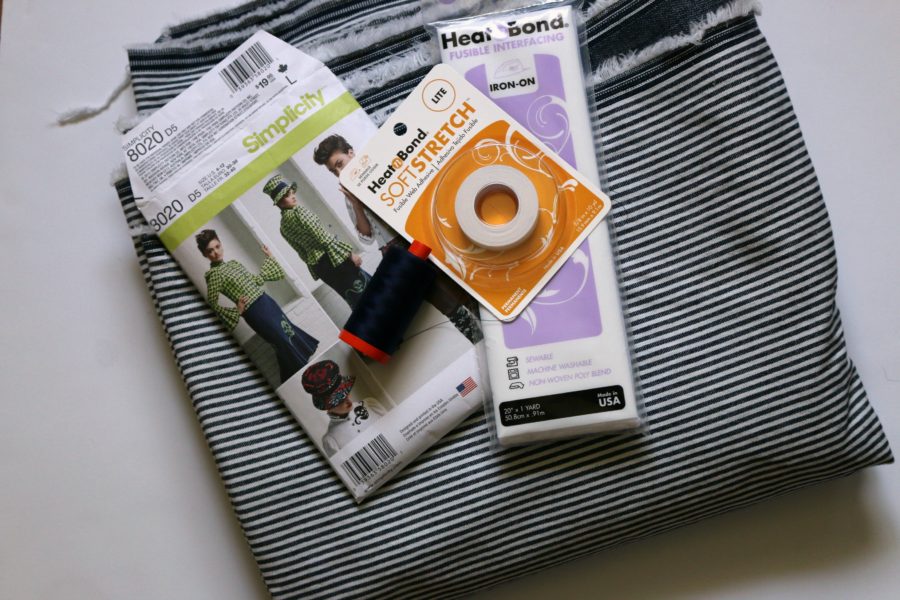
Supplies:
Reversible Railroad Stretch Denim
HeatnBond Soft Stretch Lite 5/8″
Aurifil Thread Color #2745
Fusible Interfacing Heavy Weight
Simplicity Pattern #8020
Oliso Iron
Ball Needles for you sewing machine
4 buttons
 Denim Jacket Tips:
Tip #1:
Remember when you are sewing any garments to prewash your fabrics. The pattern chosen was for a blouse, but can be easily changed into a jacket by using different fabrics. When looking at purchasing pattern, think what other uses could it be for. This one looks a little fun and funky, but can be completely changed by using different fabrics and your own flare to it.
TooltipText
Tip #2:
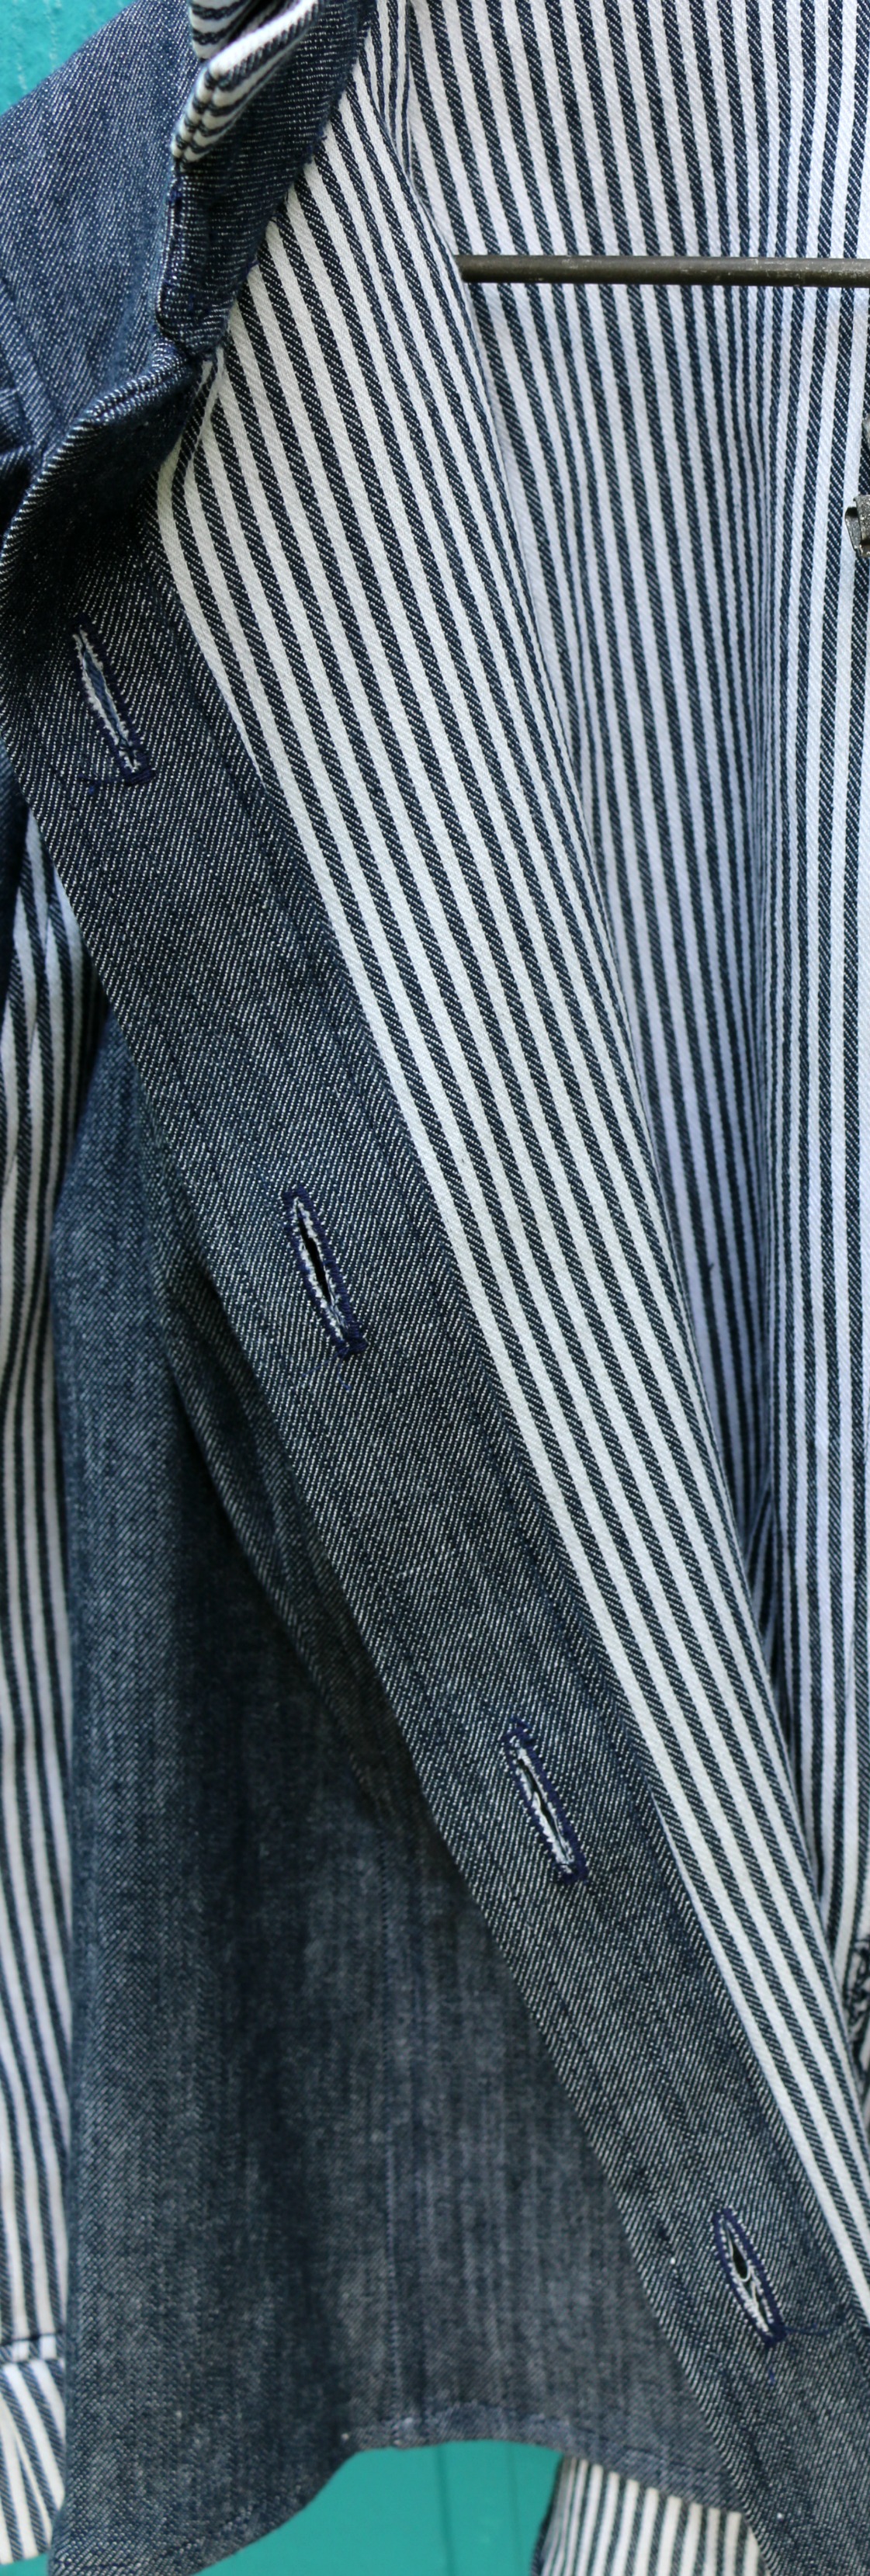
The jacket needs some stabilization for the area where the button is located.
TooltipText
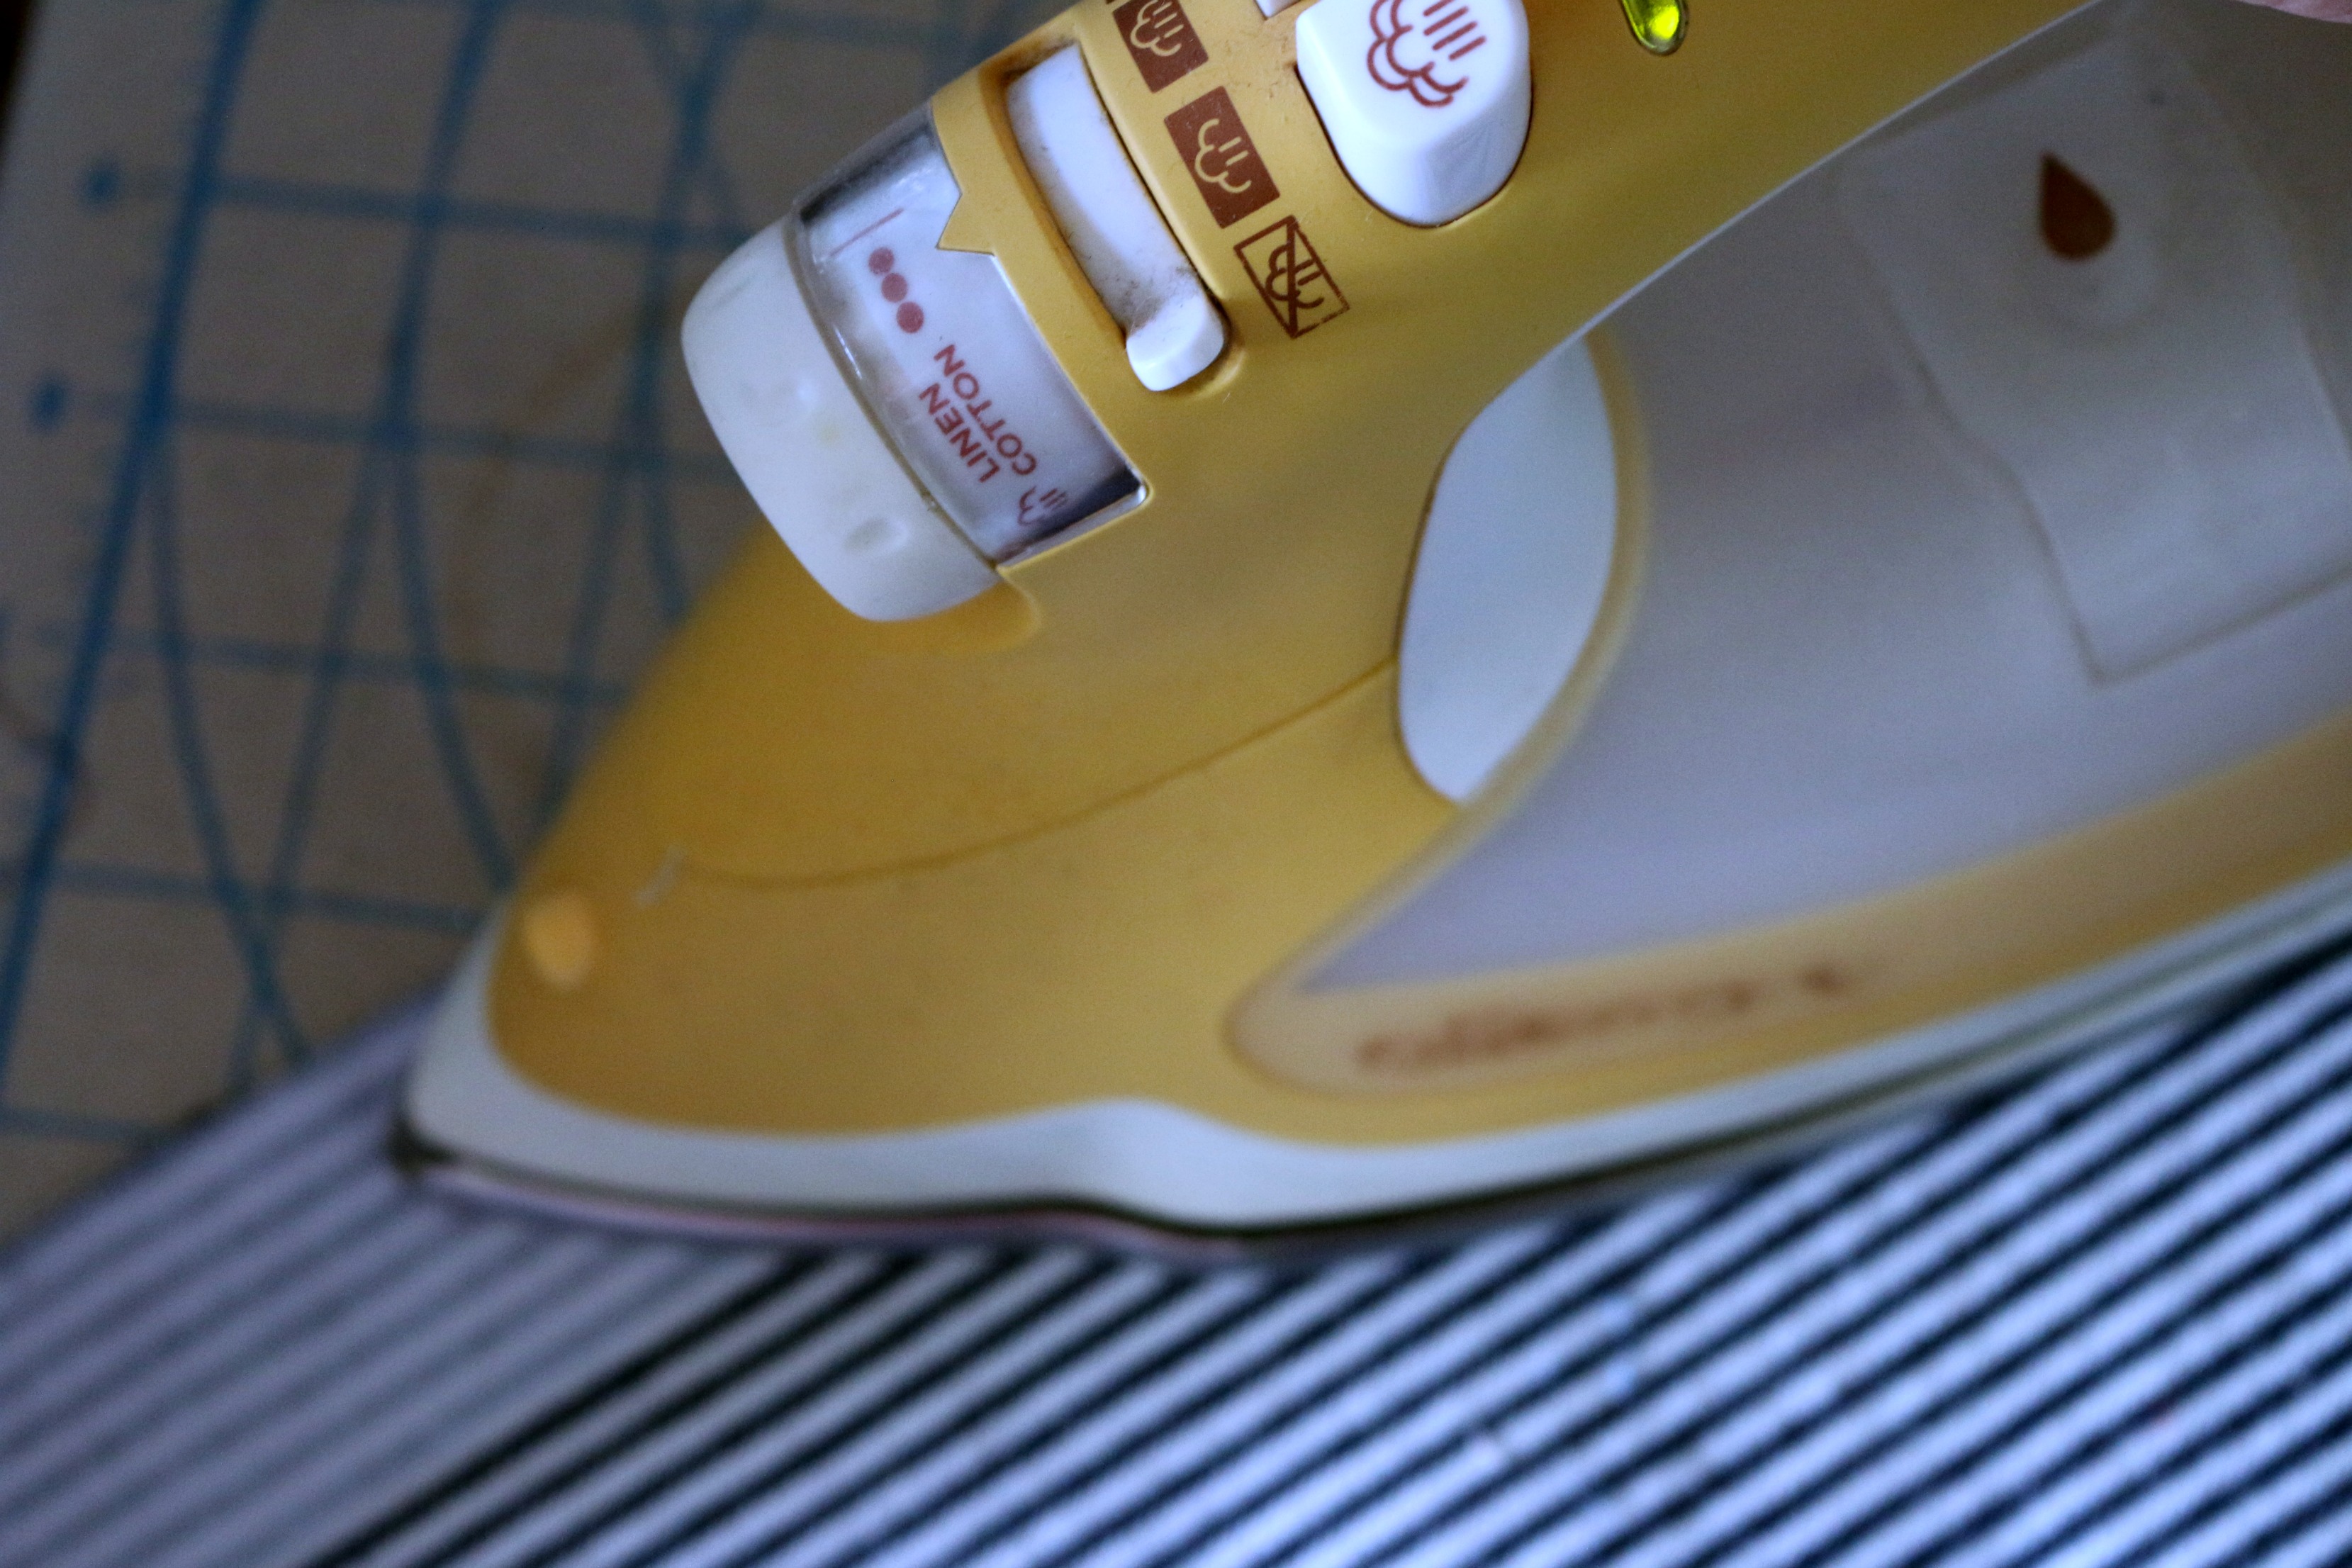
The Fusible Interfacing Heavy Weight gave the jacket just enough stabilization without making the fabric too stiff and gave it a nice crisp look.
Tip #3:
Needles are very important when using different types of fabrics. For this denim, a ball needle was used. It separated the fabric threads with no pulling. The denim needle made a few unwanted pull marks in the fabric along the seam sewn.
TooltipText
Tip #4:
Use Soft Stretch Lite 5/8″. This product made the collar and the jacket placket.
(Picture shows inside collar of jacket)
TooltipText
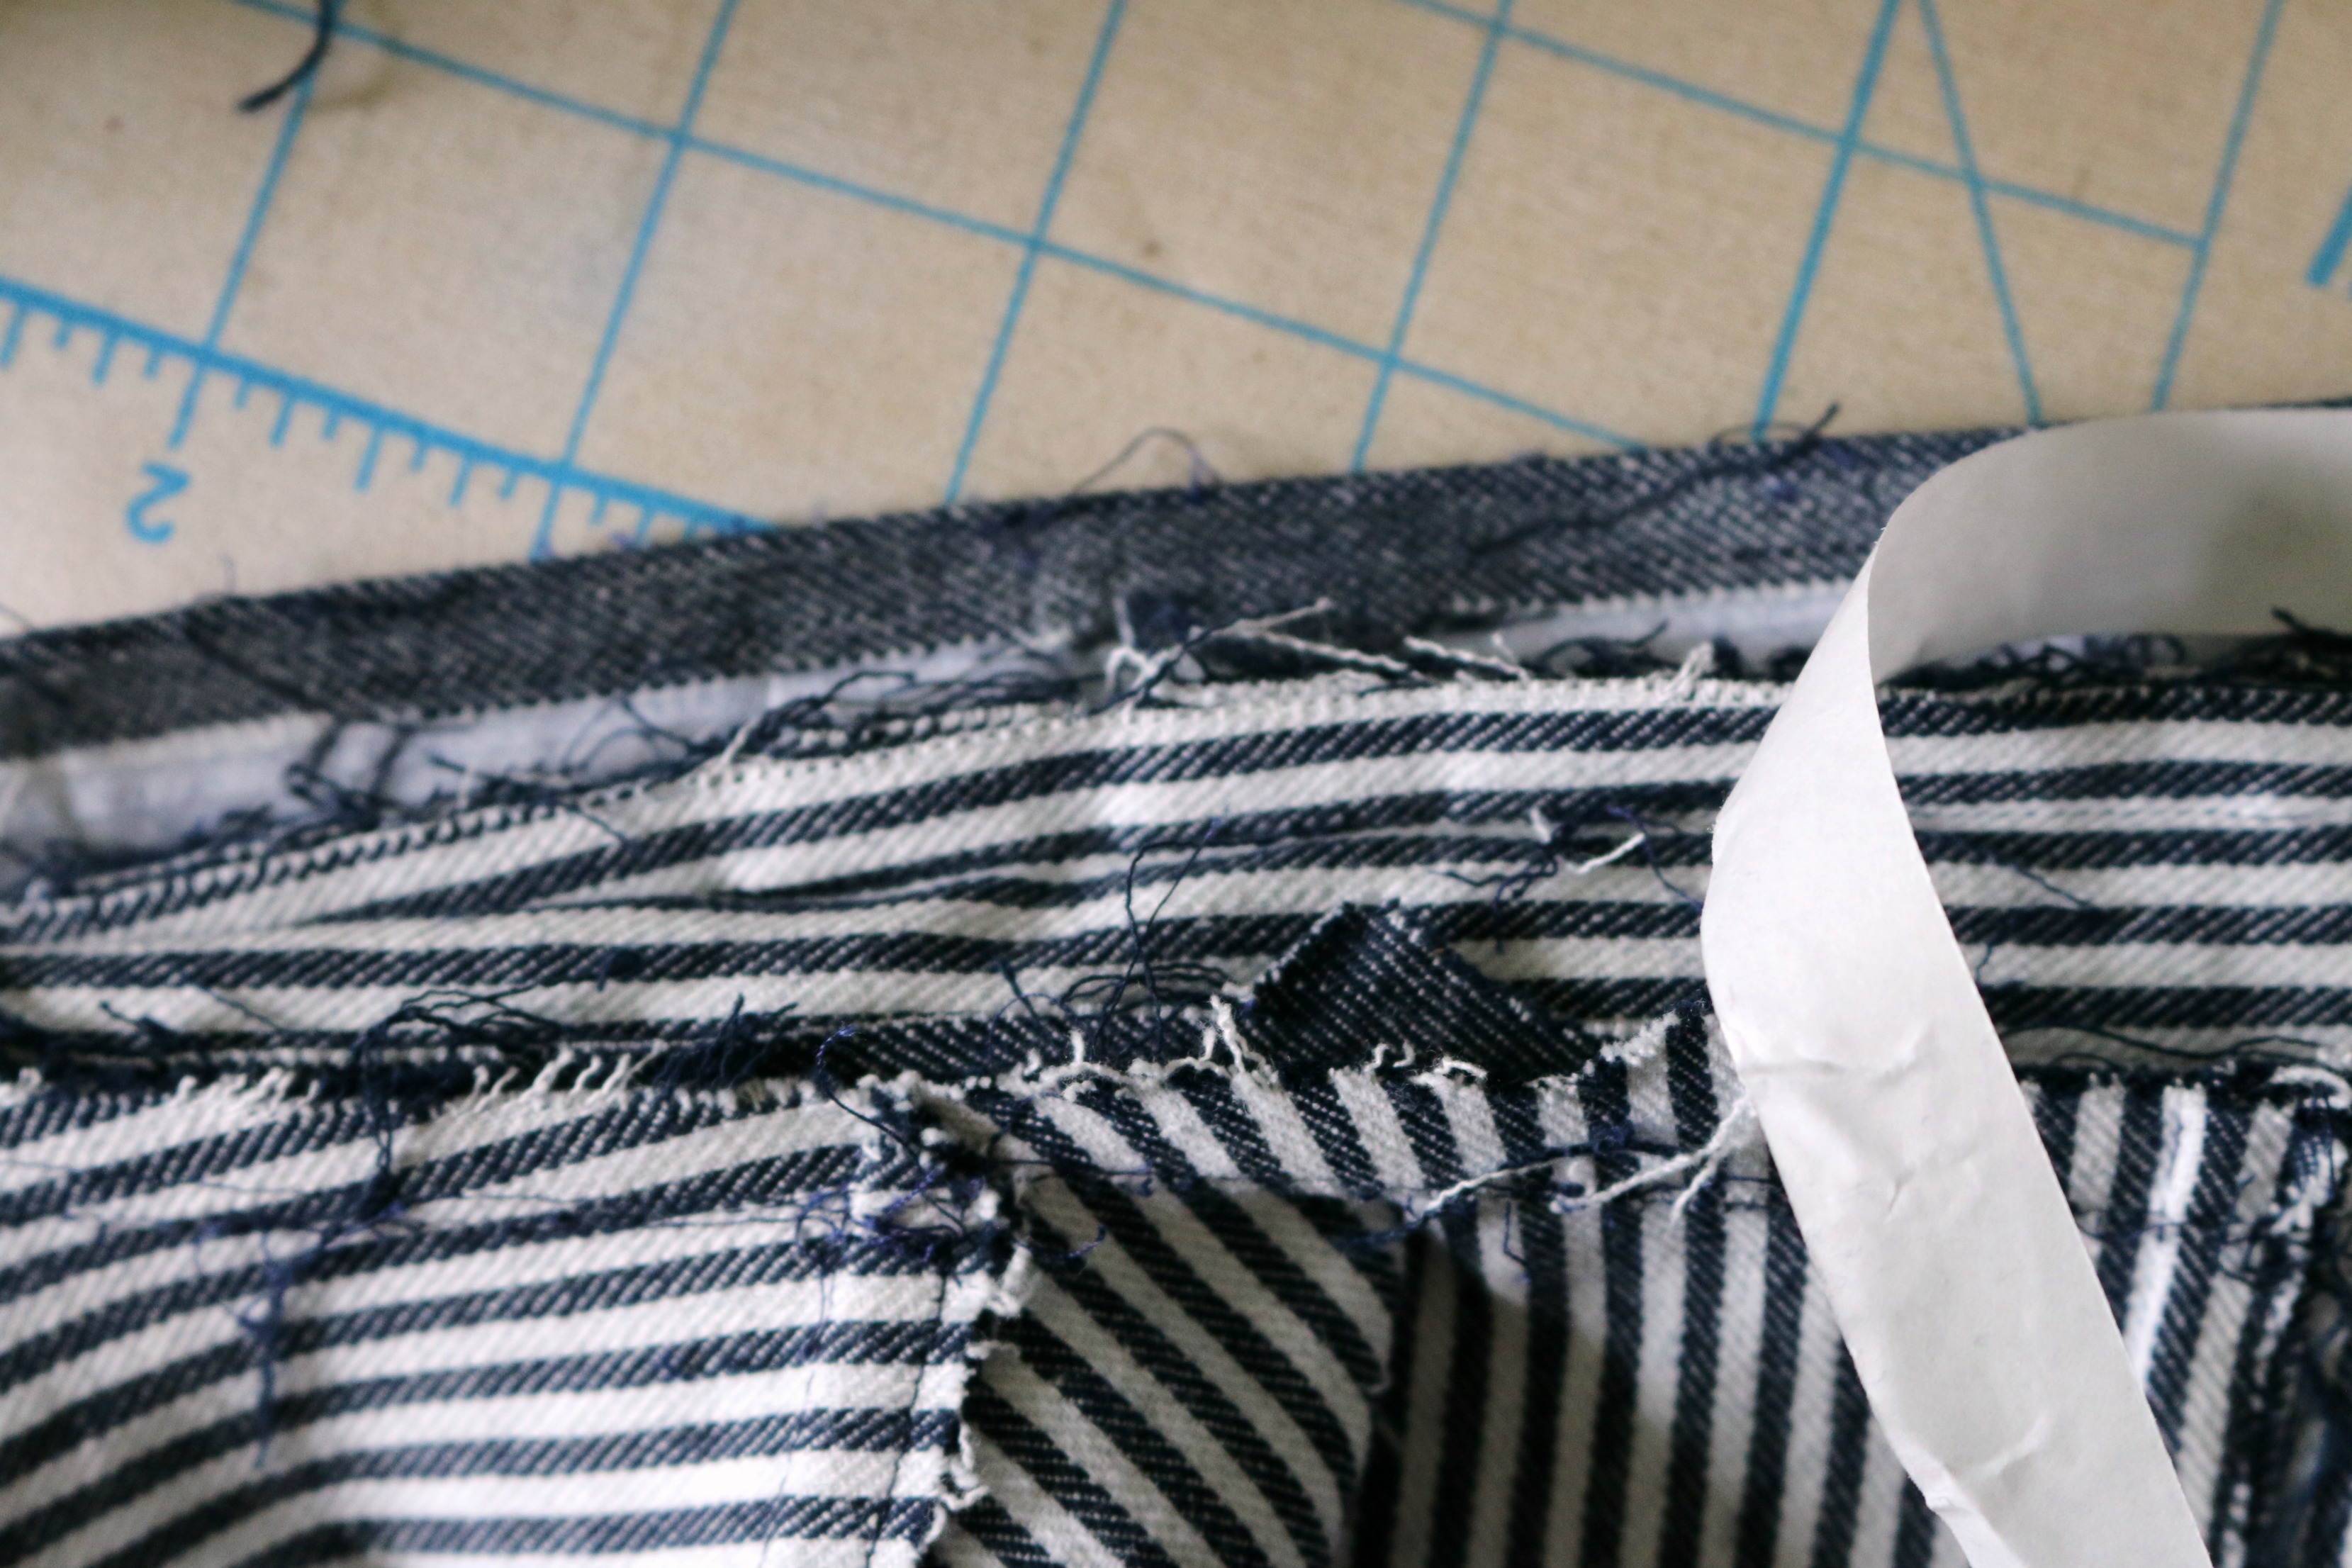
The collar can be a messy spot with threads and seams. Adding the Soft Stretch Lite 5/8″ to the collar, gave the freedom to press it in place without the use of a bunch of bulky needles. No longer either having to pull them before sewing over them or face the worry of breaking a needle on one. The Soft Stretch Lite 5/8″ also prevented any raveling along the edge.
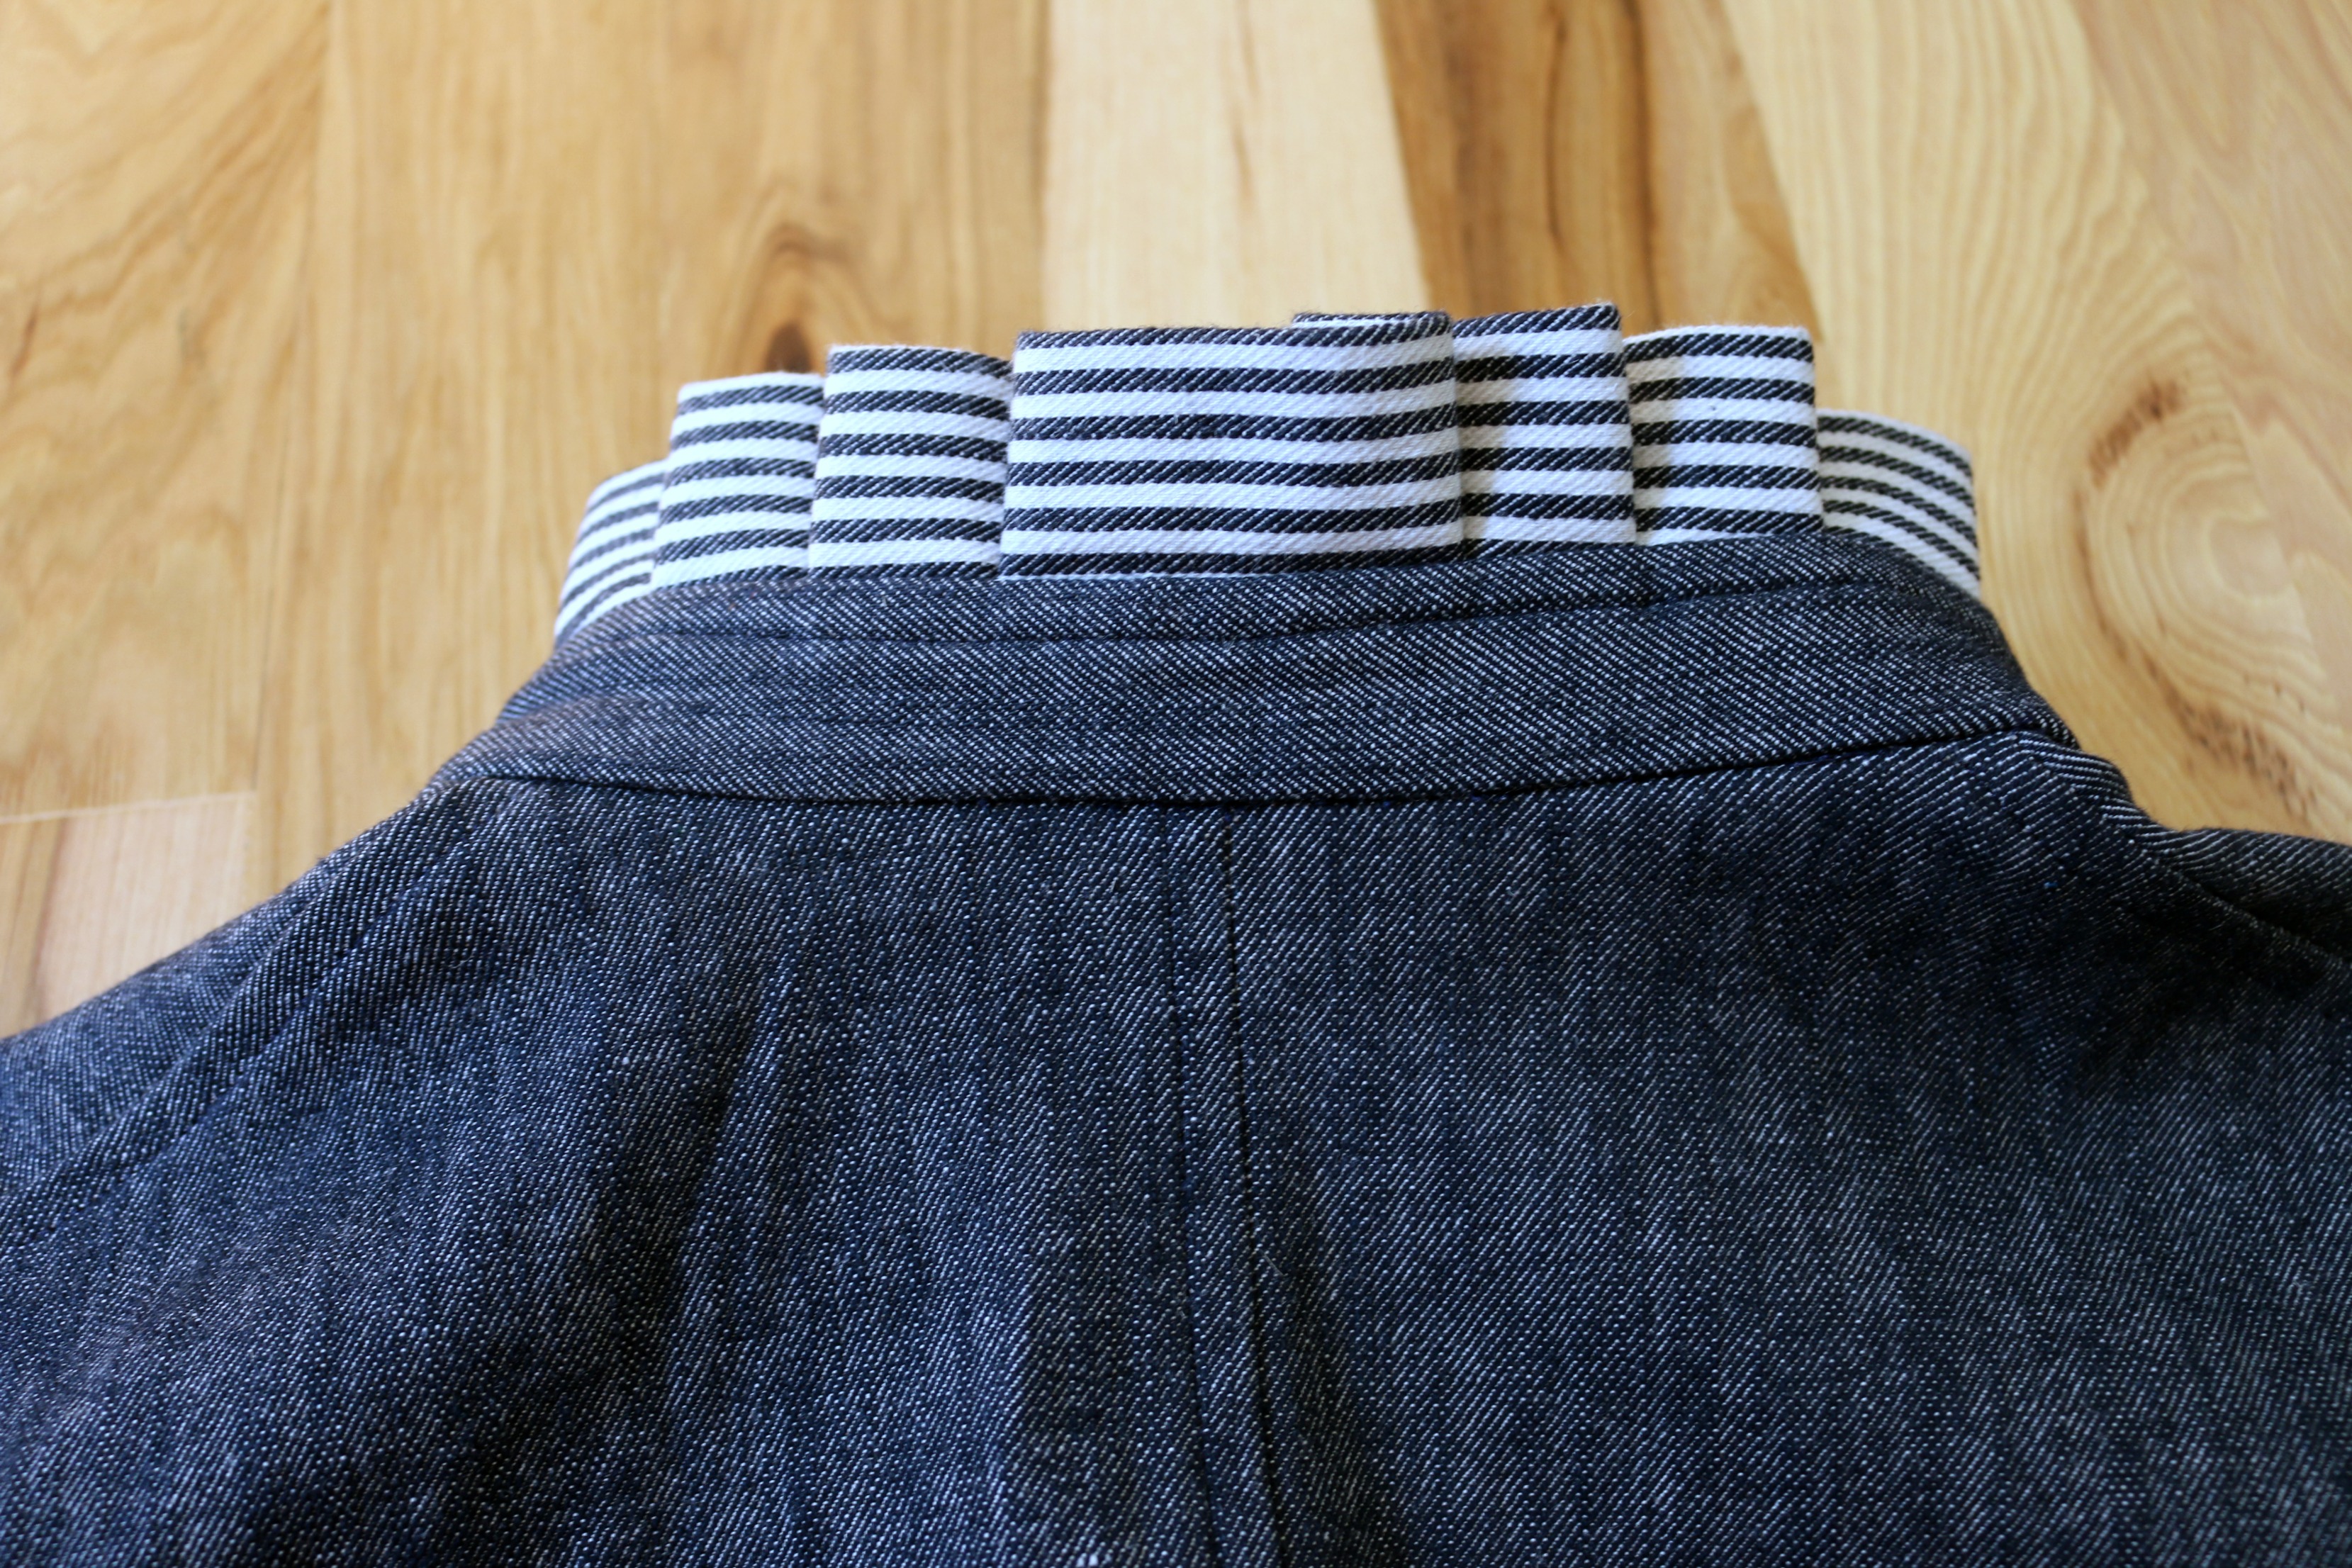
Doing this without pins made topstitching the collar and the placket a lot simpler.
Tip #5:
When using Soft Stretch Lite 5/8″, along a the edge of a smaller area, like the jacket placket. Before ironing cut the piece to fit the area and start ironing it down in the center of the piece. Then work from the middle out.
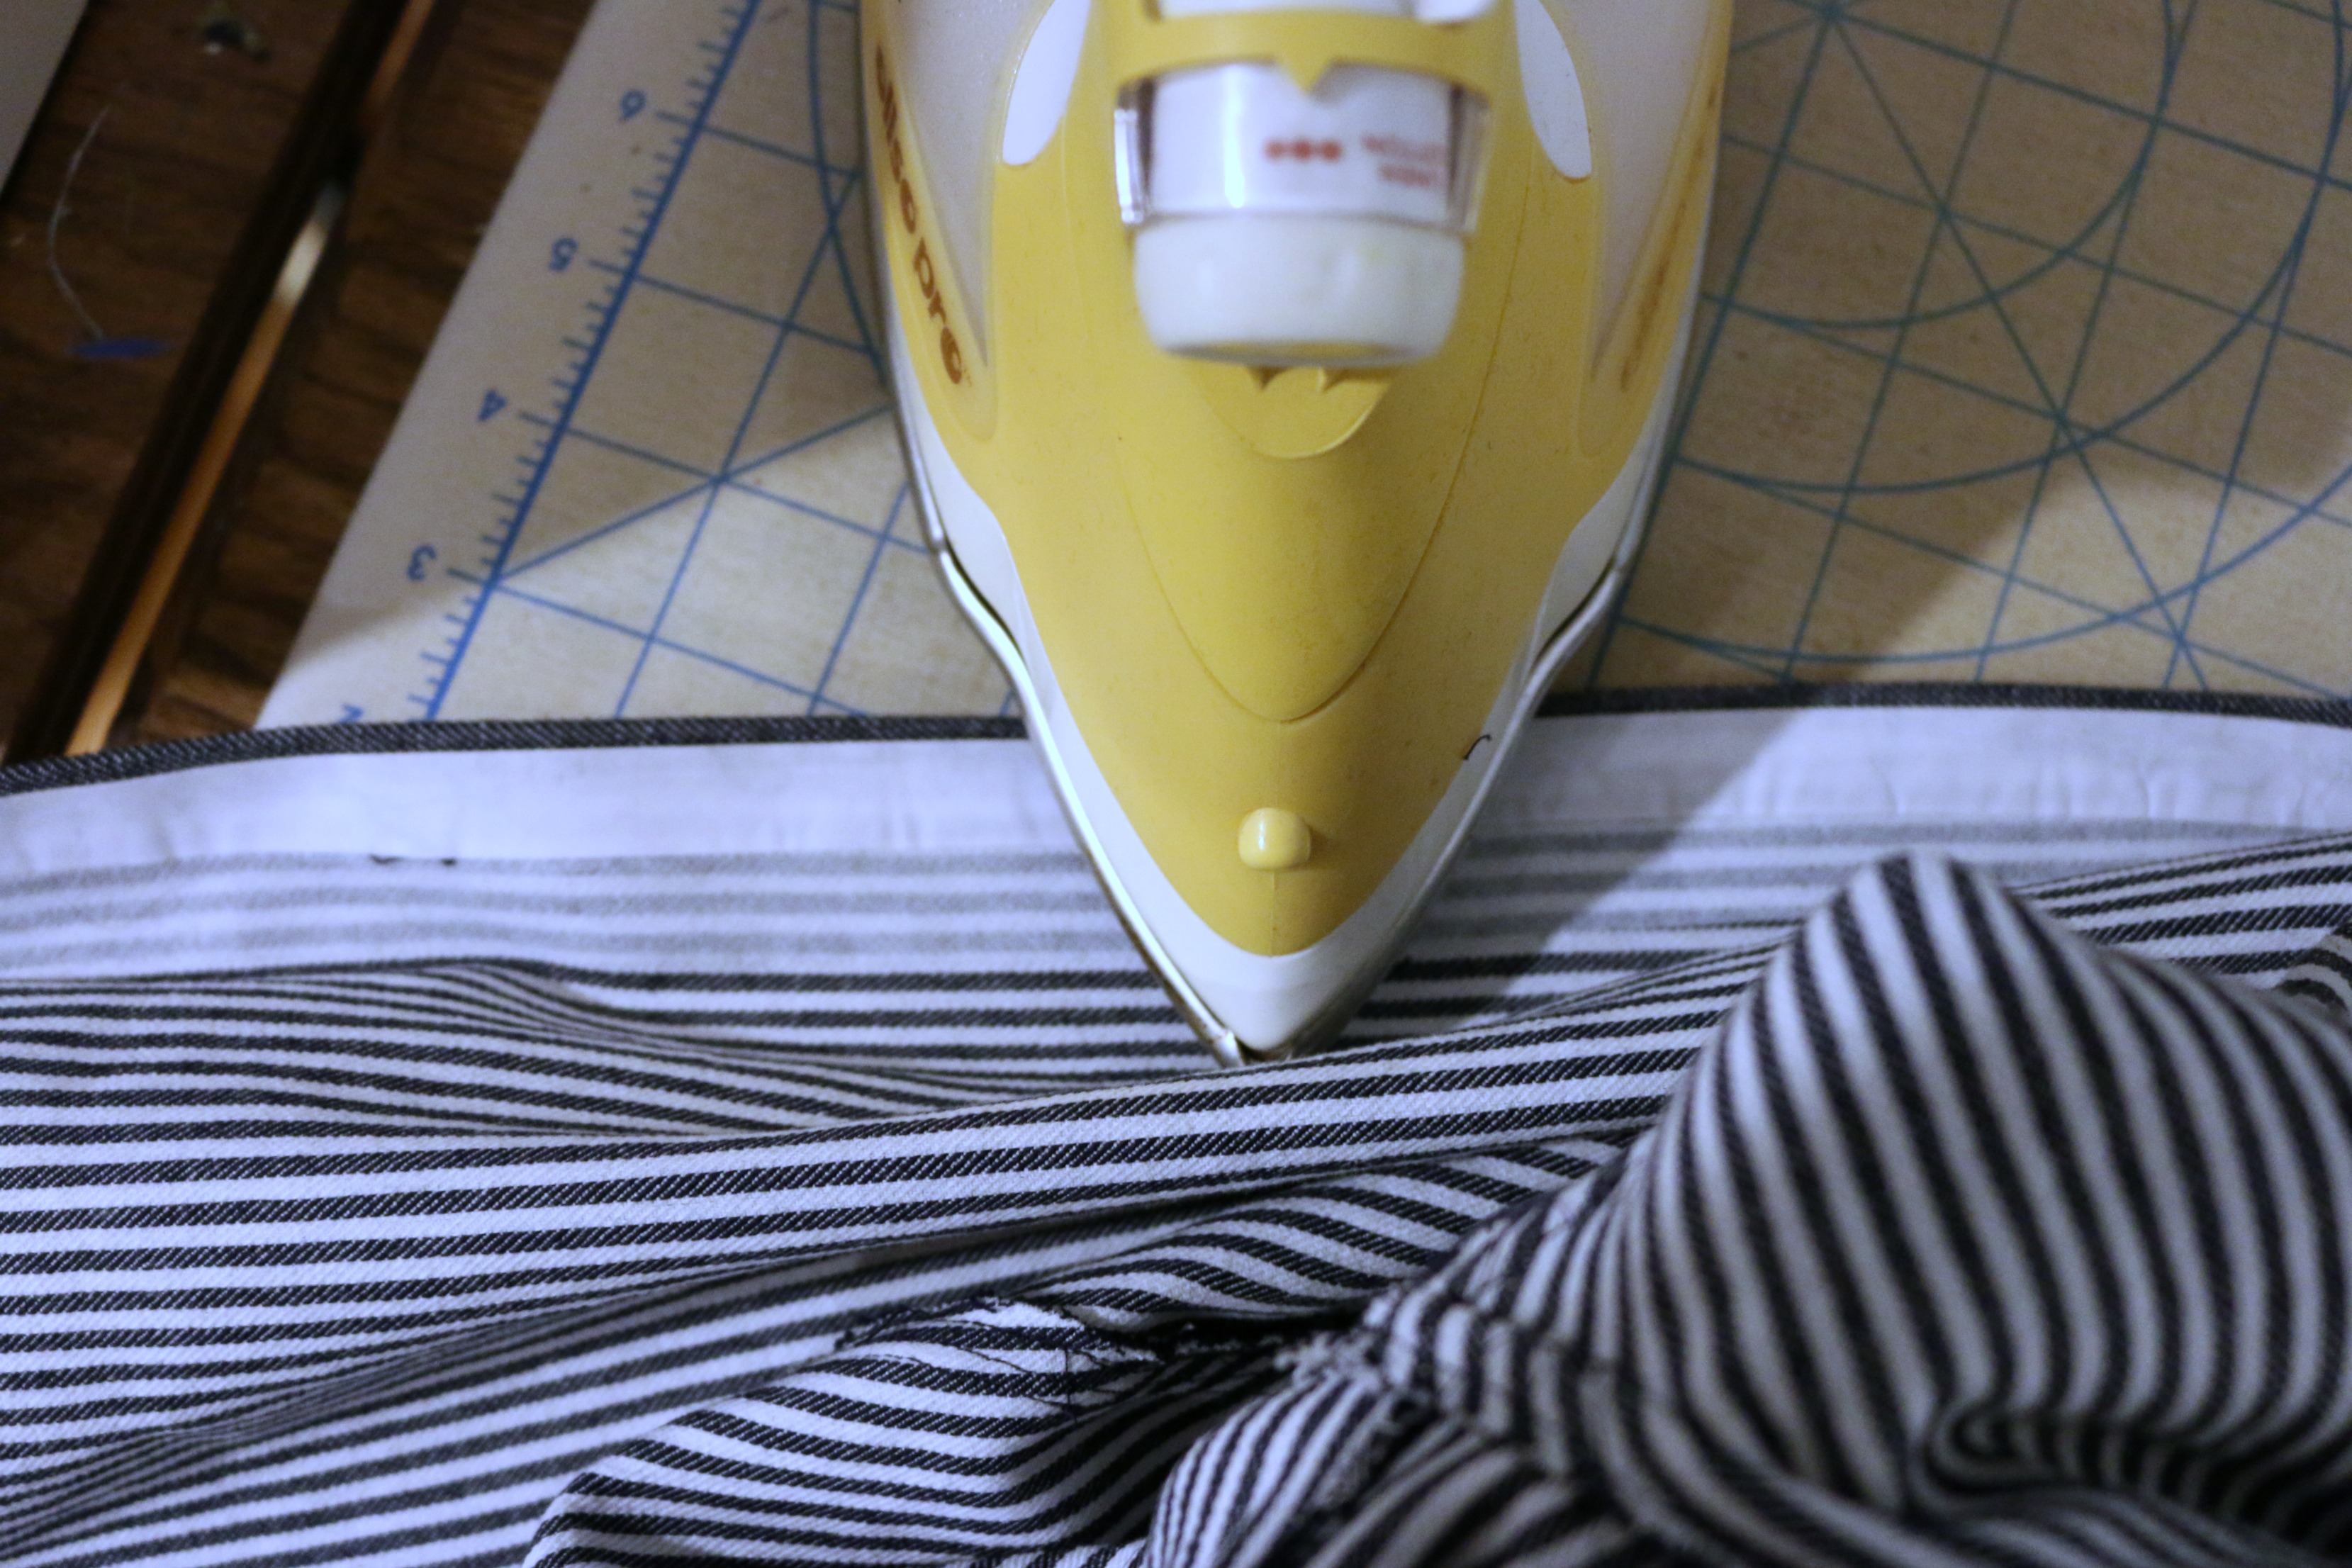
Finish up your garment and show it off to the world and be proud that you made it. I know that I will.
