


Hello and welcome!
It’s Julia from Inflorescence Designs! I’m so joyful you are visiting today. For today’s tutorial, I am going to show you how to make a beautiful mini winter quilt that can be used as a wall hanging or table topper!
This mini quilt is made using Thermoweb’s Block of the Month found on their Facebook Craft Room page. The Facebook Craft room is where you can find more than a dozen Blocks of the Month and their coordinating projects!
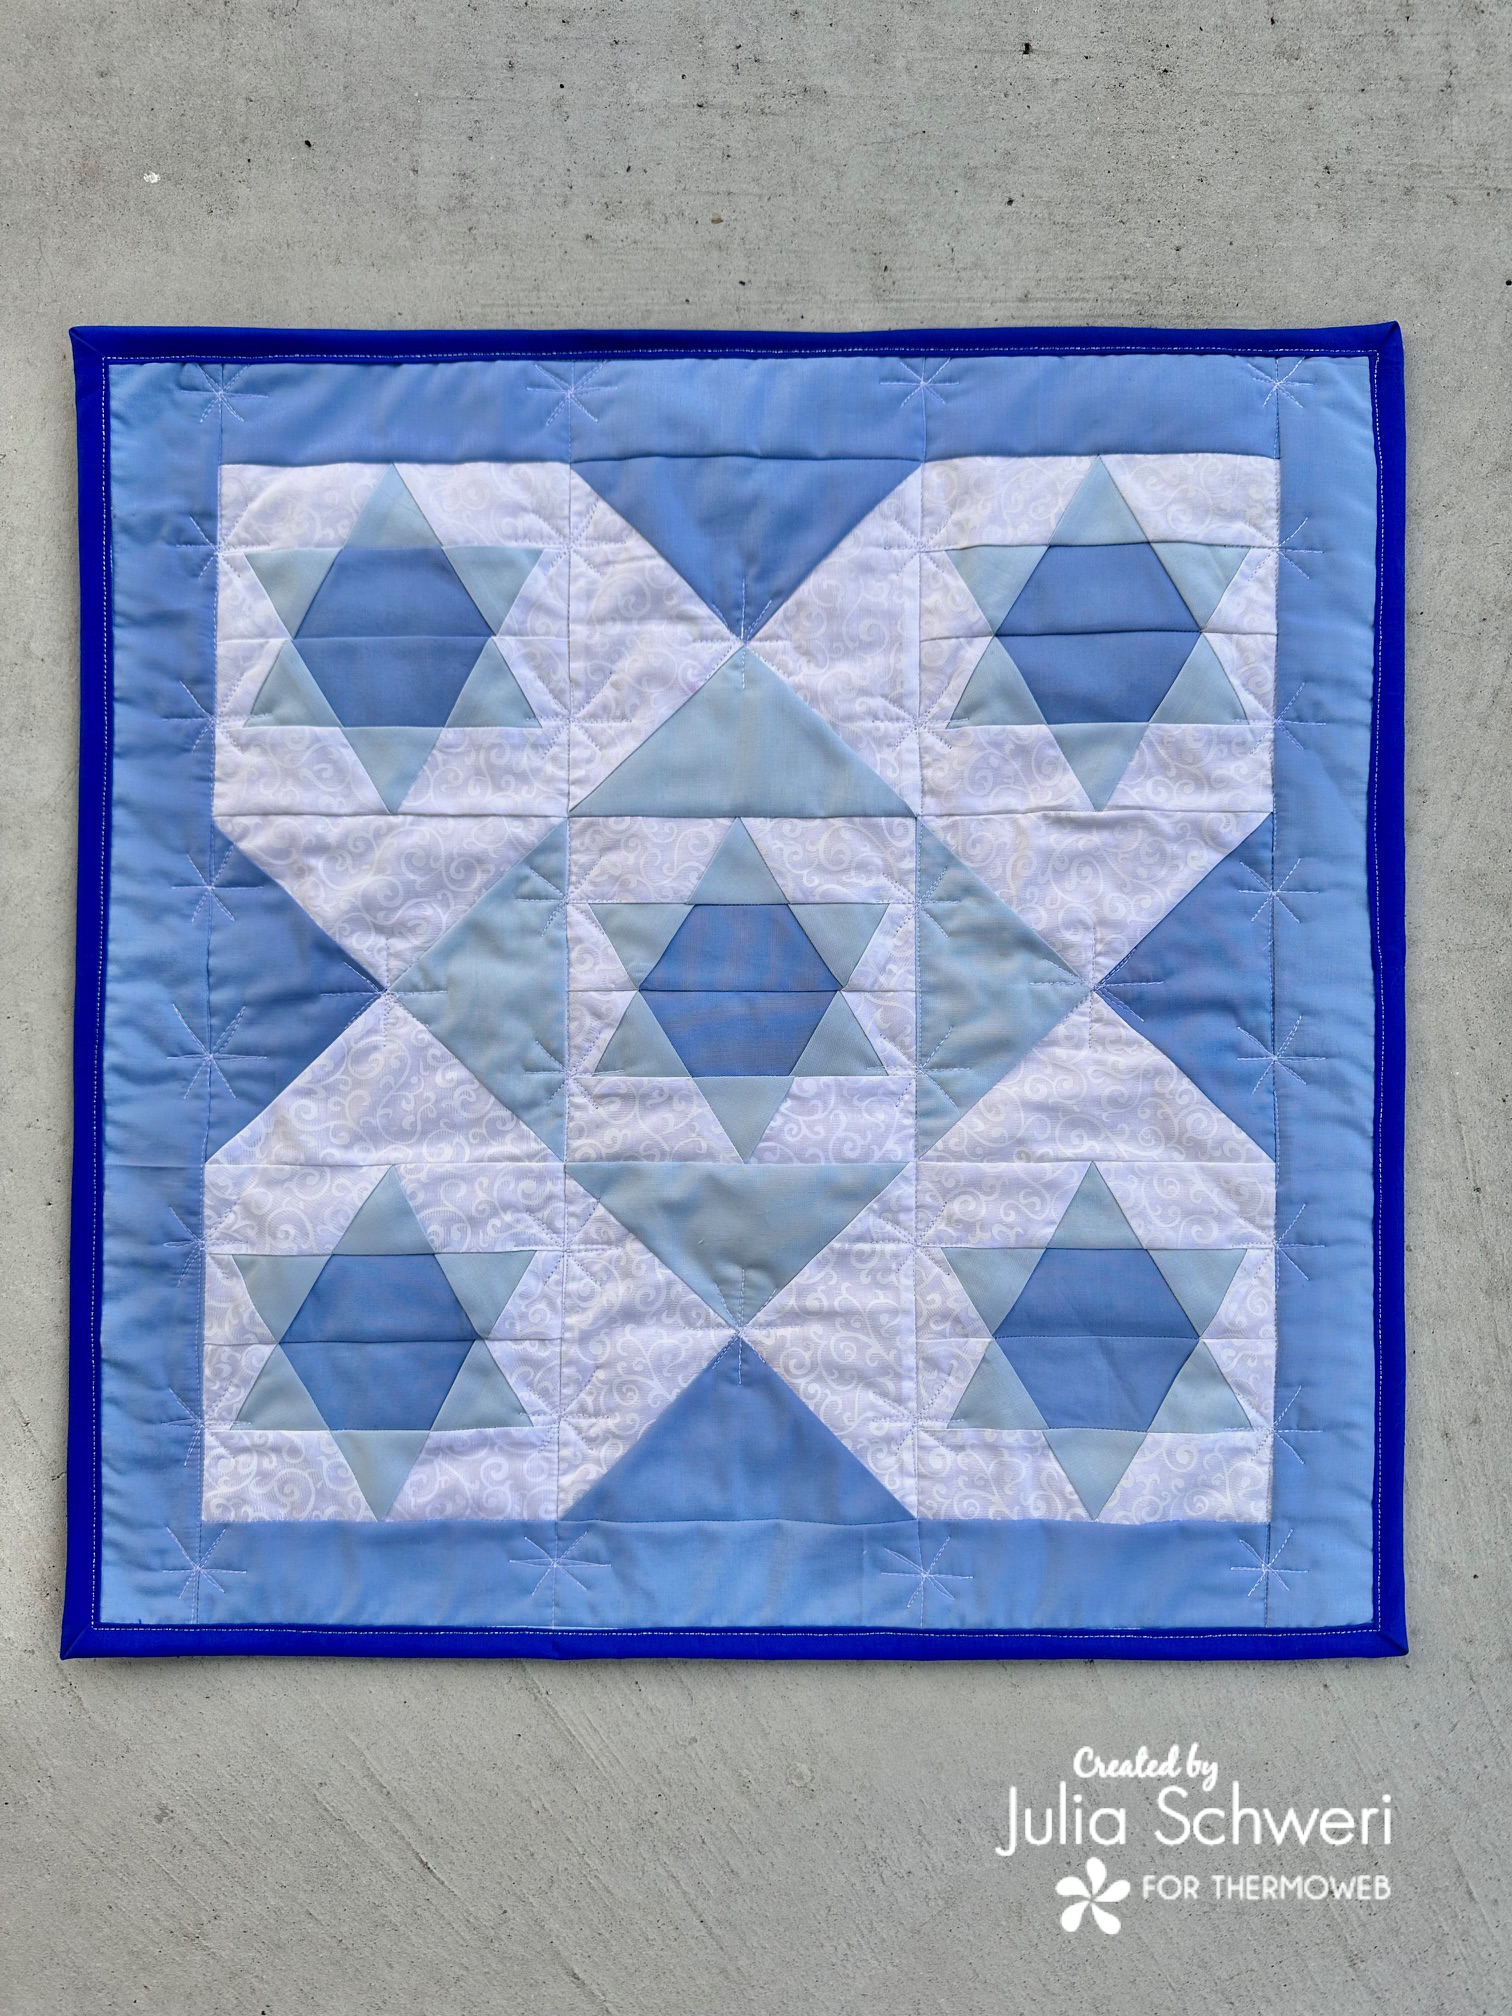
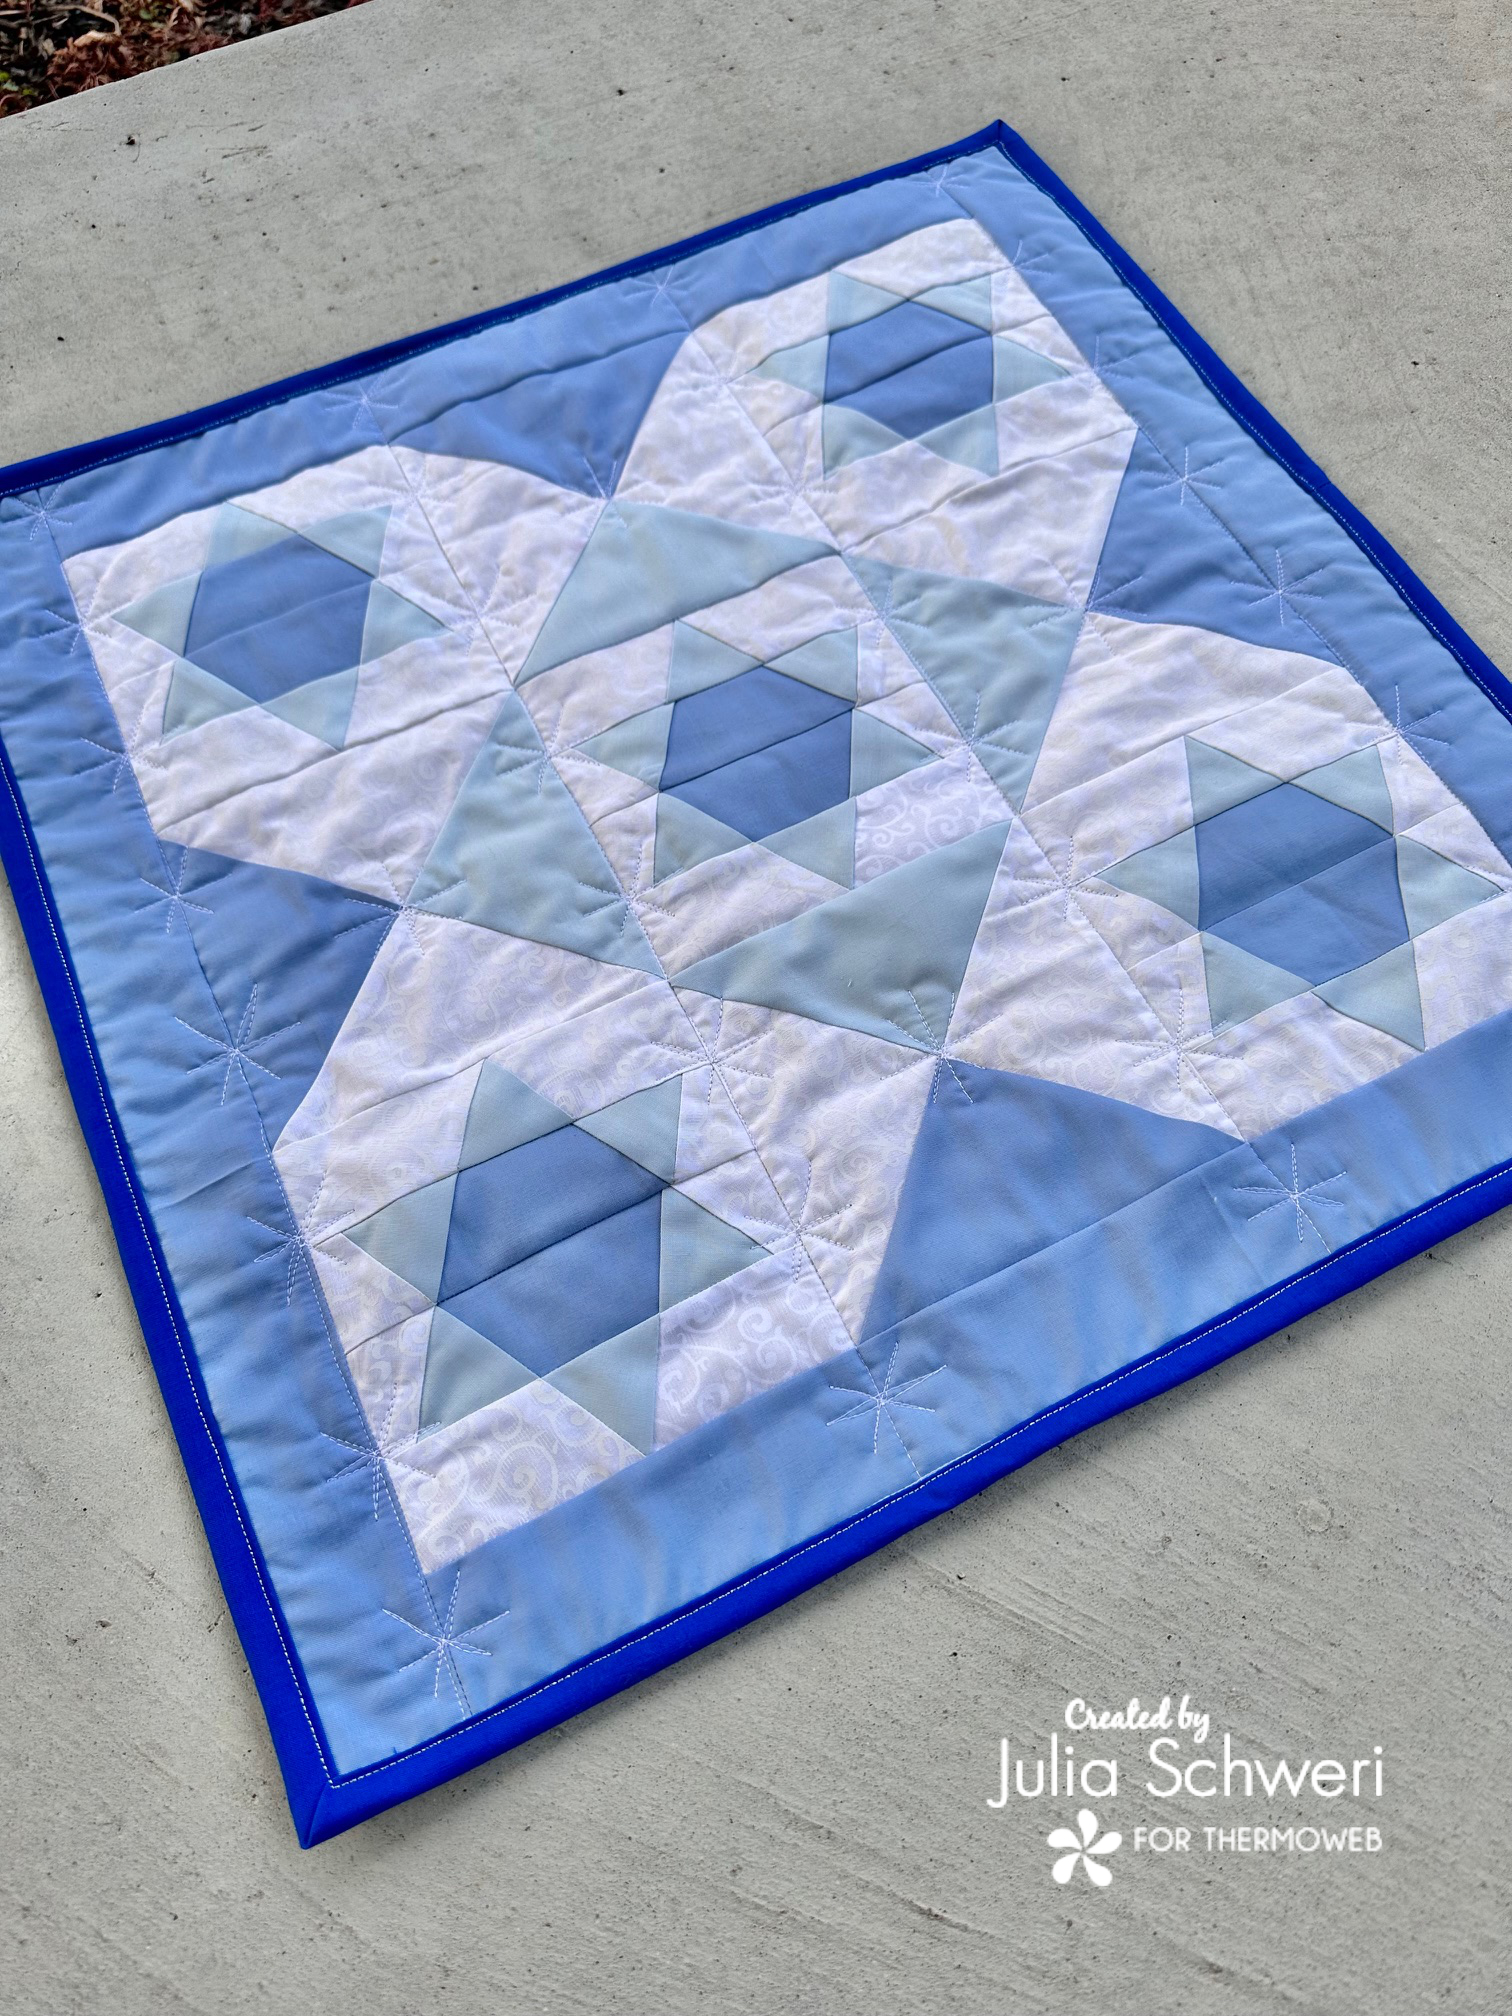
Falling Snow Mini Quilt
Supplies:
- Falling Snow PDF Pattern: For this particular quilt I used the 6″ block size.
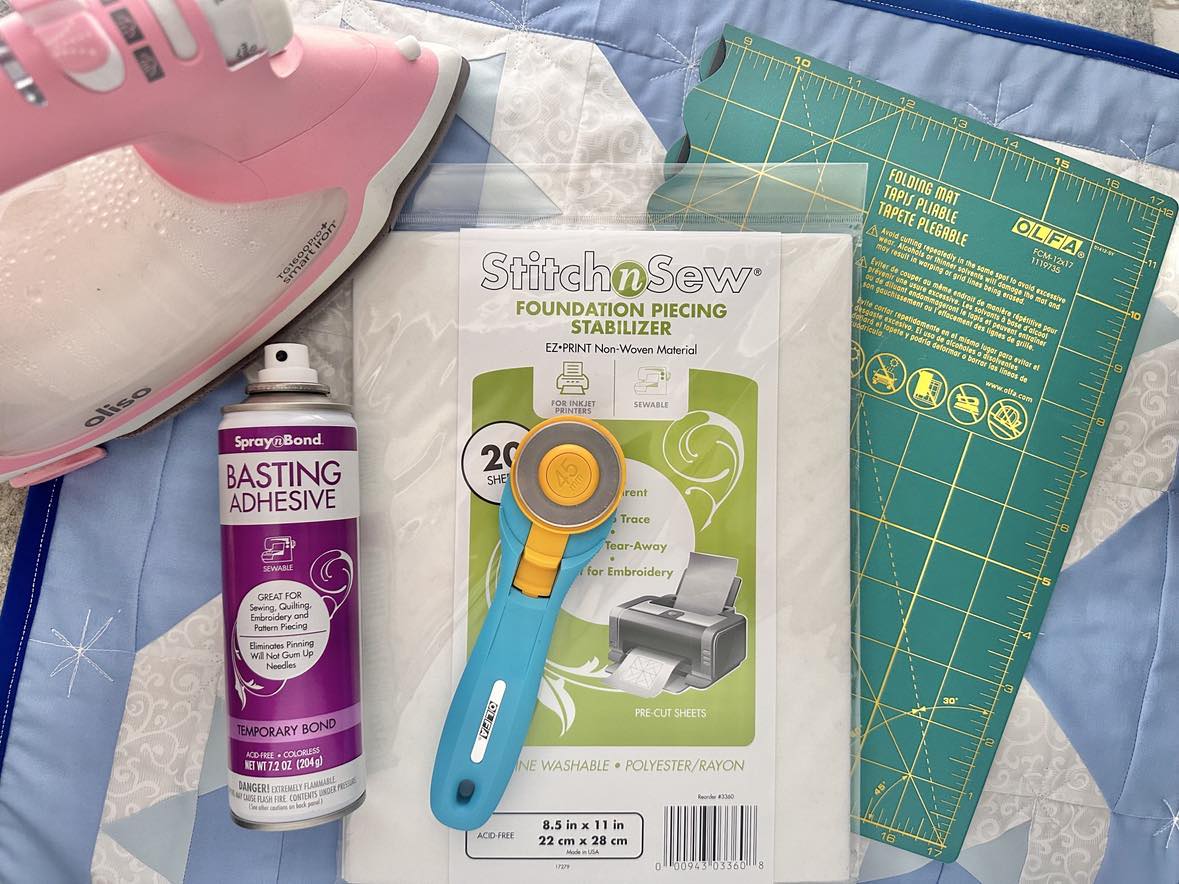
- StitchnSew EZ Print Quilt Block Sheets
- StitchnSew Fleece or Batting: 26″ square
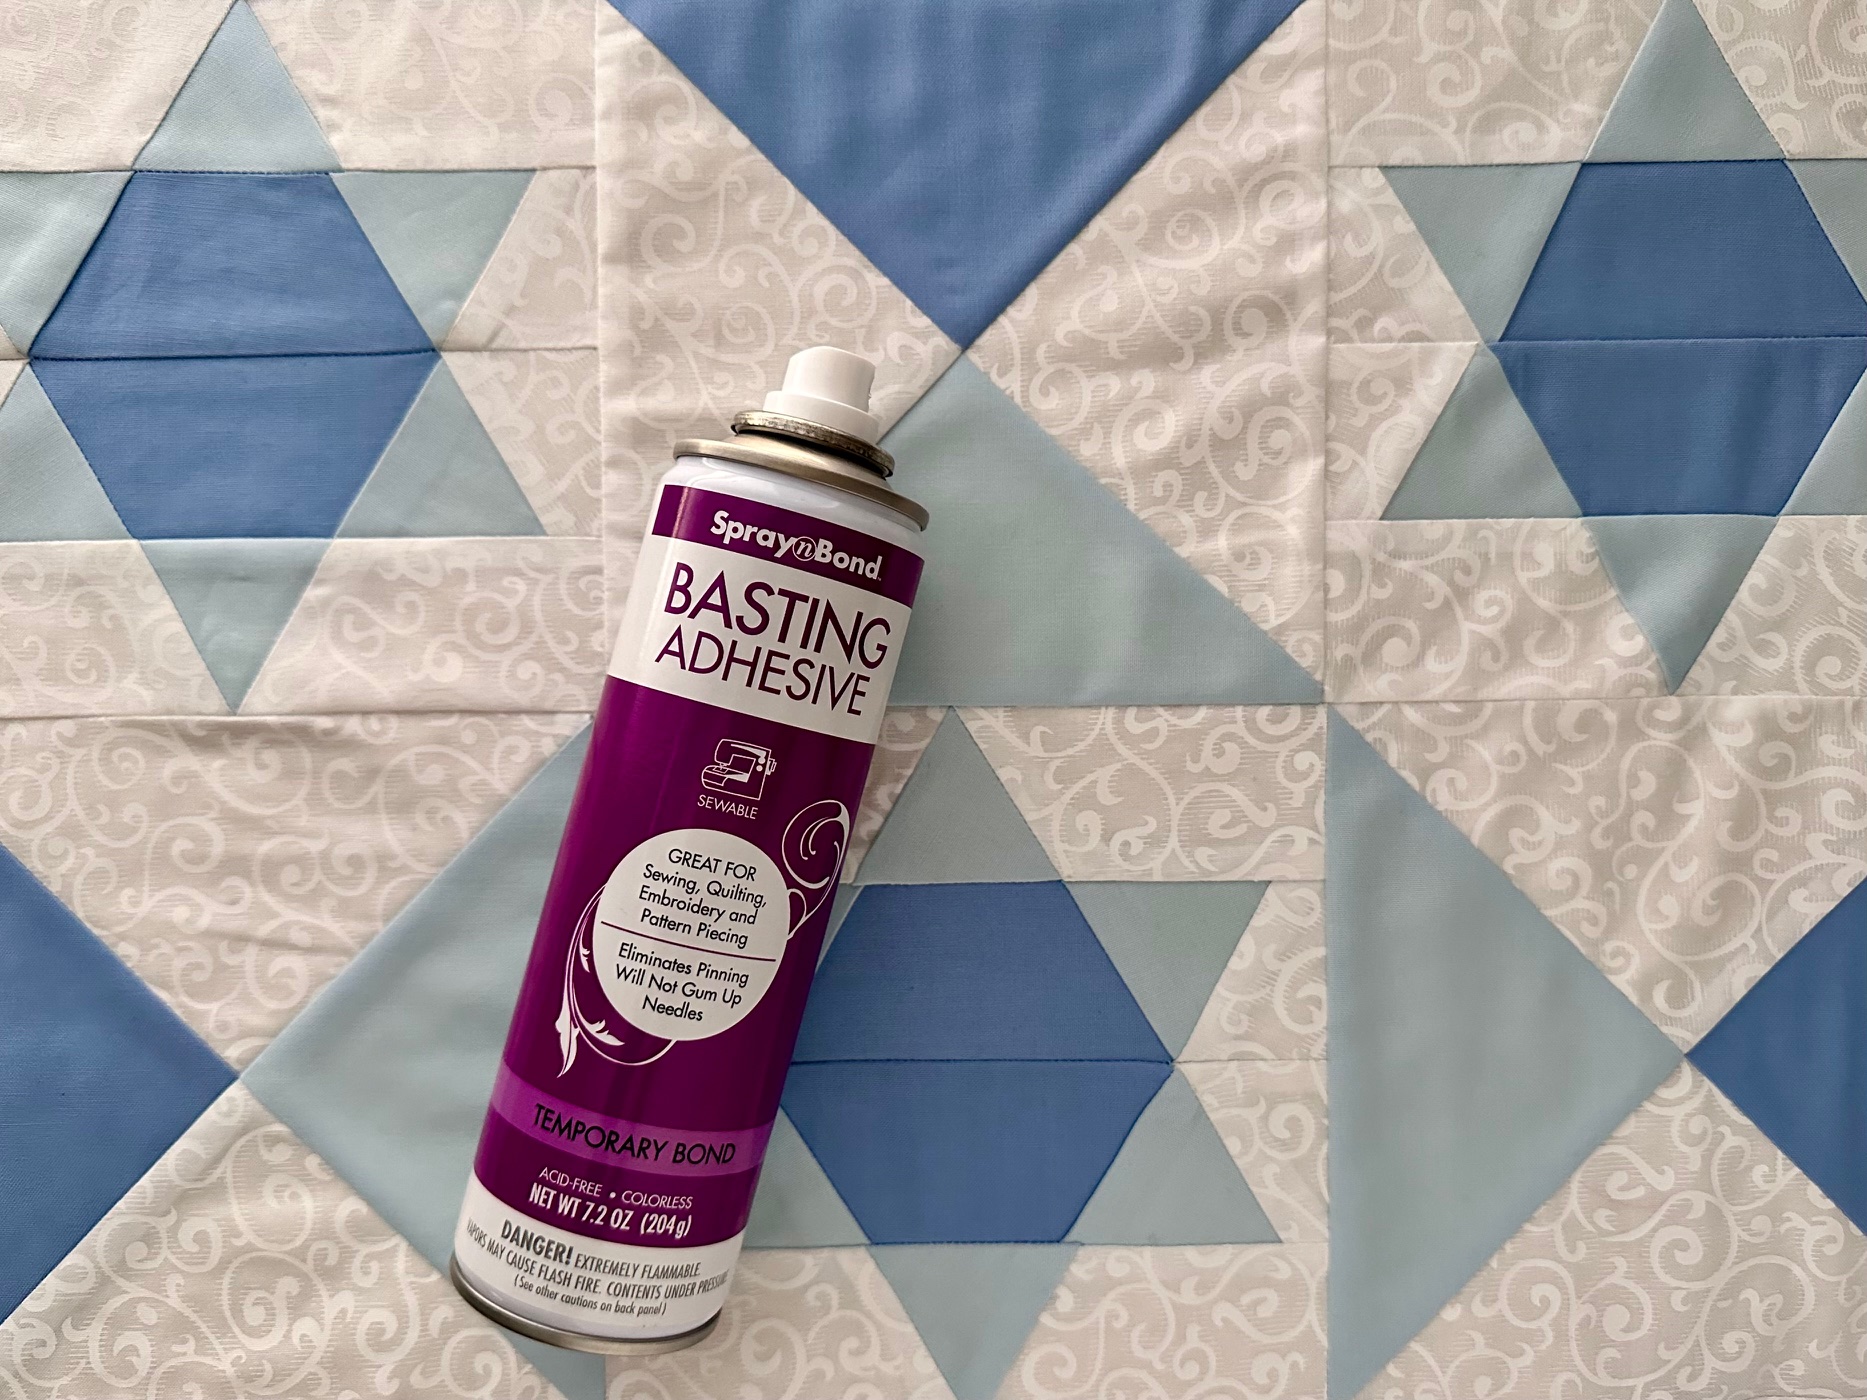
- SpraynBond Basting Spray
- Coordinating Fabric: I used Kona Cotton for the blues and a white on white print for the background.
- Dark Blue: 1/2 yard
- Light Blue: 1/2 yard
- White: 3/4 yard
- Fabric for Binding: needs may vary depending on application method. I use 2″ binding and needed just under 100″ of binding.
- Backing Fabric + hangers: 30″ square and (3) 5″ squares if making the hangers for the back.
- Basic Sewing Notions
- Oliso Iron
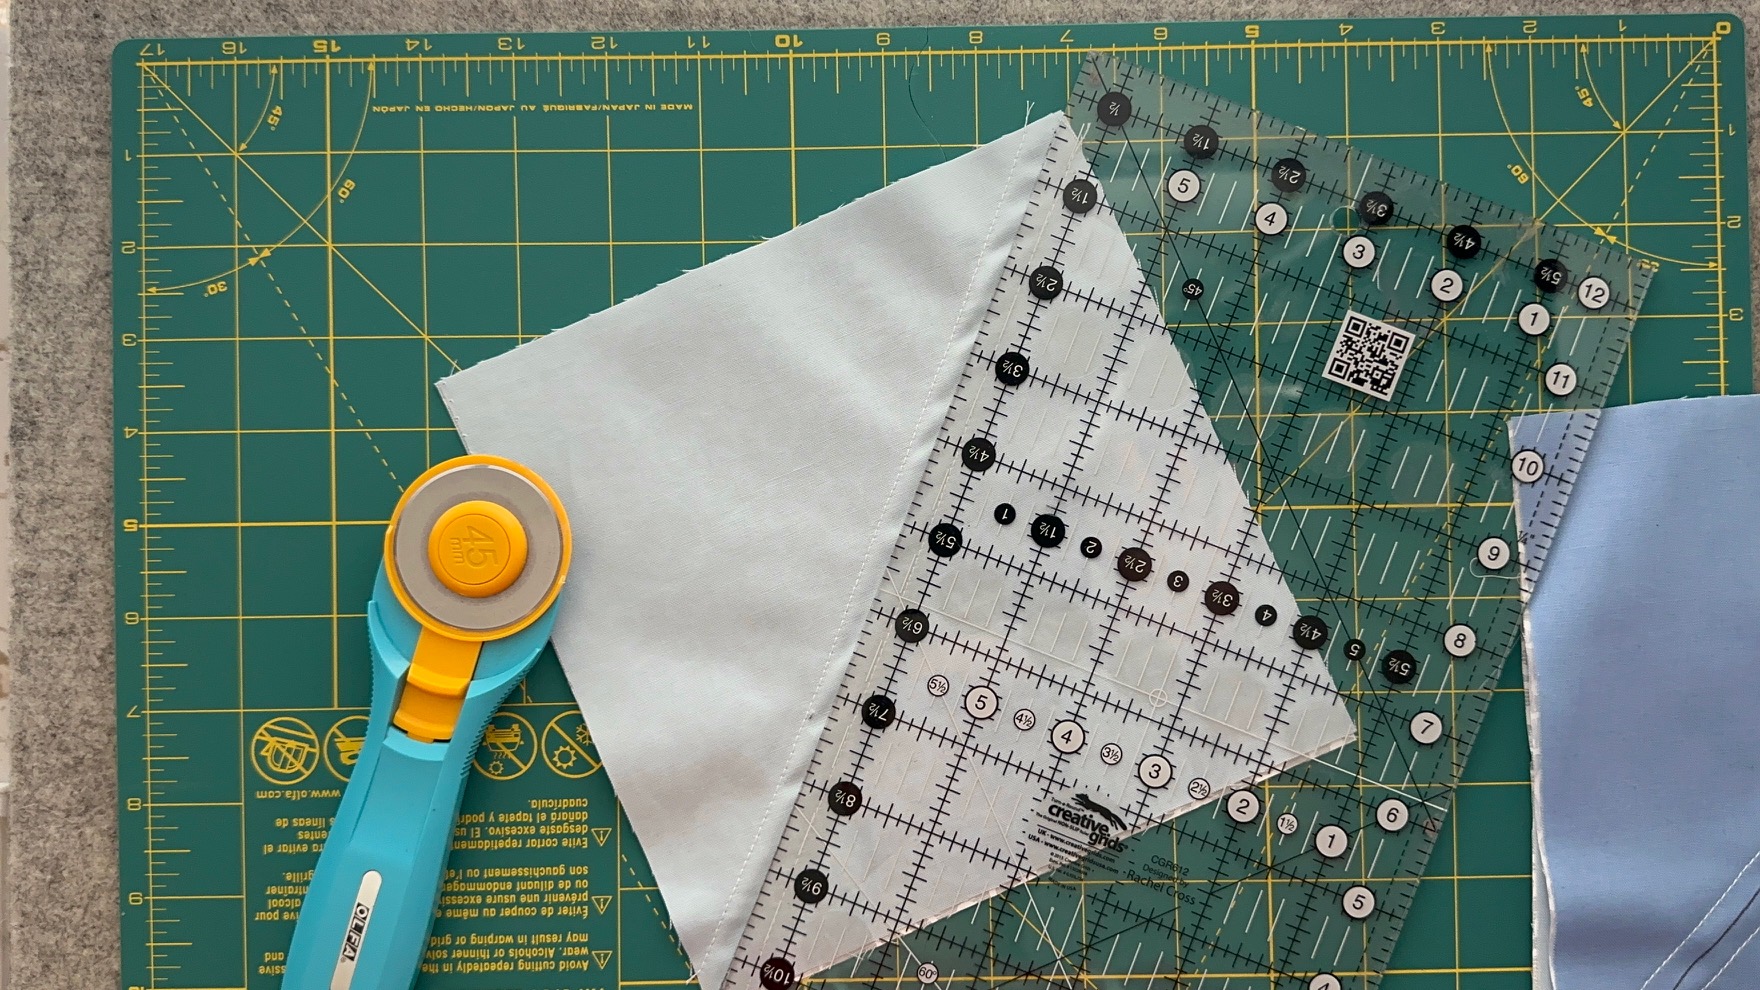
- Olfa rotary cutter and foldable cutting mat
Instructions:
Begin by…
Make 5 foundation paper pieced stars using the 6″ pattern. For more instructions on how to paper piece check out the following tutorial.
Then…
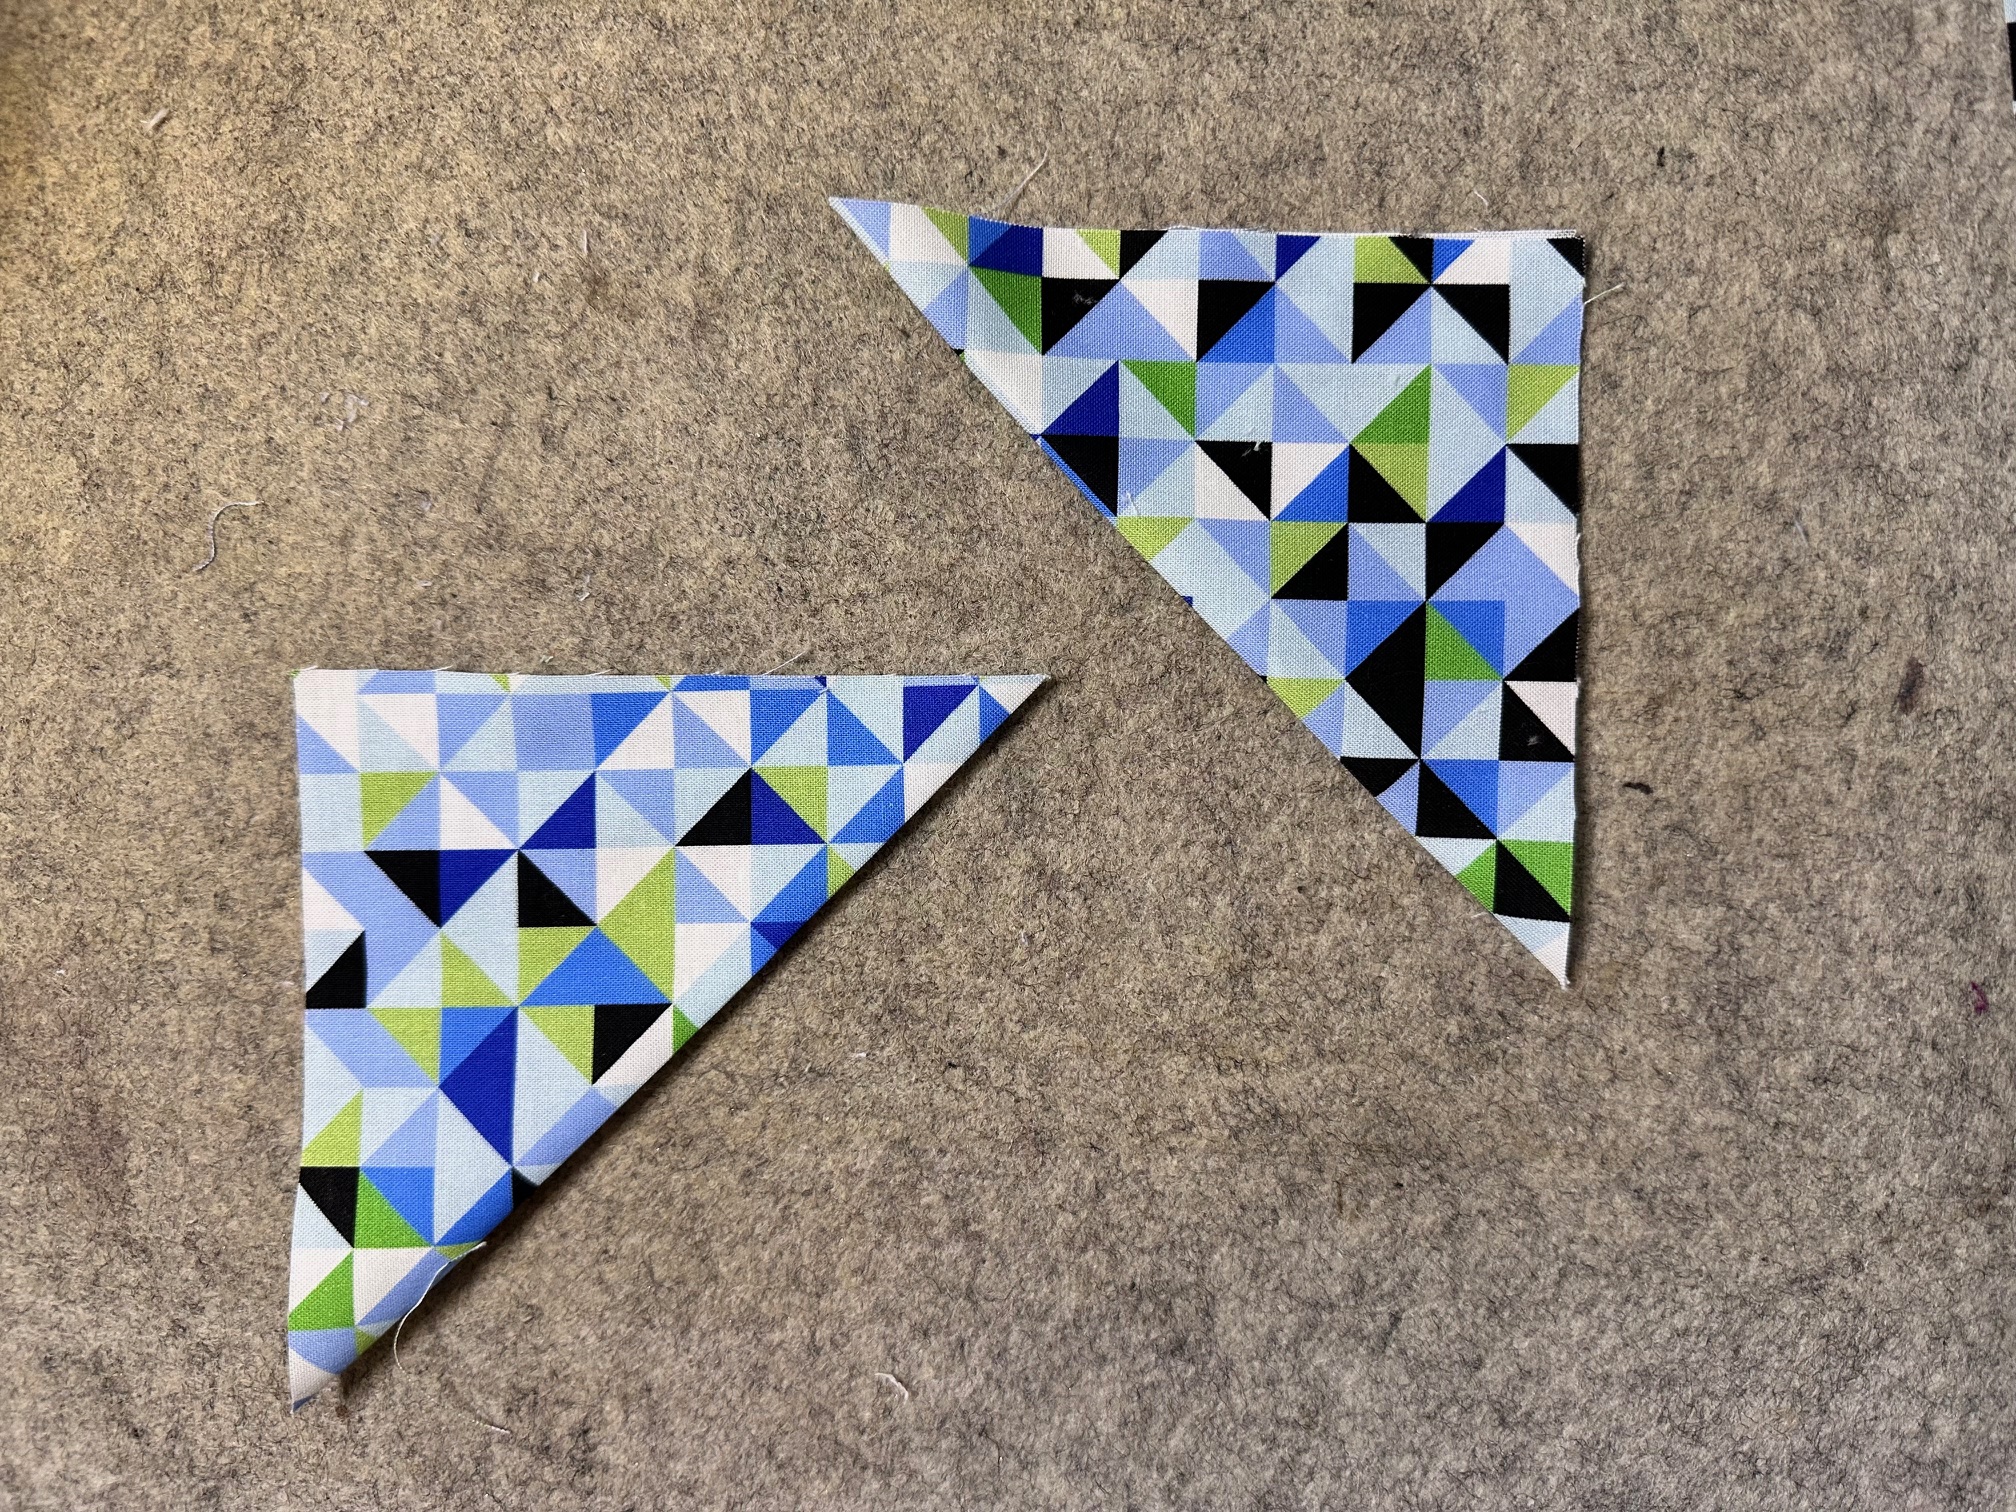
Cut your remaining fabric for the hourglass blocks:
- White: (2) 7 1/2″ squares
- Dark Blue: (1) 7 1/2″ square
- Light Blue: (1) 7 1/2″ square
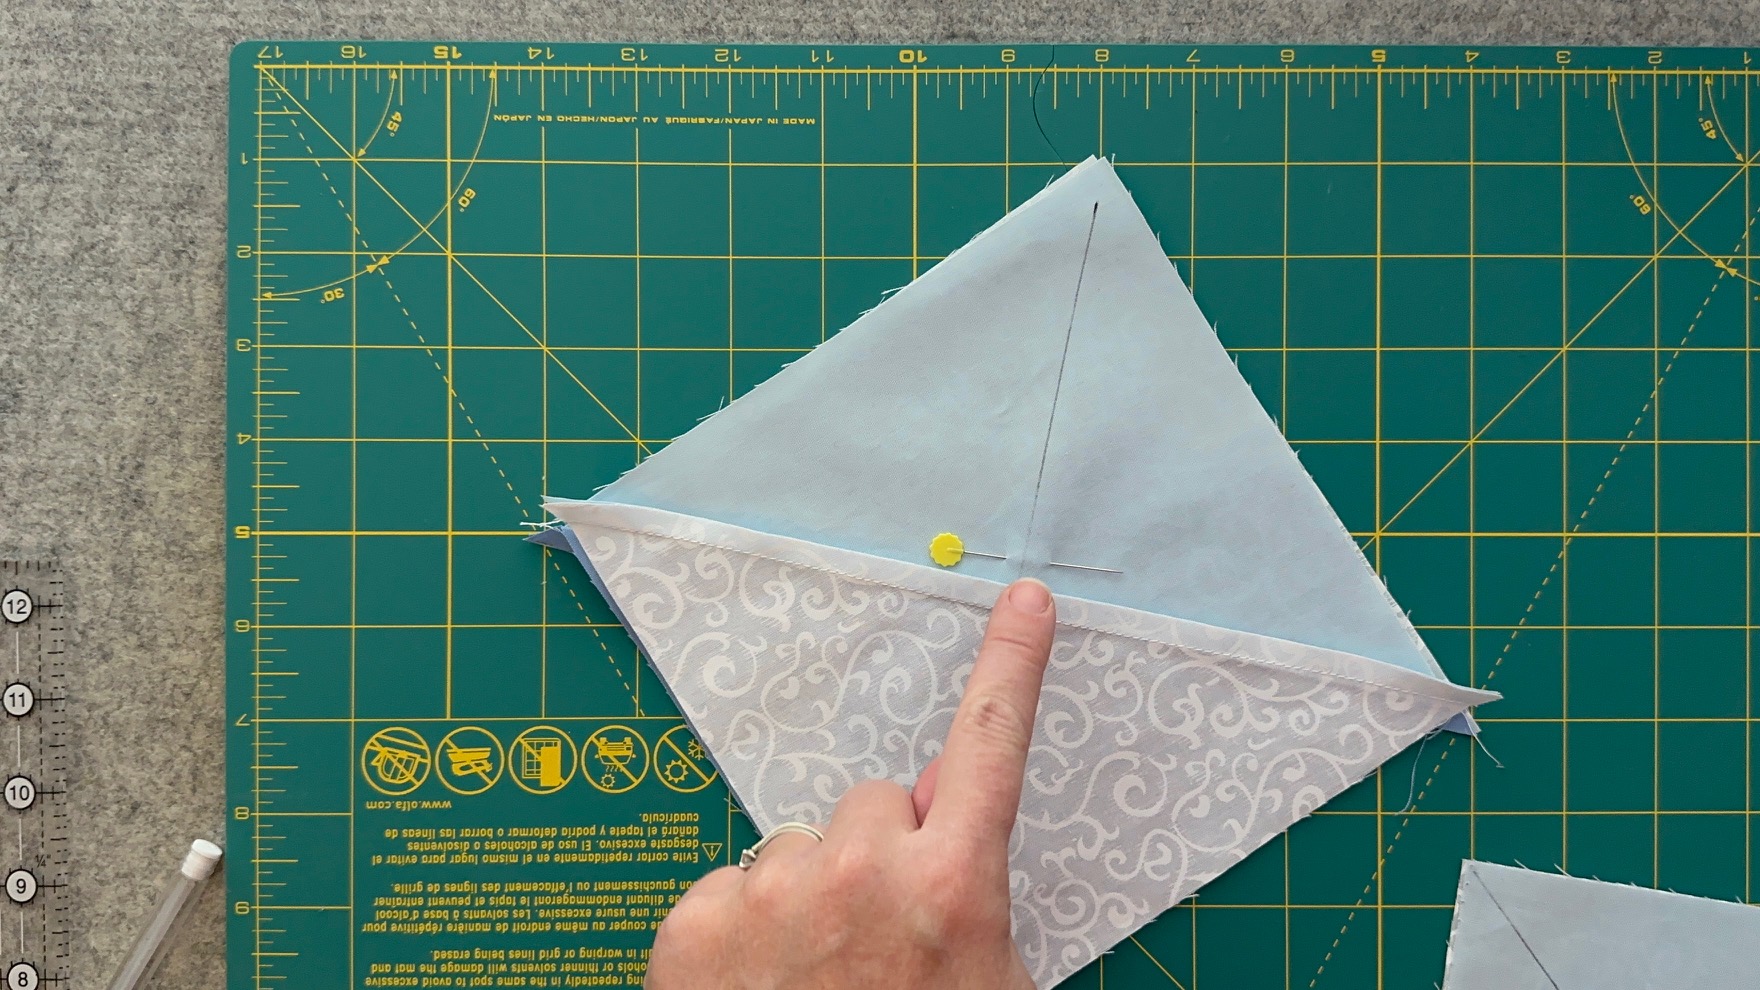
Start by placing one white square right sides together with each of the blue squares. Draw a diagonal line down the center of the squares. Sew a 1/4″ down each side of the drawn line. Then cut apart your square on the drawn line. You will now have 2 half square triangles.
Next…
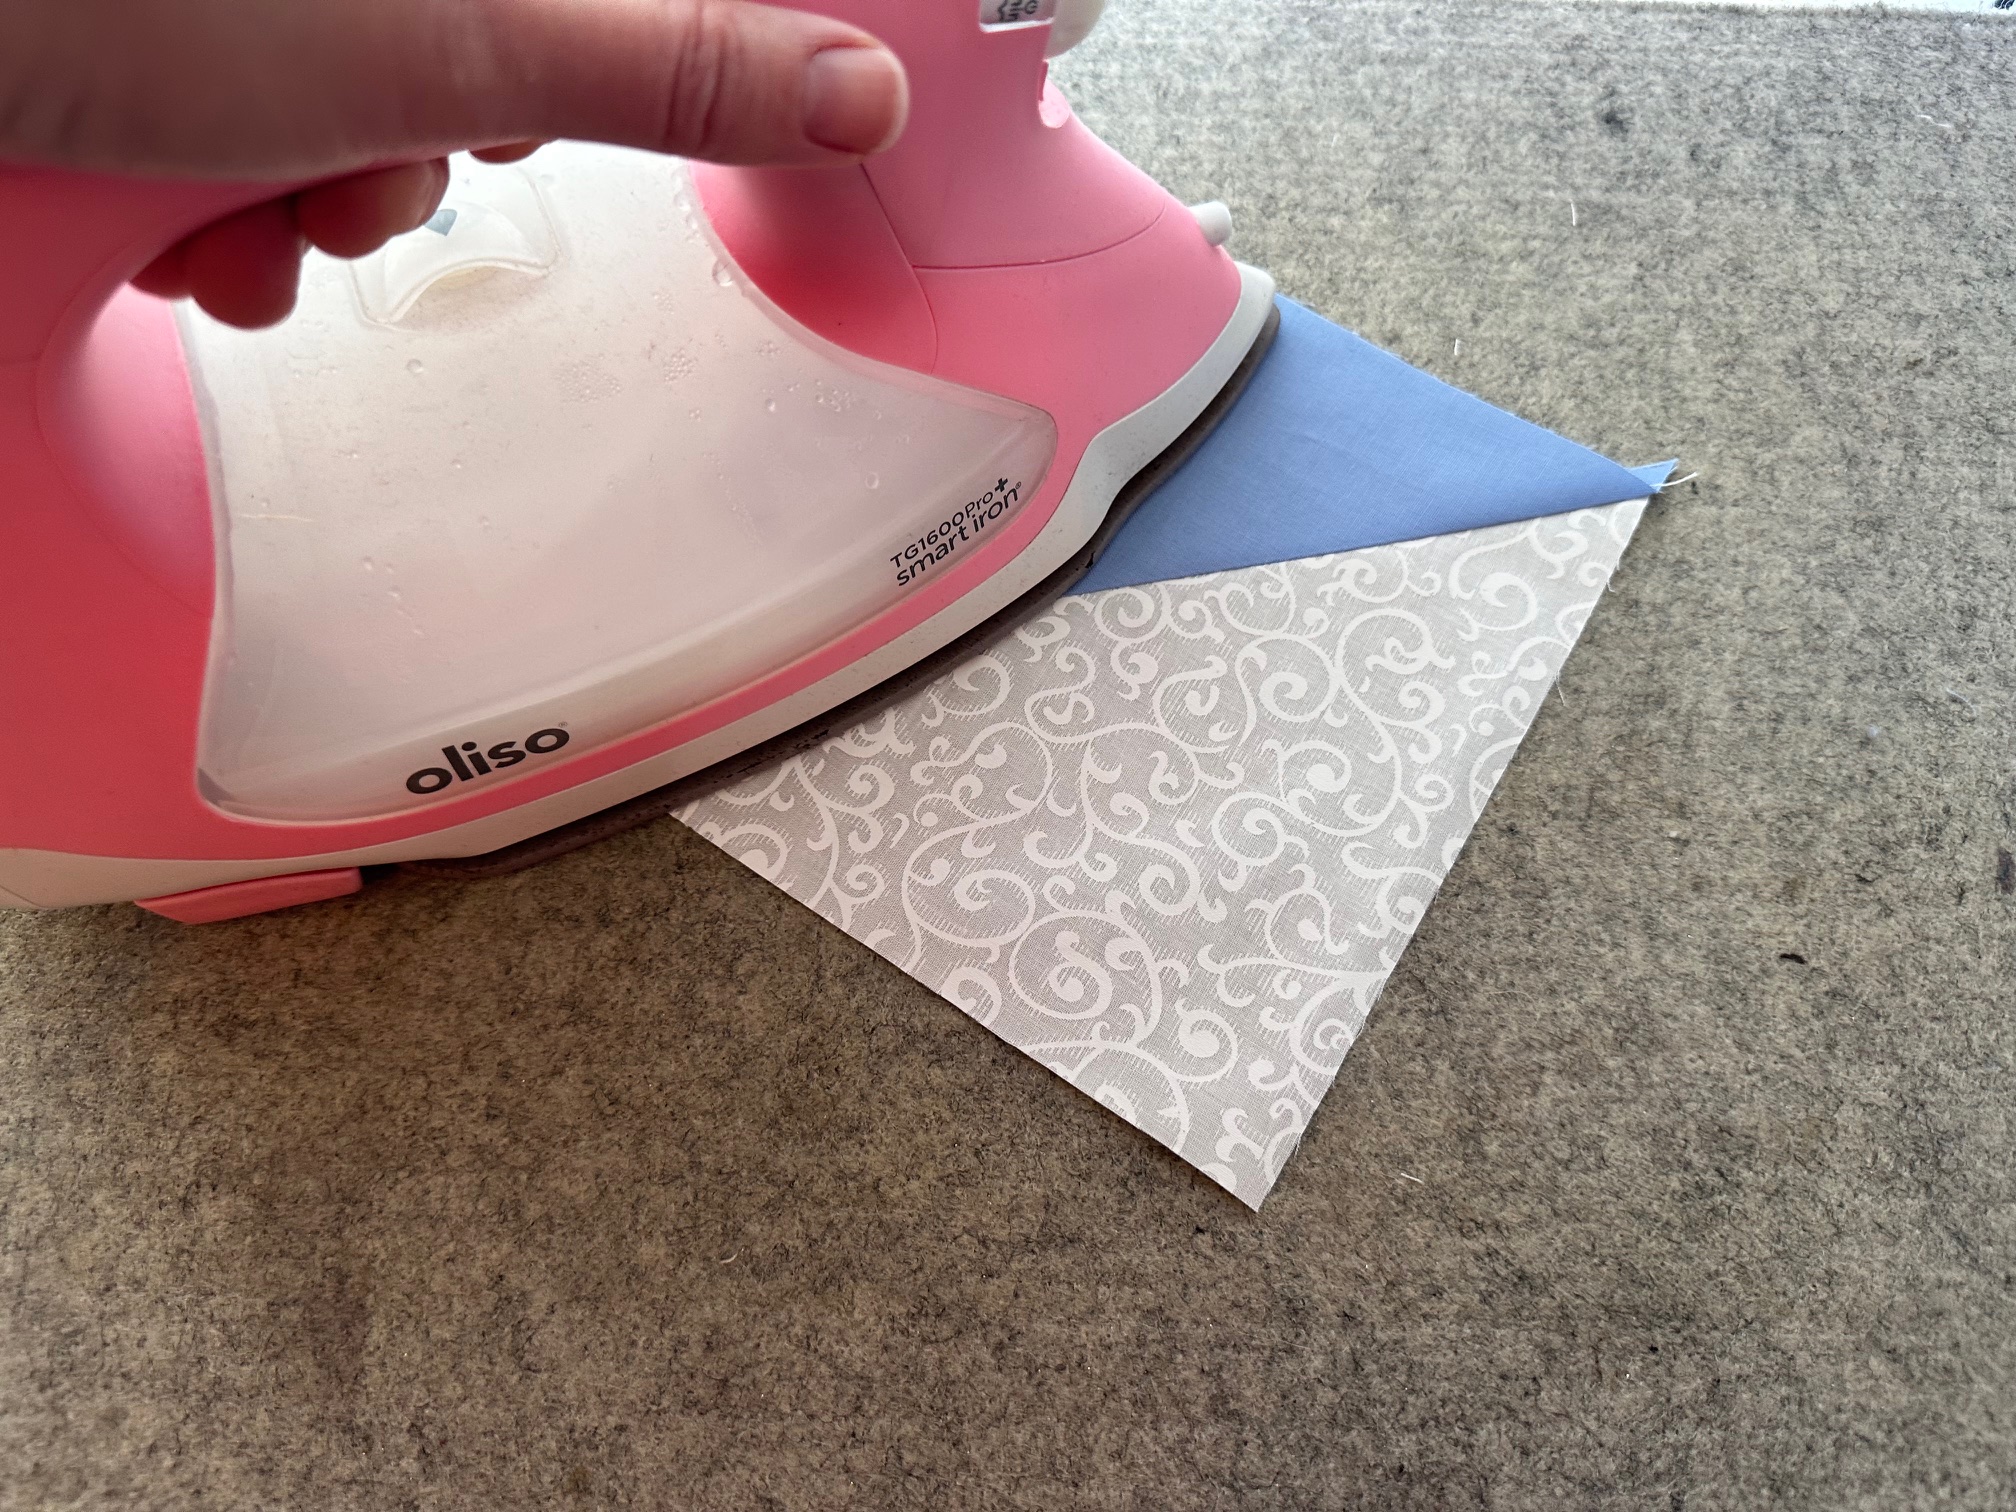
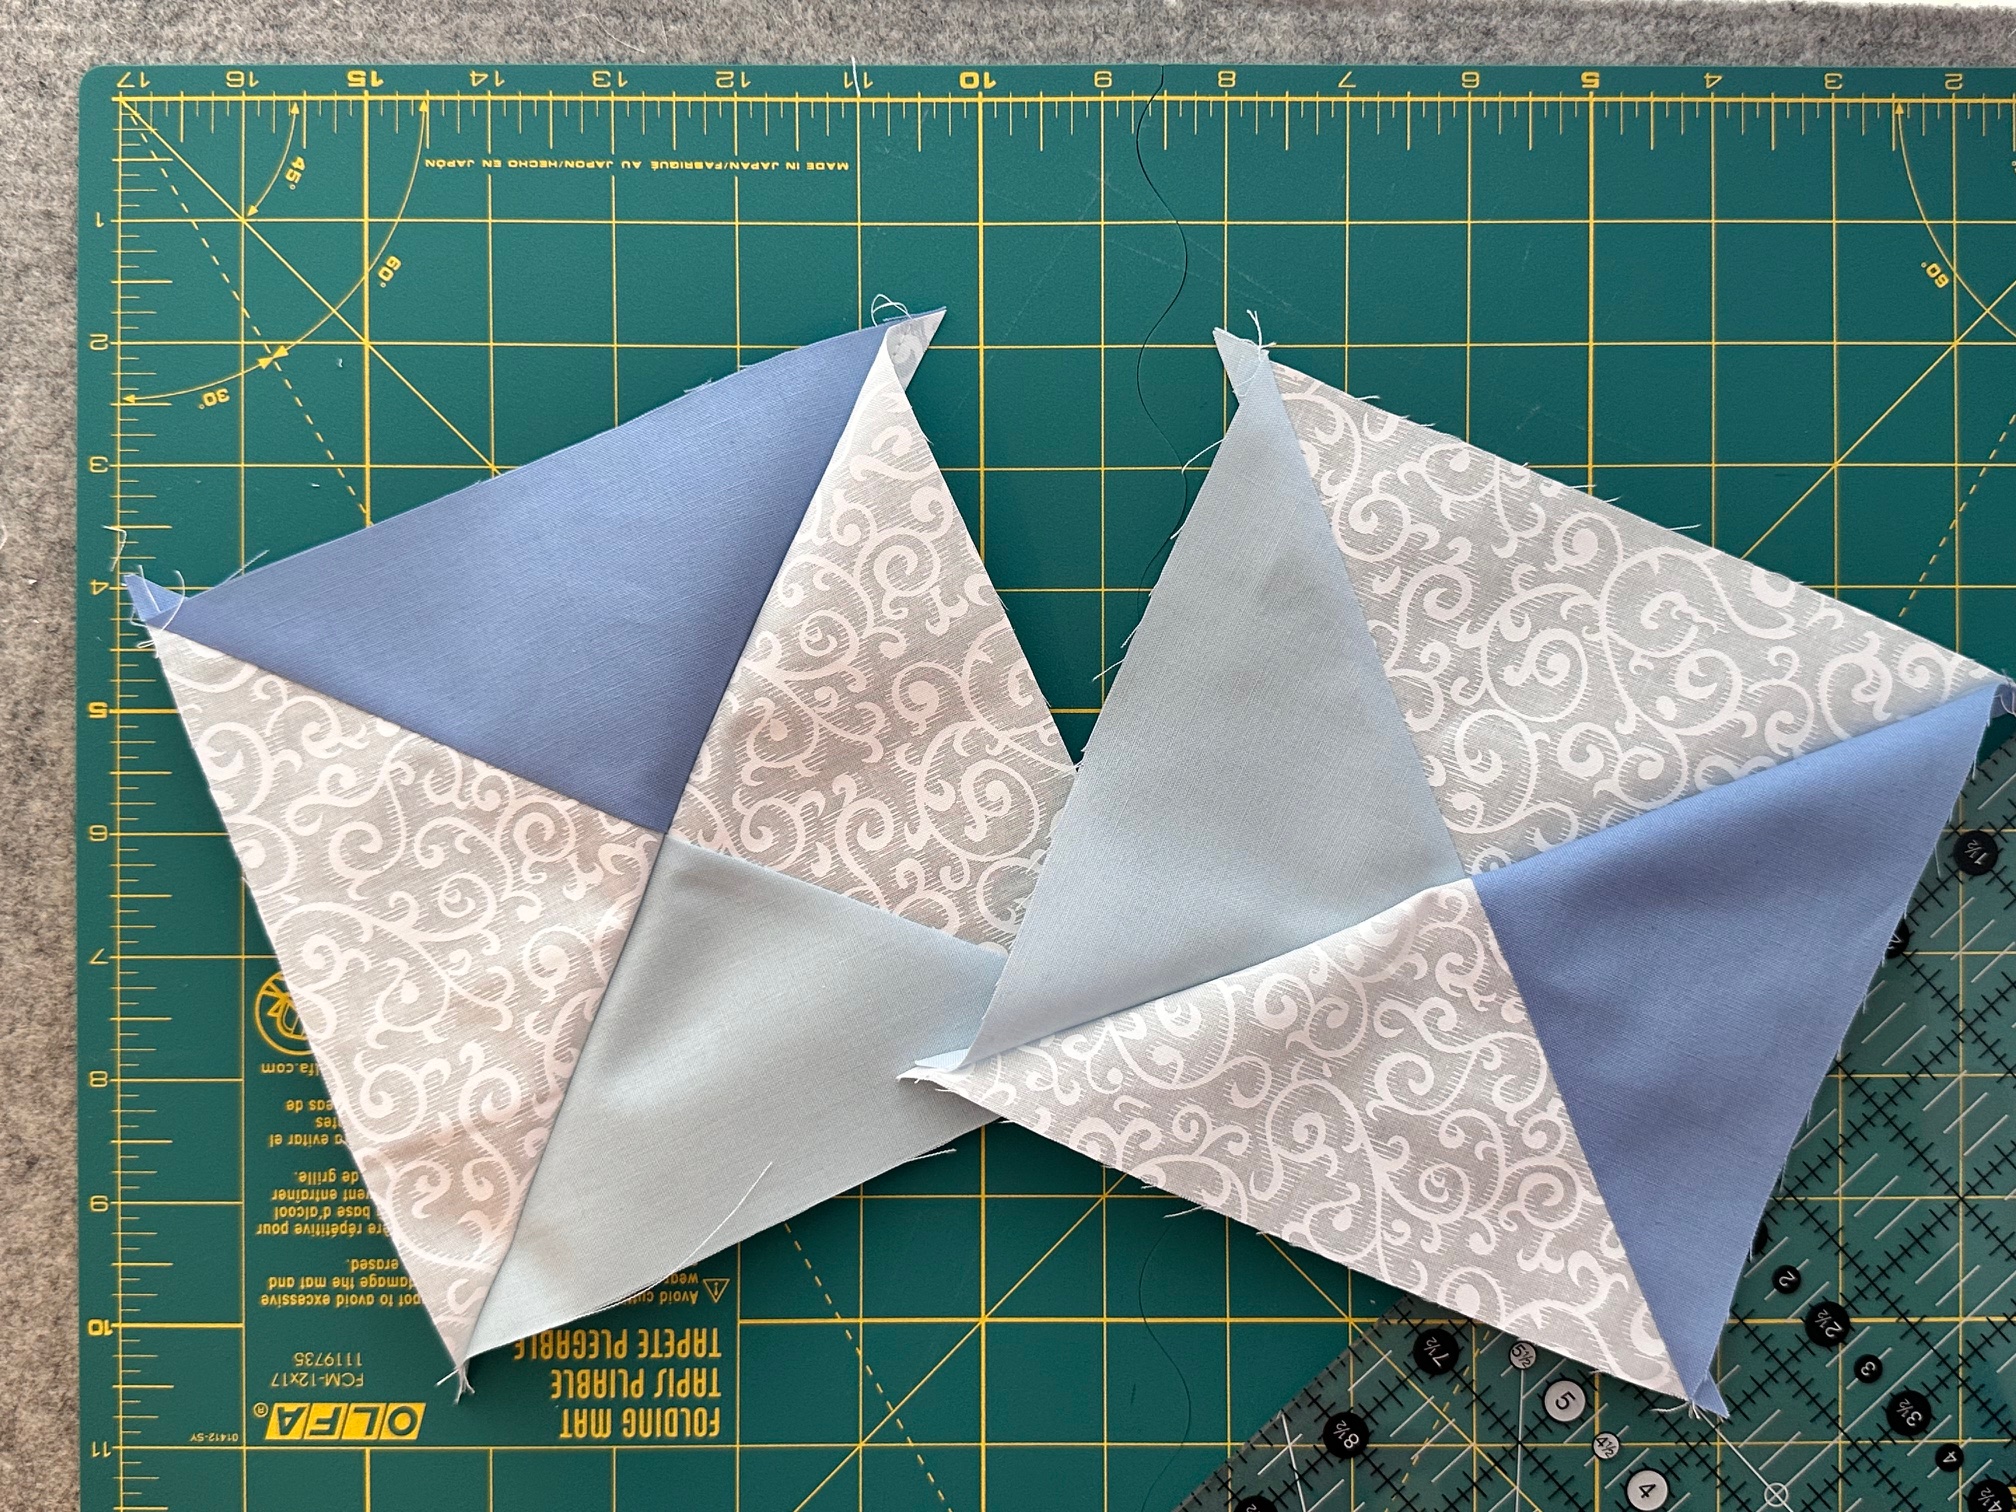
Press your seams. I pressed to the darker fabric.
Next…
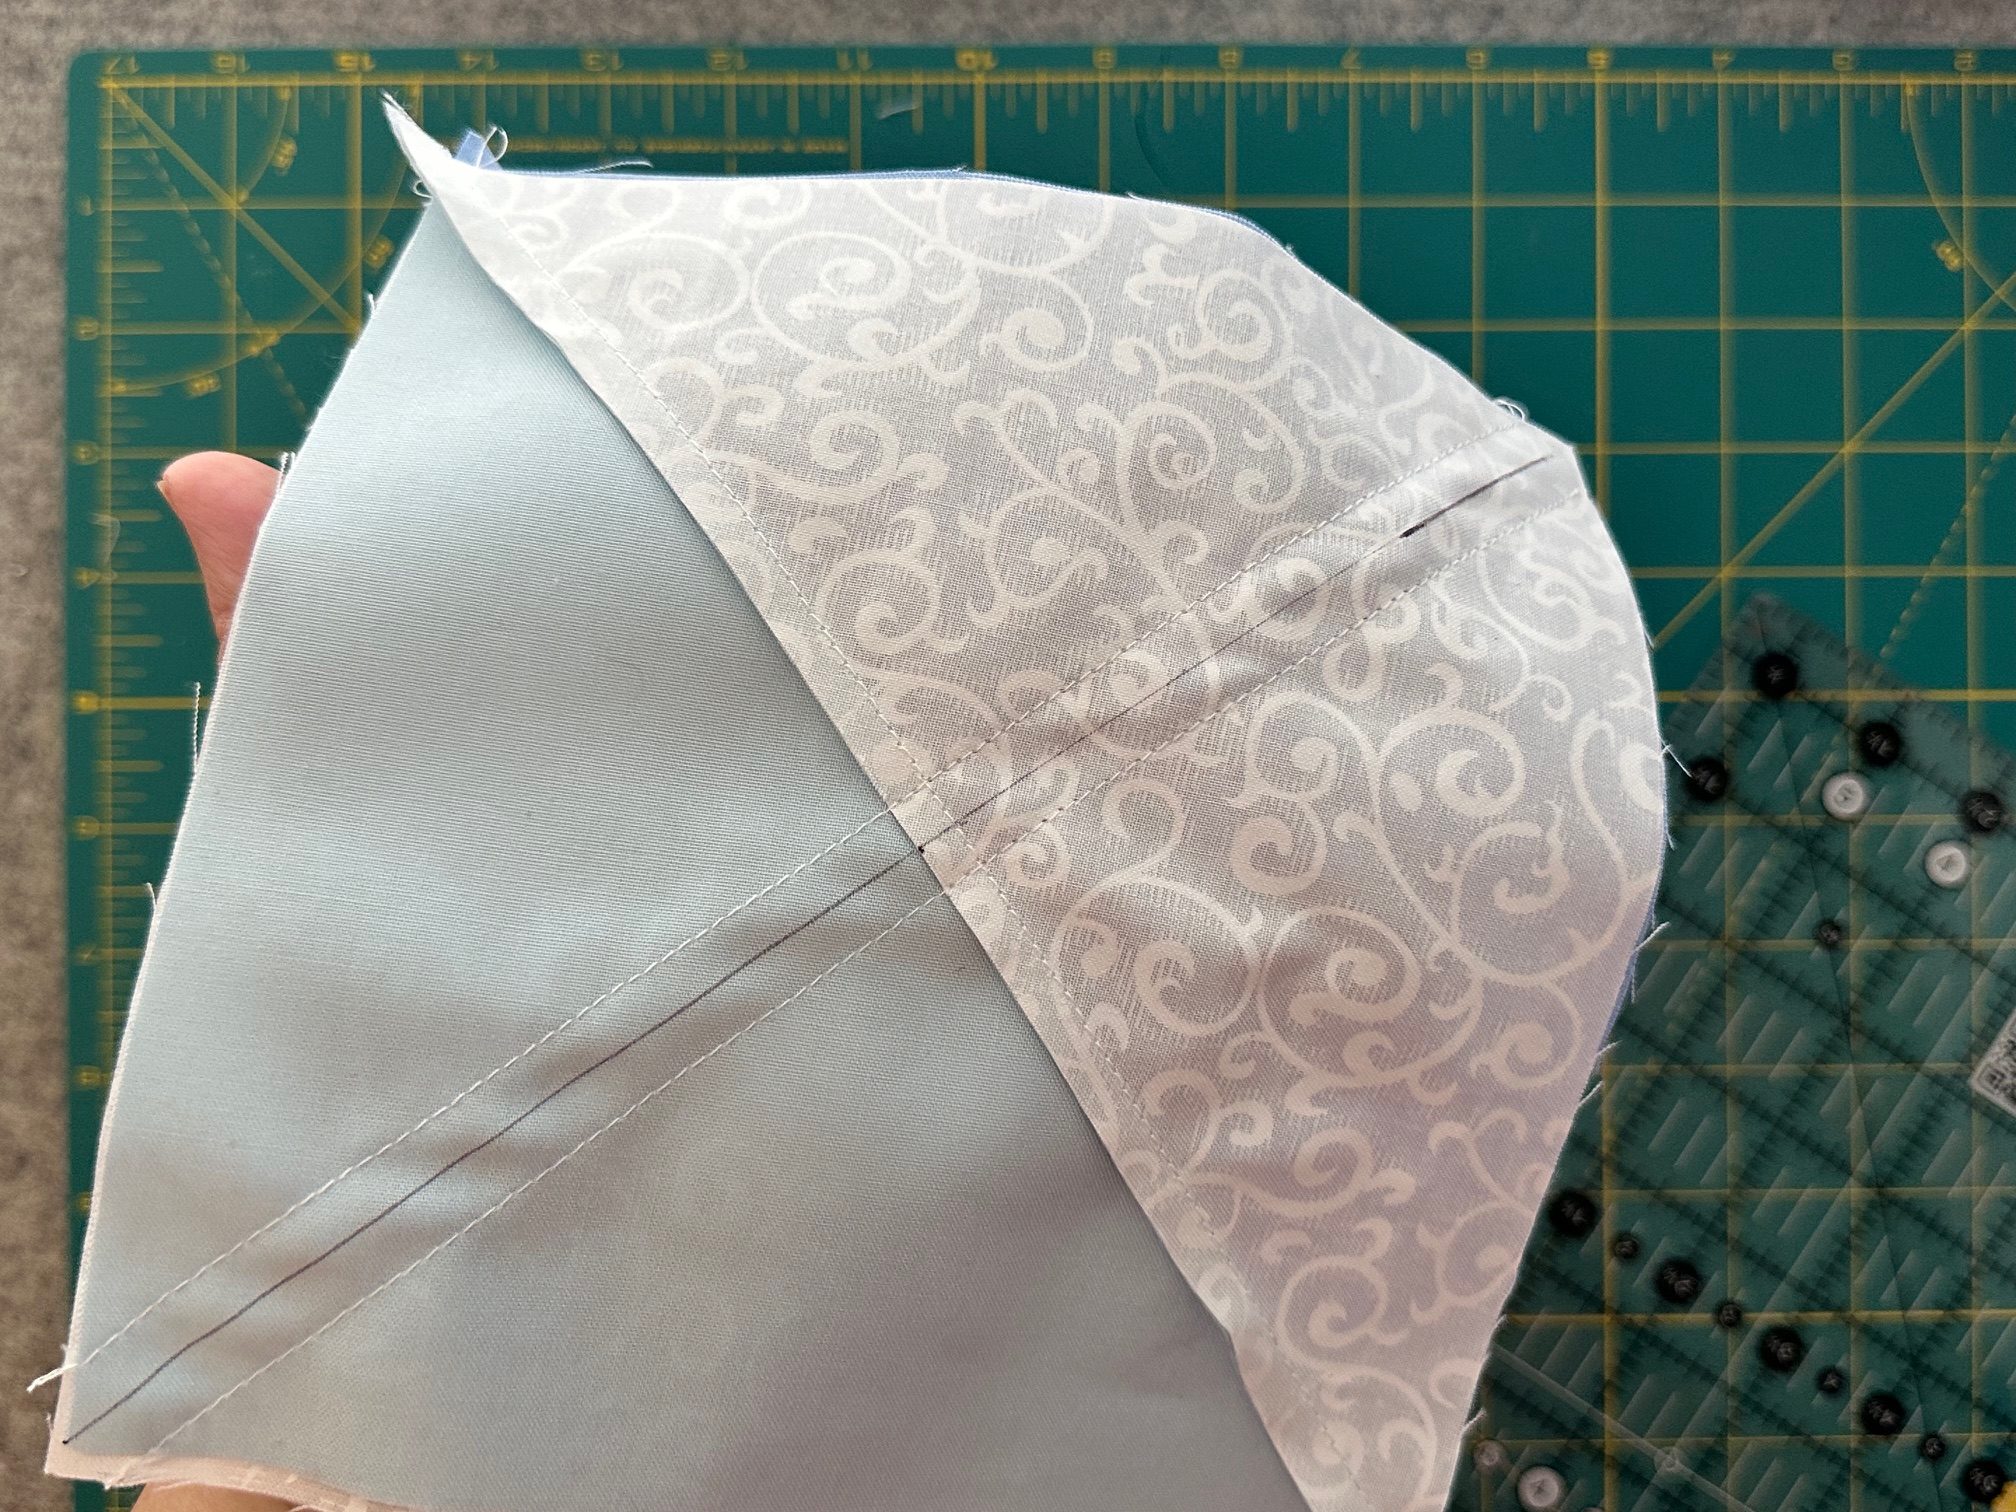
Take one light blue half square triangle and one dark blue half square triangle and arrange them right sides together. Do this for both sets of blocks. Check to make sure the blue fabric creates an hourglass shape as well as the white. See the photo below. Then, draw a diagonal line down the center of these blocks.

Again…
Sew a 1/4″ down on both sides of the drawn line. Cut along the drawn line and press.
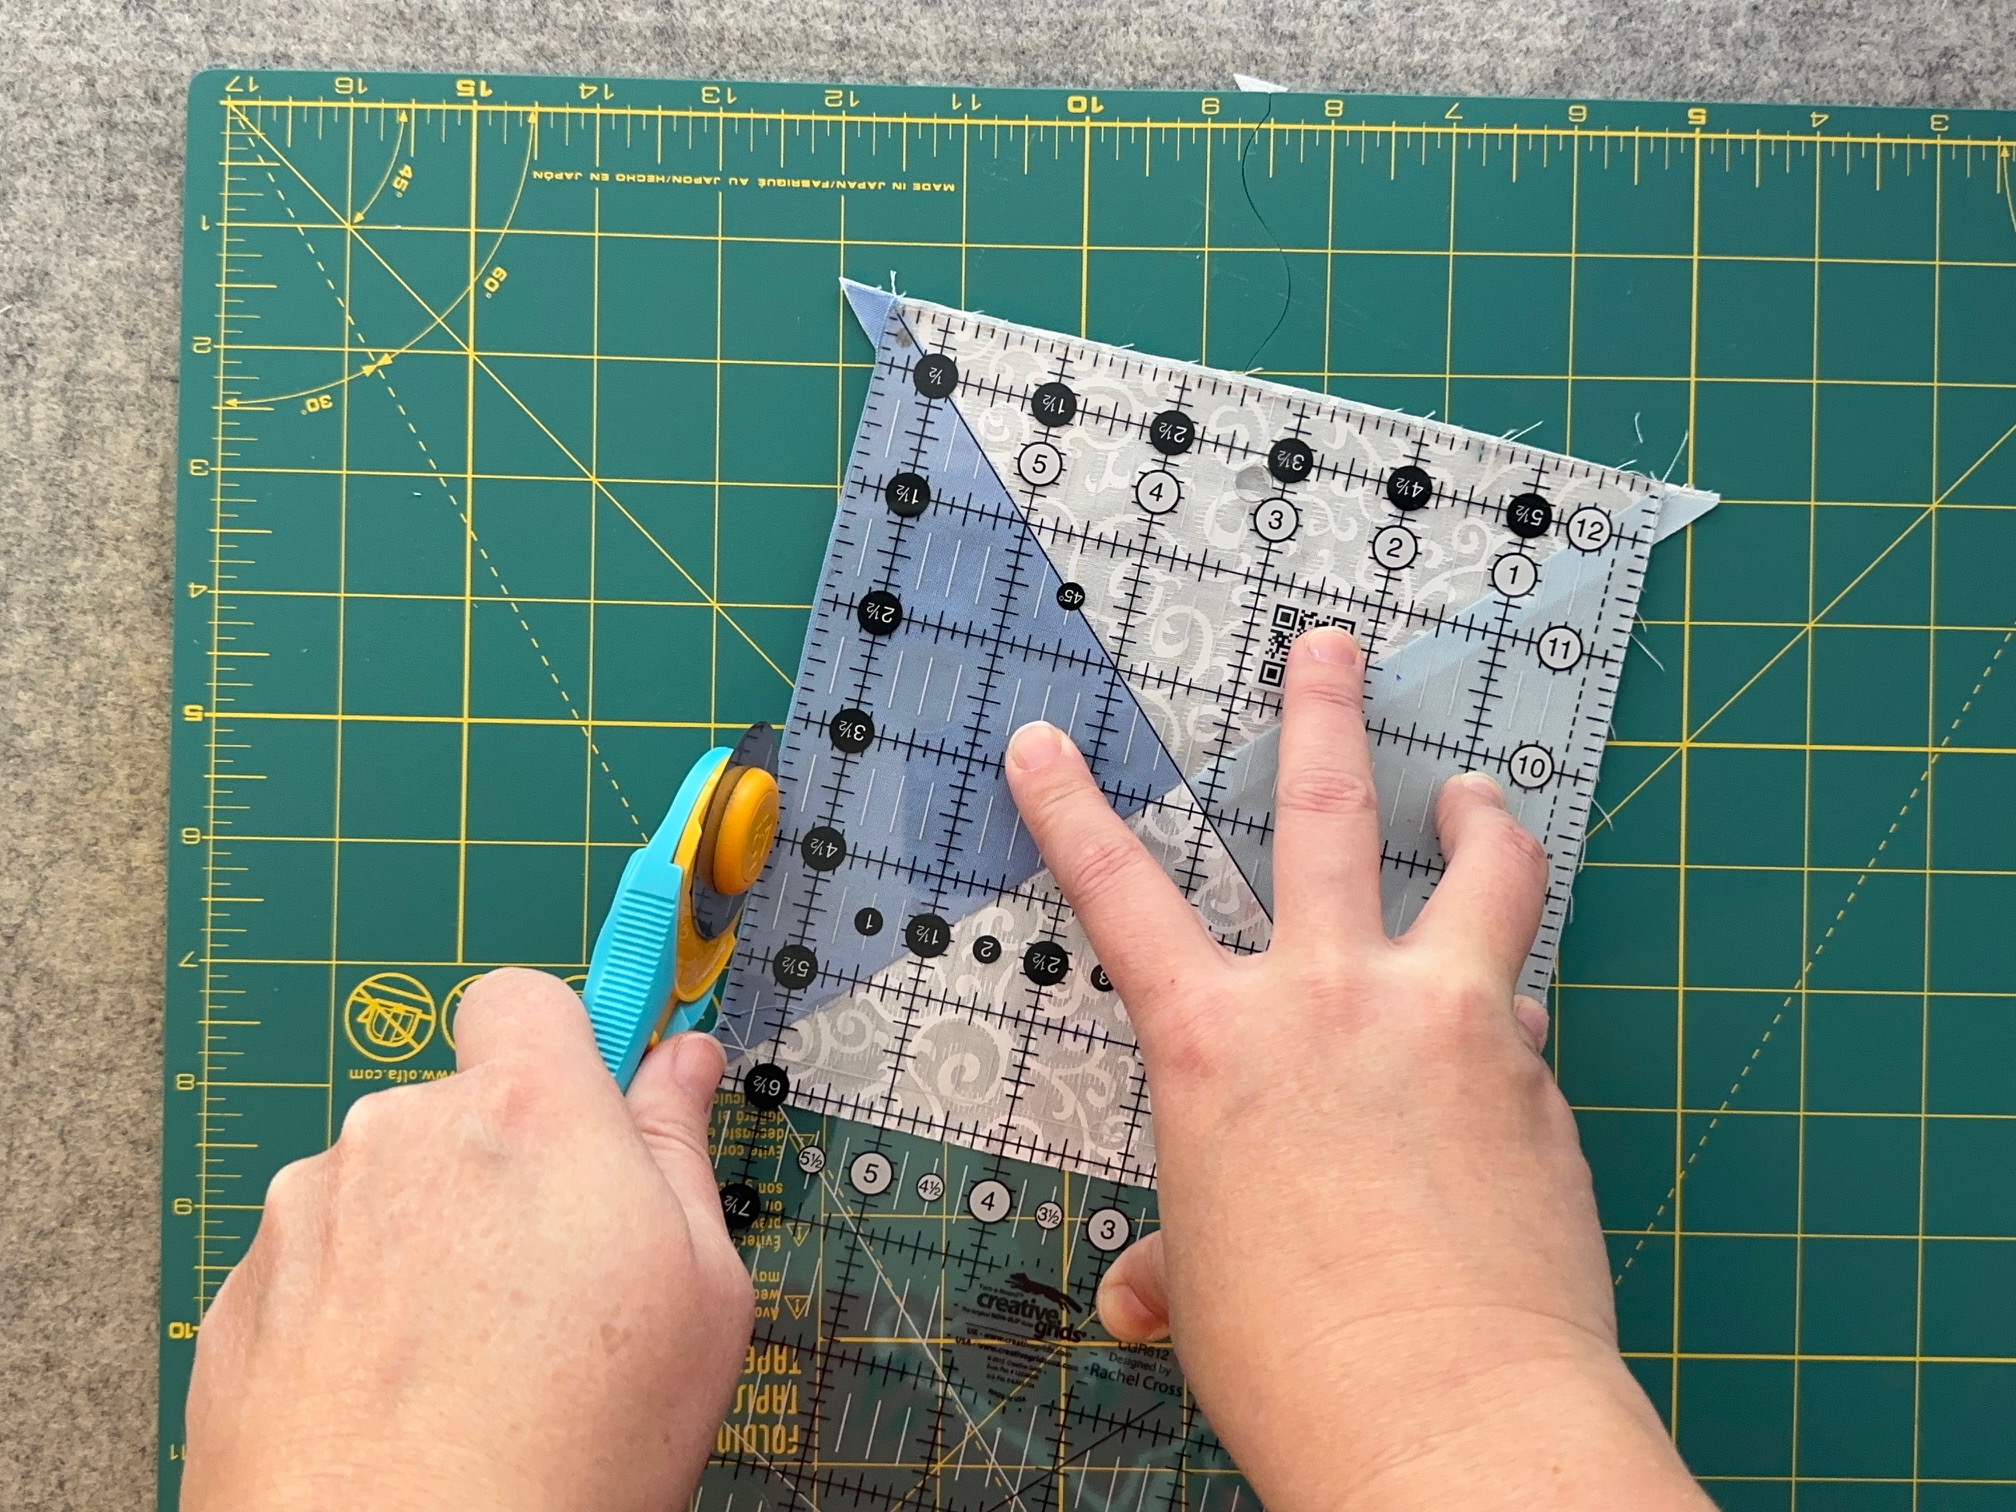
You should now have 2 hourglass blocks. Trim the blocks to 6 1/2″ square.
For additional help, check out this YouTube Skills Tutorial.
Quilt Assembly
Cut out the following strips for the borders:
- (2) 22 1/2″ x 2 1/2″
- (2) 18 1/2″ x 2 1/2″
Once all your blocks are made it is time to assemble to quilt top. Follow the diagrams below for assembly.

Next…
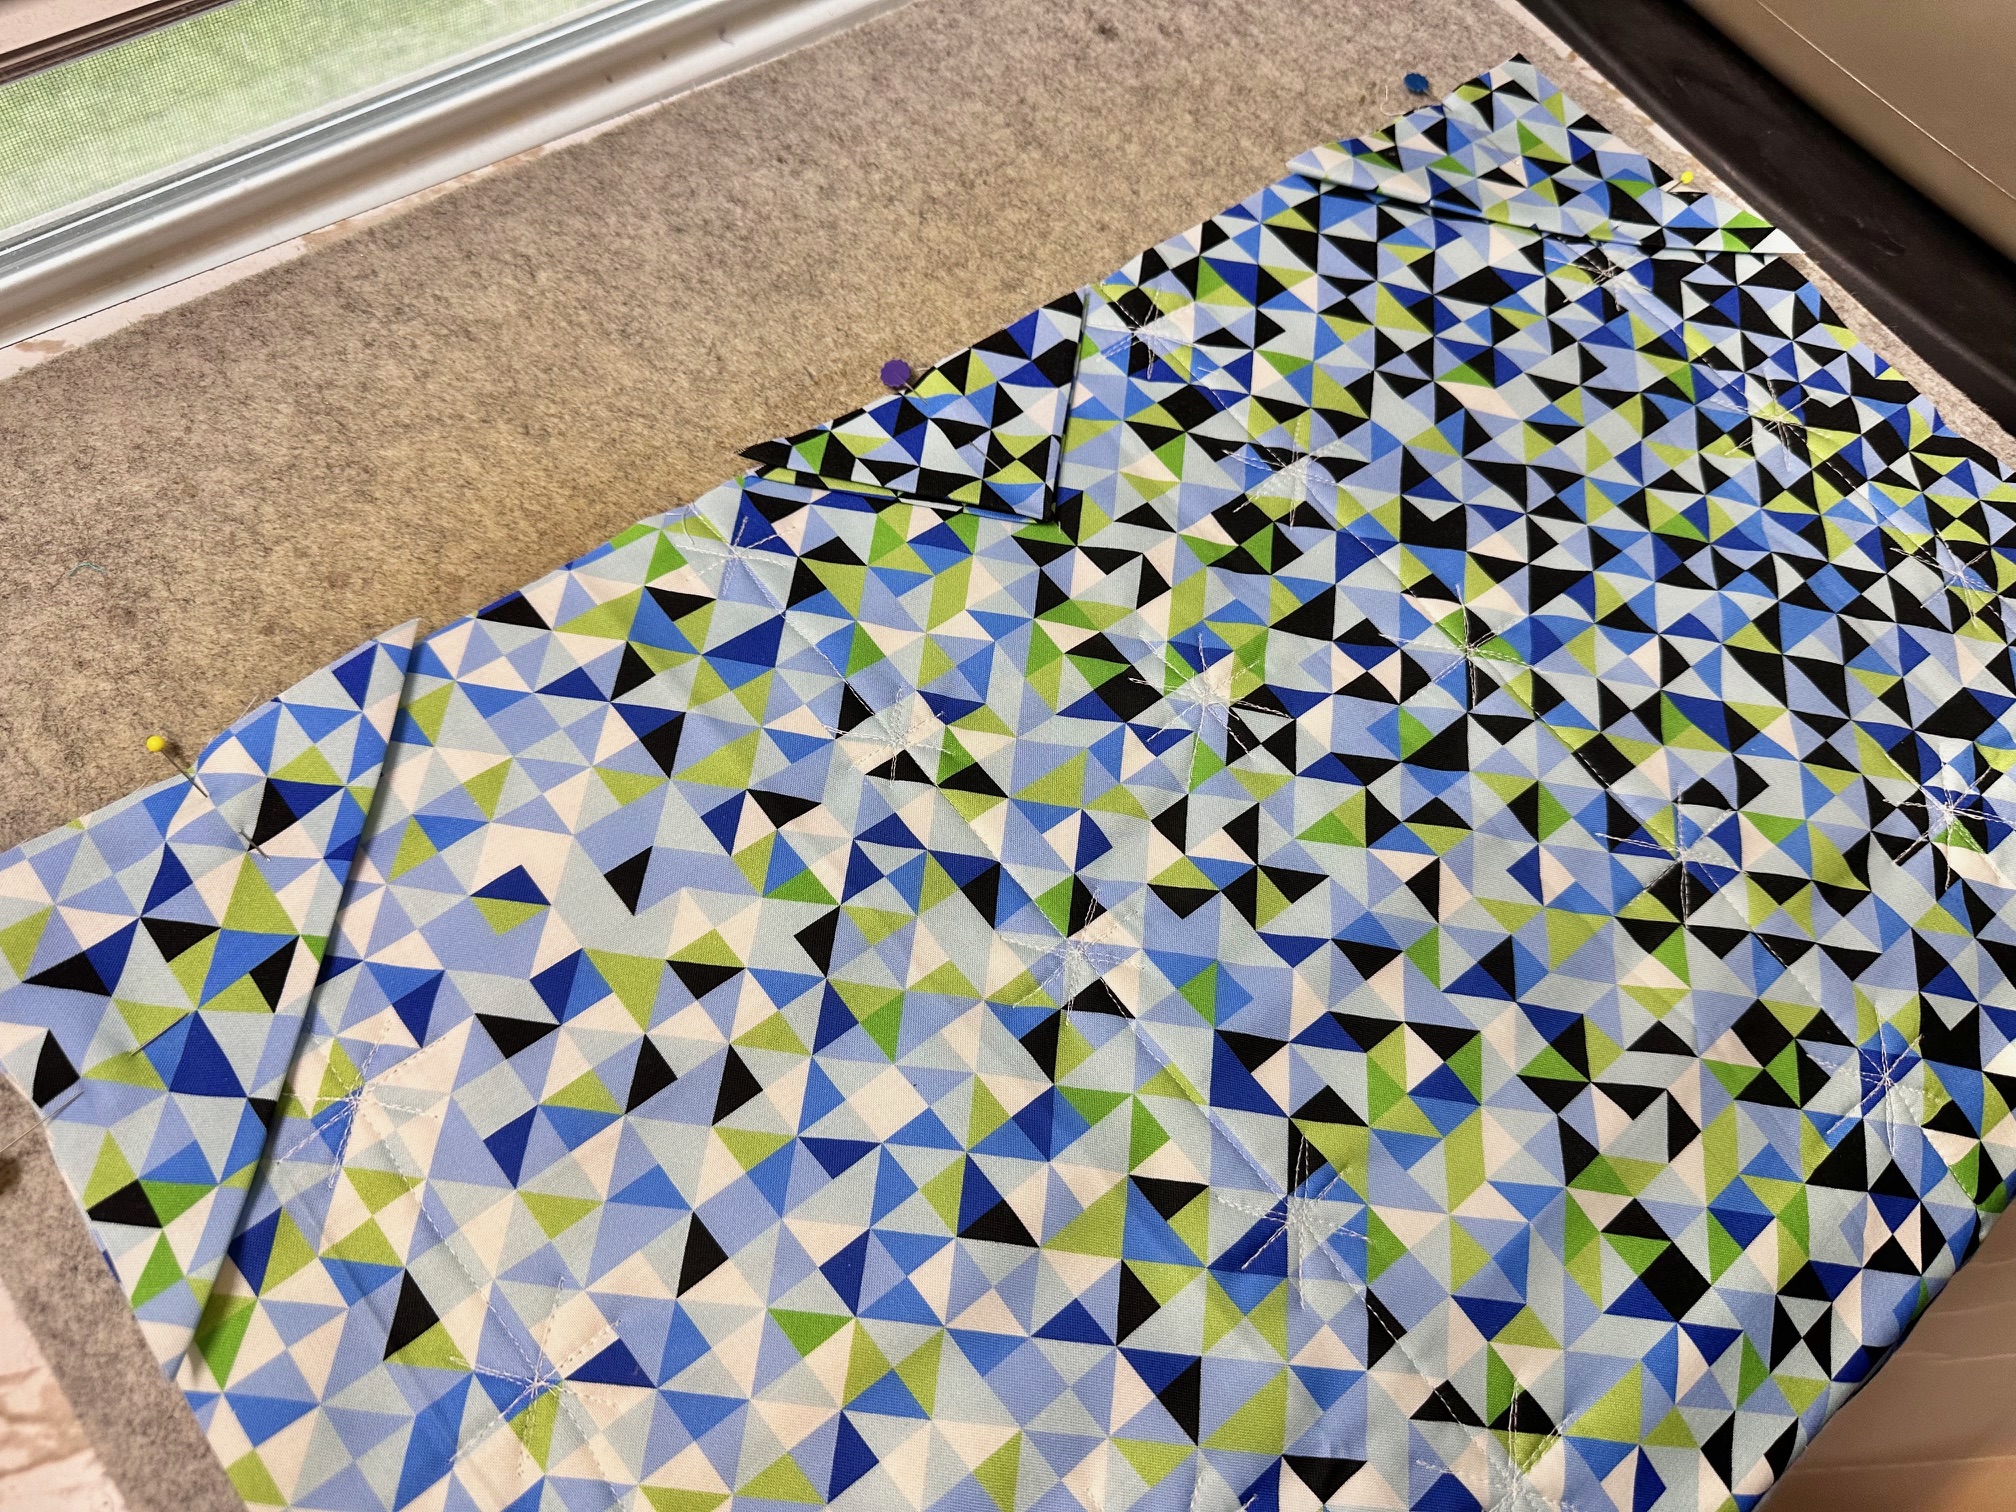
Layer your quilt top, batting and backing together. Baste using SpraynBond Basting Spray.
Then…
Quilt and trim. I quilted using free motion quilting.

Next…
If making this a table topper, simply bind your quilt. If you want to make this a wall hanging, follow the next set of instructions for how to add corner hangers to your quilt.
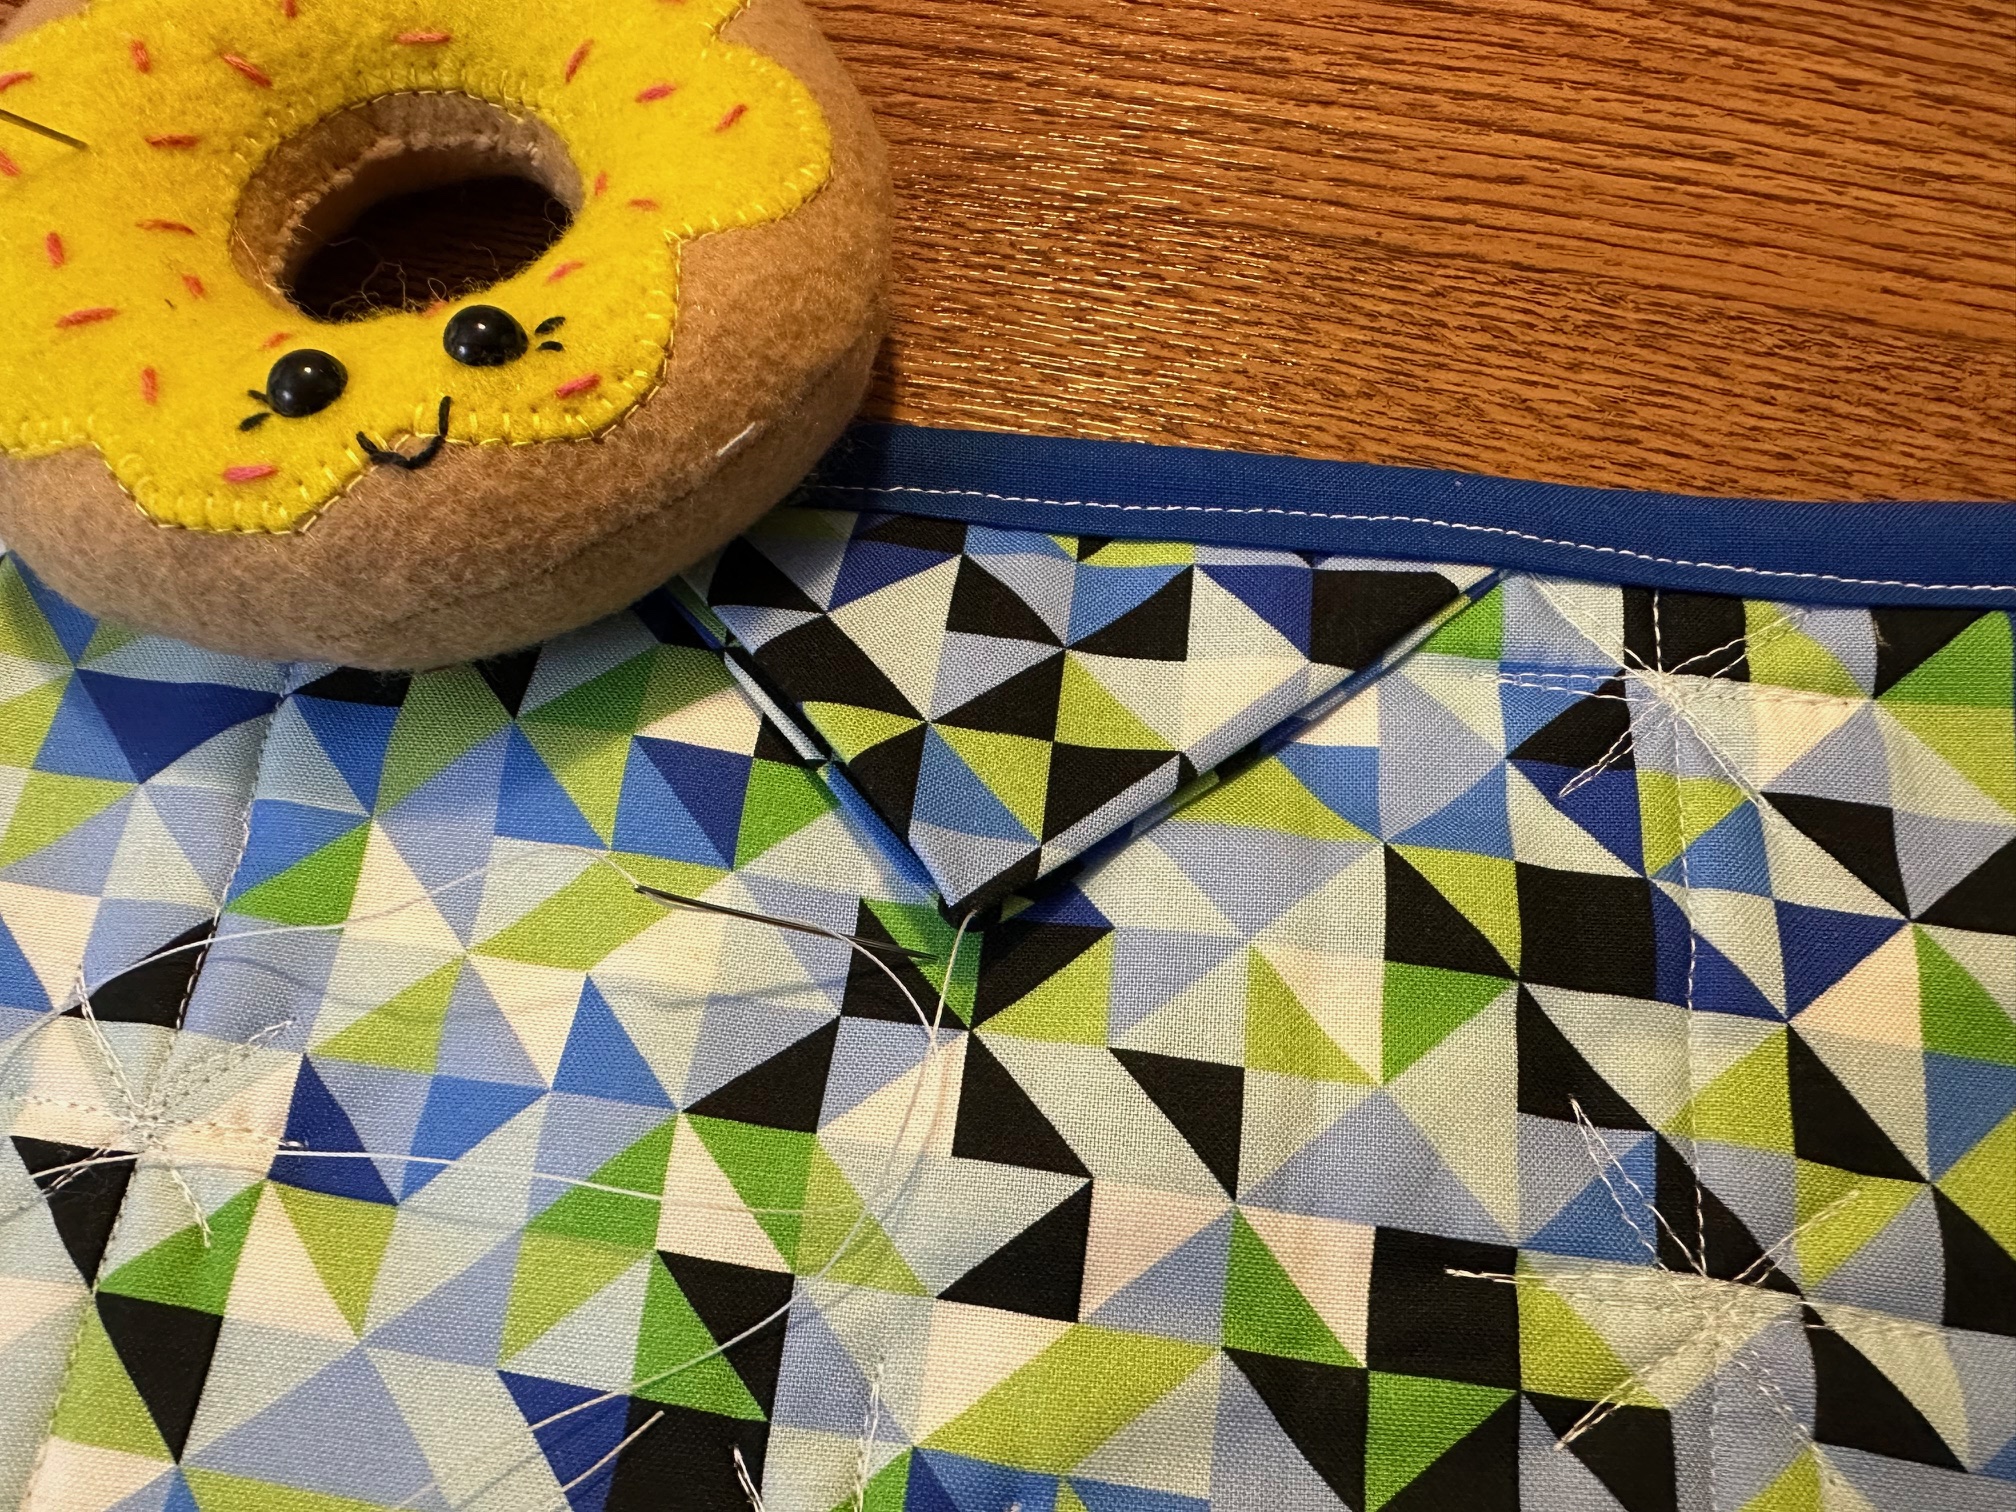
Start by folding all of the 5″ squares in half along the diagonal. The 3rd square will be folded again in half to make a smaller triangle.
Then…
Align your two larger triangles in the top corners of your quilt and pin in place. The smaller triangle will be pinned in the center top of your quilt. Once these are in place, add your binding using your preferred method.
Finally…
Hand stitch the center triangle to the back of the quilt.
Finished!
Thank you for visiting today! Come back soon to see what else will be starting to bloom with Inflorescence Designs!
Starting to bloom by choosing JOY ~ Julia