


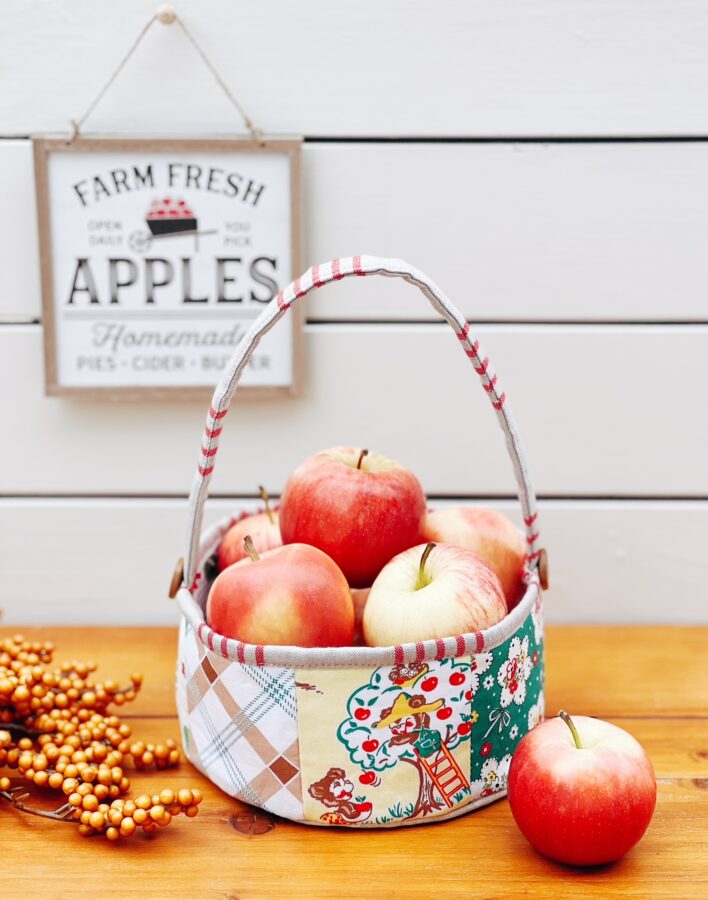
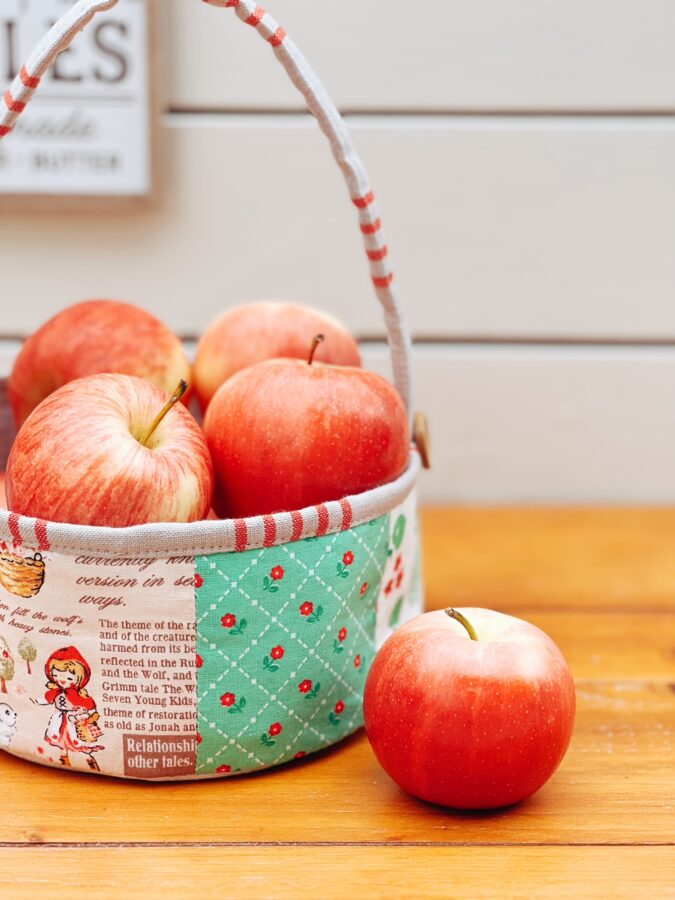
Hello! Happy Fall (finally!). I don’t know about you, but I’m ready for cooler weather, apple donuts, apple pie, and pumpkin everything! I created these small Fall Baskets to decorate your cozy homes, take along with you apple picking, or gift to a friend! I picked out my favorite fall fabrics from my stash to showcase my affinity for everything apples! You can pick your own fabric choices of course and can even make the basket into different seasons with a change of seasonal fabric. So, let’s make this basket!
Fall Basket Instructions
MATERIALS
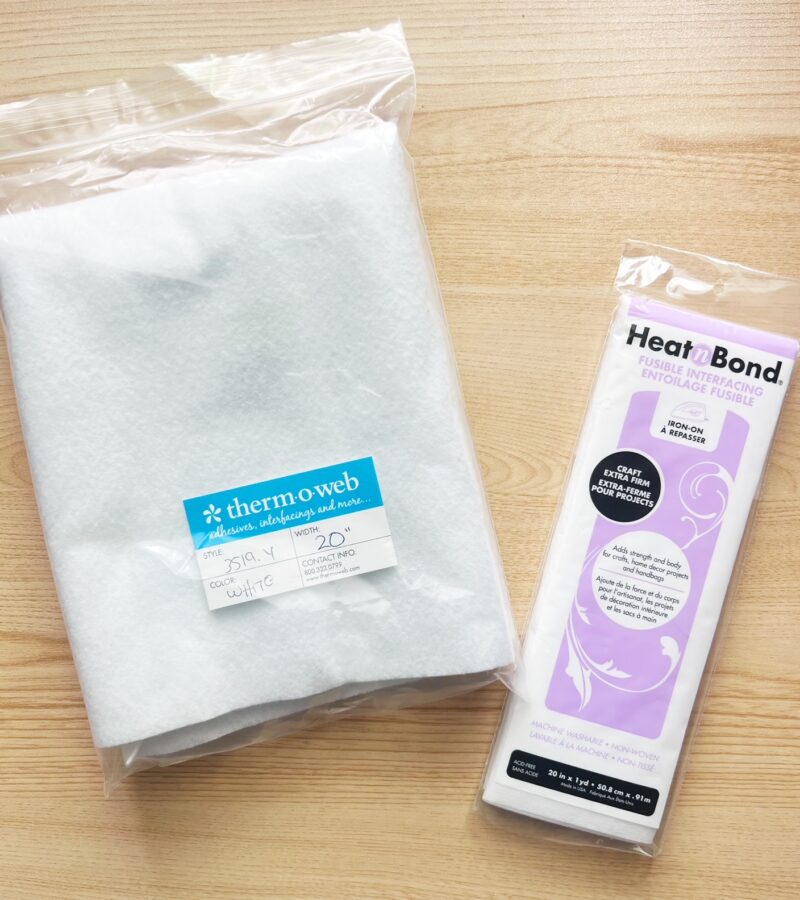
- HeatnBond Fusible Fleece
- HeatnBond Fusible Craft Extra Firm Interfacing
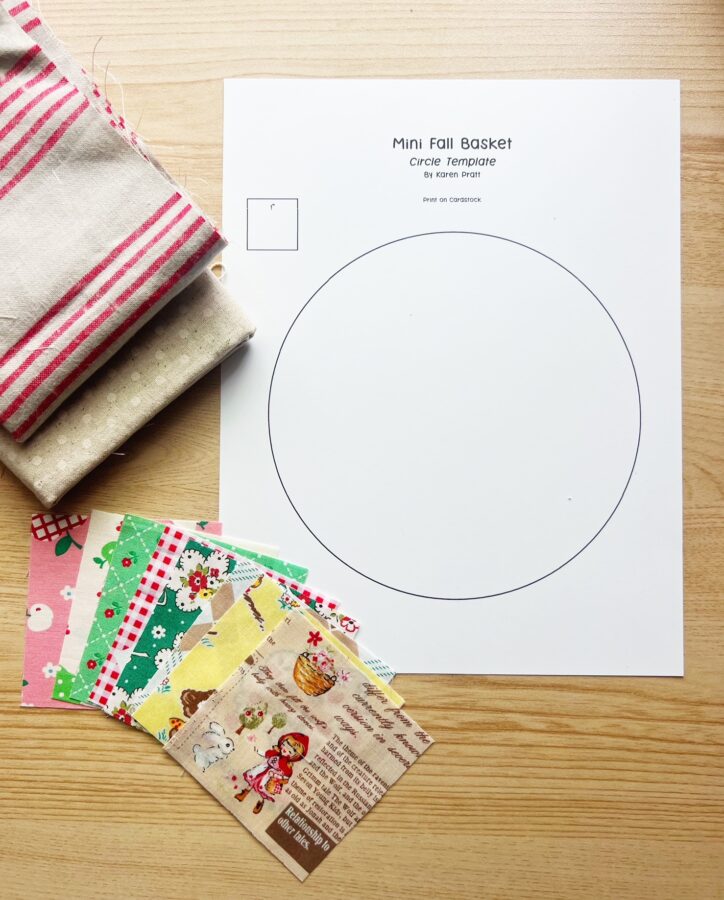
- Several pieces of small cotton (if you have scraps, great!)
- One fat quarter – for the inner body and bottoms of basket
- One fat eighth – for the binding and handle
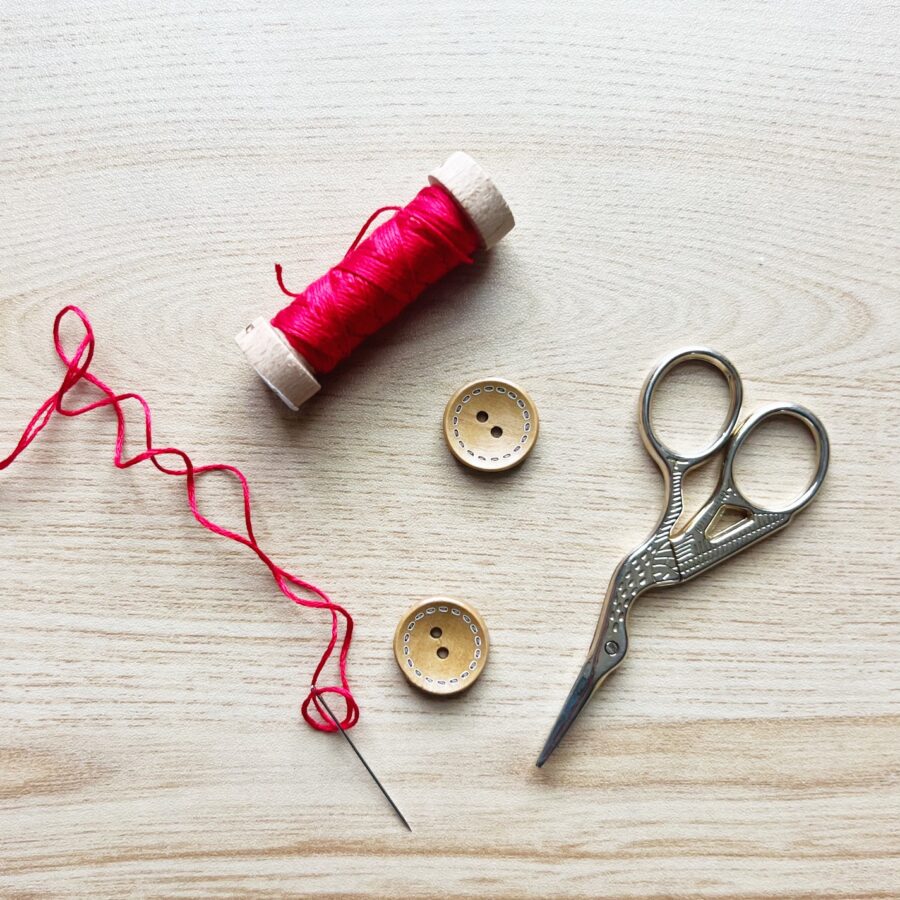
- Two decorative buttons (optional)
- Provided circle template for basket – print onto cardstock – CLICK HERE FOR TEMPLATE
TOOLS USED
- Turn point tool (such as a stiletto or chopstick) – to push out seams of basket
- Iron – I love Oliso!
- Embroidery needle – for optional buttons
CUTTING
- Seven 3 1/2″ x 3 1/2″ cotton squares – for the outer basket
- One 3 1/2″ x 21 1/4″ piece of cotton – for the inner basket
- One 3 1/2″ x 21 1/4″ HeatNBond Fusible Fleece – for the outer body
- One 3 1/2″ x 21 1/4″ HeatNBond Fusible Interfacing for the inner body
- Two 7 x 7” pieces of cotton – for the inner and outer bottom of the basket
- One 7″ x 7″ HeatNBond Fusible Fleece – for the outer bottom
- One 7″ x 7″ HeatNBond Fusible Interfacing – for the inner bottom
- One 2 1/4” x 22” cotton piece and HeatNBond Fusible Fleece – for the top binding of the basket
- One 3″ x 15″ cotton piece – for the handle
- One 3″ x 15″ HeatNBond Fusible Fleece – for the handle
TIPS
- Use a ¼” seam allowance unless otherwise noted
- Baste stitch uses a 3/16” seam allowance or the farthest stitch to the right on your sewing machine
LET’S BEGIN!
CREATE THE BASKETS OUTER BODY
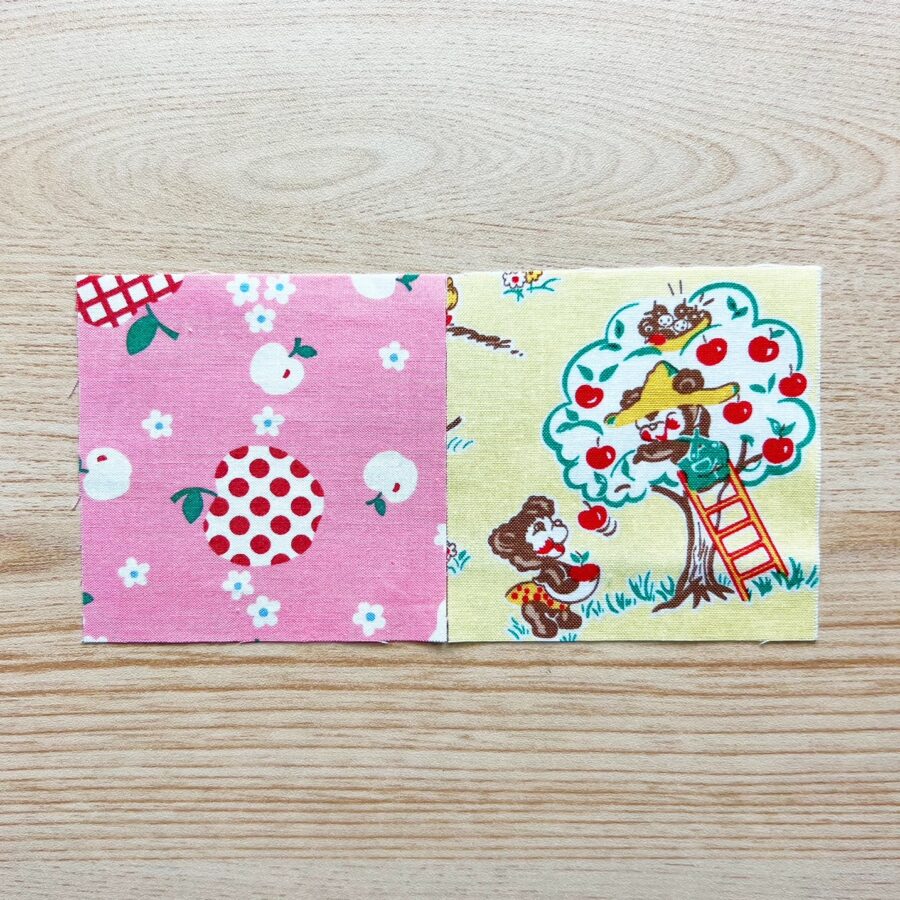
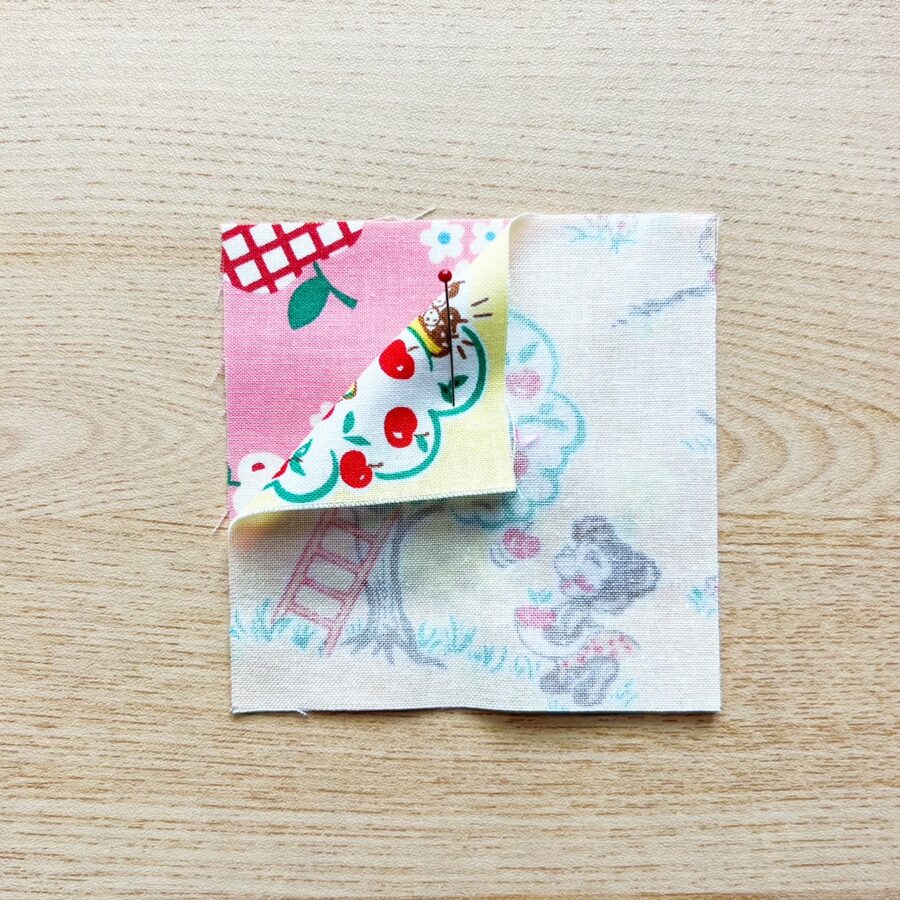
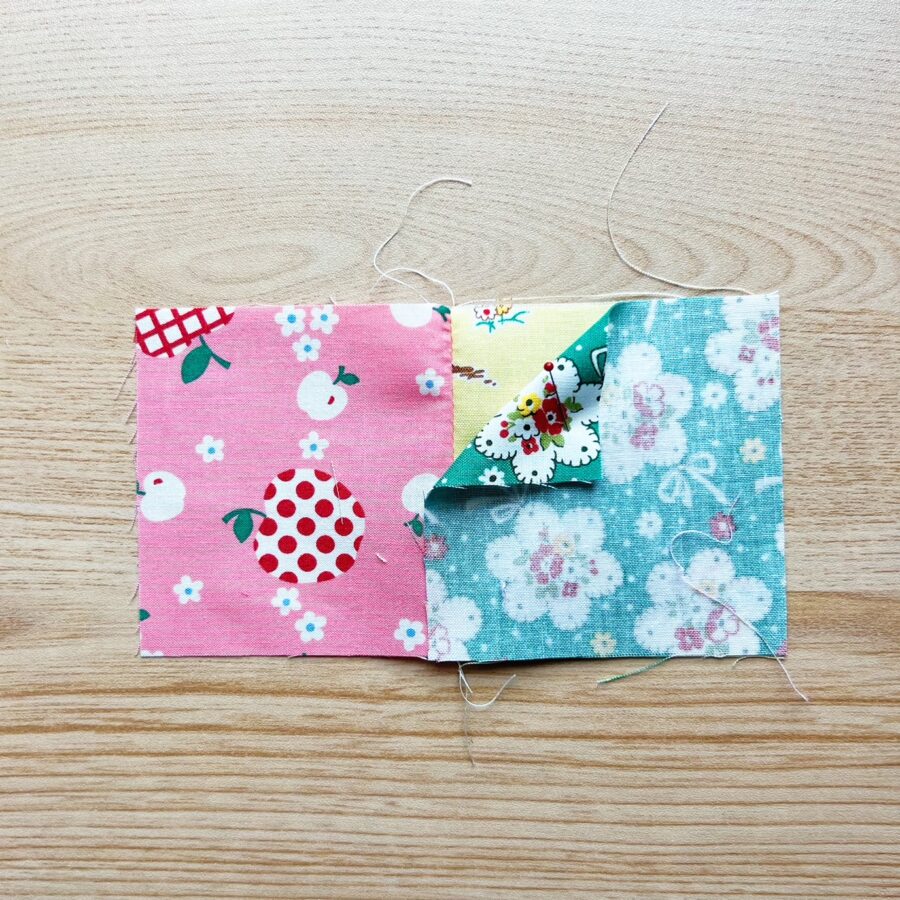
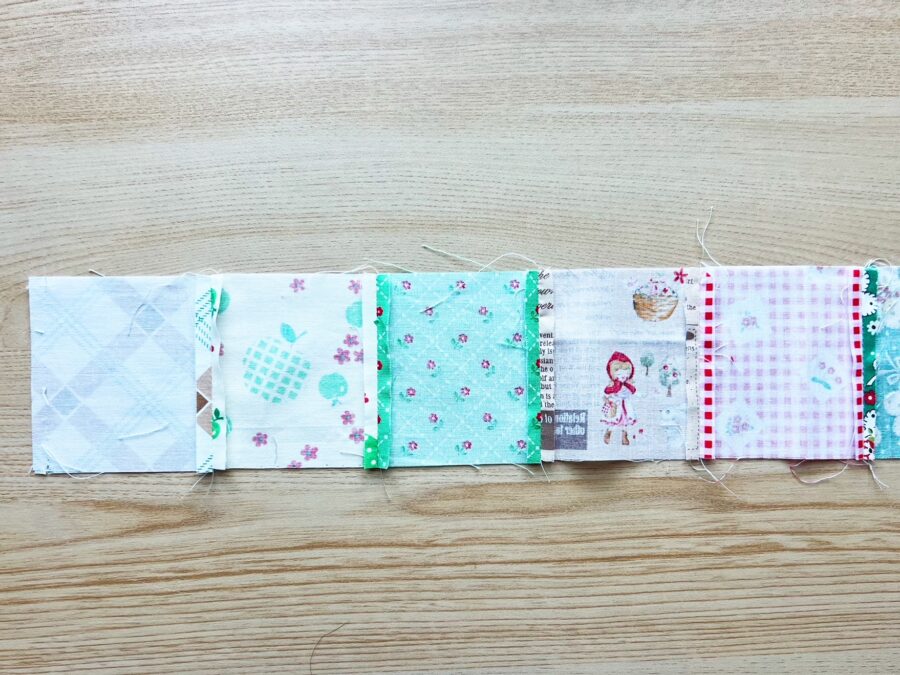
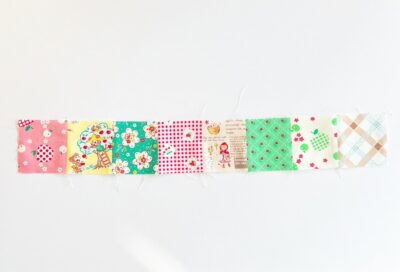
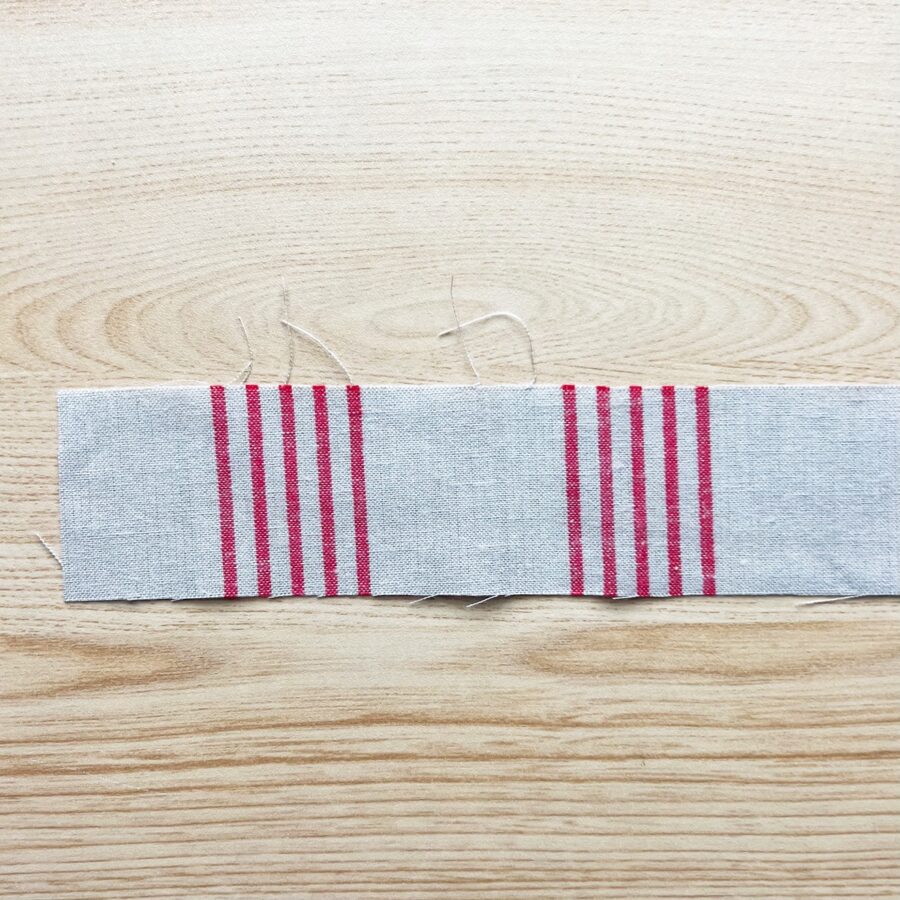
- Take two 3 1/2″ x 3 1/2″ cotton squares and lay one on top of the other with wrong sides will be facing out). Sew a 1/4″ seam on the right side. Open the seam and press. Sew the remaining five 3 1/2″ cotton squares, onto the panel, opening the seams as you go. When done, you should have a sewn seven piece long panel that measures 3 1/2″ x 21 1/4 long.
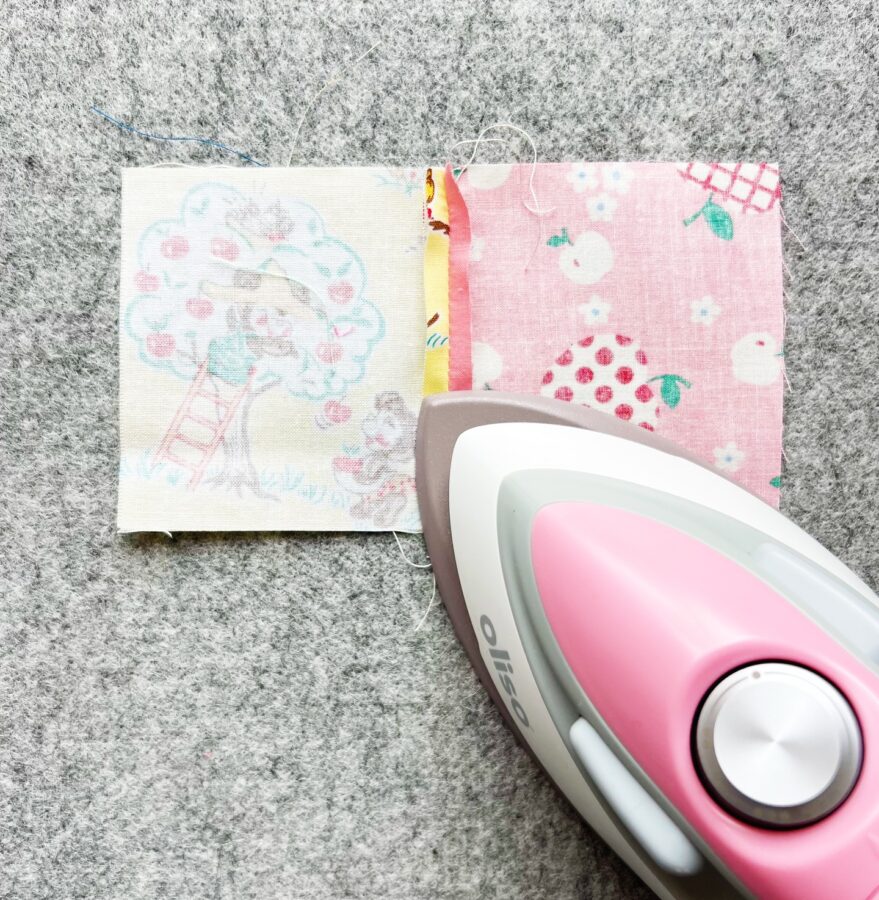
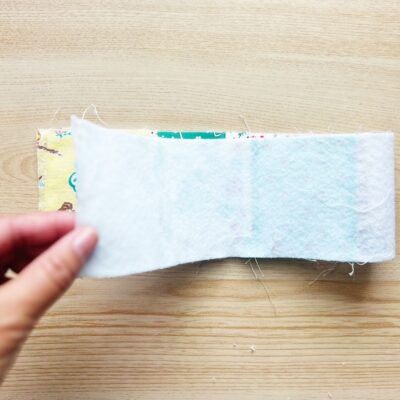
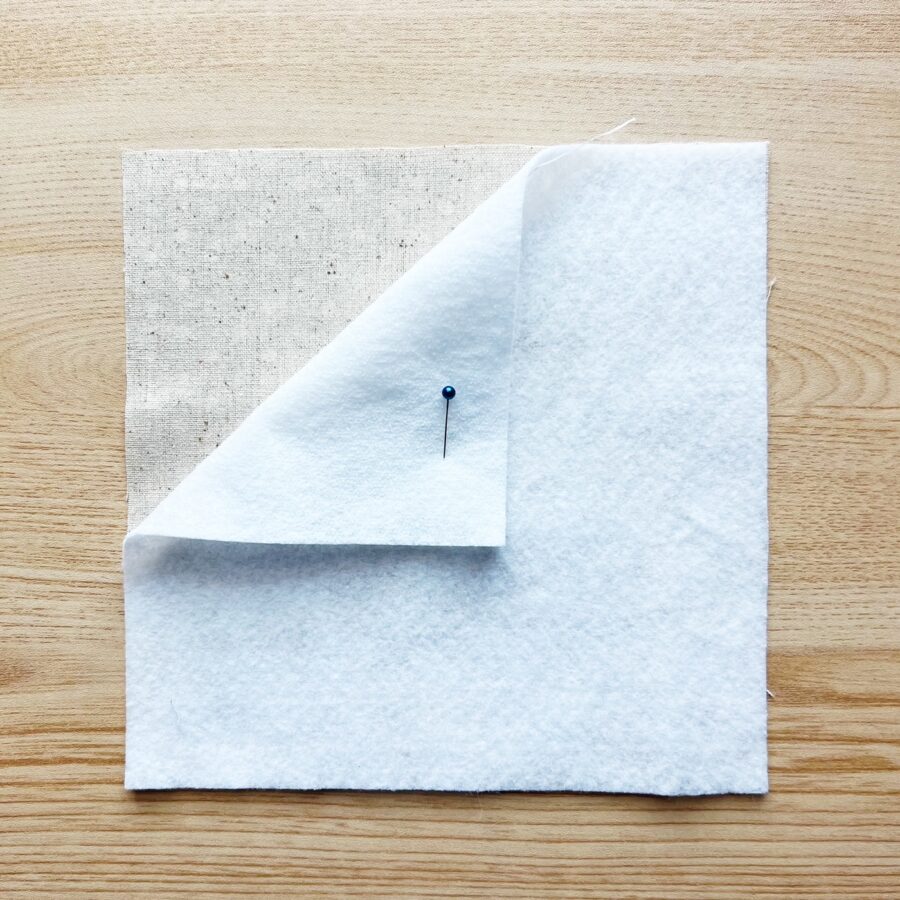
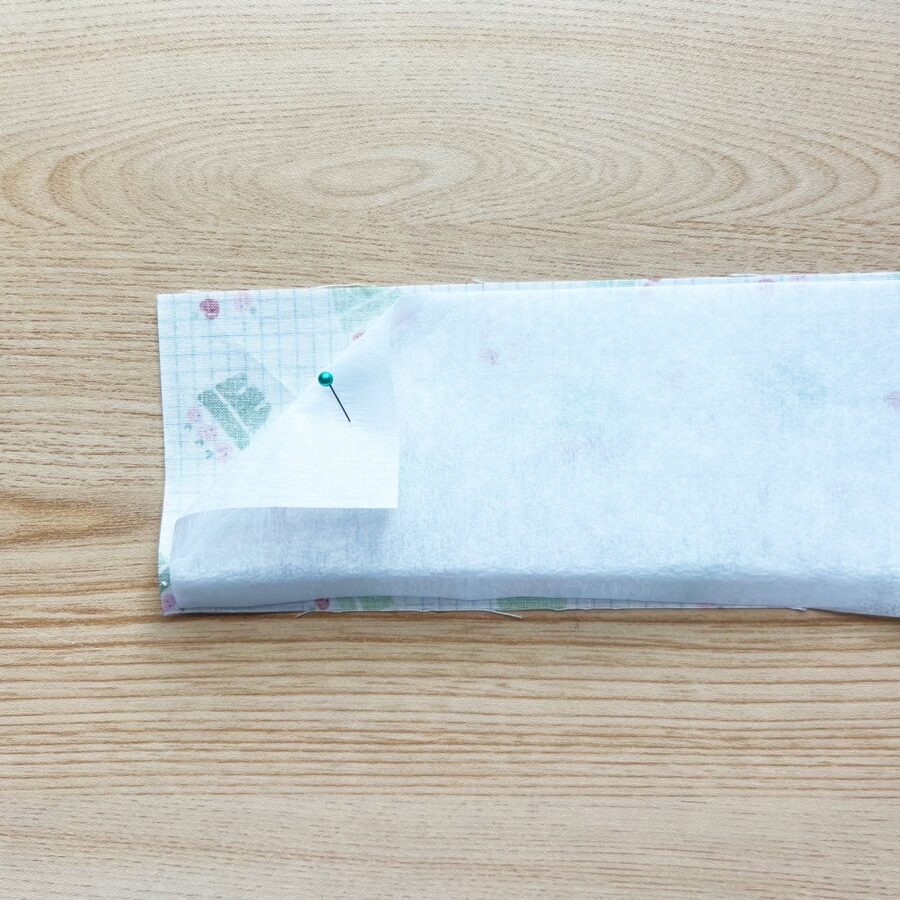
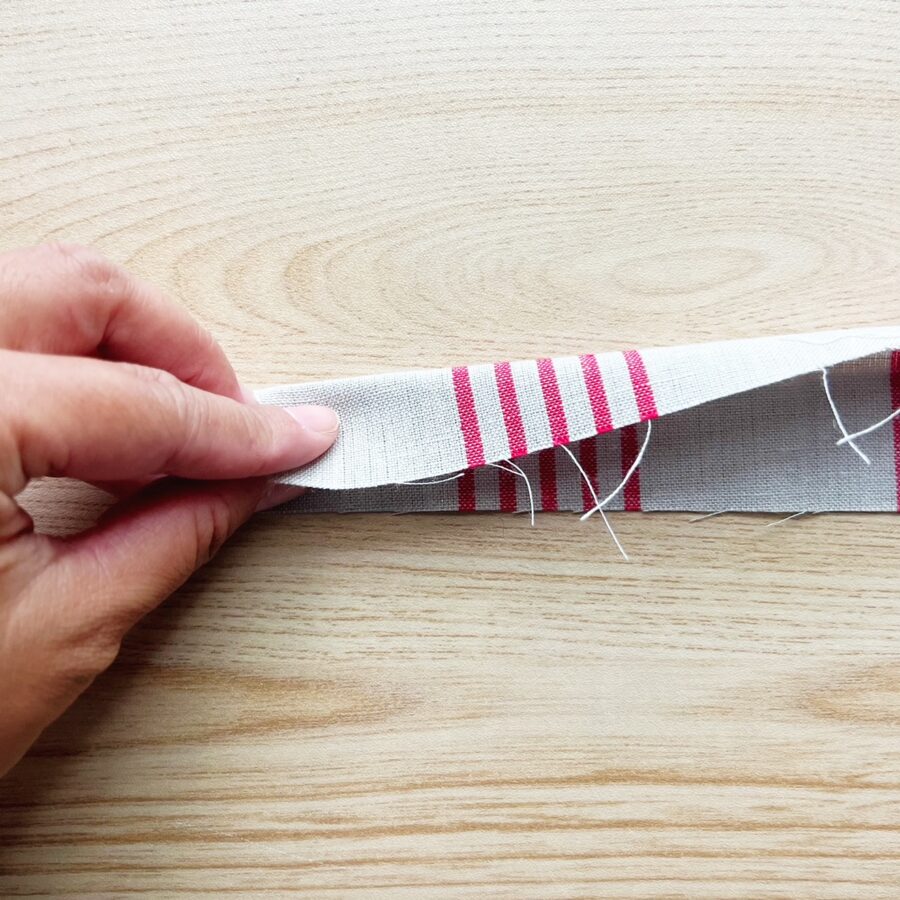
- Once the panel is pressed, take the 3 1/2″ x 21 1/4″ HeatNBond Fusible Fleece and adhere to the backside (wrong side) of the panel and press with an iron.
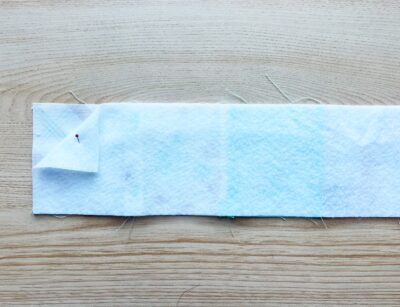
- Make the panel into a loop by taking meeting each end and sewing a 1/4″ seam (wrong sides should be facing out). Press the seam open.
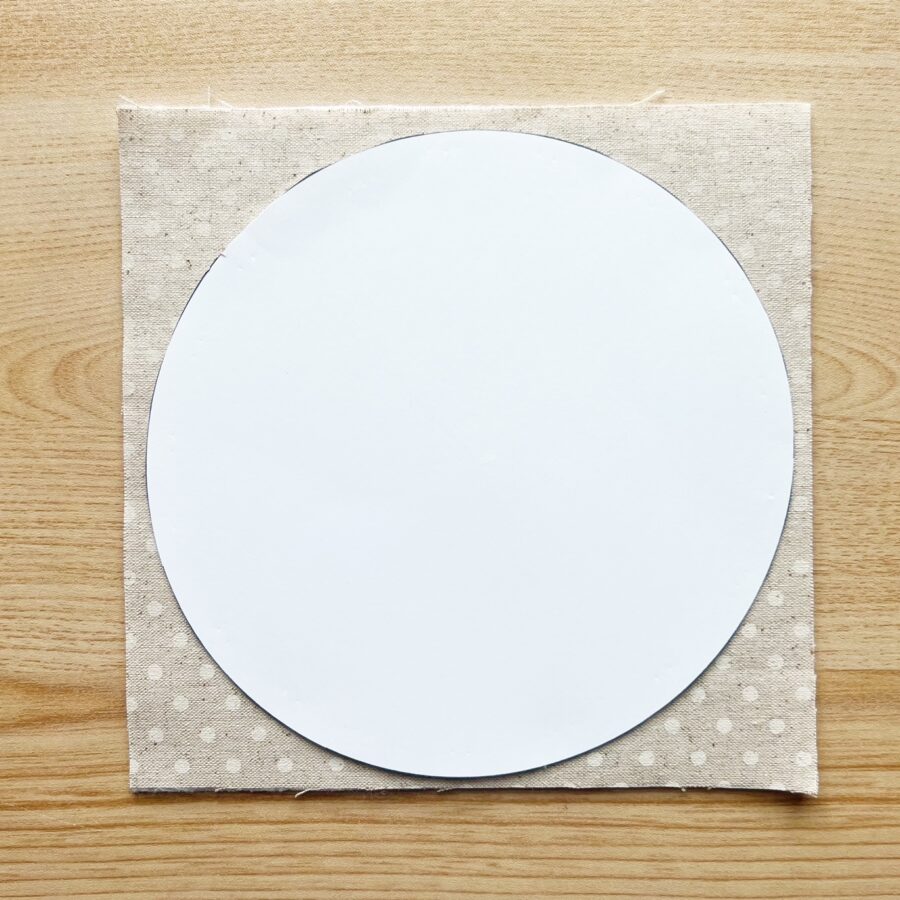
- To make the bottom, take a 7 x 7” piece of cotton and adhere the 7″ x 7″ HeatNBond Fusible Fleece to the wrong side of the cotton piece and press with an iron. Using the circle template, trace and cut the circle out.
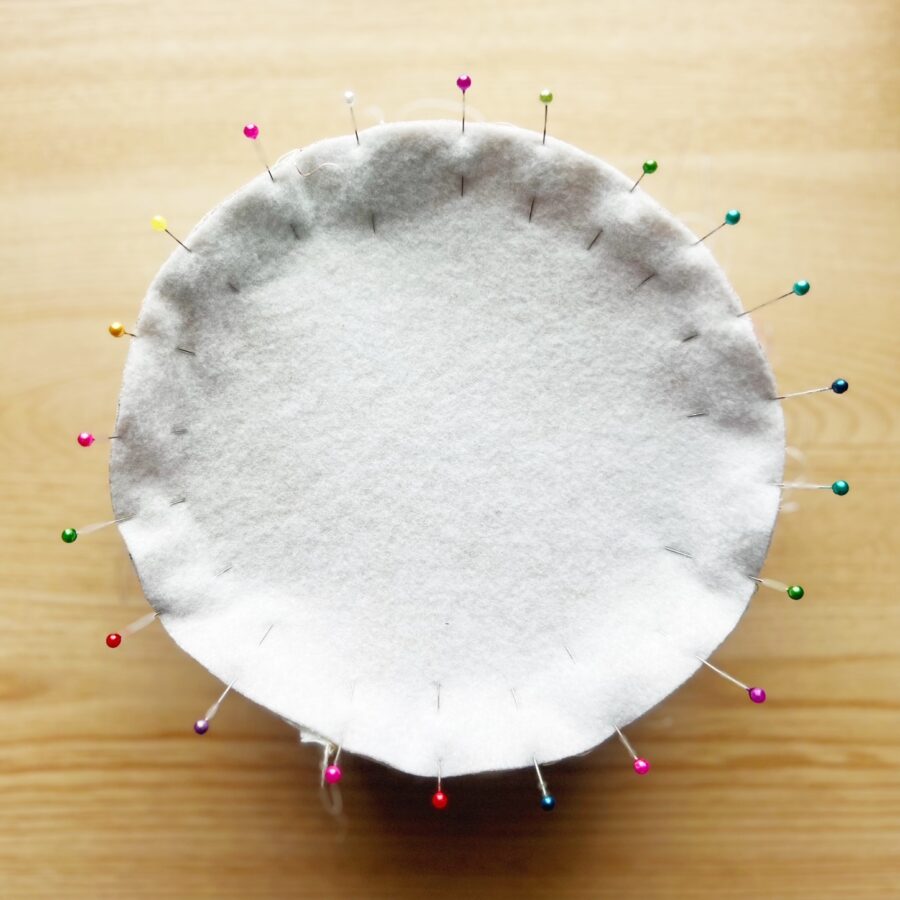
- With wrong sides facing out, take the circle to the bottom of the panel loop (wrong side of panel loop should be facing out). Pin the circle to the bottom of the panel loop and sew carefully along the outer edges of the circle, using a 1/4″ seam. TIP: Sew on the outer sides bottom edge, see picture below.
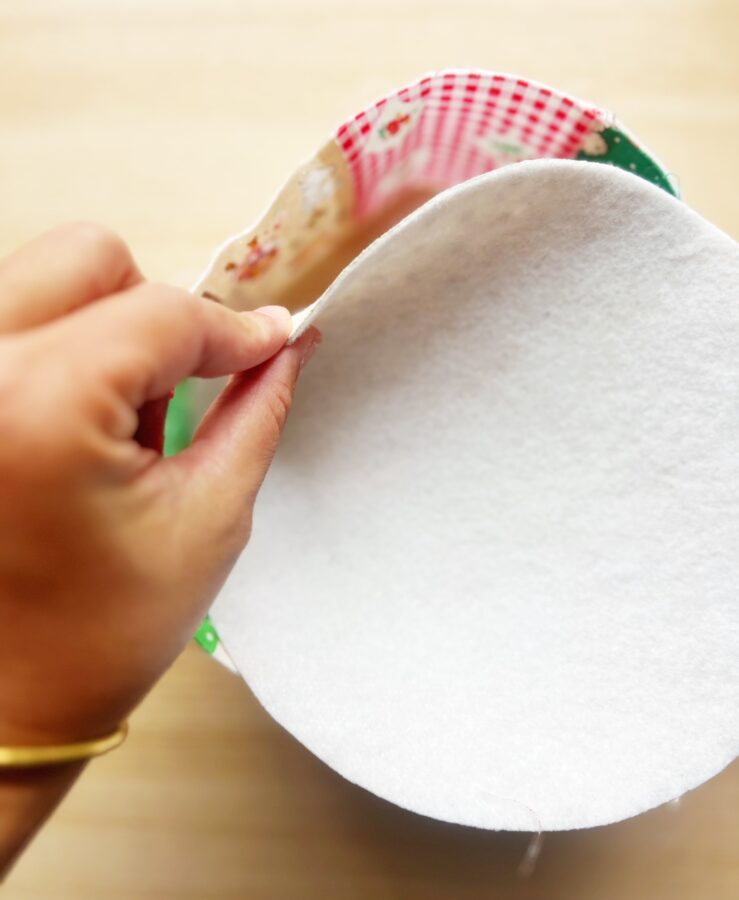
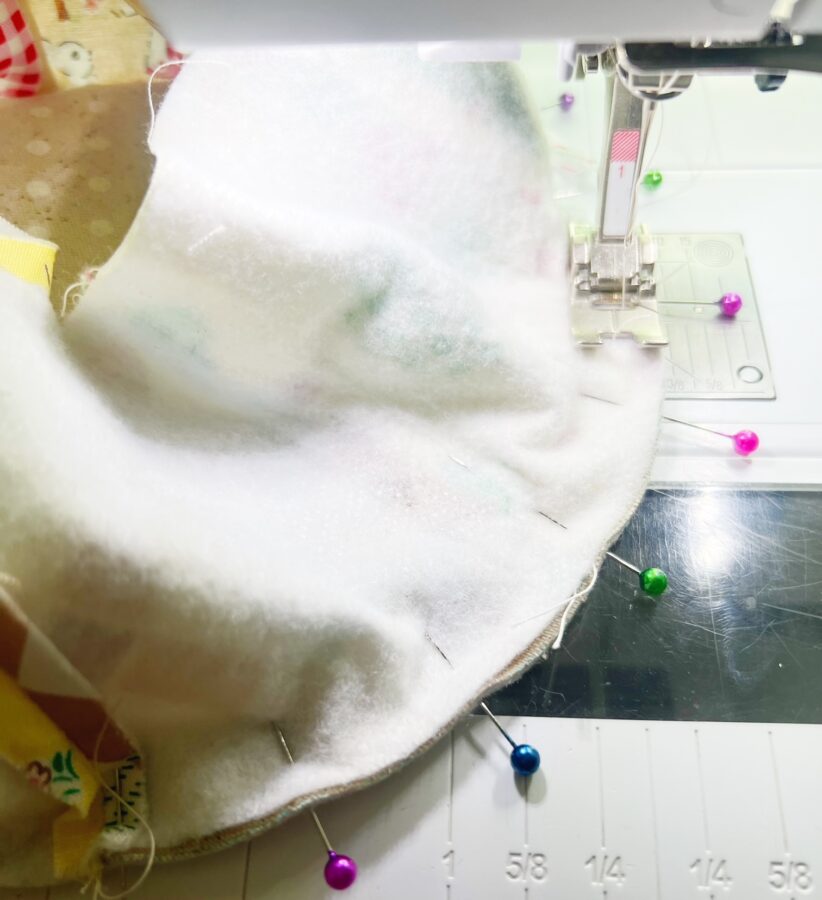
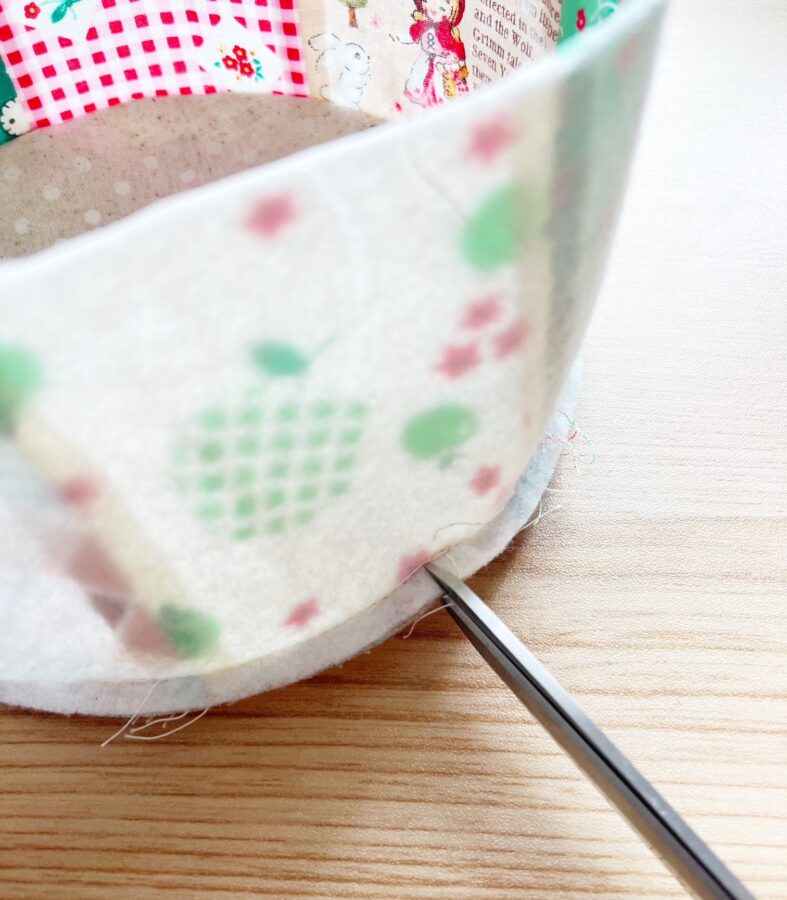
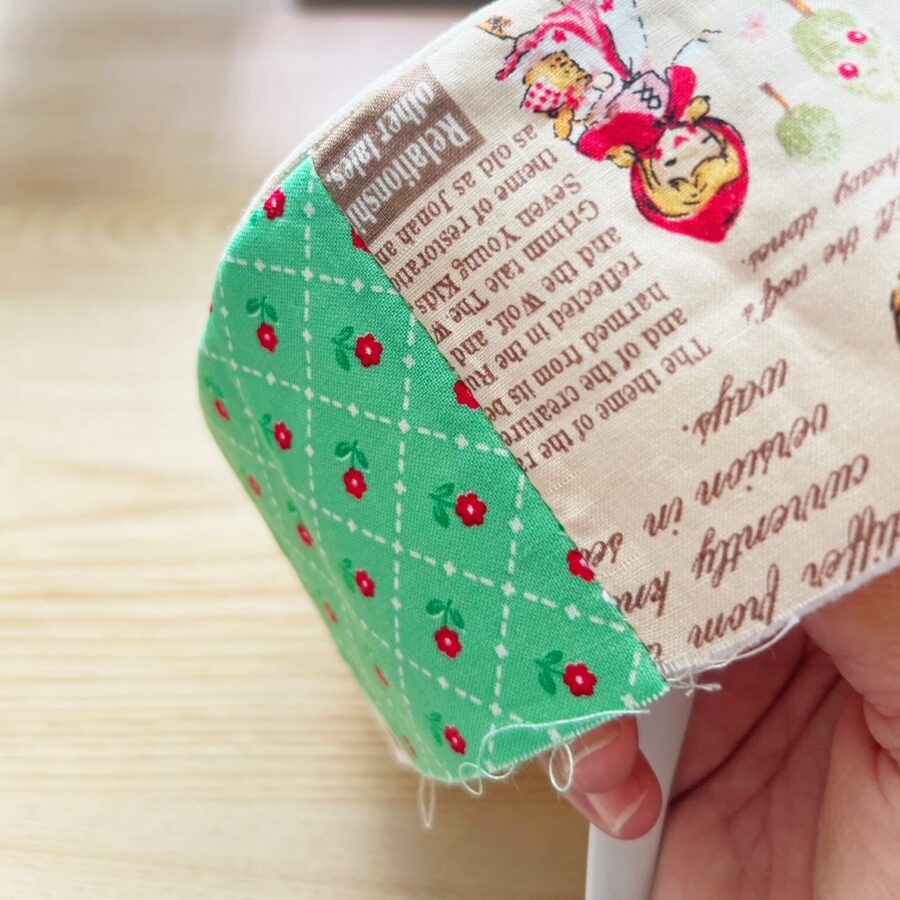
- Once sewn, carefully clip the curved edges of seam (make sure not to cut where you have sewn, just close enough). Turn the basket right side out, using your point turn tool to push and smooth out them seams. Set the piece aside and make the inner basket.
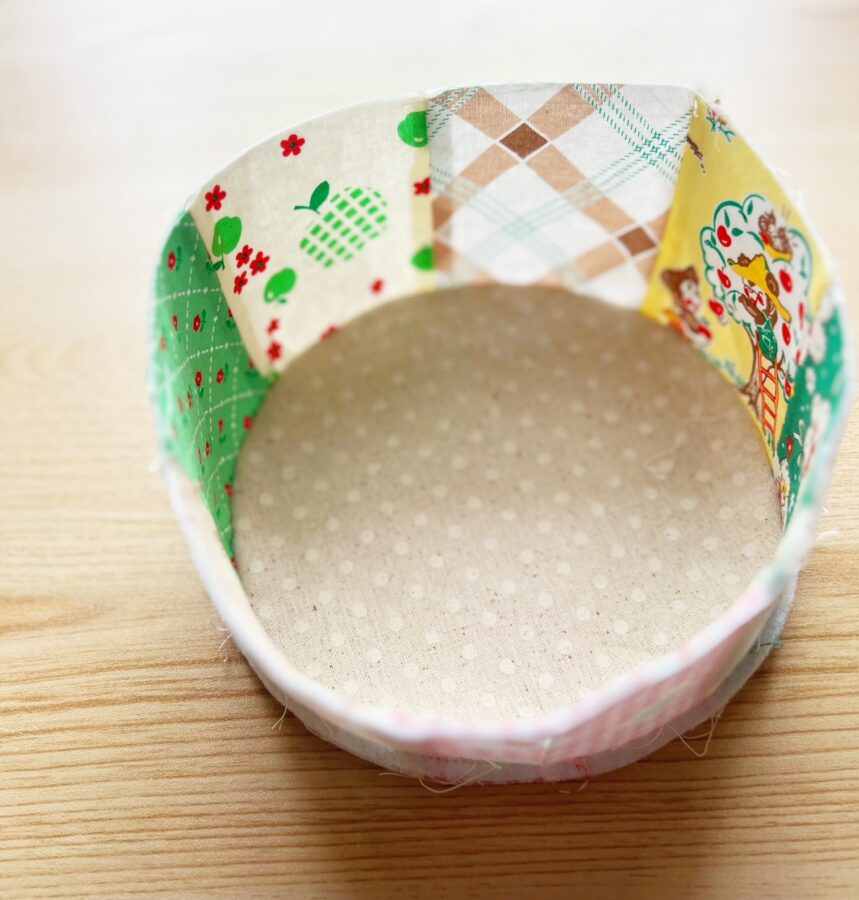
CREATE THE BASKETS INNER BODY
- Repeat steps 2 – 6 from the outer basket body assembly.
Adhere the HeatnBond Fusible Interfacing to the inner cotton piece 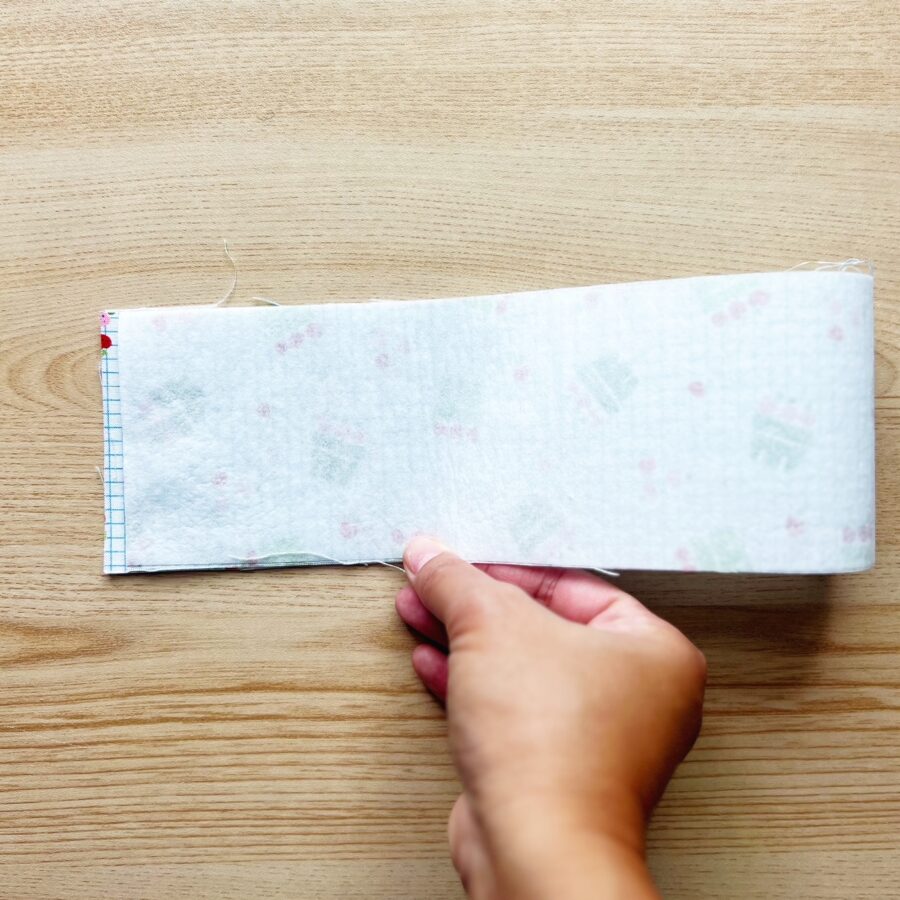
Create the loop by sewing a 1/4″ seam 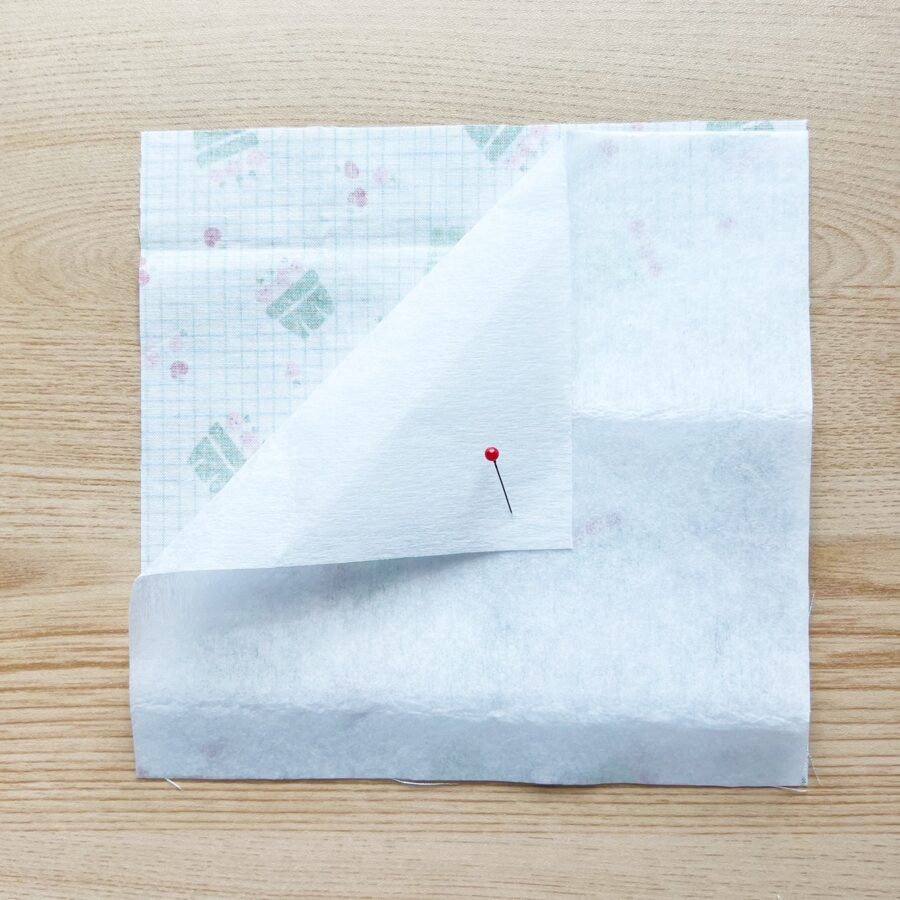
Adhere the 7″ x 7″ HeatNBond Fusible Interfacing to the 7″x 7″ cotton piece 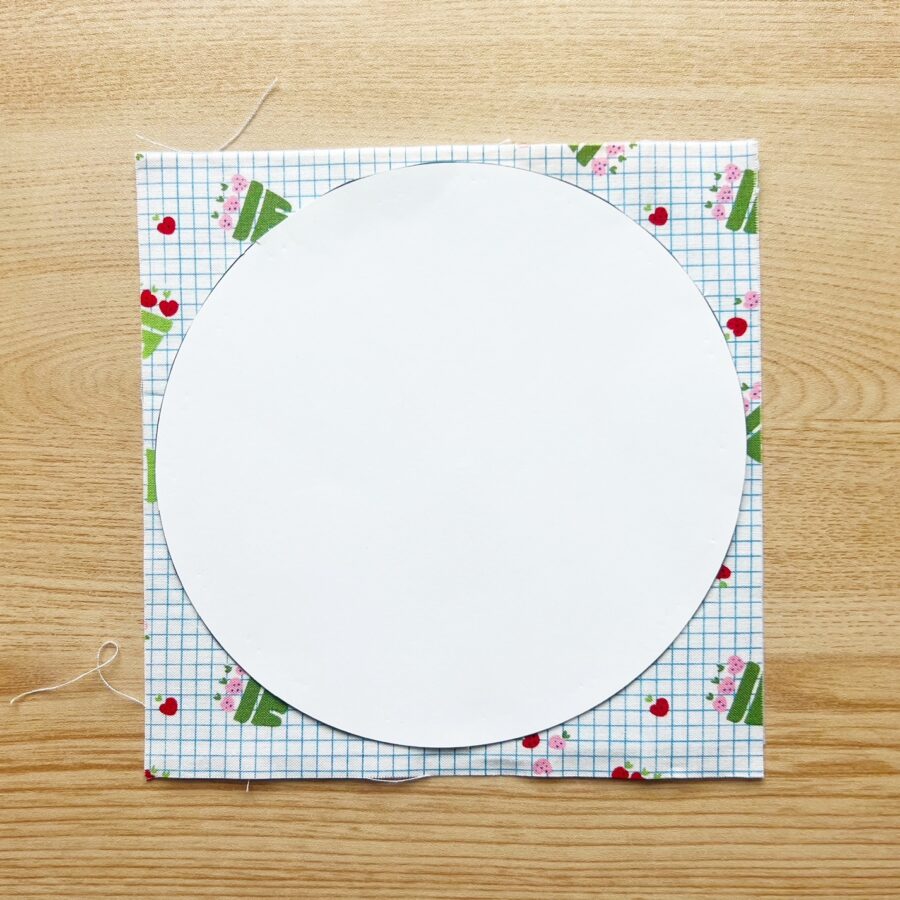
Using the circle template, trace and cut the circle out 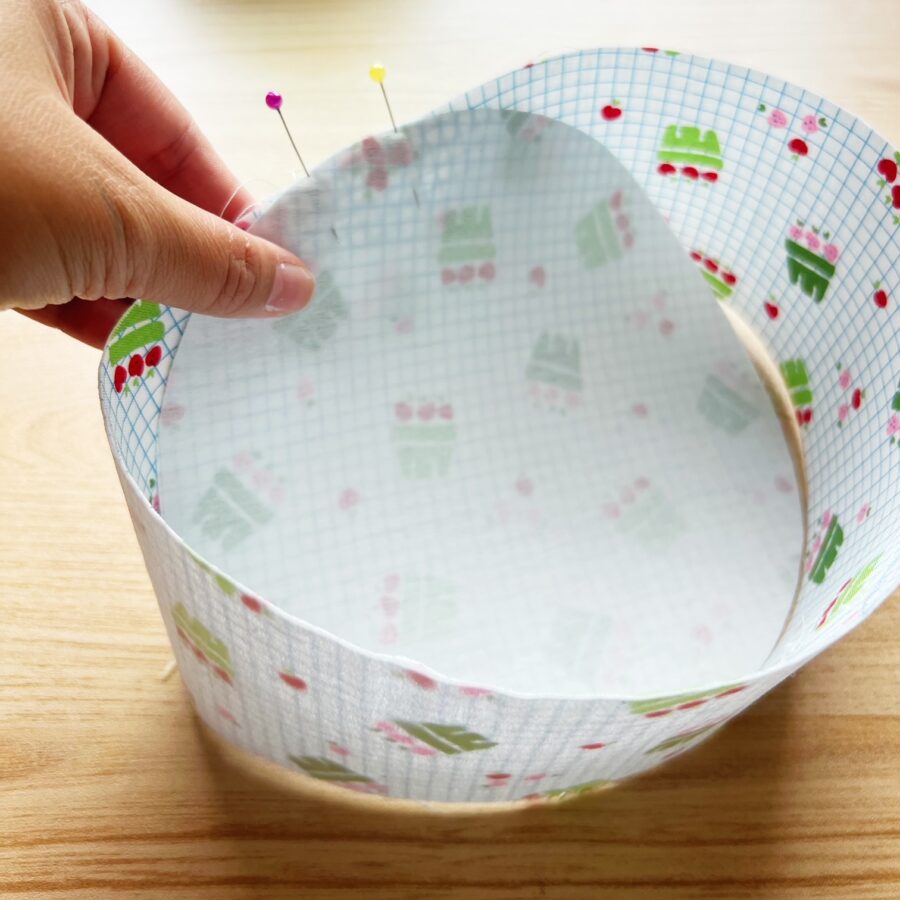
With wrong sides facing out, attach the circle to the bottom of the loop 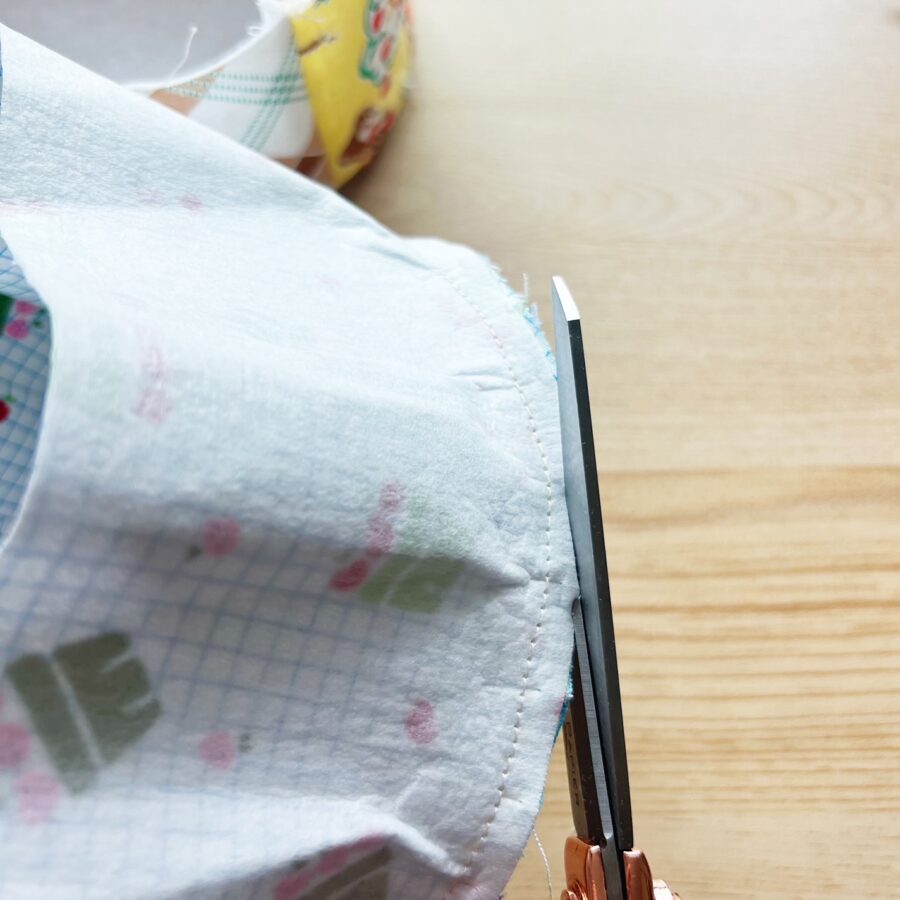
Trim down the seam and clip curves
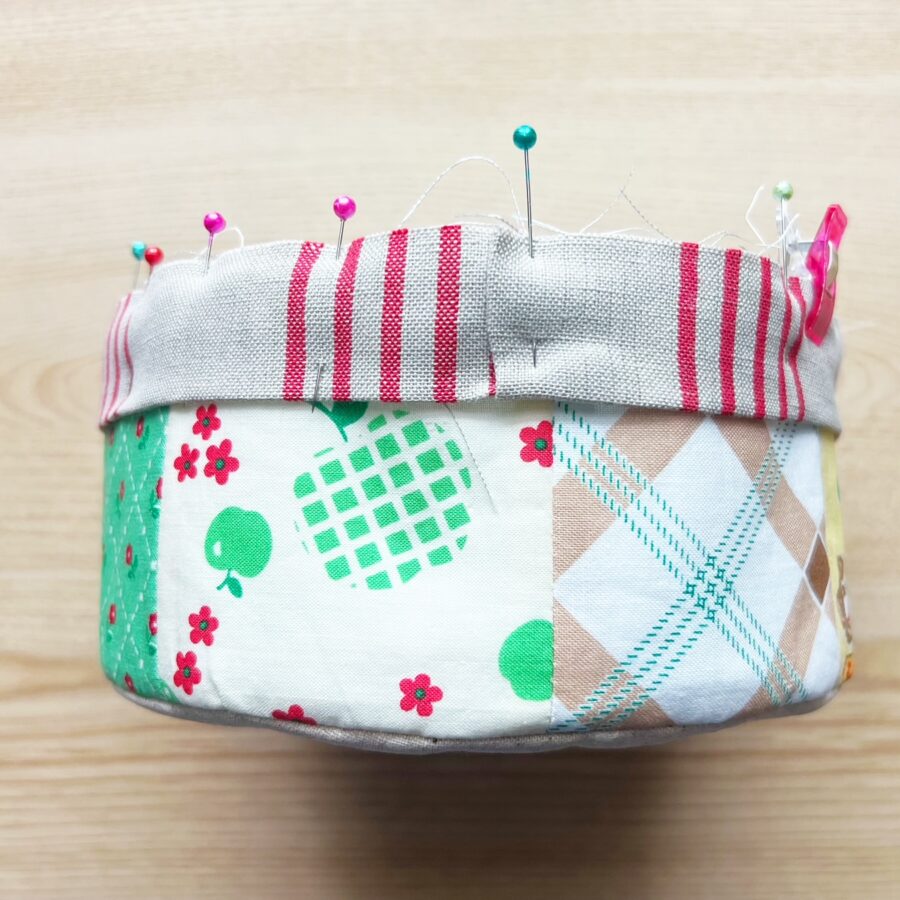
ASSEMBLE THE BASKET, ADD THE TOP BINDING AND THE HANDLES
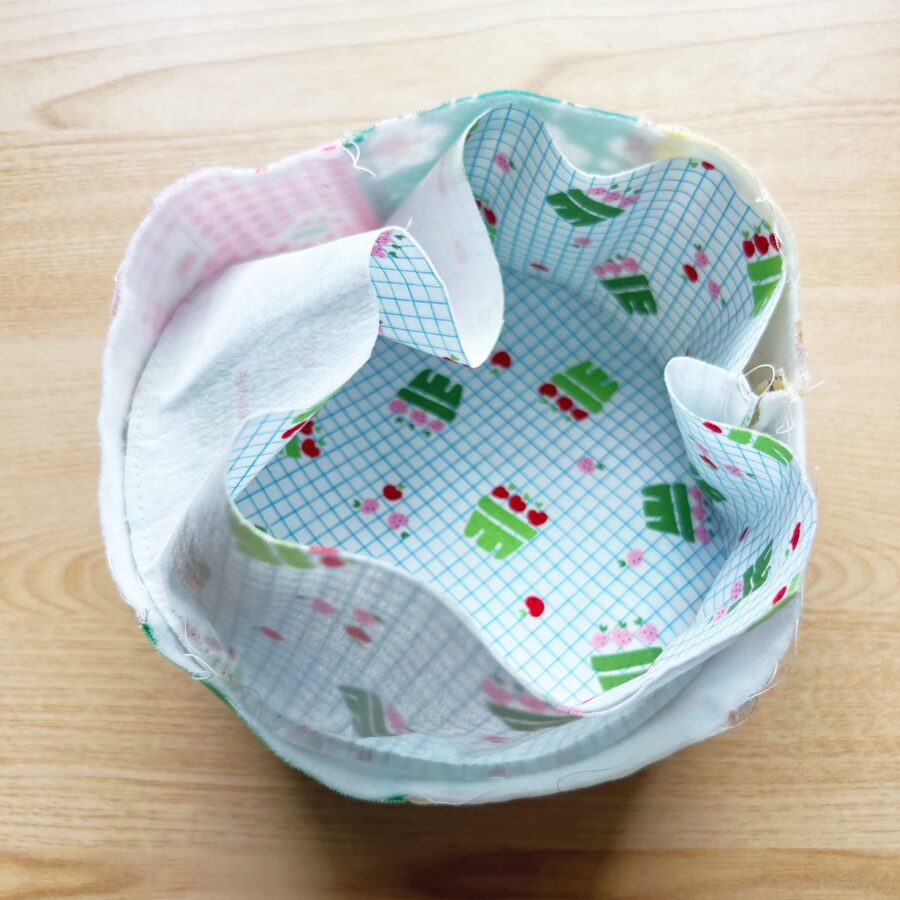
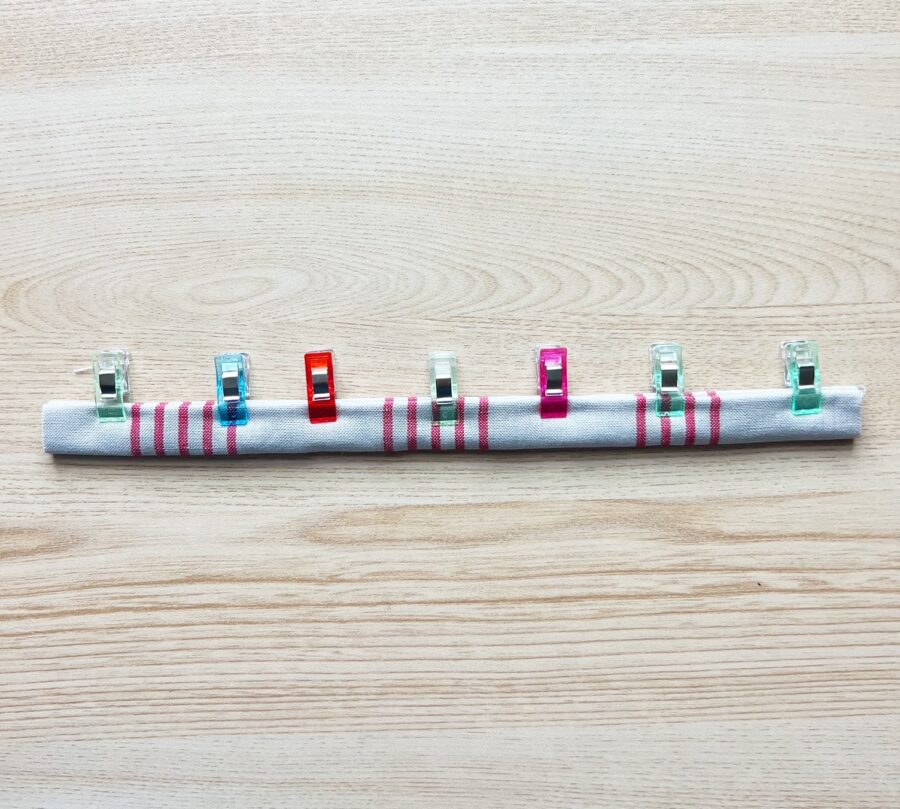
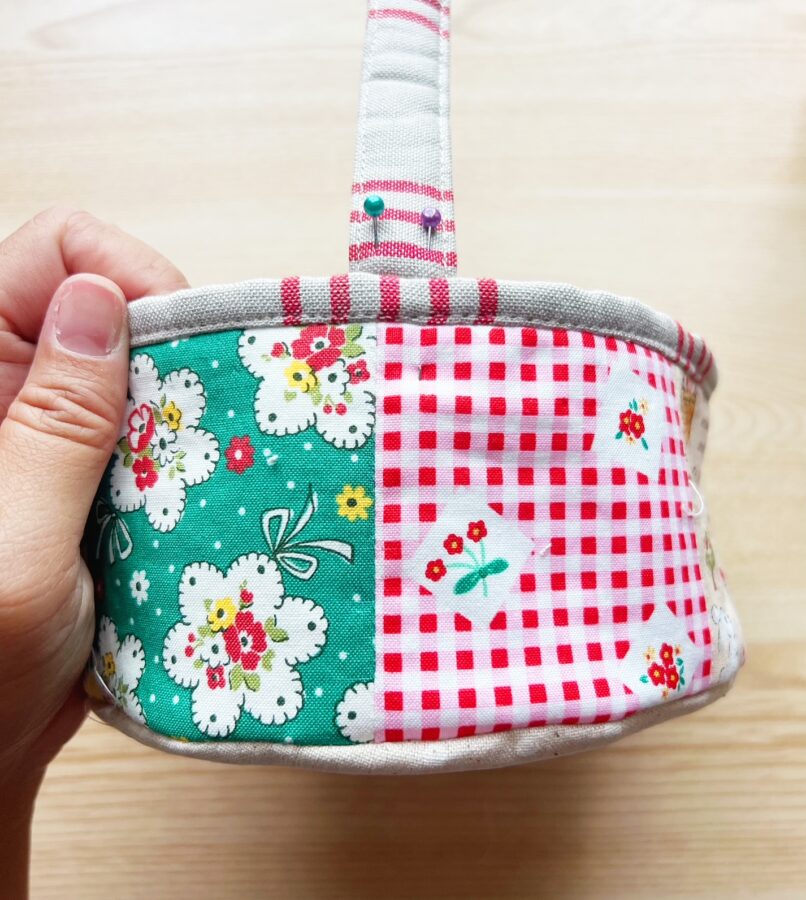
- Place the inner basket (wrong side facing out) inside the patchwork basket (wrong sides should be facing together. Pin in place and baste along the top edge of the basket.
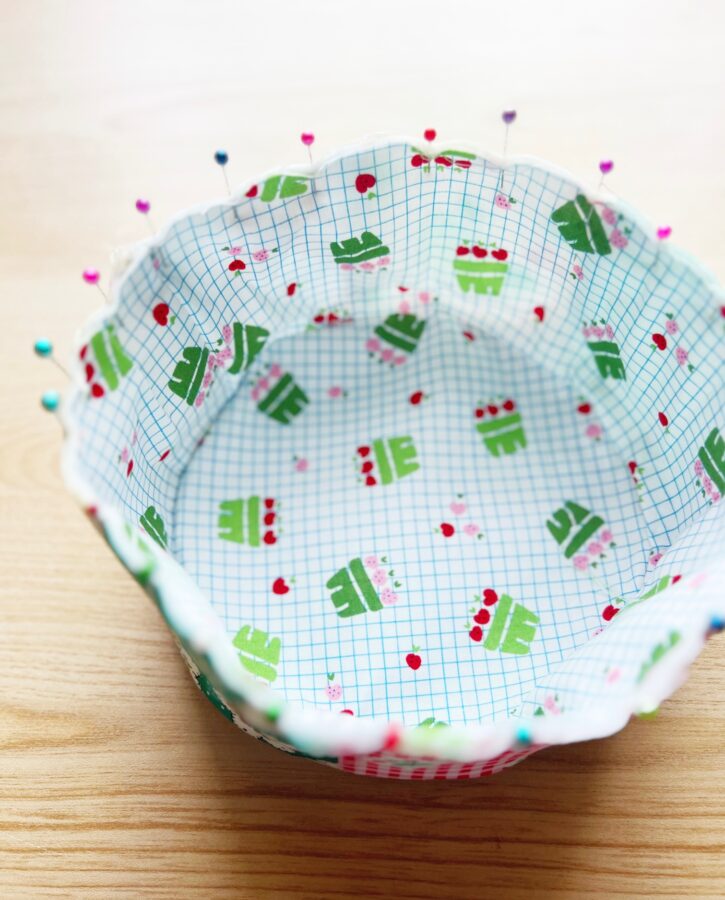
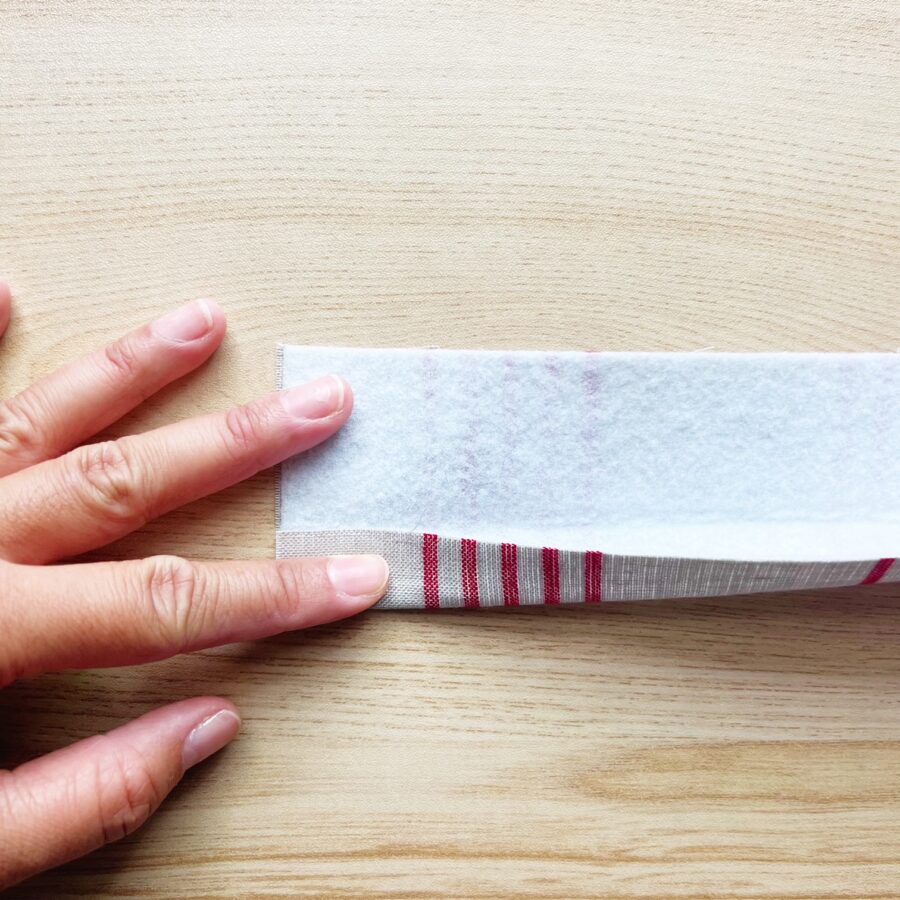
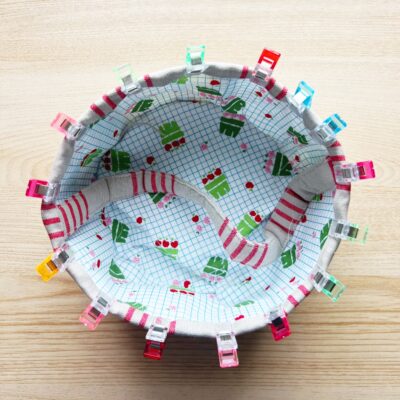
- To make and attach the top binding, take the 2 1/4″ x 22″ cotton piece and fold in half lengthwise. Fold the left sides edge in by 1/4″ to the wrong side of the fabric and press.

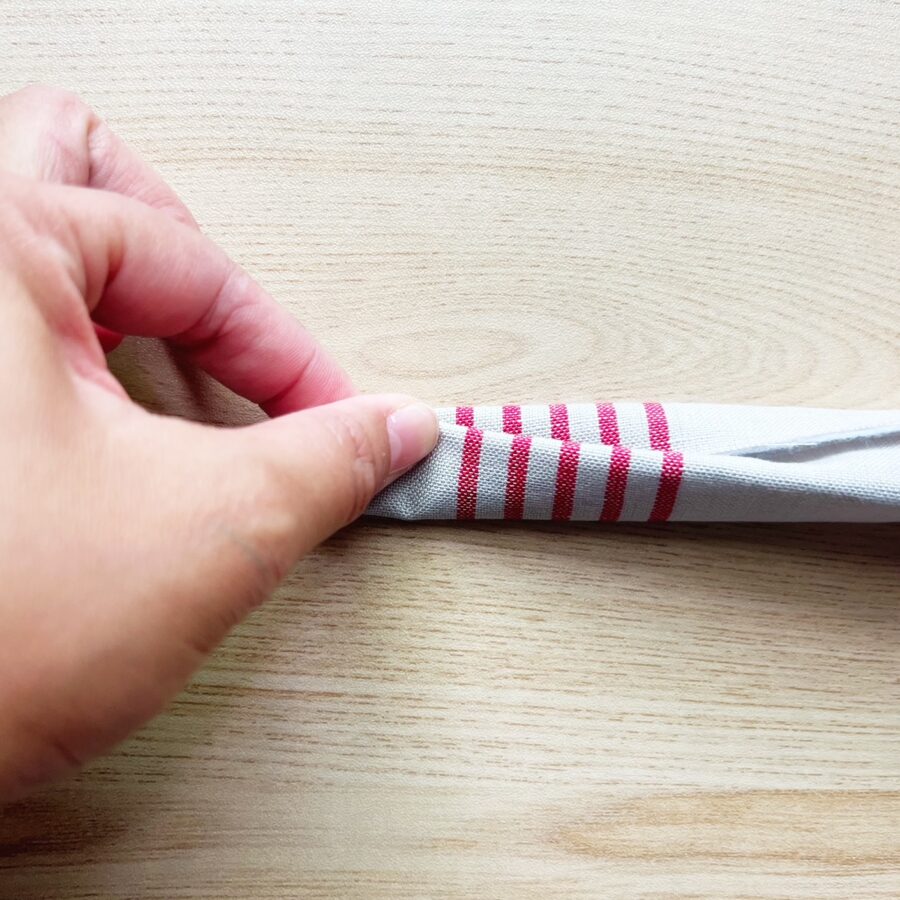
Take the folded edge and line up to the top of the raw edge of the basket body. Starting one inch away from the folded edge (this will be the area you place the tail end of the binding into), pin the binding to the top raw edge. Once you get close to the end, open the 1″ seam you left unpinned and tuck the tail into there, pinning in place. Once everything is tucked and pinned, sea a 1/4″ seam around the raw top edge. Do not finish binding yet. Set aside and make the basket handle.
- To make the handle, take the 3″ x 15″ cotton piece and adhere the 3″ x 15″ HeatNBond Fusible Fleece to the backside of the cotton. Press with an iron.
 Fold the piece in half lengthwise and press with an iron. Open the fold and fold the bottom to the creased line. Now, fold the top piece to the creased line.
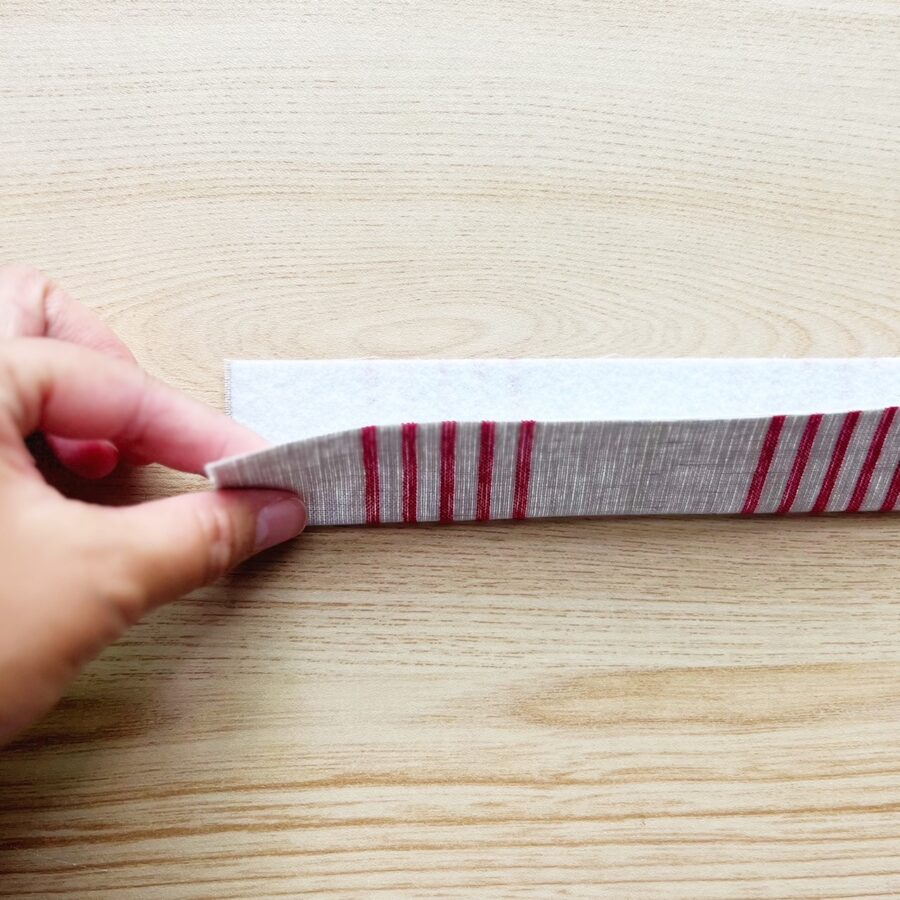

Fold the piece in half again, meeting the folded seams together. Pin or clip in place and sew a seam along both outer edges of the pinned handle, sewing as close to the outer edge as possible.

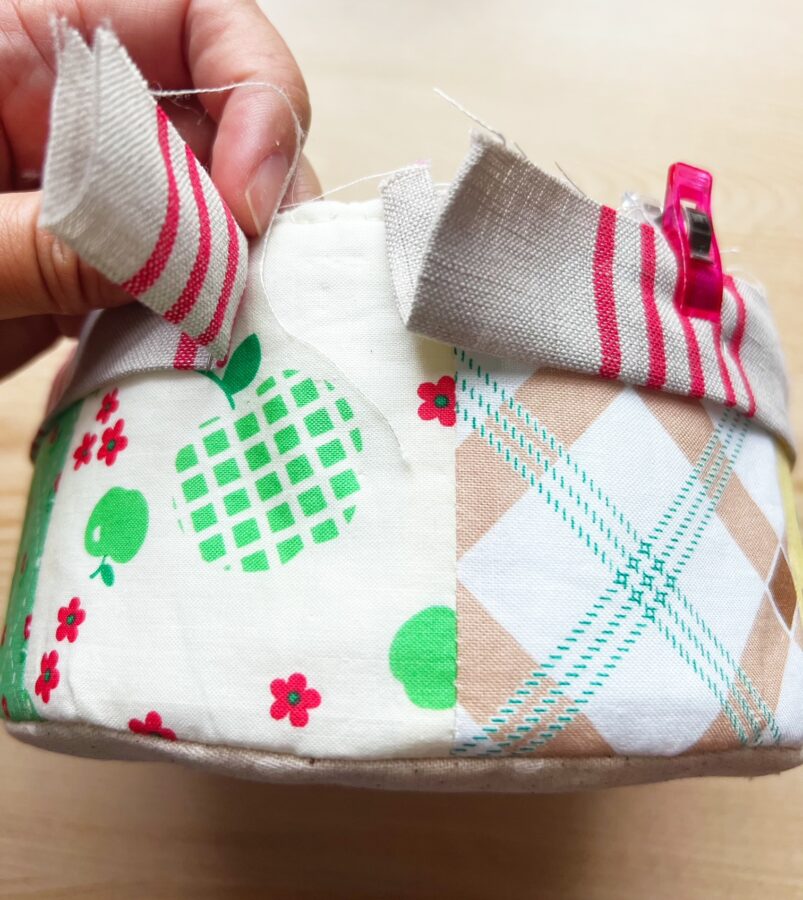
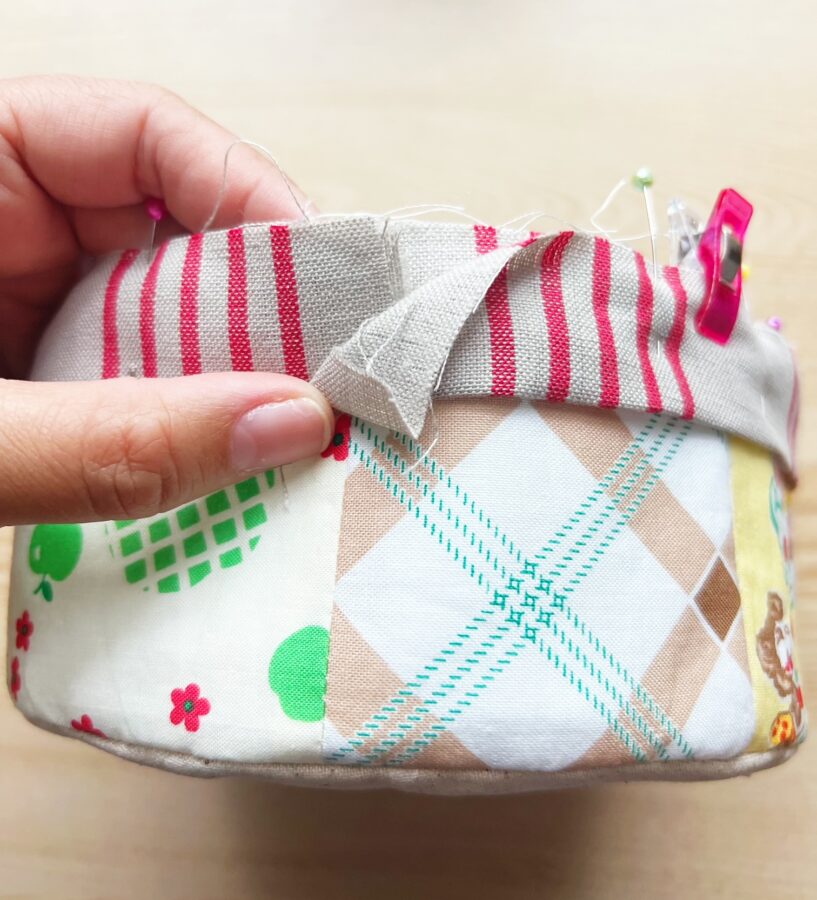
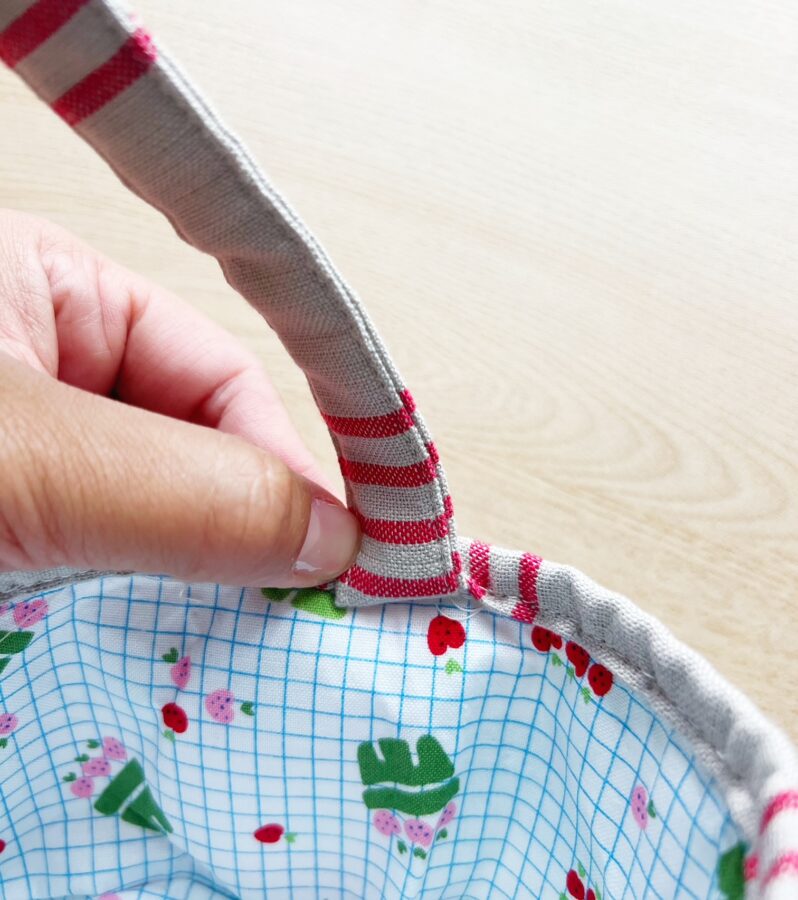
- To attach the handle, locate the desired handle placement and pin the raw edges of the handles to the inside of the basket and baste in place. TIP: The binding should still be facing down, so the raw edges of the binding and the handle line up. Once the handle is in place, turn the binding over to the other side, also covering the basket handle edges (you can push the handles down into the basket). Clip or pin in place and sew a seam close to the bottom outer seam.
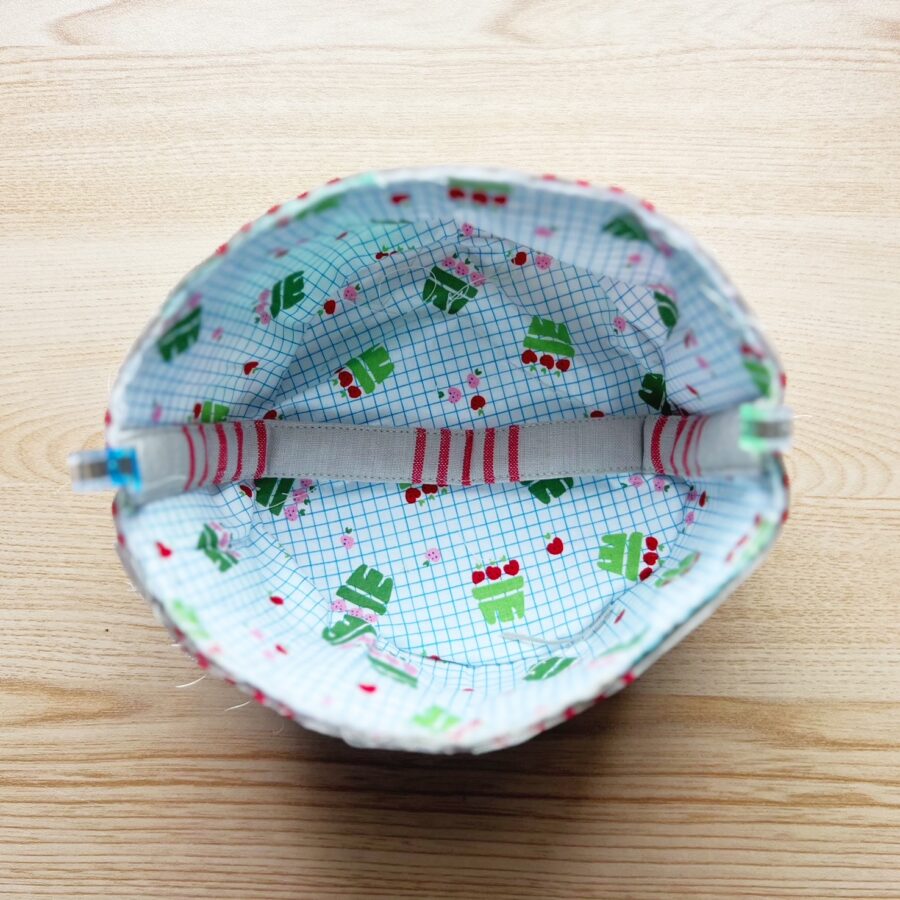
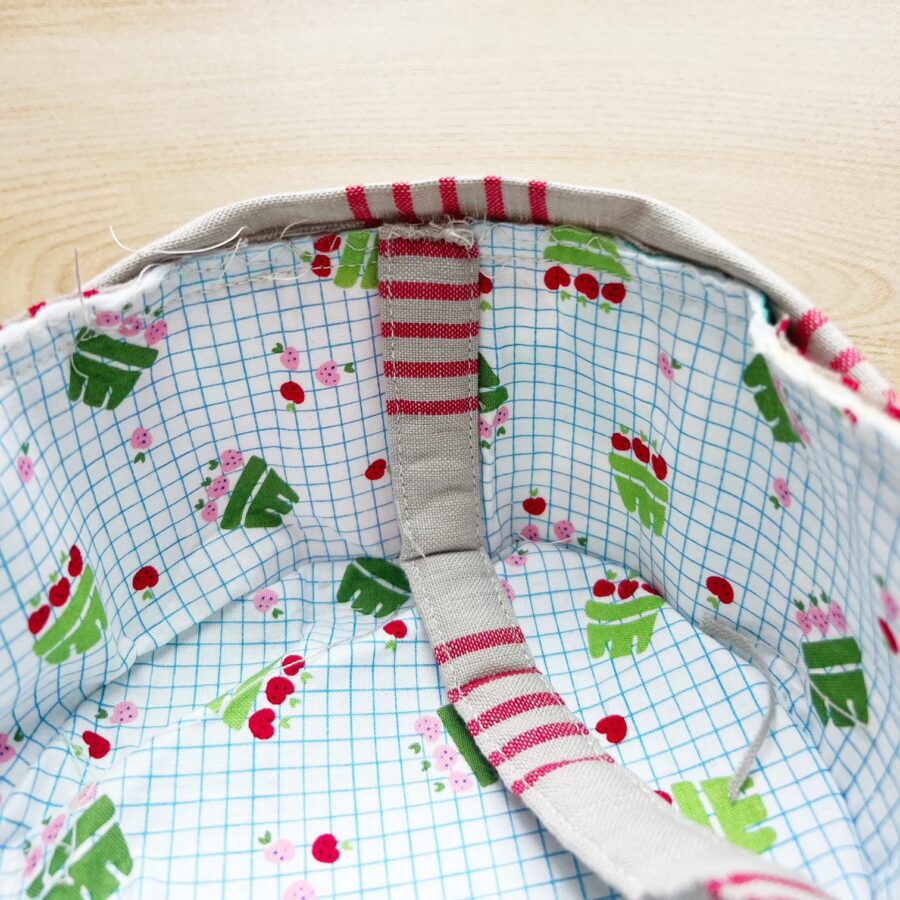
To make the handle stand up, once the binding is sewn in place, take one side of the handle where it meets the binding and line the handle to the binding. Pin in place and sew a seam to secure the handle to the binding. Repeat for the other side if the handle.
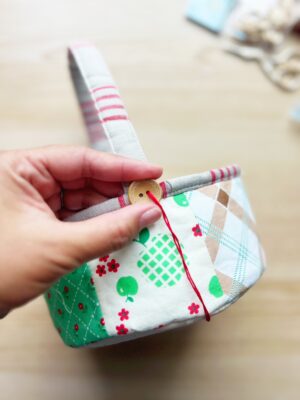
- Attach the optional button with embroidery thread to both bottom sides of the handle.
 You are now done!
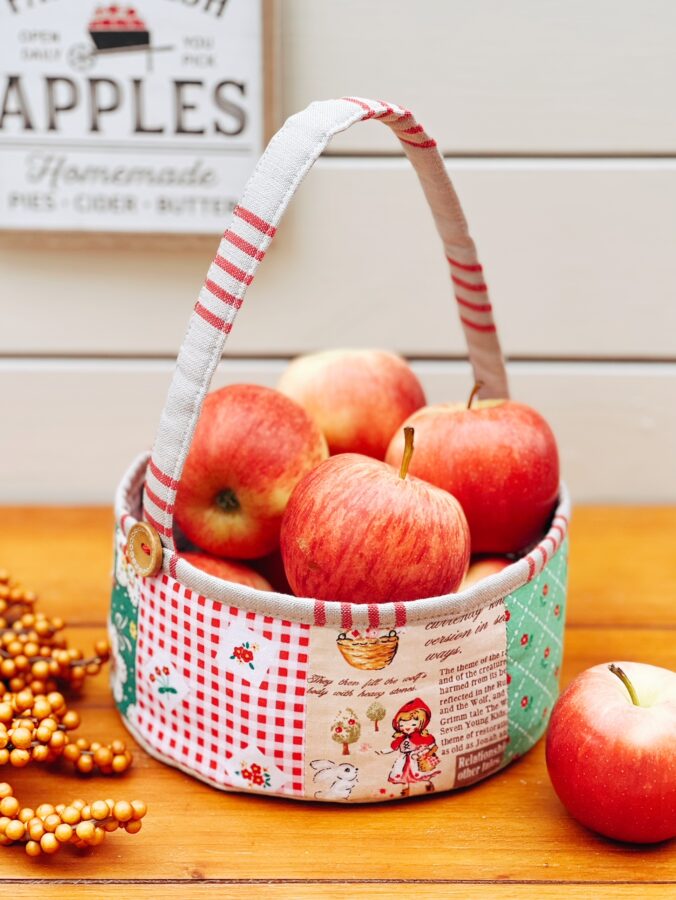
I hope you enjoyed this project and follow me over on Instagram @creamcraftgoods for more inspiration! Thanks!