Hello friends, this is Jennifer Long from, Sew A Story, fabric designer with Riley Blake Designs and a doll and quilt pattern designer
Woven Star Craft Tutorial
Are you ready to start creating some fun and easy CRAFT Woven Stars with your favorite fabrics this month!
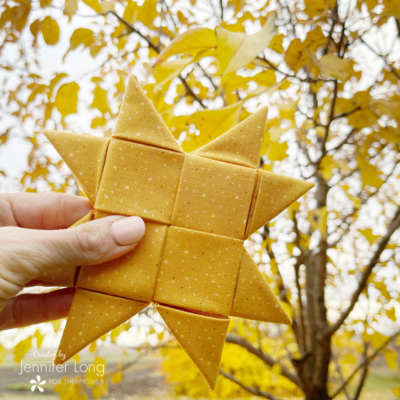
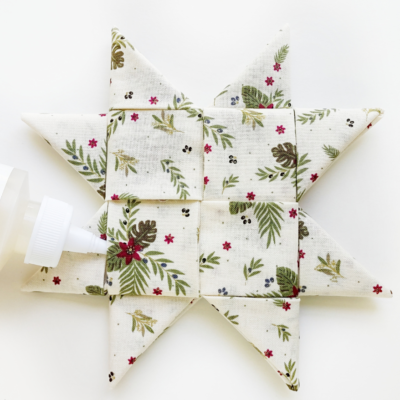
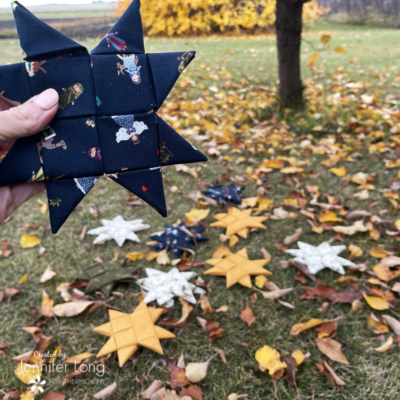
We are starting to get excited for Christmas already, so we are making ours in Silent Night fabric designs by me for Riley Blake Designs! We are SURE you’ll quickly become addicted to making them as we did!
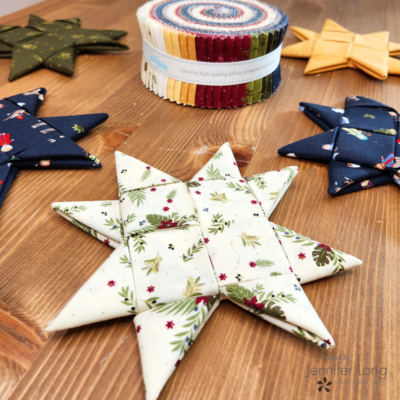
What will you use your woven stars for? Table toppers, tree ornaments, place setting, gift tags, bouquet arrangements and so much more! Don’t forget to share your makes by tagging @sewastory_jenniferlong and using the hashtag #sewastory.
What You Need:
Tools
- Rotary Cutter
- Quilting Ruler
- Self-Healing Mat
- Iron and Wool Mat
- Scissors
Materials
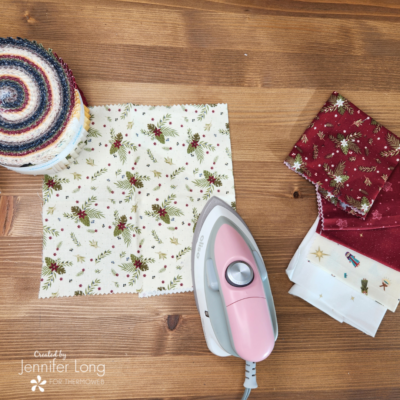
-
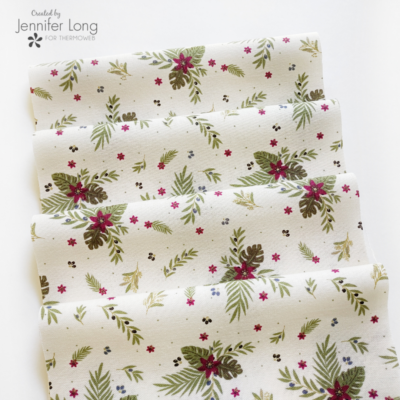
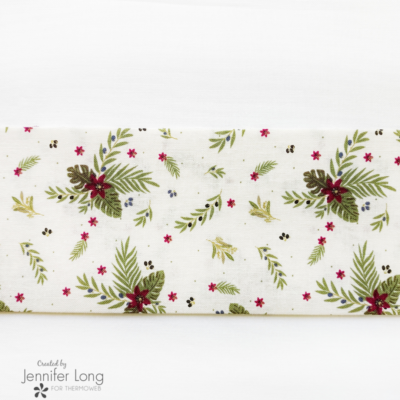
3/8 yard of your favorite cotton fabric for 1 star (we used some our favorites from the Silent Night collection)
- Embellishments
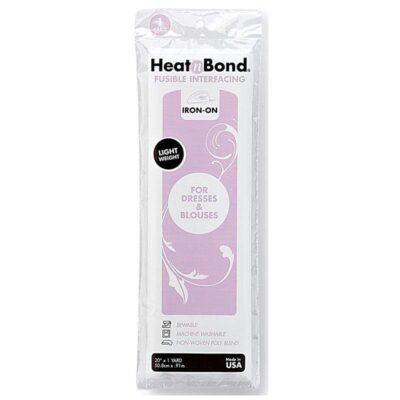
- Heat n Bond Light-weight fusible interfacing
- Fabric Glue
Instructions:
1. Using Heat n Bond Light-weight fusible interfacing, place the rough side of the Fusible Interfacing onto the back (wrong side) of material to be bonded. Cover with a lightweight, dry pressing cloth. Press and hold iron with medium pressure for 10-15 seconds. Repeat by lifting iron to a new area and pressing, slightly overlapping the previous area until the entire surface is bonded.
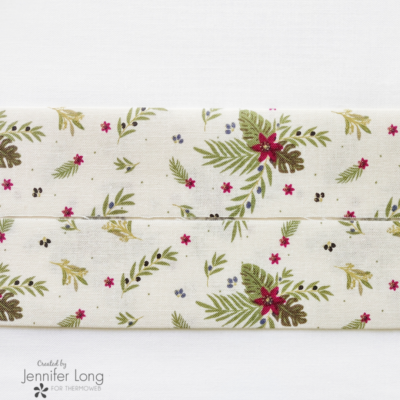
2. Cut 2 – 6″ x WOF strips. Subcut to 4 – 6″ x 21″ strips
3. Press each strip in half lengthwise.
4. Open each strip and fold lower section up to the crease line (the middle) and press. Repeat with the upper section.
5. Fold top and bottom in half to the original pressed center. Press. Will measure 1 1/2″ x 21″.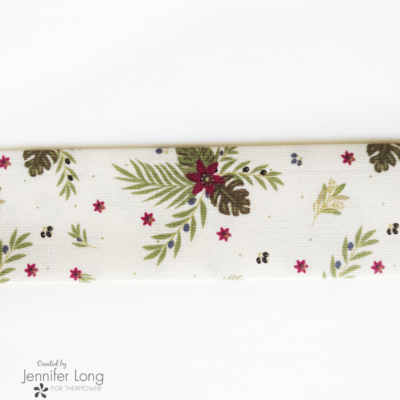
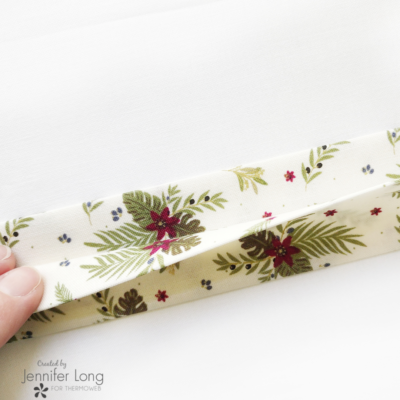
6. Fold each strip in half lengthwise.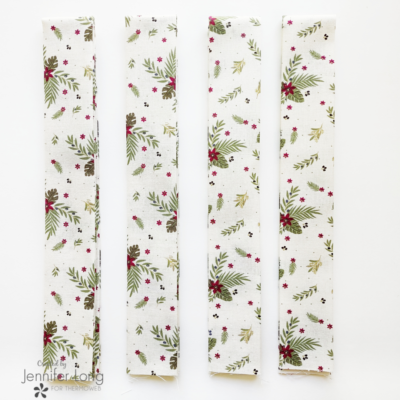
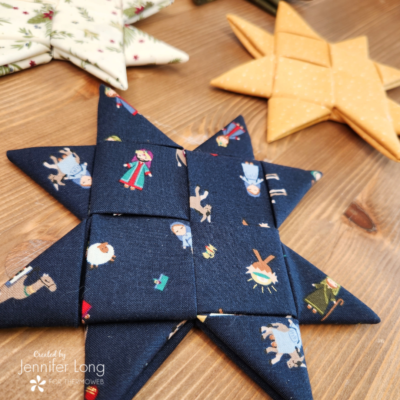
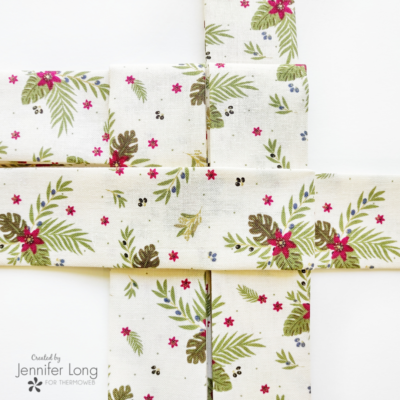
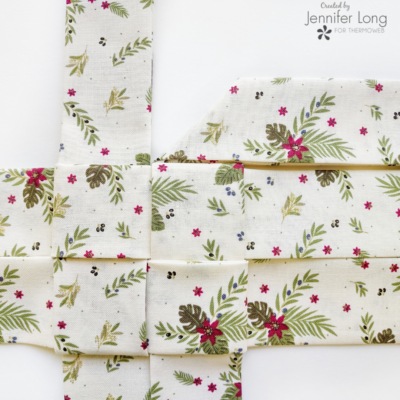
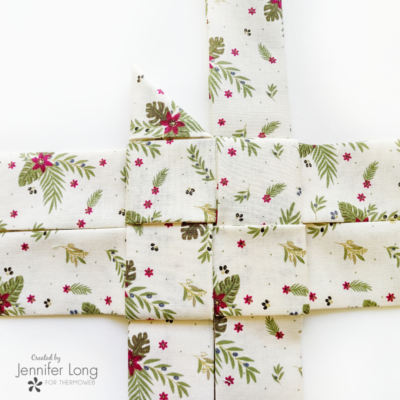
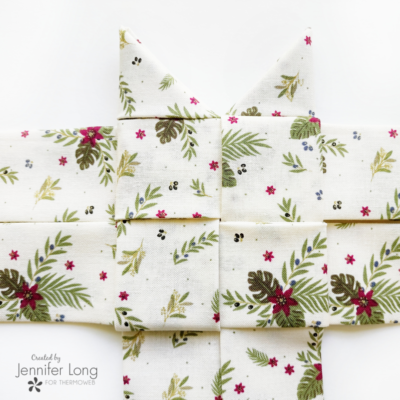
7. Slightly weave each strip as seen in the picture. Keep the open folds to the center.
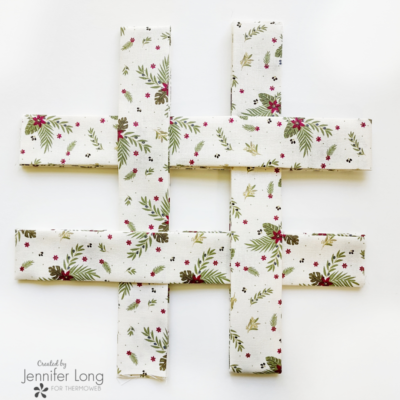
8. Cinch down strips to the center.
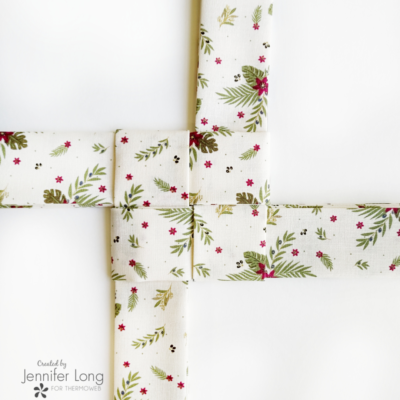
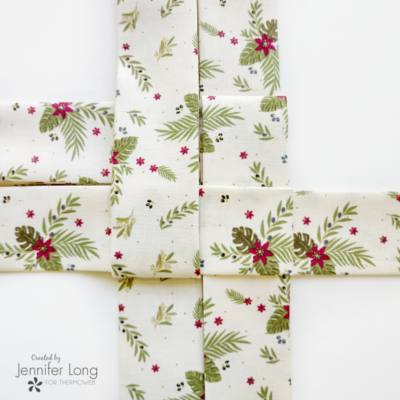
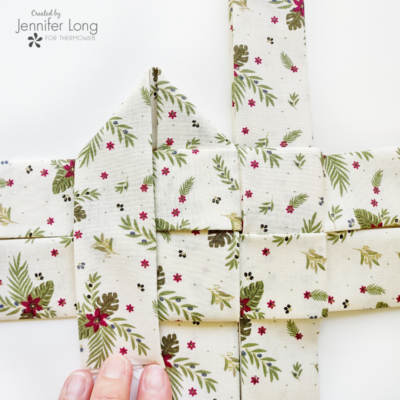
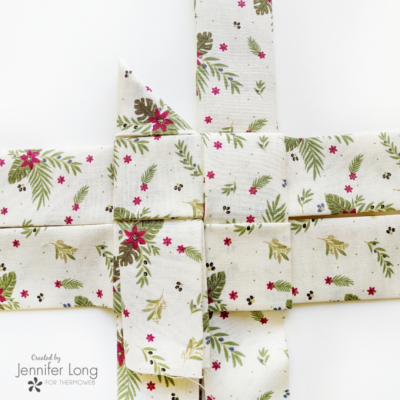
9. Start at the top by folding the strips down. Continue with each strip going in a clockwise direction.
The fourth strip will be woven under the first strip.
Cinch the strips in for a snug center.
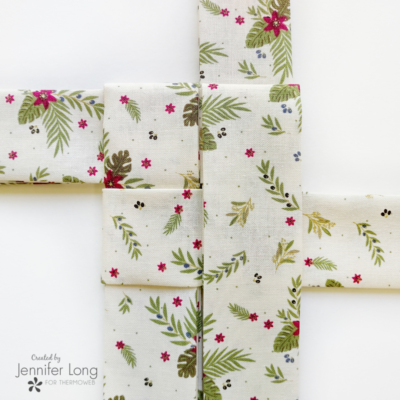
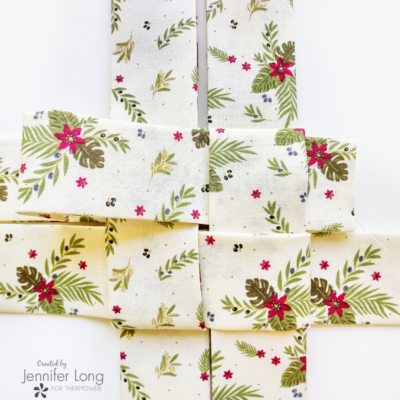
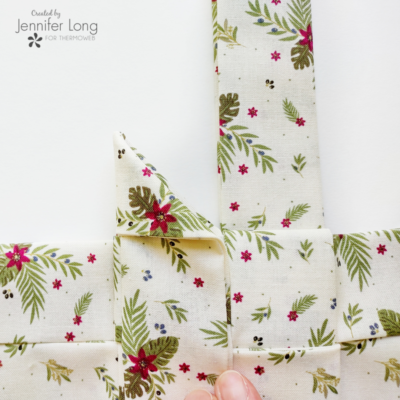
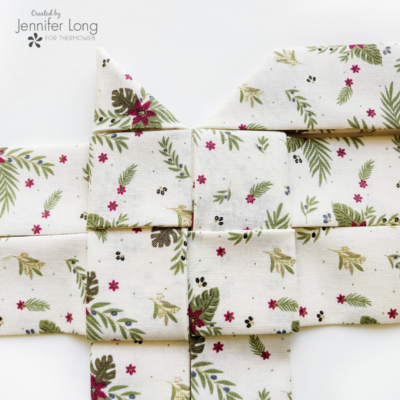
10. Start at the top by folding the strips to form half of the star point. Flip the star over and fold the second half of the star point. Fold sides of star point in together.
Tuck remaining strip under the woven section below.
Trim off excess fabric.
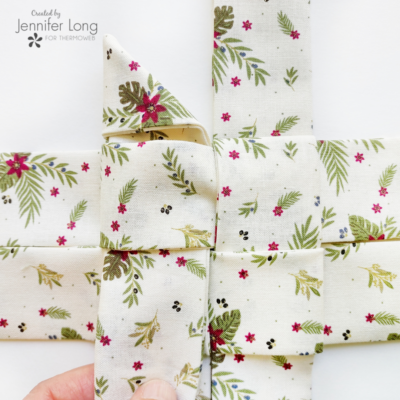
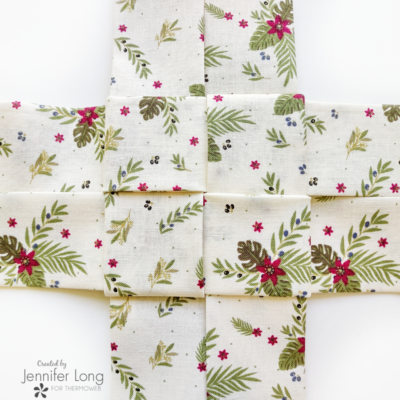
11. Continue making each point the same way.
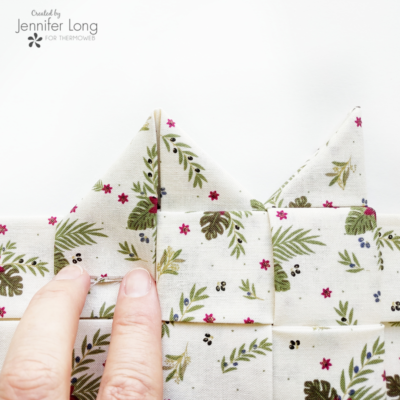
12. And there you have it. A 6″ Scandinavian Star!
The next step is optional but recommended.
Put a dot of permanent fabric glue under each of the woven sections that the fabric strip was tucked into.