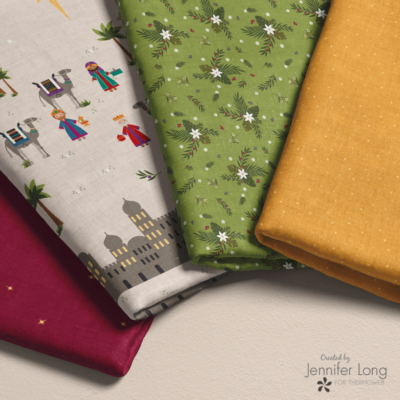
Hello friends, this is Jennifer Long from, Sew A Story, fabric designer with Riley Blake Designs and a doll and quilt pattern designer.
Onion Stuffie Tutorial
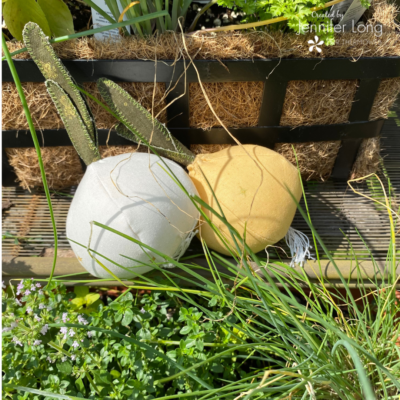
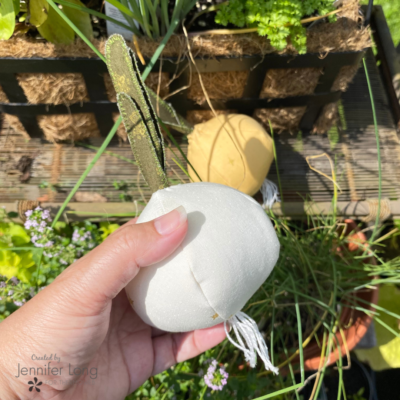
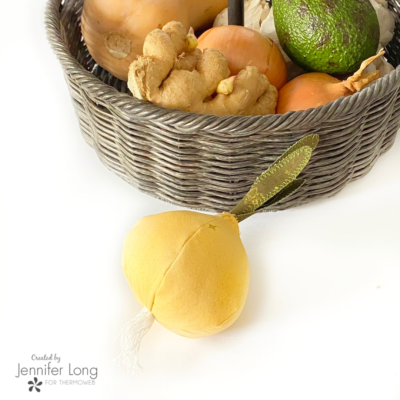
What You Need:
Tools
- Download the Onion Stuffie Pattern at http://www.sewastory.com/download-codes and use the code “ONIONPDF”
-
Sewing Machine or Embroidery Machine
-
Iron and Wool Mat
-
Scissors
-
Hand sewing needle
-
Hemostat or stuffing tool
Materials
- Leaf Fabric: 10” x 10” Cotton fabric in green
- Onion Fabric: 10” x 10” Cotton fabric in white, yellow, or off white.
- 10” x 10” HeatnBond Fusible Fleece
- 5” x 10” HeatnBond Lite Iron-on Adhesive
- Embroidery Floss in light tones for Roots of onions
- Optional Embroidery Floss for accenting leaf veins
- Stuffing (polyfill)

We used fabric from my Silent Night Collection with Riley Blake Designs
Instructions:
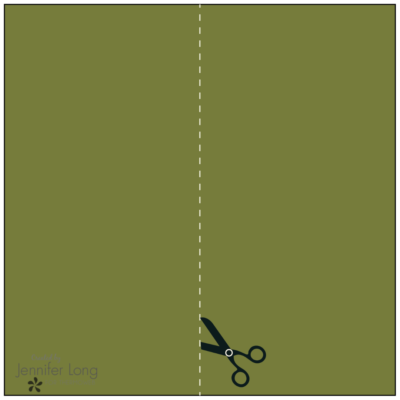
1. Gather the 10″ x 10″ square of Leaf fabric. Cut the fabric in (2) 5″ x 10″ rectangles. Set (1) aside.
2. Fuse the back of (1) 5″ x 10″ Leaf fabric with HeatnBond Lite. Take care to follow manufacture’s directions for fusing correctly to the fabric. Leave the paper backing on to be able to trace the shape.

3. Trace (3) Leaf template pieces onto the paper side of the HeatnBond Lite. Cutout each leaf shape along the drawn outline.

4. Cut (3) Leaf Backing Rectangles from the remaining (1) 5″ x 10″ Leaf fabric along one edge of the fabric square, as shown.

5. Remove the HeatnBond Lite backing paper. Use your iron at the appropriate setting to fuse the leaf to the back rectangle together. Take care to follow manufacture’s directions for fusing correctly to the fabric.
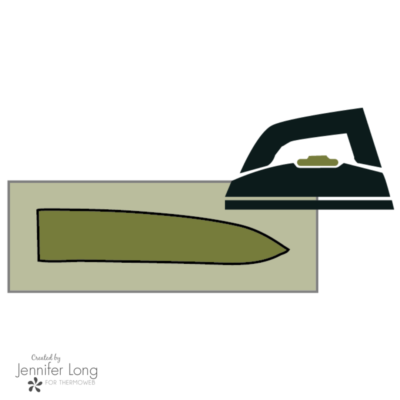
6. Cut around the Leaf shape following the contours of the fusible Leaf shape. This will ensure that the front and back leaf pieces are identical.

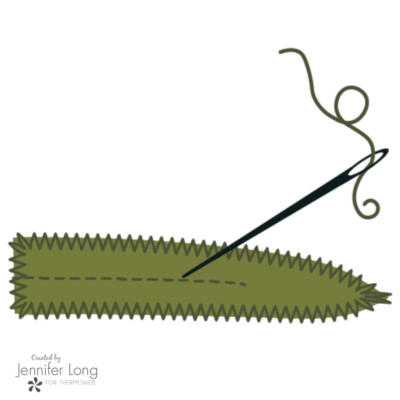
7. Using a finishing stitch such as a zigzag stitch, blanket stitch, or satin stitch, secure and finish around the entire Leaf perimeter. Use an accent thread color for more detail and fun.

8. Optional: Continue with the same accent thread color used in step 6,hand or machine sew some Leaf veins with a running stitch or chain stitch.
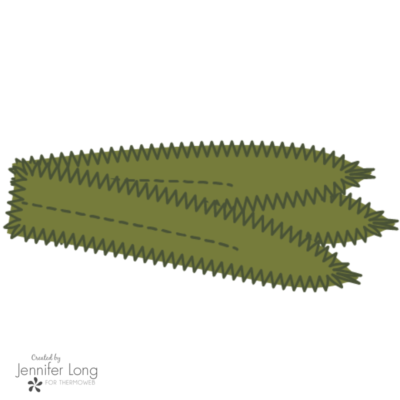
9. Repeat steps 4 to 7 to make at total of (3) complete Stem Leaves per Onion.
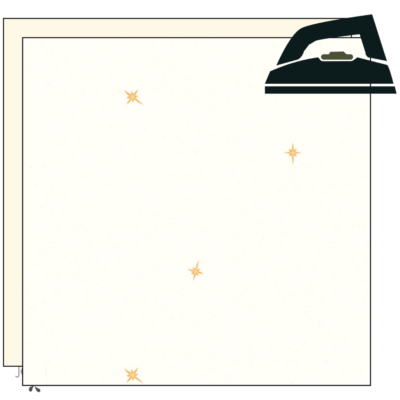
10. Fuse the wrong side of the Onion fabric to the Fusible Fleece. Take care to follow manufacture’s directions for fusing correctly to the fabric.
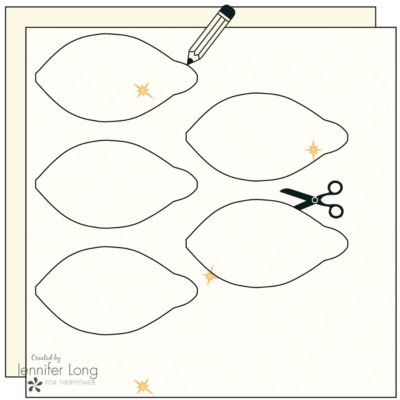
11. Using the Onion pattern template, trace and cut (5) Onion pieces from the prepared Onion fabric. Note: (5) Onion pattern pieces are needed for each finished onion.
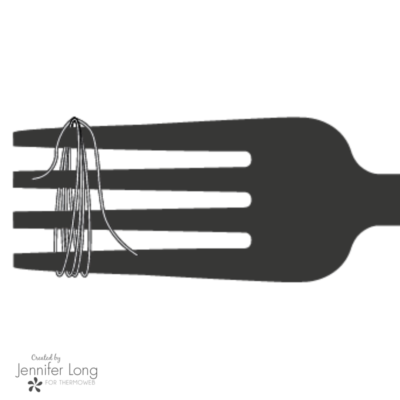
12. Using the Root colored embroidery floss, wrap the strand of floss around the prongs of the fork 3 – 5 times, until the desired roots are formed.
13. Position the prepared roots in place at the bottom of (1) onion piece. Flip the roots so they are laying INSIDE the main part of the onion. Stitch the roots in place with a shortened stitch length to ensure that the yarn is stitched down.

14. Place (2) Onion pieces RST, pin and sew along one side as shown making sure to not catch the roots in the stitching.
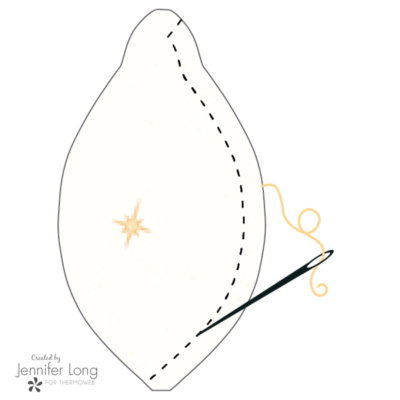
15. Repeat until all (5) pieces are joined together. Then join the onion piece to the last onion piece, leave about a1 1/2″ opening at the top for turning and stuffing.
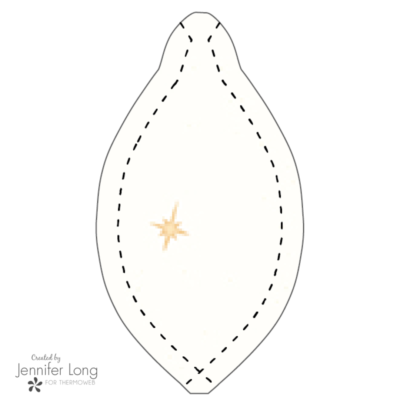
16. Using a small pair of scissors, carefully clip around the perimeter of the entire seam allowance and notch out all the inside corners. Be careful not to cut the stitch line.
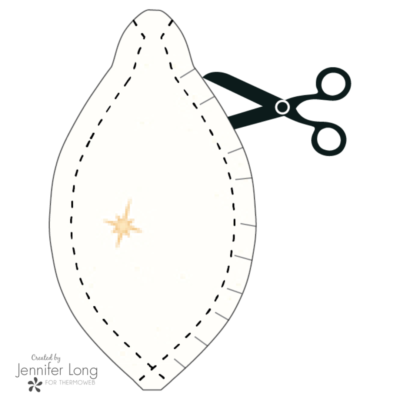
17. Turn the main onion right side out. Use a turning tool or chopsticks to fully push out the tip of the onion.
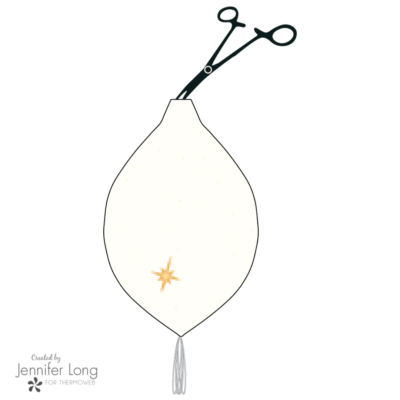
18. Insert the Leaves into the Main Onion opening about 1/4″ to 1/2″ into the top of the onion. For a more realistic look, ensure the leaves are not all the same length and are slightly staggered. Turn the opening in slightly to hide the raw edges of the Main Onion opening. Hand stitch the leaves into place securely using tiny stitches.

19. Using a stuffing tool or chopsticks, stuff the Onion shape with polyfill to the desired firmness.

20. Hand stitch the top opening closed using a tight Ladder Stitch. Smaller stitches help keep your work tidy and more secure.
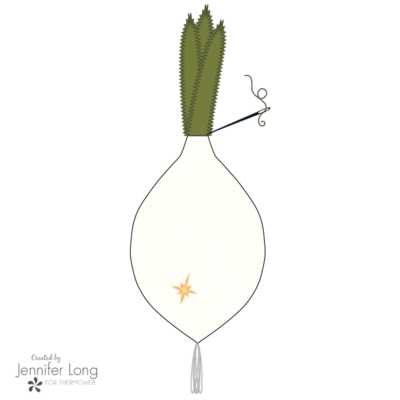
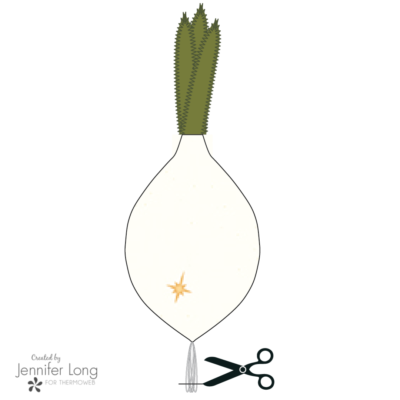
21. Trim roots in a straight line to your desired length.
22. Embellish your Onion with decorative stitching, ribbons, or more!
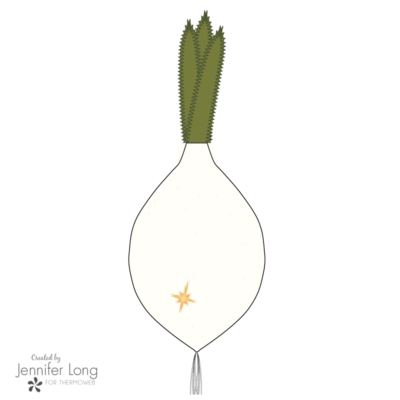
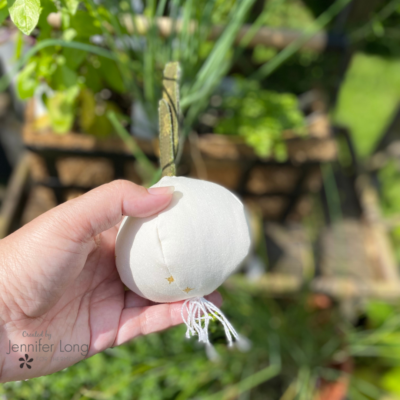
Use the same steps to create a few more onions, and encourage the child in your life to help select fabrics! You’ll be amazed at what they choose!
Thank you for joining me on the Thermoweb Blog! Please come visit me at http://www.sewastory.com for more craft fabric inspiration!!!


