


Hello and welcome!
It’s Julia from Inflorescence Designs! I’m so joyful you are visiting today. It is the first week of November and a great way to celebrate it is by getting a head start on creating holiday decorations and gifts.
This week we are celebrating all things gingerbread! As a flavor, gingerbread is not something I enjoy, but as a decoration, I love them!
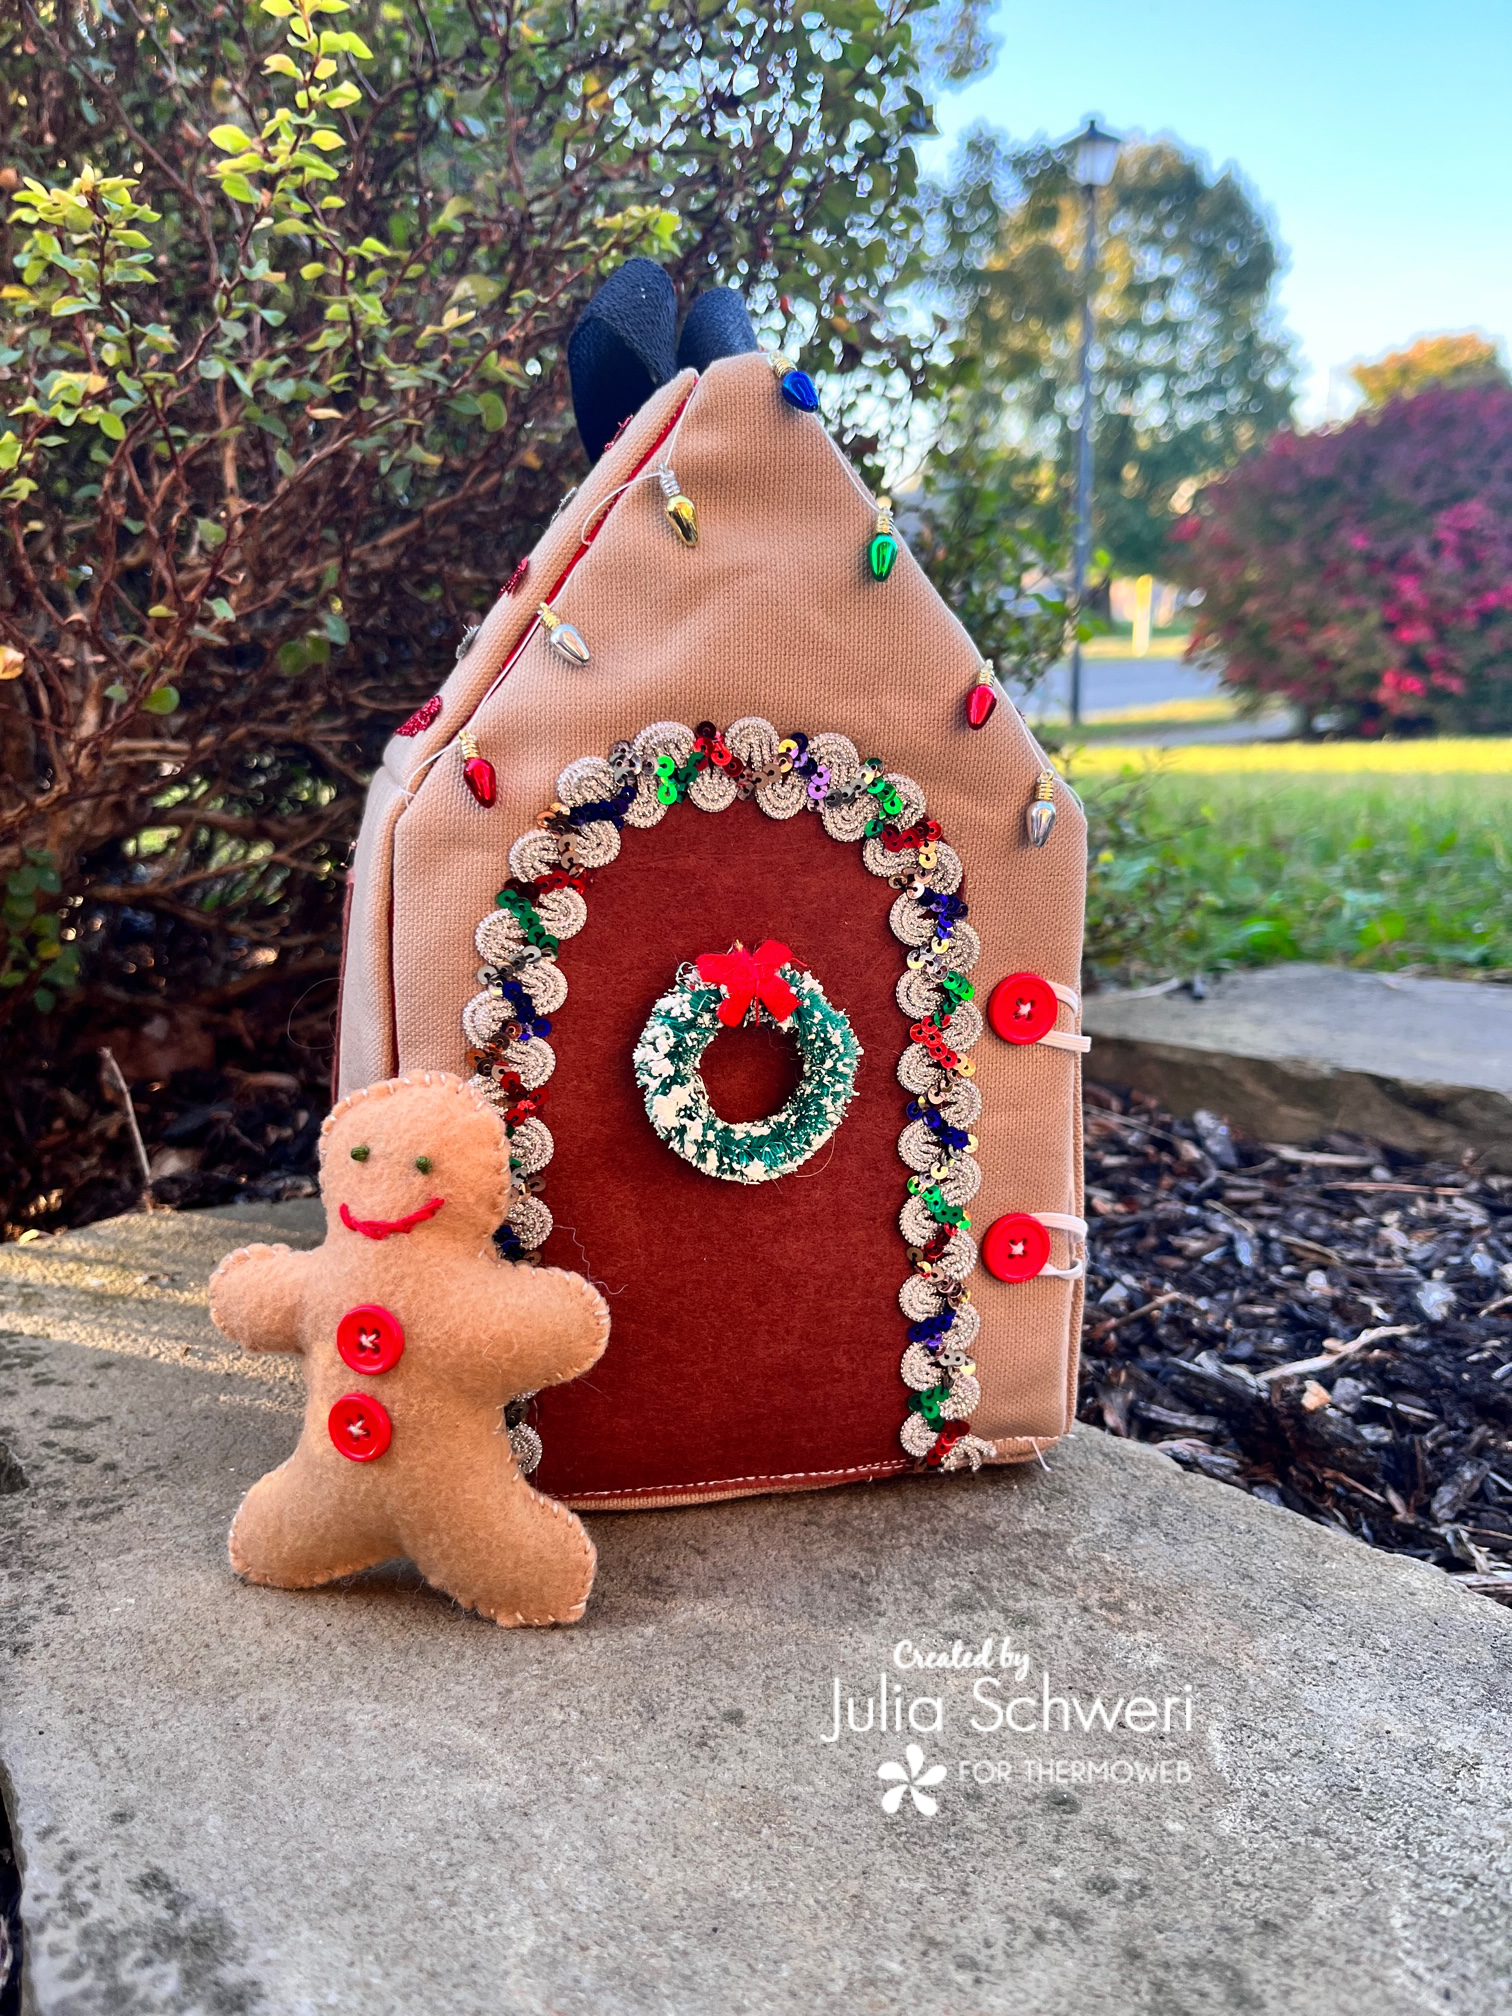
Fabric Gingerbread Doll House
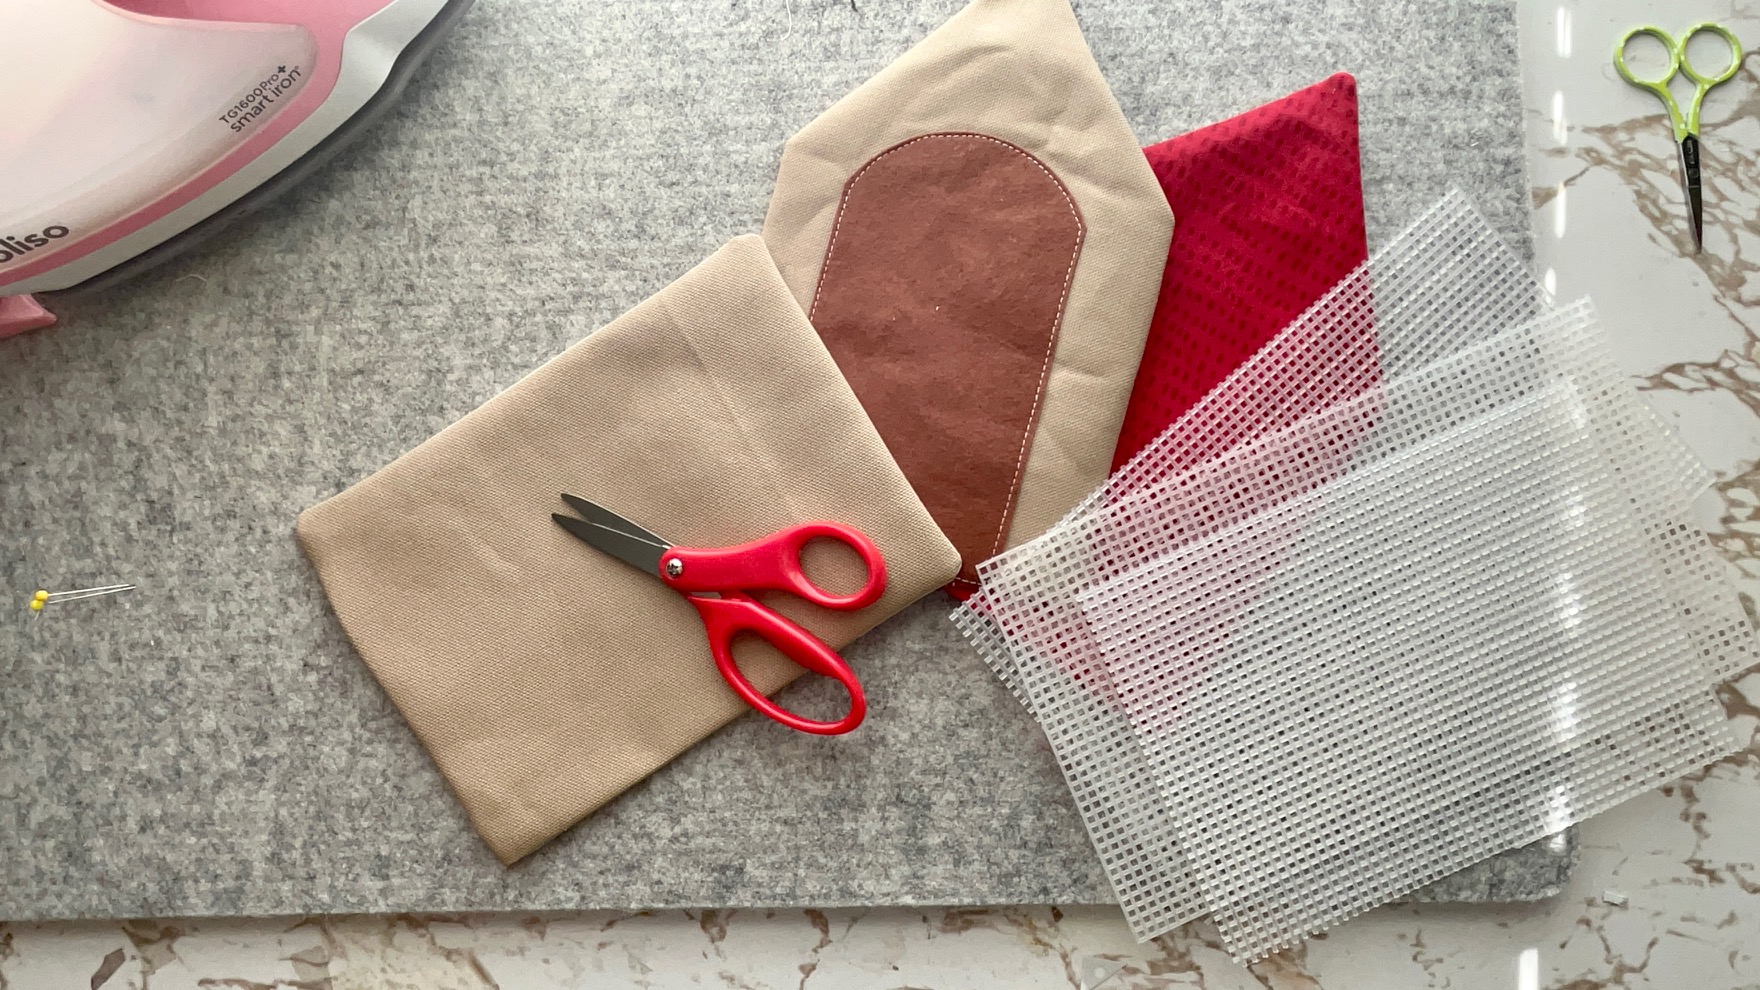
Supplies:
-
Gingerbread Doll House Pattern
- HeatnBond Fabric Fuse
- HeatnBond Fusible Fleece:
- (3) 6″ x 8″ (rectangular walls and floor)
- (2) 4″ x 8″ (roof)
- (2) 6″ x 9″ (pentagonal walls)
- Duck Canvas
- (3) 7″ x 9″ (rectangular walls and floor)
- (2) 5″ x 9″ (roof)
- (2) 7″ x 10″ (pentagonal walls)
- Cotton Fabric (Lining)***
- (2) 11″ x 9″ (wall and roof)
- (1) 9″ 7″ (floor)
- (2) 7″ x 10″ (pentagonal walls)
- 1/8″ Elastic (5) 3″ each
- 1″ Cotton Webbing for Handle (2) 7 1/2″ each
- Buttons: (5) for Gingerbread House and (2) for Gingerbread Doll
- Assorted Embellishments such as rickrack, beads, etc…
- Basic Sewing Notions
- Upholstery Thread and sewing needle (this is my own personal preference.)
- Plastic Canvas
- (2) 3 1/2″ x 7 1/2″ (roof)
- (3) 5 1/2″ x 7 1/2″ (rectangular walls and floor)
- (2) 5 1/2″ x 8 1/2″ (pentagonal walls)
- Brown Felt
- Window: 3 1/2″ square with (4) 1 1/2″ squares cut out.
- Stepping Stones: Use 1 1/2″ squares cut from the window and 12 additional squares.
- Door:
- Gingerbread Doll: See Pattern
- Oliso Iron
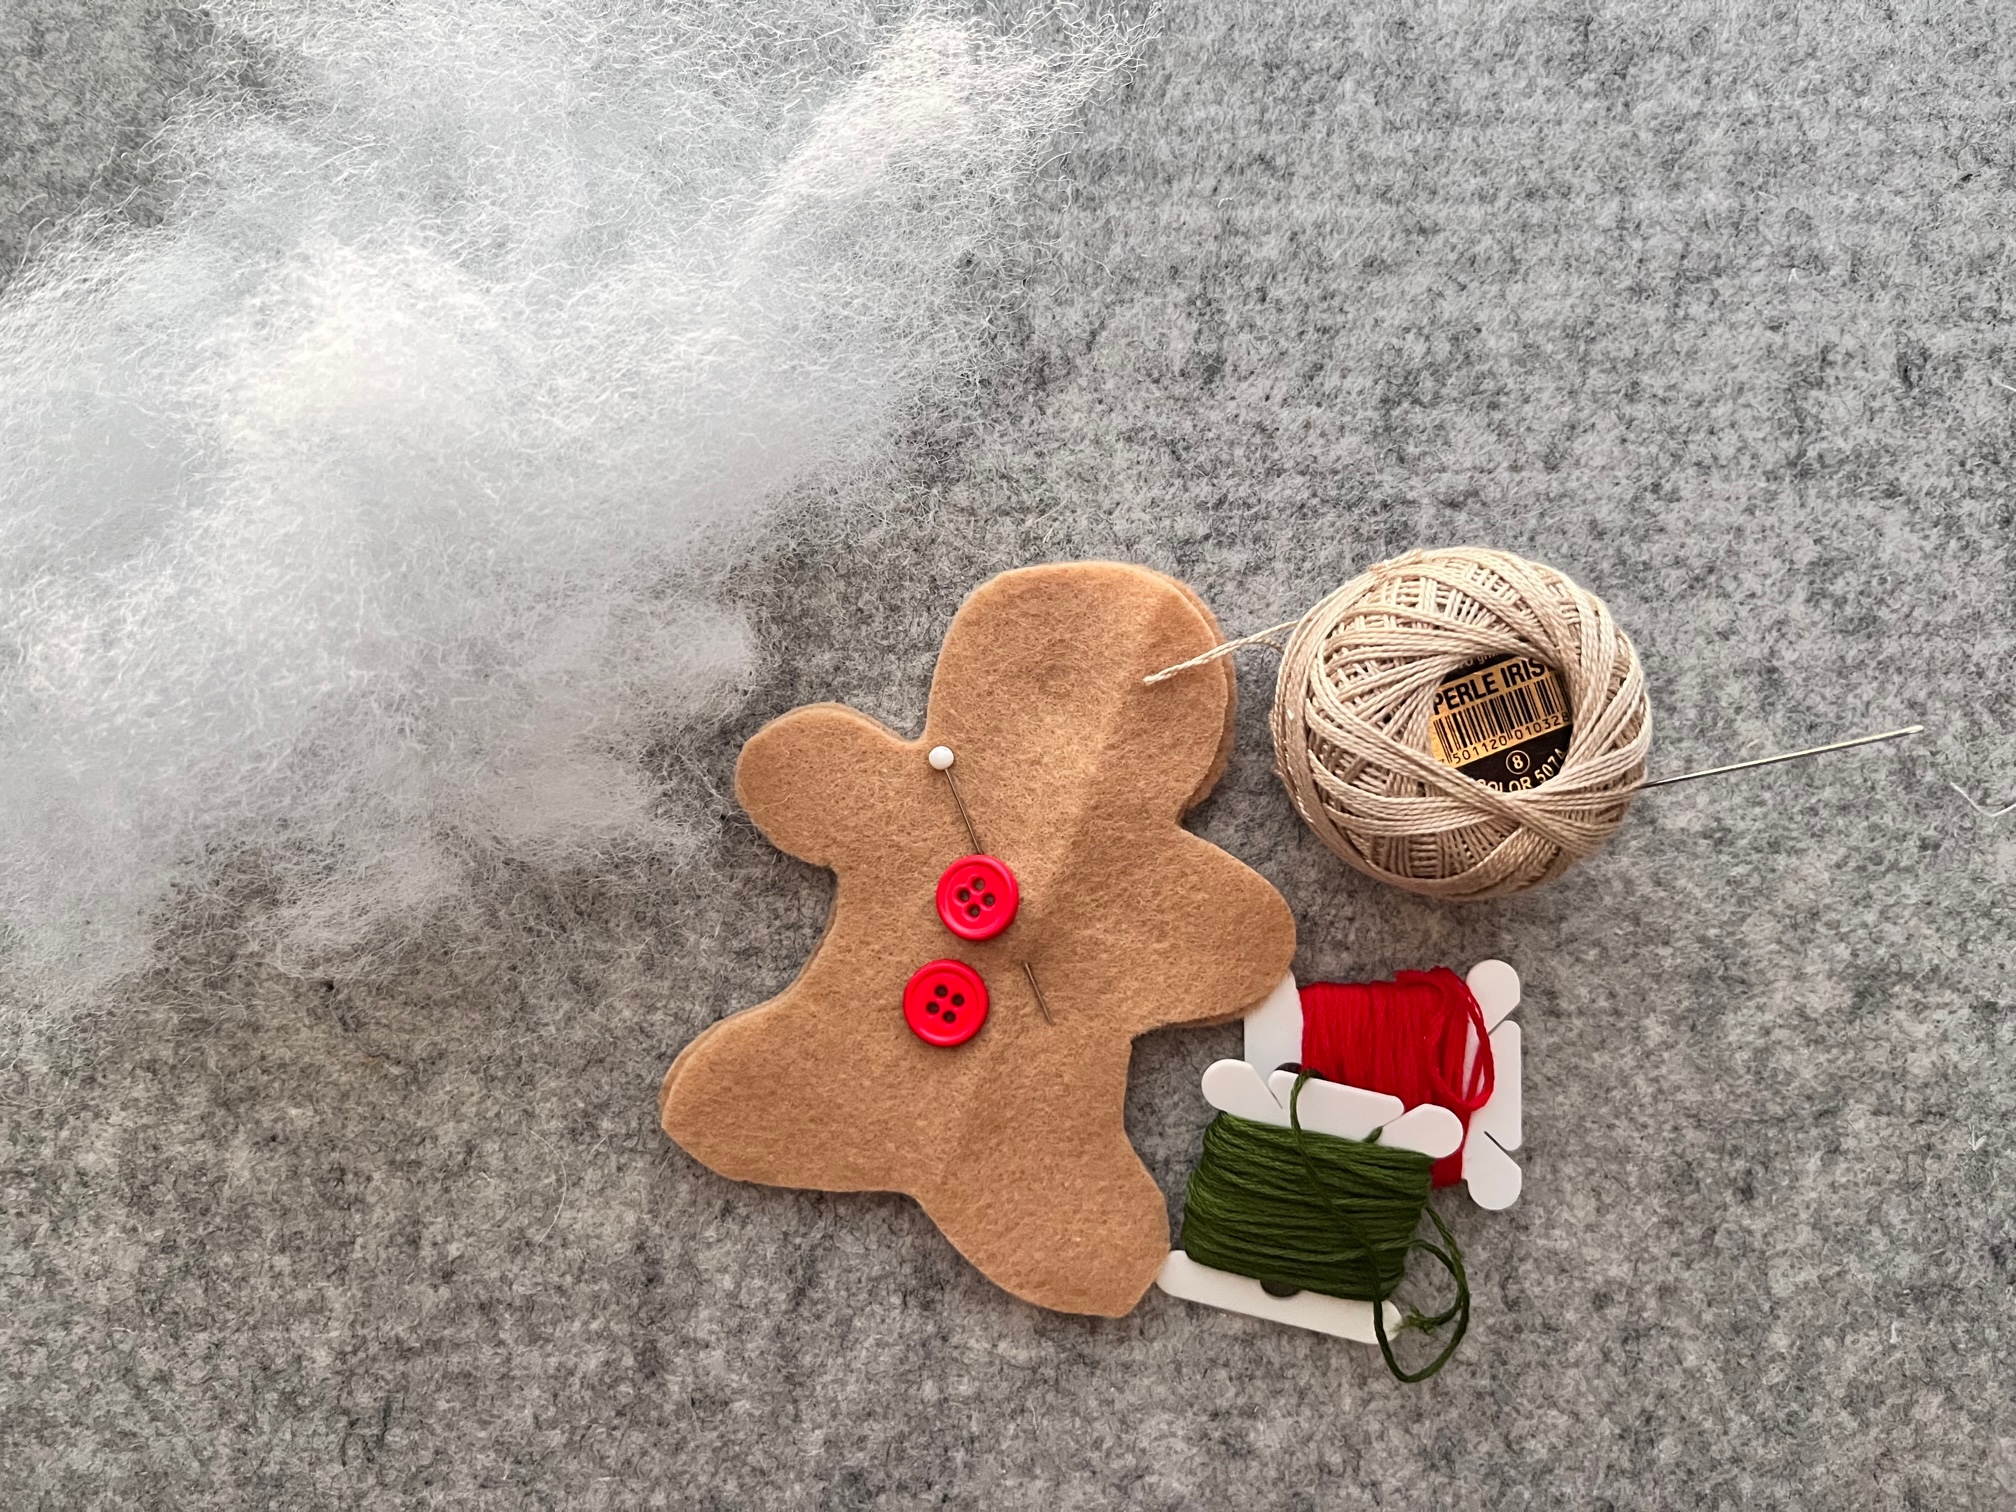
- Assorted thread/embroidery floss for Doll embellishment and stitch around the doll
- Fiberfill for Gingerbread Doll
*** I used two different lining fabrics. I made one wall/roof and the floor lining the same since when the dollhouse is open those all will act as the floor. I used another pattern of cotton for the other rectangular wall, roof, and pentagonal walls.
** All seams are 1/2″ unless otherwise specified.

Gingerbread House Instructions:
Begin by…
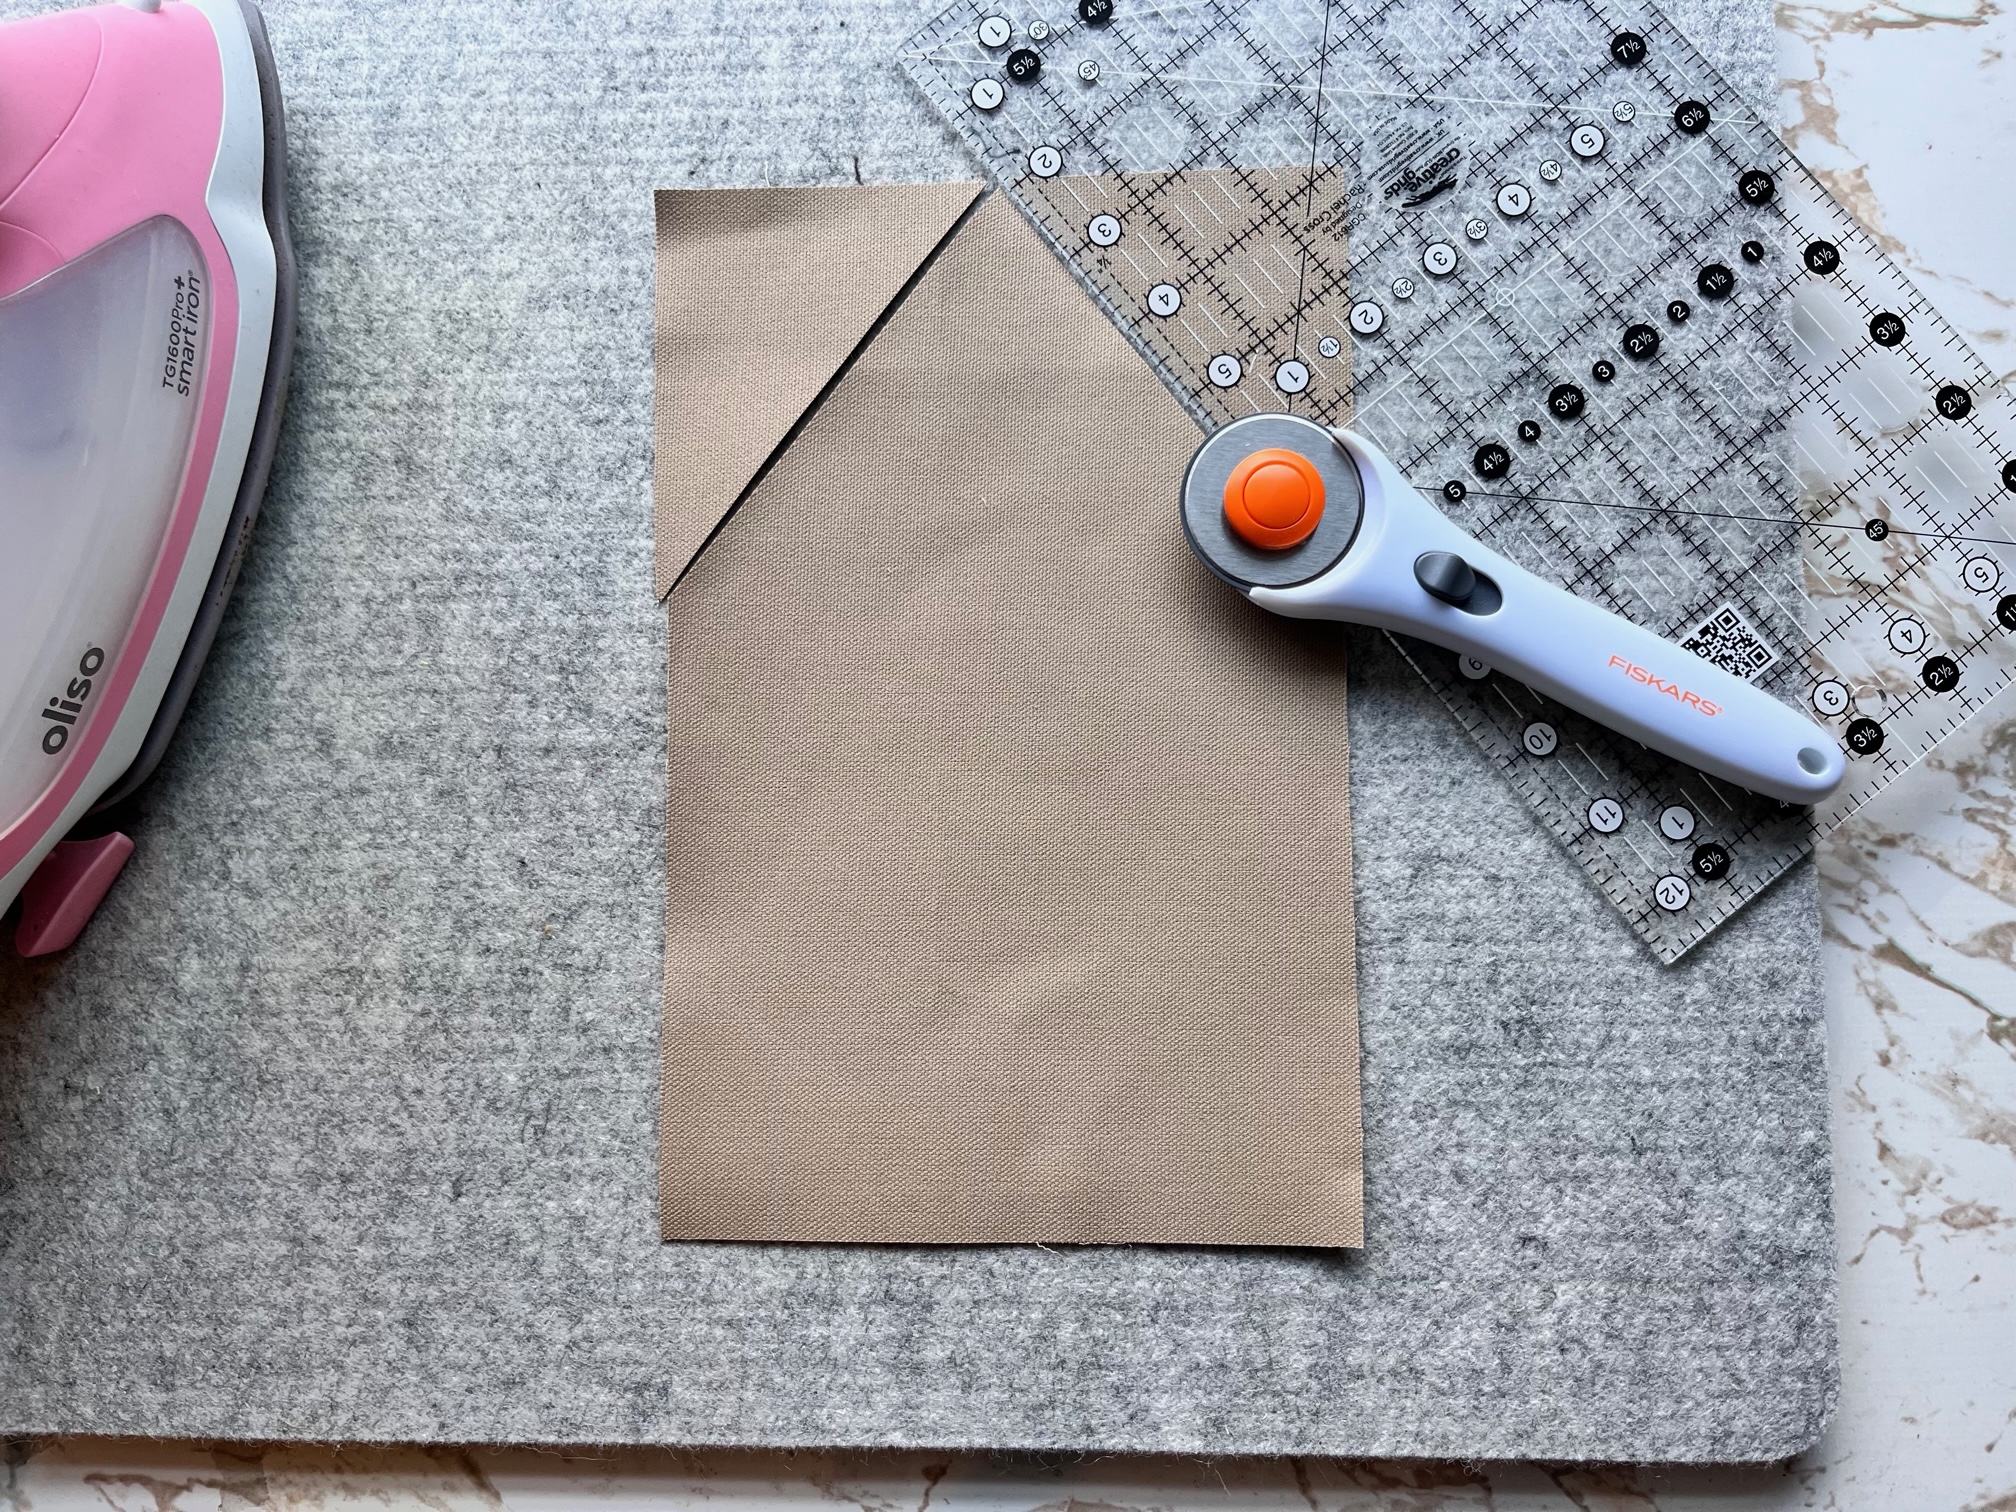
Cut all the Gingerbread Doll House pieces out. To cut the pentagonal walls, begin by measuring up 6 1/2″ from the bottom of the Canvas and Lining and mark it with a pencil. Next measure 3 1/2″ from the side to find the center. Then, take your ruler and line up the top center mark with one of the side marks and trim away the excess material. Trim the other side as well to create the pentagon shape. Do the same with the fusible fleece. However, measuring only 6″ from the bottom up and 3″ in to find the center.
Next…
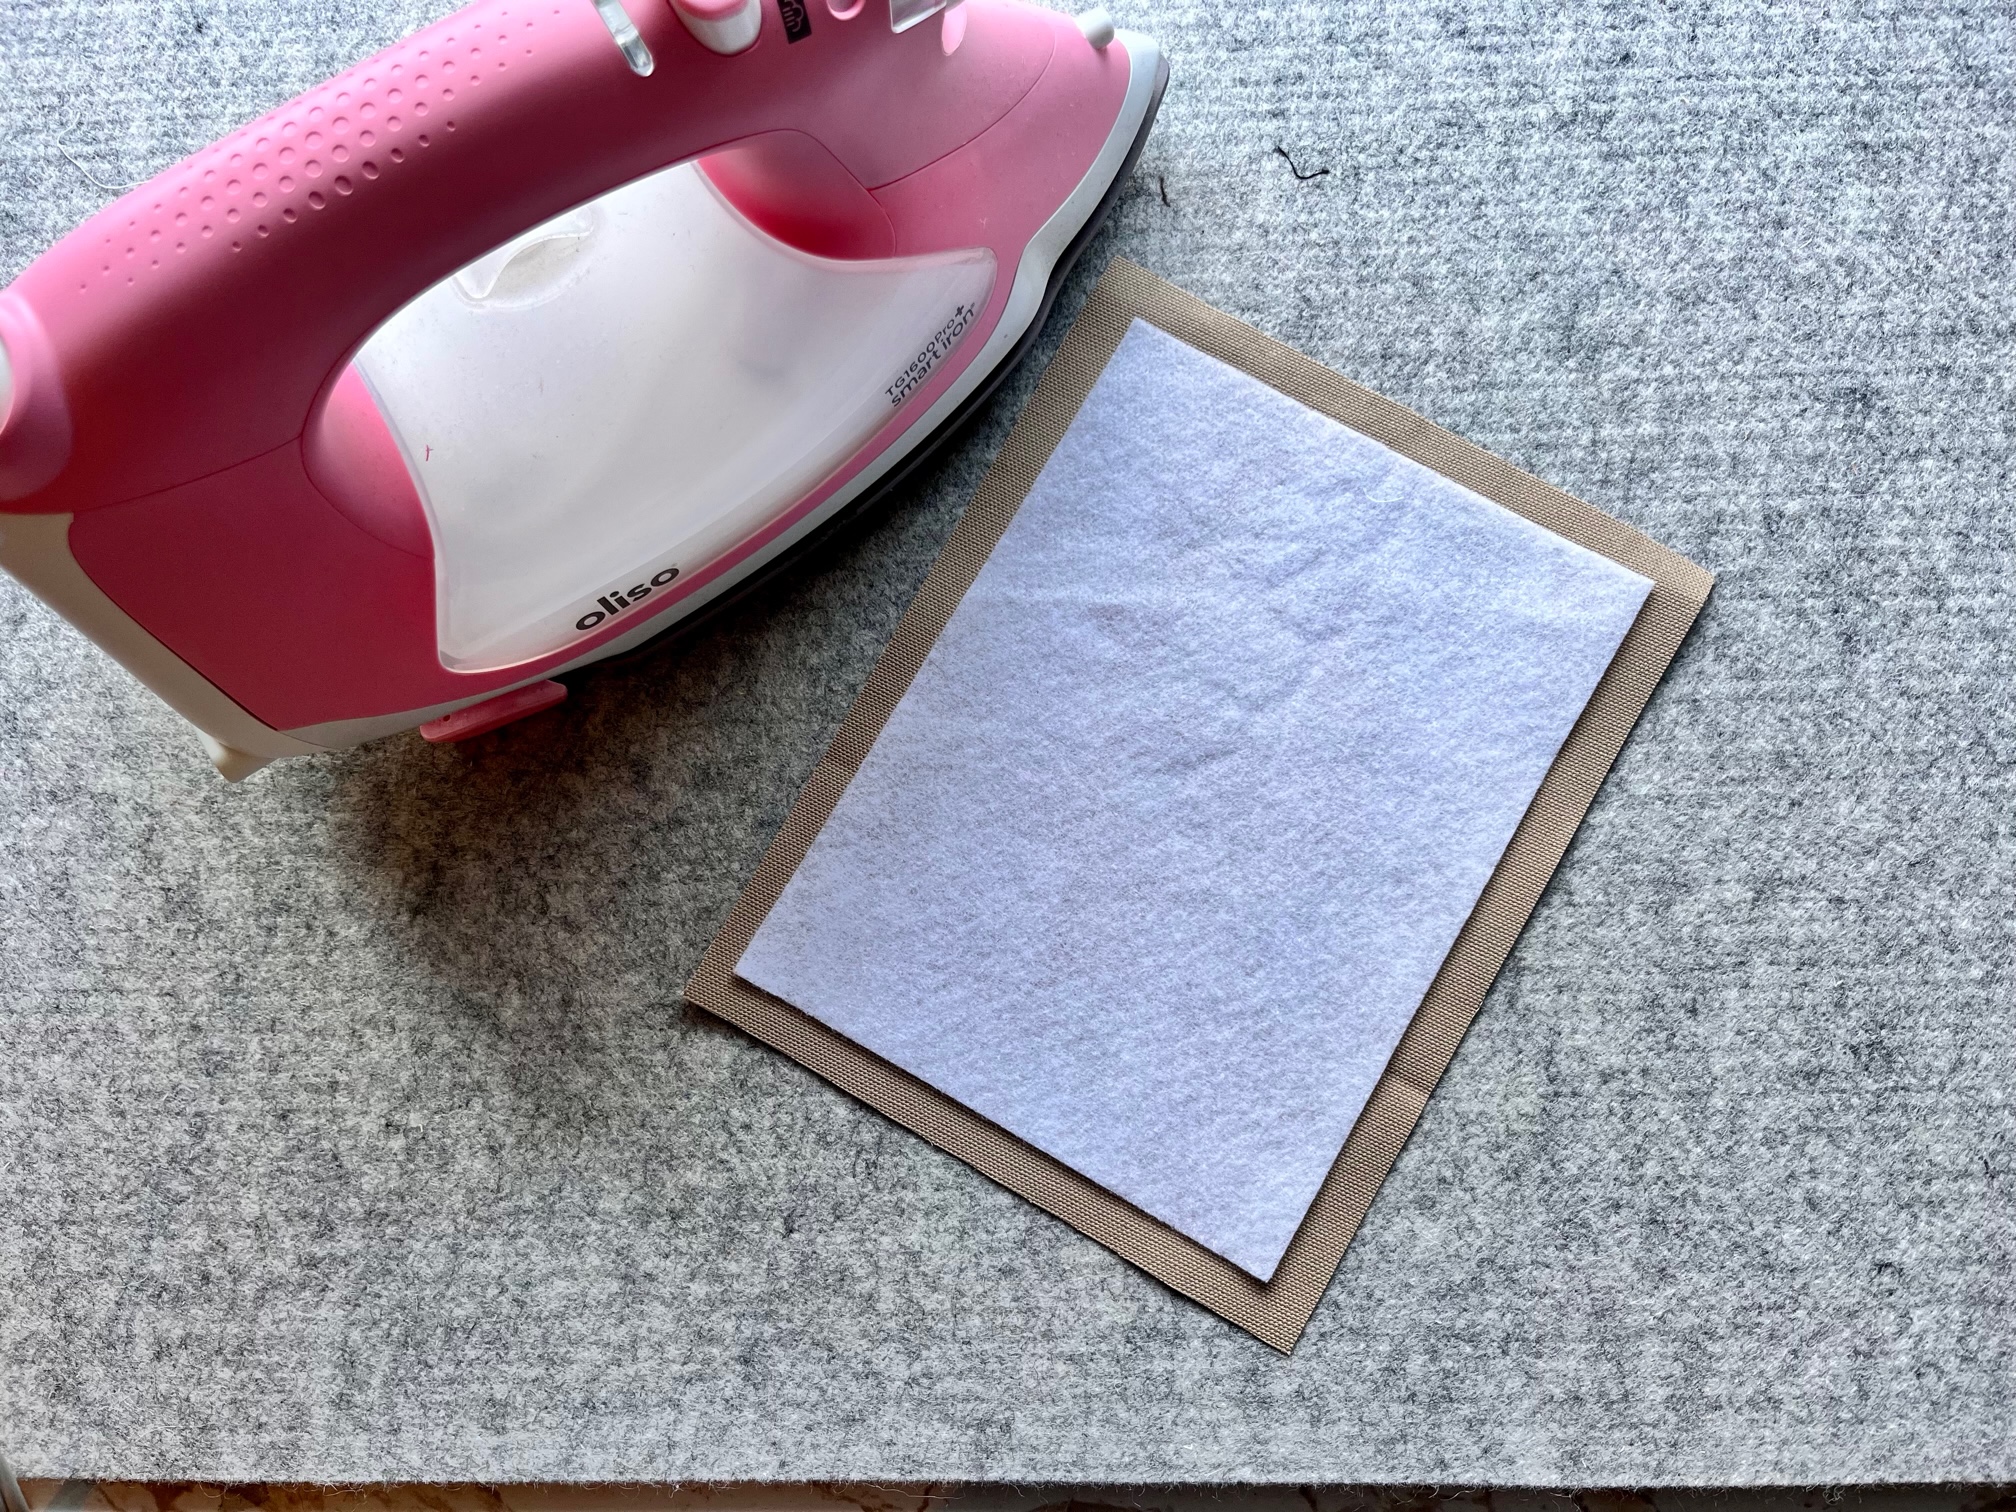
Adhere the fusible fleece to each canvas piece. The HeatnBond Fusible Fleece is 1/2″ smaller all the way around. This will help to avoid bulk in the seams.
Then…
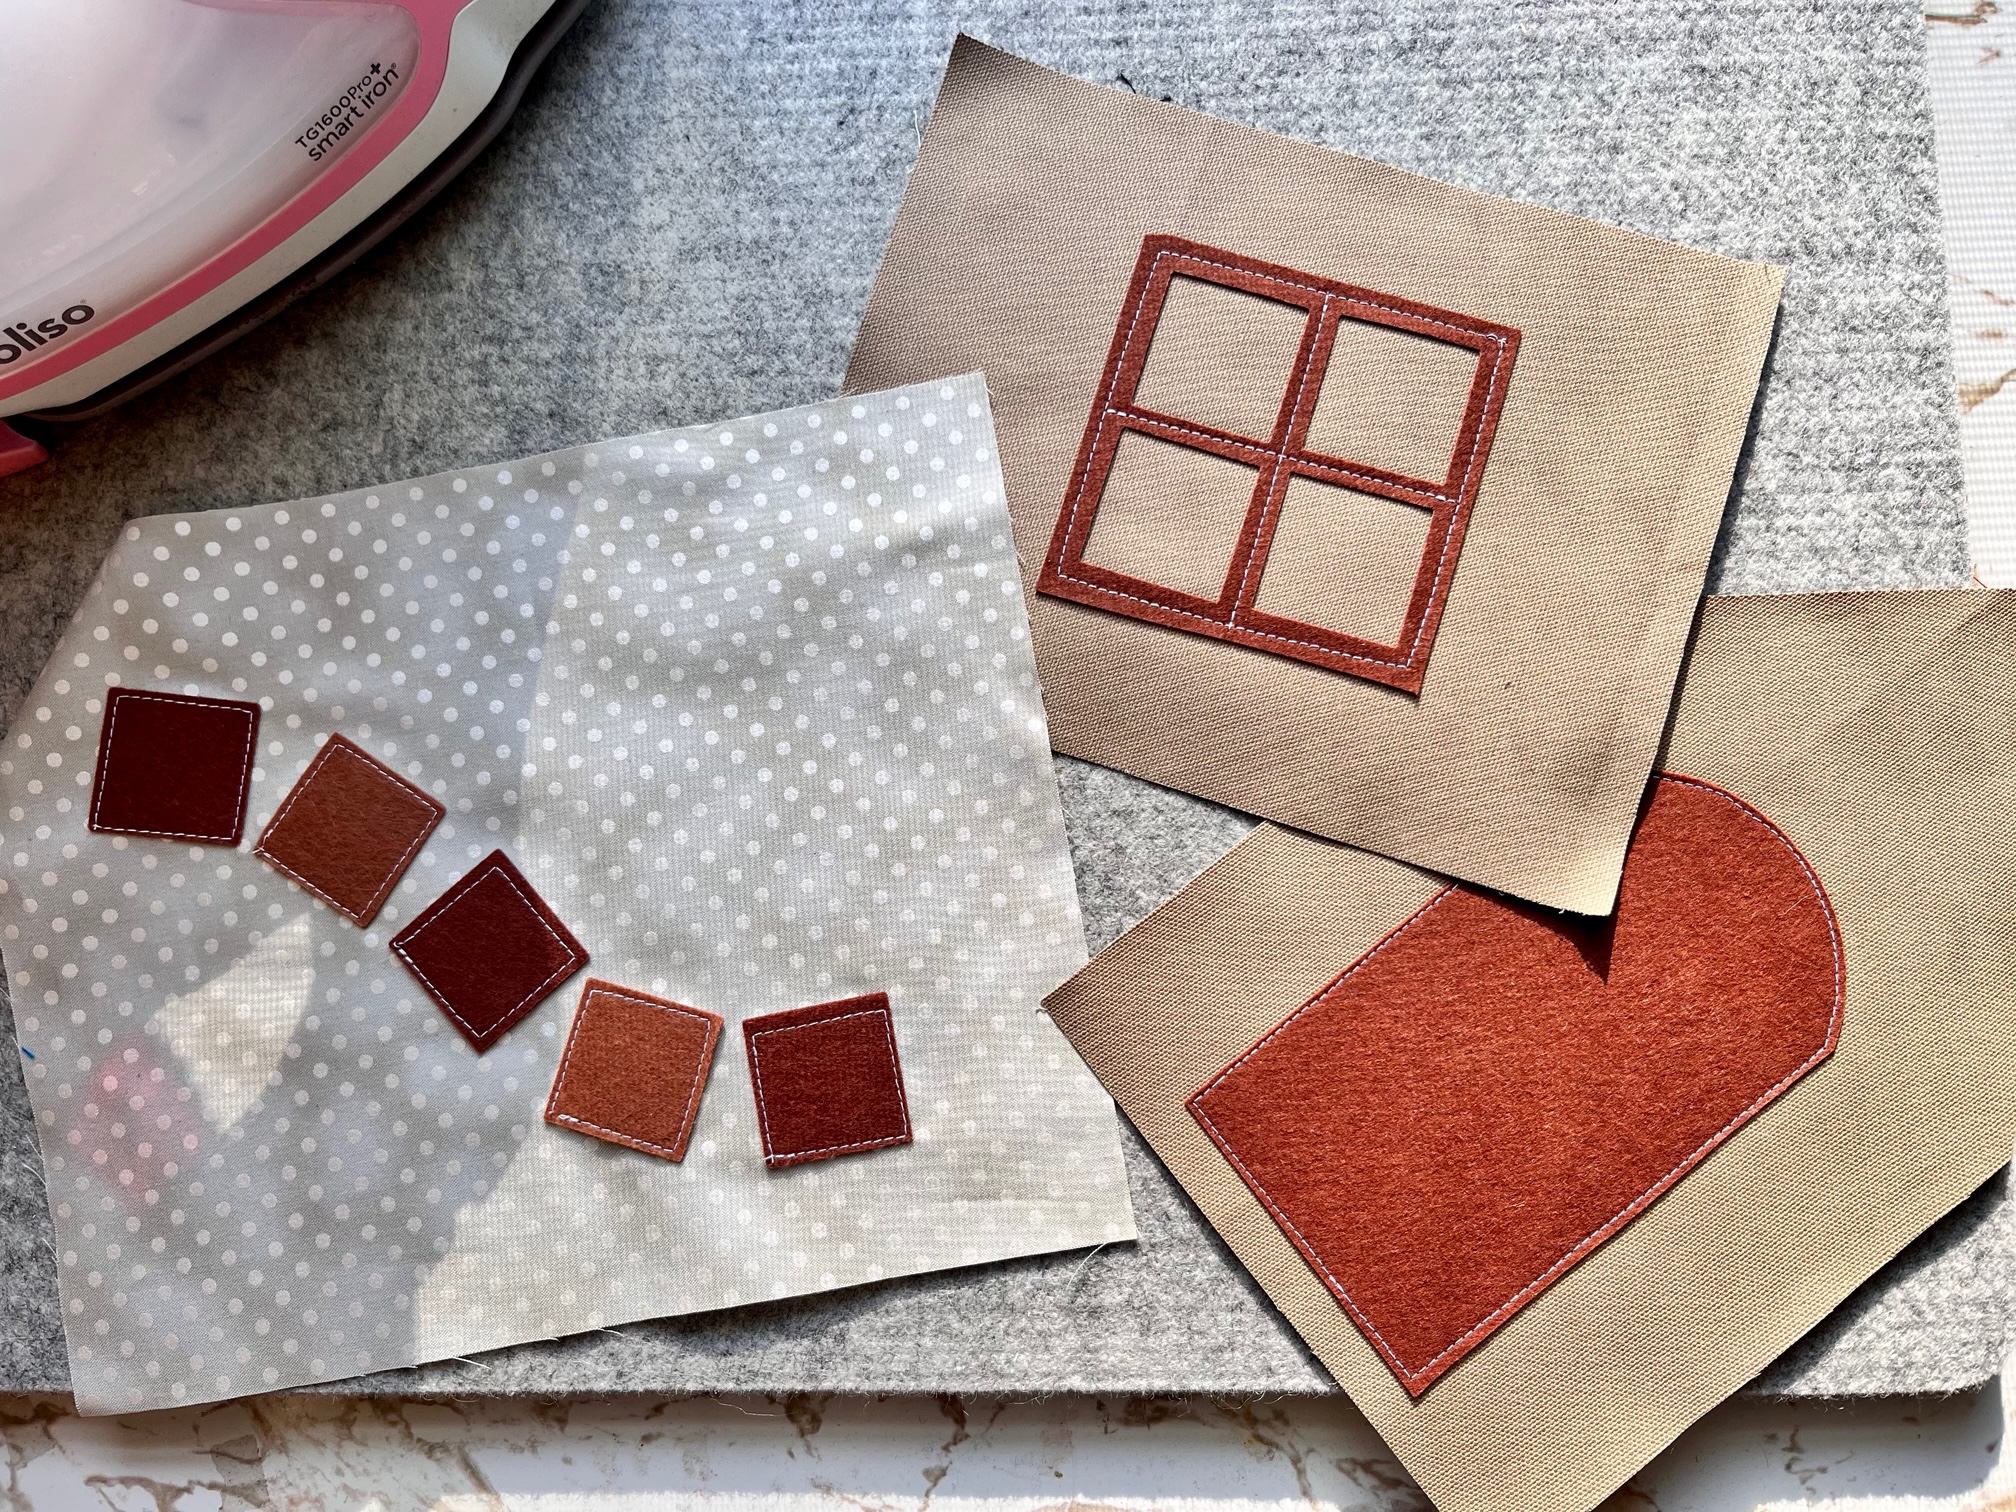
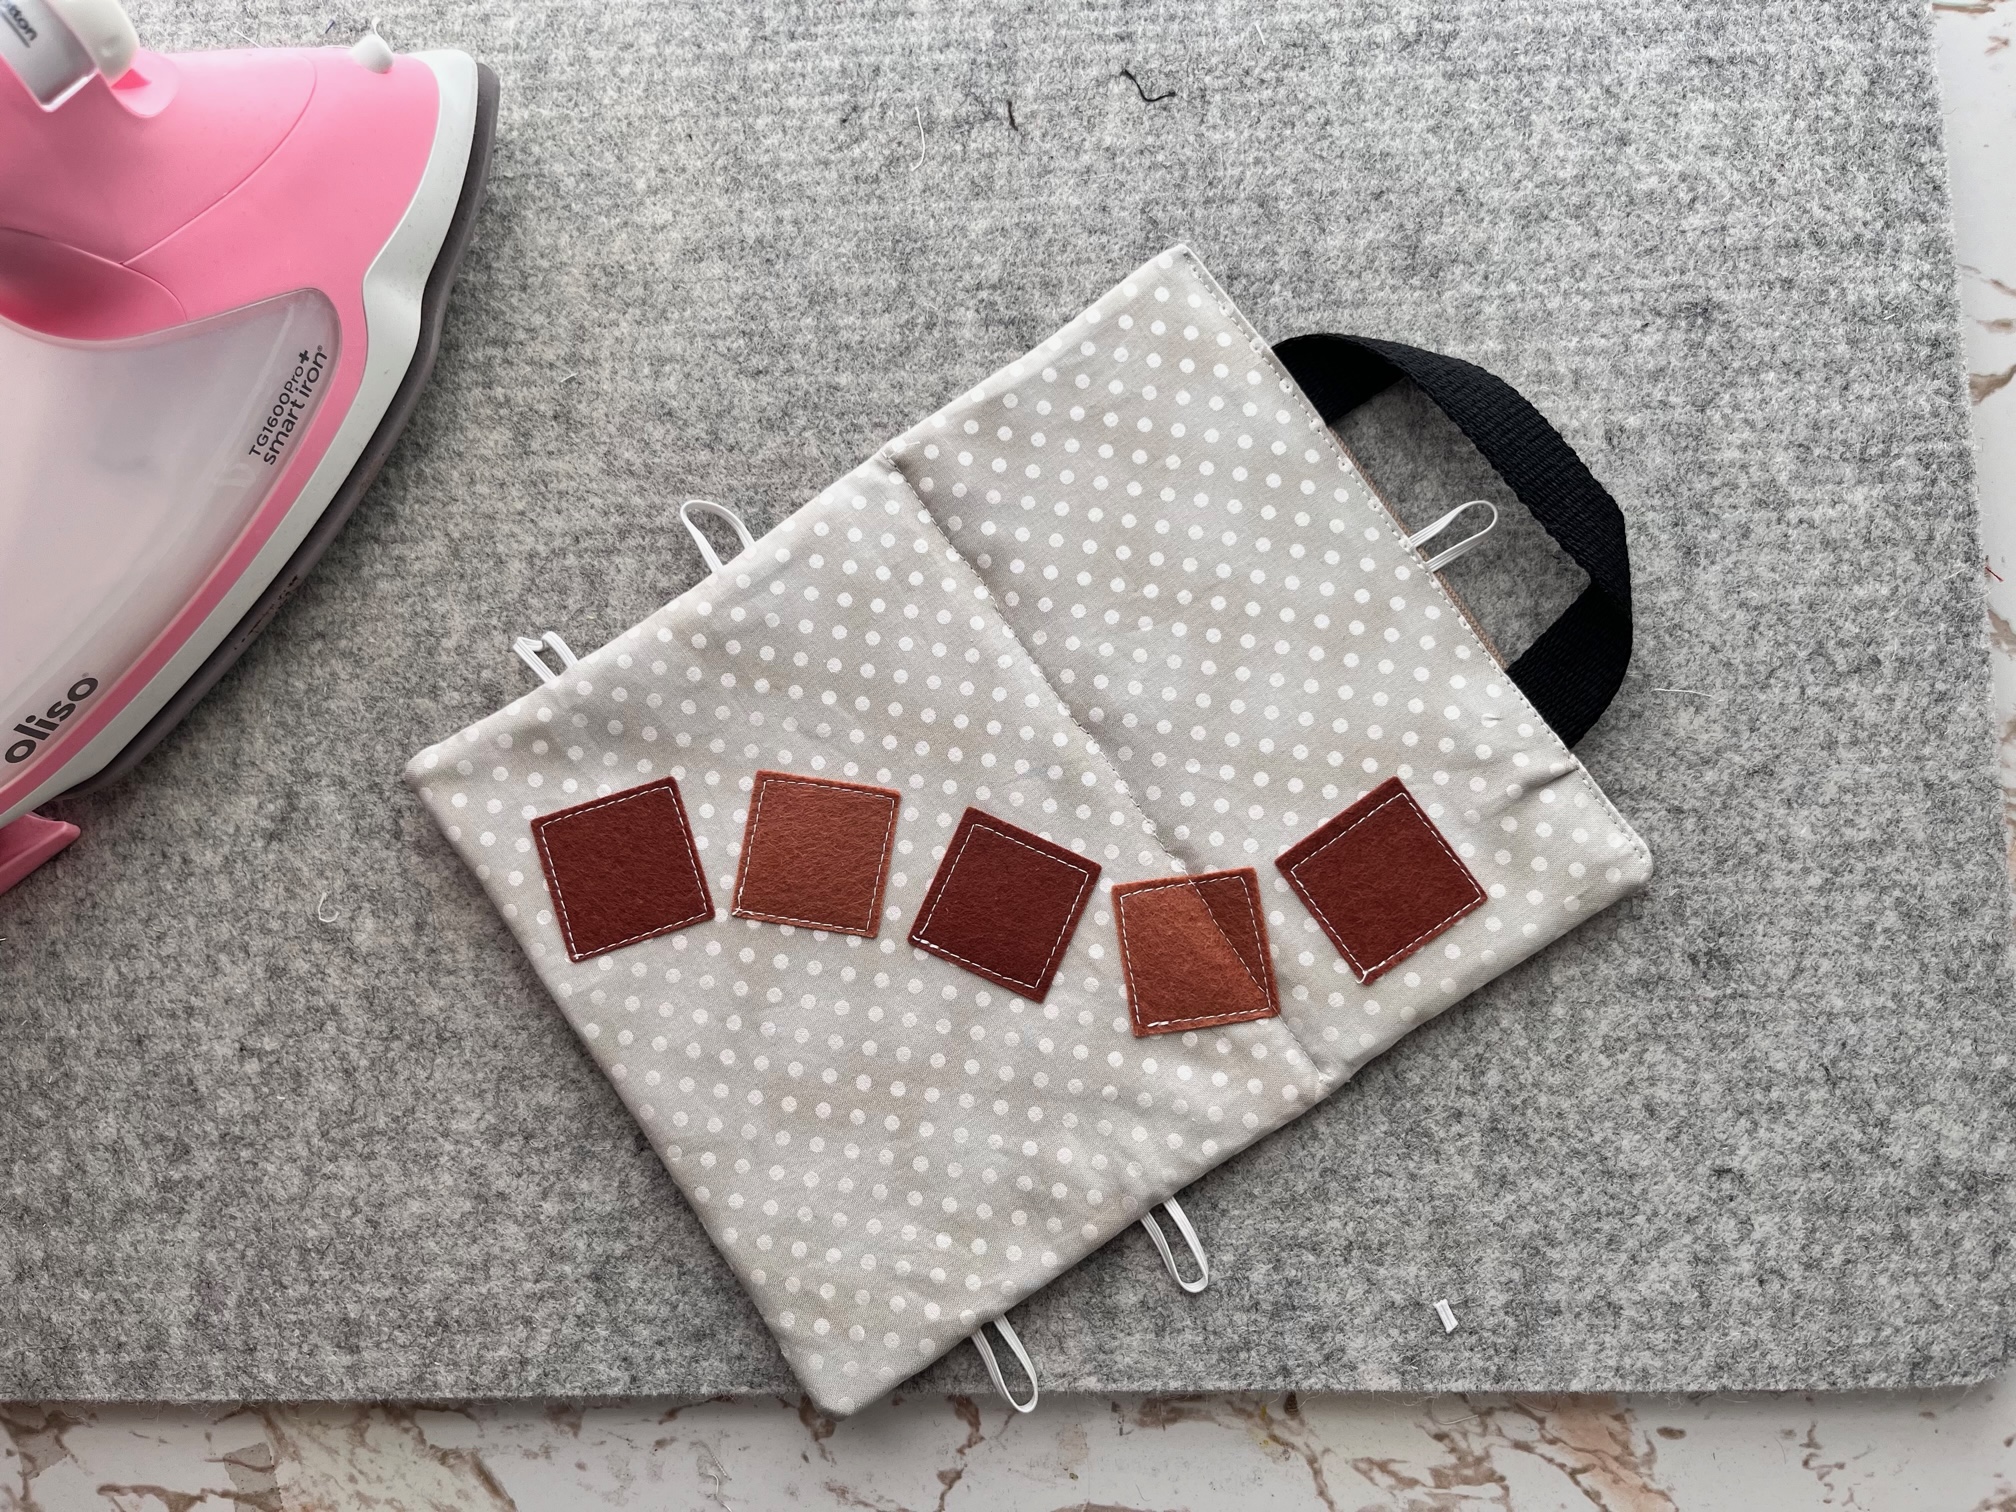
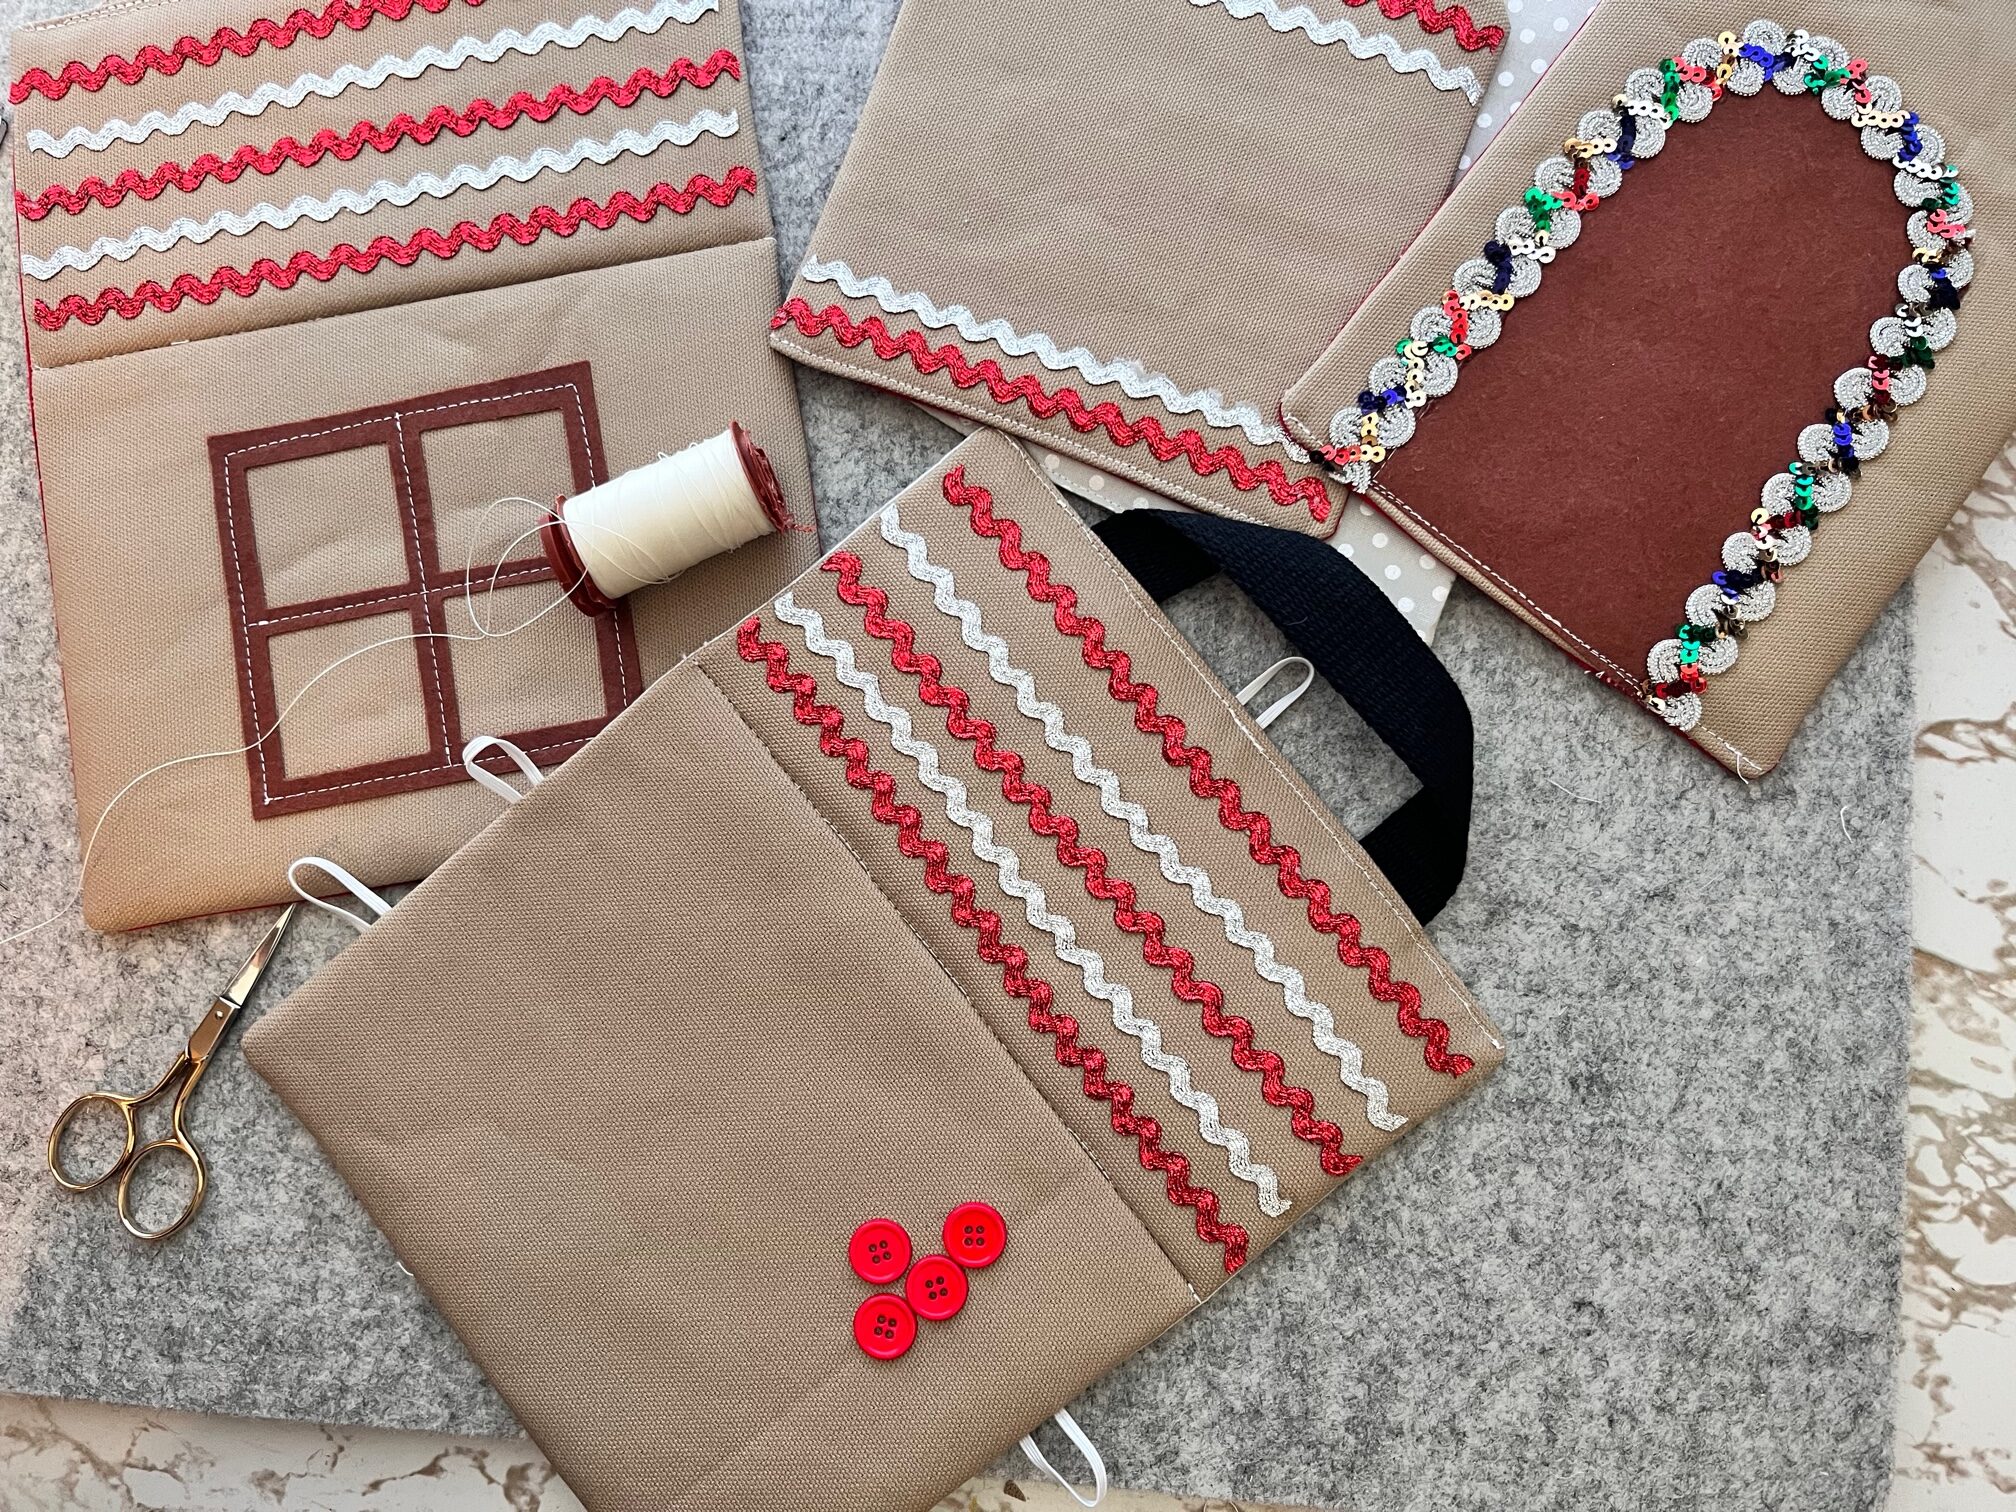
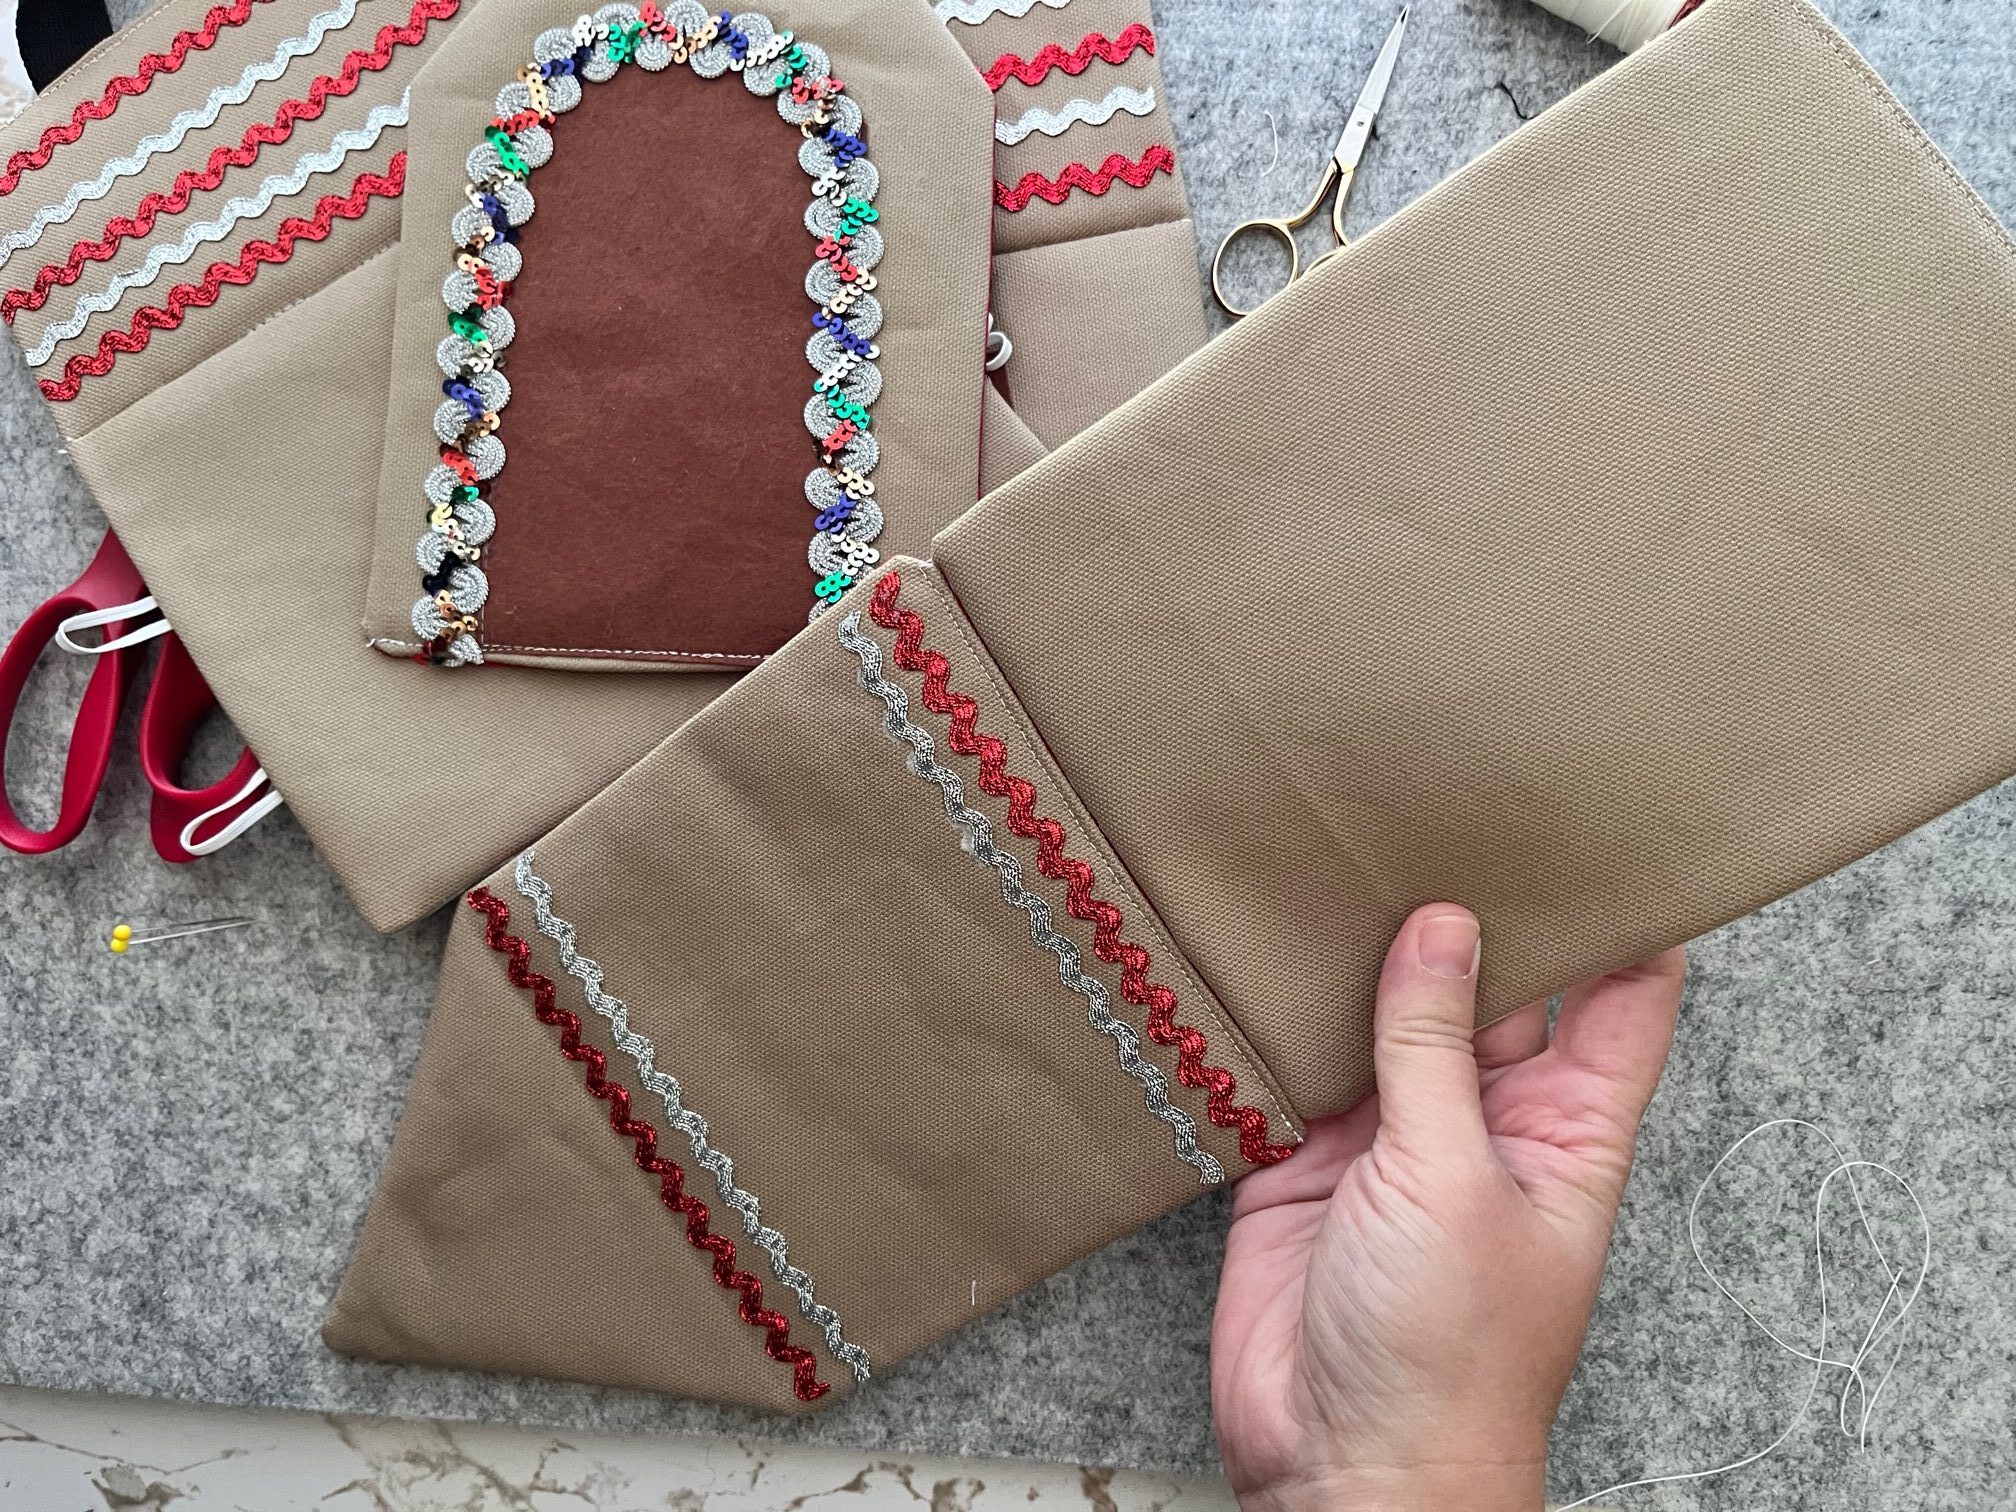
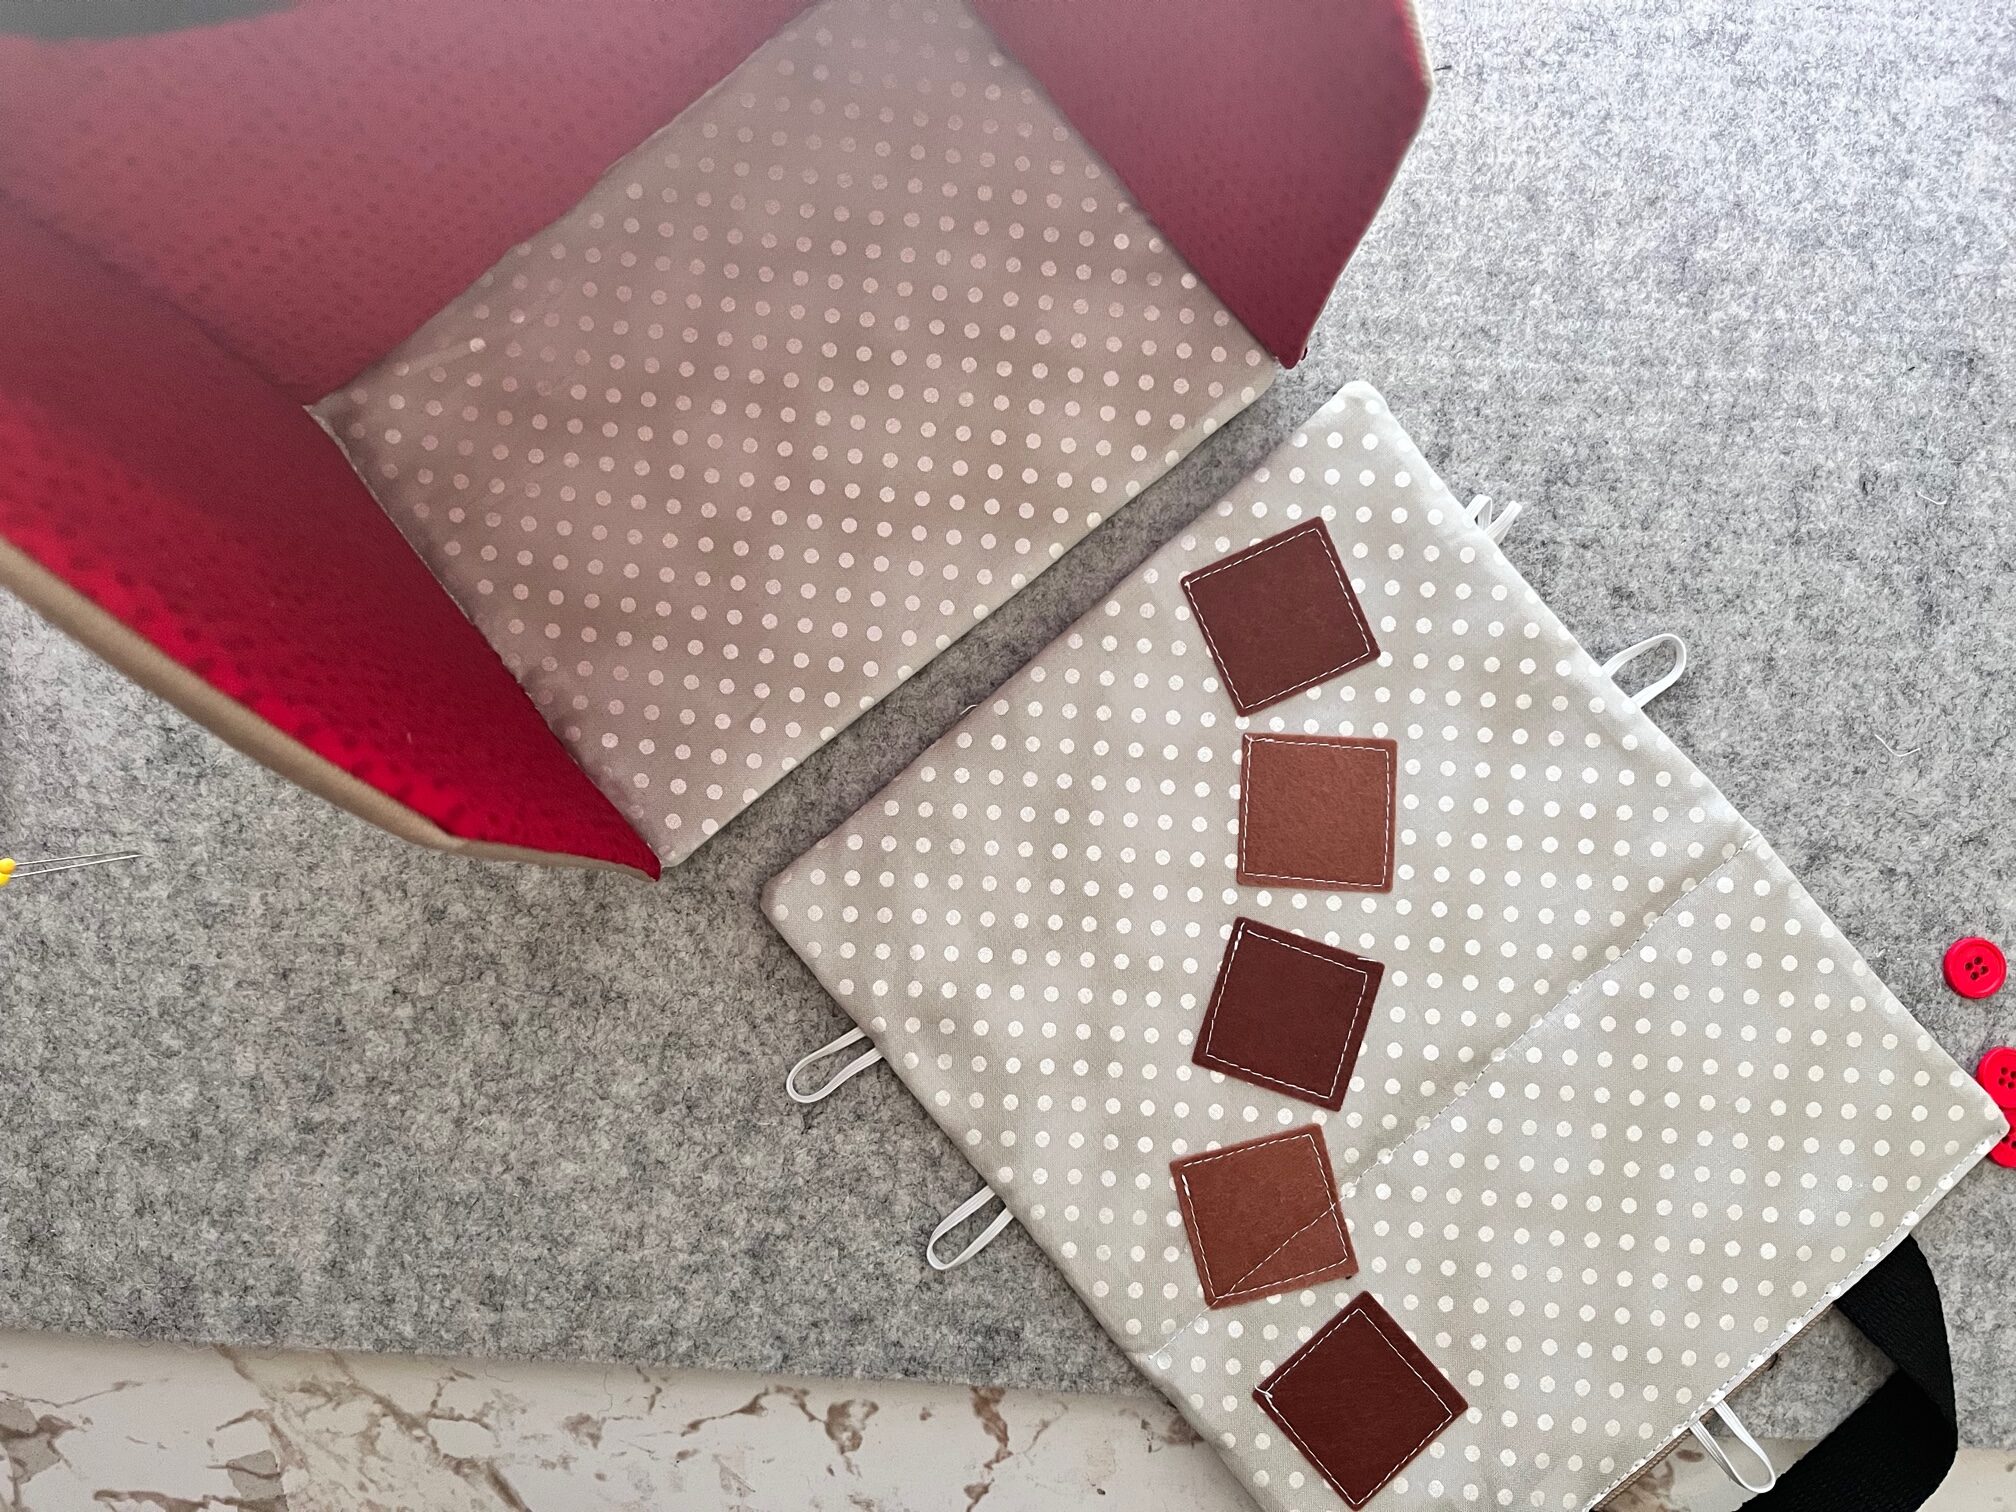
Applique the window to one of the rectangular walls and the door to one of the pentagonal walls. Use the 1 1/2″ squares to create a “brick” path on the wall/roof lining piece that matches the lining of the floor piece ***see note above.
Wall Number One: The NON-Window Wall
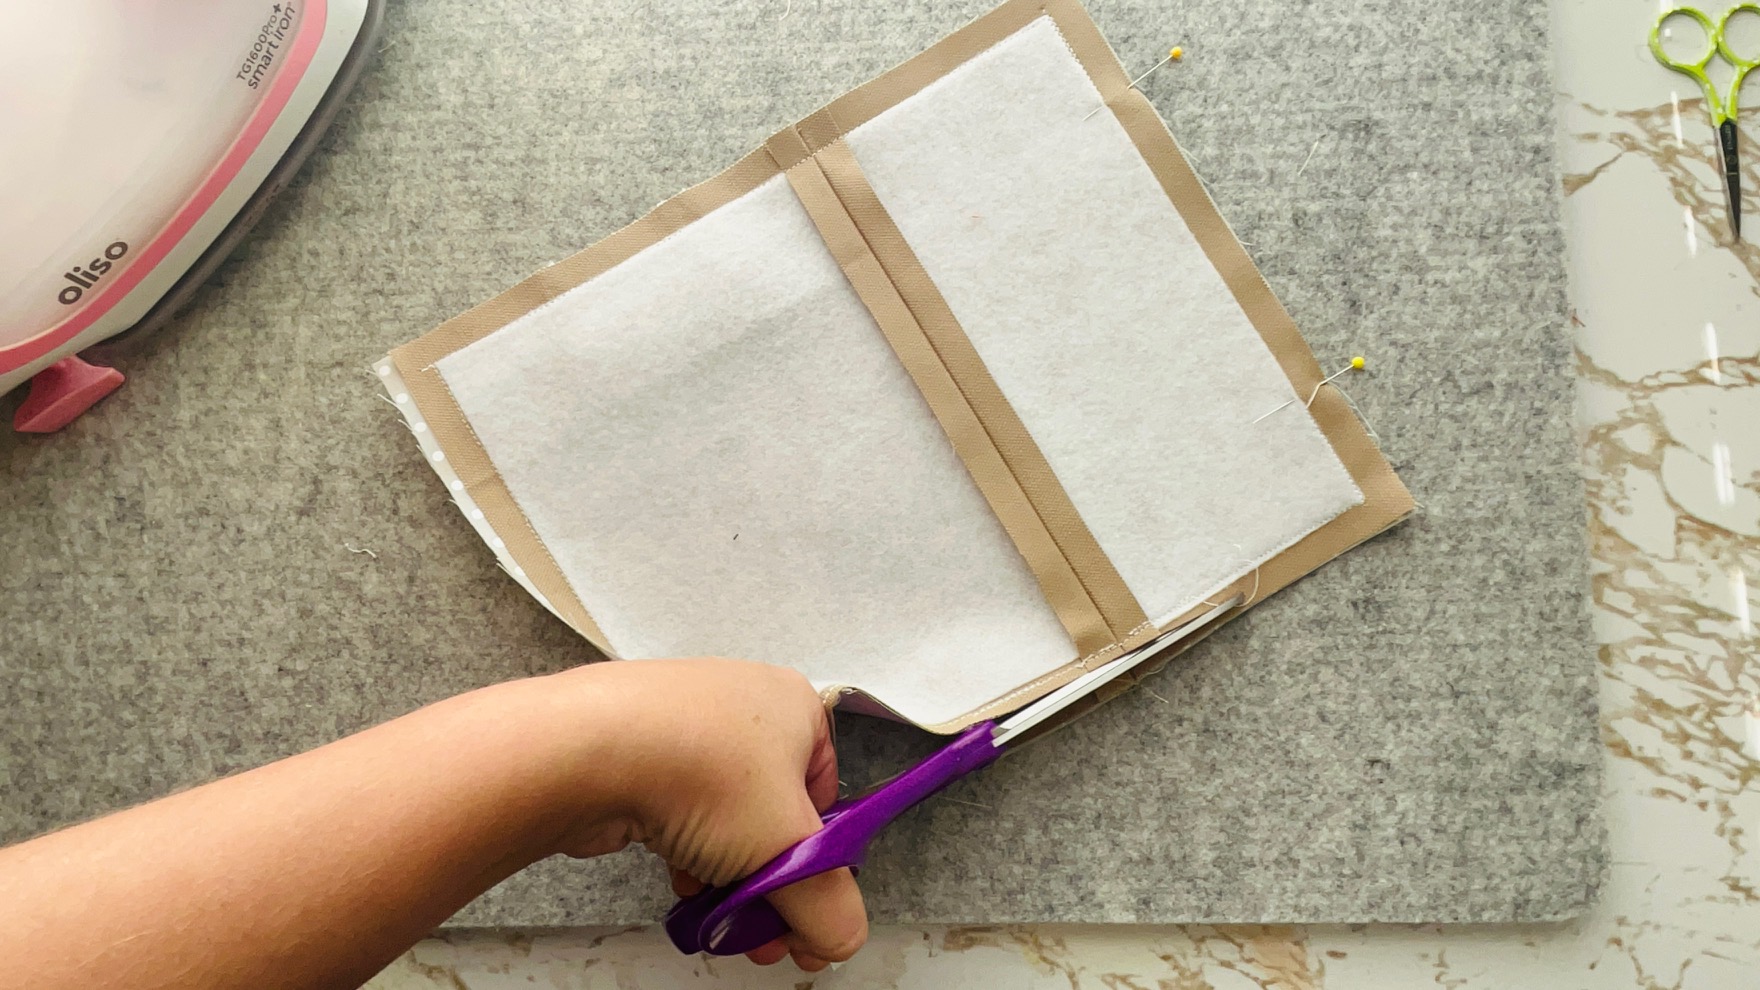
Begin with the Non-window wall. This wall will have the lining piece with the brick path. Start by sewing a canvas roof piece to the blank canvas wall piece using a 1/2″ seam along the long edge. Press the seam open.
Next, layer your lining piece with the brick path and wall/roof canvas piece right sides together. On the roof piece, measure 2″ in on both sides and pin. This will leave a 4″ gap. This gap will remain unsewn for turning/handle placement.
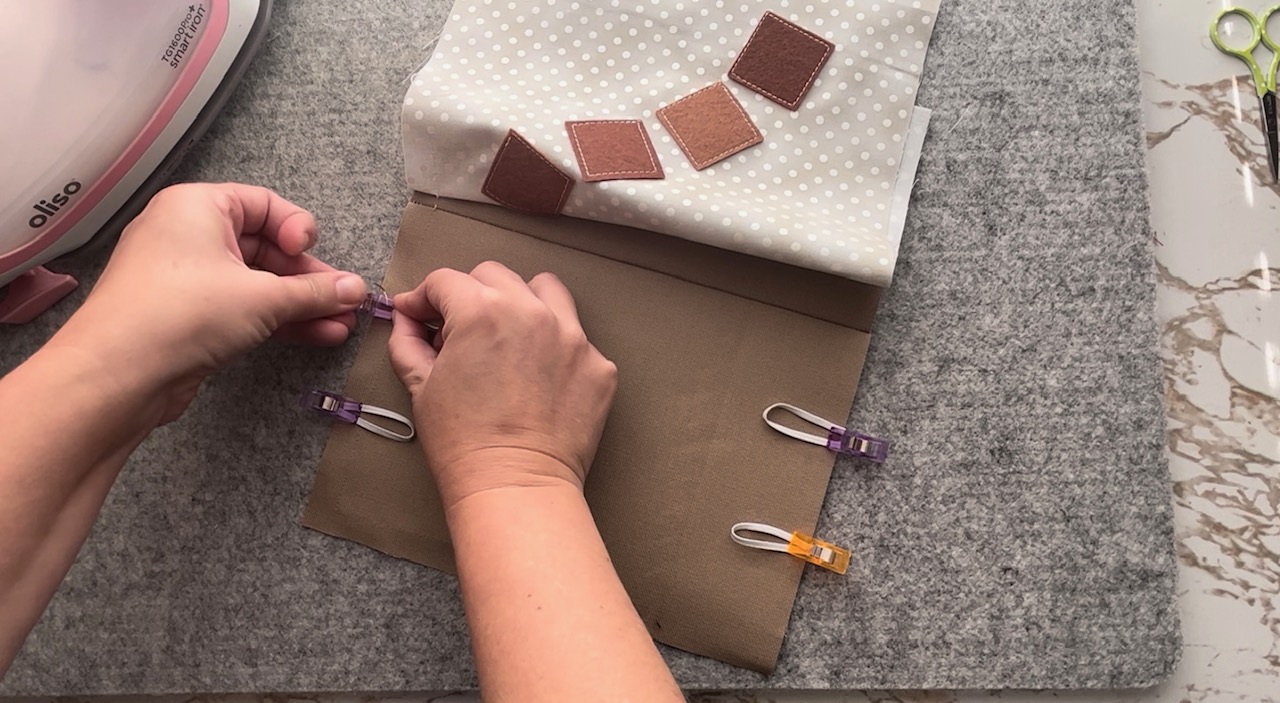
Next, you will need to pin/clip 4 elastics (2 on each side) to the walls. Once the elastics are secured, cover the elastics and canvas with the lining and sew around the entire piece leaving the gap between the pins open for turning.
Next…
Trim off the excess fabric around the seams and clip the corners. Turn right side out and press. Press under the opening.
Important Note: Leave the extra fabric on the roof with the gap. Do not trim this side or stitching it closed will be more difficult.
Continue by…
Insert the wall plastic canvas piece through the opening. Once in place, topstitch across the gingerbread wall in the seam to secure. Then insert the roof plastic canvas piece through the gap. Before stitching the gap closed, insert the cotton webbing handle and final elastic piece. Topstitch across the top of the roof to close. The non-window wall/roof is now complete.
Wall Number Two: The Window Wall
Follow the steps above to make the wall/roof with the window. The only difference is you will omit adding the elastics. This wall/roof uses a different lining fabric since it will always remain on the wall when the project is finished.
Floor and Pentagonal Walls
Once both wall/window panels are complete, it is time to move forward to the floor and other walls. To make the floor and pentagonal walls, simply place the canvas and lining pieces right sides together and sew around the entire piece, leaving a gap on the bottom of each one for turning. Once sewn, trim the excess fabric except for the side with the opening. Clip all the corners.
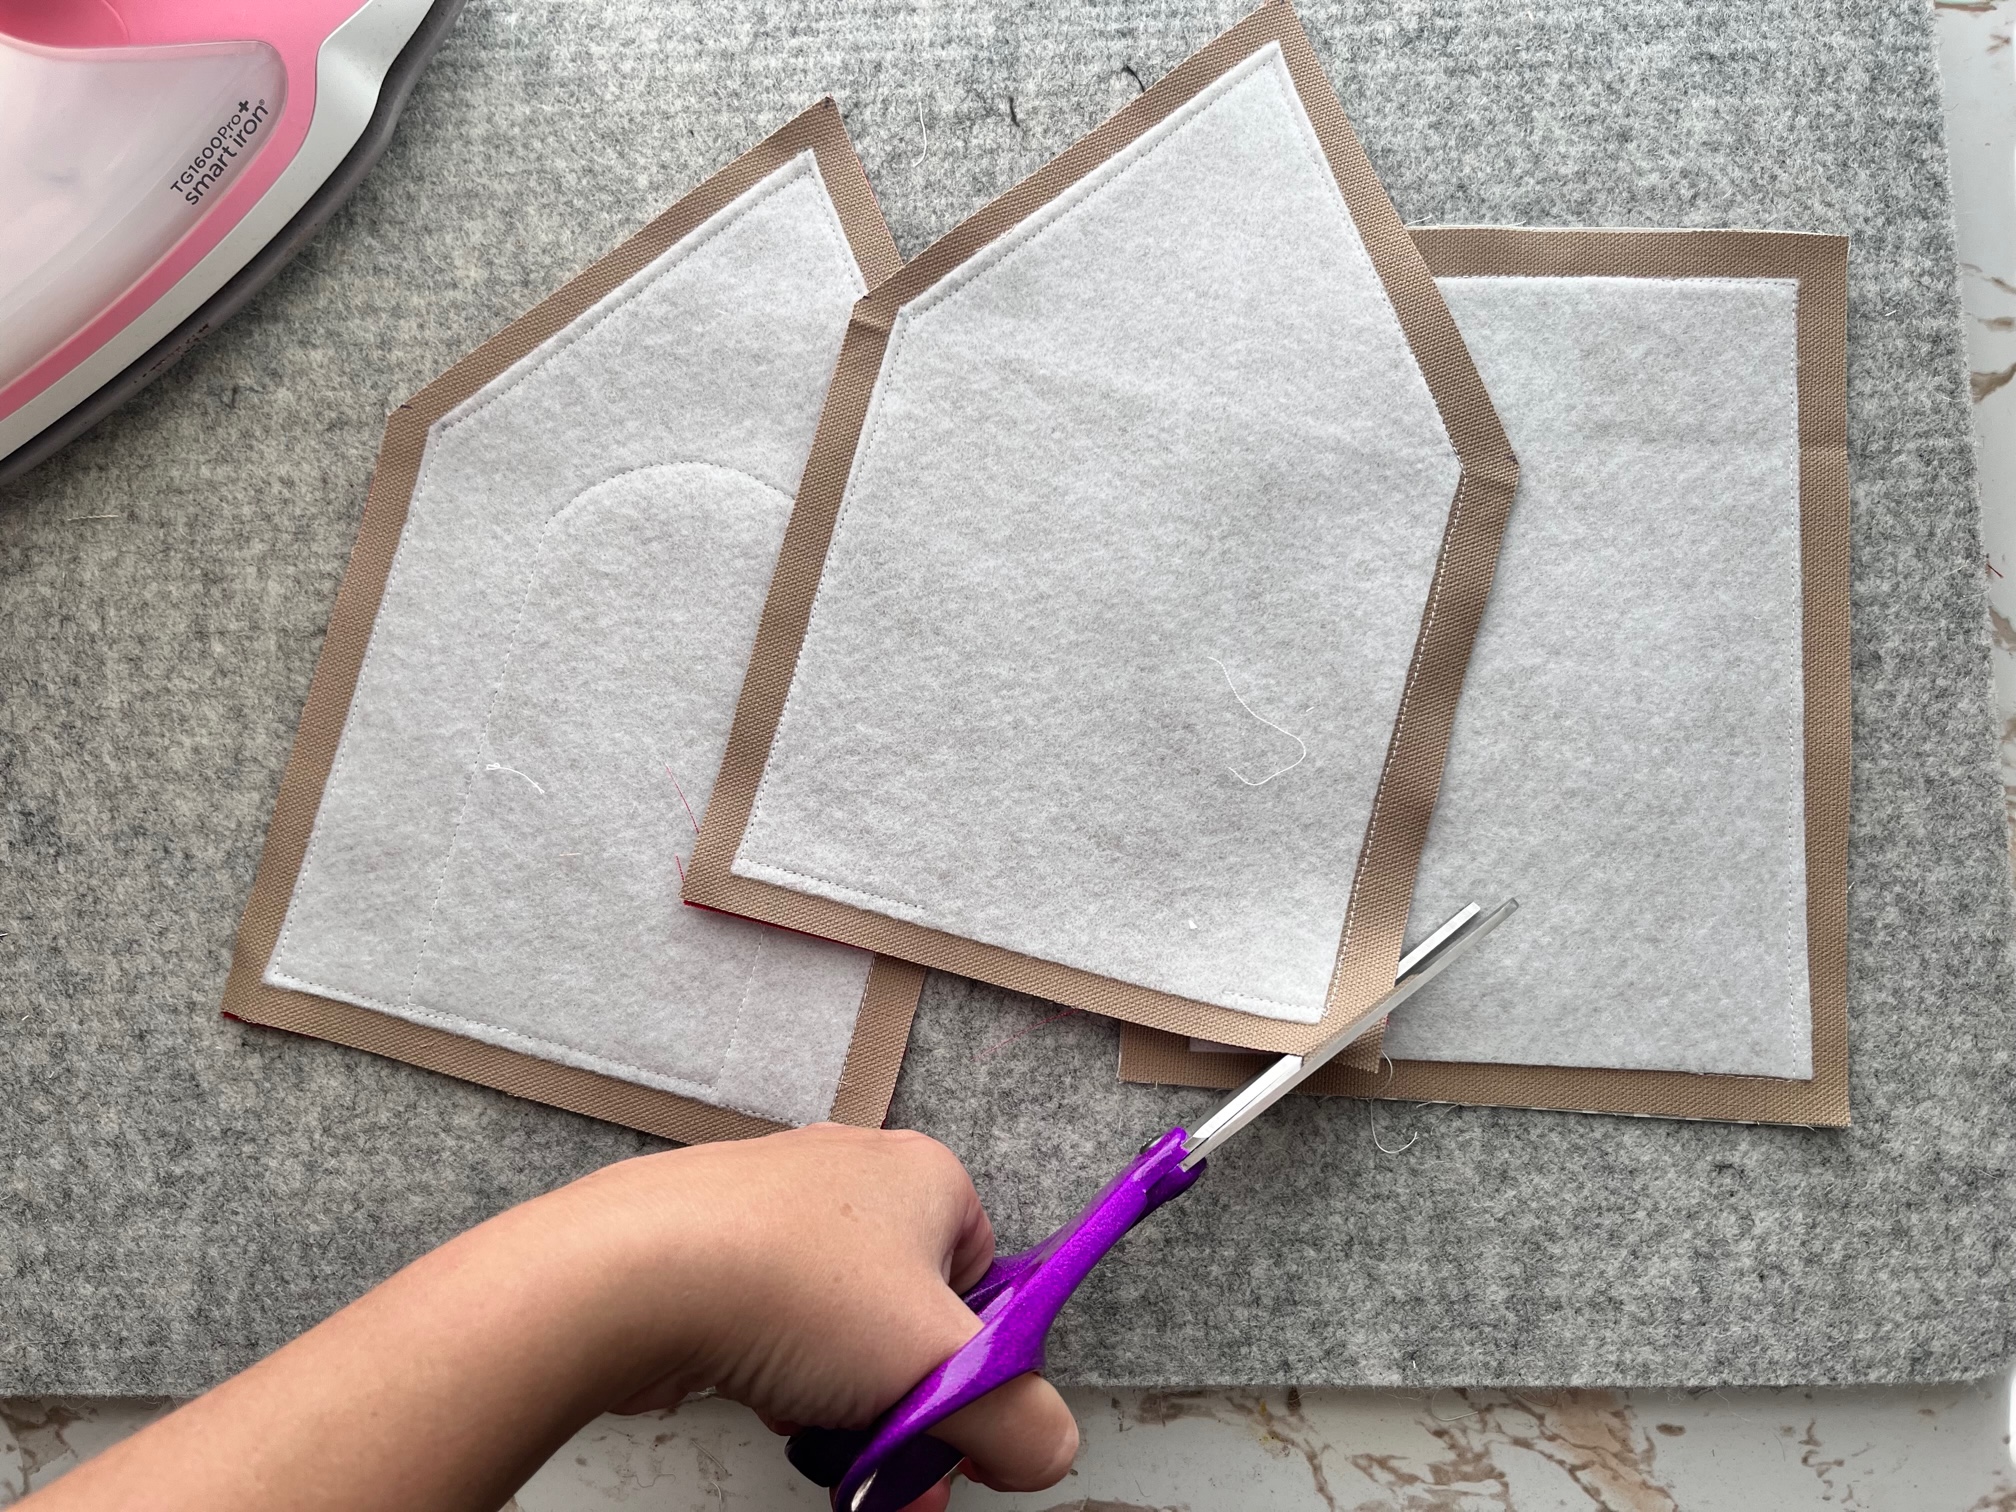
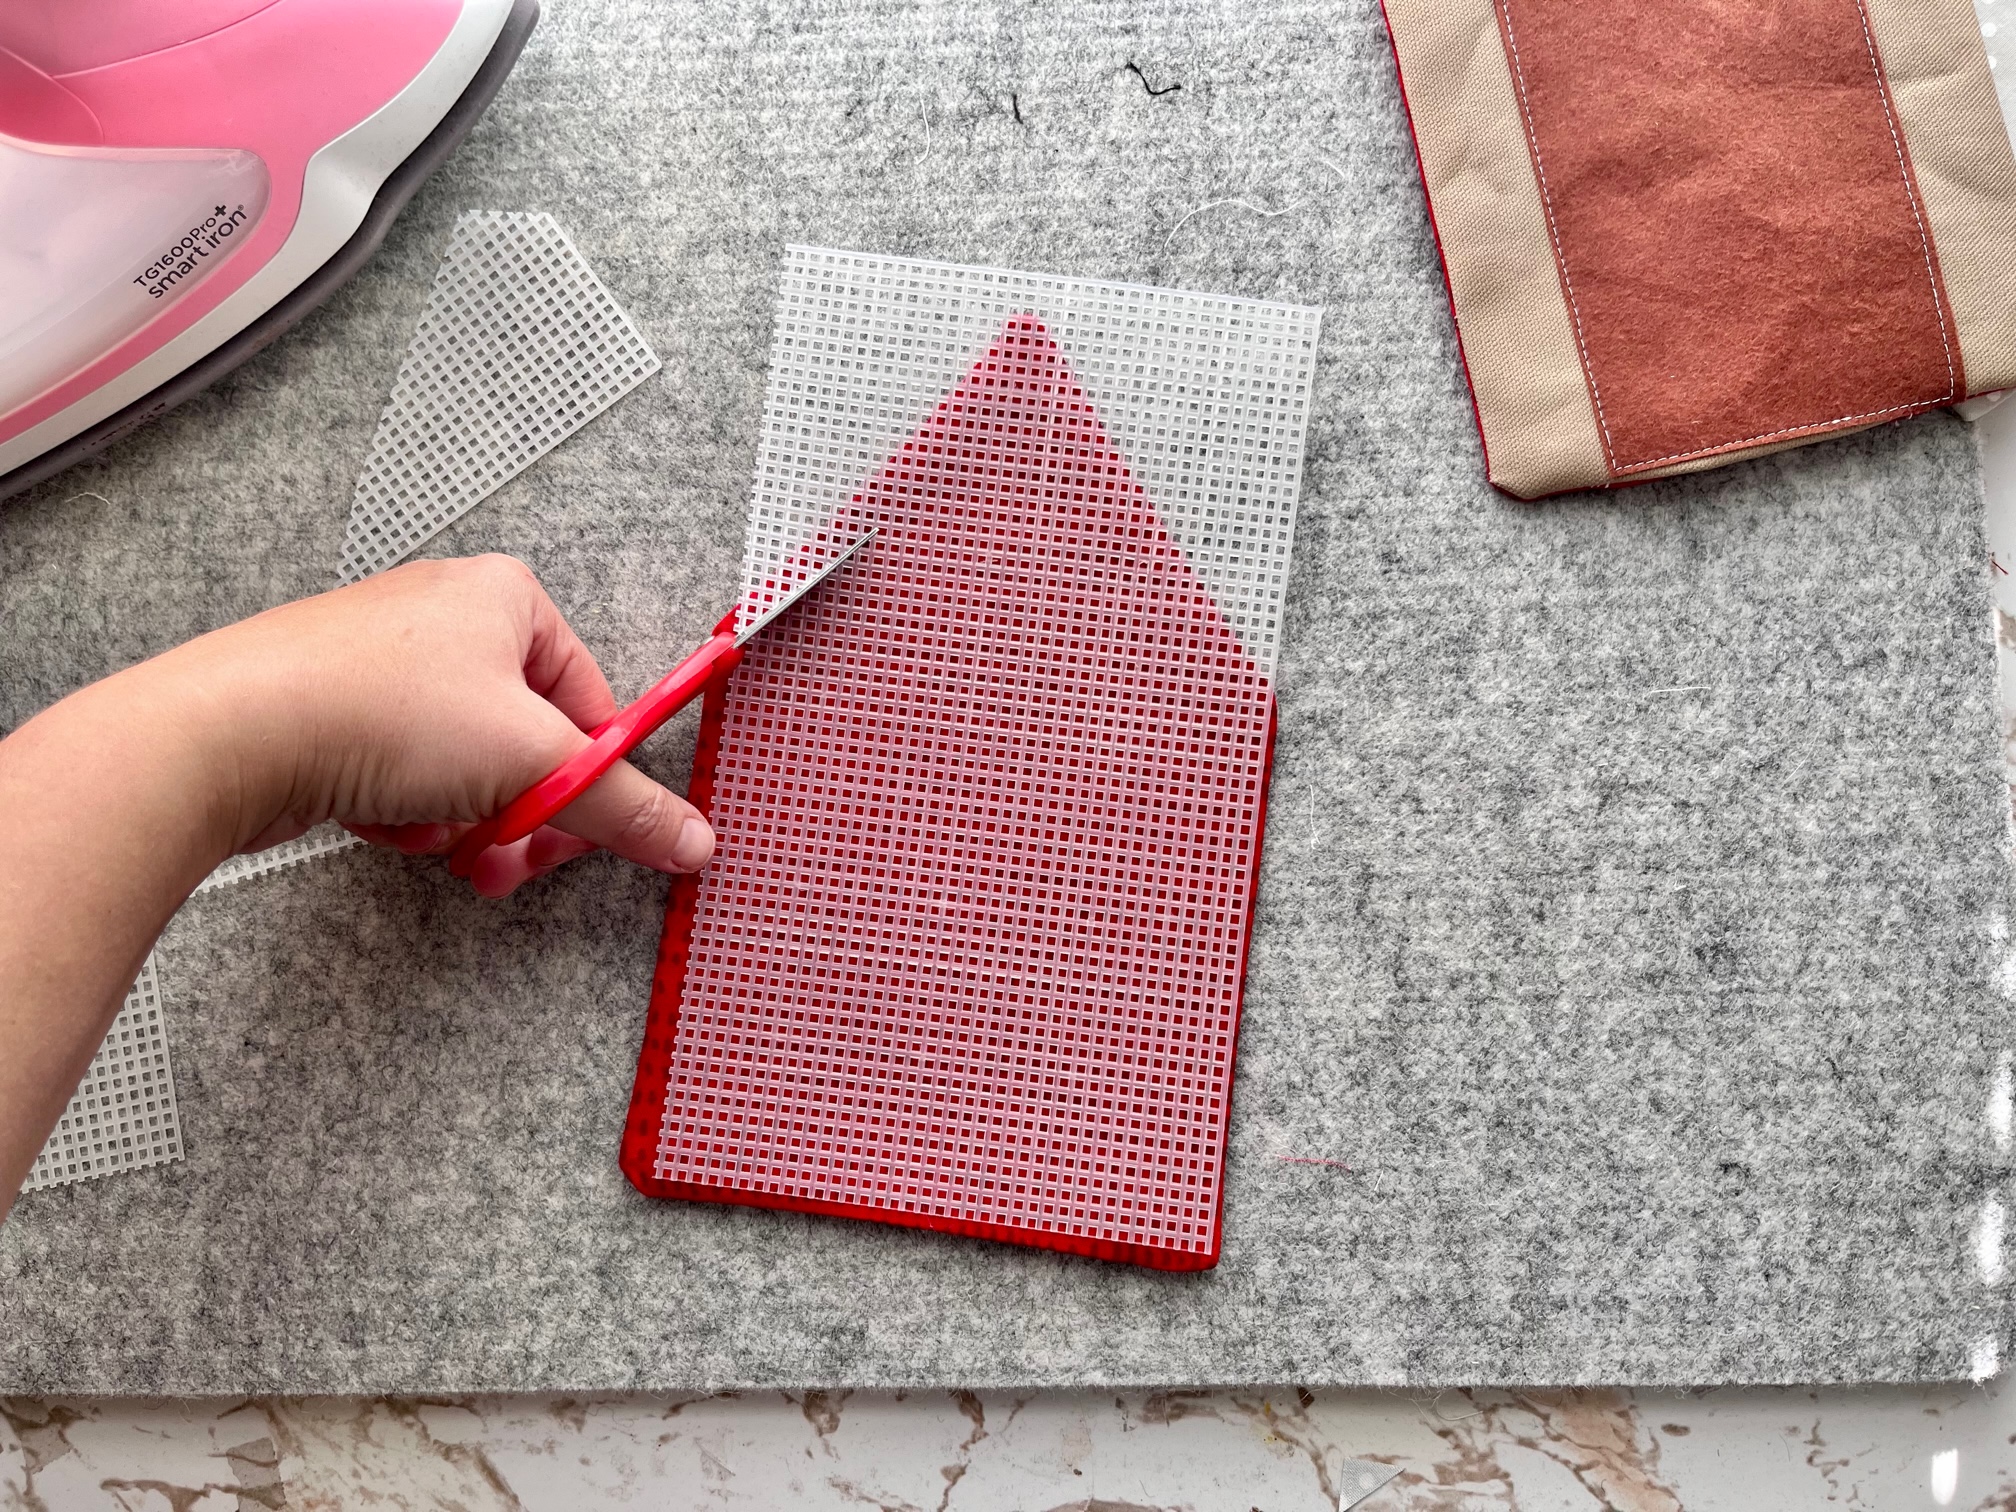
Turn each piece right side out and press. Insert the plastic canvas. The plastic canvas for the pentagonal walls needs to be trimmed to size once each piece has been turned right side out. Simply eyeball the measurements and trim. Once the plastic canvas is inserted, topstitch the bottom of each piece to close.
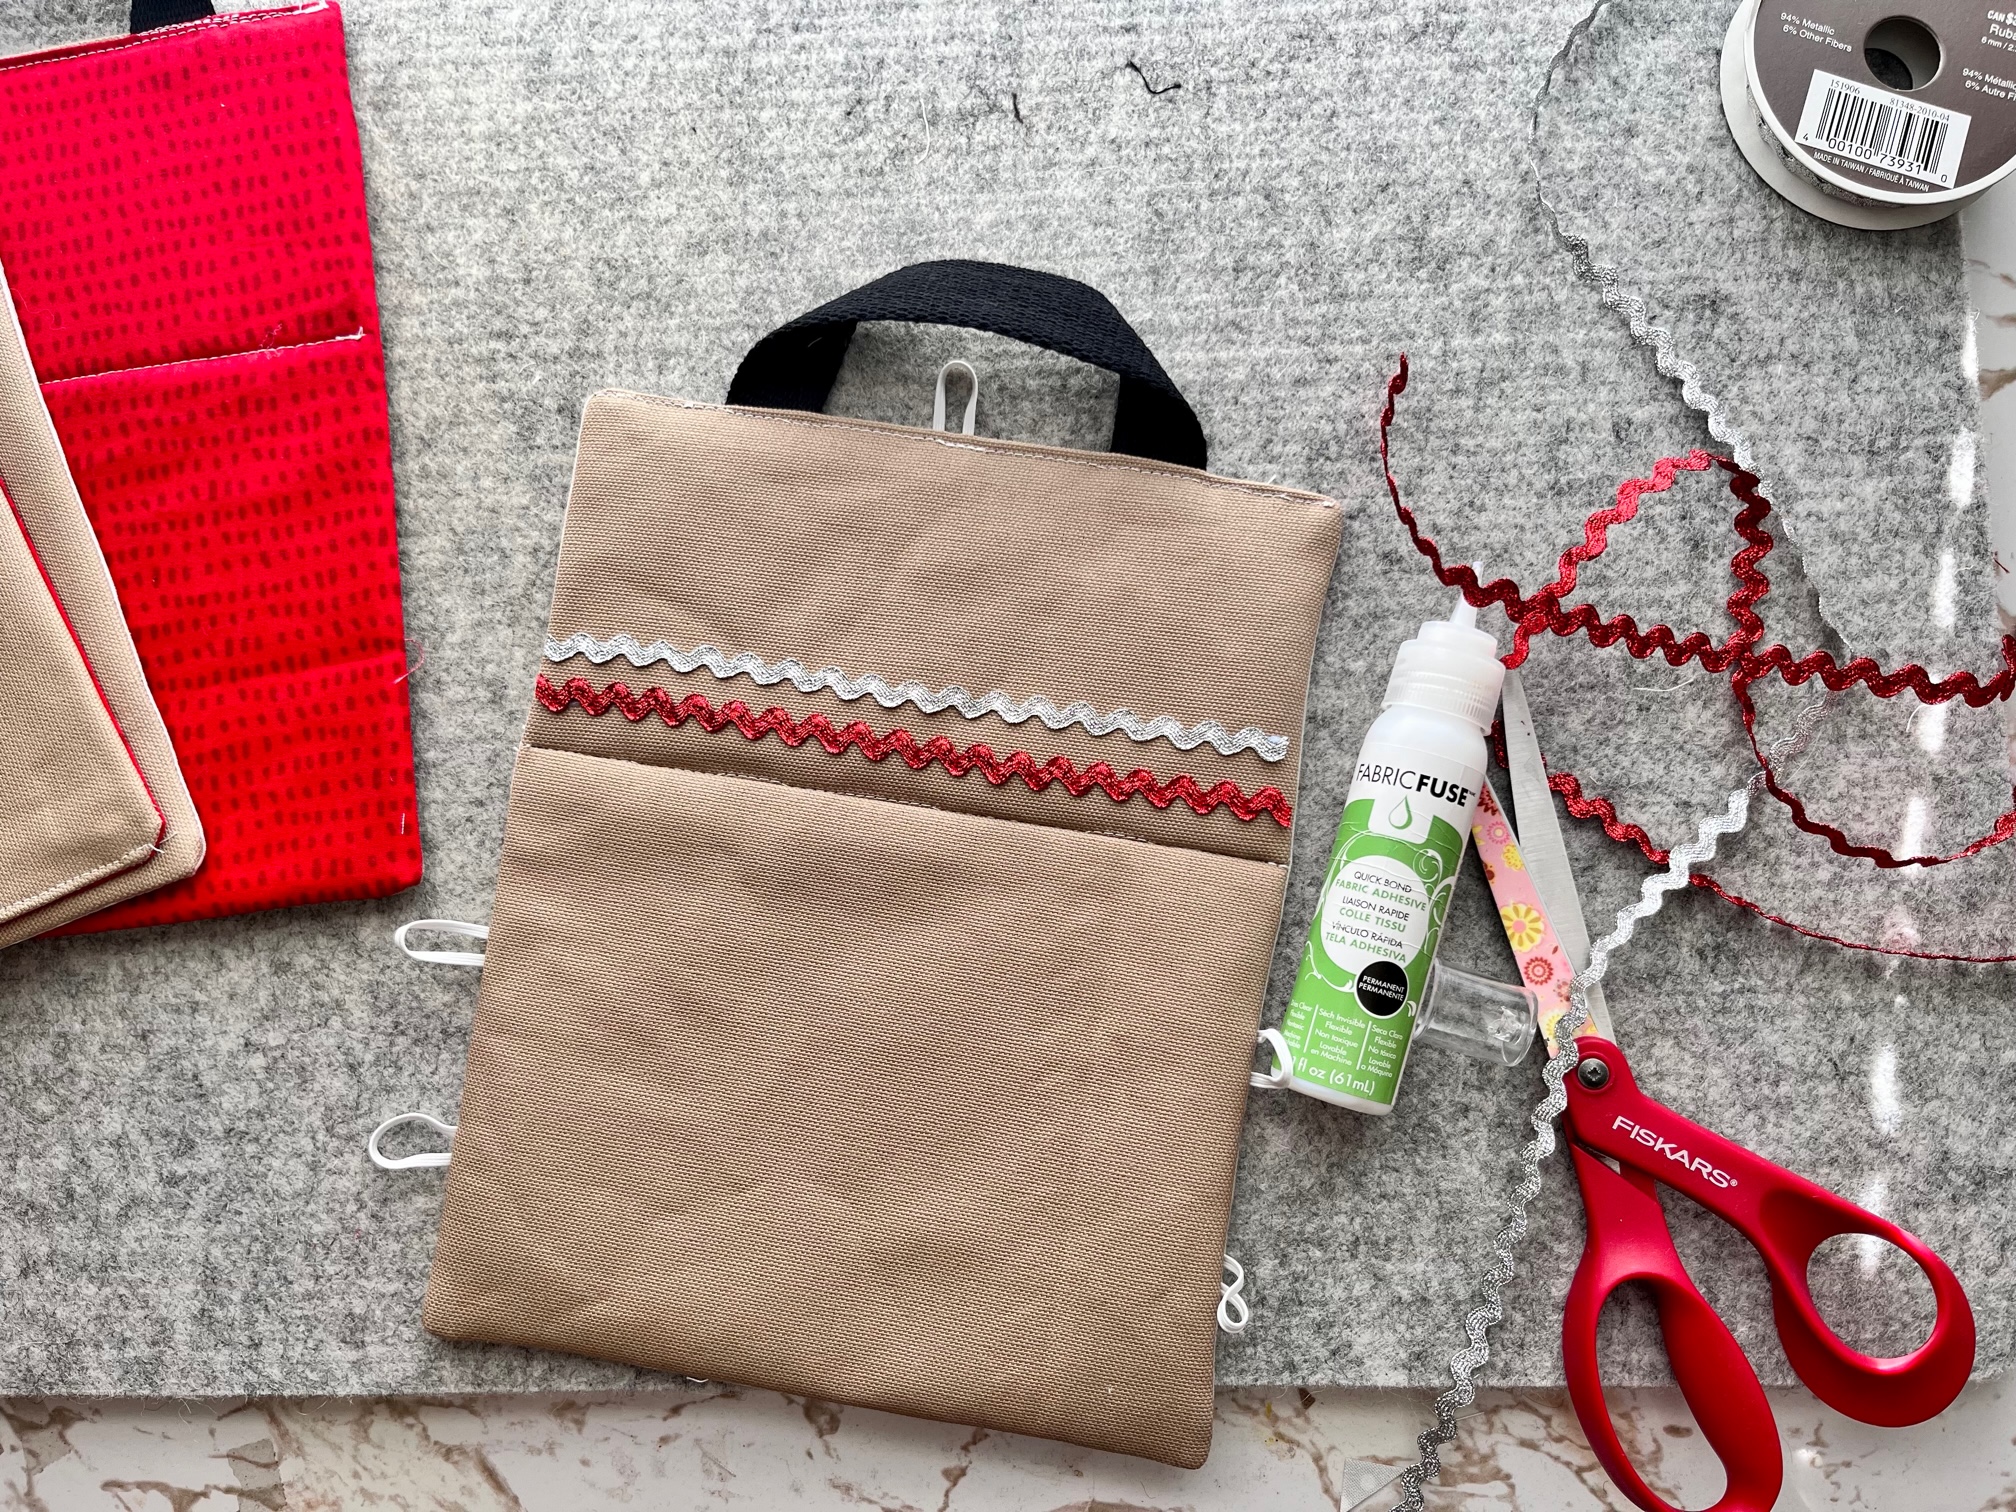
Decorations
Once all your pieces are sewn, it’s time to decorate. I used Fabric Fuse to adhere the rickrack to the canvas. It takes 4-6 hours to dry but it works beautifully, and no stitching is required!
 Assembly
Begin assembly by hand stitching each of the pentagonal walls to the floor piece. I used the hidden stitch or ladder stitch. Next, sew the WINDOW wall/roof to the floor piece and then up both sides of the 2 pentagonal wall pieces. Finally, sew the non-window wall to only the floor piece.
For additional help check out the YouTube video or diagram below.

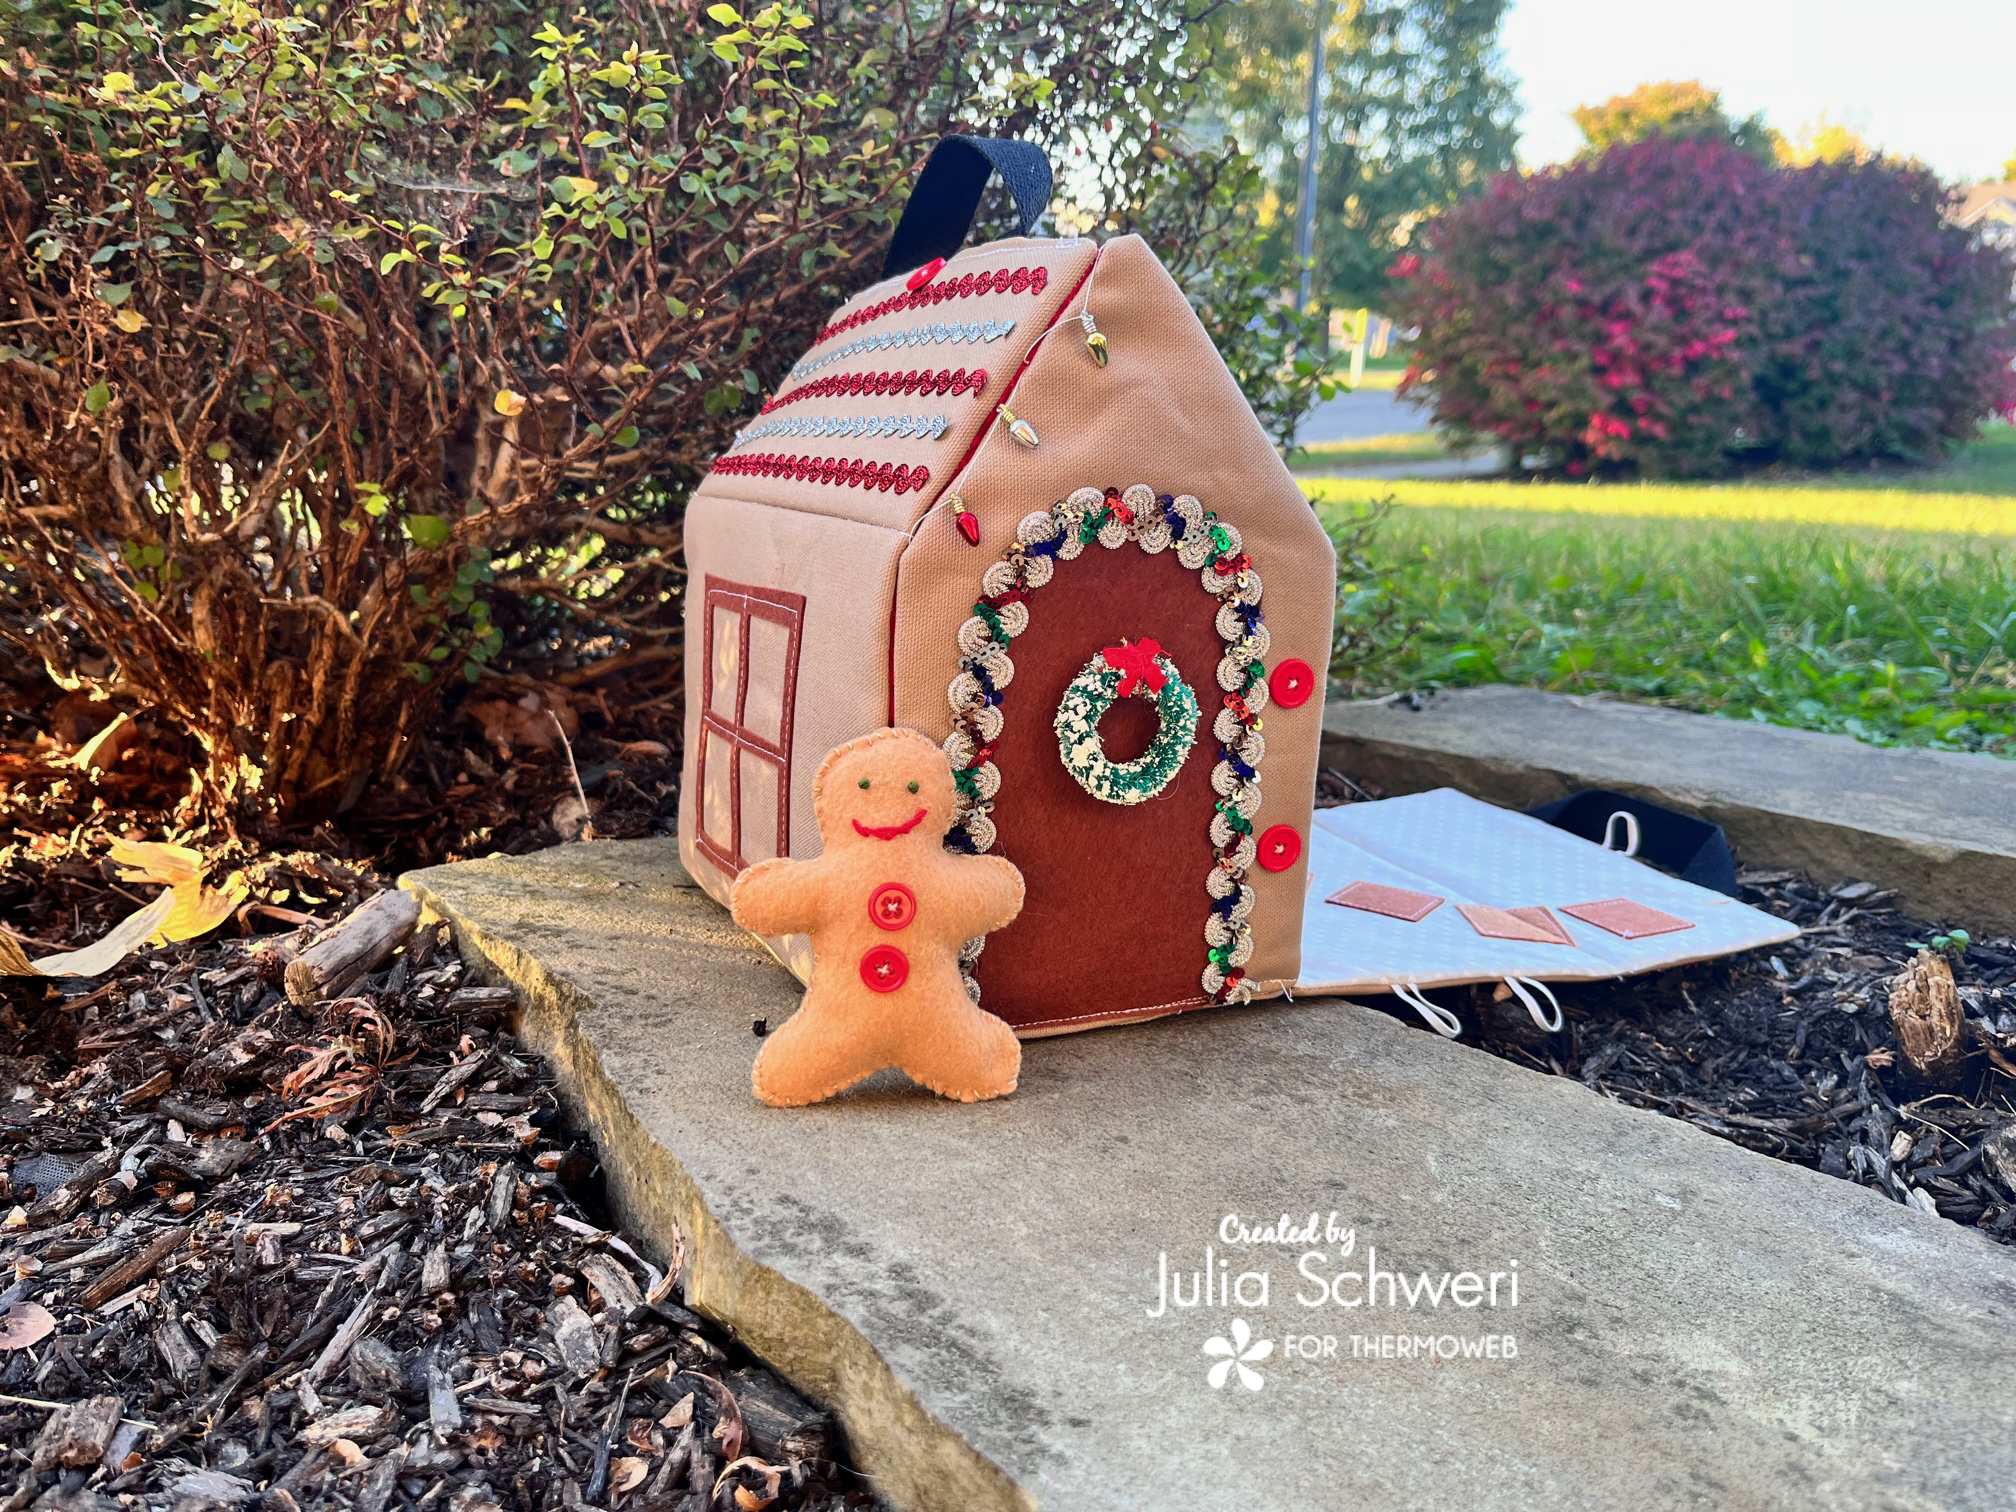
Finishing Touches
To finish the Gingerbread Doll House, you need to add the 5 buttons for the elastic to go around. You can also add any other embellishments you desire. I added some little tree lights and a wreath for the door.
Gingerbread Doll
A dollhouse wouldn’t be complete without a doll to live in it. The pattern above includes a template to make a little gingerbread doll. To make, simply cut out two gingerbread doll shapes. Embellish to your liking and whip stitch around. Leave an opening to add a little fiber fill and finally close the opening.
Finished!
Thank you for visiting today! Come back soon to see what else will be starting to bloom with Inflorescence Designs!
Starting to bloom by choosing JOY ~ Julia