Easy-Sew Fabric Tulips by Designer Audrey Pettit
Tulip Flower Supplies:
Therm O Web Stitchn’Sew Fleece
Seeds Fabric Collection by Cori Dantini for Blend Fabrics
Crossroads Denim Collection by Indygo Junction
Floss: DMC
Other: Polyfill Fiber Stuffing, Chenille Stems
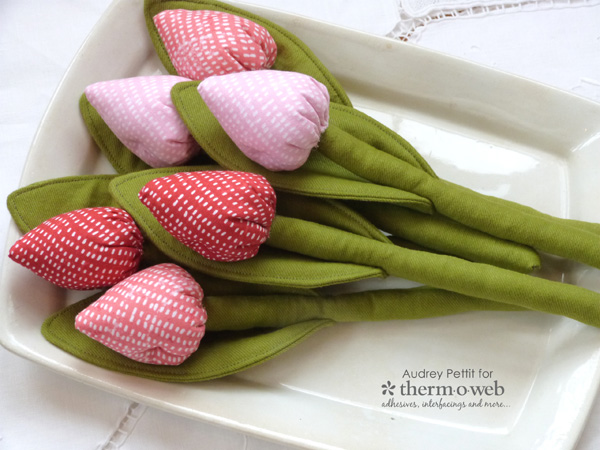
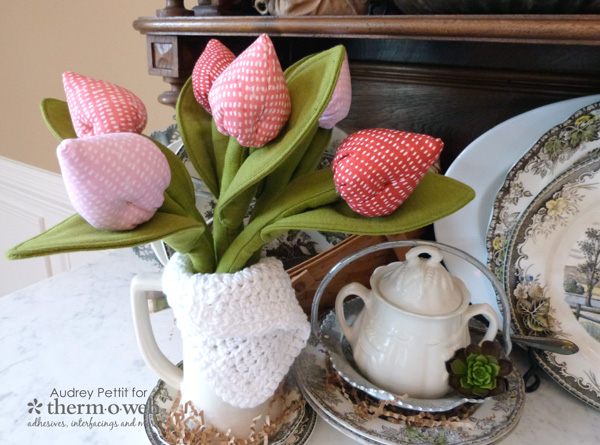
Do you love the look of fresh cut flowers in your home decor, but hate the fact that they wither and fade so quickly? Why not try some fabric alternatives instead, like these adorable spotty tulips? These little cuties will add a spot of cheer to your home decor for the spring season, and for many more seasons to come. And better yet, this easy-sew project is a cinch for beginner sewers to experienced ones, alike.
Let’s take a closer look.
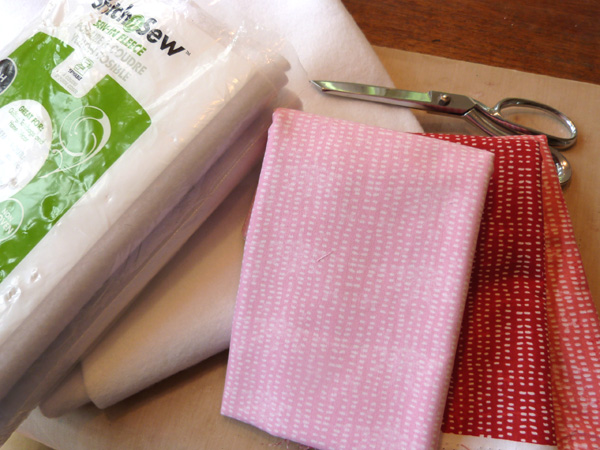
To begin, gather your materials. You will need printed cotton fabric for the flower heads in the color of your choice, and green fabric for the leaves and stems. I used several colors of Seeds fabrics by Blend Fabrics for the tulip bulbs and olive Crossroads Denim for the greens. Therm O Web Stitchn’Sew Fleece will add structure and stability to the finished flowers.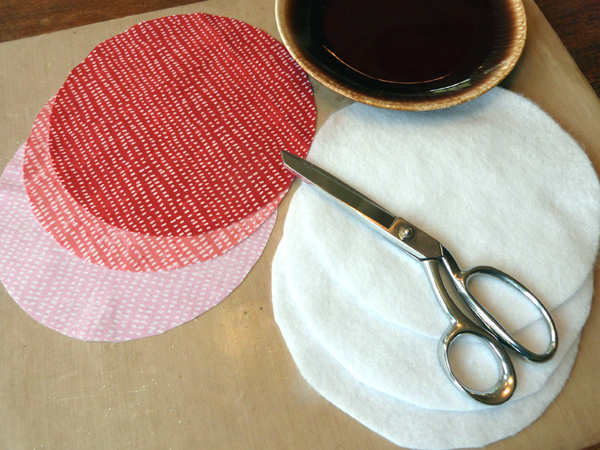
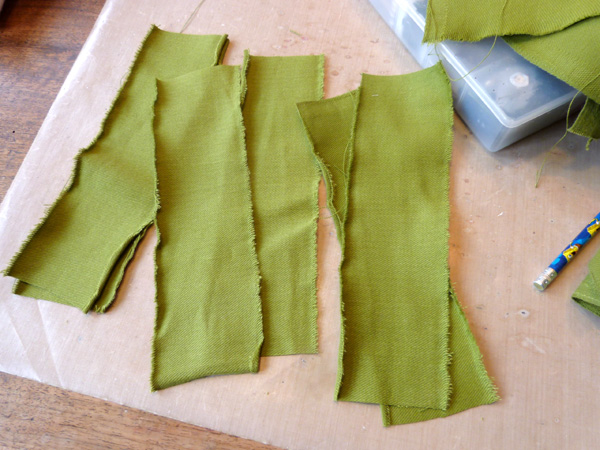
Draw or download a 5-6″ circle template from the internet, or find an object in your home to use as a pattern. I used a salad plate. Trace your circle pattern onto the backside of the flower bulb fabric, and cut it out. Repeat the process with the Stitchn’Sew Fleece.
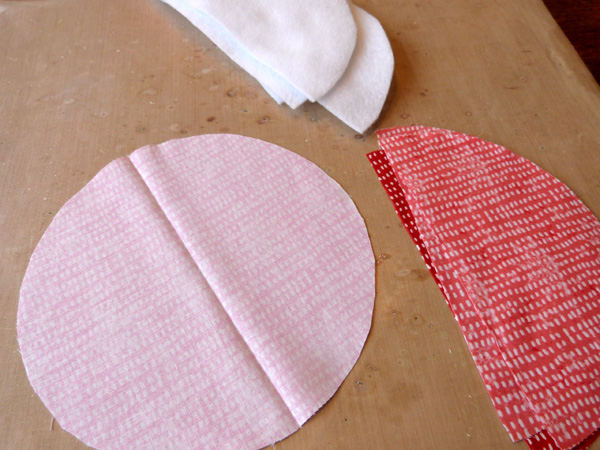
Fold both the fabric and the fleece pieces in half, and press along the fold to create a crease. Cut the circles along the crease line to create two half circle shapes. You will get two finished flower heads from one circle.
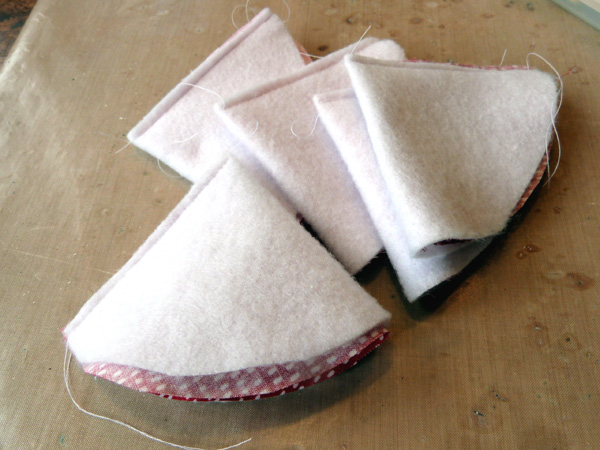
Place a layer of fleece behind the flower fabric, and then fold the half circle in half again, with the right sides of the fabric facing. You will now have a cone shape with the fleece on the outside. Stitch from the point of the cone down the open side, stopping at the top of the cone.
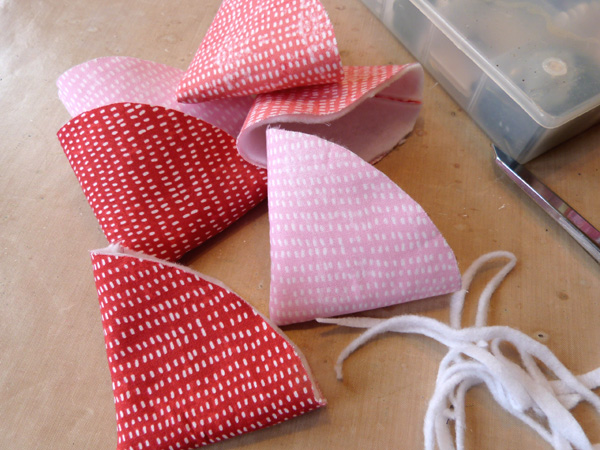
Turn the cones right side out, and trim off any excess fleece that sticks out of the top of the cone, if necessary. Set these pieces aside for now.
For the flower stems, cut pieces of green fabric that are approximately 2″ x 10″. As you can see, I made a small snip on the edge of my fabric, and then just tear it. Your fabric will tear straight, and it’s much quicker, too!
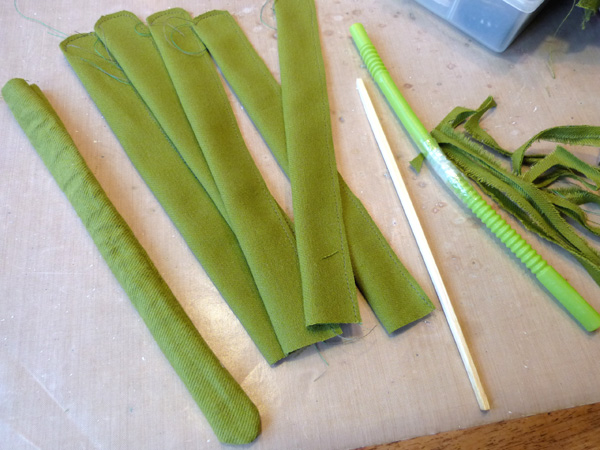
Fold the green strips in half the long way, with the right sides facing. Stitch around one end, and down the length to create a long and skinny tube. Trim off any excess fabric from the seam allowance if you have any. And then turn the tubes right side out.
You can see the wide straw and chopstick “tools” I use to turn narrow pieces like this. Simply insert the straw into the tube until the top of the straw hits the stitched end of the tube. Then, press the chopstick into the end of the straw, from the outside. This will force the fabric down into the straw, and as you continue to push, will turn the fabric right side out.
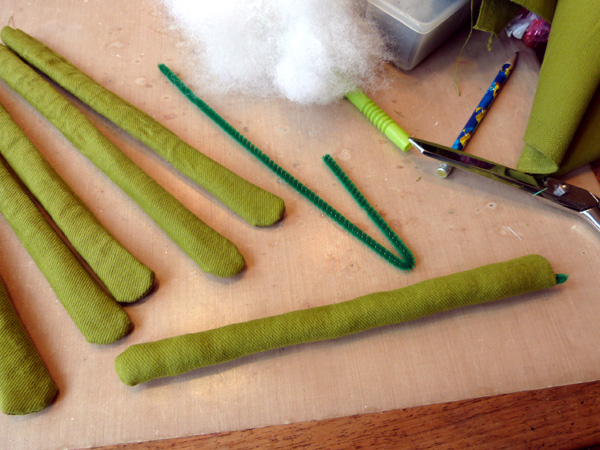
Stuff a small wad of polyfill fiber stuffing into the bottom of the stitched flower stem. Bend a chenille stem so that it is about the same length as the flower stem, and then stick it down into the tube. Continue to add polyfill fiber until the flower stem is completely stuffed.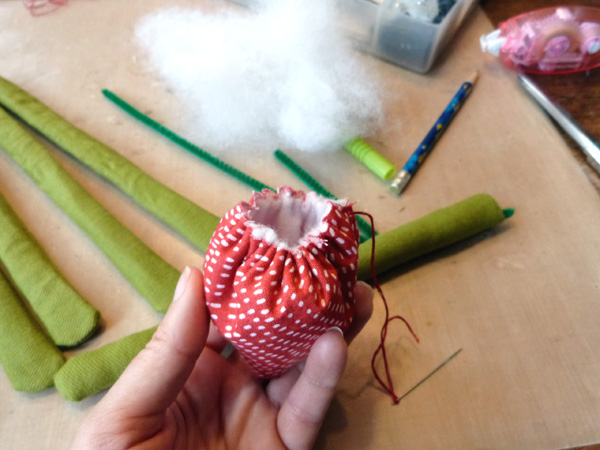
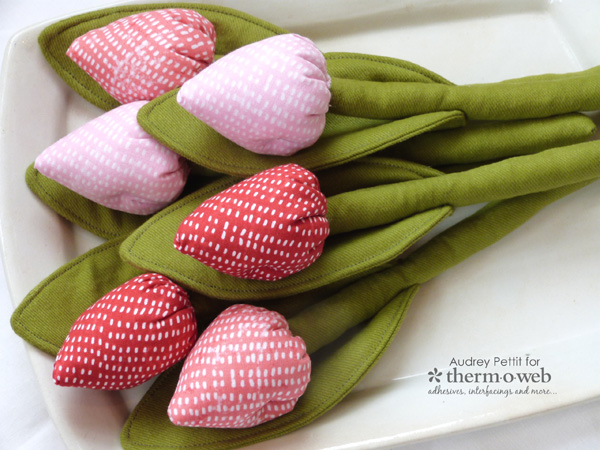
Using all six strands of embroidery floss, stitch a loose gathering stitch around the open edge of the flower heads. Leave the excess thread and needle in place, and begin to pull on the thread to gather and close the flower bulb. Leave a small opening in the bulb, and fill it with the polyfill stuffing.
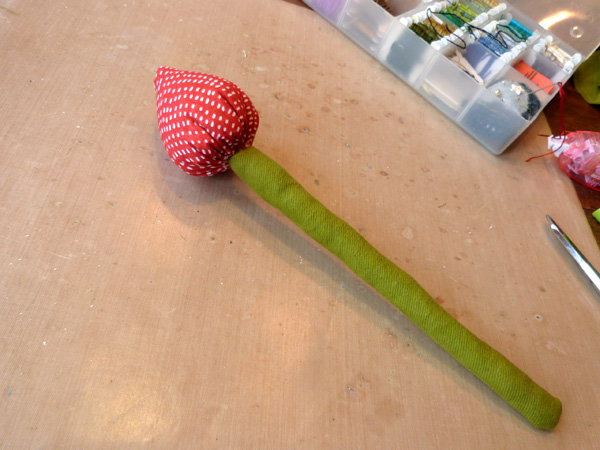
Place the open end of the flower stem into the gathered opening of the flower head, and then pull on the thread to cinch the bulb closed completely. Make a few quick stitches into the stem to make sure that flower head will stay in place, and then knot the thread and snip it off. If your flower bulb is too fluffy and wide, make a couple of tuck stitches in them by going in with your needle on one side, all the way through the bulb and out the other side before tying into a knot.
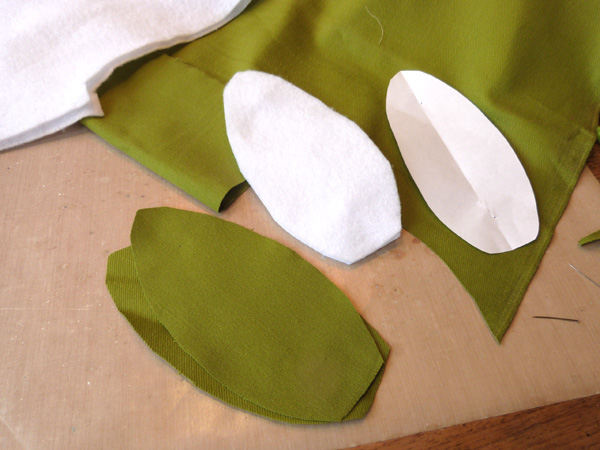
Create a simple pattern for the leaves. I made a basic 5″ oval shape, and slightly square cut one end. Fold the green fabric in half, with right sides facing. Pin the leaf pattern to the fabric and trim it out. Repeat the process with the Stitchn’Sew Fleece. You will need one layer of fleece and two layers of green for every leaf.
Keep the green fabric stacked together with right sides facing, and place the fleece piece onto the back side. Stitch around the leaf, starting at one of the squared corners, and ending at the opposite one. Turn the leaves right side out. The straw and chopstick trick works great for the leaves, too. Fold in the raw bottom edge, and top stitch all the way around the leaf. Stitch the leaf to the flower stem, about halfway down.
Julie Tucker-Wolek
April 27, 2018 at 8:51 am (7 years ago)These are absolutely GORGEOUS! I loveeeeeeeee them!!!!!!!!!!!!
Malissa
February 22, 2021 at 12:39 am (4 years ago)How lovely those flowers are. I cannot wait to make them for my room