 Back to School Lunch Sack
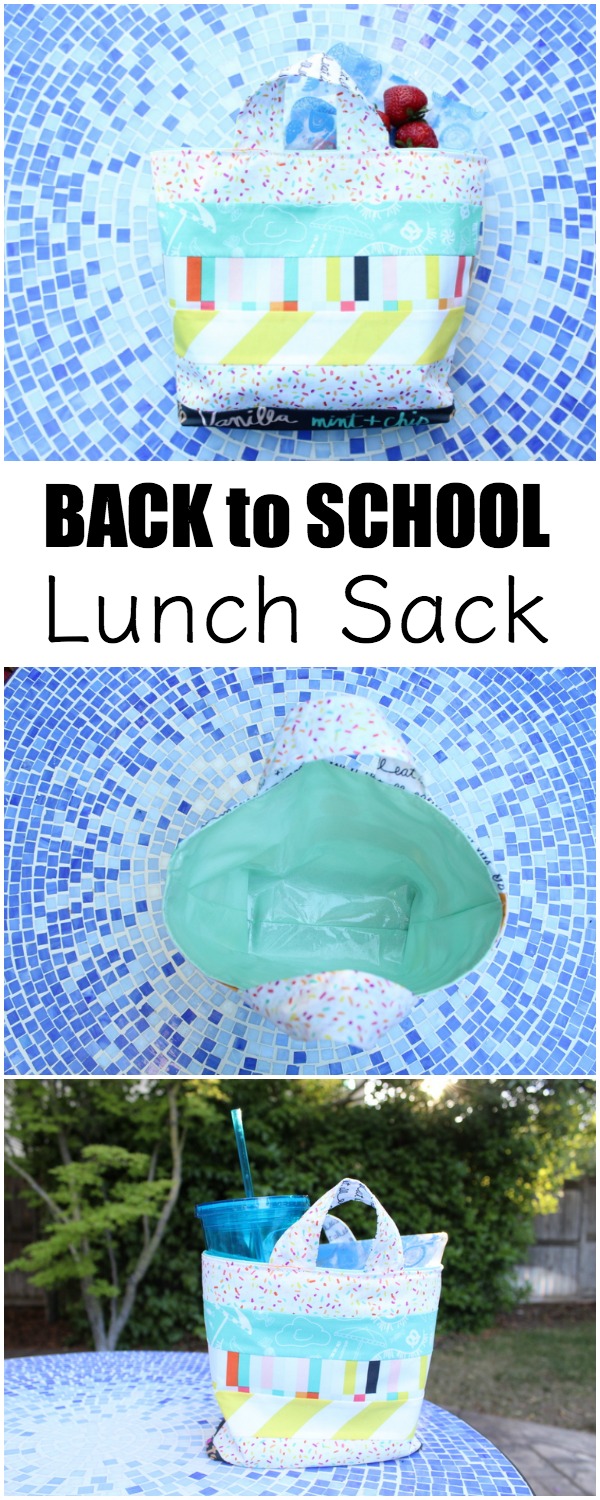
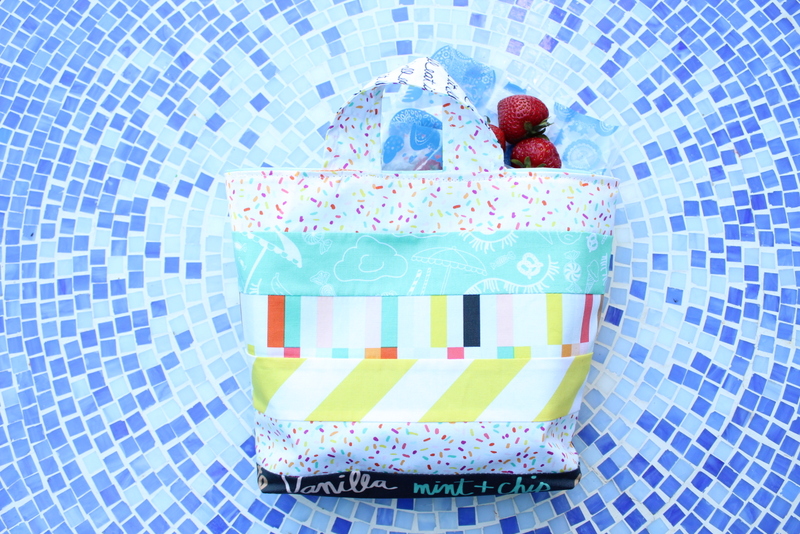
Hi, Alicia here! I am so excited to be back with you sharing this adorable back-to-school lunch sack. If you are anything like me you are already counting down the days until school starts again, if I am honest I was counting the days until summer was over before school was even out! This lunch sack is great for your teenage-aged student who is too old for a lunch box, or fill it with goodies for your kiddos teacher because even teachers love a good bribe!
Back to School Fabric Lunch Sack
Supplies:
HeatnBond® Heavy Weight Fusible Interfacing
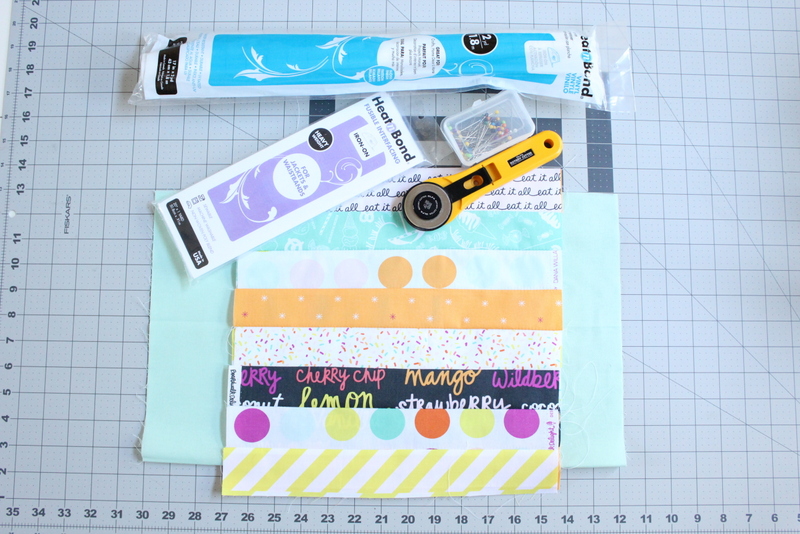
Main Fabric (One fat quarter or two squares measuring at least 12.5″) – I put together 2″ strips of Boardwalk Delight from Art Gallery Fabrics
Coordinating Lining Fabric (One fat quarter or two squares measuring at least 12.5″)
Lunch Sack Project Instructions:
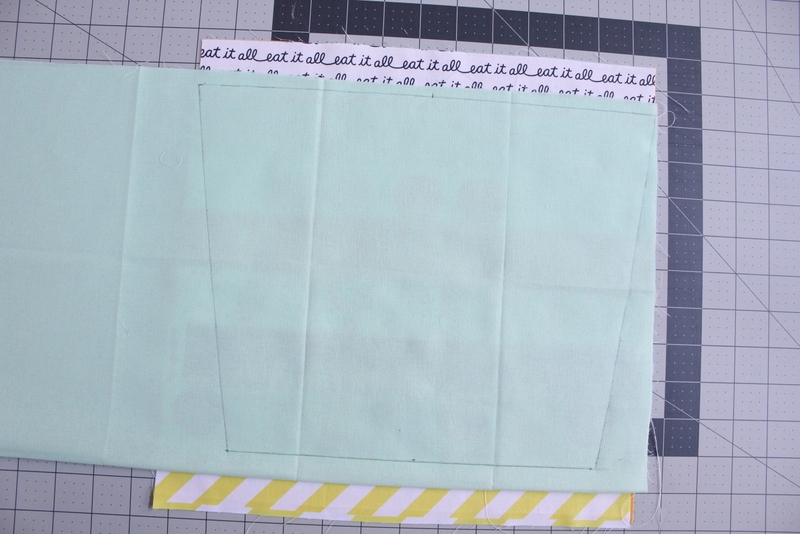
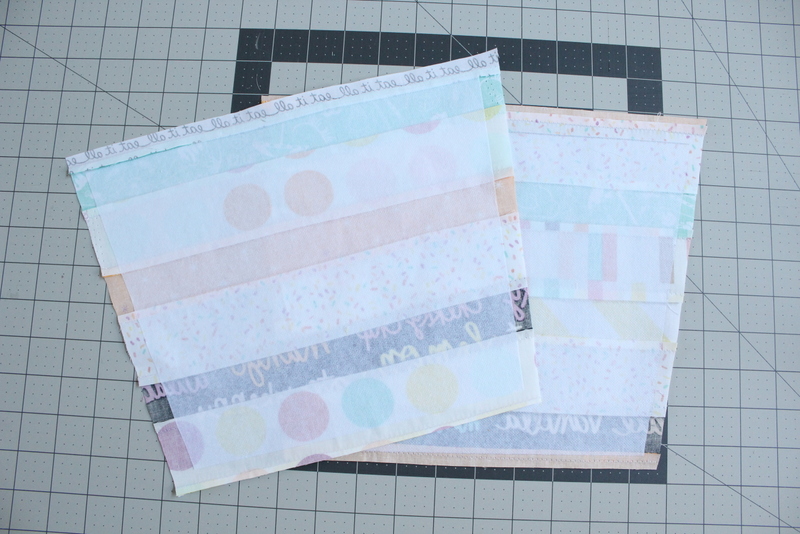
I used a fat quarter for the lining and created my own fabric with some leftover strips that I had for the outside fabric. If you are not using a fat quarter you should have pieces that measure at least 12.5″ on all sides. Line up all four of your pieces (if using a fat quarter just fold it in half.) Draw a line that measures 12.5″ along the top edge of your fabric. Then find the middle and measure down 9.5″, making a mark.
From the mark, you just created measure out 4.75″ on the right and 4.75″ on the left making a mark at each point. Draw a line to connect these two points. Now you want to connect the top and bottom line, it should be slightly diagonal (you can see the shape it made on my fabric in the picture below.) Use a ruler and a rotary cutter to cut around all 4 sides of all 4 pieces.
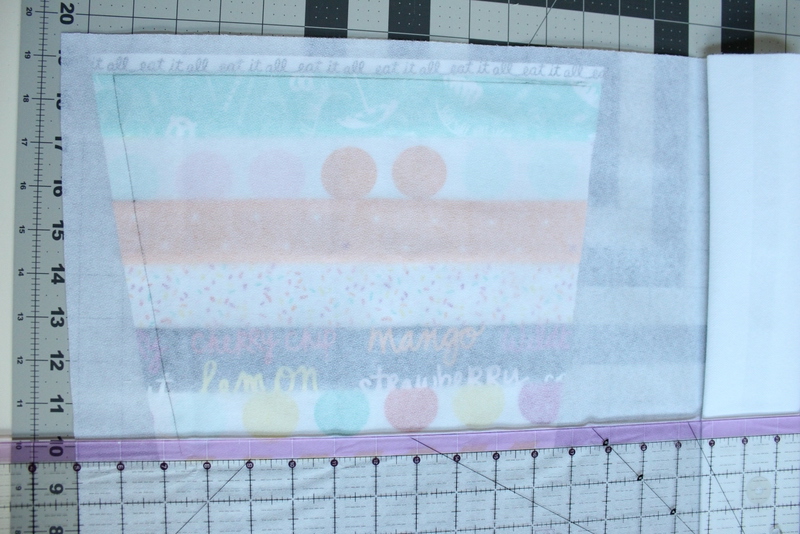
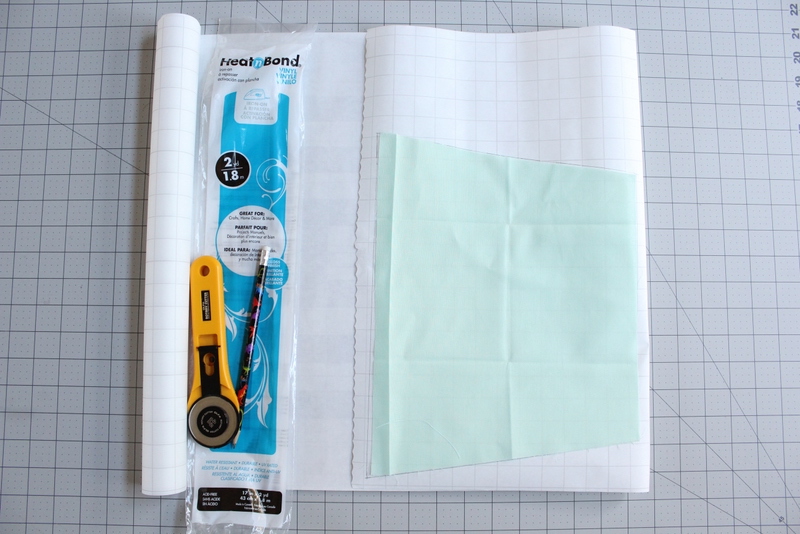
Once you have cut all 4 pieces out we are ready to cut the interfacing. Place your outside fabric face up on your cutting board. Then line the interfacing up on top (it is fairly transparent so you should be able to see where your fabric is.) Use your ruler to mark 1/2″ in all the way around. Fold your interfacing in half and cut out two of these shapes that you just drew.
Iron the interfacing onto the wrong side of the two outside pieces of fabric.
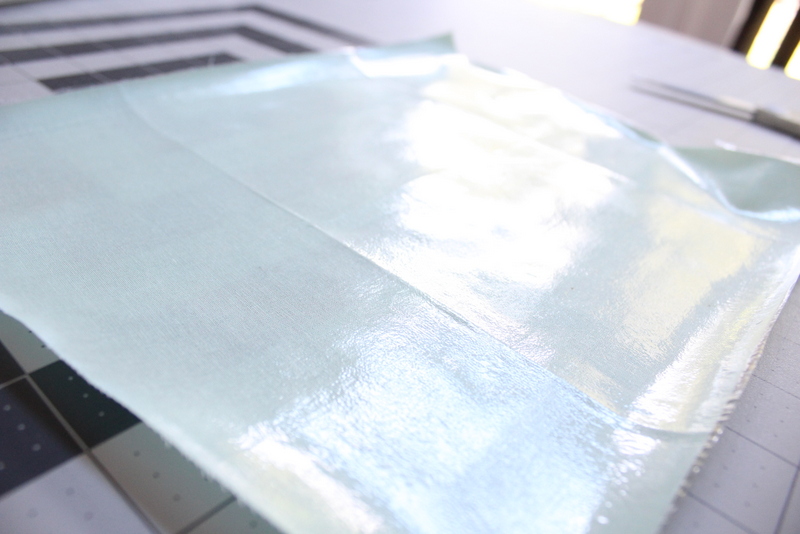
Next take your lining fabric and place it on the HeatnBond® Iron On Vinyl. Fold the vinyl in half and trace the piece all the way around. Cut out the vinyl and attach it to the right side of the lining fabric, be sure to read the instructions on the packaging.
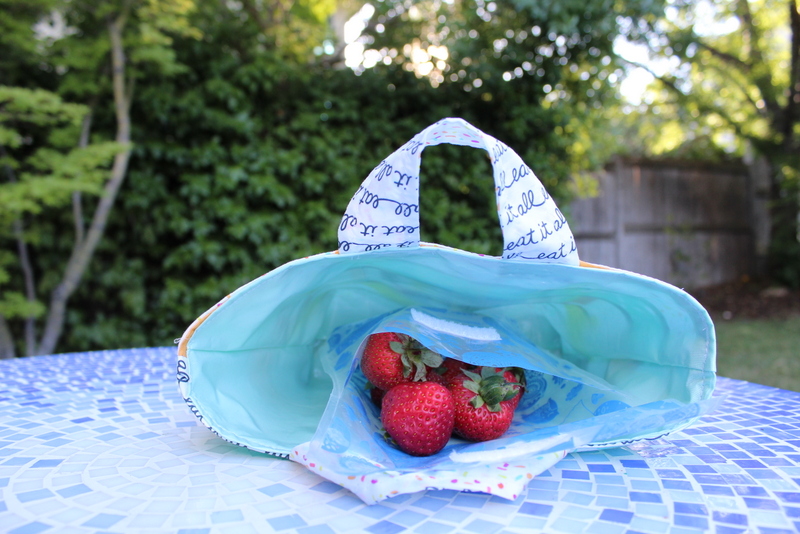
It should create a nice shiny fabric (as pictured below) which will be easy to wipe out each day after a messy lunch!
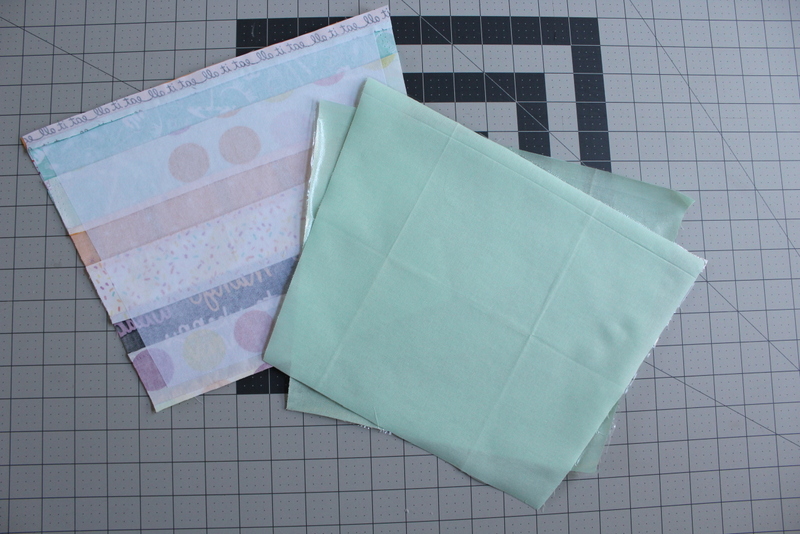
Now we are ready to assemble the lunch sack. Line the outside fabrics up right sides together. Line the lining fabric up right sides together. Sew down one side, across the bottom, and up the other side. Repeat sewing the lining fabrics in the same manner. The vinyl was really easy to sew through, I had a heavy-duty needle on my machine but I am not sure I even needed it.
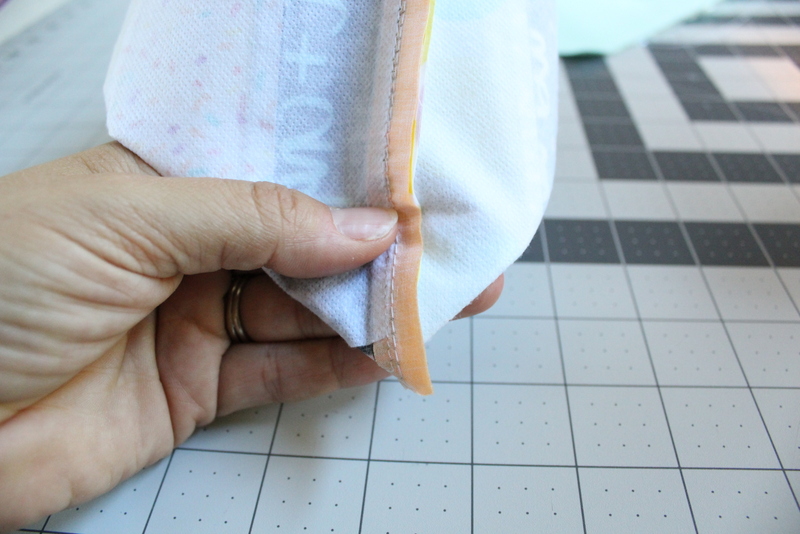
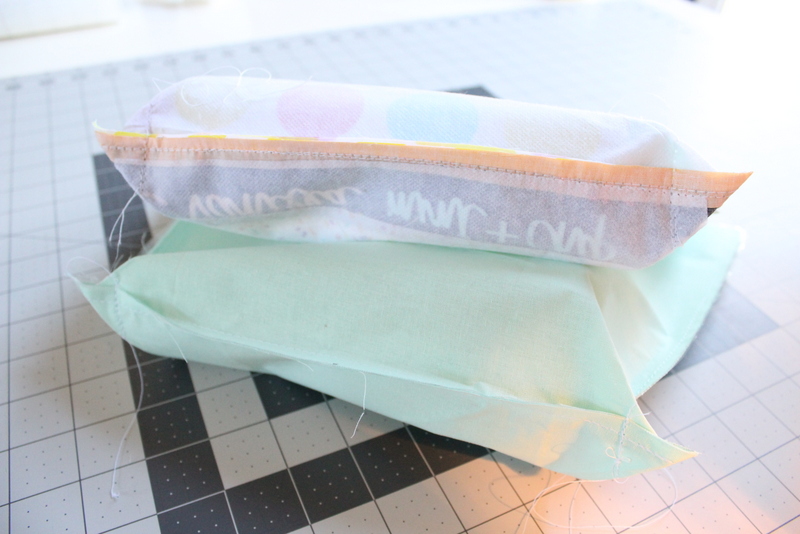
Now open up the bottom and grab one corner. Make it into a point as pictured below. Sew about one inch down. Do this on both sides for both the lining and the main fabric. (Scroll down to see what it should look like when sewn.)
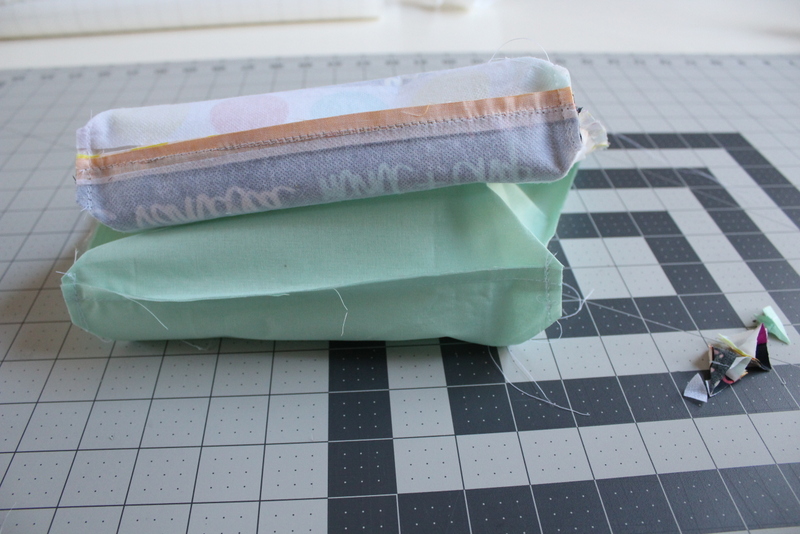
It should look like this. This will keep the bottom open and help the lunch sack to stand up.
Trim the triangle off about 1/4″ from the seam you created.
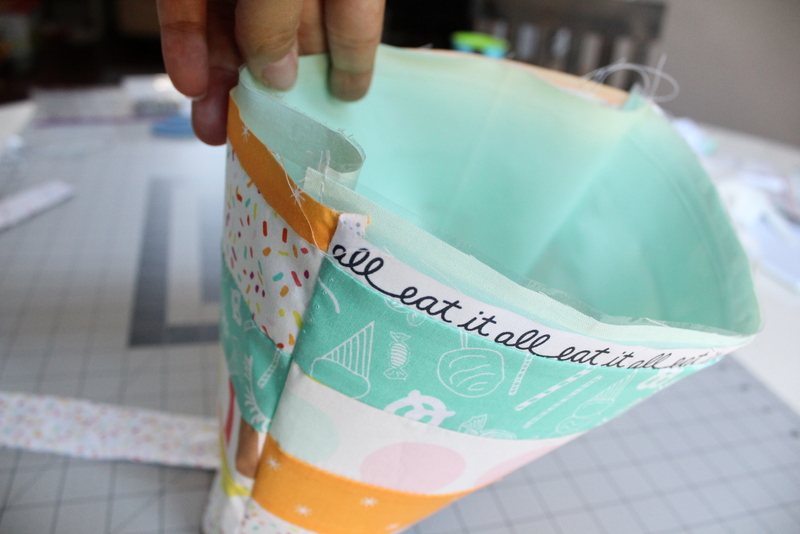
Now turn the main fabric right side out. Leave the lining fabric as is and stuff it into the main fabric.
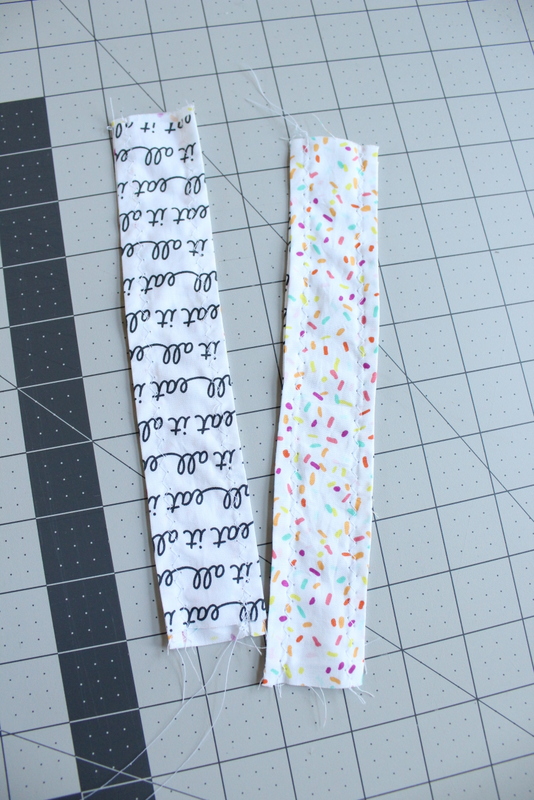
Now a quick side route, let’s quickly create some handles. Grab four strips that measure 2″ by 9″. Sew them together right sides facing, leaving both ends open. Simply sew down one side and down the other side, not on the top and bottom. Then top-stitch along each edge to secure the seams.
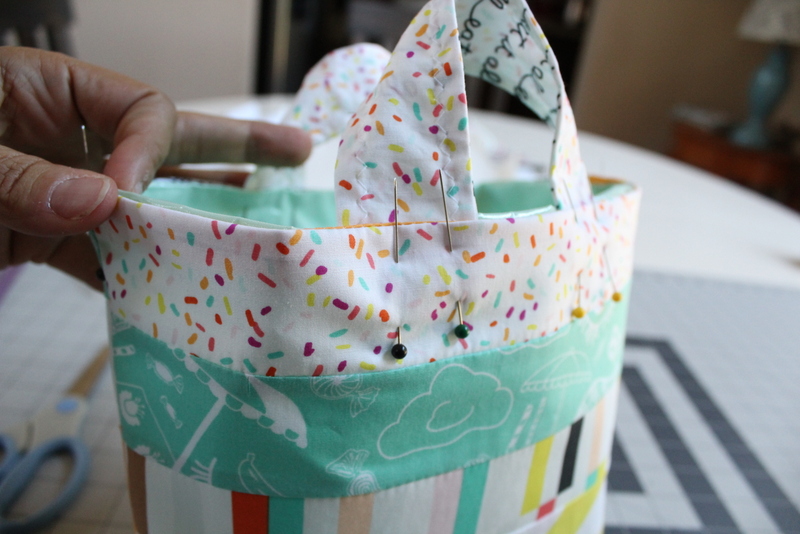
Ok now to finish the lunch sack. Fold the edges under 1/4″ and pin, line the handles up with each other in the middle of each side.
Top-stitch this edge in place and you are finished!
See it stands up all on its own! Fancy right?? And the vinyl makes it so easy to clean out if anything spills! Super fantastic right?
What will you take to lunch??
Facebook // Pinterest // Instagram // Twitter

