Hi everyone!
It’s Kim Lapacek from Persimon Dreams with you today. I’m going to share with you how I use the “StitchnSew™ EZ Print Quilt Block Sheets” for paper piecing.
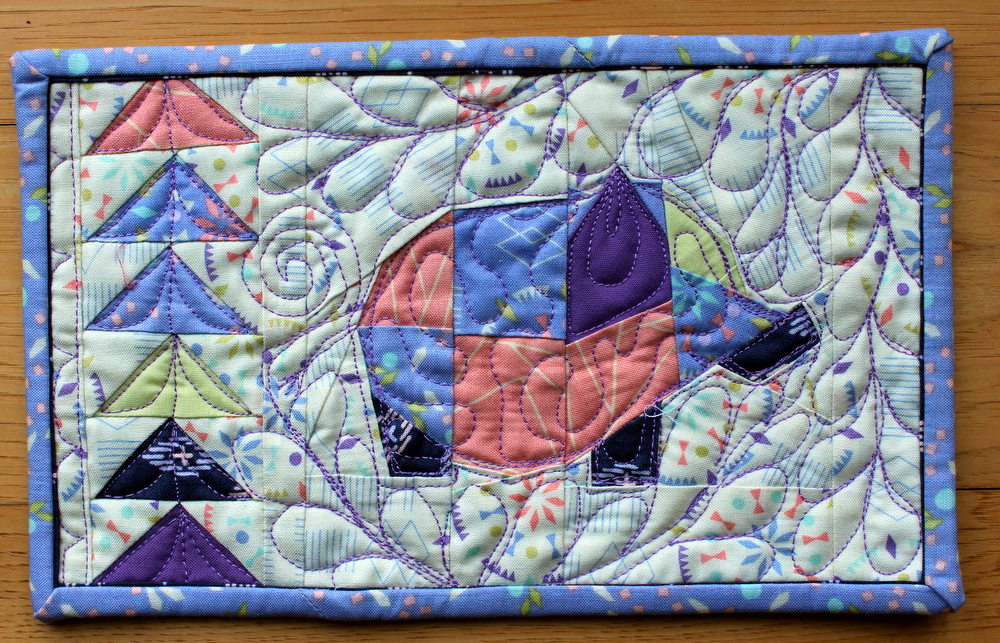
Chubby Elephant Mug Rug Featuring StitchnSew Quilt Block Sheets
Elephant Mug Rug Project Supplies:
StitchnSew™ EZ Print Quilt Block Sheets
Camelot Fabrics
28 wt 2520 purple Aurifil thread
Elephant Mug Rug Instructions:
I’m on a total elephant stitch lately so I went looking for a fun elephant block to paper piece. I found one from one of my favorite paper piece pattern writers – Bubble Stitch HERE on etsy.
I thought this guy would make a cute mug rug. I pulled out some fun fabrics from Camelot Fabrics and added a few of my solid to the mix.
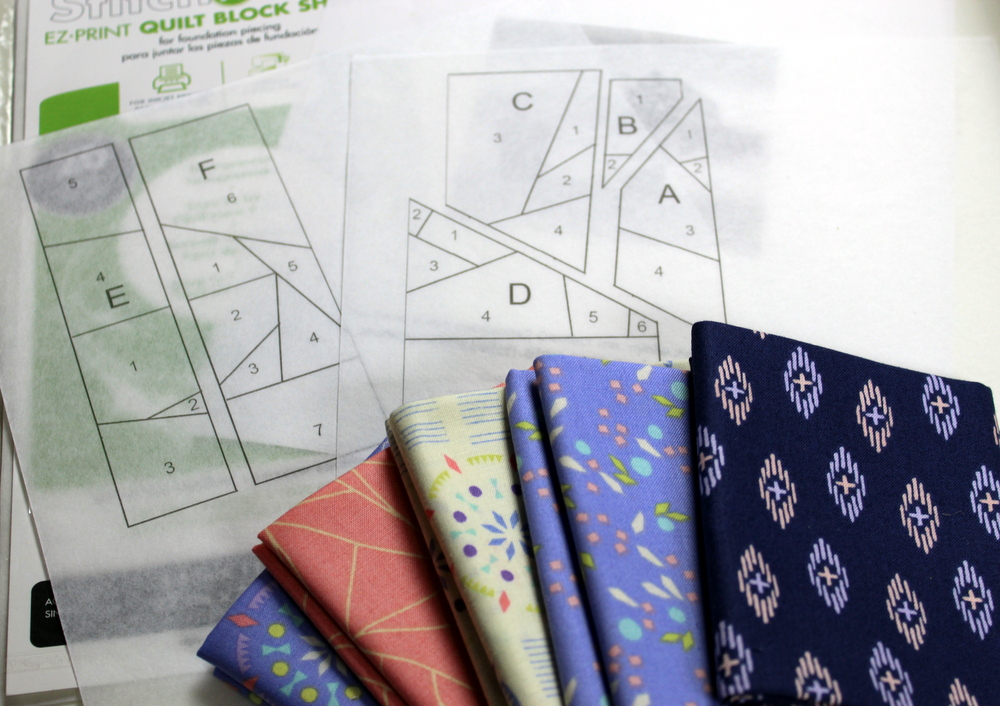
The first step was to print out a copy of the paper pieced pattern onto normal paper. I then used my printer to scale the print down so I could make a 6″ block. I printed the pieces for the 6-inch block directly to the “StitchnSew EZ Print Quilt Block Sheets”. 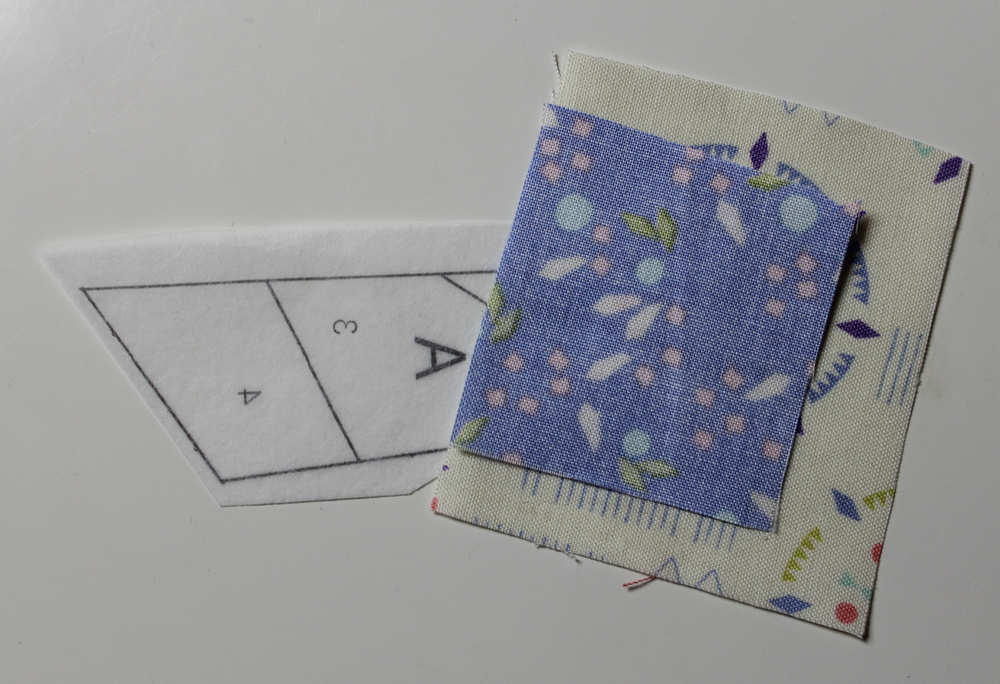
If you’ve never paper pieced before don’t worry – it looks harder than it is. There’s a great tutorial on craftsy on how to paper piece. I’ll share with you a few tricks but really I just want to highlight how great the Quilt Blocks sheets are for this!
Cut out each section of the paper pieced pattern without cutting off any lines. Use pieces of fabric that are plenty big enough for each section!
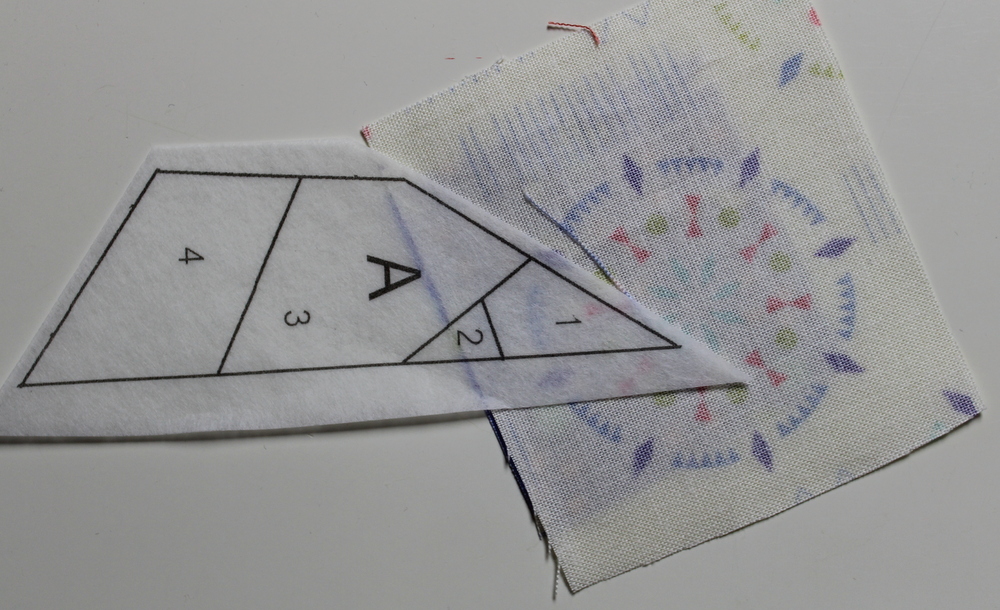 You can check this by looking through the “StitchnSew EZ Print Quilt Block Sheets”. Which is the first reason I like to use these sheets while I paper piece. A second reason is that the sheets are stiffer and have more texture than regular paper. They sort of “grip” the machine a bit better and aren’t as “slidey” as printer paper.
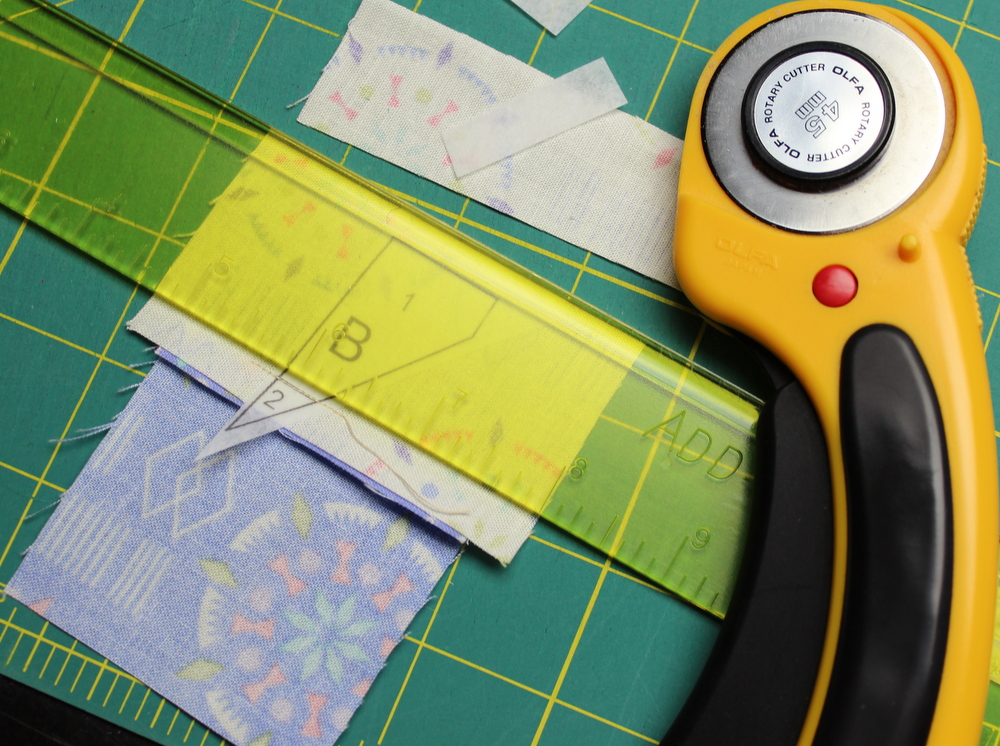
When trimming the excess fabric off I really think an ADD-A-QUARTER ruler is worth the investment. If you’re piecing crazy tiny things you may also want an ADD-AN-EIGHTH ruler. There is a lip on the ruler that helps you trim everything down just right!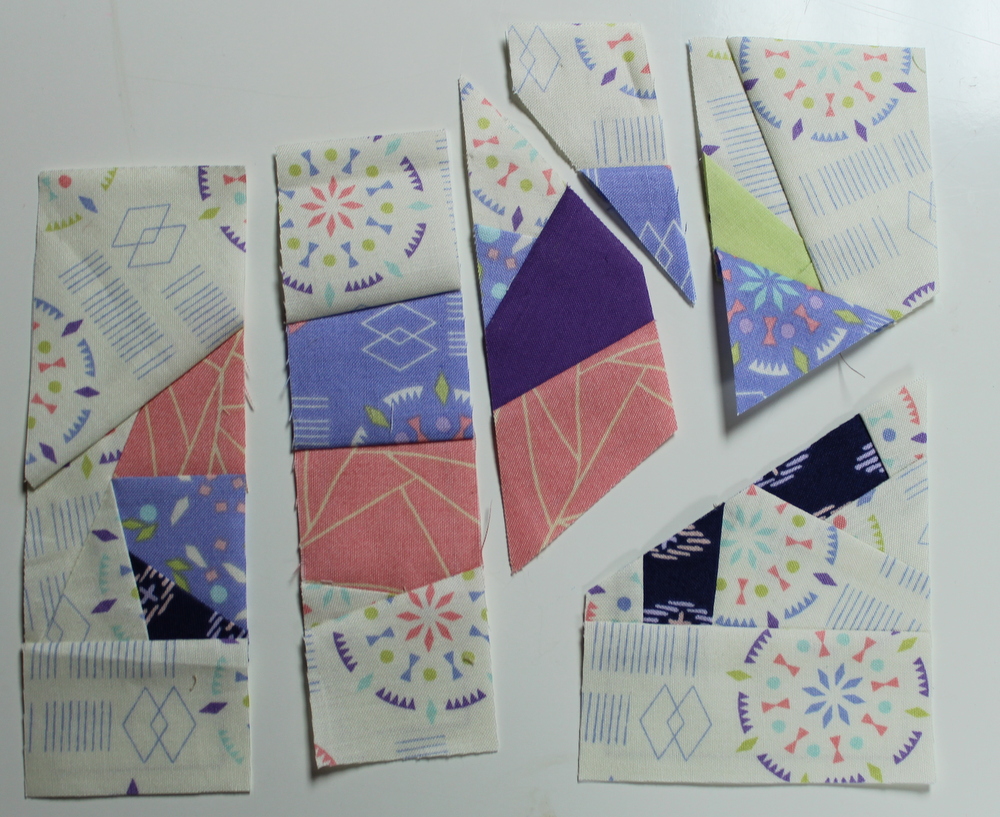
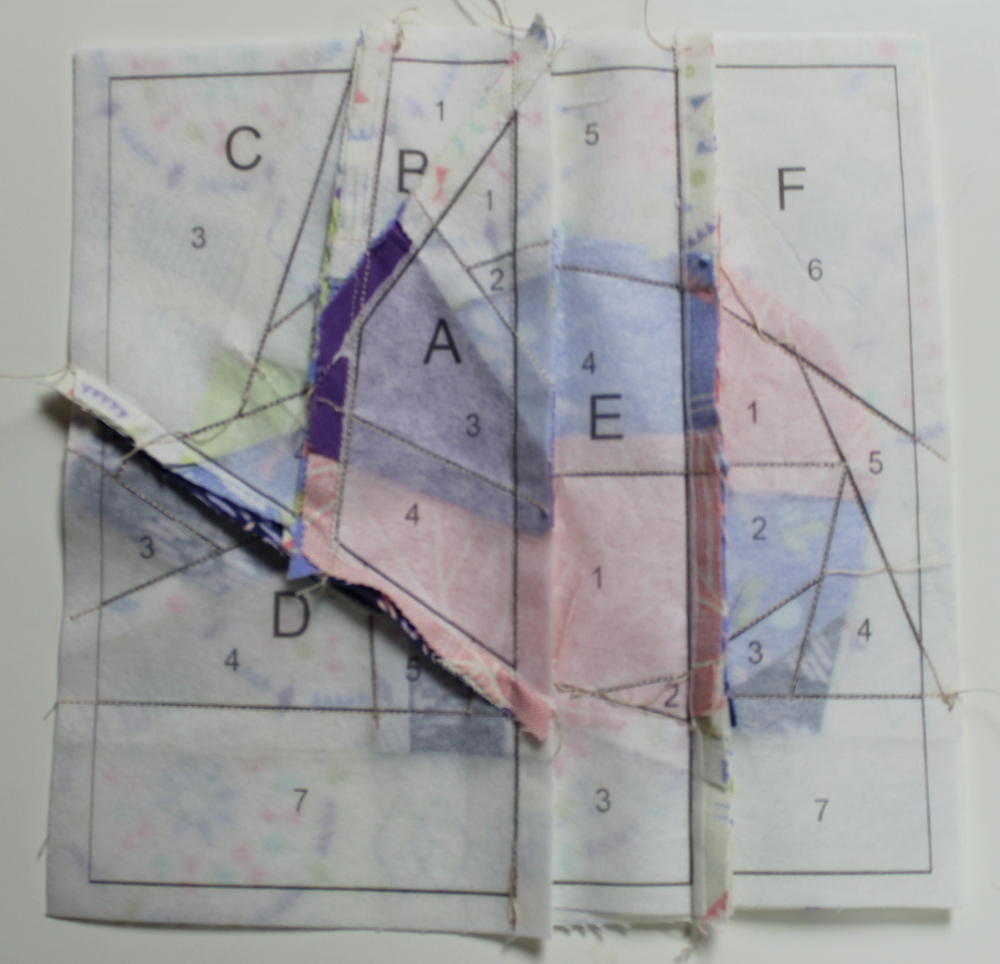
Once you have all the fabric sewn to the templates your elephant will look a bit like a puzzle. 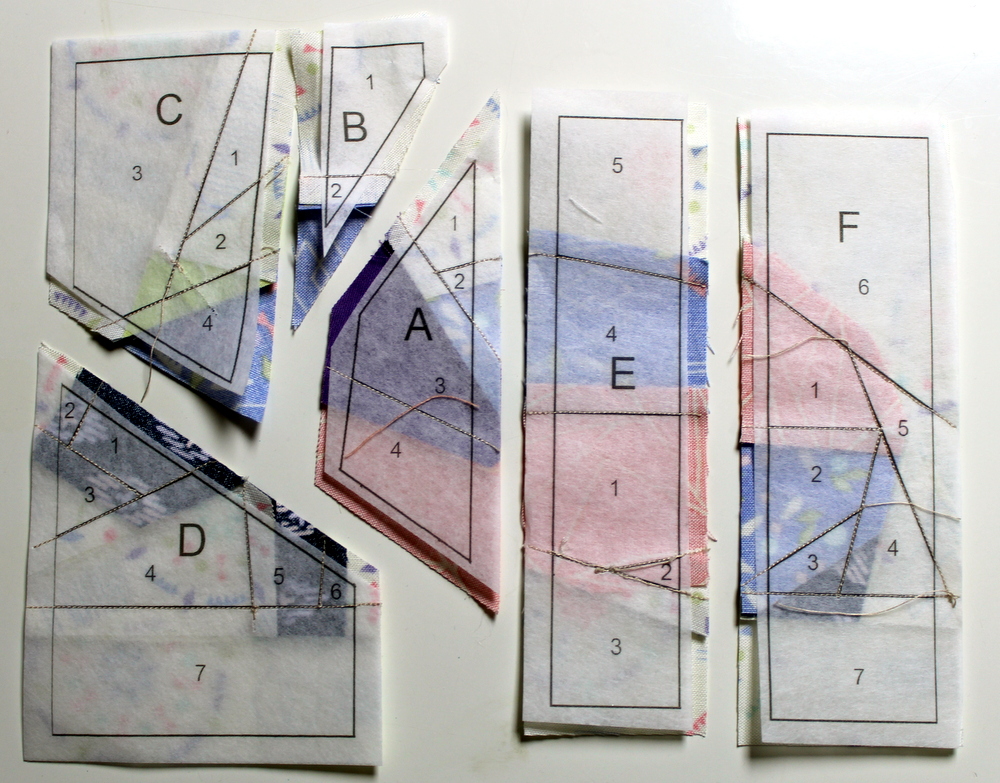 Follow the directions to sew all the pieces together. The backs will look like this.
And the back is still covered in the papers. These need to be torn away before you finish the quilt. The “StitchnSew EZ Print Quilt Block Sheets” tear away really easily especially if you remembered to decrease your stitch length. This is a third reason I really like the Quilt Block Sheets for paper piecing.
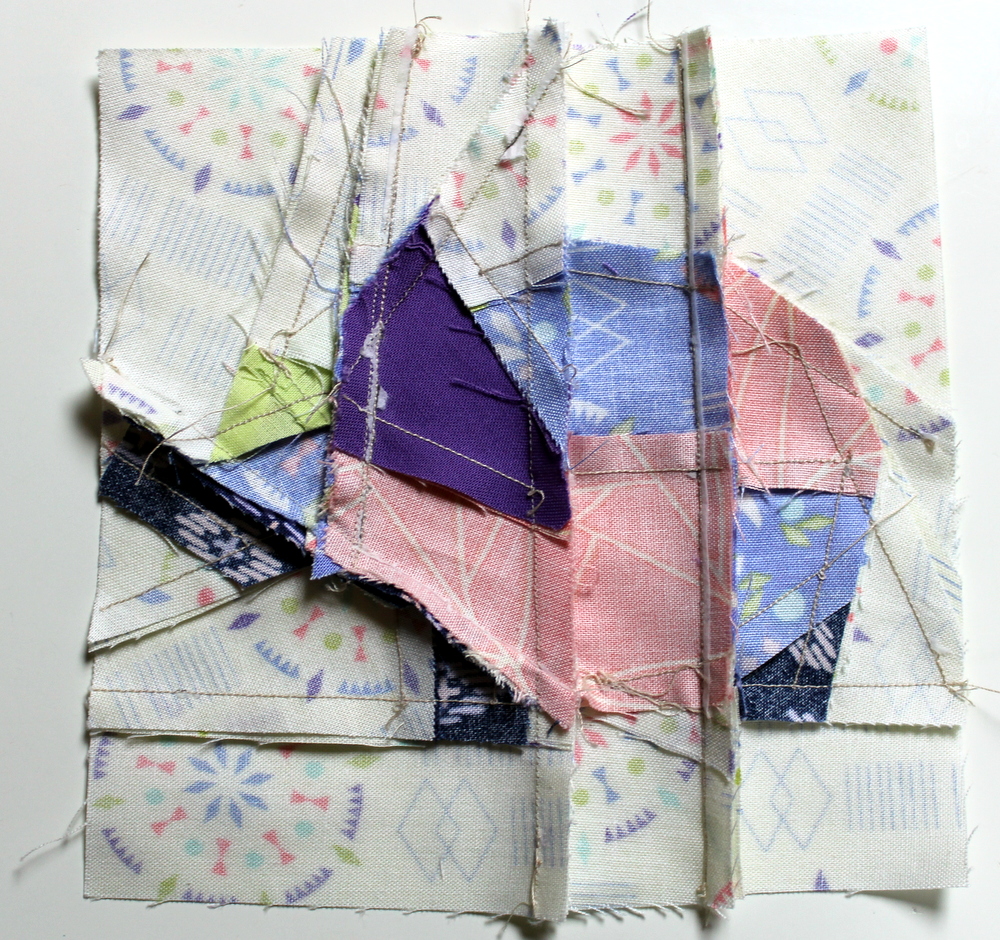
Here’s what the back looks like once the papers are torn off.
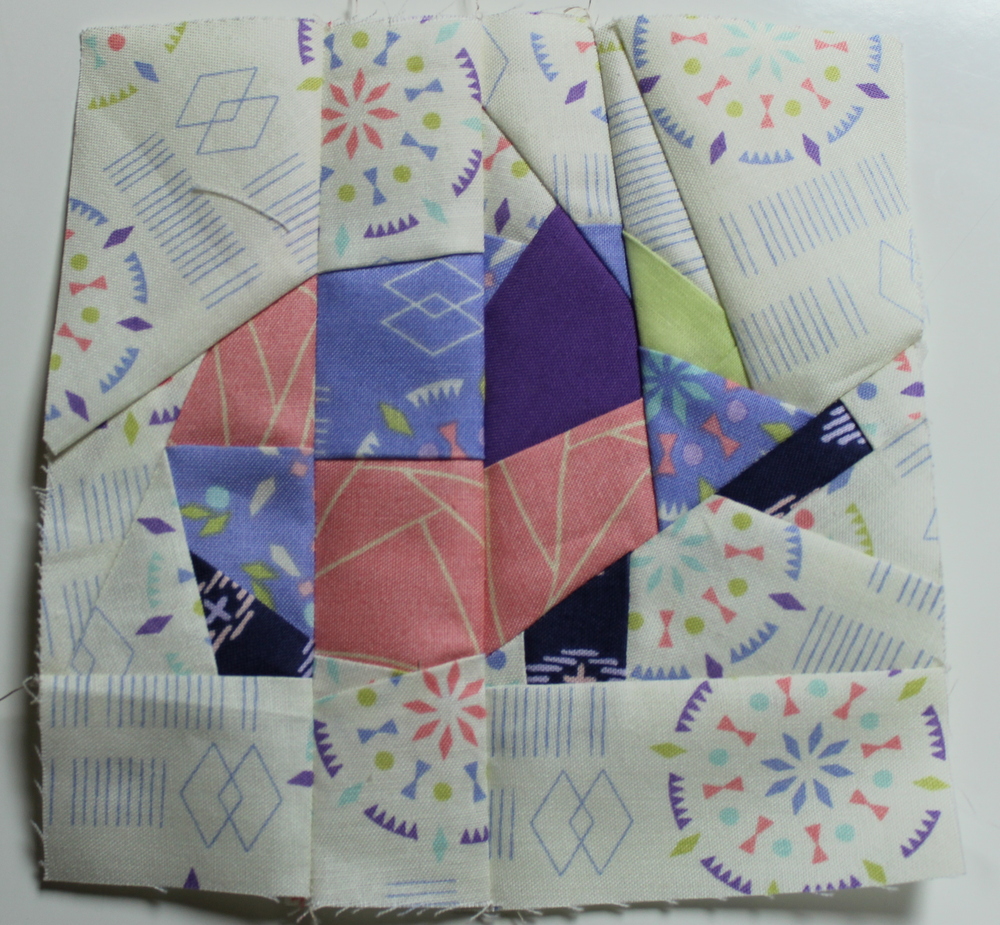
Here’s my little elephant from the front.
Since I wanted a mug rug that was a rectangle and not a square I made up some flying geese blocks and added a few borders.
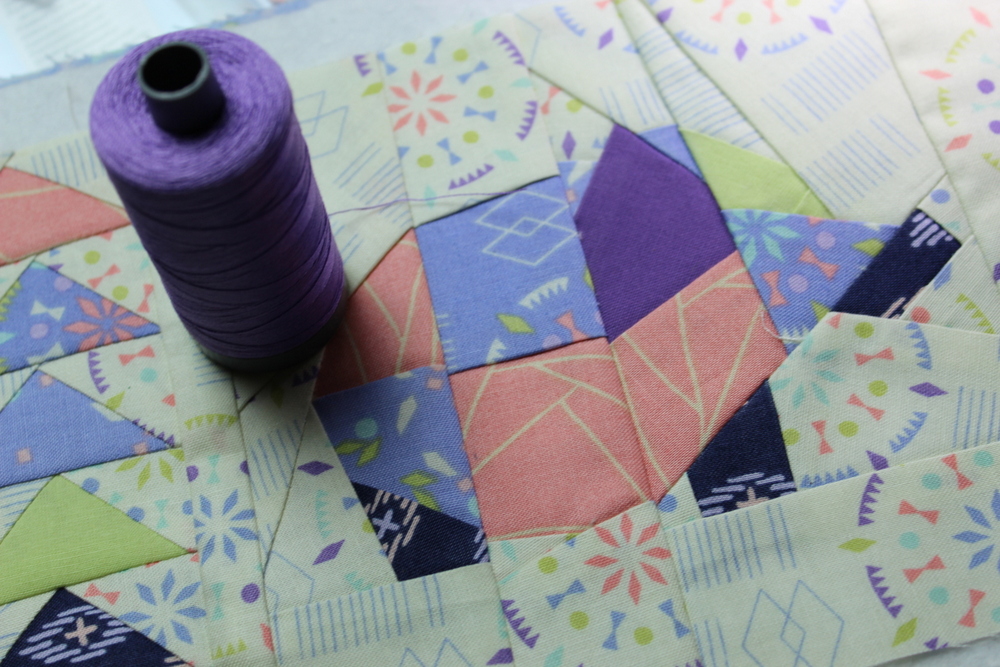
I used 28 wt 2520 purple aurifil thread to quilt this little elephant. It is thicker than most thread and really quilted nicely for this little mug rug.
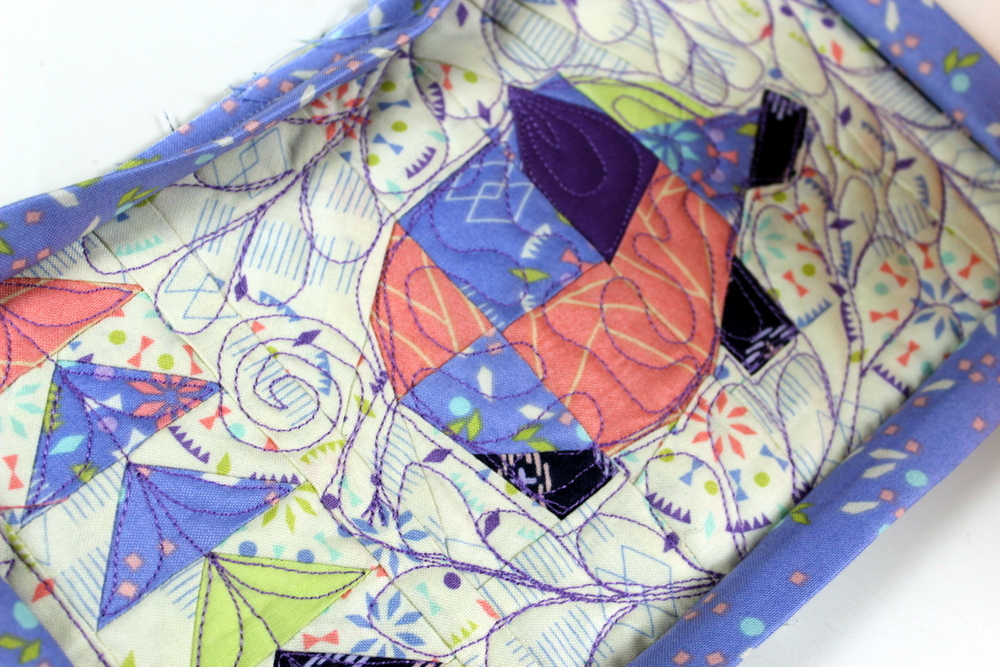
Since it’s just a little guy I decided to just play around with a bunch of random stitches. It was a great chance to practice some free motion quilting skills. It’s not perfect yet but I did have fun!
Before I knew it I had an adorable Chubby Elephant Mug Rug with some scrappy flying geese on the side. I’m not sure if this little guy will be for me or it might make a great teacher gift.

