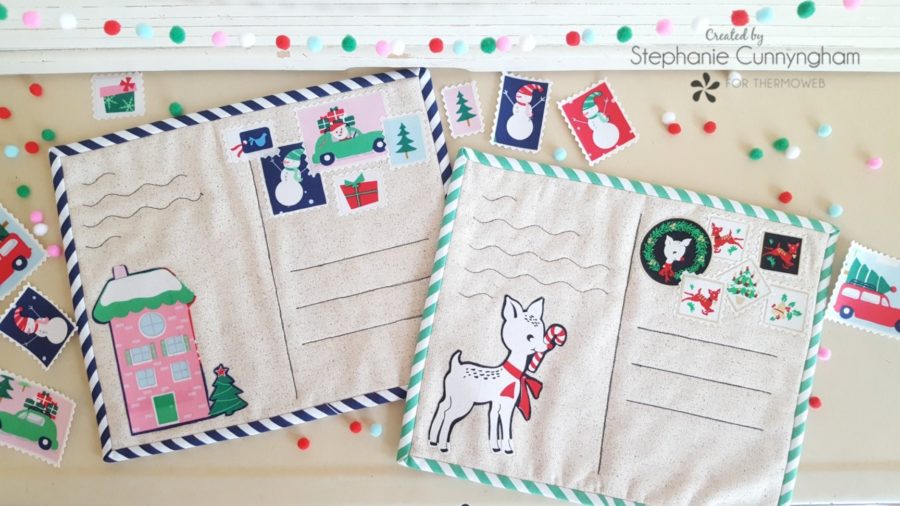
Christmas Postcard Mug Rugs
I love the idea of Christmas in July, but I love when that extends into Christmas in August as well! And for many quilters, it’s Christmas in September, October, and November too! When you make things by hand, you have to plan ahead to make sure your projects get done by the time the holiday or special occasion rolls around. But it seems like no matter how far in advance you plan or when you start making, there is always a last minute gift that needs to be made and you are left scrambling for a quick and easy idea. This year, if that happens to you, consider making a batch of these fun and easy Christmas postcard mug rugs. Pair them with a cute mug and a gift card to a favorite coffee shop, and you’ve got the perfect gift!
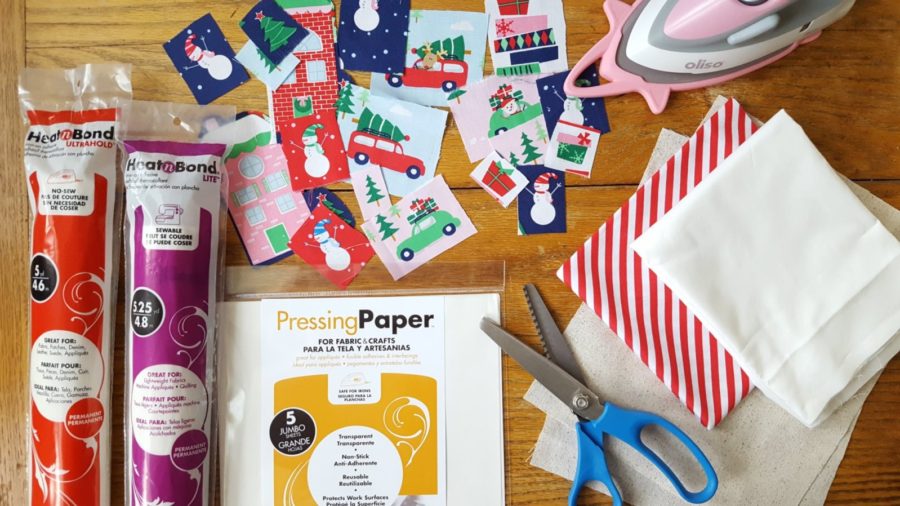
Supplies Needed
- Small pieces of Christmas fabric for the stamps
- 9″ x 11″ piece of linen or heavier material like canvas (cotton would work too)
- 9.5″ x 11.5″ piece of batting
- 10″ x 12″ piece of backing fabric
- One 2.25″ x WOF piece of fabric for binding
- Fat quarter (or less) of white fabric
- HeatnBond Ultrahold or HeatnBond LiteFusible Adhesive
- For this project, HeatnBond Ultra was used because no sewing was done on top of the stamps or applique.
- If planning to sew over the stams or applique pieces, use HeatnBond Lite
- 1 sheet of pressing paper
- Oliso iron
- Pinking shears
Stamp Instructions
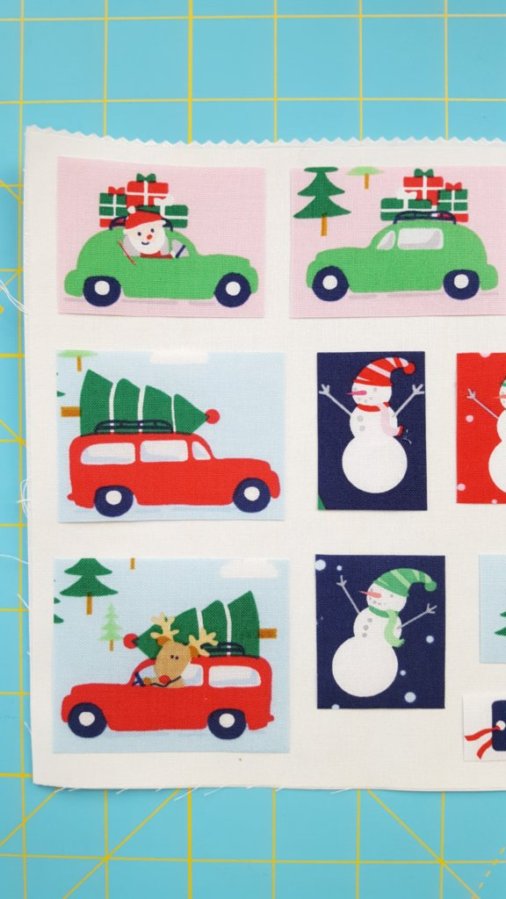
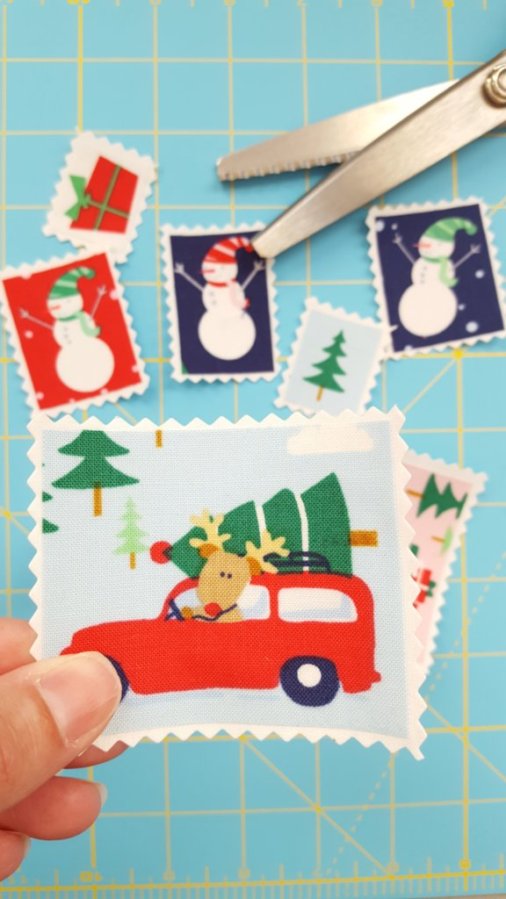
- Fussy cut the Christmas fabric into the sizes and shapes you want for your stamps. No need to perfectly square them up at this point. That step comes later.
- Cut a piece of HeatnBond large enough to place the stamps on. The stamps should NOT overlap each other. Place the stamps on the shiny (glue side) of the HeatnBond. There will be parts of the adhesive exposed. If you are using pressing paper, that’s ok. If you’re not, you need to make sure your stamps cover all of the adhesive so it doesn’t get on your iron.
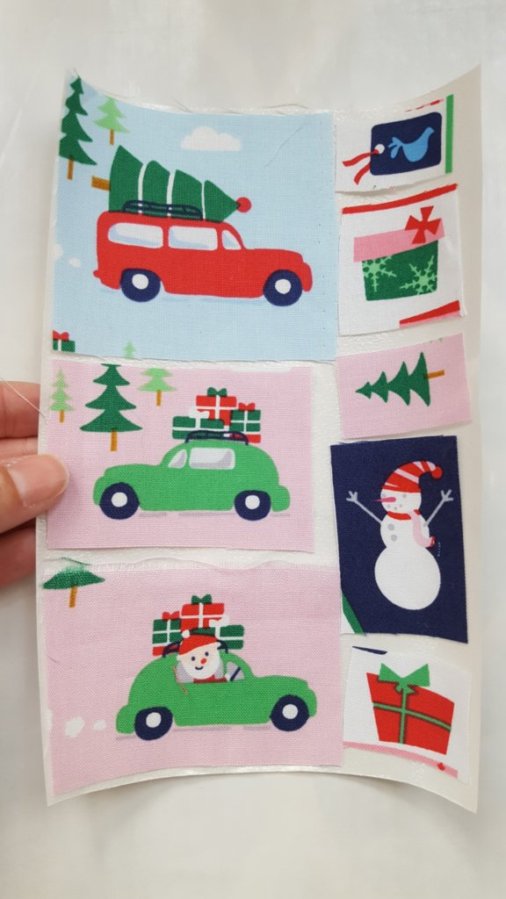
- Place your stamps inside your sheet of pressing paper and press according to package instructions.
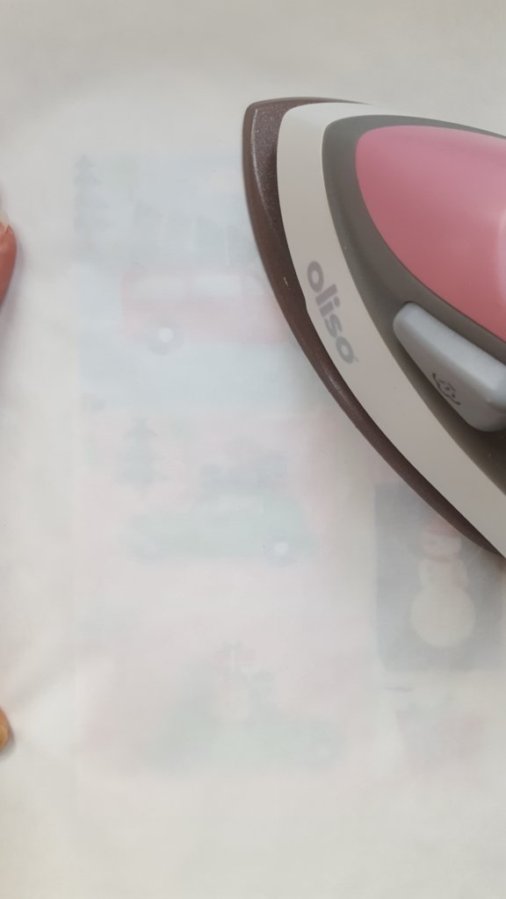
- Open pressing paper and remove stamps. Allow them to cool.
- Once cool, trim your stamps and square them up.
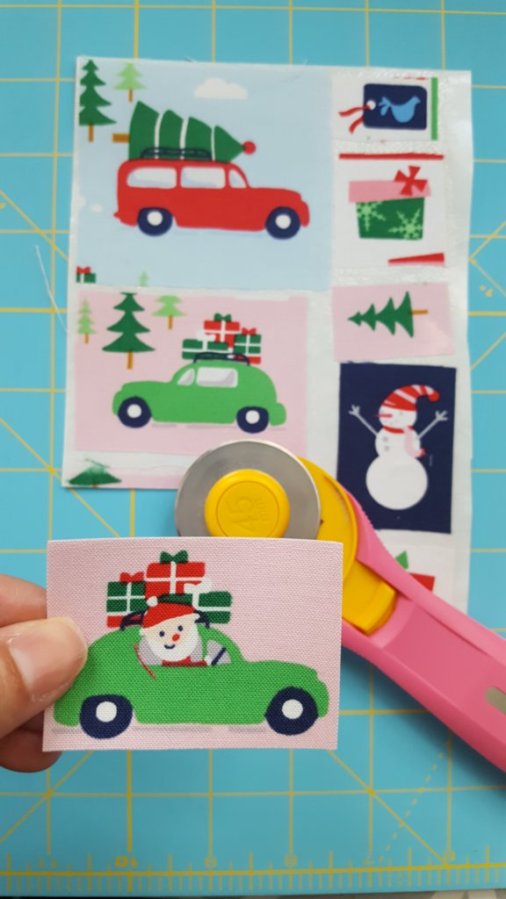
- Once you have cut out all of your stamps, remove the paper backing. (NOTE: I also cut out some shapes to applique on the left side of my mug rugs, but I did not make stamps out of them).
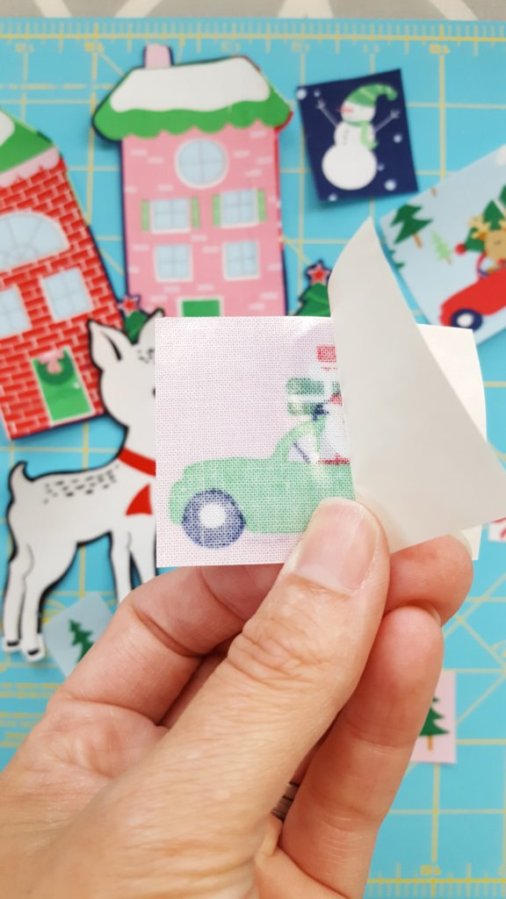
- Cut a piece of white fabric large enough to place your stamps on, leaving space between each stamp to cut them out. Cut a piece of HeatnBond the same size as the white fabric and fuse it to the back. DO NOT REMOVE THE PAPER BACKING YET.
- Once you have the HeatnBond fused to the back of the white fabric and it has cooled, arrange your stamps adhesive side down on the right side of the white material, leaving a gap large enough to cut with your pinking shears.
- Using your pinking shears, cut around each stamp, making sure to not cut the picture. Remove the paper backing from the white fabric and fuse stamps on to the 9″ x 11″ piece of linen or background fabric as desired.
Sewing Instructions
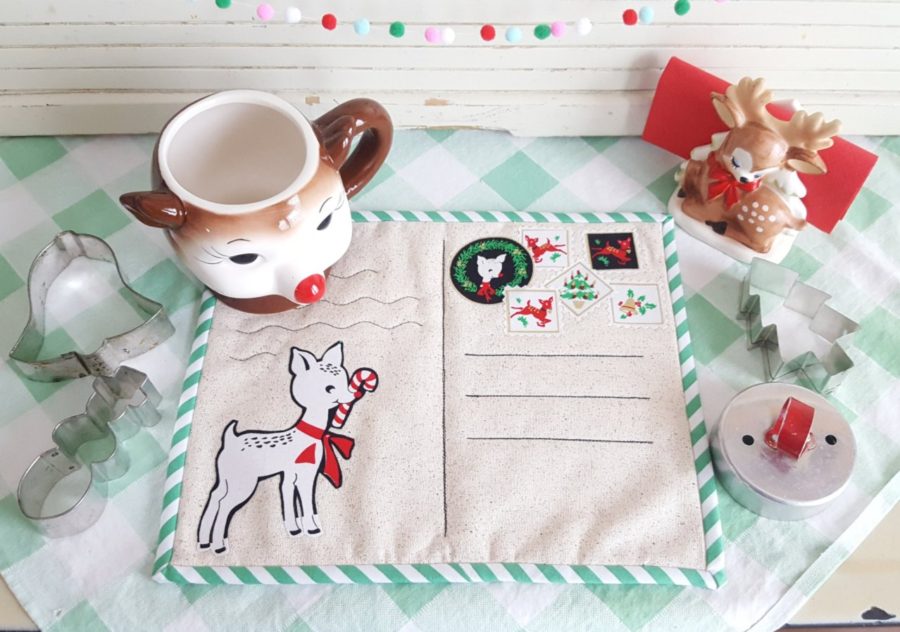
- Layer the top of the mug rug with the piece of batting and the backing fabric. Make sure the right side of the backing fabric is facing down. With a fabric safe marking pen or tool, draw a vertical line down the center of the mug rug and stitch on the machine using a contrasting thread. Draw three lines to the right of the centerline for the address label, and stitch those with contrasting thread as well.
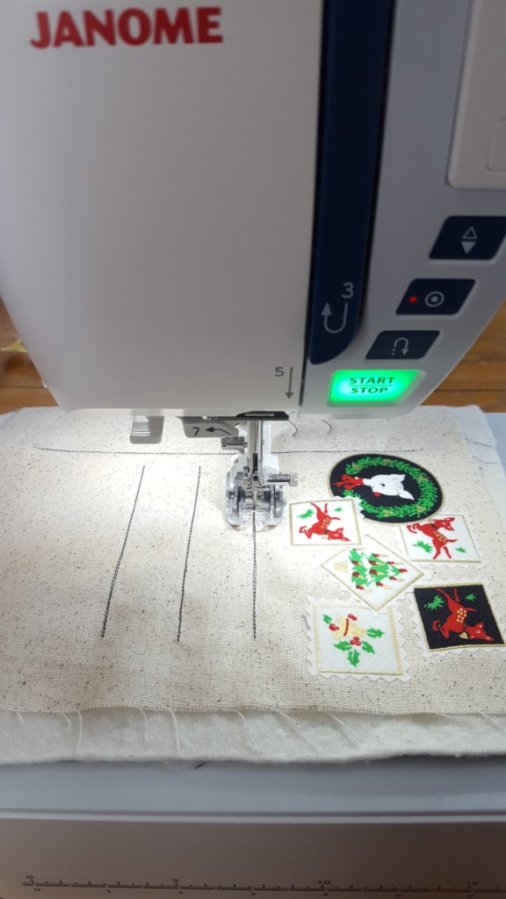
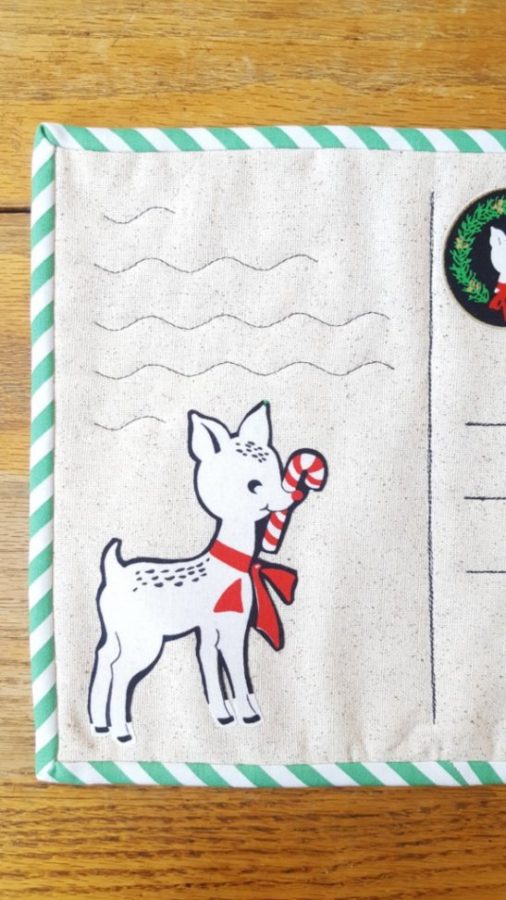
- Using the wavy line stitch on your machine, stitch “writing” to the left of the centerline to look like the writing on the postcard. (NOTE: this postcard is finished at this point; yours won’t be yet).
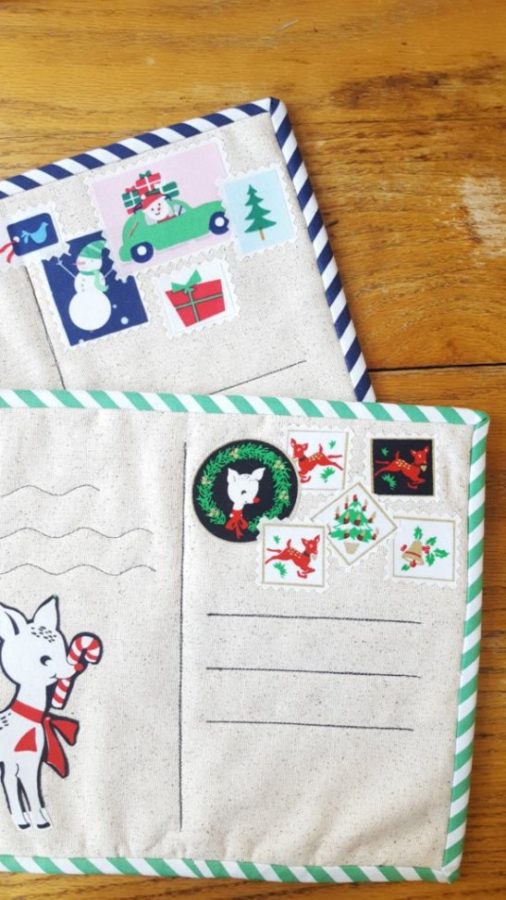
- Trim off the excess batting and backing fabric so that your mug rug measures 9″ x 11″.
- Fold the binding strip in half and press. Bind your mug rug using your favorite binding method.
- Give it a good press and enjoy!

7 Comments on Christmas Postcard Mug Rugs
2Pingbacks & Trackbacks on Christmas Postcard Mug Rugs
-
[…] not quite ready for holiday sewing, but after seeing this adorable Christmas Postcard Mug Rug, I may have changed my […]
-
[…] Christmas Postcard Mug Rugs […]
Vicki Kroll
August 14, 2019 at 3:28 pm (5 years ago)What a cute idea for your friends at Christmas. They are adorable.
tsurutadesigns1
August 16, 2019 at 4:33 pm (5 years ago)What fabulous projects! I’ve shared in the Coffee Loving Papercrafters FB page!
charmedlife2006
August 18, 2019 at 11:20 am (5 years ago)What a sweet postcard. Thank you for a great tutorial. I have a friend who loves to send postcards and this would make a lovely Christmas gift.
Sharon Gullikson
August 19, 2019 at 12:44 pm (5 years ago)Oh, I just love this!!!!!!!!!!
Nicole Clark
December 10, 2019 at 10:56 pm (5 years ago)What fabric did you use for this? I love the colors and characters!