It’s our Sunny Days week and you ask…what does the sun have to do with bees? Why something quite interesting…
 Bee Trivia…when navigating, bees are able to use the sun as a fixed reference point. This allows them to fly in a compass direction simply by keeping the angle between their line of flight and the sun constant. Bees that have successfully found food are then able to share the location through their dance language.
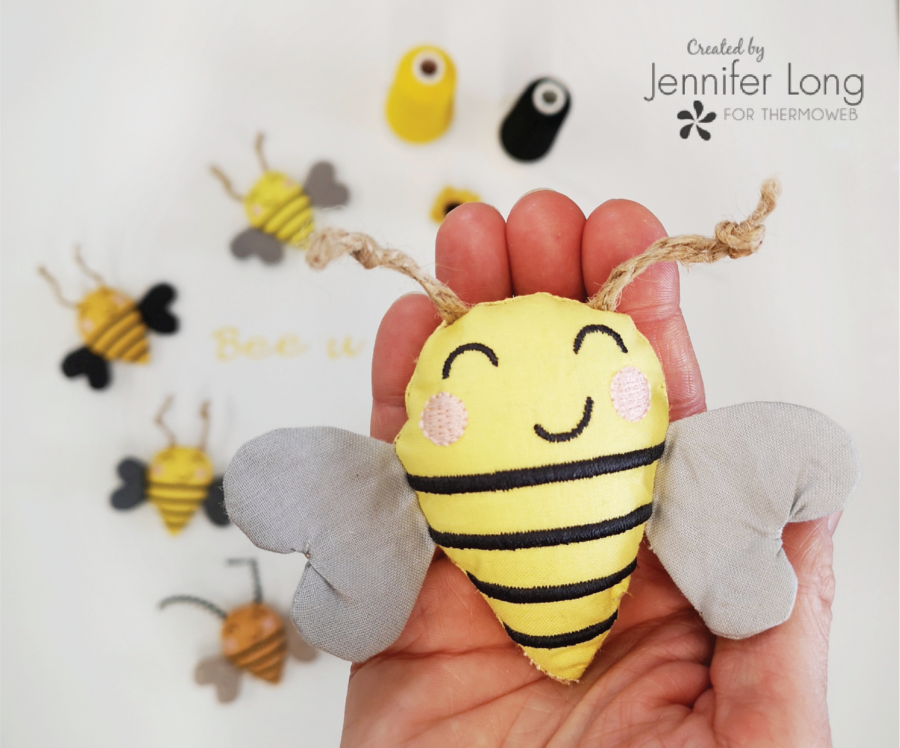
Speaking of dancing…we’re doing just that over today’s tutorial! We think you will too!
Stuffed Bumble Bee with HeatnBond
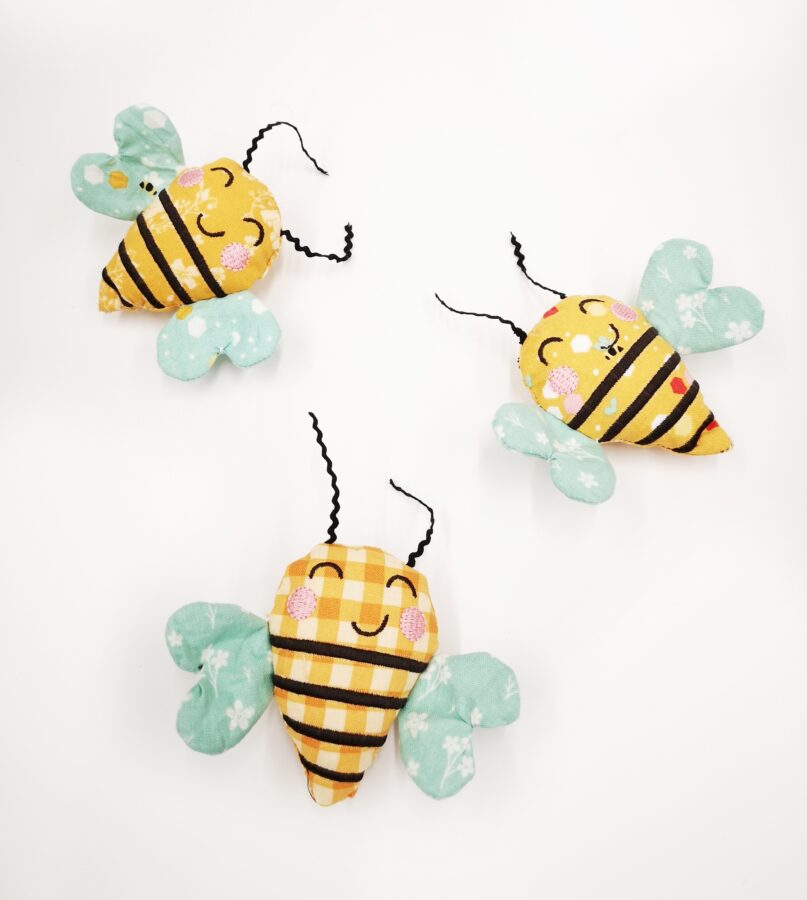
Hello Friends, this is Jennifer Long from Bee Sew Inspired and I am back on the Thermoweb Blog today to share with you a “sweet” little friend you can make “in the hoop” in any home embroidery machine! I am buzzing with excitement and I promise these little stuffed Bumble Bees are so fun and addictive… you will have a hard time making just one!!!
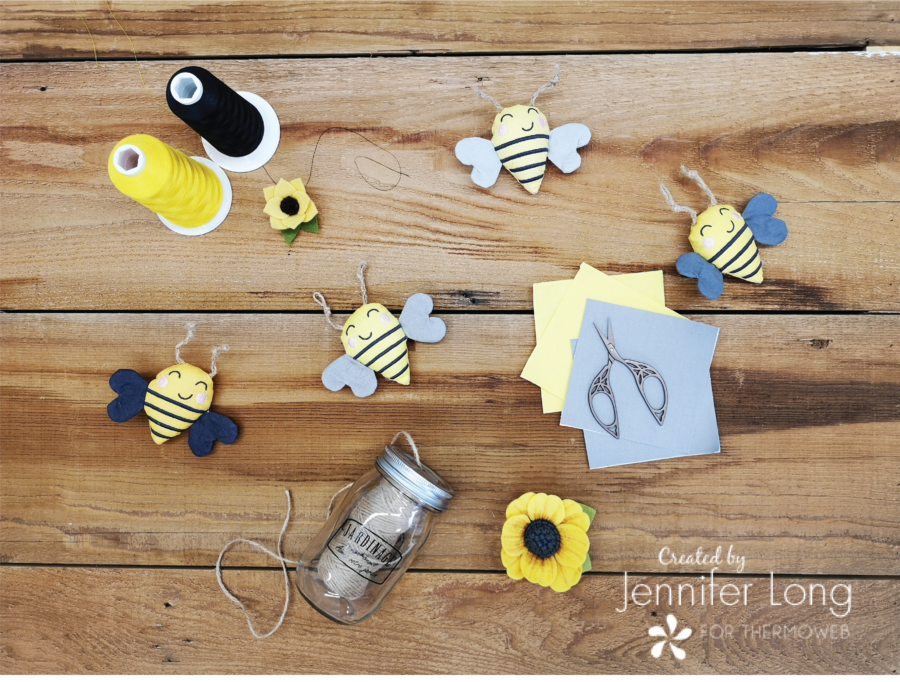
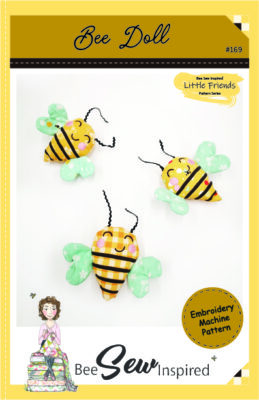
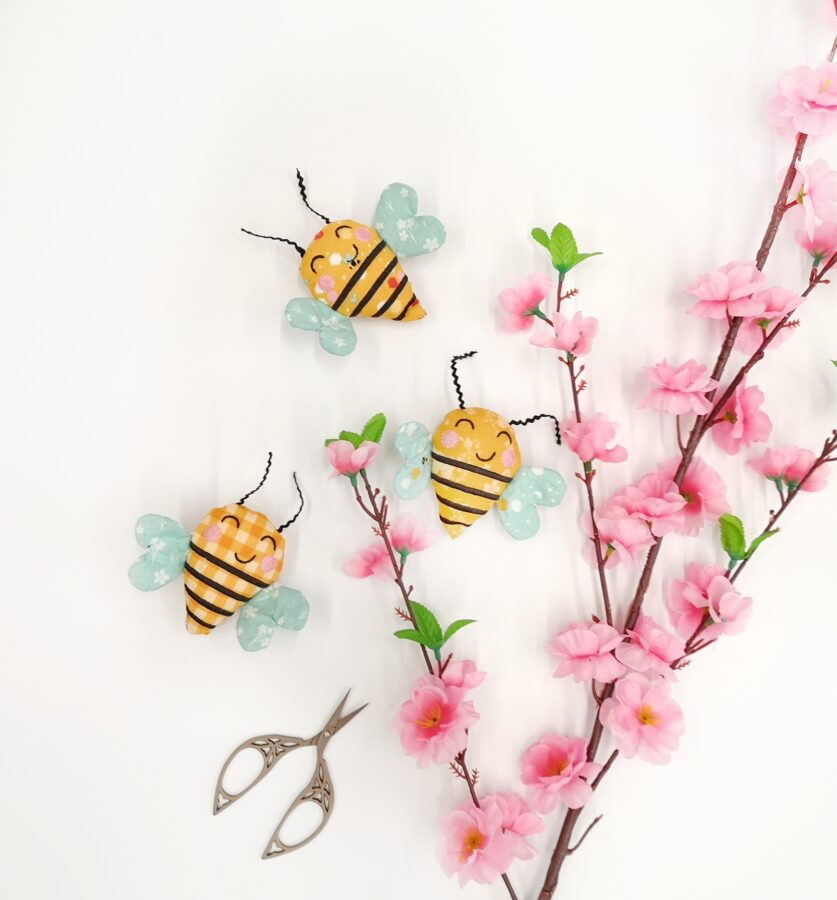
Why do you need a Bee Sew Inspired – Little Friend – Bee Doll in your life? These sweeties make excellent shelf sitters, spring and summer decor, nursery mobile or simply to use a gift to bring a smile to someone’s face!
Let’s get started!
Bee Supplies
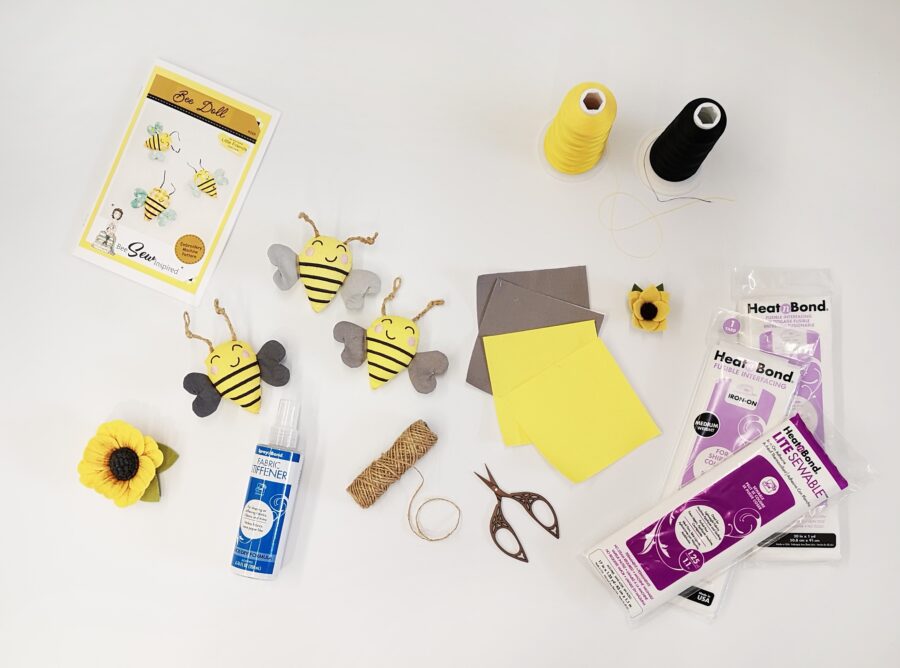
- 1 package of Fusible Interfacing – Lightweight
- 1 package Heat n Bond Fusible Interfacing Medium
- Spray n Bond Fabric Stiffener
- Stitch n Sew Tear-away Stabilizer
- Scraps of yellow fabric for the body
- Scraps of grey or light blue fabric for wings
- Embroidery Machine with a 4″ x 4″ hoop or larger
- Black and pink embroidery threads
- Polyester Fiber Fill
- Twine, jute string, or ribbon for antennas
- Hand sewing needle and thread to close the opening.
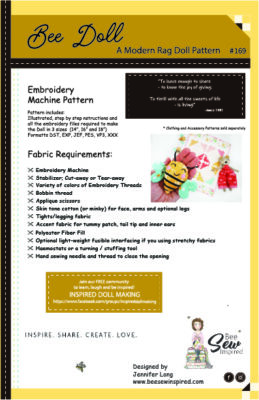
- Bee Sew Inspired Bee Doll Embroidery Machine Pattern & Embroidery Files (use code “BEESEW” at checkout to get 50% off this pattern)
Prepare Your Bee Pieces
We are going to do some important steps to the body and wing fabric and the antenna strings before we begin. Then when you sit down at your embroidery machine to stitch out this Bumble Bee, everything is ready to go!!!
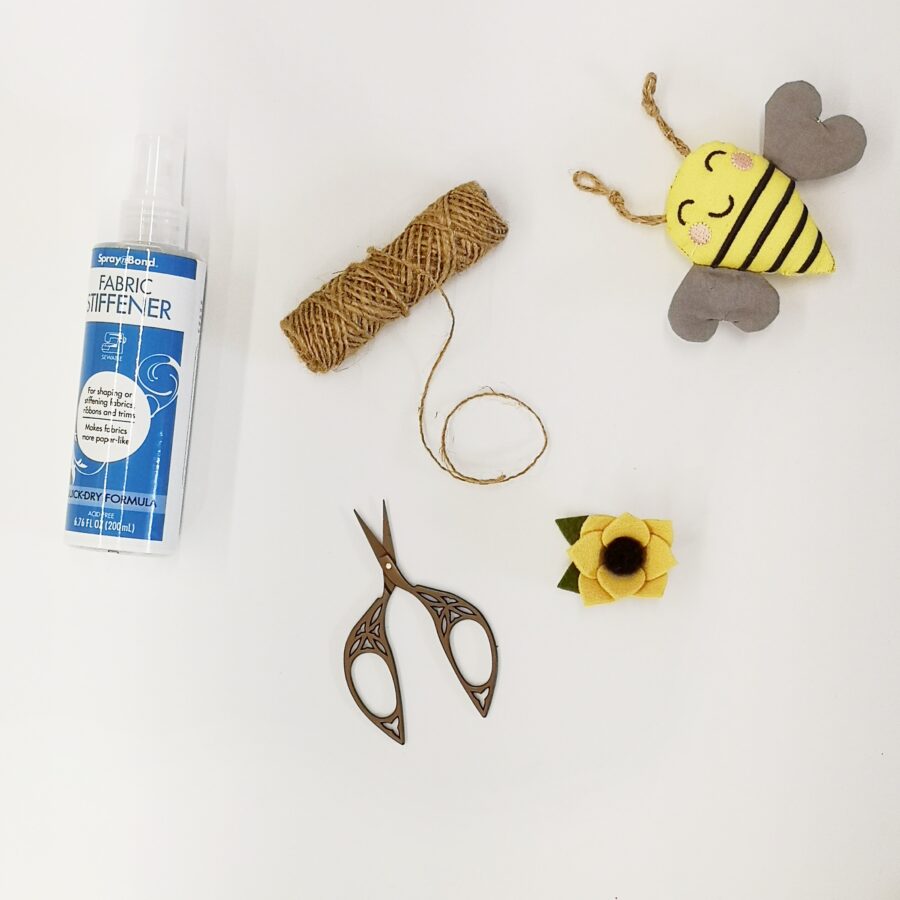
Take two pieces of yellow fabric for the front and back of the bee body. Note the size of the fabric will be determined by the size of the embroidery hoop/bee you are making. (The pattern contains instructions and files for 4 sizes of bee dolls!) Cut a matching size of Fusible Interfacing – Lightweight for each bee body piece and place the rough side of the interfacing to the wrong side of the fabric.
Cover with a pressing sheet and press and hold the iron in each position for 10 – 15 seconds. Repeat this process by lifting the iron and moving to the next section until the entire fabric piece is bonded. This extra stability will serve two purposes: it will hold the shape of the bee doll when stuffed and will prevent loose threads from the back of the embroidery from showing through as easily when the bee is stuffed! Set aside the prepared Bee Body Fabrics.
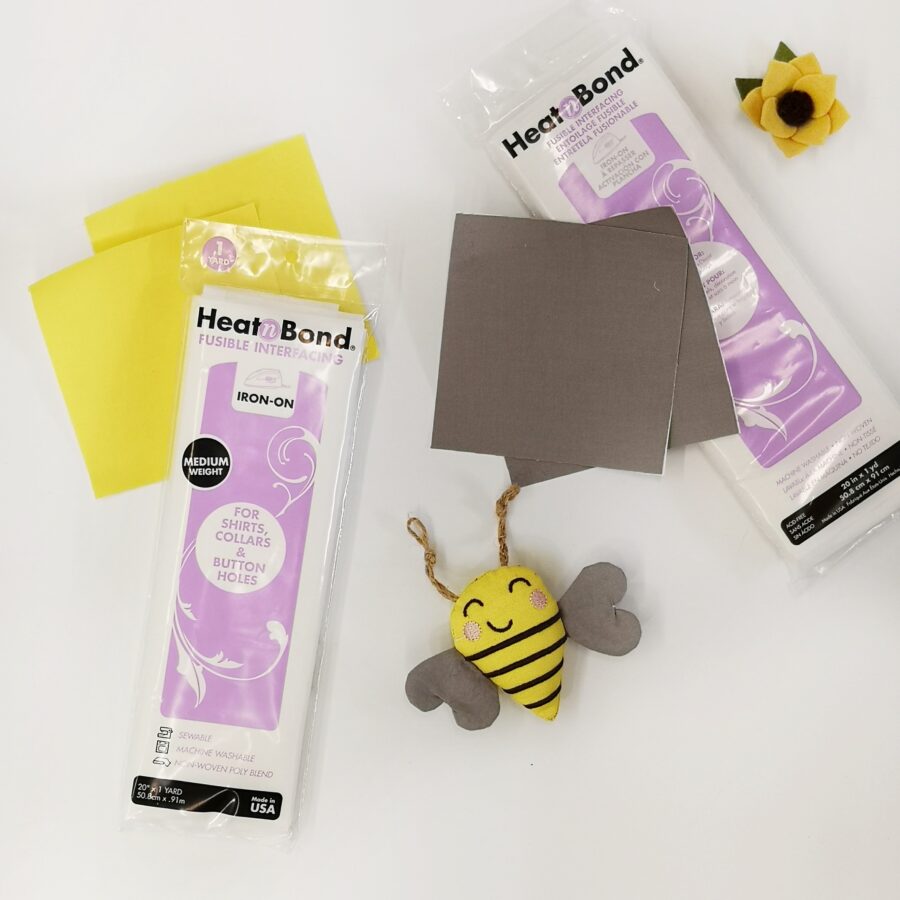
Next, let’s back the wing fabric with Heat n Bond Fusible Interfacing Medium so that the wings will stand out from the bee doll on their own and not flop around. Using the same instructions as above, fuse the interfacing to the wrong side of the wing fabric. Set aside.
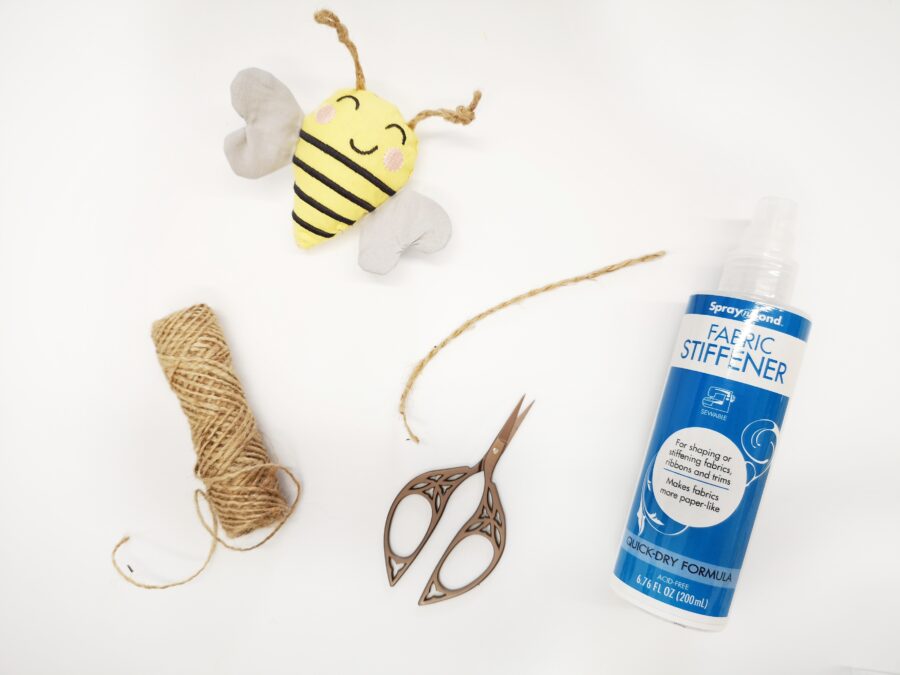
Now to give some strength to our Bee’s antennas! Place a rag or old cloth on your table over your work surface. If you are using jute string or twine, cut twice the length for each antenna. Lay the twine out on the rag and generously spray the entire length of twine with Spray n Bond Fabric Stiffener.
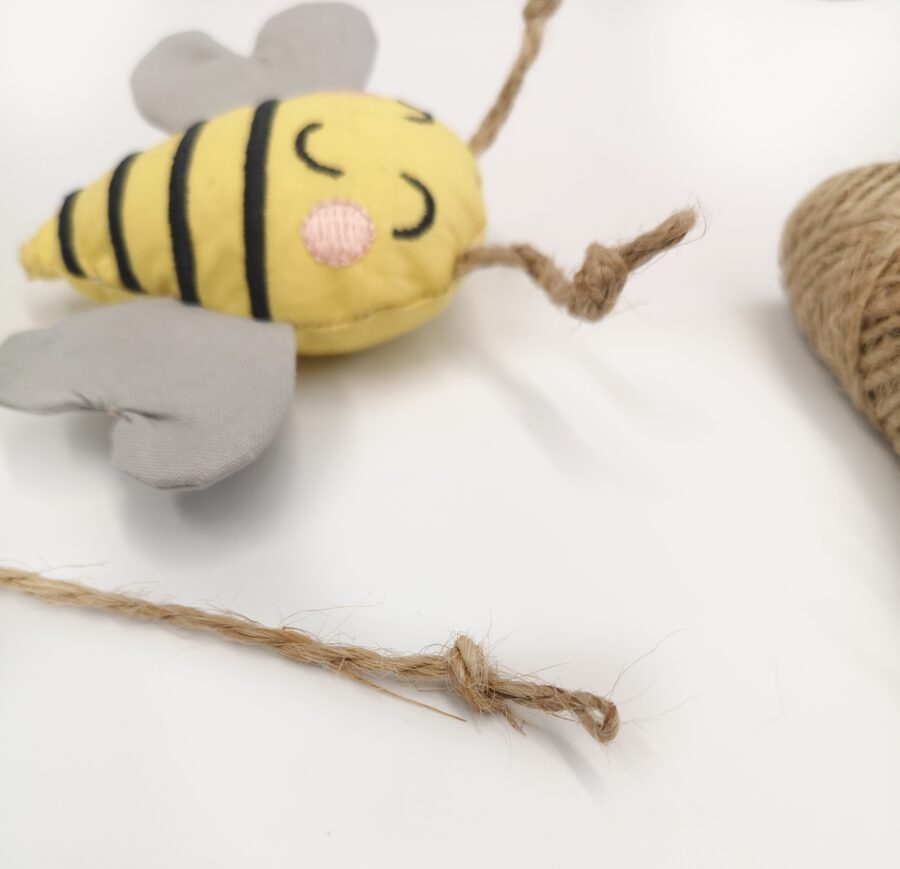
Fold the twin in half and twist around itself and knot it near the top. Lay the antennae on the rag to dry. Repeat with the other antenna.
Lastly, hoop your stabilizer into the hoop. I am using Stitch n Sew Tear-away Stabilizer, which is perfect for making beautiful embroidery stitches, and then tearing away before turning and stuffing!

 Don’t forget to claim your 50% off discount code for the