Hello everyone, it’s Deb here today to share a fun mixed media project that combines wonderful products from Therm O Web and our friends at Sculpey!
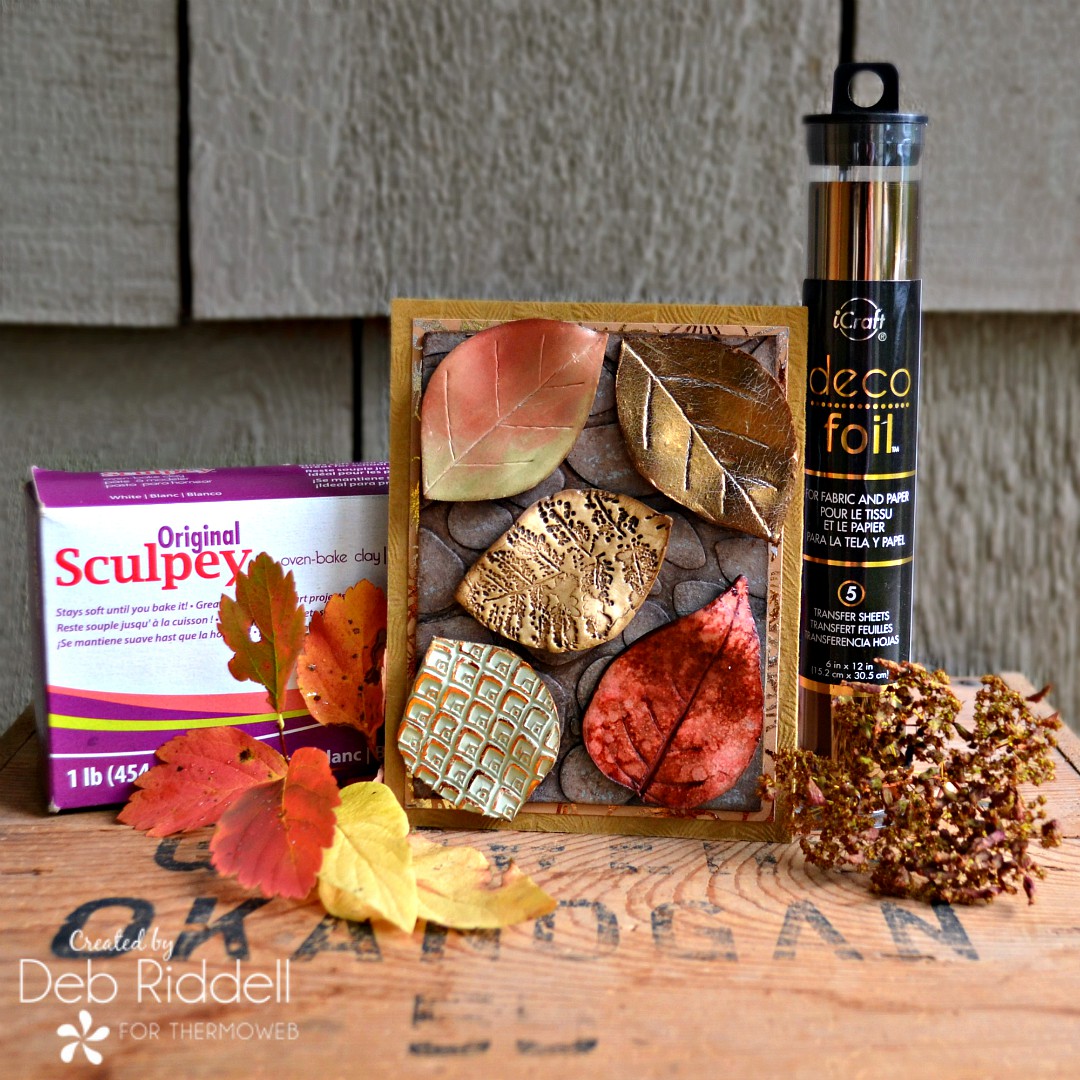
I’d never worked with oven-bake clay before and had so much fun playing with all of the wonderful products and tools that Sculpey very generously sent me to create this autumnal mixed media plaque, thank you Sculpey!
Autumn Leaves Mixed Media Plaque
Therm O Web Supplies Used:
Deco Foil Transfer Sheets – Bronze
Deco Foil Transfer Sheets – Amber Watercolor
Deco Foil Flock Transfer Sheets – Tuscan Gold
Deco Foil Transfer Gel DUO – 4 fl. oz.
Deco Foil™ Adhesive Pen .34floz
iCraft Easy Cut Adhesive™ Sheets • Sm
iCraft Adhesive™ Tape • 1/2 in
iCraft Ultra Bond Adhesive 2 fl oz
Other products used:
Sculpey – Original Sculpey Oven Bake Clay (white); Sculpey Tools Clay Conditioning Machine; Sculpey Tools Essential Tool Kit; Sculpey Tools Nature Texture Sheets; Sculpey Tools Floral Silk Screens; Sculpey Gloss Glaze
Stampers Anonymous – Leaf Prints stamp
Ranger Ink – Distress Paint; Perfect Pearls powder; Alcohol Ink
Acrylic paint
Rubbing alcohol or ink blending solution
Sea sponge or kitchen sponge
Kraft cardstock
Die-cutting machine
Autumn Leaves Mixed Media Plaque Instructions
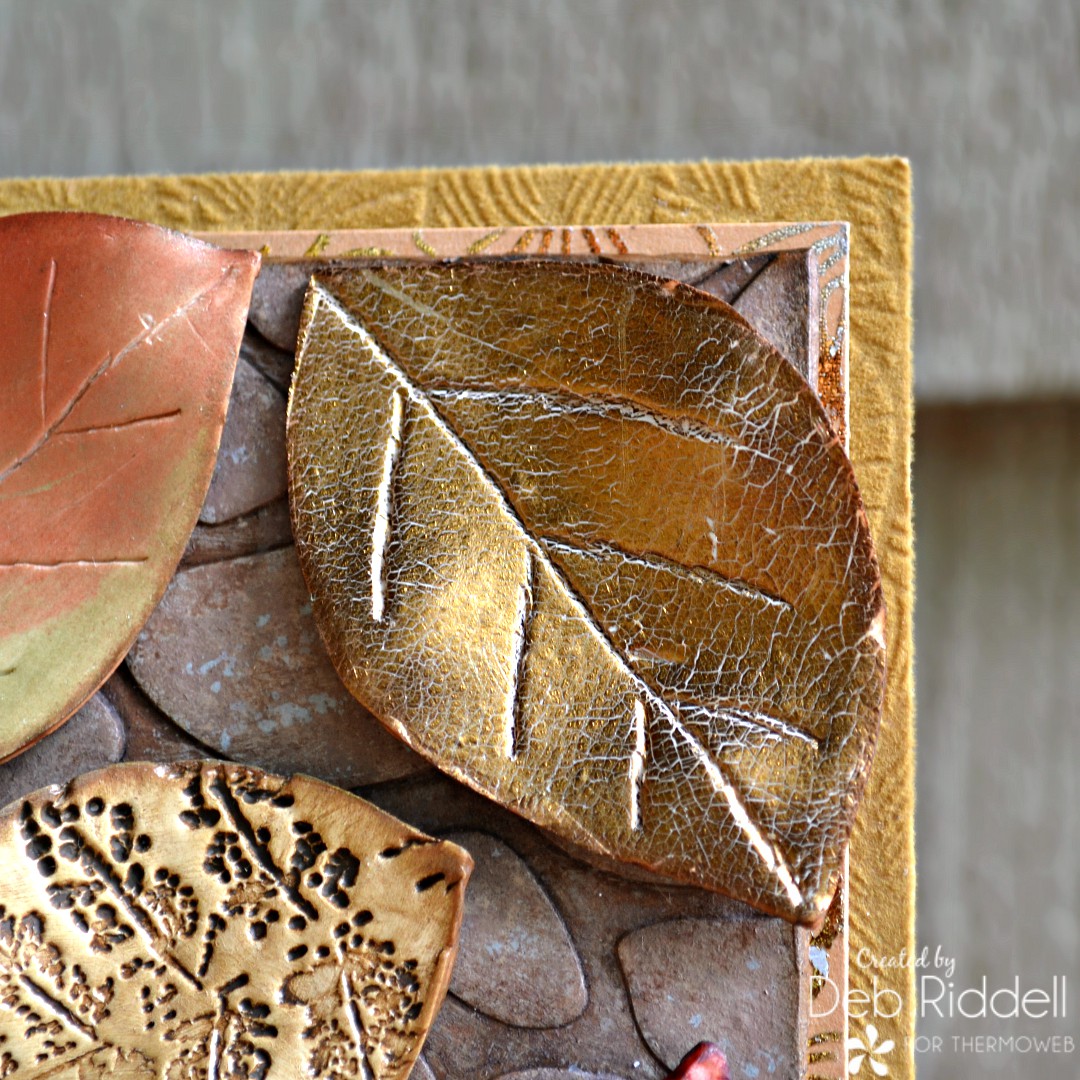
Let’s start by making some oven-baked clay leaves. Run a piece of Sculpey Original clay through your Clay Conditioning Machine to setting 3 (see Sculpey’s YouTube channel for their instructional videos). Place a piece of Bronze Deco Foil over the conditioned clay and burnish it very well with a soft cloth. Heat the foil and clay GENTLY with a hairdryer (just till the clay feels slightly warm) and then pull off the foil backing sheet quickly, making sure to pull the foil backing sheet in a horizontal direction (across the face of the clay), not upwards. Place the foiled clay back into the Clay Conditioning Machine and run it through twice on setting 4, once vertically and once horizontally, to create the foil ‘crackle’.
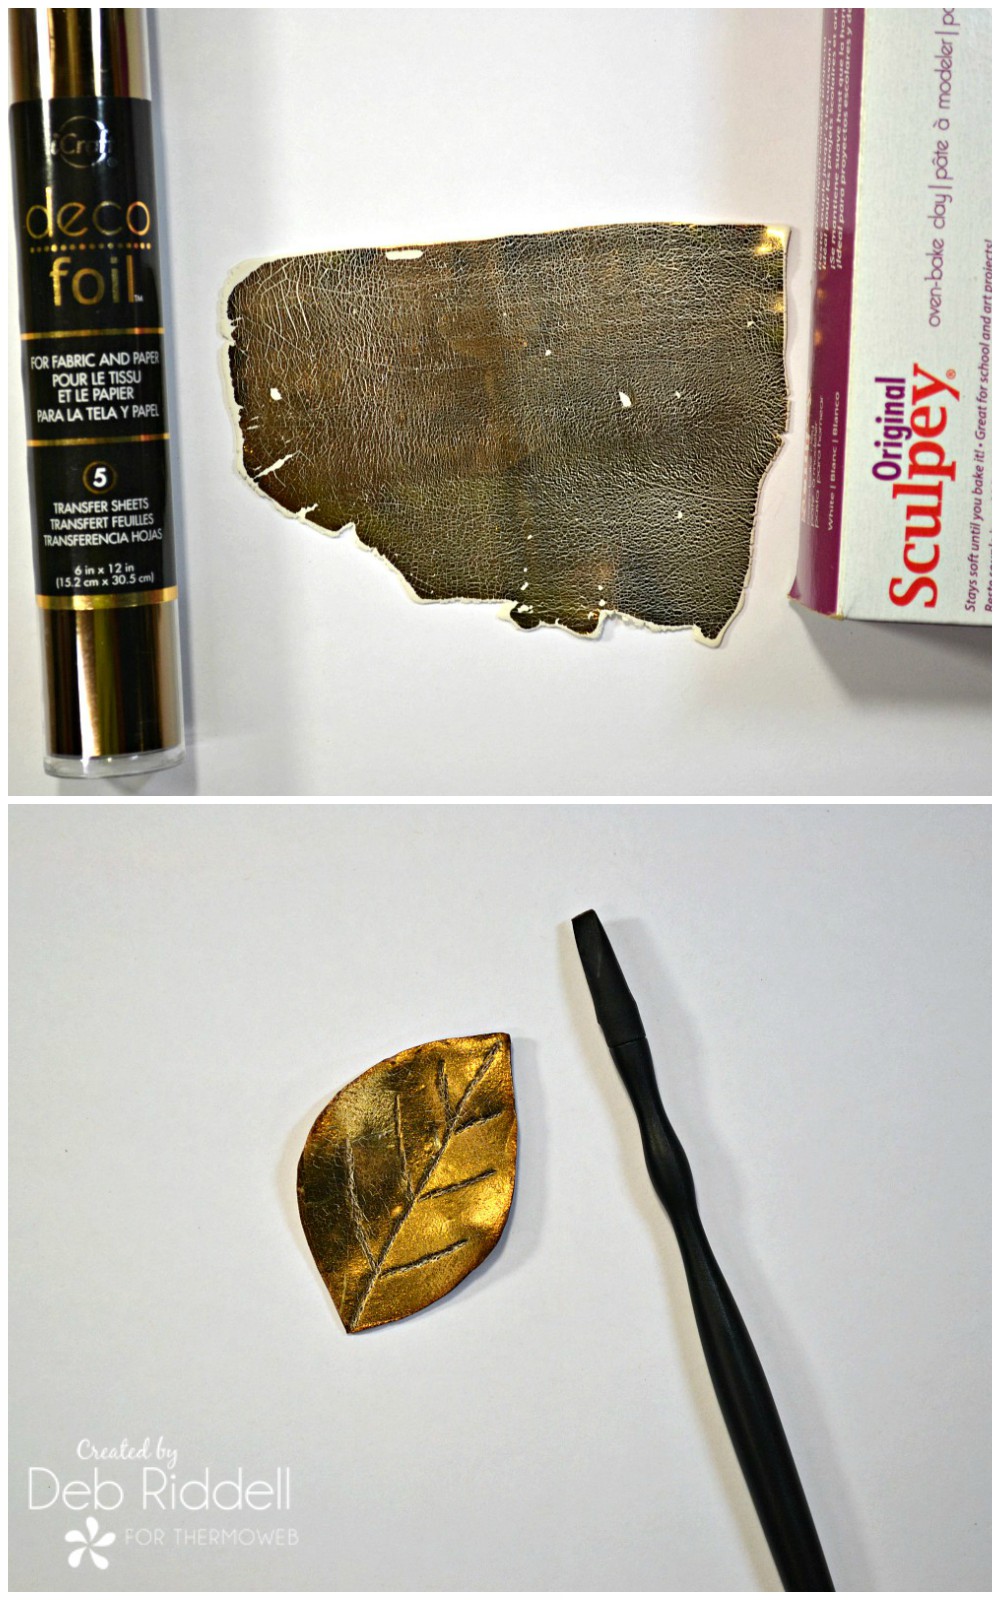
Cut out a leaf shape with the Clay Knife and gently make some vein marks with the spatula end of the Detail Tool. Place the leaf onto a foil-covered baking sheet and put some tiny balled up pieces of foil under the leaf edges to give it some shape. Bake according to the package directions (275 F oven for 15 minutes per every 1/4″ of clay thickness).
Run another piece of Sculpey Original clay through the Clay Conditioning Machine to setting 4 and gently brush on red and green Perfect Pearls powder in a random fashion.
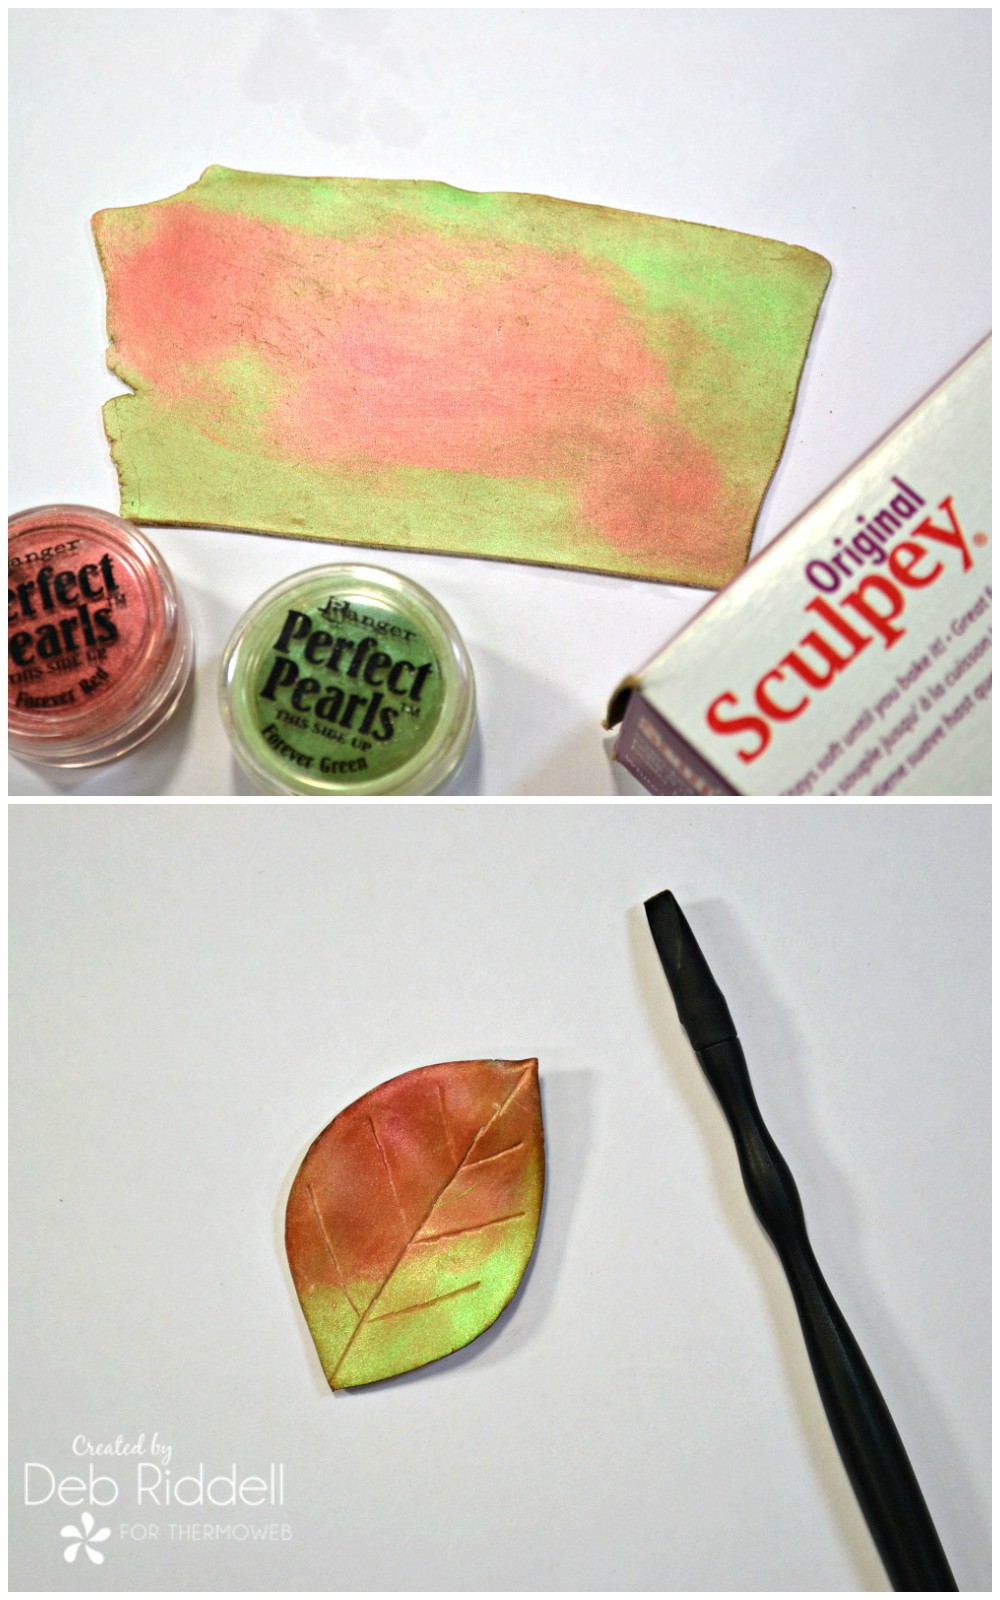
Brush off the excess powder with a soft brush, cut out your leaf shape, add veins, and bake your leaf as previously shown.
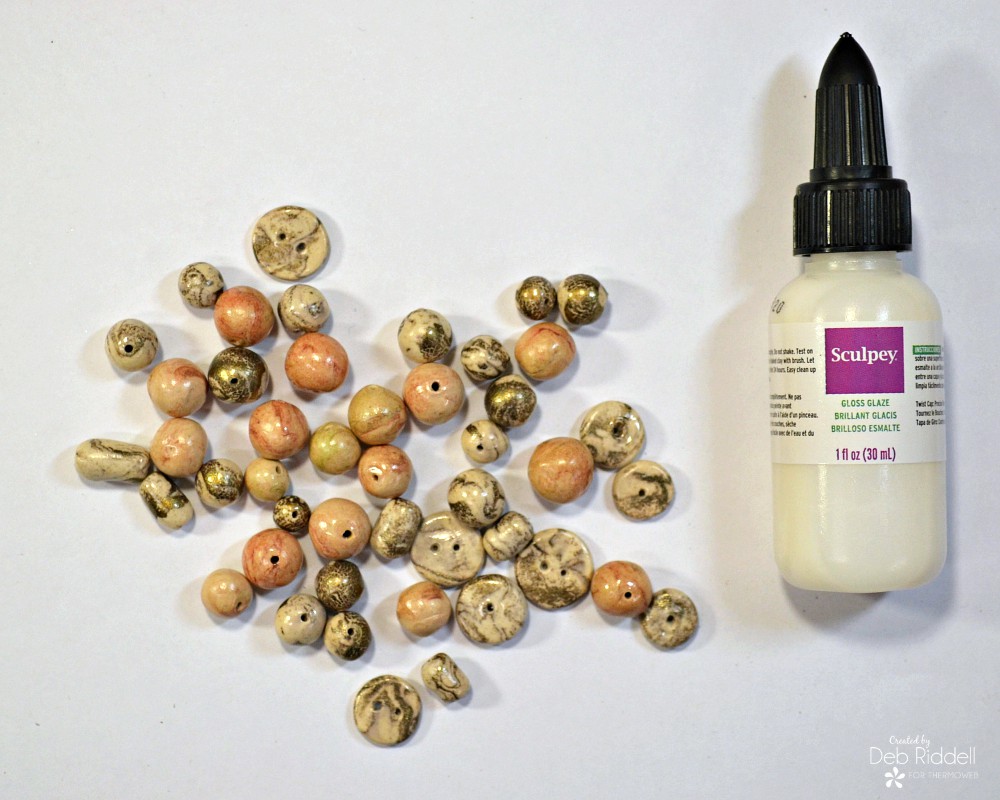
Hint: don’t throw out the remnants of the foiled and mica powdered clay, roll them into beads and buttons, bake and then coat them with Sculpey Gloss Glaze. Can’t wait to use these as embellishments on my handmade journals!
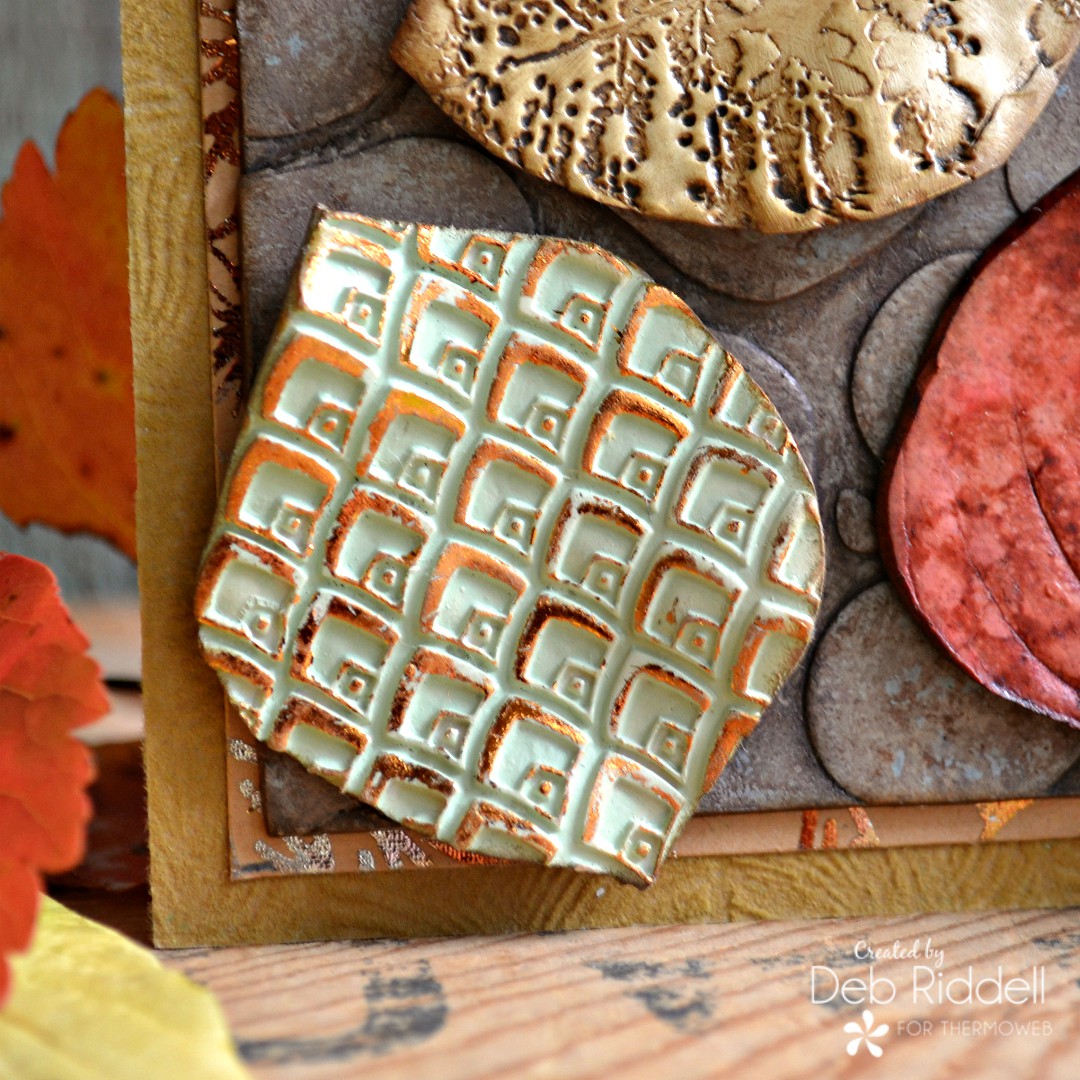
Continue making leaves from conditioned Original Sculpey clay rolled out to setting 4. Impress a piece of clay with the Sculpey Art Deco Nature Texture Sheet, cut out your leaf shape, and bake. Paint the leaf with pale green acrylic paint when cooled and let the paint dry thoroughly. Use your Deco Foil Adhesive Pen to add adhesive to the raised areas of the textured design and apply Bronze Deco Foil over the leaf when the adhesive becomes tacky. Burnish well with a soft cloth and remove the foil backing paper to reveal your foiled textured leaf.
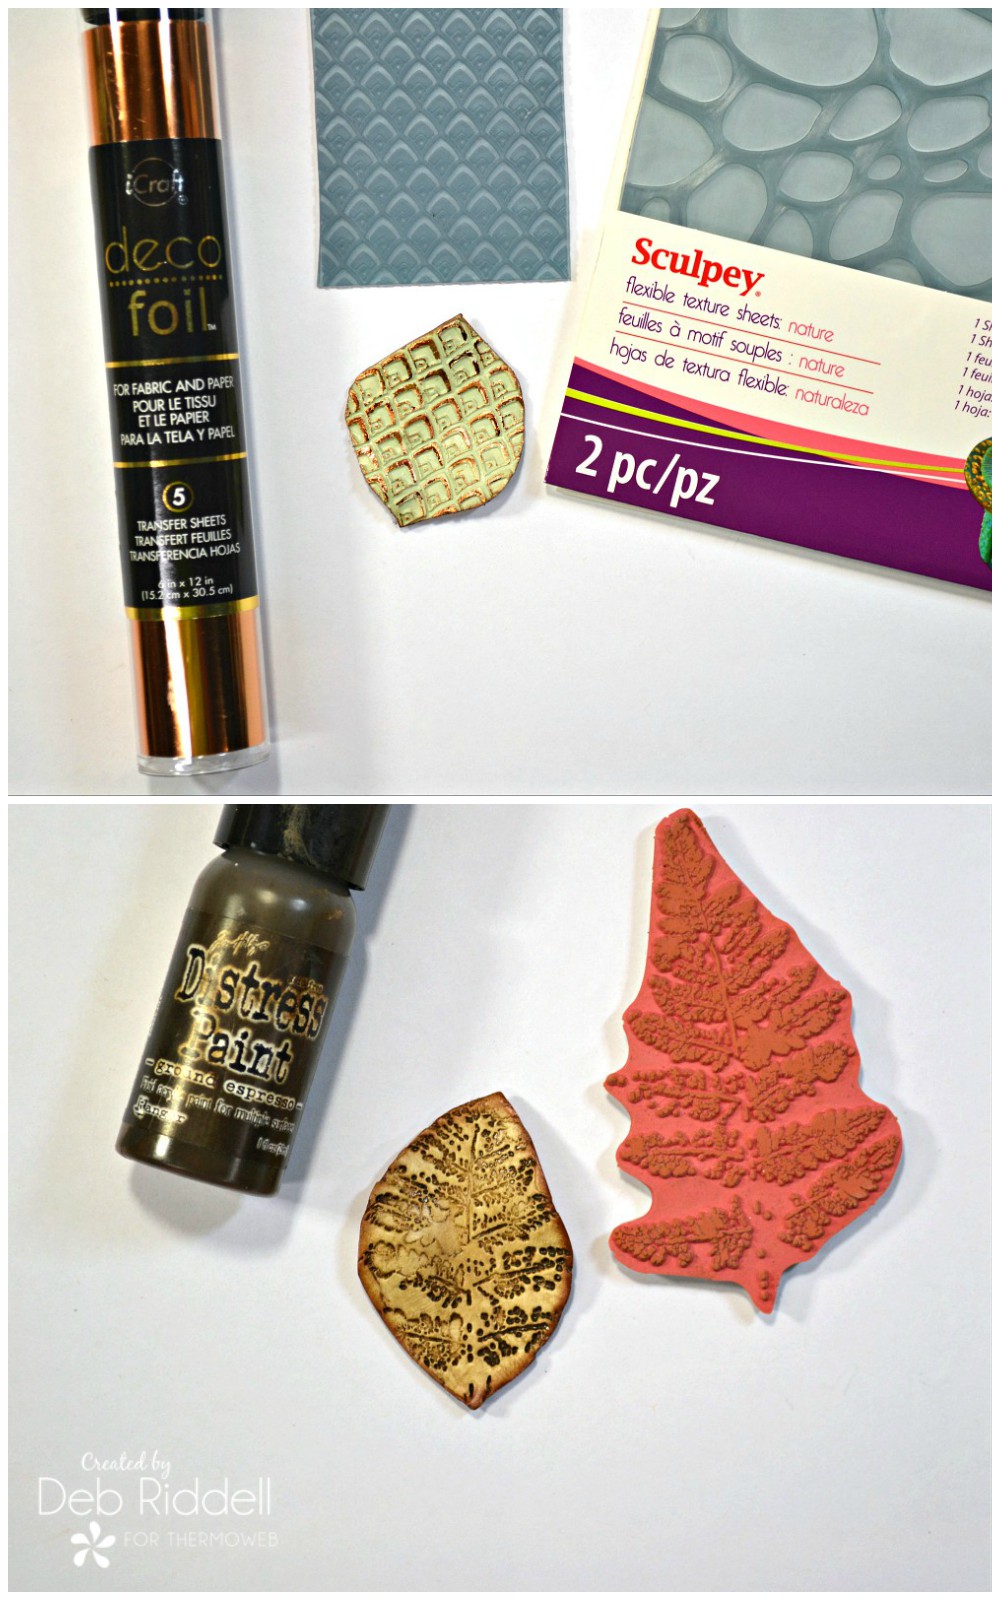
Create another textured leaf by impressing a rubber stamp into the clay sheet (lightly mist the clay sheet with water before making impressions with the Sculpey Texture Sheets or your rubber stamps to prevent them from sticking). Cut out your leaf shape, bake as directed, and then apply a dark brown acrylic paint when the leaf is cooled, rubbing off the wet paint from the surface to leave it in the textured impressions. Repeat the application of the acrylic paint until you are happy with the results.
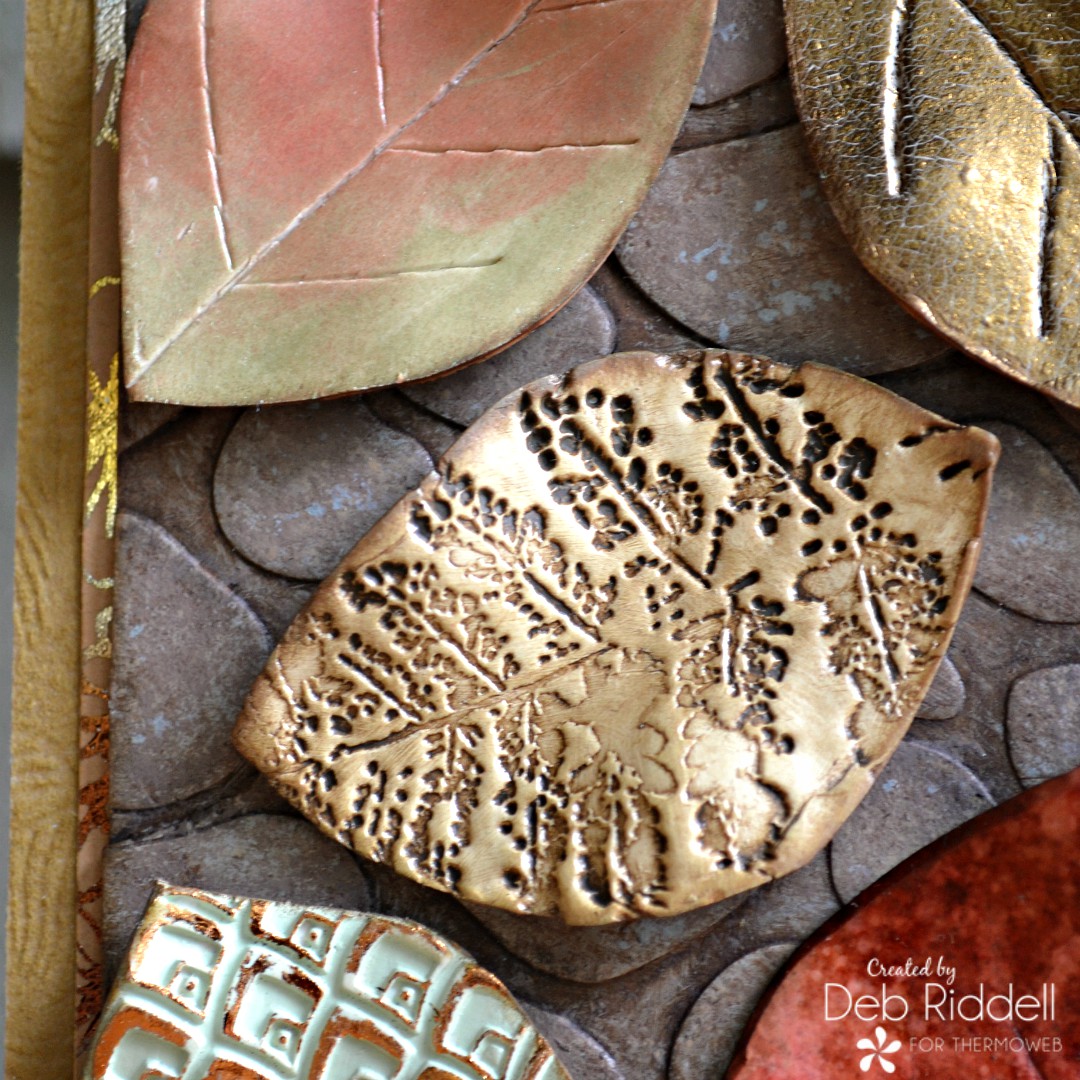
And finally, let’s try another textured clay leaf technique, this time with a real leaf! Gently press your real leaf into the clay sheet, applying enough pressure so that the veins and leaf outline are visible in the soft clay. Remove the leaf and trim around the edges with your clay knife.
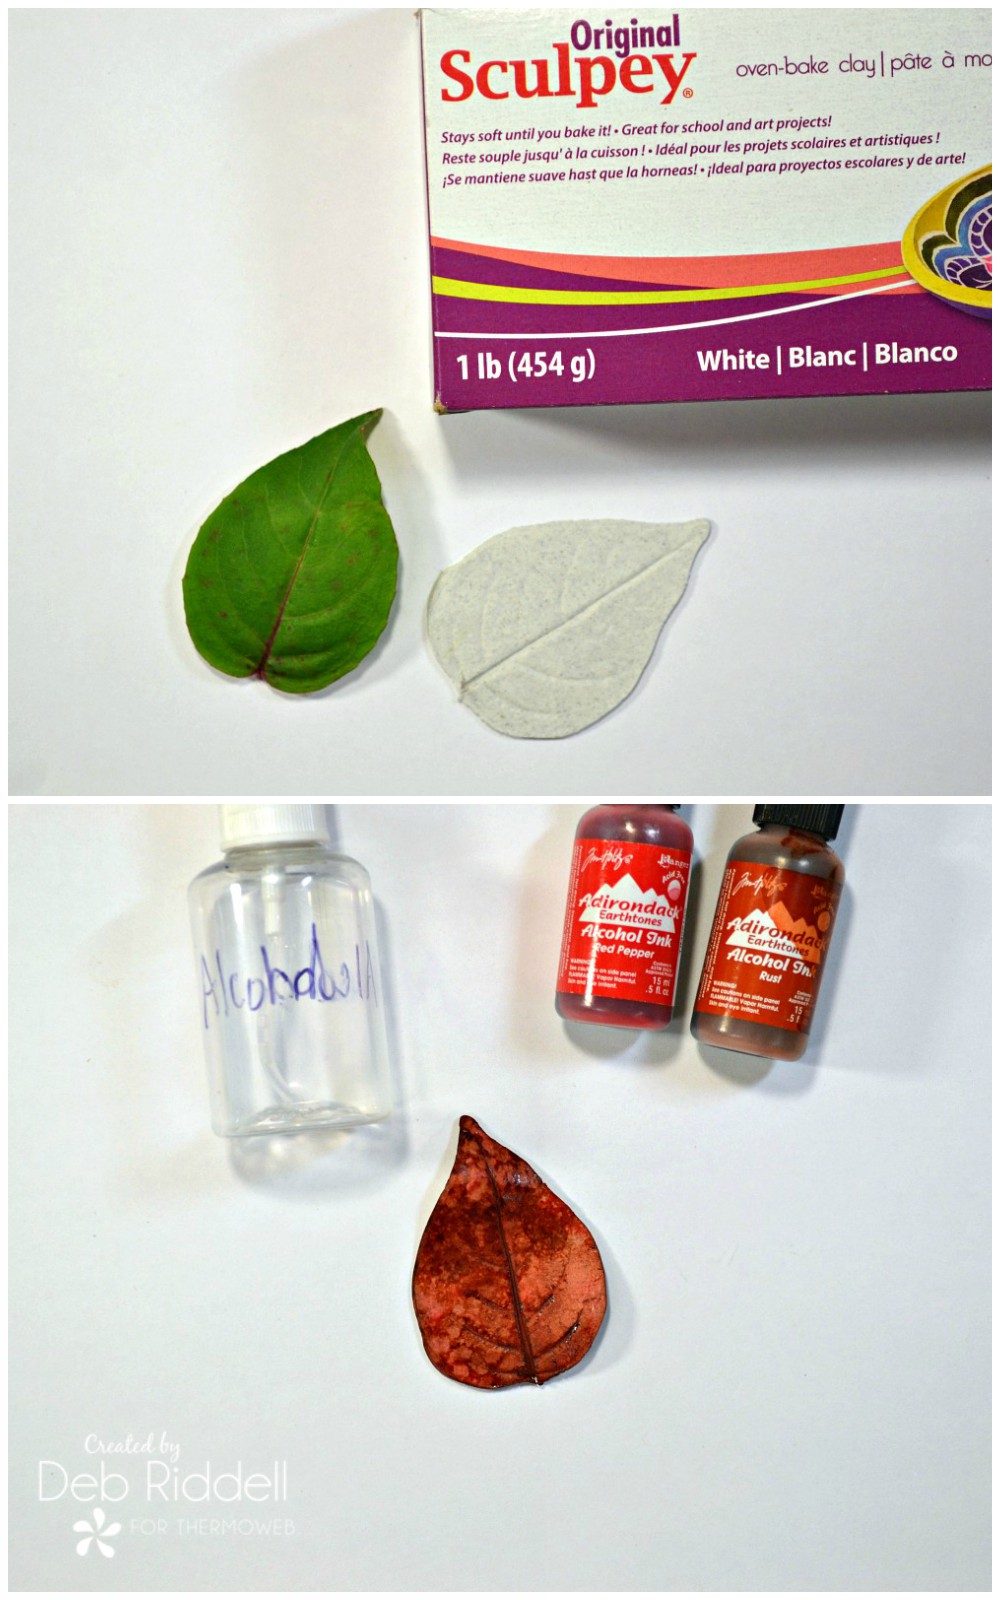
Bake according to directions and when cooled apply alcohol inks to the clay leaf in shades of red, spritzing with rubbing alcohol or ink blending solution to move the inks until you are happy with the results.
Now on to the plaque background. Run a large sheet of Original Sculpey clay through your conditioning machine to setting 4 and spritz lightly with water. Impress the clay sheet with the Pebbles Nature Texture Sheet and trim the edges squarely and evenly. Bake as directed and when cool, paint the pebbled background in shades of brown, adding lighter colors of brown and pale green paint to the raised pebbles with a piece of sea sponge (or kitchen sponge).
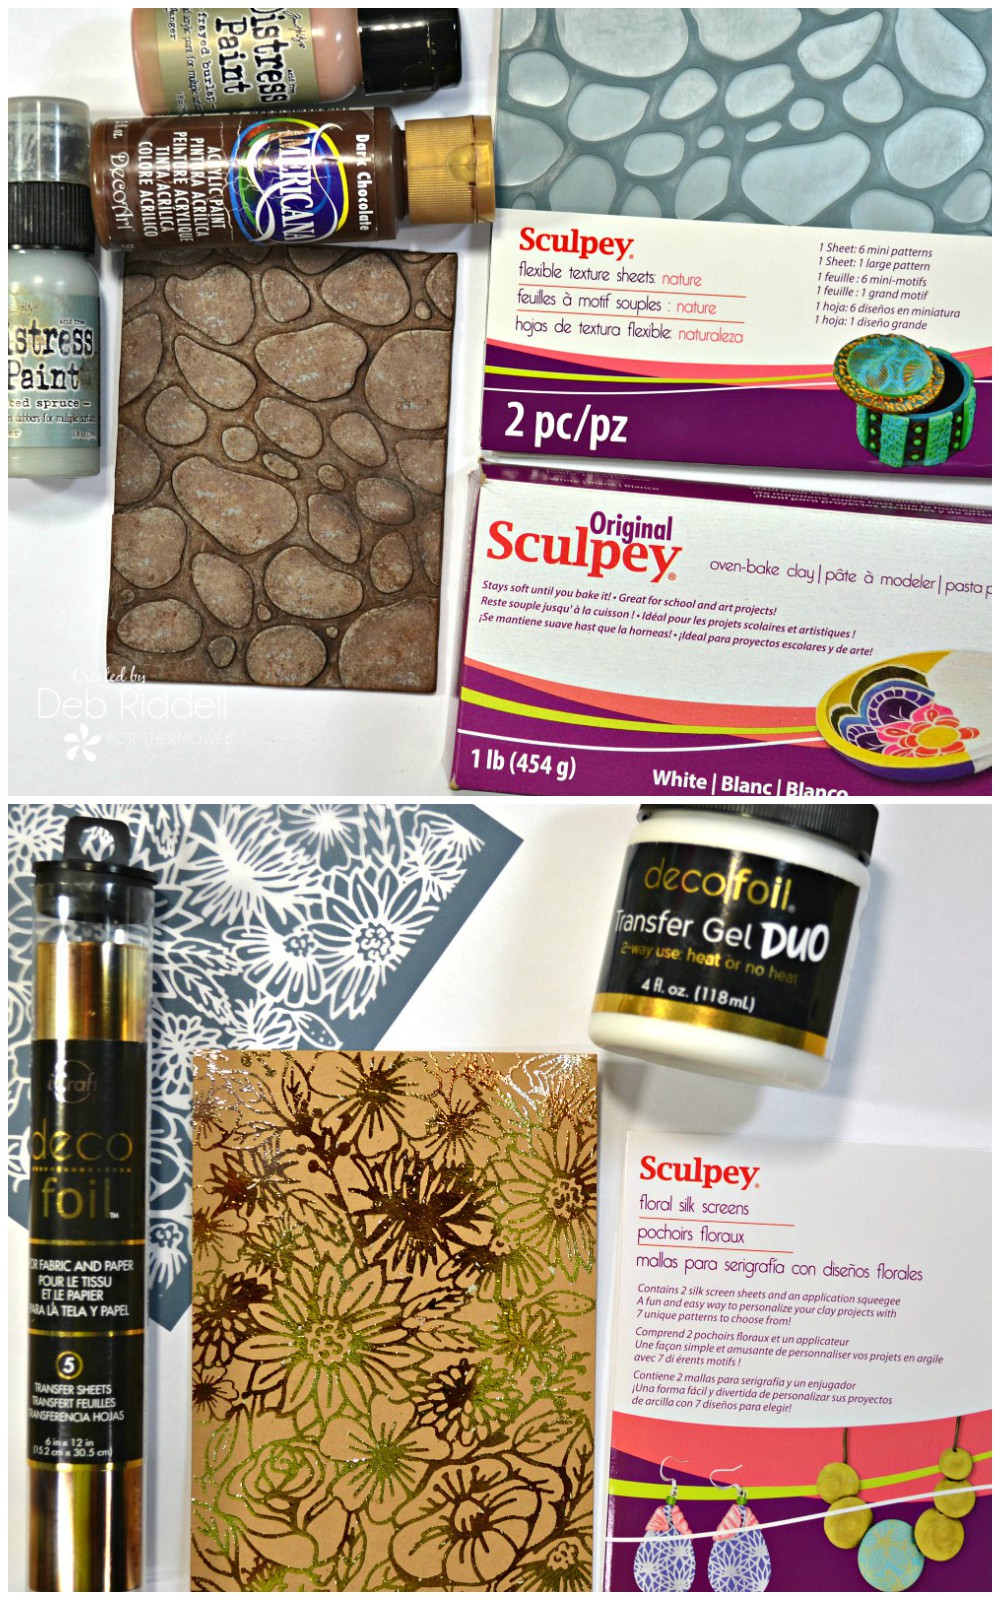
I was absolutely thrilled to find that I could use Therm O Web’s Deco Foil Duo Transfer Gel with Sculpey’s beautifully detailed Silk Screens! Cut a piece of kraft cardstock to about 1/4″ larger on all sides than your pebbled clay background. Apply Deco Foil Duo Transfer Gel through the Sculpey Garden Floral Silk Screen with the applicator tool provided in the silkscreen package. Remove the Silk Screen and wash it immediately to prevent any of the Duo Gel from drying on it. Let the Duo Gel dry on the kraft cardstock (the Duo Gel will dry clear) and apply a piece of Amber Watercolor Deco Foil over top. Run the foiled cardstock through your die cutting machine or foil laminator set on the cold setting to transfer the foil; with Duo, you don’t need heat to transfer the foil, just pressure. You can also transfer the foil with heat if you prefer. Remove the foil backing paper to reveal the beautifully intricate design. I found that because of the delicacy of the silk-screened image that I had some flaking off of the foil so just brush the cardstock gently with a soft brush over a garbage can to remove the flakes.
And as a final background piece, cut a piece of kraft cardstock about 1/4″ larger on all sides than your foiled silkscreen background. Cover the cardstock with iCraft Easy Cut Adhesive Sheet, peel off the backing paper to reveal the adhesive, and apply a piece of Deco Foil Tuscan Gold Flock Transfer Sheet over top (fuzzy side down!). Run it through your die-cutting machine or foil laminator on the cold setting to transfer the flock and peel off the backing paper. Apply an embossed pattern to the flocked cardstock with Sculpey’s Leaves Texture Sheet, running it through your die-cutting machine in the same setting as you would use for an embossing folder. Experiment with your machine to find the right setting, I ended up adding a piece of cardstock underneath my flocked piece in order to get a good impression. The Sculpey Texture Sheets have a repeatable pattern, so just continue to impress the flocked cardstock with the texture sheet, moving it and lining it up each time until the pattern covers the whole piece.
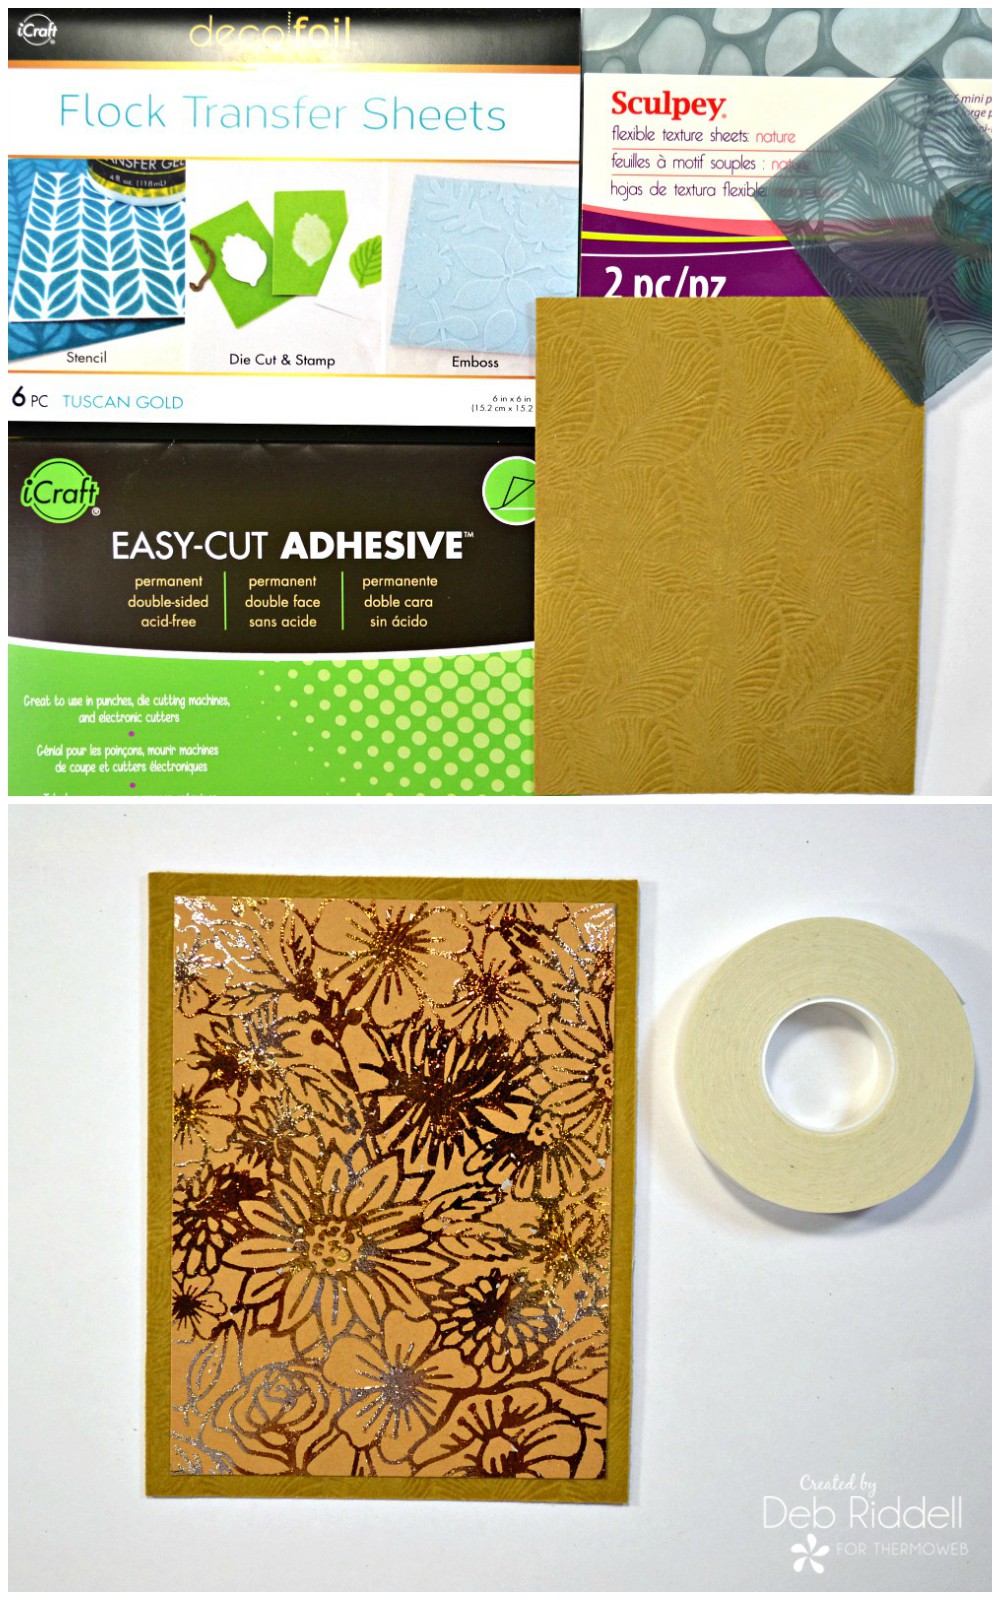
Time to assemble our plaque. Adhere the foiled silkscreened cardstock over the top of the embossed flocked cardstock with iCraft Easy Tear tape.
Adhere to the clay pebbled background over the whole assembly with iCraft Ultra Bond Liquid adhesive. I really, really hated to cover up that beautifully foiled silk-screened background but wanted just a touch of shine around the edges of the pebbled clay background.
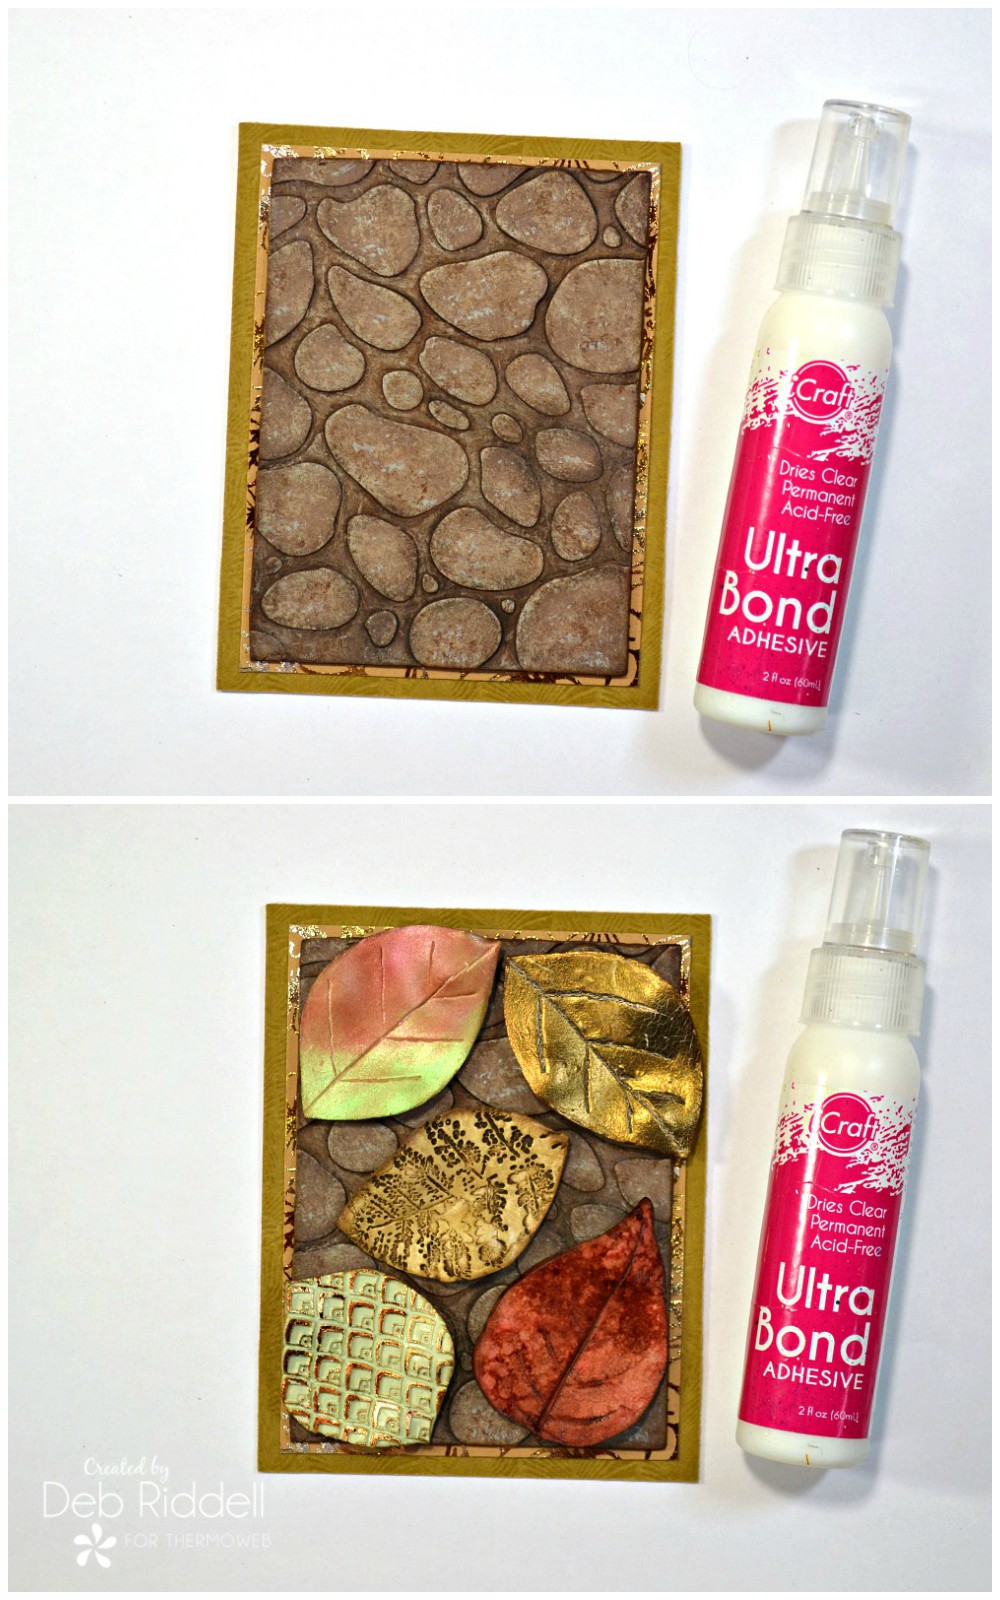
And finally, adhere to your autumnal clay leaves on top of the pebbled background with iCraft Ultra Bond adhesive. Let the whole assembly dry thoroughly and then add a hanger or die-cut easel stand to the back so you can display your Autumn Leaves mixed media plaque.
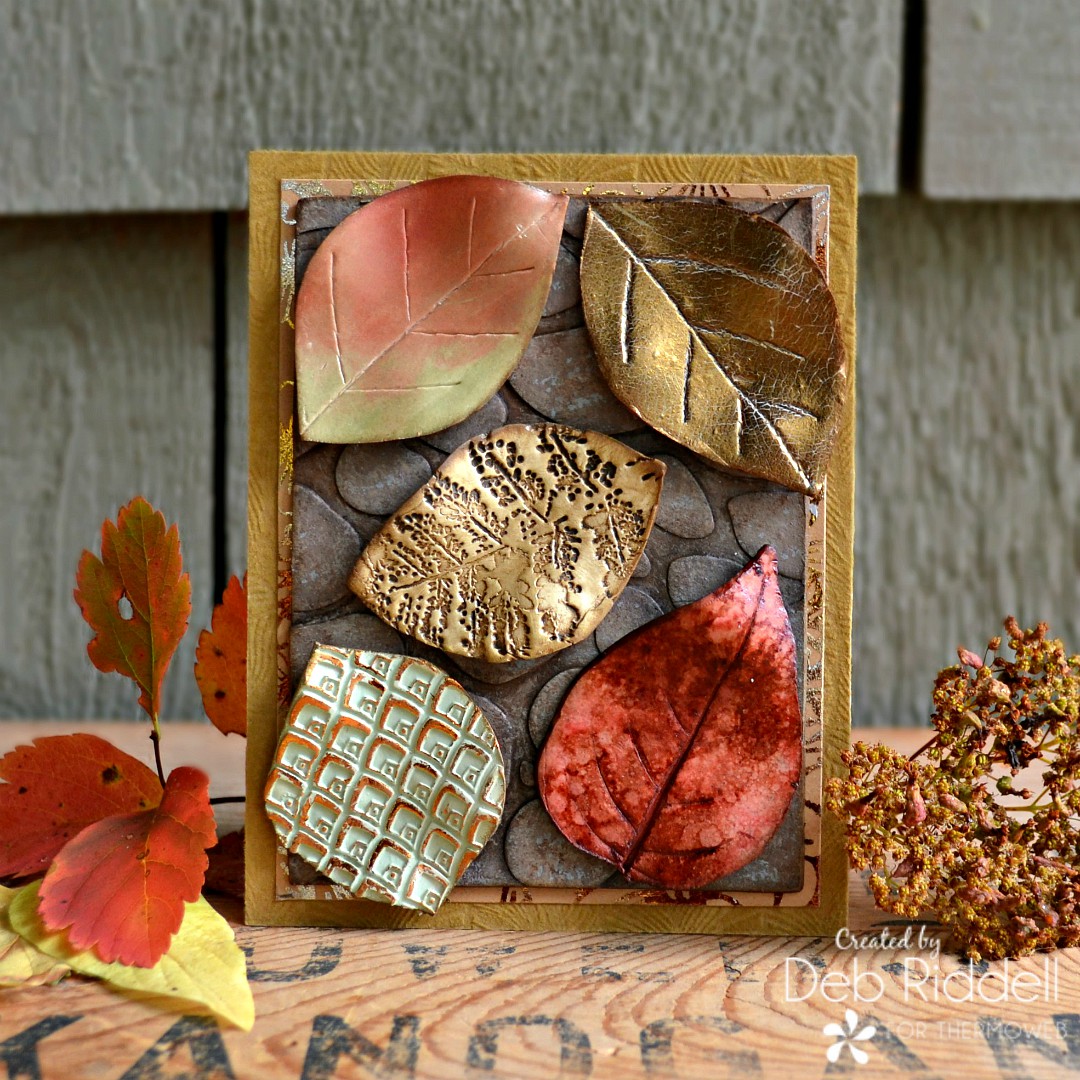
Here are a few closeups of the finished plaque.

I hope that you’ve enjoyed seeing how it all came together and that I’ve inspired you to see how many ways you can combine all of these wonderful products from Therm O Web and Sculpey. It really is a match made in heaven! Thanks again to Sculpey for their generosity, I had so much fun experimenting with their wonderful products and can’t wait to play some more! Thanks as always for stopping by today and happy creating,
Deb xo
And before you head over to see those…be sure to enter our giveaway! We’ve combined some of our favorite products into one amazing giveaway for you to enter to win! Just follow the steps to be entered to win!

Rebecca H
October 12, 2020 at 11:00 am (5 years ago)Wow, thanks for sharing! (And for the detailed instructions)
Deb Riddell
October 12, 2020 at 2:09 pm (5 years ago)You are very welcome Rebecca, glad you liked it! Deb xo
Dana M
October 13, 2020 at 4:36 pm (5 years ago)Super cool technique and gorgeous projects! I didn’t know you could foil clay – awesome!
Deb Riddell
October 18, 2020 at 1:25 pm (5 years ago)Thank you Dana, glad you enjoyed it and hope you give the clay foiling a try, it’s lots of fun! Deb xo