Brave and Hungry Scrapbook Layout
by Jessica Michaels
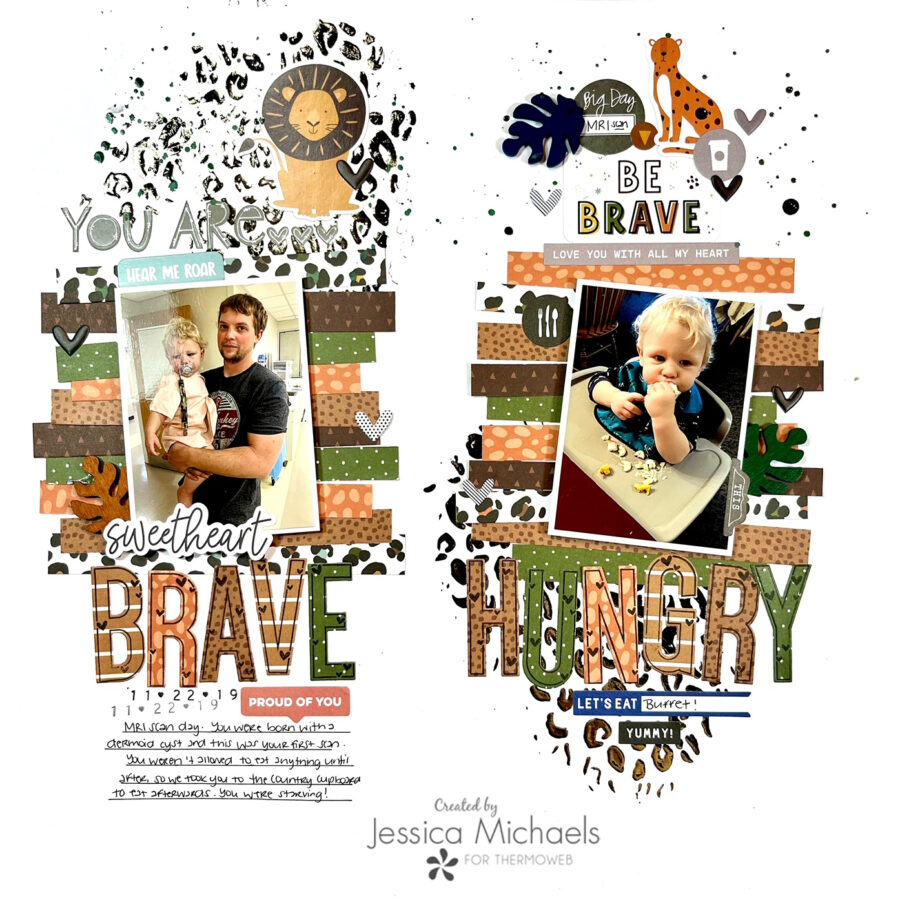
Hello everyone! Jessica here with a layout featuring Deco Foil and Transfer Gel Duo to document some photos of my son when he had to have his MRI scan done. He was born with a dermoid cyst on his nose, which looked like nothing but a small dimple on the bridge of his nose but would grow as he got older so he had to have it removed. It took two surgeries and a sedated MRI and CT scan on separate occasions so he has been through a lot in his little life! This MRI scan was the start of the procedures and he could not eat anything beforehand and we traveled a couple hours away so needless to say, he was starving afterwards and we binged on buffet food!
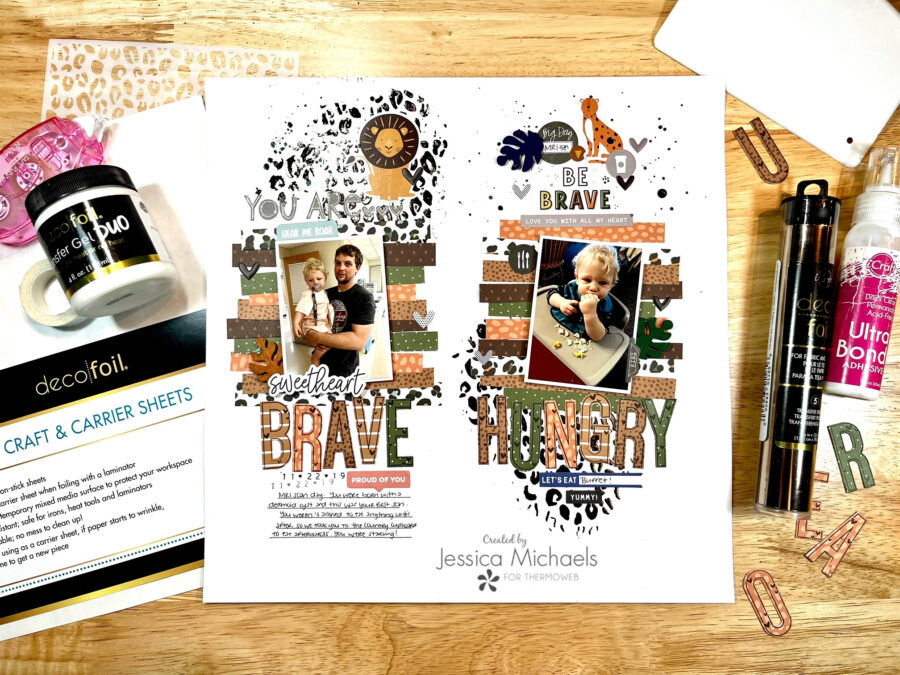
Therm O Web Supplies Used
Memory Runner XL
Memory Runner XL Refill
UltraBond Liquid Adhesive, 2fl oz
Easy Tear Tape ½”
Deco Foil Transfer Gel Duo
Deco Foil Transfer Sheets, Rose Gold
Craft & Carrier Sheets
Jumbo Tape Roll
Other Supplies Used
Echo Park Little Explorer collection
Echo Park Animal Kingdom stencil
Close to My Heart Black ink
Becky Higgans Project Life Roller Date Stamp
Elle’s Studio supplies from my stash
Bella Florence Alphas
Hot Laminator
Manual Die Cutting Machine
Elle’s Studio Alpha Stamps and dies
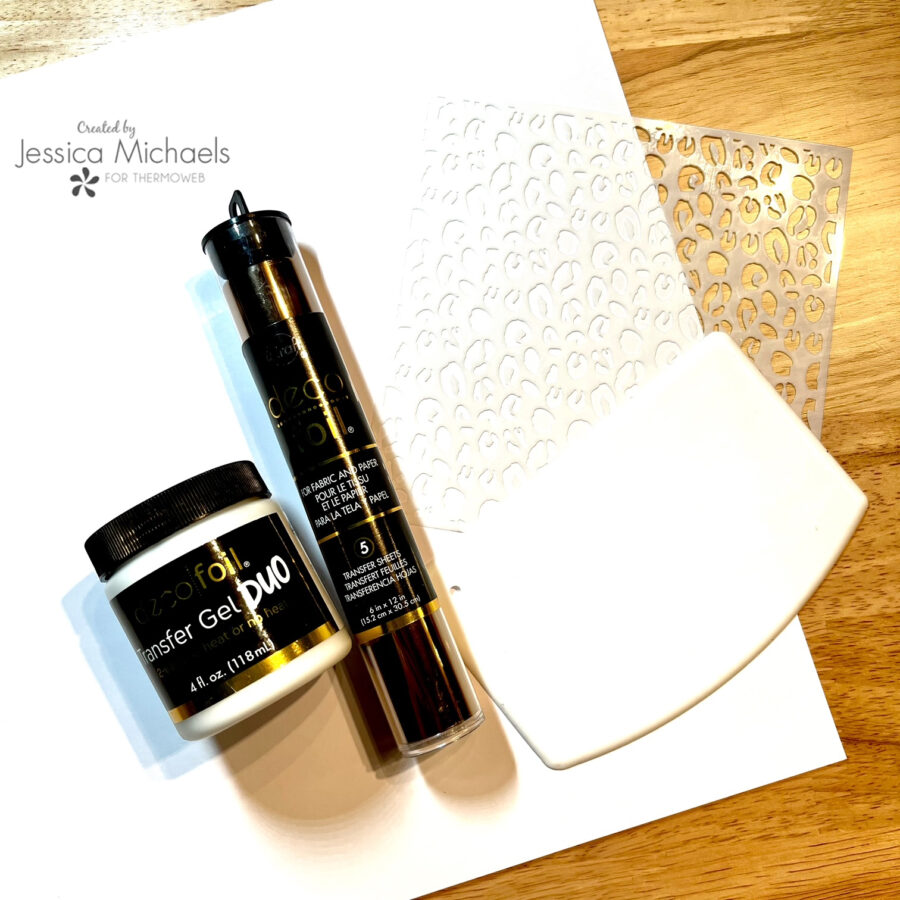
I started this layout by pulling out a sheet of smooth white cardstock by Park Lane. I then pulled out an animal print stencil by Echo Park and my stencil pal and applied some of the Deco Foil Duo Gel across my page, creating stenciled animal spots on the top and bottom of my layout.
Once that was dry, I laid some Deco Foil in Rose Gold over the stenciled bits and sandwiched between two craft and carrier sheets to run through my hot laminator.
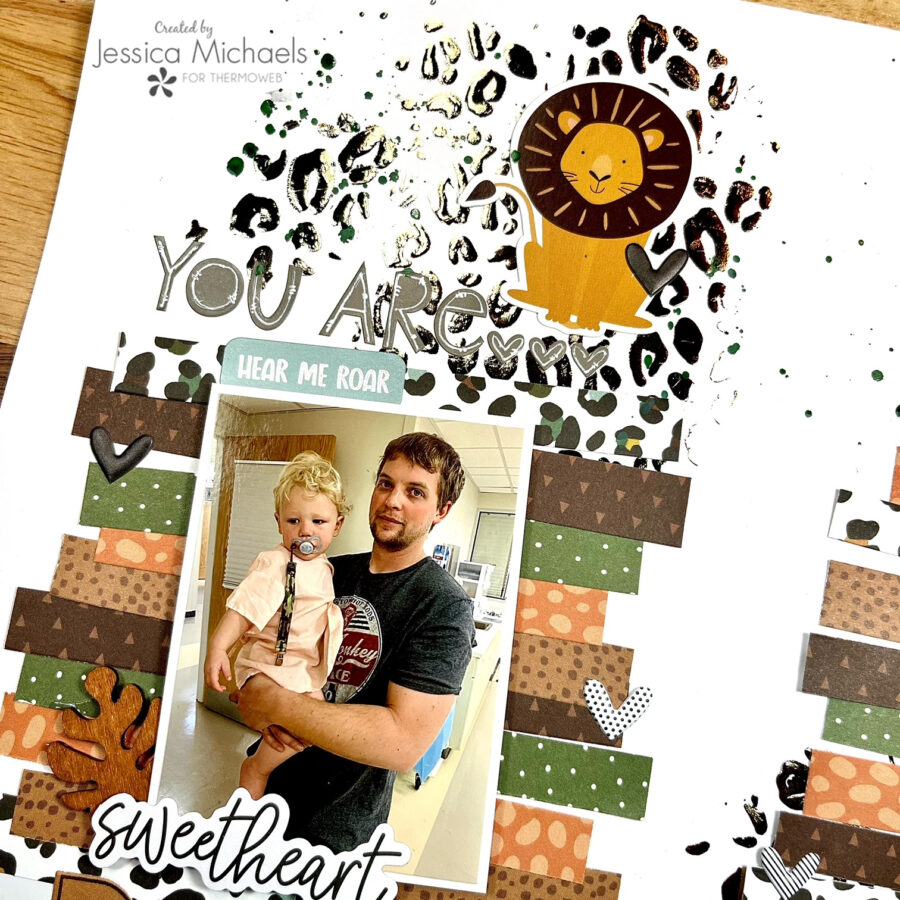
I added a bunch of paper strips using my Memory XL Tape Runner which I cut from the Echo Park Little Explorer collection. I laid them in two columns so my photos would have a “base” to sit on. I wanted this layout to have a clear indication that this was two separate things, but both important. I was really drawn to this collection because it has so much in it about being brave and that’s exactly what my son was- SO BRAVE! I’m really happy to be using a zoo collection for something other than zoo pictures too! I added some Bella Florence alphas at the top to start my title but the gray letters didn’t show up so well on top of the busy stenciling so I outlined them with a white gel pen to make them pop. I added a sweet little lion at the top and a couple embellishments around my photo here. Aren’t those “peach” colored scrubs adorable? Who knew they made hospital gowns that small! One of the male nurses taking care of us corrected me when I called them pink and was very clear they were “peach” colored. We had to laugh!
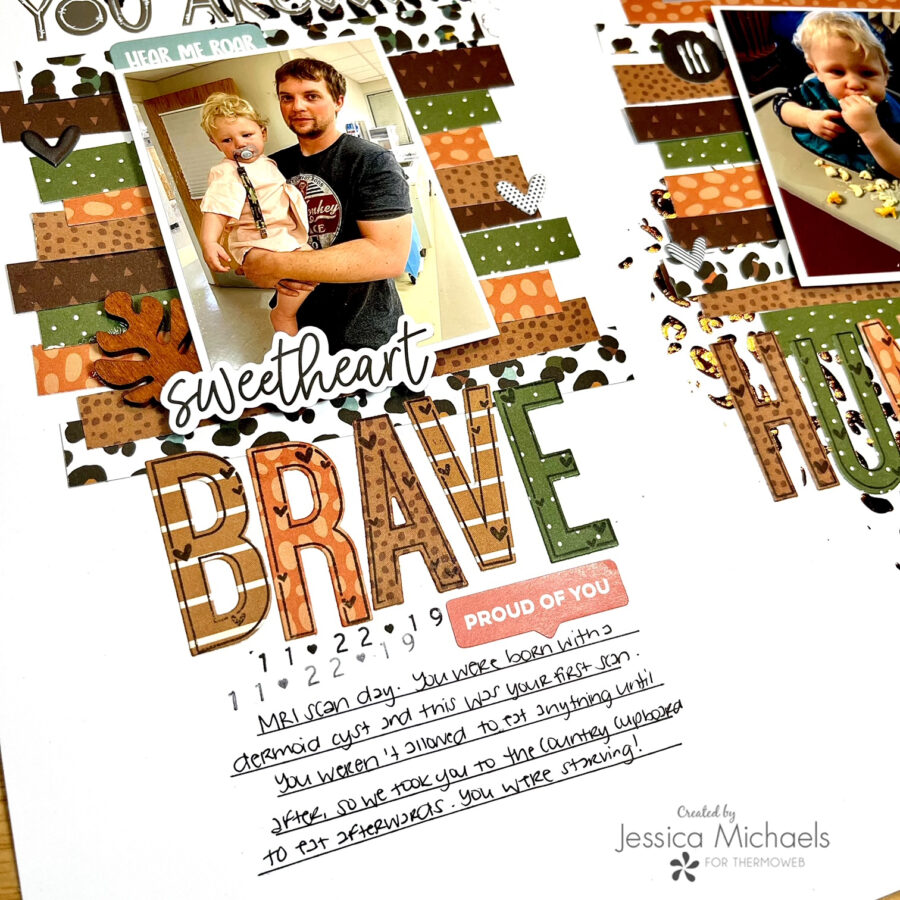
I stamped and cut letters out with my manual die cutting machine and Elle’s Studio alpha stamps/dies to create the rest of my title, gluing them down with the UltraBond liquid adhesive since it dries clear. I then stamped my date and drew some lines to add my journaling.
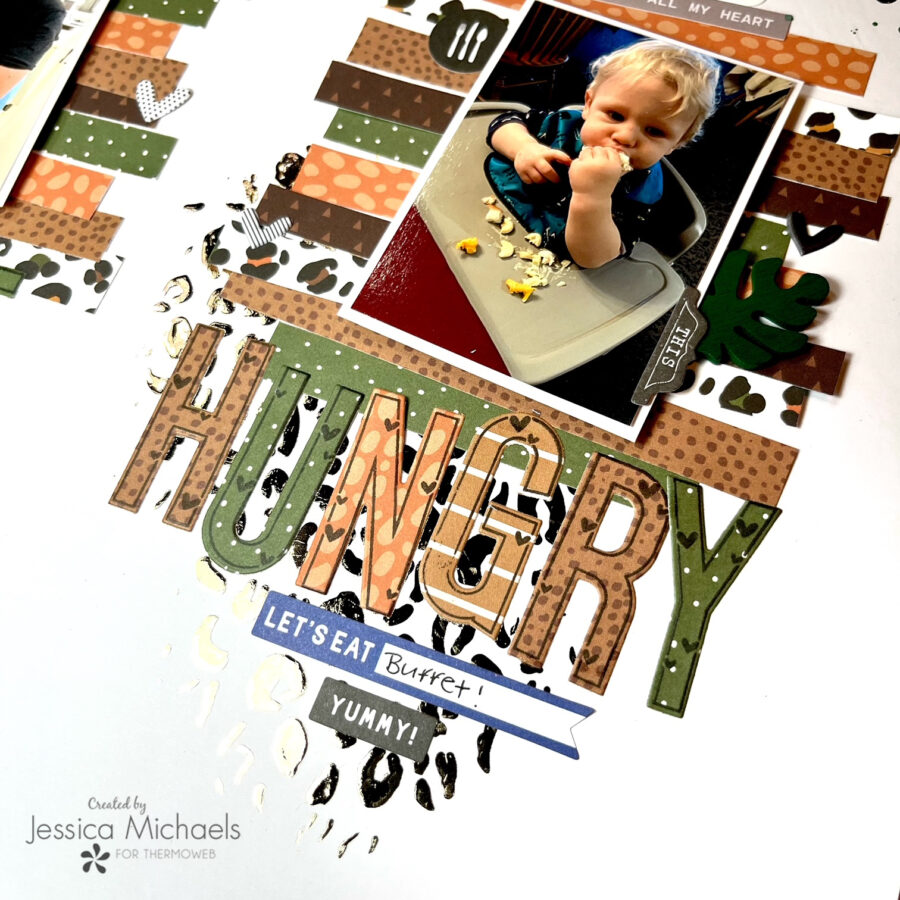
I added a couple embellishments by Elle’s Studio on the other side for the food vibe. This buffet was sooooo good! The place was huge and had all kinds of little shops attached to it. It was something to see!
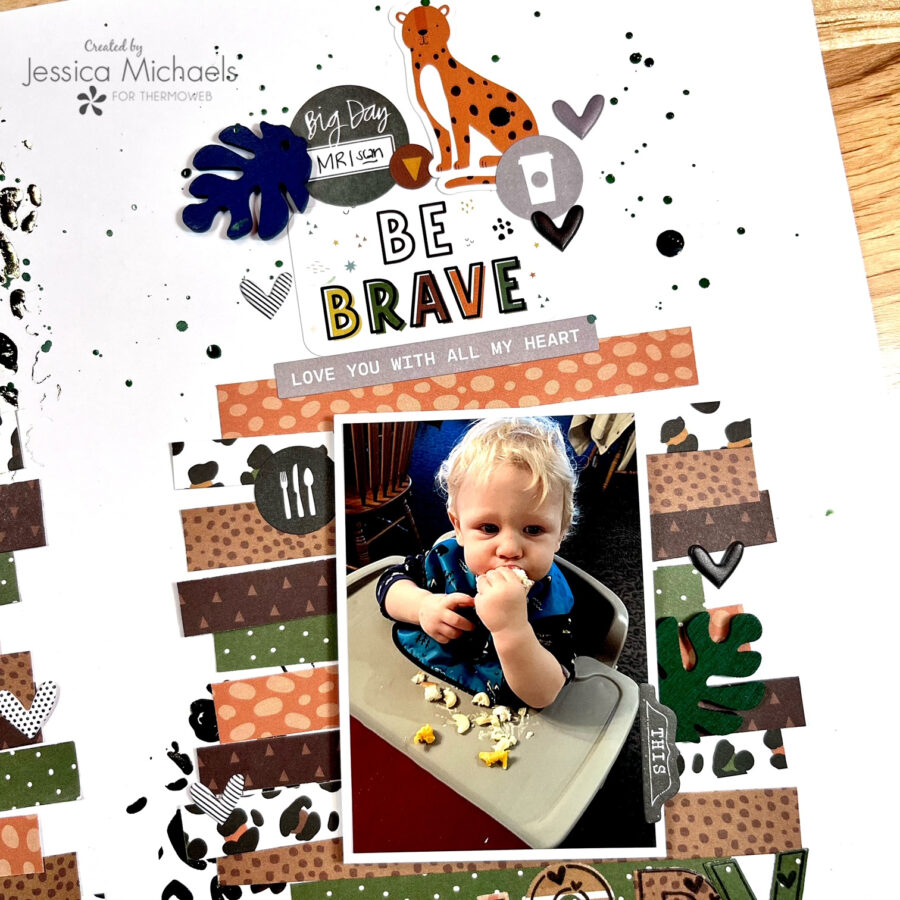
I felt like the top on the other side was lacking with just white space so I filled it in to match the other side with some stickers and embellishments. Lastly, I added some splatters and puffy hearts scattered across the layout! ***ALSO- I totally forgot to add the & sign between my title until after I fully photographed and edited all the photos! Rest assured, I remembered to put it on there after! Silly me! But anywho- this one will go into my almost finished 2019 album! Yayyyy!
Watch the Brave and Hungry Process Video:
Thank you for being here today and I hope I was able to inspire you to create!
Jessica
This post contains affiliate links. For more information, see our disclosure HERE.
