


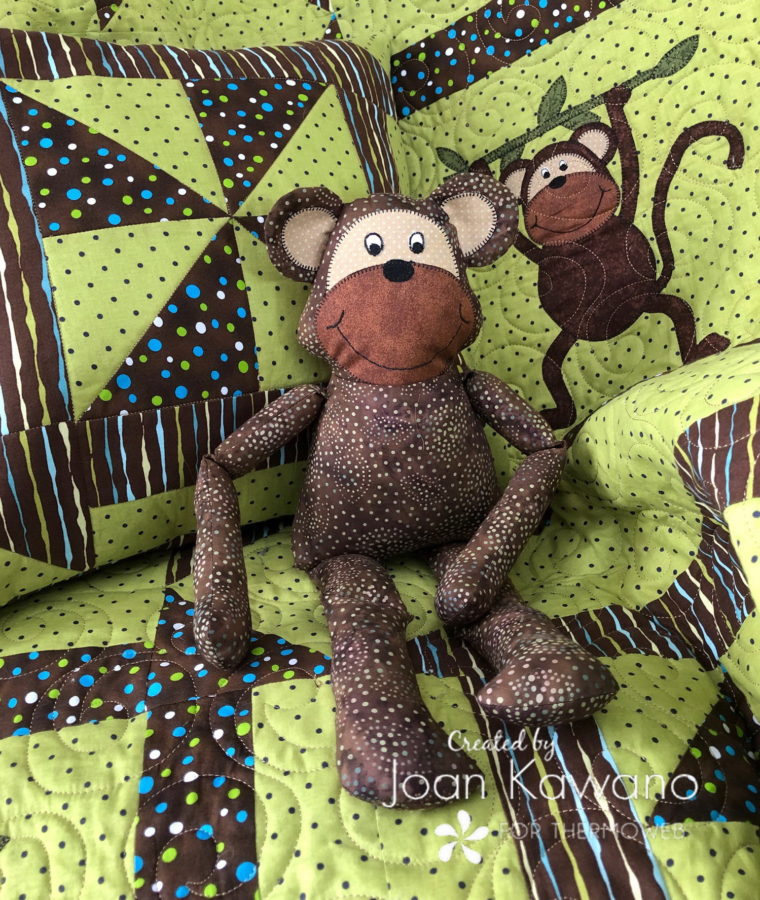
The “5 Little Monkeys” picnic quilt has a new friend and matching pillow.
5 Little Monkeys Add on Pillow and Monkey Stuffy
Grab up your leftover quilt fabrics and half square triangles and make this matching pillow.
Download the 5 Little Monkeys Add on pattern.
Supplies
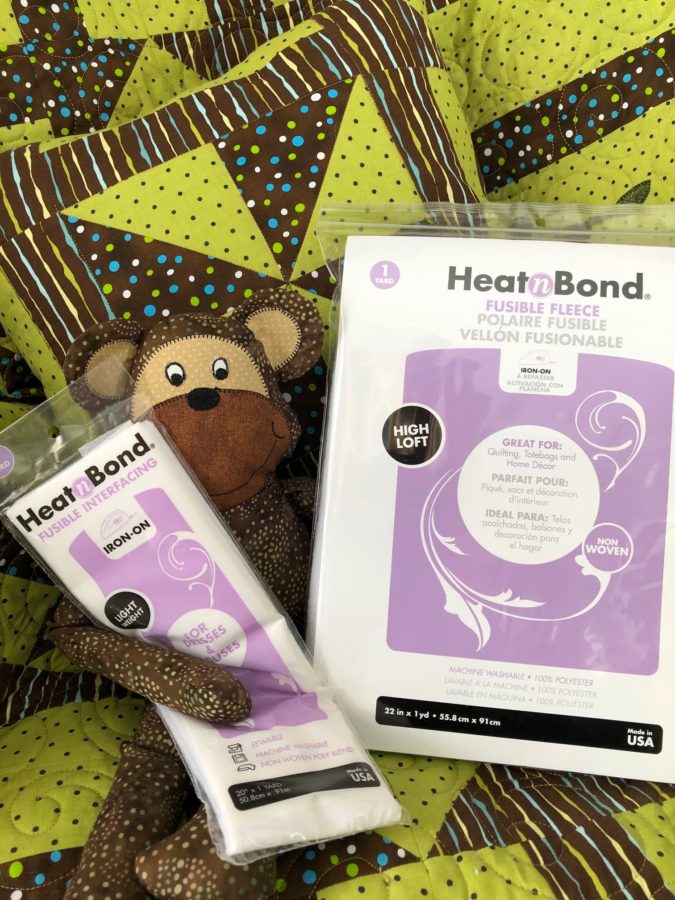
HeatNBond® Non-Woven Fusible Interfacing
HeatNBond® Light-Weight Fusible Interfacing
Fabrics
1/3 yd brown for monkey body
Applique scraps
Light brown for the muzzle, tan for face and inner ears,
black and white for eyes
Pillow is made from leftover fabrics from 5 Little Monkey Quilt
Additional supplies
Thread to match, applique pressing sheet
Rotary cutter, mat, and ruler
16” pillow
Polyester fiber-fil of your choice
Cutting (Pillow)
From your leftover, 5 Little Monkey quilt fabrics
Background fabric (green)
4- 2 ½” x 8 ¼” rectangles
1 – 10” square
Fabric B (stripe)
4- 2 ½” x 8 ¼” rectangles (remember your stripe orientation)
1 – 10” square
1 – 16 ½” square
1 – 16 ½” x 12”
1 – 16 ½” by 10”
2 – 2” x 16 ½” strips
HeatNBond®Fusible Fleece
1 – 16 ½” square
1 – 16 ½” x 12”
1 – 16 ½” by 10”
Please read all directions before starting.
All seams are ¼” unless otherwise noted.
Pillow Assembly
Taking the 4 leftover half-square triangles from the 5 Little Monkey quilt, piece them together to make a pinwheel block. Pressing center seam open helps to reduce bulk.
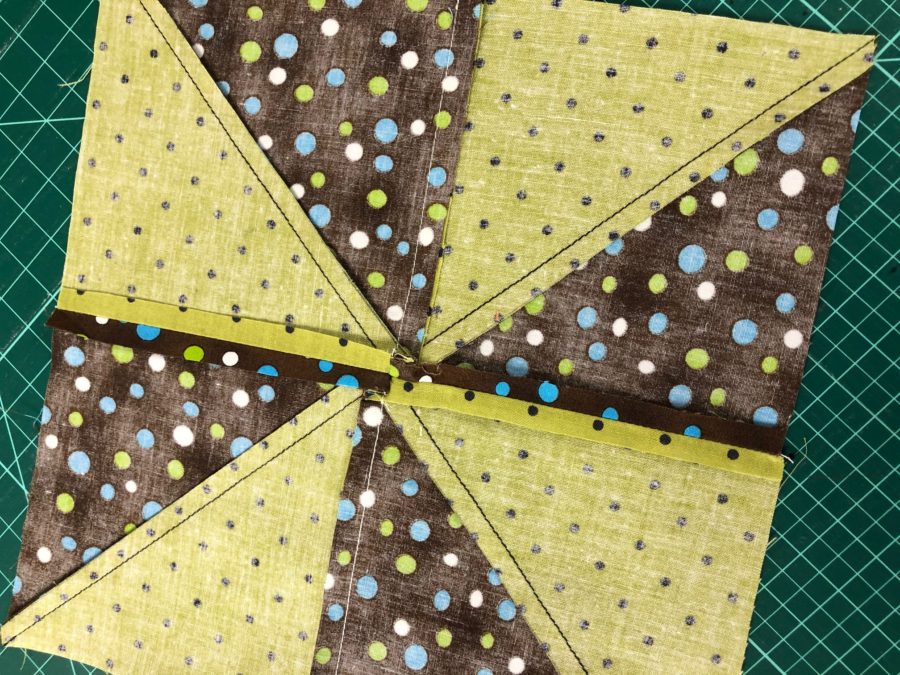
This will pinwheel block measures 8 ¼” x 8 ¼”
Piece 4 sets of 2 ½” x 8 ¼” rectangles
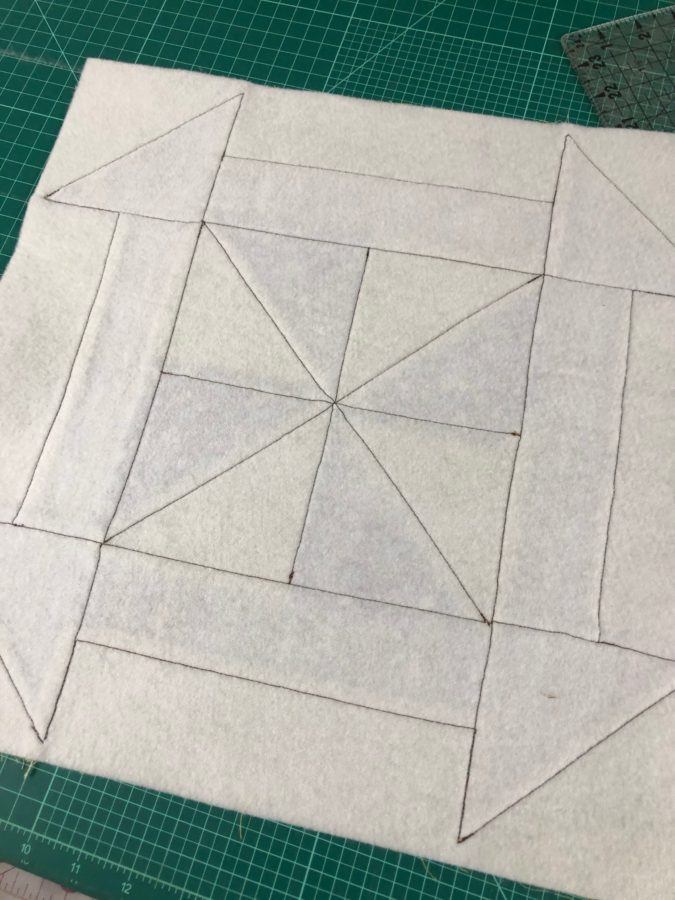
Using the information in the 5 Little Monkey quilt pattern, stack your 10” squares, draw an X through it and stitch making half-square triangles for corners. (You will have 4 leftover) Piece together into a Churn Dash block.
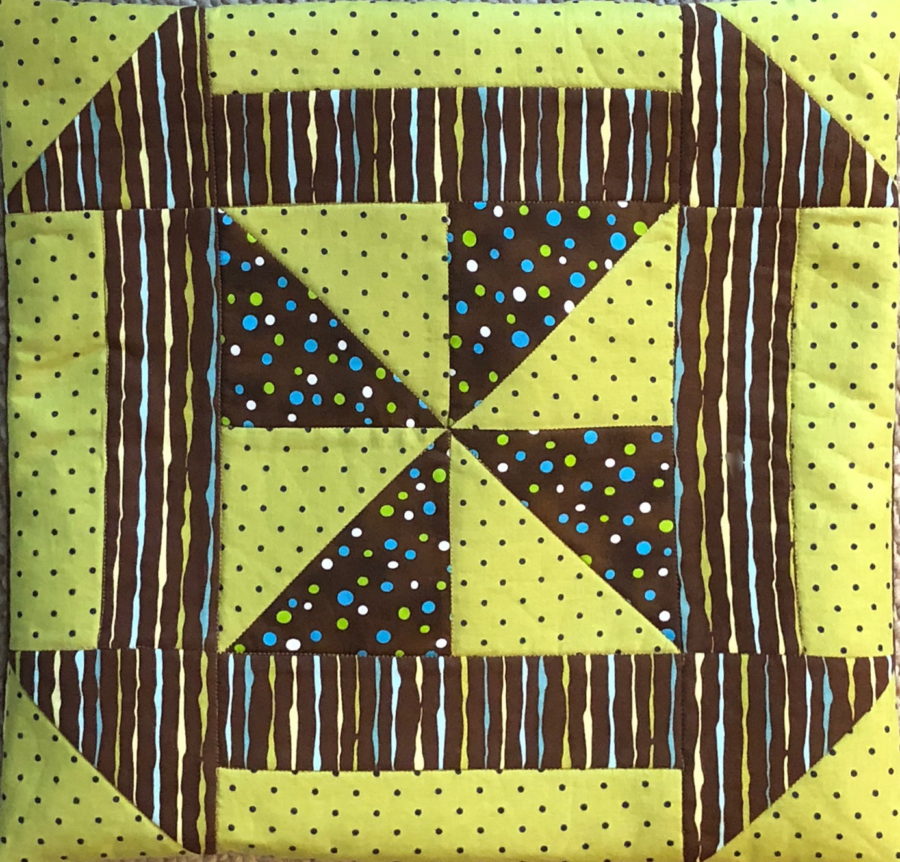
This block now measures 16 ½”
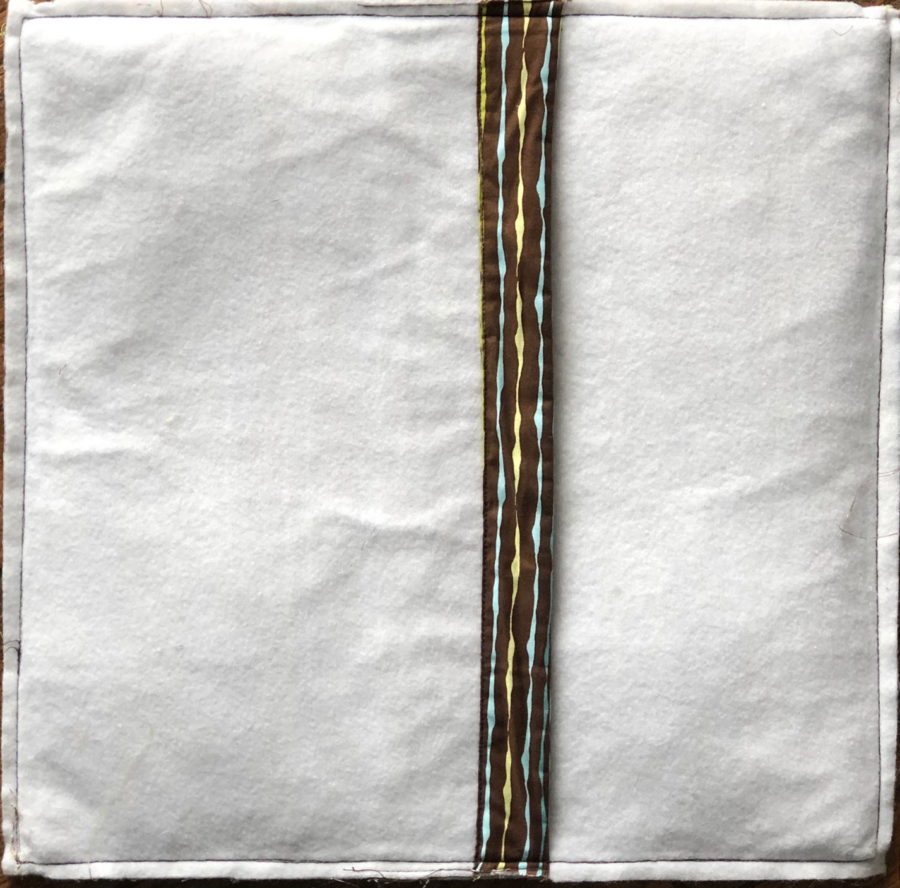
Fuse a 16 ½” square piece of HeatNBond®Fusible Fleece,
to back of block and quilt as desired.
Fuse HeatNBond®Fusible Fleece to 16 ½” x 12” and 16 ½” x 10” rectangles.
These are for your pillow backing.
Quilt as desired. Using the 2” strips, as a binding attach one to each of the pillow backing pieces. This will finish the edges that overlap, to allow for inserting the pillow.
With right sides together, layer pillow top with backings, making sure your 10” wide backing piece is under the 12” wide one.
Stitch around the entire pillow. I like to double stitch where backs cross for added strength. Turn right side out and insert pillow.
Monkey
All pieces of the monkey are cut across the 12” strip (1/3 yd) of fabric
Cut 1 piece of HeatNBond®Light-Weight Fusible Interfacing
12” x 10 ½”
(Using this allows for stability when stitching appliques on face and ears,
as well as making the ears stand up nicely)
Fuse the interfacing piece in place on the wrong side of a
of fabric strip starting at just past the selvage.
Cut a 3” strip of fabric with fusible attached. From this cut 2 sets of ears.
Fold remaining 1/3 yard in half wrong sides together with
remaining fusible on top. Cut 1 set of body pieces.
(One side will have fusible, and one will not)
From remaining non-fused fabric,
cut 2 sets of legs and 2 sets of arms.
Monkey Stuffy Assembly
Trace and fuse monkey face and ear applique pieces on reverse sides of fabrics, according to manufacturer instructions. Cut out and using the enclosed layout sheet, create the monkey face on a fusible applique sheet. Once cool, remove and fuse on the right side of the interfaced body piece. Stitch as desired. Stitch mouth. Fuse an inner ear to one side of each set of ears and stitch.
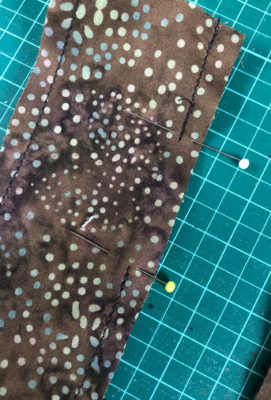
Transfer all marks from pattern pieces onto fabric, including darts on body and openings to allow for stuffing.
Stitch ears and turn right side out. Press. Make small clips 1/8” across raw edges. Using marks on body for ear placement, pin, and stitch across the ear with a scant ¼” pulling the ear from side to side. This ensures the ears will lay nicely when the monkey is turned right side out
Stitch body pieces together right sides together leaving the bottom open. Carefully clip neck at the corner making sure you do not clip into the stitching. Clip darts on body sides. (this is where arms will attach)
Stitch around arms and legs leaving openings for stuffing.
Turn right sides out and press flat.
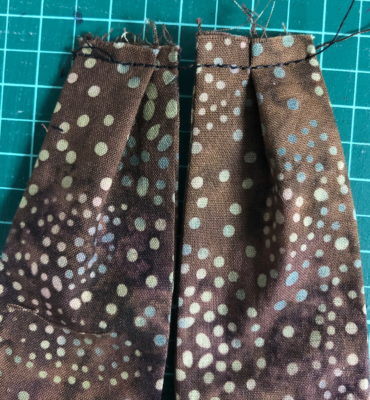
Making a small pleat stitch across the tops of the 2 arms.

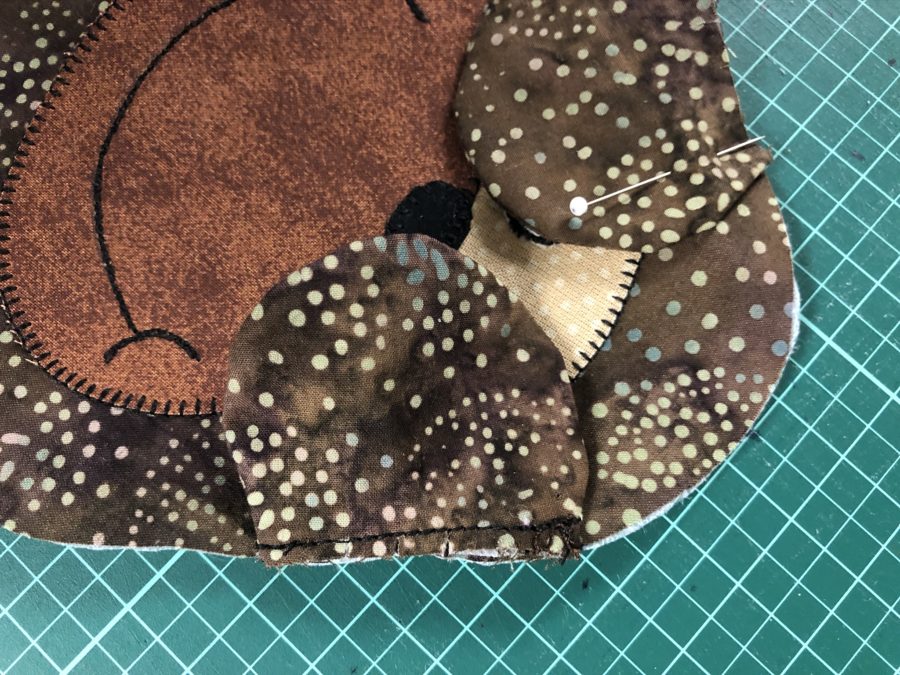
This photo will help in getting the proper orientation of arms, when inserting into the body.
Body face up, arms with hands facing towards each other.
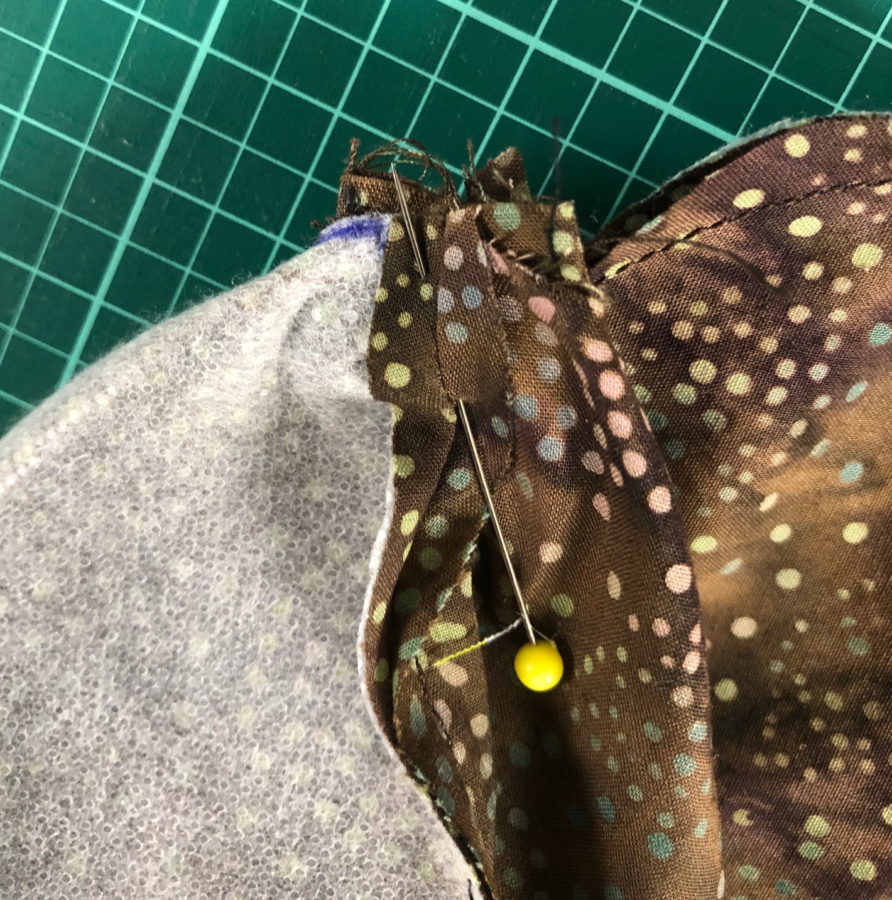
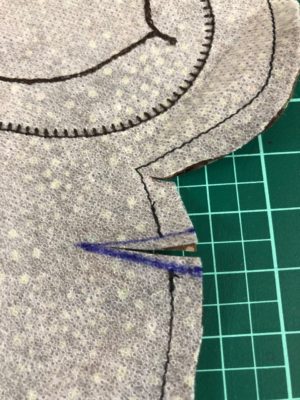
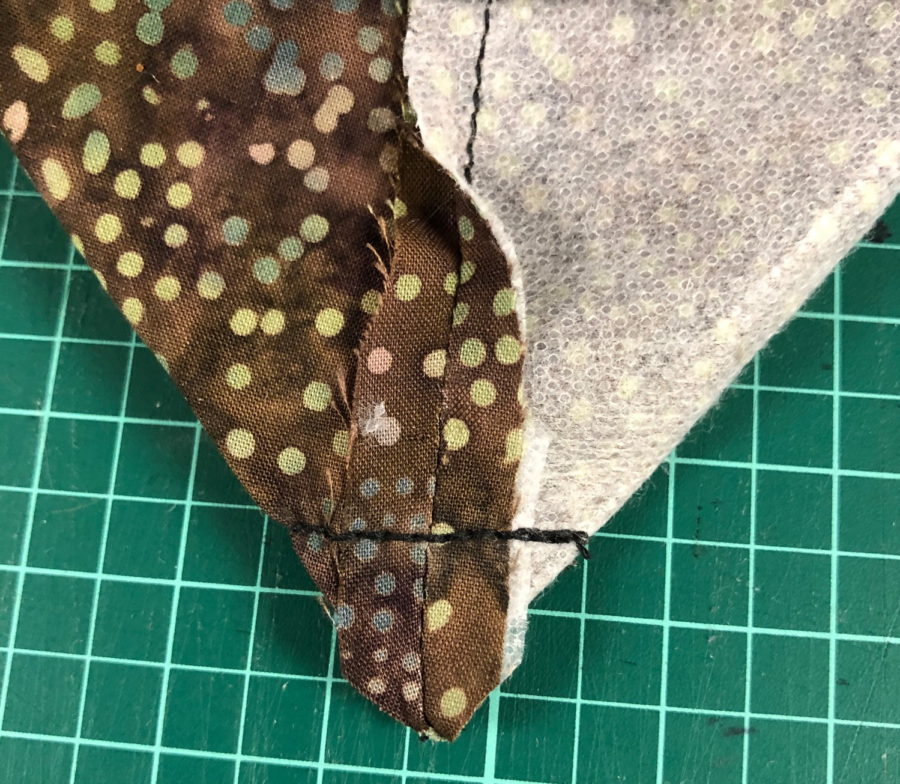
Take arm and insert inside of the body, bringing the pleated end out just past the clipped dart as in the photo. Opening seam allowances in dart, pin, and stitch across dart.
When you turn right side out, you will see you have made a small box that the arm comes out of. Make sure you have caught all layers.
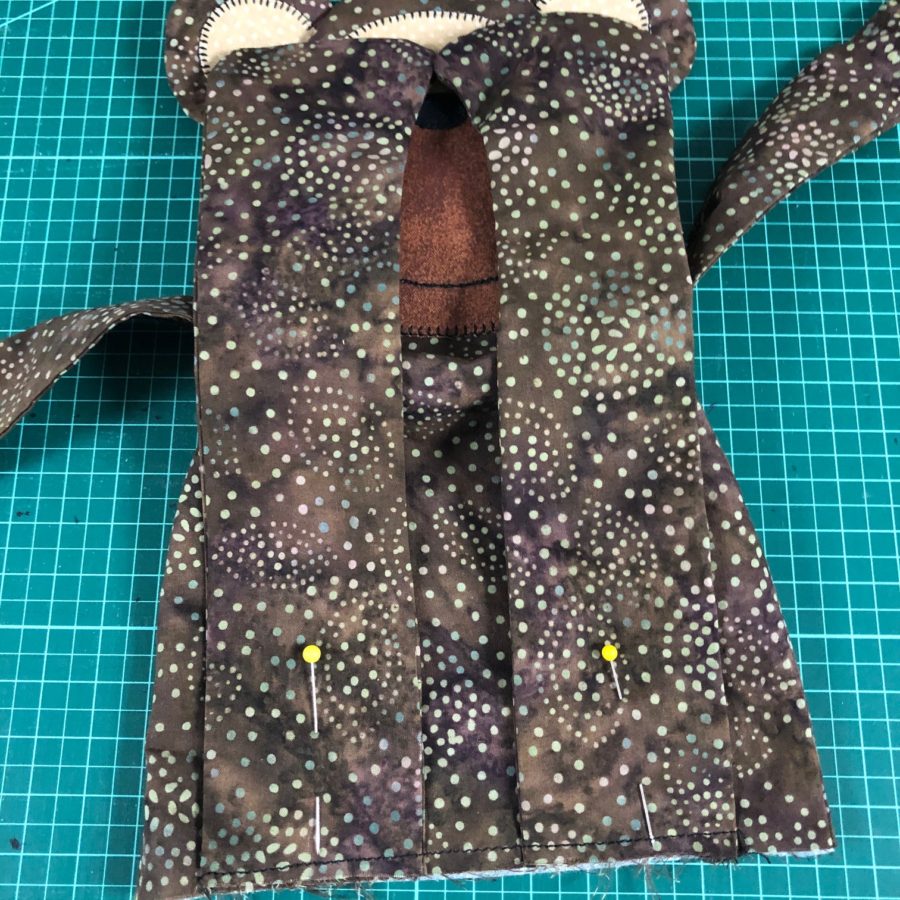
Legs will be attached to the front side of the body only, by measuring in ¾” from the edge on both sides. Pin and stitch using a scant ¼” seam. Make sure the toes are facing each other. Turn body inside out, pushing legs and arms inside.
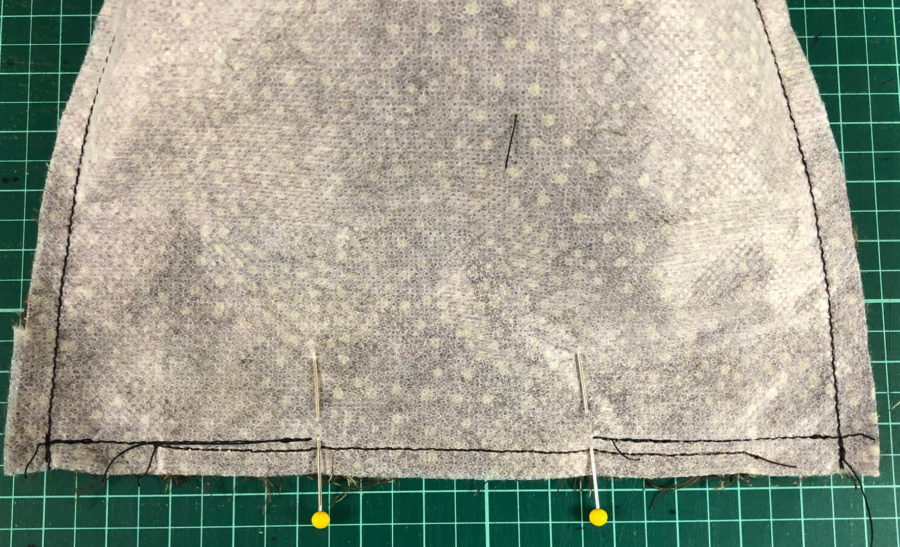
Stitch across body bottom from where the leg starts to the edge on both sides, leaving the center open for turning and stuffing. We are now going to make a box in each corner by pulling corner seams together matching the side and bottom seams.
This is done by carefully clipping corners from the seam allowance. Pin top and bottom seam allowances together
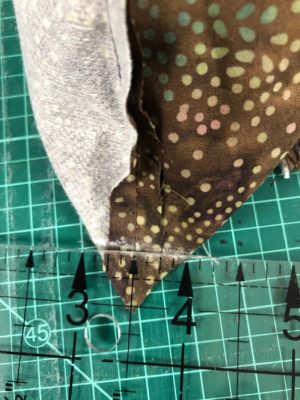
Measure up ½” from up and draw a line. This will become your stitching line. Stitch both sides of the monkey and turn right side out. You can now start stuffing the arms and legs of your monkey. Stuff part way up, and take to the sewing machine and run a line of stitching across each arm and leg. Continue to stuff the rest of the way and hand stitch each opening closed. Firmly stuff body making sure you get plenty of stuffing in head and neck area, so monkey holds his head up nicely. Stitch body closed.

Enjoy!

You’ll find the 5 Little Monkey’s Picnic Quilt HERE! Or click the image!